Adam Baker
Active member
SCREECH!!!!!
That's the sound of the cover being opened on this, its been quite awhile!
Finally drug this topic out again to work on it, had to wipe of quite a bit of dust! haha
So the last time I posted, I'd progressed pretty nicely w/ the building, but was really trying to figure out what to do w/ the street portion. I had cut a large rectangular portion but didn't know how I was going to get it to the oval shape I needed. Over the last several weeks I've been looking at different options. Iron Mike sent me some You Tube links to people who had made their own hot wire foam cutters, but unfortunately I lacked any of the stuff to do it, so I've been looking to see what I could find.
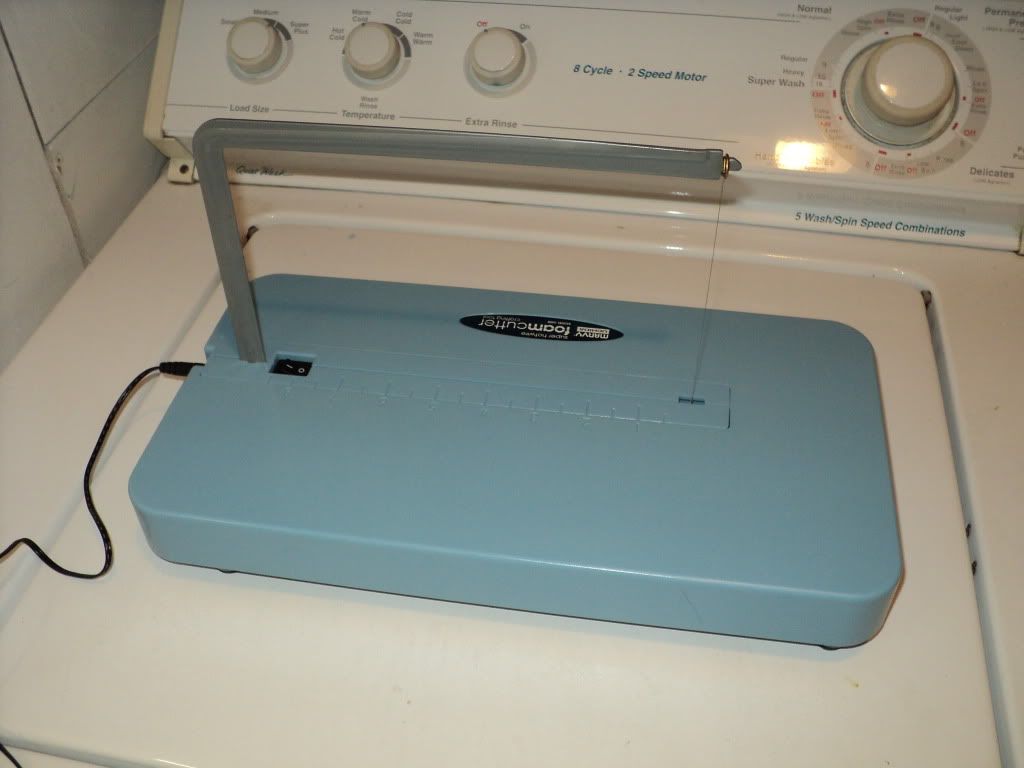
A few weeks ago, I found a hot wire listed on the Hobby Lobby website for 35 bucks, but it only had 2 reviews, and both reviews were bad, so I really wasn't sure. I looked at it one day while at HL, and just wasn't sure, so I held off getting it. Well, was there again today w/ a 40% coupon, and bit the bullet and got it, and have to say I was extremely pleasantly surprised.
Here's the hot wire cutter.
Here's what I was able to do w/ it. I printed out a large oval the size I wanted, using the printers at work, and then cut it out and taped it to the top of the foam, and then followed the outline using the cutter. Unfortunately I had it cut out, before I thought that I should have taken pictures of it.
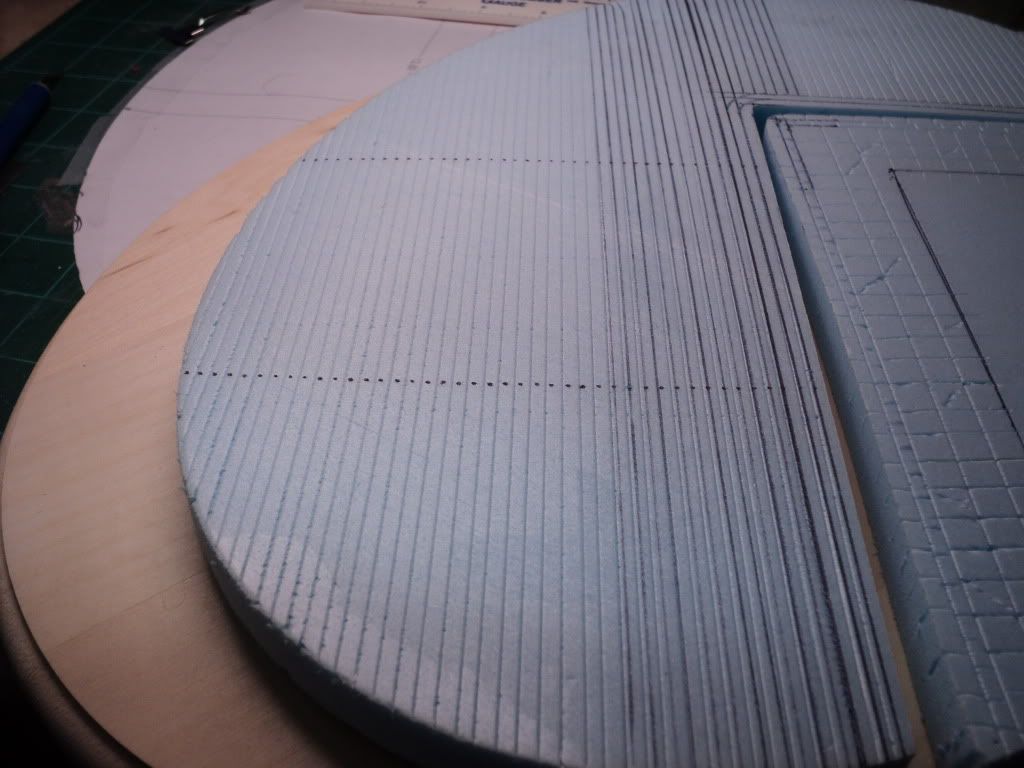
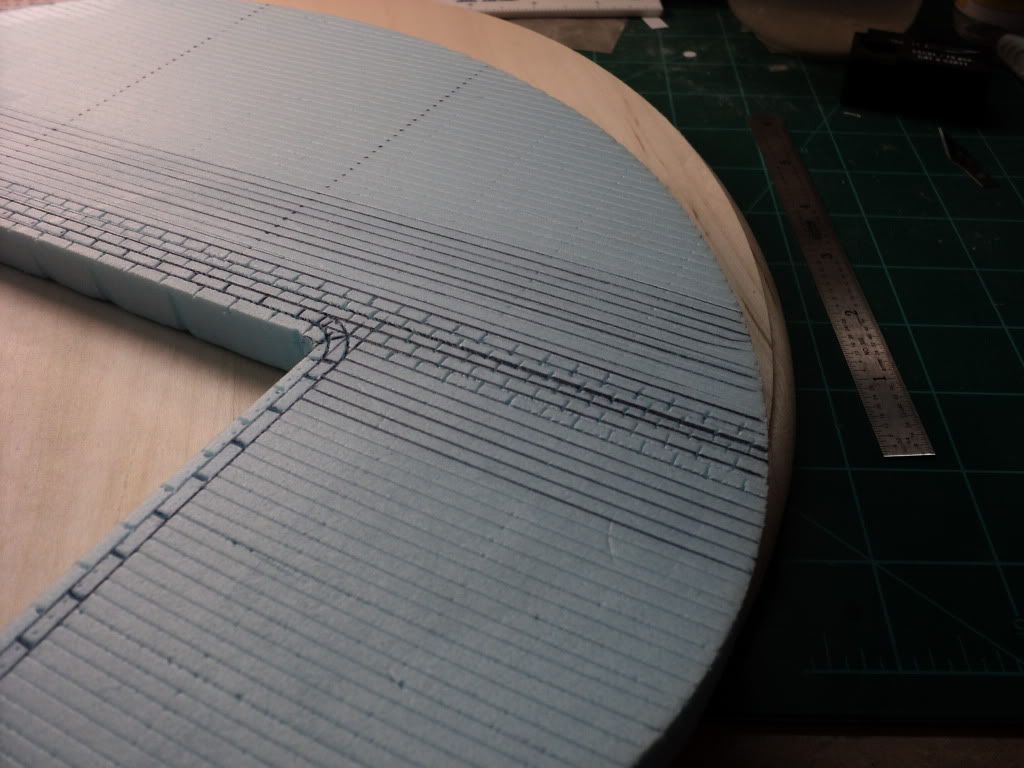
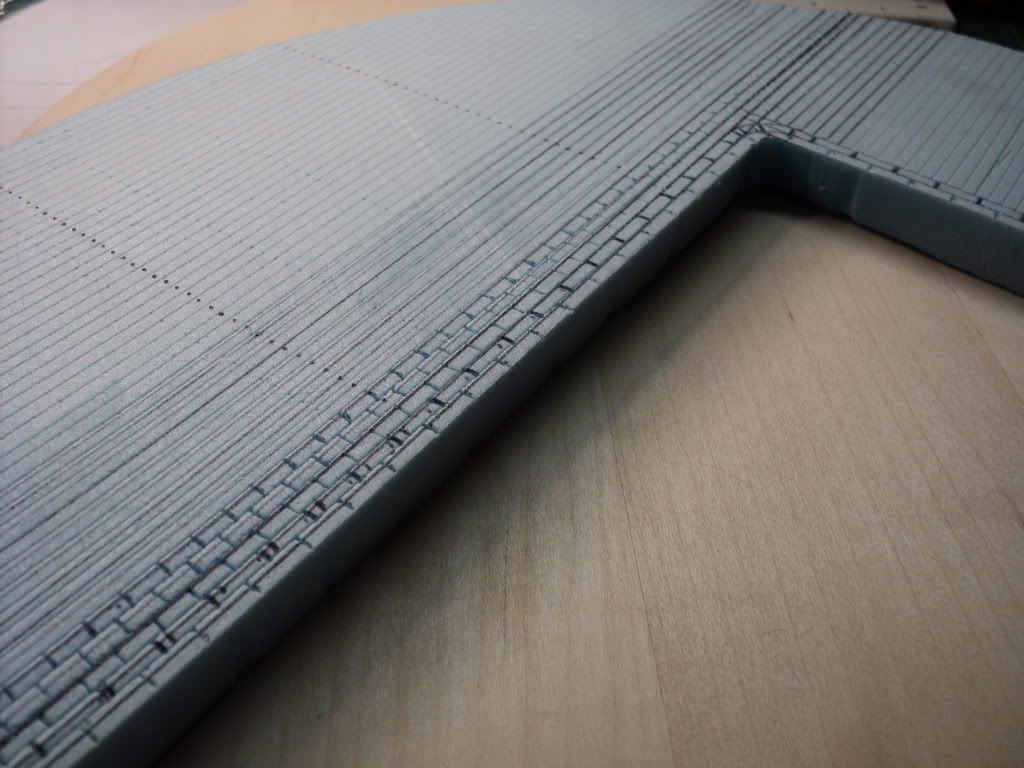
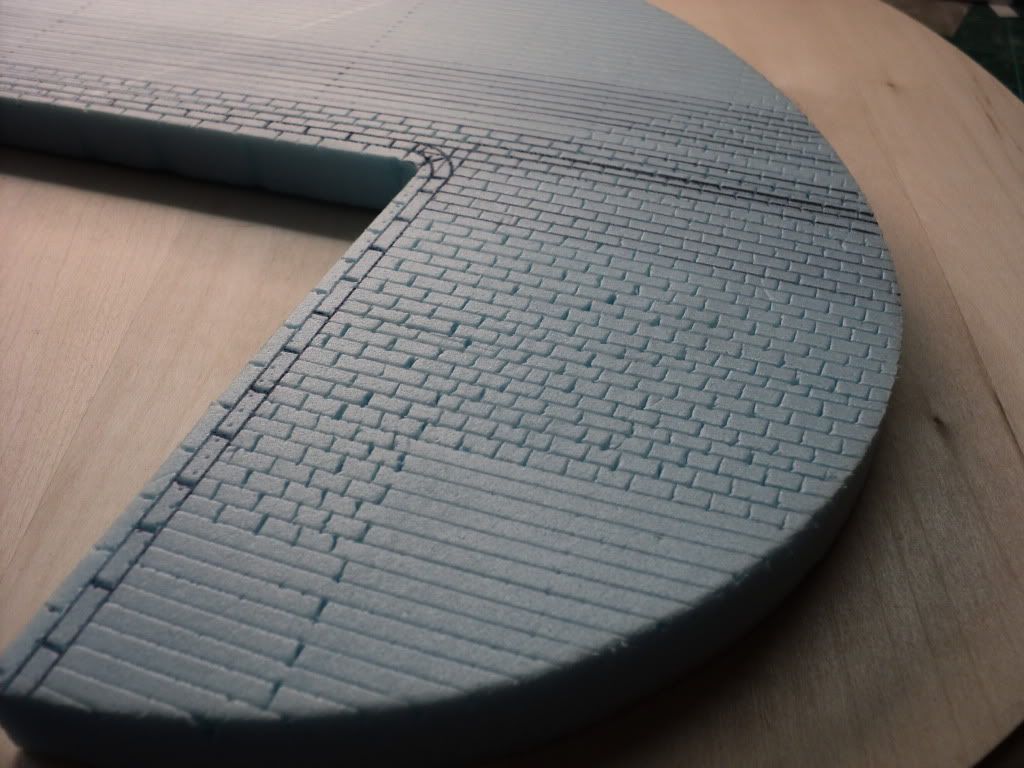
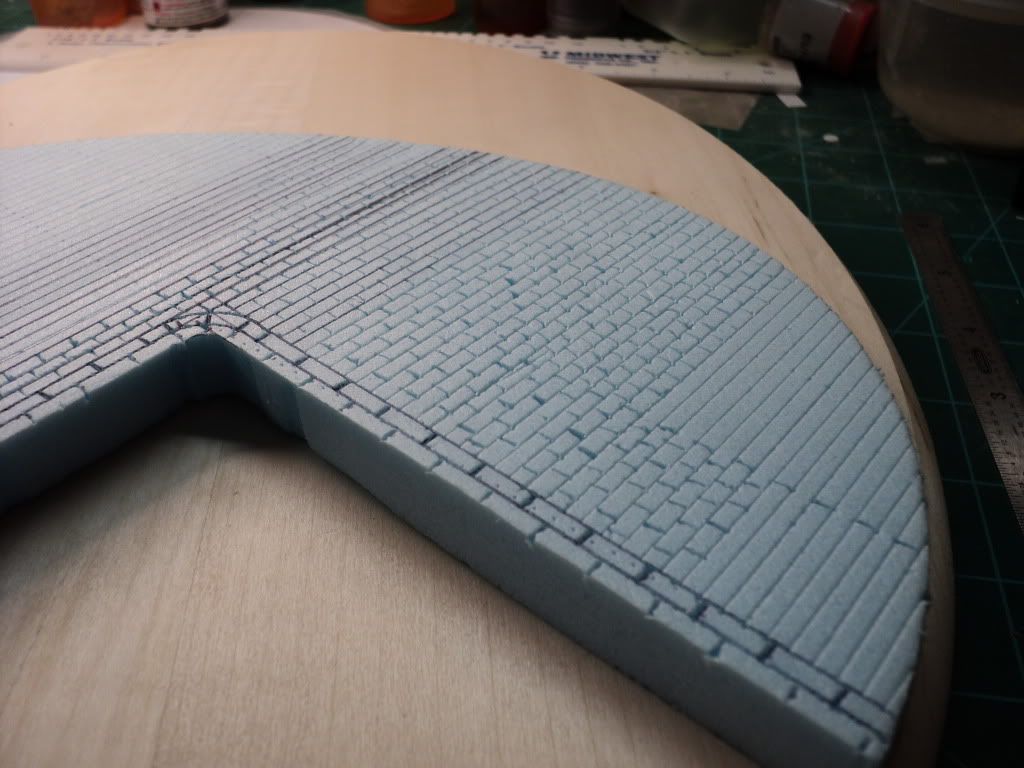
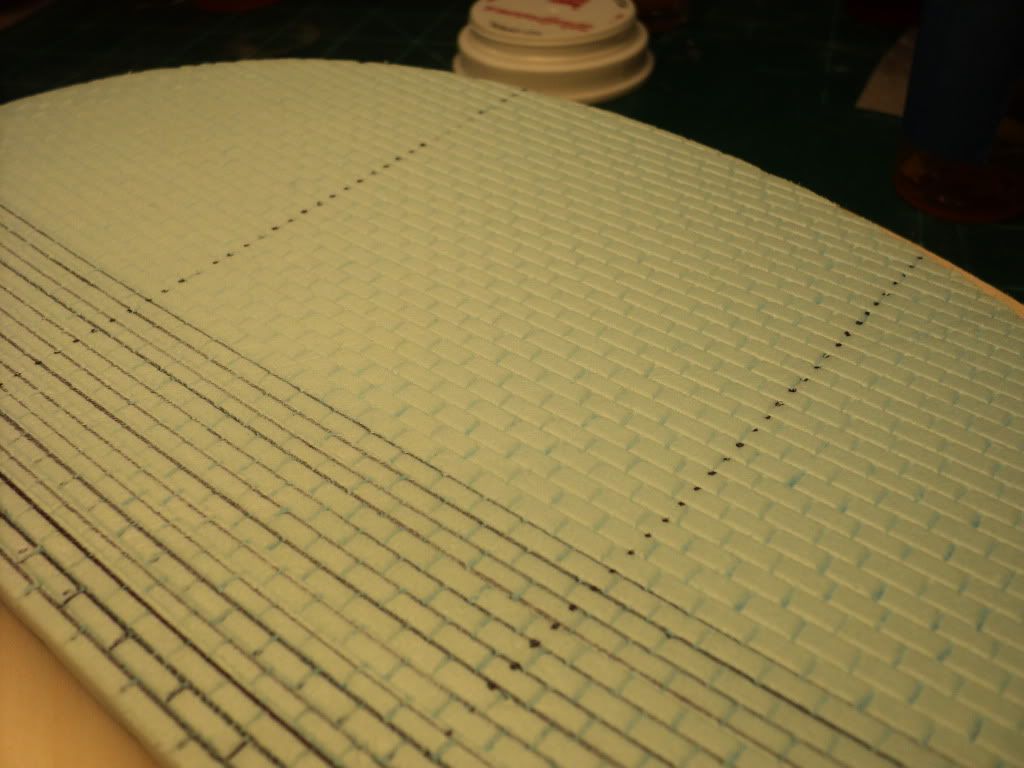
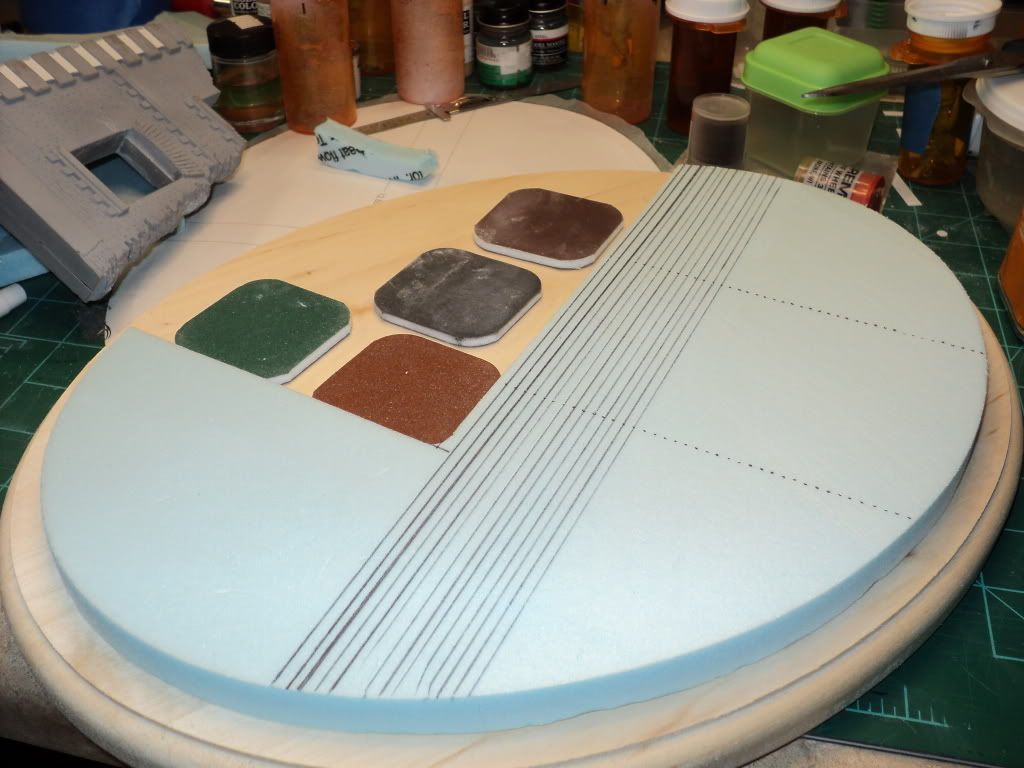
After cutting it out w/ the cutter, I went all around it w/ sanding sponges to clean up the cut, and it looks really great I think. The very nice thing is that I can use the scrap pieces I cut off, to make debris like bricks & other detritus. It will also be very useful for making other bases in the future using the foam. I've also seen tutorials on line of people using hot wire cutters to make complete structures, so I'd be able to use this to make bombed out buildings out of foam, so the possibilities are endless.
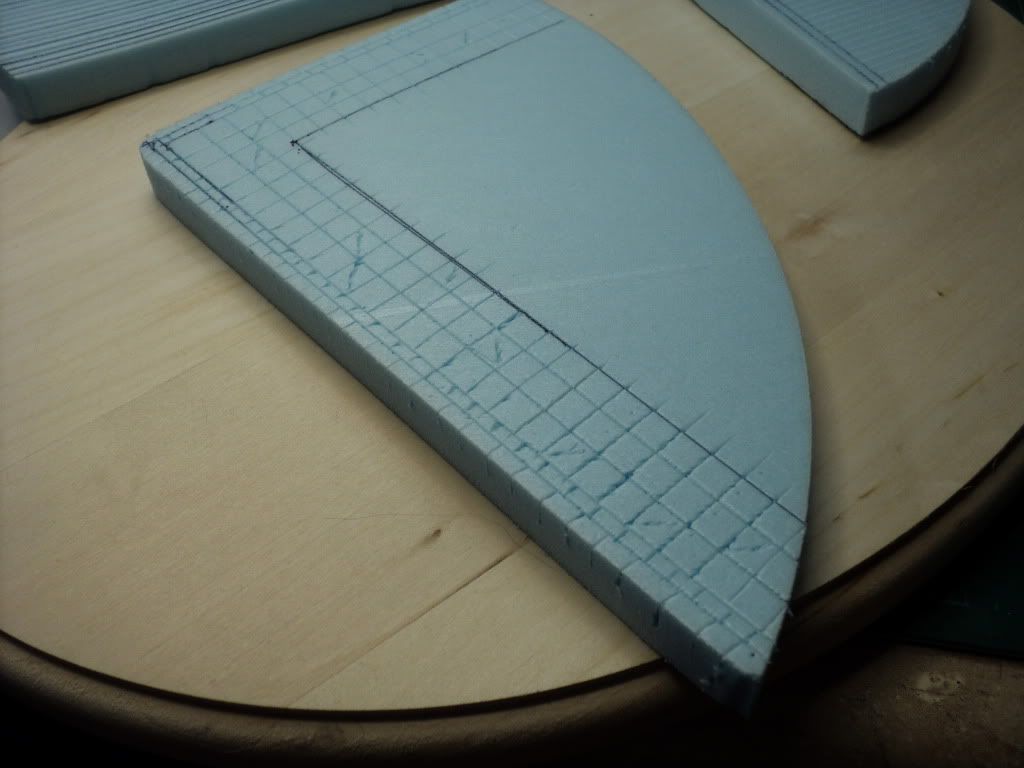
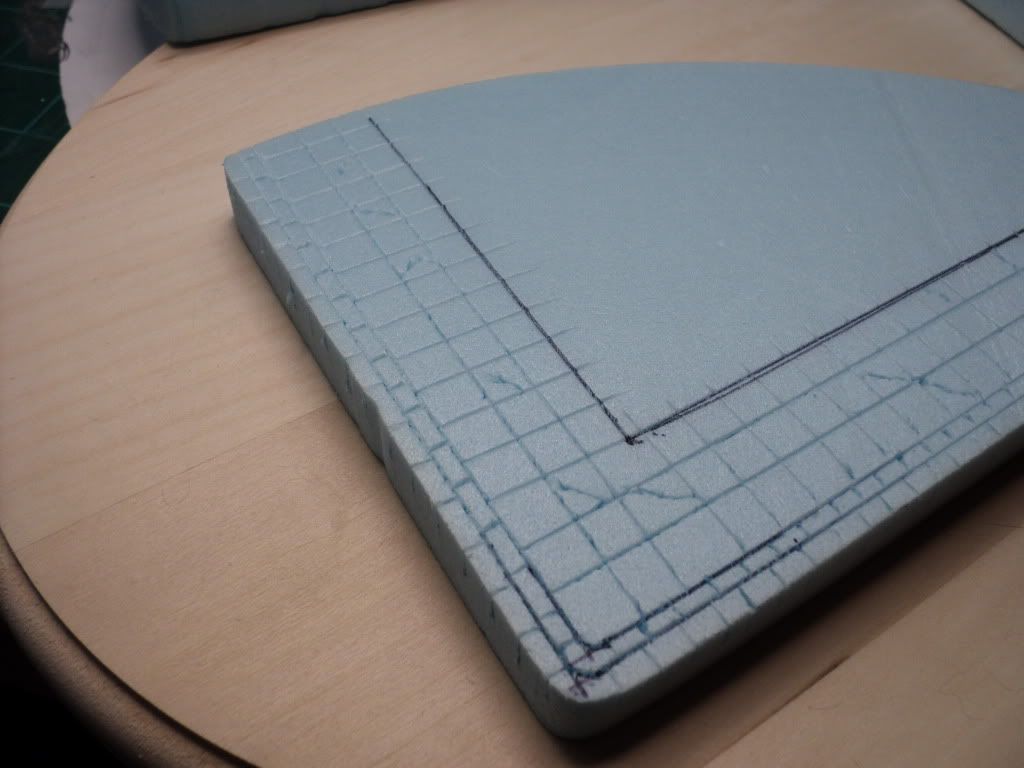
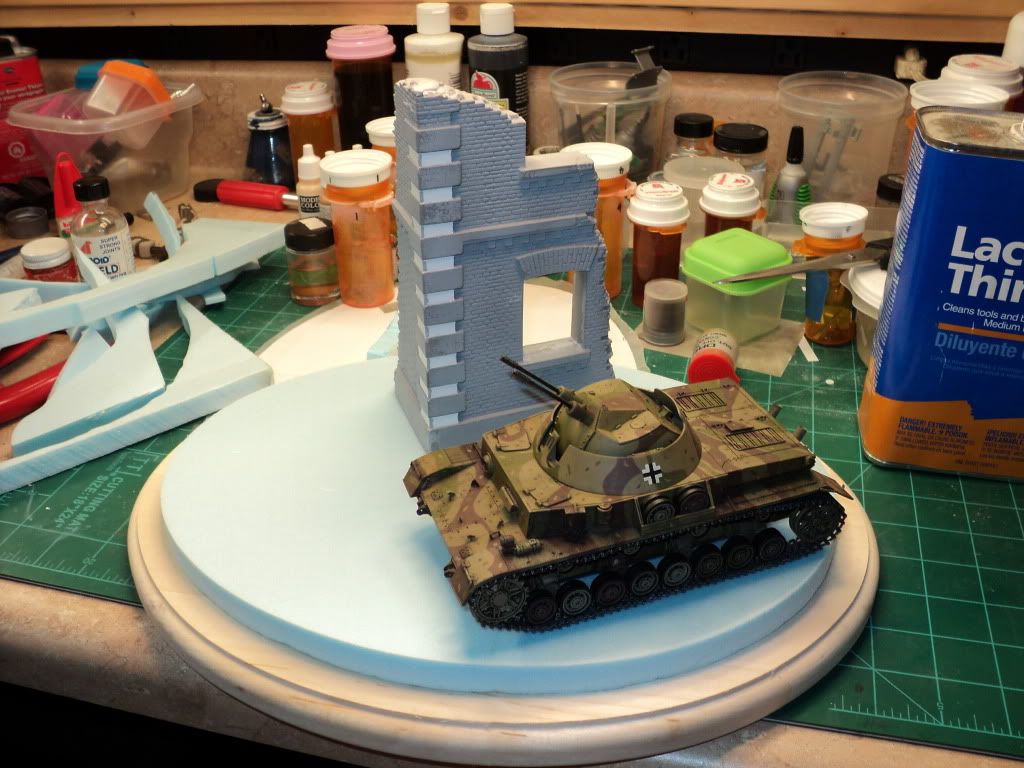
So after getting the base cut and cleaned up, I started laying out how I wanted things to go which can be seen in the picture above. After figuring out where I wanted the blitz and the building, I outlined it, then using the cutter, I cut out the area where the building will sit. The plan is then to shim that area, leaving a raised area and a curb and sidewalk. I think what I ended up w/ came out pretty good.
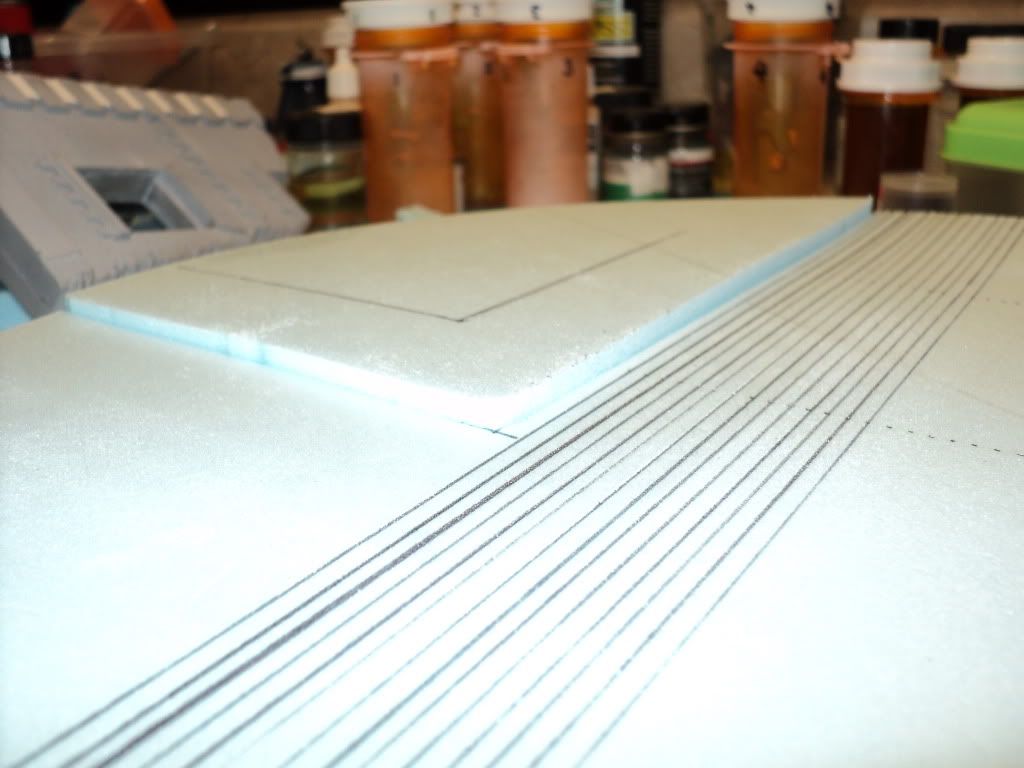
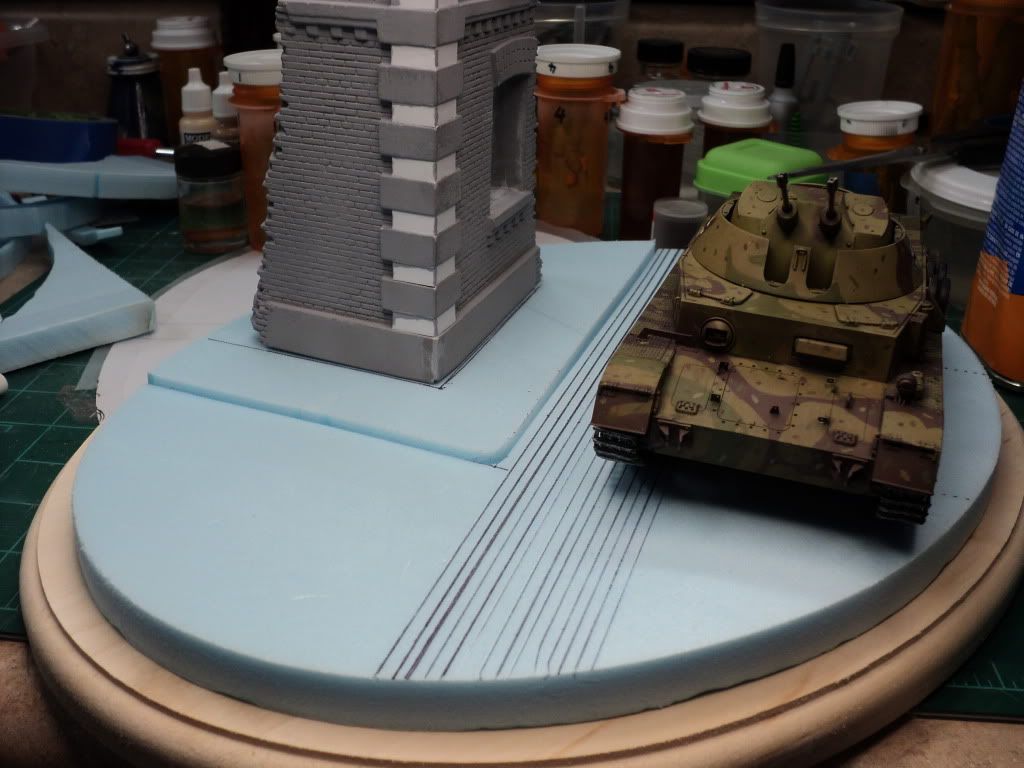
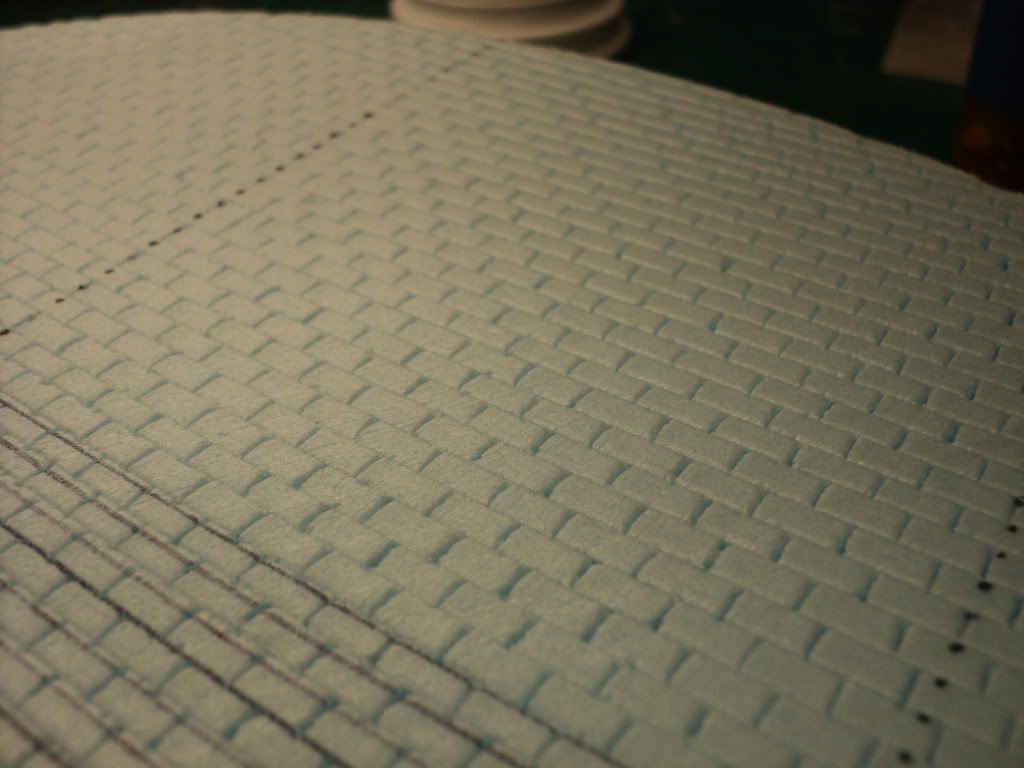
The lines drawn on the foam are going to be used to help line up the cobble stone pattern that I'm going to have to carve into the foam, so there's a whole lot of work left to go.
That's the sound of the cover being opened on this, its been quite awhile!
Finally drug this topic out again to work on it, had to wipe of quite a bit of dust! haha
So the last time I posted, I'd progressed pretty nicely w/ the building, but was really trying to figure out what to do w/ the street portion. I had cut a large rectangular portion but didn't know how I was going to get it to the oval shape I needed. Over the last several weeks I've been looking at different options. Iron Mike sent me some You Tube links to people who had made their own hot wire foam cutters, but unfortunately I lacked any of the stuff to do it, so I've been looking to see what I could find.
A few weeks ago, I found a hot wire listed on the Hobby Lobby website for 35 bucks, but it only had 2 reviews, and both reviews were bad, so I really wasn't sure. I looked at it one day while at HL, and just wasn't sure, so I held off getting it. Well, was there again today w/ a 40% coupon, and bit the bullet and got it, and have to say I was extremely pleasantly surprised.
Here's the hot wire cutter.
Here's what I was able to do w/ it. I printed out a large oval the size I wanted, using the printers at work, and then cut it out and taped it to the top of the foam, and then followed the outline using the cutter. Unfortunately I had it cut out, before I thought that I should have taken pictures of it.
After cutting it out w/ the cutter, I went all around it w/ sanding sponges to clean up the cut, and it looks really great I think. The very nice thing is that I can use the scrap pieces I cut off, to make debris like bricks & other detritus. It will also be very useful for making other bases in the future using the foam. I've also seen tutorials on line of people using hot wire cutters to make complete structures, so I'd be able to use this to make bombed out buildings out of foam, so the possibilities are endless.
So after getting the base cut and cleaned up, I started laying out how I wanted things to go which can be seen in the picture above. After figuring out where I wanted the blitz and the building, I outlined it, then using the cutter, I cut out the area where the building will sit. The plan is then to shim that area, leaving a raised area and a curb and sidewalk. I think what I ended up w/ came out pretty good.
The lines drawn on the foam are going to be used to help line up the cobble stone pattern that I'm going to have to carve into the foam, so there's a whole lot of work left to go.
")