Ruben Lopez
Active member
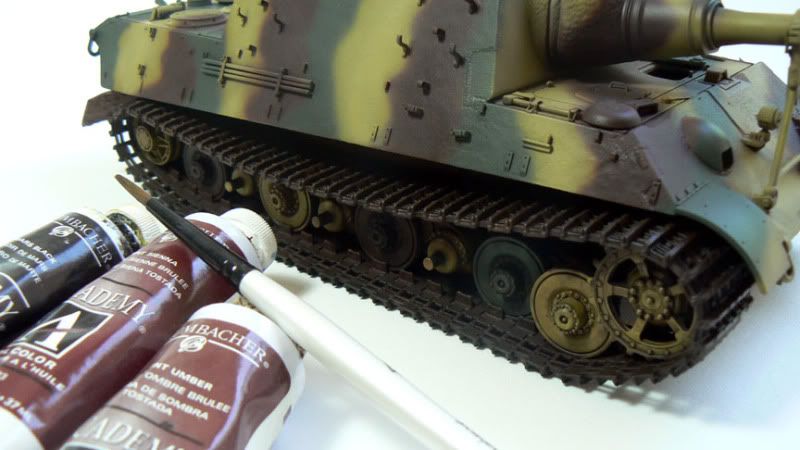
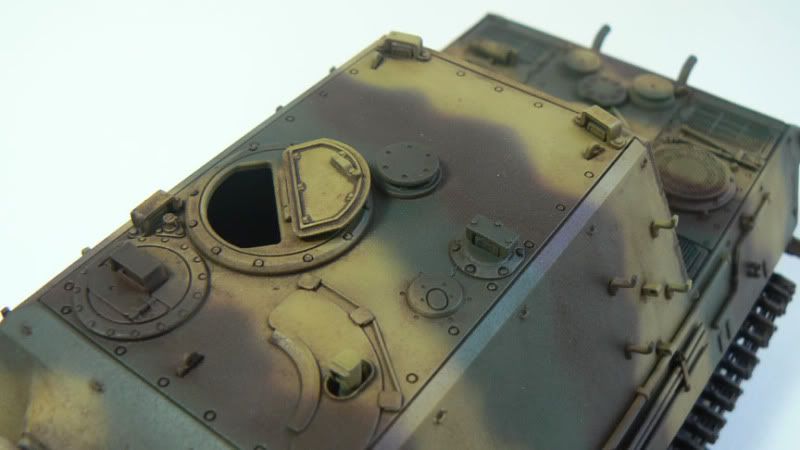
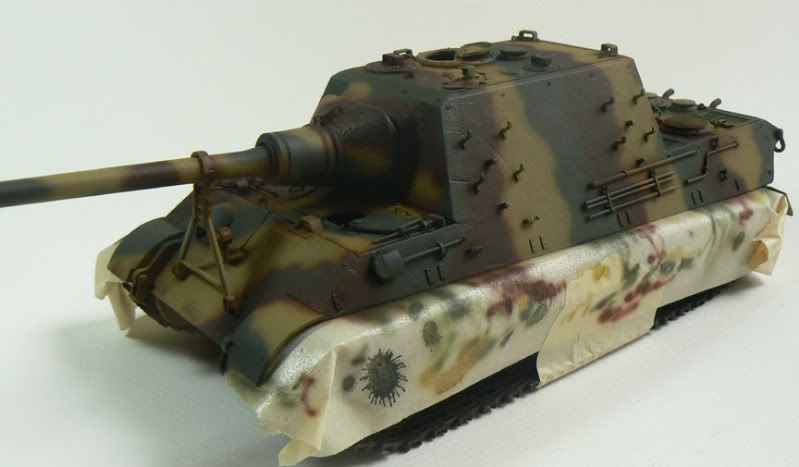
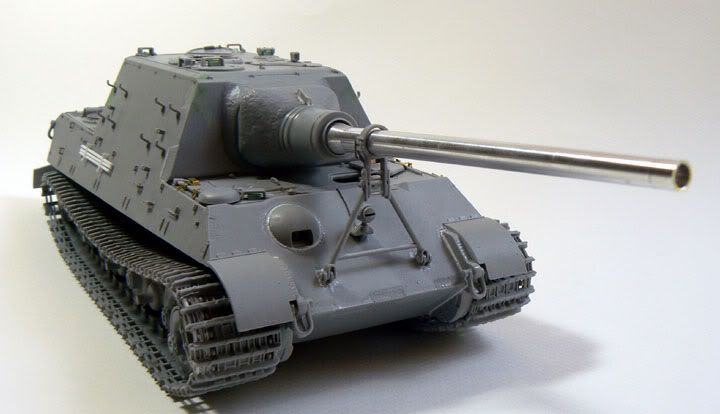
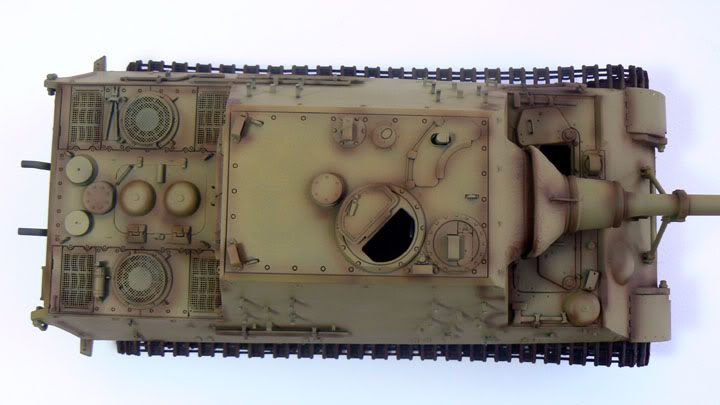
Now I understand why you said that the tracks were a pain in the b*tt!
But you have to admit that they look impressive.
Ruben
But you have to admit that they look impressive.
Ruben

Modelers Alliance has updated the forum software on our website. We have migrated all post, content and user accounts but we could not migrate the passwords.
This requires that you manually reset your password.
Please click here, http://modelersalliance.org/forums/login to go to logon page and use the "Forgot your Password" option.
Hi Dave,
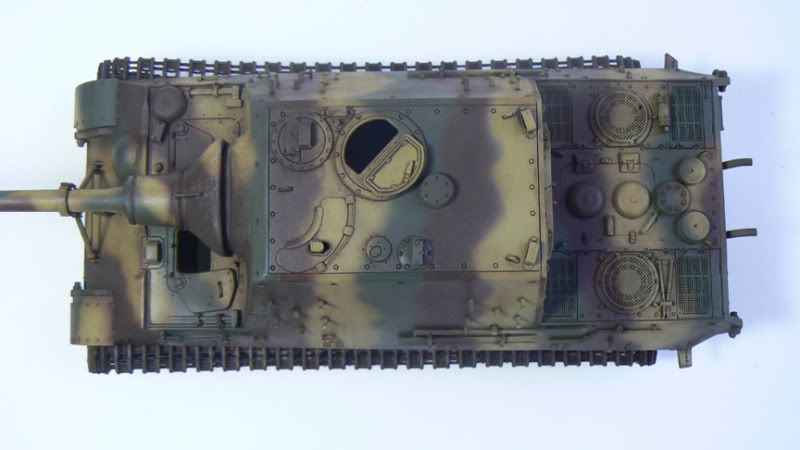
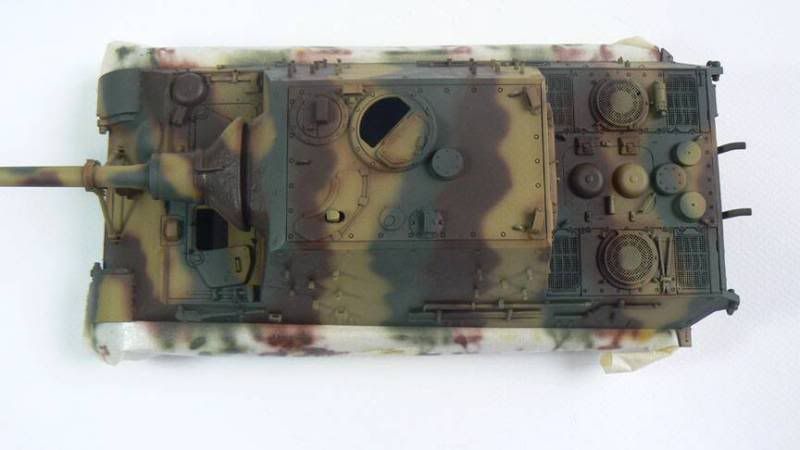
impressing work over tracks. How many tracks in a caterpillar?
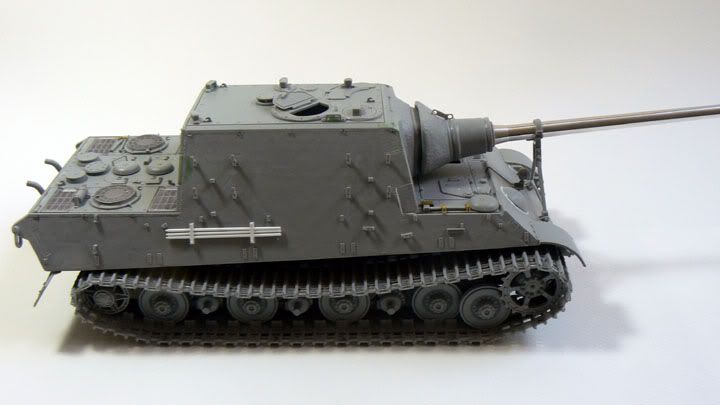
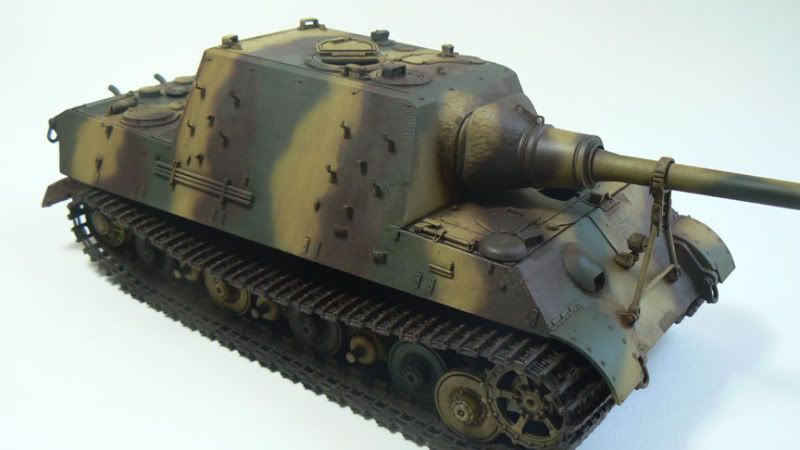
I still don't get how yous guys can paint a completed build. Especially one this big. Tell the truth Dave, you just have this test fitted right?
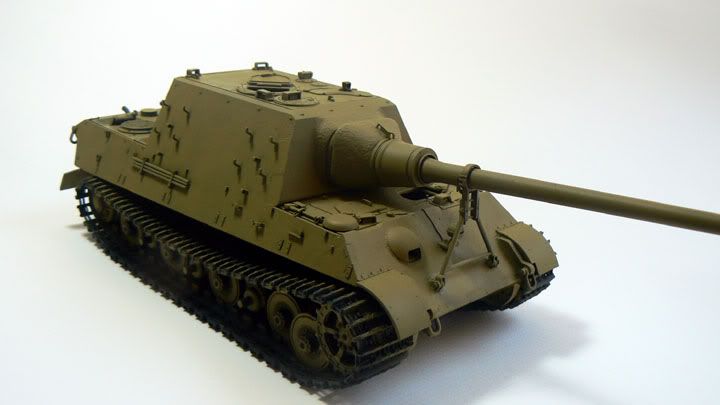
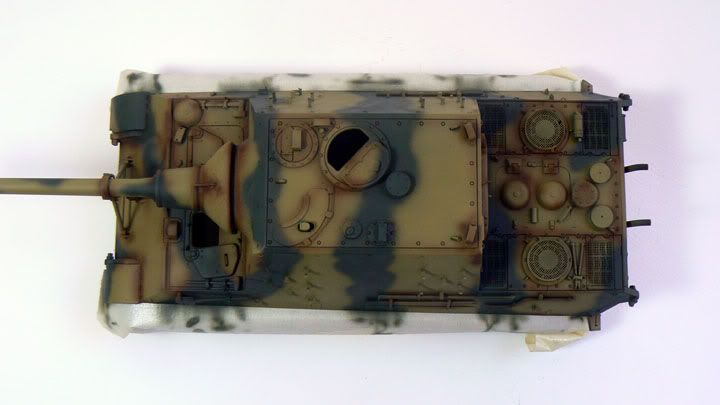
") Just test fitted? :laugh: Nope, the only thing I did left out are the outer roadwheels because since they overlap they get in the way. But its surprisingly easier to paint the build completely assembled.
Just test fitted? :laugh: Nope, the only thing I did left out are the outer roadwheels because since they overlap they get in the way. But its surprisingly easier to paint the build completely assembled. But its surprisingly easier to paint the build completely assembled.
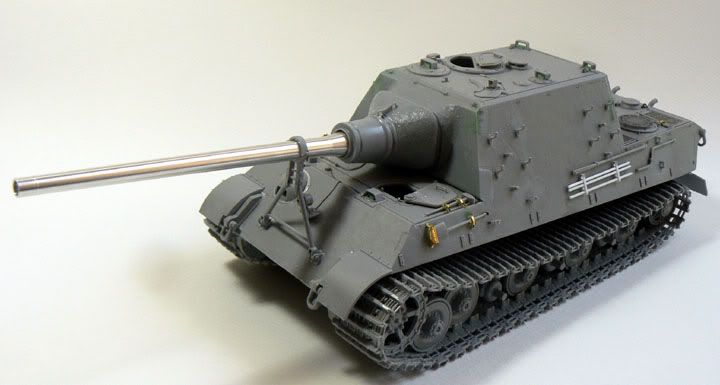
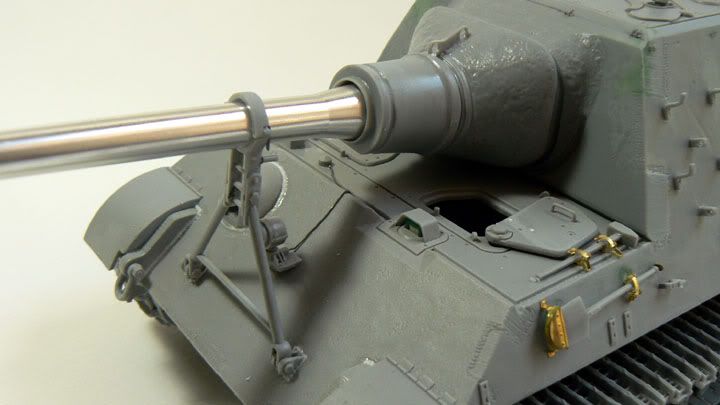
You are clearly a better, more patient man then me, that's for sure.
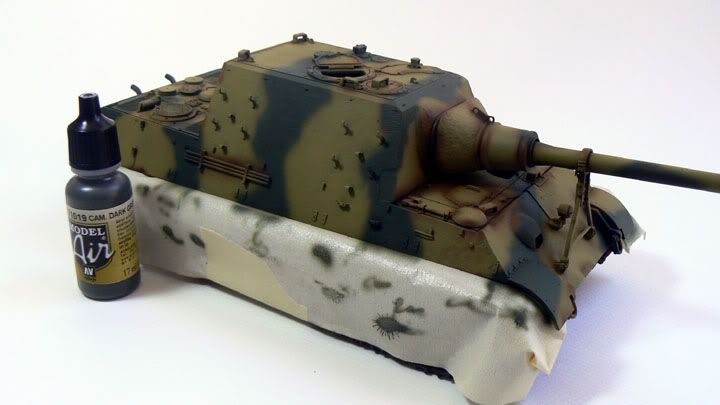
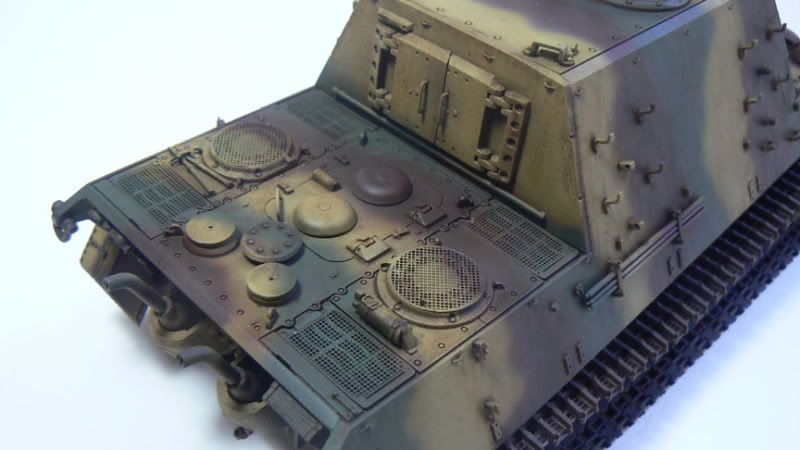
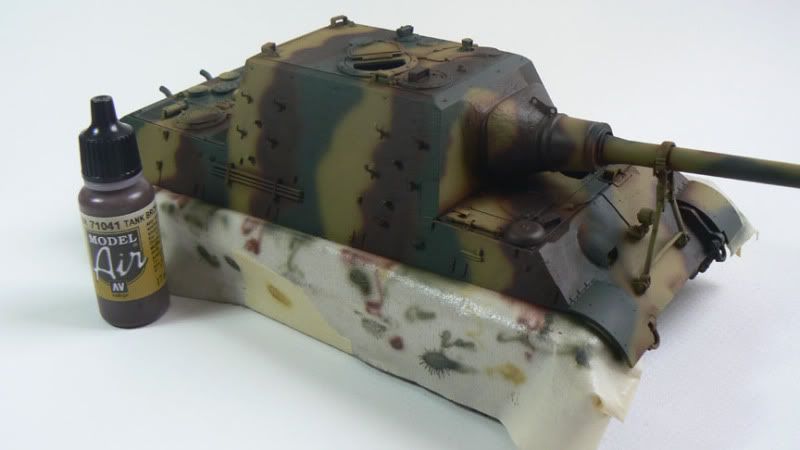
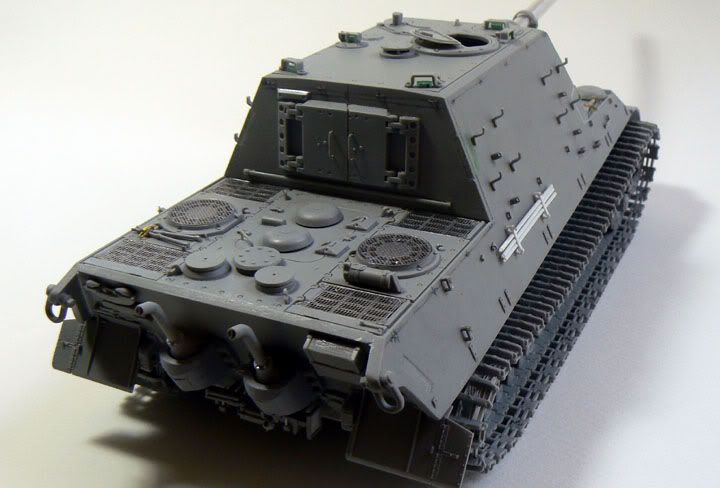
The Model Air stuff is really nice. I wish I had source on more where I can pick up on the fly. I've been tempted to get one of those suitcases full of paint but the price tag scares me.
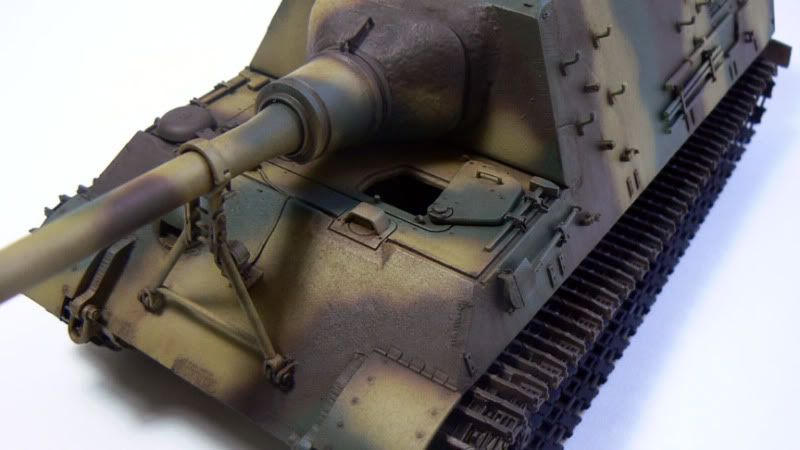
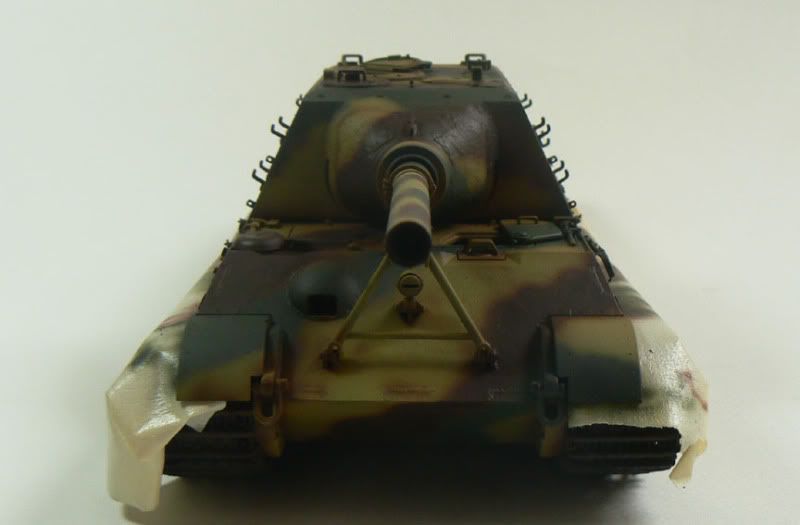
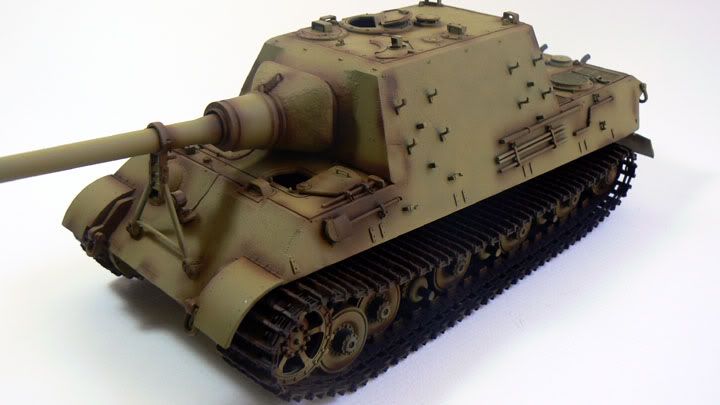
Really nice progress Dave.
The Model Air stuff is really nice. I wish I had source on more where I can pick up on the fly. I've been tempted to get one of those suitcases full of paint but the price tag scares me.
Really nice progress Dave.
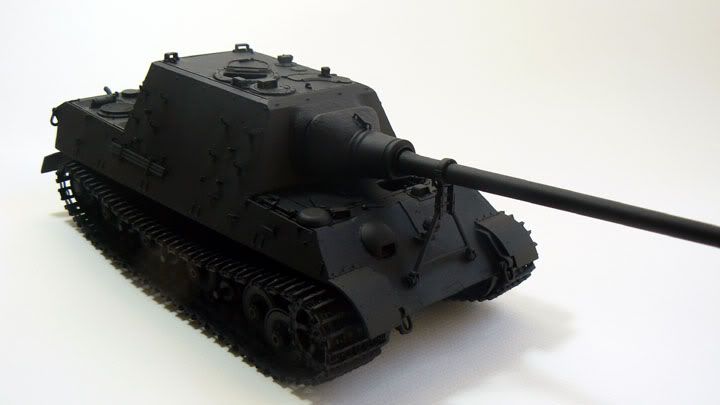
 Why do we torture ourselves like this??? :laugh: