It’s June 1 so...
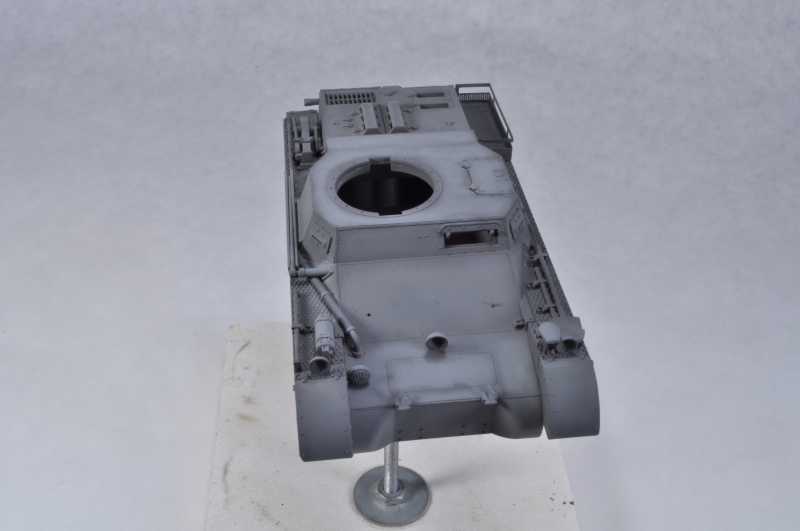
Everyone should be in primer at this stage. Next step is to apply a base coat of German grey. I am using Tamiya XF-63 diluted with 50% X-20A and a few drops of Tamiya retarder. Take the time to make sure this coat covers well. Generally, I have the psi set to 15 for this type of work.
This can be followed immediately with a post shade layer of the XF-63 mixed with XF-55 Deck tan. Generally, I turn the psi on the line down to 10 for this stage. Good airbrush control is important in this stage. Make sure you stay away from panel lines! Also, hit flat surfaces more than vertical ones. You want to apply color slowly, building up the effect and feathering the edges. A test line sprayed on a piece of paper should be at most 1.5mm wide.
This step is immediatly followed by a final post shade by adding XF-2 white to the mix. Psi stays at 10, and maximum spray with is 1mm. Again hit flat surfaces more and feather inside previous post shading.
As a note I predilute all my Tamiya paints with X-20A 50% when I first open them, by mixing well and then decanting 50% of the volume into a spare bottle, then adding X-20A to restore full volume. So when I say to add XF-55 and XF-2 it is assumed they have already been diluted.
Good luck!


 That's my student face. As we all know edegmacation is importanter
 ")

