• Modelers Alliance has updated the forum software on our website. We have migrated all post, content and user accounts but we could not migrate the passwords.
    This requires that you manually reset your password.
    Please click here, http://modelersalliance.org/forums/login to go to logon page and use the "Forgot your Password" option.

chukw- Me509

Thanks, everybody! I'm home with some crud- day 2 now- so I figured I'd poat the material I've been working on for the past few weeks. I only build on weekends, and lately have had a lot of other business going on. This weekend the new bookshelf/display case is getting installed- hooray! The room is also getting painted, so I have to take down all the old balsa builds pinned to the walls and ceiling, as well as- everthing else! I'll post before and after pics, so you can get a feel for the turmoil- and, hopefully- triumph.

As far as those little clips are concerned, I've answered a personal inquiry this morning, and will re-post it here.

I glue the wire lines on first with cya glue after the strut has been cleaned of any seams, etc. I roll my wire flat with a metal straightedge on the steel plate of my Etch-Mate PE tool, then bend it with flat-jaw pliers or the etch tool itself. Radius bends are made with round-jawed pliers or around a bit of tube or my Small Shop rolling jig. Can you tell I'm a nut for tools?

Now, as far as furnace tape goes, I start by burnishing a piece down nice and smooth to an old bit of mirror. I then cut strips with a straightedge and burnish the cut again, as it gets a bit of curl to it during cutting. Then I cut off the individual "clips" one by one as I need them. The act of lifting them with a needle bends them into a tent shape, and that's perfect for locating them over the brake line. Once in place I use the needle or the back of a blade to press them into place. The last bit is to apply a tiny drop od thin CYA glue- the tape adhesive needs a little help when the part is so tiny. The whole process sounds like a lot, but once you're set up with a thin strip of tape it goes really quickly, and you do get plenty of practice as you go! ;)

I find that most metal lines are painted the same color as the strut- the flexible parts are dark gray, but stand proud and are easier to paint in place. I've never glued the covers on before painting before, but Chris Wauchop does just that, and if it's good enough for him... I'll be making mine appropriately grungy, and washes and post shading do hide a multitude of sins. ;D

Looking back I need to add door brackets to the main doors like I did on the nose- these are the damned neediest kit legs ever! Hey, I guess that's why we all love modeling, right?


One more thing: My secret identity as a member of the quality-control team on HK's new 1/332 B-17 has been publicly revealed at last. Se Tom Cleaver's review at Modelling Madness: wow!

Cheers!
"Detail-Obsessed" chuk
 
"the detail-obsessive ChukW" :rotf
That B-17 must be massive :woohoo:

The 509 is looking soo good, great detail work (y) always a joy to see these build updates!!

Cheers Erik
 
As always Chuck it looks great!

I have seen some photos of a test build on the HK B-17 and it is quite a large kit (38 inch wingspan) appropriately covered with thousands of rivet bumps. I am quite envious!

Umm, one thought on the nose gear, nose wheels on tricycle landing gear don't have brakes if I remember correctly. :facepalm Then again this particular example was specially equipped due to desert operations, eh?

Sorry to hear you have the crud. Had it at the beginning of January myself and still have a small cough that is so slowly going away.
 
Umm, one thought on the nose gear, nose wheels on tricycle landing gear don't have brakes if I remember correctly. Then again this particular example was specially equipped due to desert operations, eh?

Yep Chuks version has the newly upgraded RLM field kit addition...............
 
Looking good, chuk!!! (y) :drinks

The girls always make me think of this song.


:drinks
 
Hey Chuck!
It's been a bit since anyone has seen hide nor hair of you. Are ya OK? Just been wondering when you will get restarted on this or your Well Done build.

Hope all is well.
 
D'oh! THANKS< EVERYBODY!!!!

I haven't abandoned this poor little birdie- rest assured. I've had work and travel and the whole remodel thing, but now I can get back to it. I did a little painting two weeks ago, but my flat coat kept blushing. It may have something to do with the compressor repair- a bit of moisture, perhaps? Maybe I should just run a few tankloads of air to dry it out.

As far as that nose wheel is concerned- I copied the "brake line(?)" from the latest Kagero Me262 book. I might add a landing light to it as well! ;)

Stay tuned-
chuk
 
:popcorn

Here Chuck . ME 262 nose gear .

Although we don't use it in the US. other countries have.

Me262-0047a.jpg


Seems to me I saw nose gear brakes on Russian modern jets as well.

Cheers, Christian B)
 
Thanks, Christian!

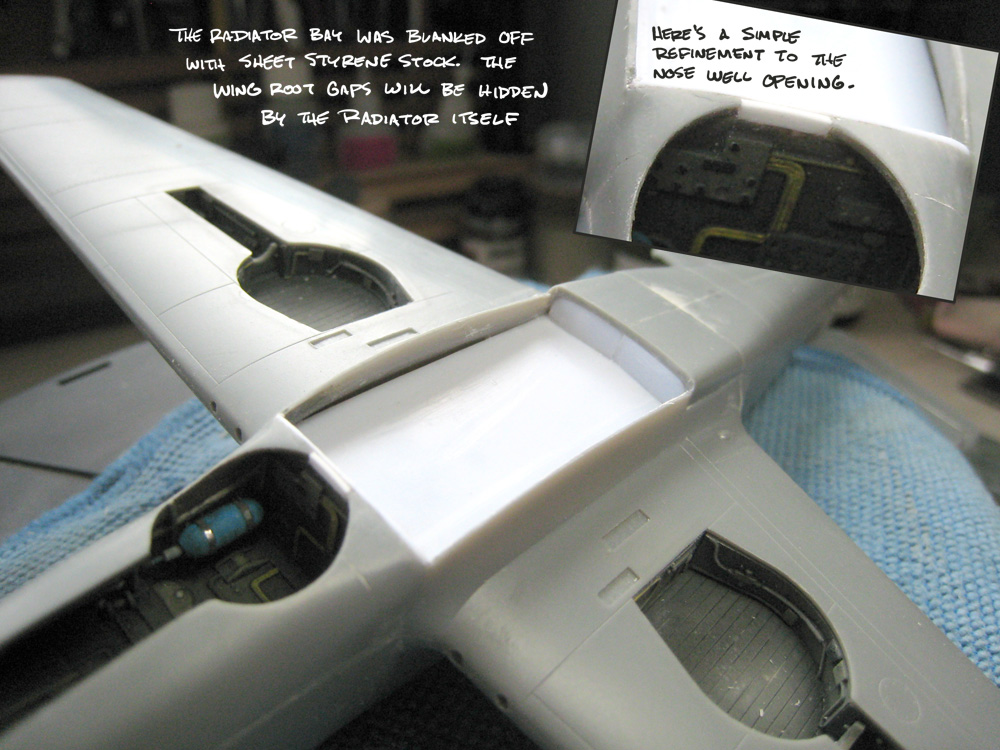
Distractions aside, Here's the latest on this fun little build- take it away, Hannah!

509_051.jpg


509_052.jpg


509_053.jpg


509_054.jpg


509_055.jpg


509_056.jpg


509_057.jpg


509_058.jpg


509_059.jpg


Hannah_008.jpg


Fritzi_007.jpg
 
Looking good! Glad to see you finally managed to get your workspace back up to par. That can always make things drag out. :D

:beer
 
Back
Top