• Modelers Alliance has updated the forum software on our website. We have migrated all post, content and user accounts but we could not migrate the passwords.
    This requires that you manually reset your password.
    Please click here, http://modelersalliance.org/forums/login to go to logon page and use the "Forgot your Password" option.

Chevrolet 15 cwt truck

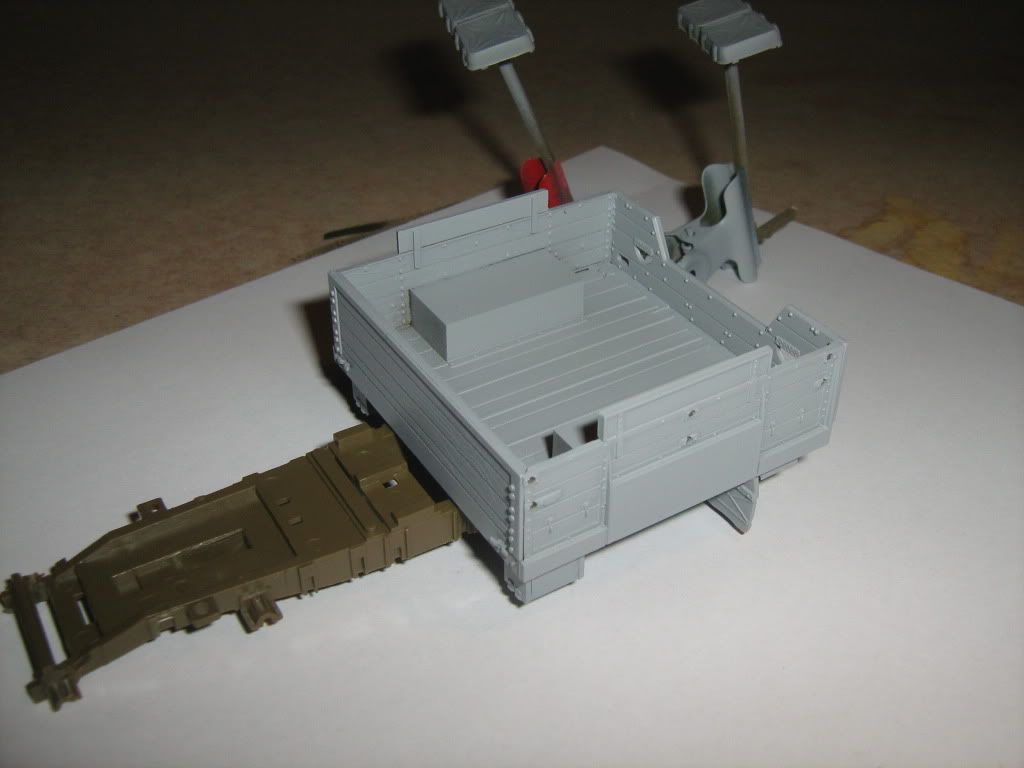
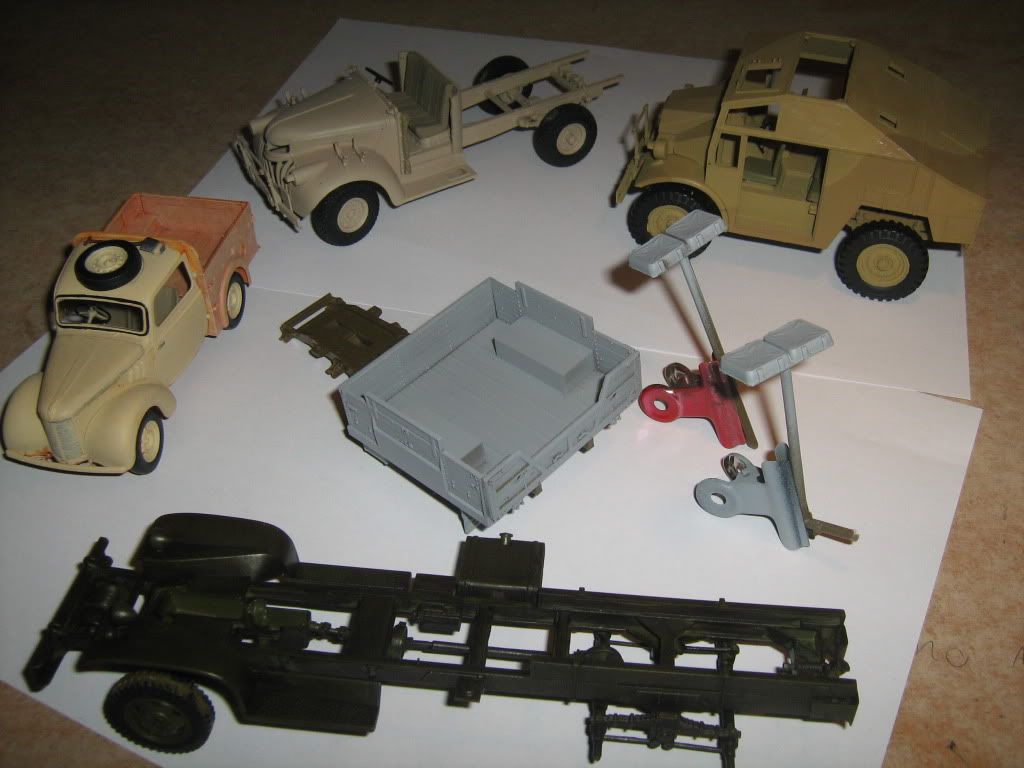
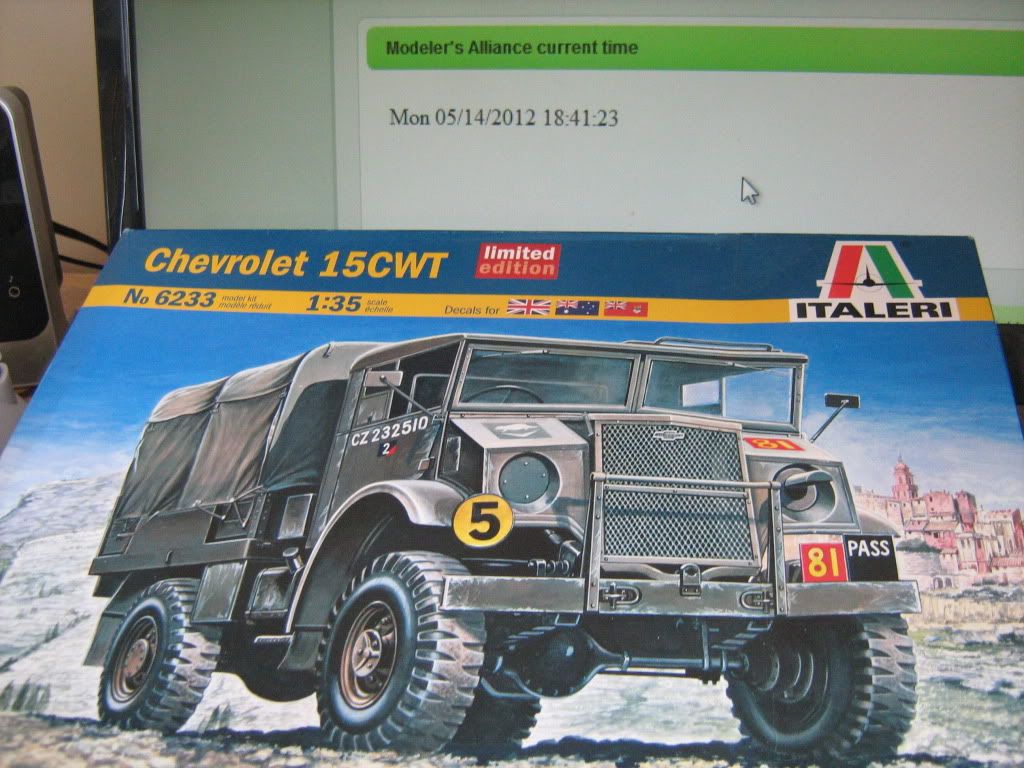
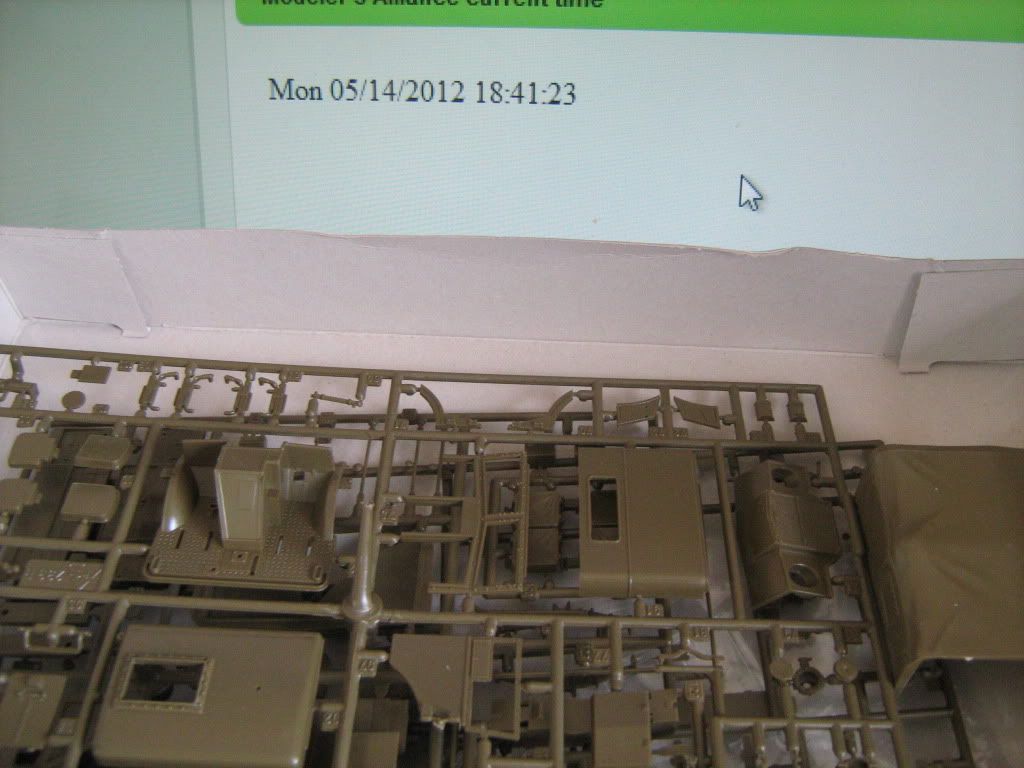
I have been looking forward to building this one for a while now. I paid way to much for it as they were quite a rare kit around these parts, only to find Italeri have re-released it recently and I can pick a new one up for 1/2 what I paid for this one - such is life :)
Chev15cwt029.jpg

Chev15cwt030.jpg
Chev15cwt031.jpg

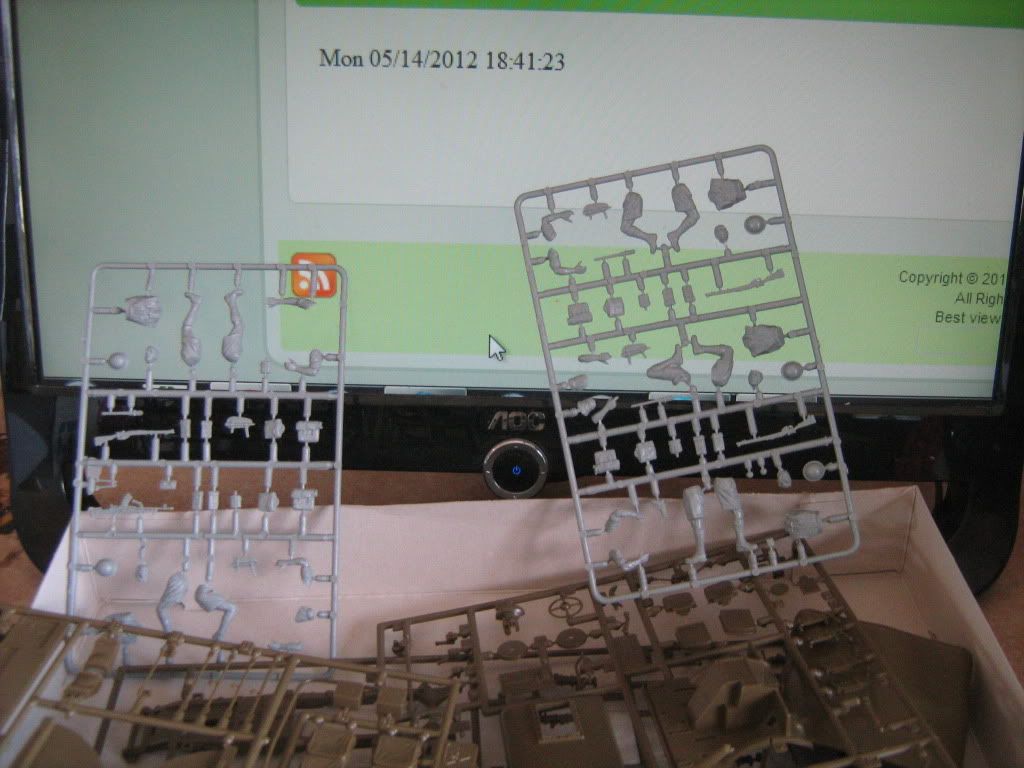
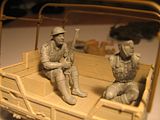
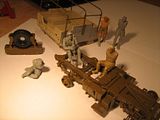
I intend to use various figures from Mini-art, Tamiya and Dragon.
P.S I'm a bit of a novice so please don't expect a museum piece :v
 
Samething happened to me on the B1 kit, I bought it off Ebay when it was OOP only to find out it was being release like a year after I got it for the "Rare and OOP" price, and the kit still stunk!

Anywho...

:popcorn
 
Kiwi gunner,

I like the cut of your jib. I have that kit started (sadly for this campaign) , and intend to use the same figure set! It's the British Soldiers Tank Riders @ 35071 from Mini-art, yes?
I thought they would look good sitting in the bed (I think you people say "tilt" or is that the Brits? No offense intended, just my ignorance) on some crates, or jerry cans too. Carry on!

I'm glad you beat me to it, (Now I can watch and take notes)

Bill
 
Hi Bill,
Yep, they are the Mini-art Tank riders. The driver will come from the Tamiya Quad/25 pndr kit but I'm not sure who will get to ride shotgun yet. Looking forward to watching your build also.
John
 
Shucks another great build here. Will you be doing the mickey mouse ears camo for this one?

Bill you better pull up your socks and start showing us some progress also

:fencing

:popcorn
 
Depending on what unit and where it was stationed some units had an Earth and Black-blue camo also. These were mostly units in areas that was not in the desert itself but in areas with some plant growth. These camo's were retained into Italy untill winter of 44 when it was changed to Either British or American OD.

British units changed these Camo's to the Mickey mouse patterns early on

The guys in the Desert proper had the standard sand color.

Lots of artilery units though had the Mickey Mouse patterns though
 
Well guys, like I said, I have already started this one (without a documentation photo) so..... if the the moderators want to give me a "pass", I would love to join in. I'll run it up the flagpole in another thread and beg for admission. (Where is the "please" emoticon?) :(

Wishing for world peace (and a shot at another ribbon), :laugh:

Bill

Whack a photo of where your up to on here if you like Bill. It might help me get my mojo cooking :laugh:
 
Bill, without that start up photo there's nothing we can do. Sorry, build along up in Ground Power if you'd like, you know your builds are always welcome. Have you got anything else you can do for us on this Campaign?
 
Roger Bob. Best that it plays that way. :notworthy


Here you go Gunner!
I was trying to get some color and detail inside the cab before it gets buttoned up.
As I found out building the Ambulance, once you get done weathing and dirtying up the windows, there is not much you can realy see. Anyway, it is good practice and a chance to try some new techniques.

Move that Mojo to the front burner and turn up the heat! (y)

Bill

Chev_4.jpg
Chev_6.jpg

Chev_7.jpg
 
Cheers Bill - If I can pull off something 1/2 as good as that I'll be a happy camper!!
I love the way those colours all work together inside the cab. Awesome work :)
 
Being a bit backwards and all, I thought I'd start this one from the back :cheer:
My theory is I can detail the back with what limited time I have and (hopefully) inspire myself to build the cab/chassis to sit it on.
The tail gate can be hinged, but I doubt it would last more than 2 open/closed before it would be glued in position. The parts are attached to the sprue in typical Italeri fashion, which requires a wee bit of thought as to the best way to remove them without damage to the part - for finesse challenged modellers such as myself :S
025-1.jpg

This is the first time I have used a primer and hopefully it will speed up the paint process.
(I'm still a member of the hairy stick brigade)

027.jpg


Colour ? This photo shows how good I am at starting new kits :blush:
I am thinking of going with something about the shade of the LRDG Chev (Humbrol 121 Pale Stone), perhaps adding a touch of yellow to darken it up a bit?
Will play around in the paint box over the next day or so.
 
:geek Good start and i hope you find the Mojo to finnish this one!
I got the new release of this kit friday, it included the breda gun (now i have 2 of those, one came with the tamiya lrdg chevy!)
Can't wait to start building mine, i also have the gun tractor (almost the same kit)
:soldier
//Mats
 
Quick update - mojo has found the afterburner :laugh:
Chassis built and waiting for primer

007.jpg


th_006.jpg


Some figures are ready for primer and paint - I'm not sure who gets a ride untill it's done and see who fits in where

th_009.jpg


th_001-1.jpg


I have found the Mini Art figures dont like Tamiya Extra thin cement, perhaps I should be using C.A ?

I'll get a bit of painting done before I start building the cab.

Cheers for watching :)
 
Back
Top