
-
Modelers Alliance has updated the forum software on our website. We have migrated all post, content and user accounts but we could not migrate the passwords.
This requires that you manually reset your password.
Please click here, http://modelersalliance.org/forums/login to go to logon page and use the "Forgot your Password" option.
You are using an out of date browser. It may not display this or other websites correctly.
You should upgrade or use an alternative browser.
You should upgrade or use an alternative browser.
Bf 109G-2 Trop
- Thread starter ij001
- Start date
I'm impressed you got so many sessions in this week. ")
ij001
Well-known member
I'm impressed you got so many sessions in this week.
:hmmm Hmmmm, think I'd rather be running a course or two. The local Police training budget has been cut-back (again), hence I'm looking for something 'part-time' to run alongside the consultancy work just now.
More time in the man-cave is good, however gluing & painting bits of plastic doesn't pay the mortgage, unfortunately :coolio
Ian.
phantom II
Master at Arms
Nice build Ian . Really like that engine .
I've live in places that get dust storms. probably the only place you won't find dirt is inside a snow globe But I don't have one :idonno
Cheers, Christian B)
I've live in places that get dust storms. probably the only place you won't find dirt is inside a snow globe
But I don't have one :idonno Cheers, Christian B)
ij001
Well-known member
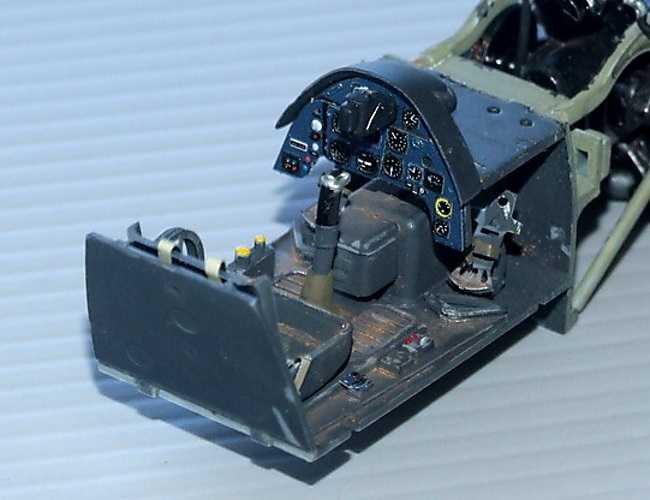
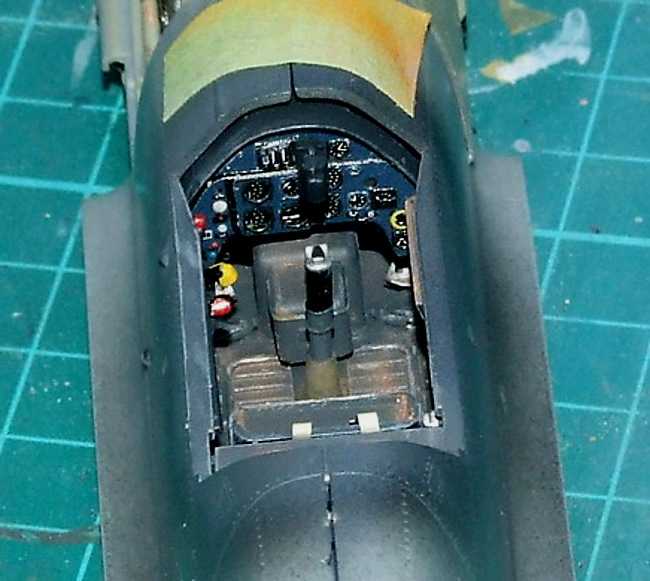
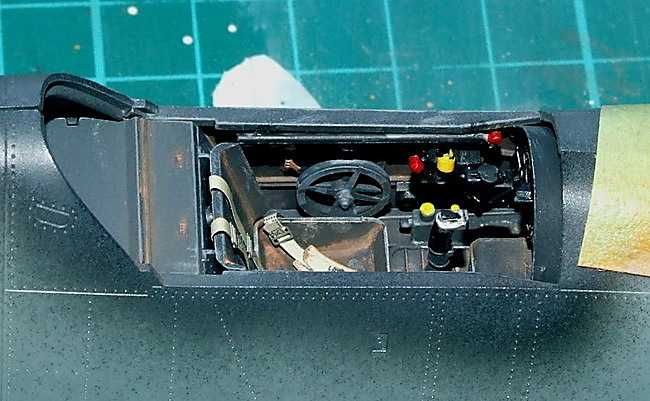
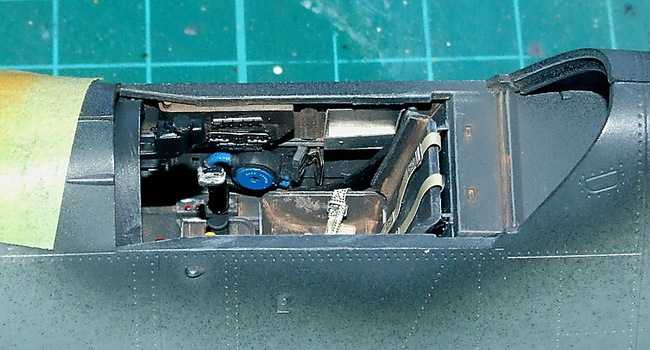
So I reckon most of you will have seen that the fuel line that runs along the right-hand sill isn't there. That's because it isn't in the kit - I'm pretty sure they used the pics of 'Black 6' from the old Aero Detail book, the fuel line is absent for whatever reason. It was pointed-out to me and TBH I wasn't too bothered, however then I thought... 'well I've worked hard to get it to this point, so why not...'
So here's what I've cobbled together, not pretty, but better (maybe ?) than nothing at all:
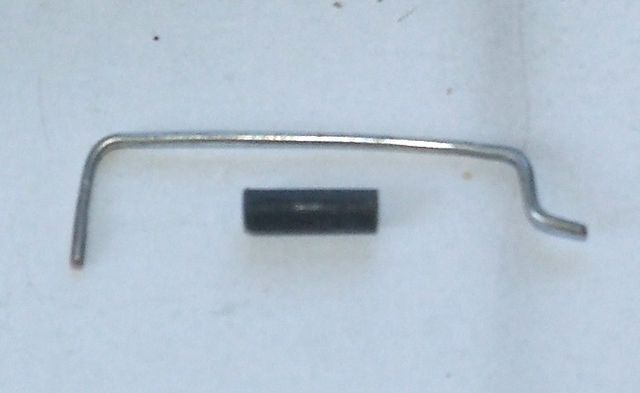

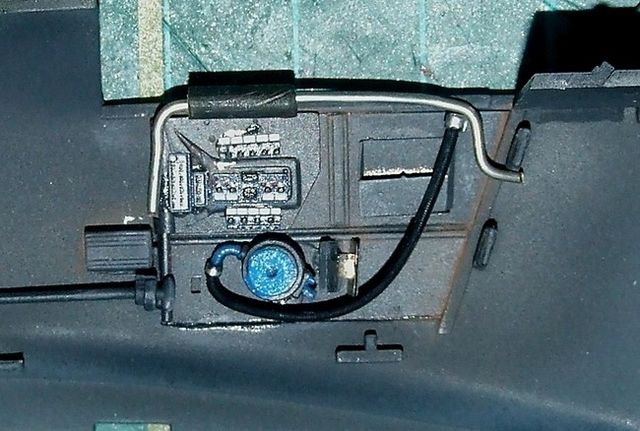
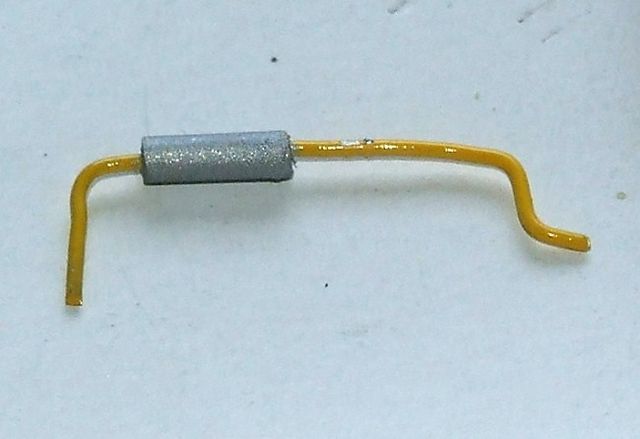
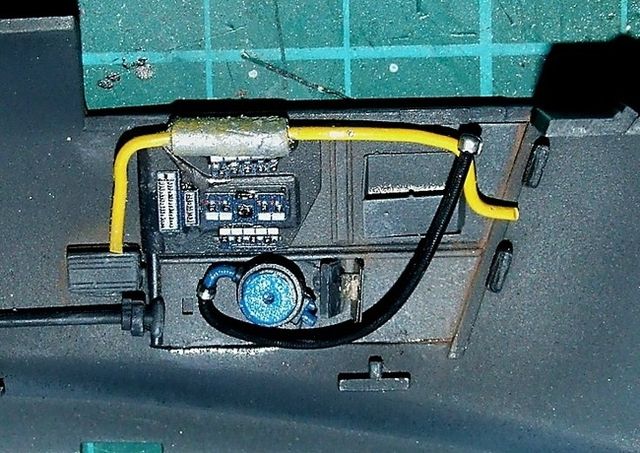
30amp fuse wire, an old 1:72 AIM-7 missile body, drilled through, the wire fed through then bent in to (rough) shape, test-fitted, painted and CA'd in to place. Like I said a wee bit rough'n ready but should look OK with the canopy opened later....
More progress pics in a minute, please stand-by.
Ian.
So here's what I've cobbled together, not pretty, but better (maybe ?) than nothing at all:


30amp fuse wire, an old 1:72 AIM-7 missile body, drilled through, the wire fed through then bent in to (rough) shape, test-fitted, painted and CA'd in to place. Like I said a wee bit rough'n ready but should look OK with the canopy opened later....
More progress pics in a minute, please stand-by.
Ian.
Works for me
ij001
Well-known member
Thanks boss :coolio
IP next, nothing special here, simply followed the Eduard instructions and it fitted like a glove - which is what it's supposed to do, right :hmmm
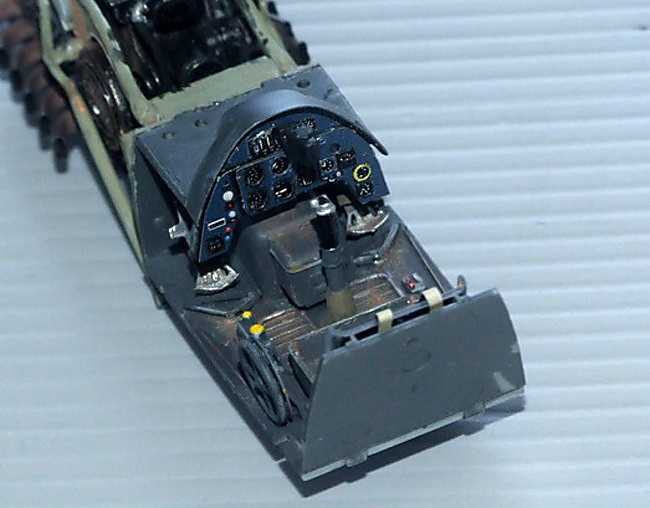
Still, better test it to make sure that it doesn't foul the fit of the side panels etc...
OK, that looks fine. So just add the twin MG17's in the cowl and ready to button-up the fuselage.
Ian.
IP next, nothing special here, simply followed the Eduard instructions and it fitted like a glove - which is what it's supposed to do, right :hmmm
Still, better test it to make sure that it doesn't foul the fit of the side panels etc...
OK, that looks fine. So just add the twin MG17's in the cowl and ready to button-up the fuselage.
Ian.
Wait, so where the fuel line go? Thought it ran on the rhs panel. 


Sherman 18
Master at Arms
Fuel line runs right next to the pilot? hmy:
Looking good Ian!
hmy: Looking good Ian!
Man that sounds scaryFuel line runs right next to the pilot?
Looking good Ian!
Looks great so far Ian
Oh there it is.
phantom II
Master at Arms
Nice job and good fix  Cheers, Christian B)
Cheers, Christian B)ij001
Well-known member
Wings today...
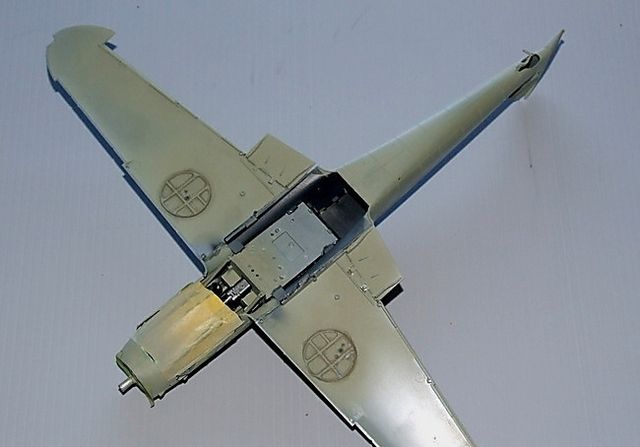
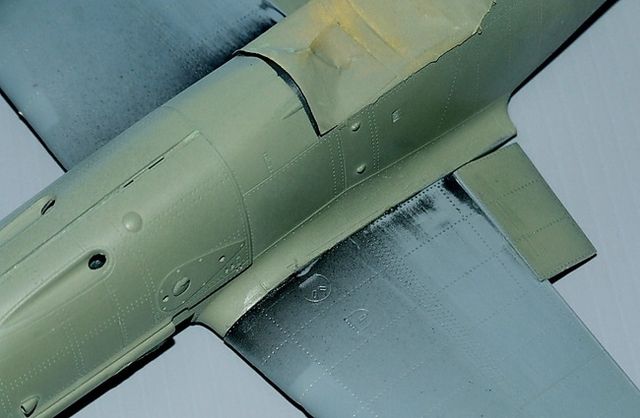
After a lot of test-fitting, I decided to ignore the construction sequence and therefore the 'wing root gap' issue by gluing the top wings directly to fuselage - again the fit was 'hand-in-a-glove' neat. Just a spot or two of 'Contaca' cement, let it sit in place for about five minutes then brush-in some 'Kiwi Weld' (a superb locally 'grown' product), from underneath which avoids those pesky glue bubbles we sometimes get on the these sort of joints.
Ian.


ij001
Well-known member
Using this photo as a reference, I dry-brushed a dull silver tone (Humbrol 56) over the prop blades, then went back over the leading edges and extreme tips to try and give that 'just burnished' look...
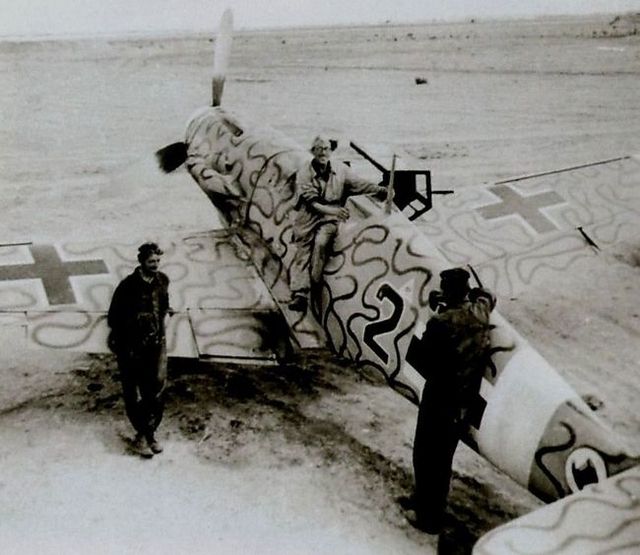
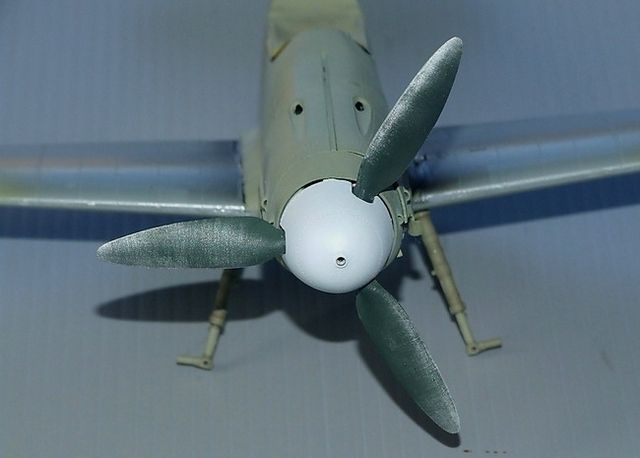
Not as extensive as in the photo, but then I'm doing a different machine from the same unit !! - would really appreciate some feedback from folks, let me know what you think, please.
Ian.


Not as extensive as in the photo, but then I'm doing a different machine from the same unit !! - would really appreciate some feedback from folks, let me know what you think, please.
Ian.
ij001
Well-known member
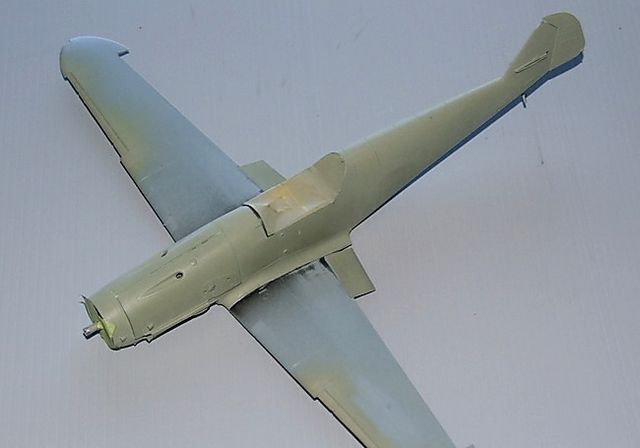
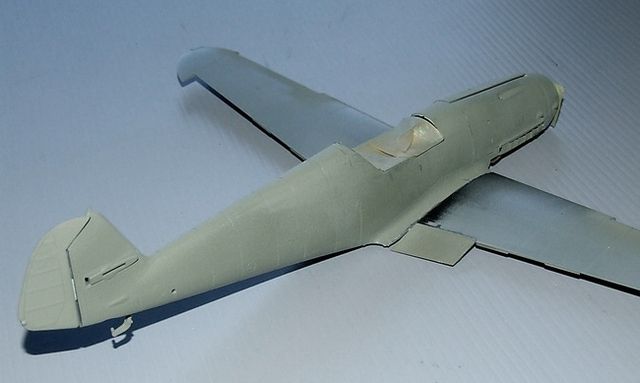
Finishing this update with two quick pics with the undercarriage legs just pushed in to place (apologise for the lack of quality in the first pic, but you get the idea). Next session will be to rub-back the overall RLM02 paintwork (Lifecolour), then mask the canopies and start the pre-shading.
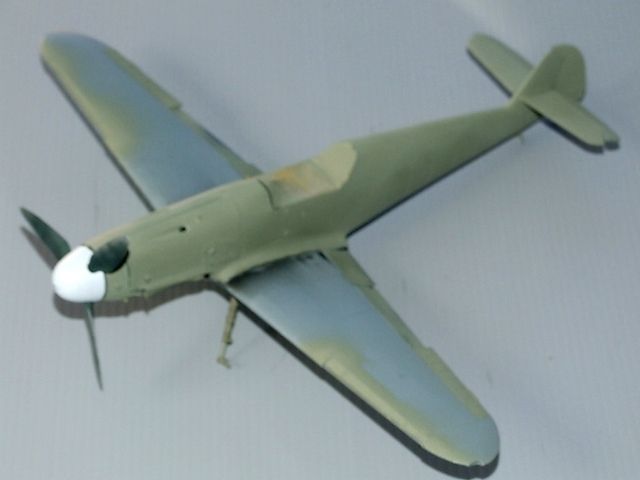
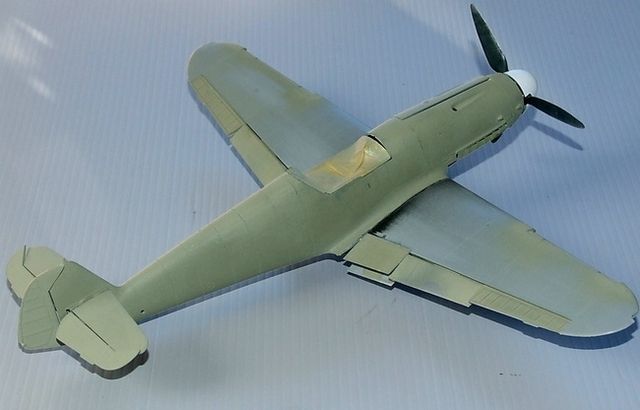
As ever thanks for taking the time to look and/or comment, more next week.
AFN
Ian.


As ever thanks for taking the time to look and/or comment, more next week.
AFN
Ian.