• Modelers Alliance has updated the forum software on our website. We have migrated all post, content and user accounts but we could not migrate the passwords.
    This requires that you manually reset your password.
    Please click here, http://modelersalliance.org/forums/login to go to logon page and use the "Forgot your Password" option.

Antonov An-26

uros

Active member
Hi!
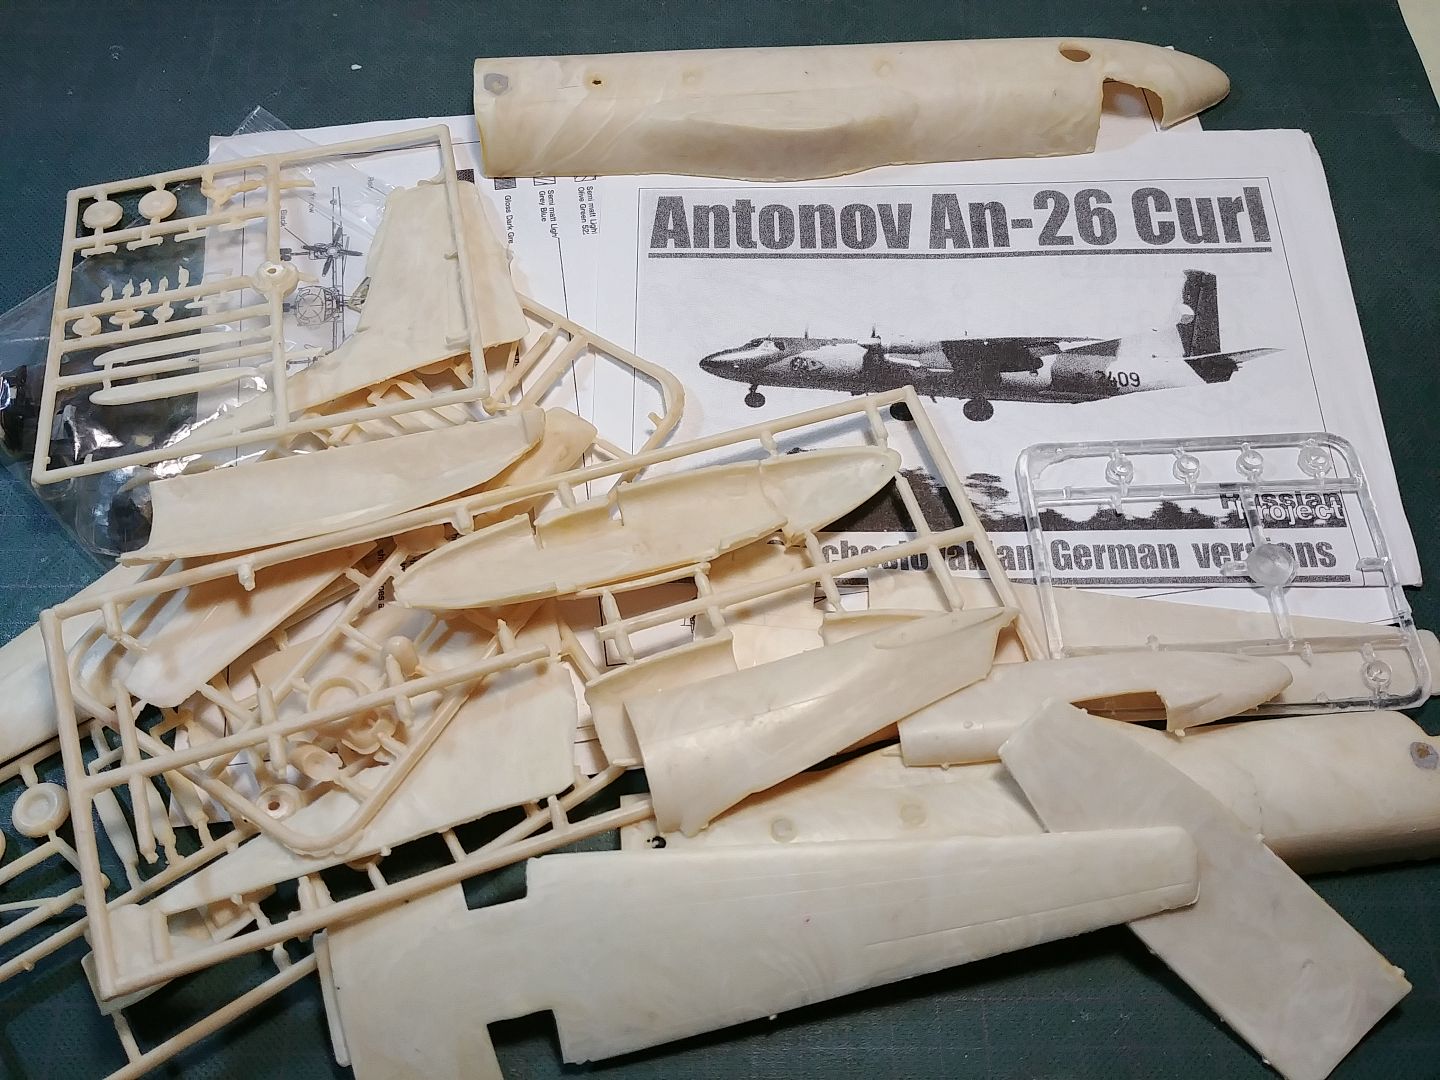
With Zetor finished, I sterted with tihs one. It will be a "quick" build. At least I hope so. Model is from Russian Project, 1/72nd scale. Cockpit was already started by previous owner, so I striped all the paint and started from begining.
This is all I have for now, hopefuly mor will follow soon! Oh, it will be finished in Yugoslav markings.
20180721_190604_zpsombyq7ew.jpg


Thanks for looking in!
 
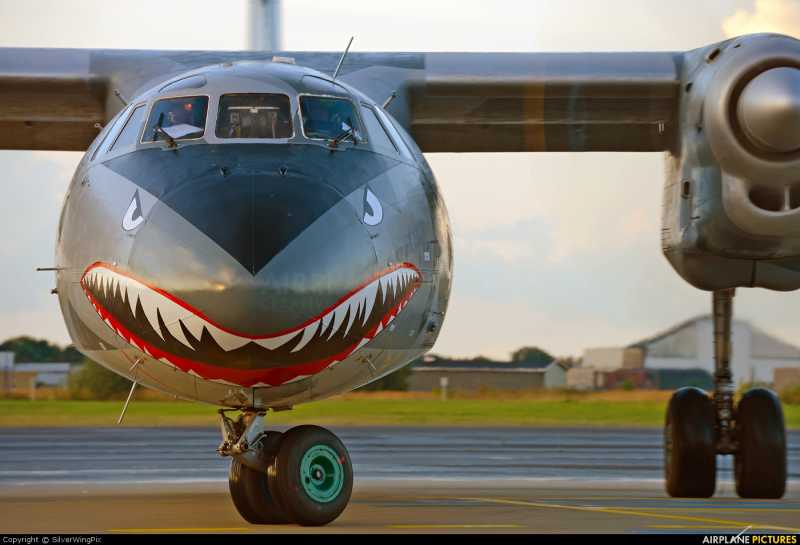
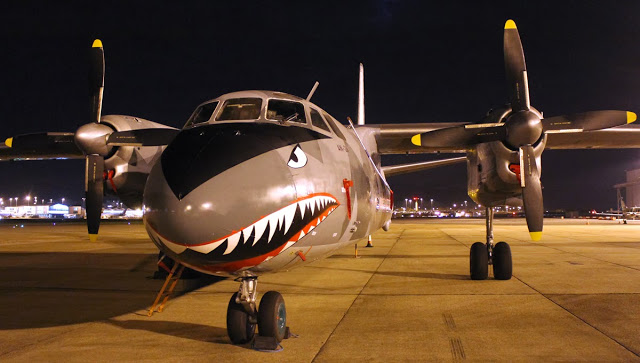
Which markings? Need suggestions? not that my choice would be a surprise...

hfb32df6.jpg


h5256a5e.jpg


h9d9e1c3.jpg


hc03a347.jpg


h60097ad.jpg


Regards,
 
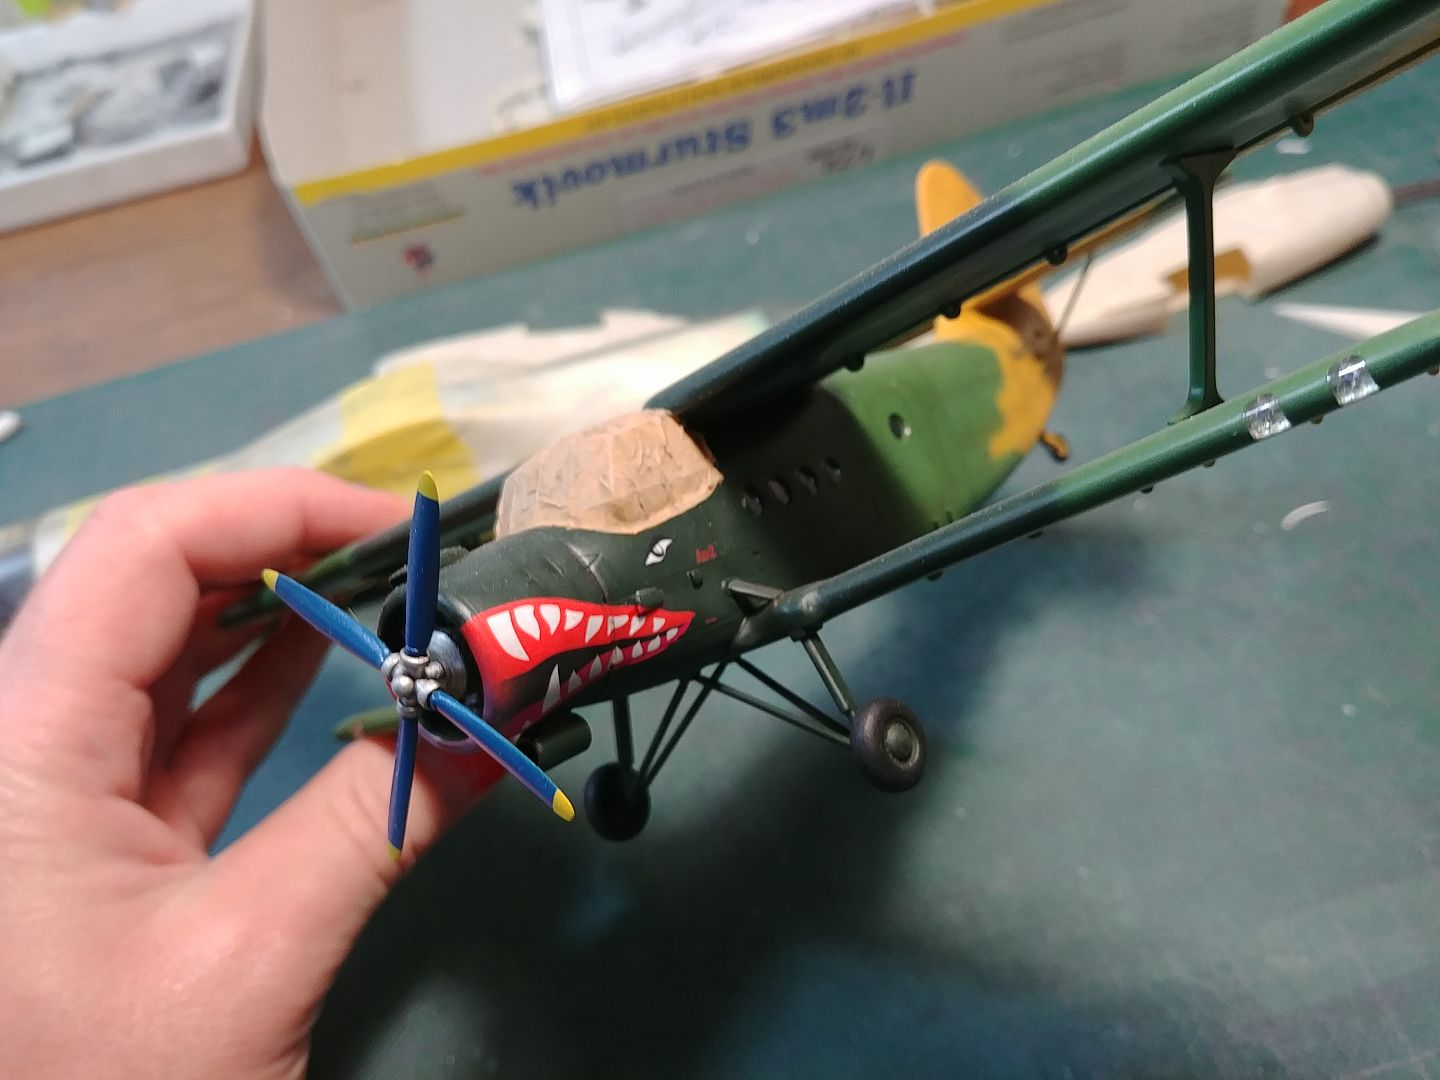
Saul, theese markings look tempting! I've already decided which one I will do. Kits decals are useless, so I will use some generic yugoslav markings that I have. I do have another Anton with sharkmouth in the works...
20180724_192144_zpsjpgmljps.jpg

I'll show some pics when it's finished.

As promised, some progress photos...
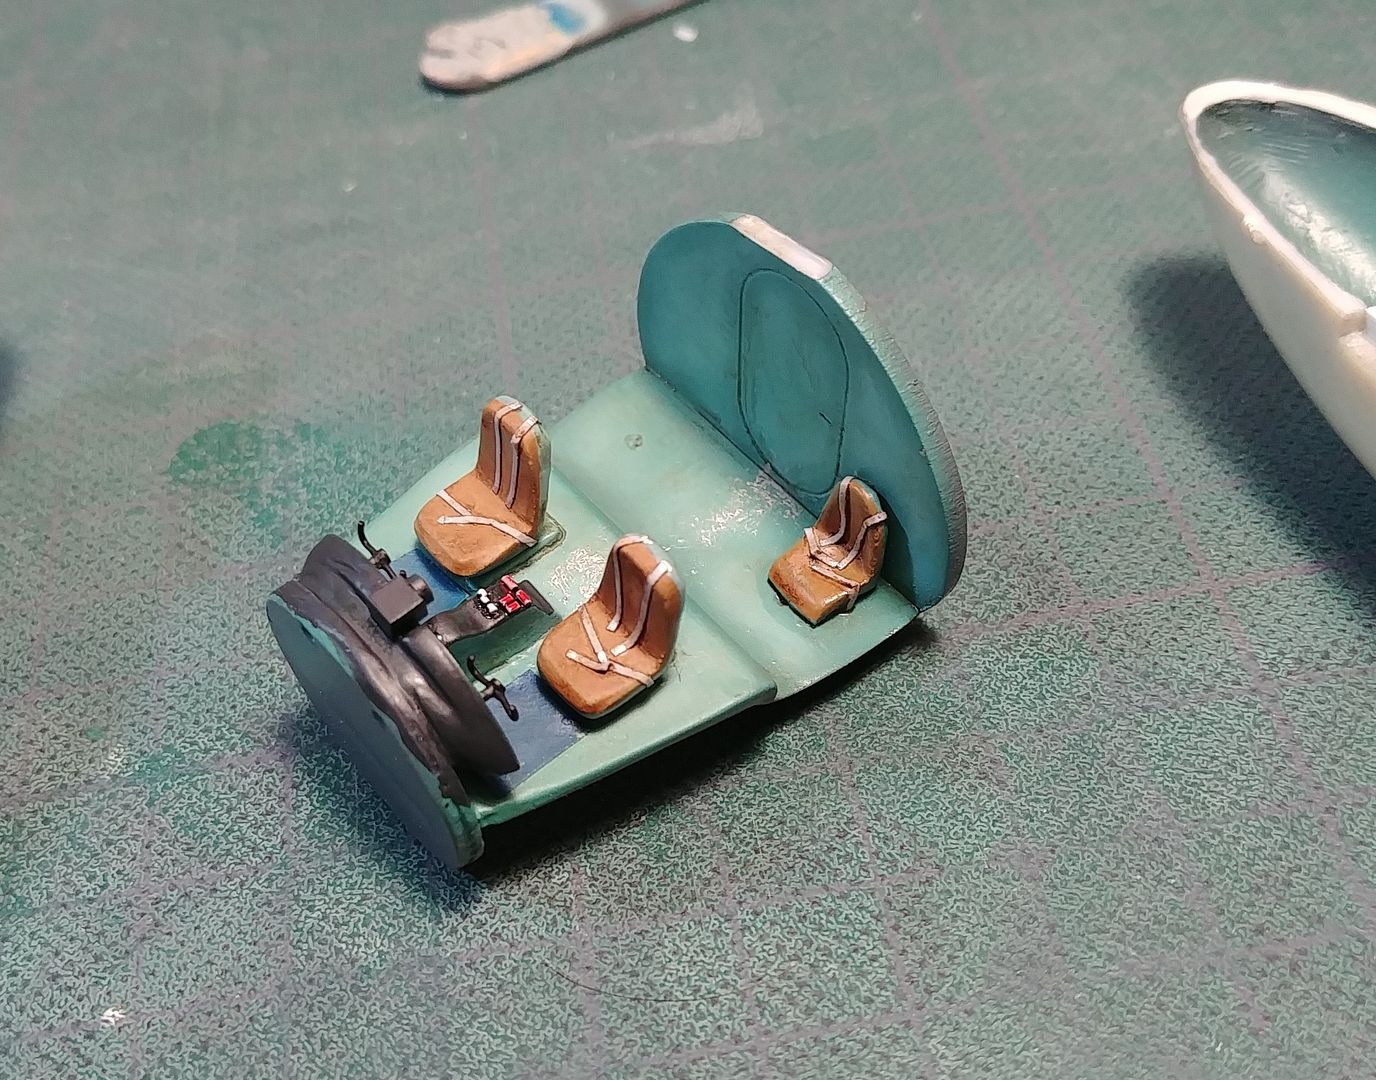
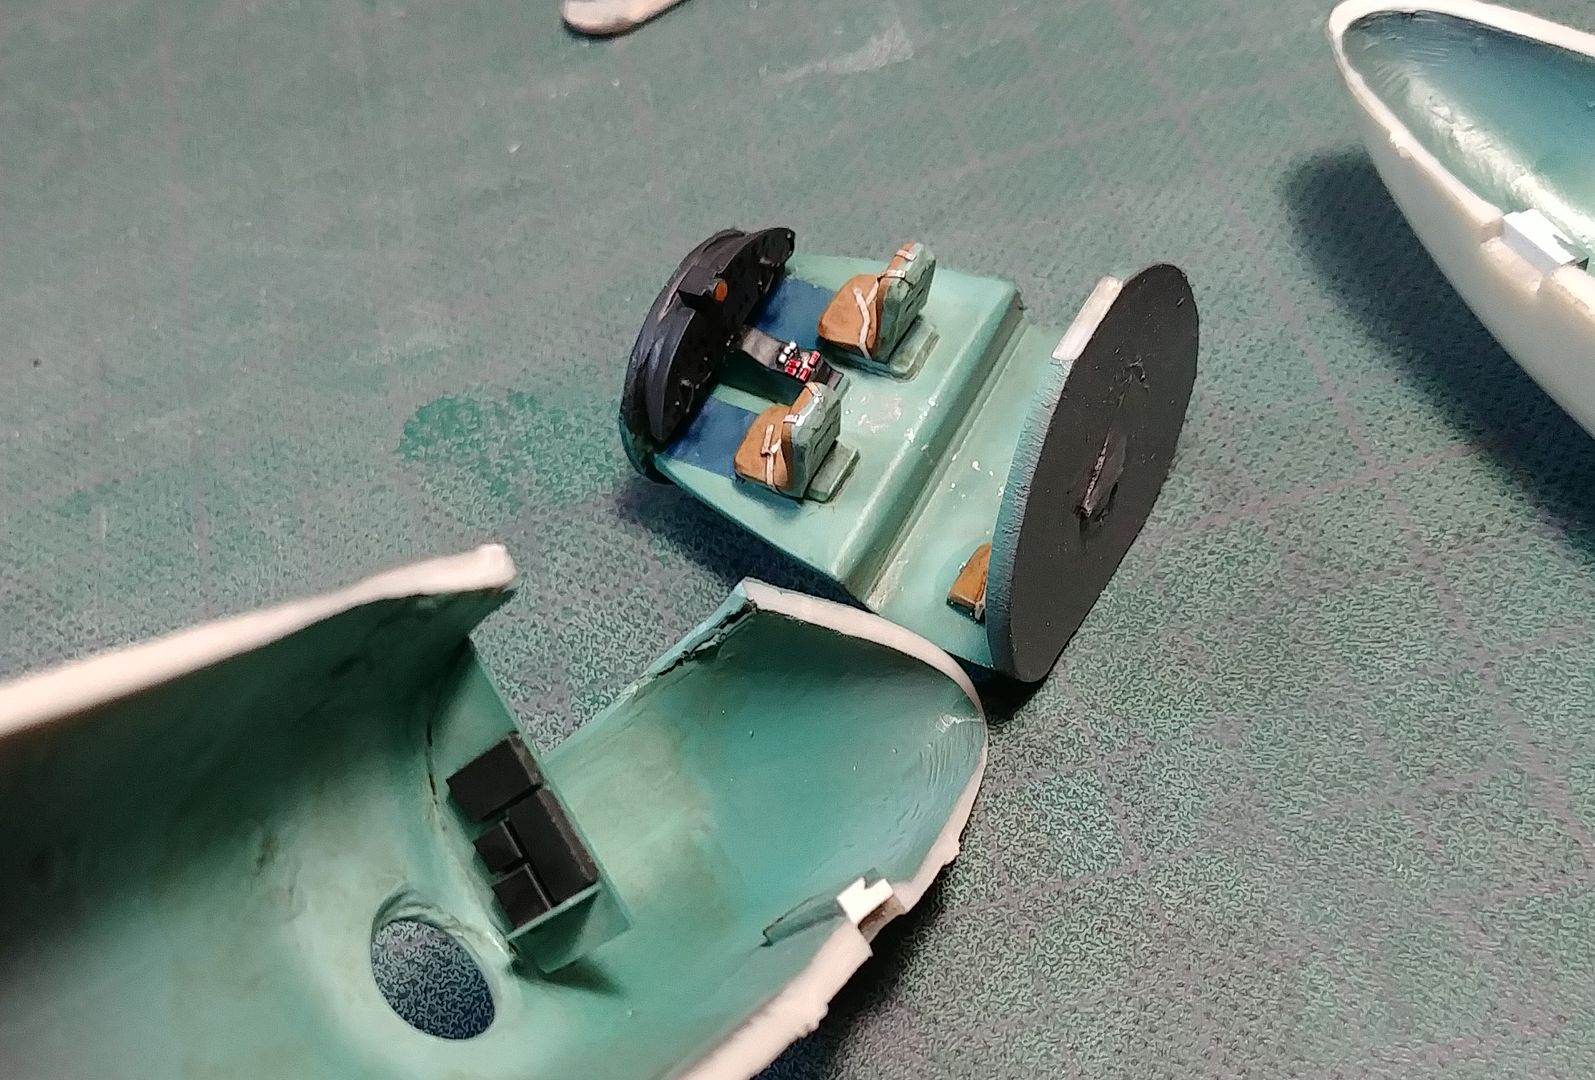
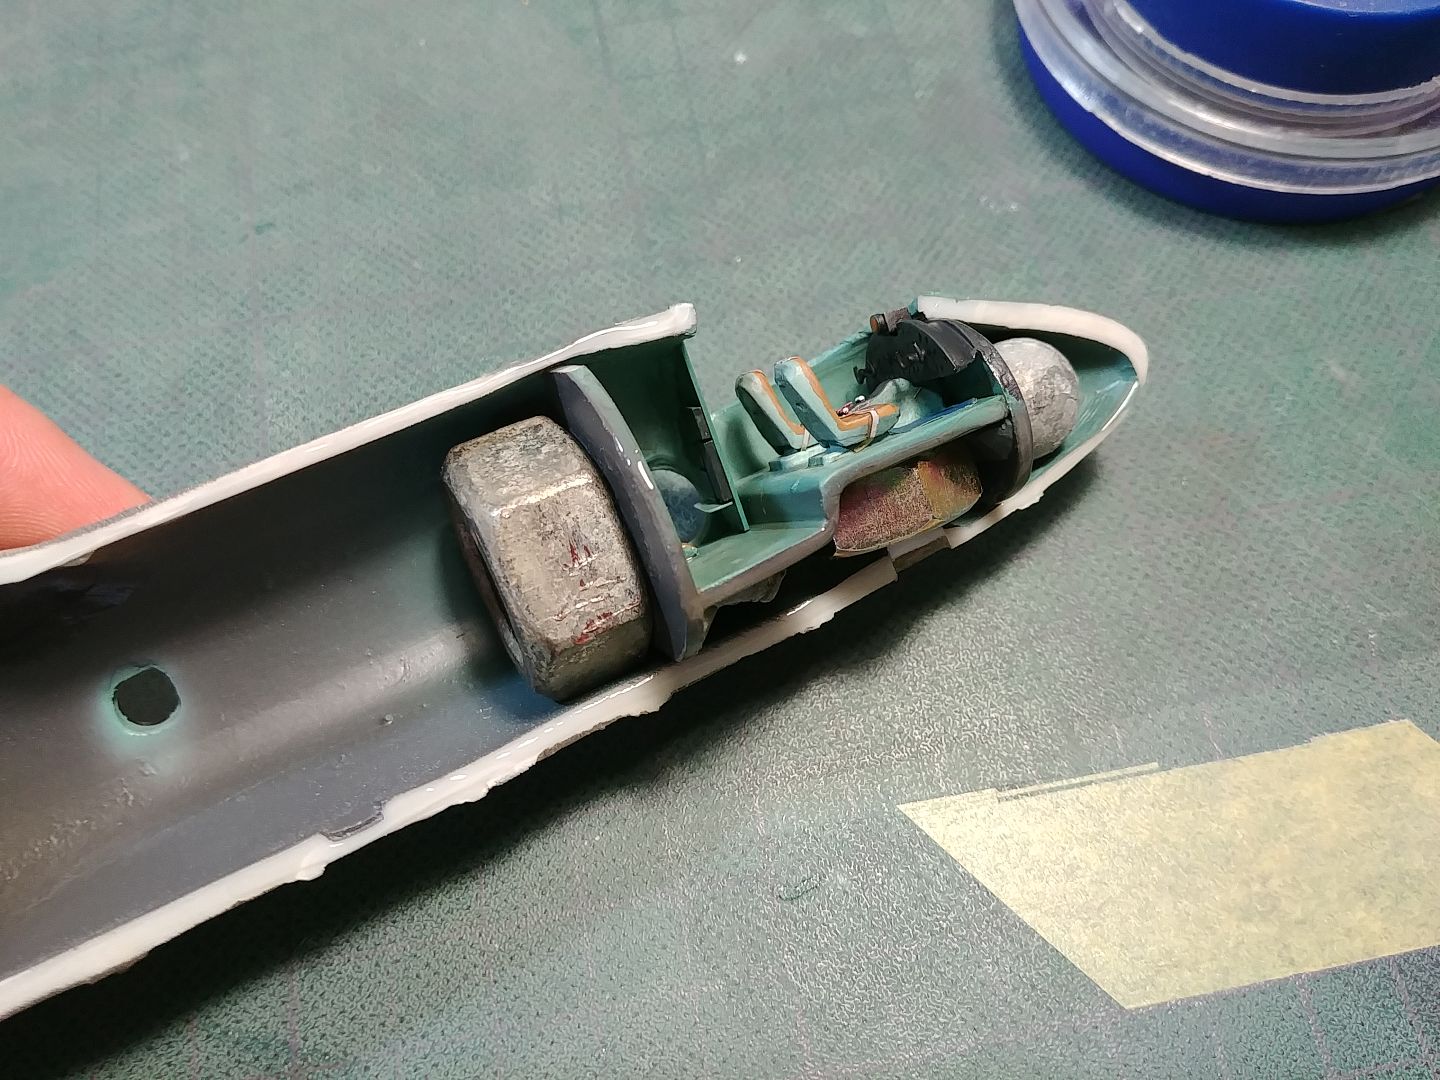
Cockpit is done. I didn't want to spend too much time building it as much of it won't be seen. It's a quickbuild anyway :)
20180724_180613_zpsgbjahv1c.jpg
20180724_180626_zpsy3j72y4v.jpg

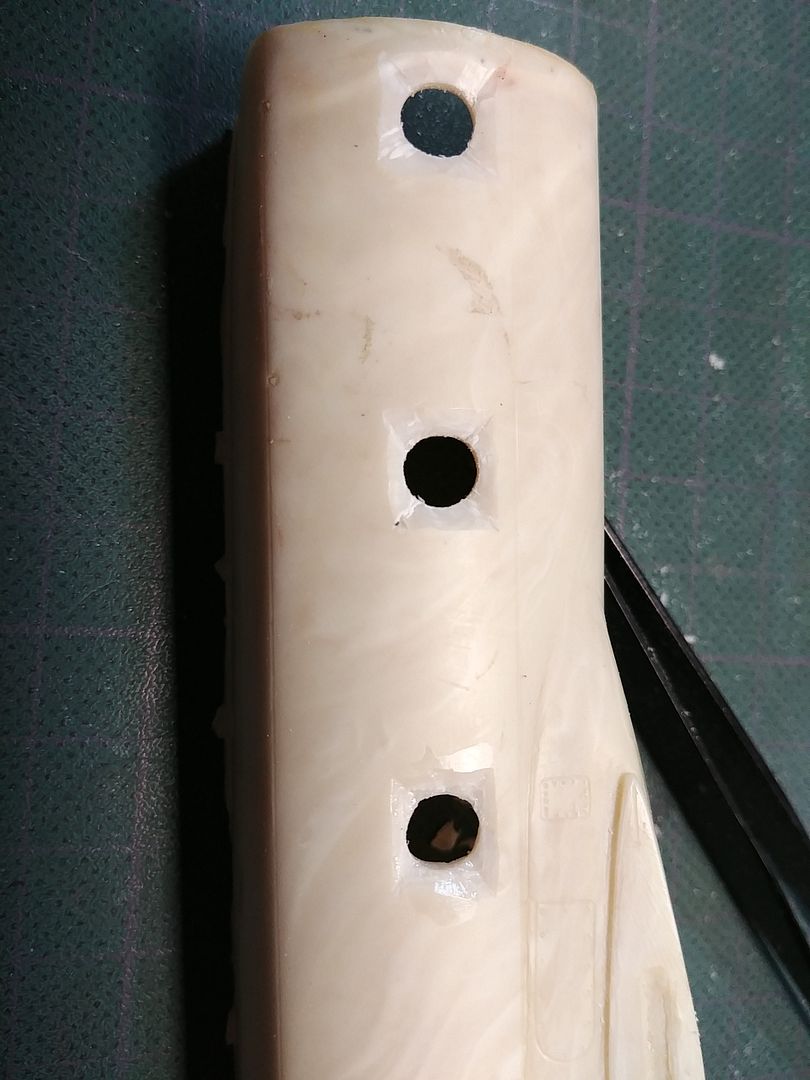
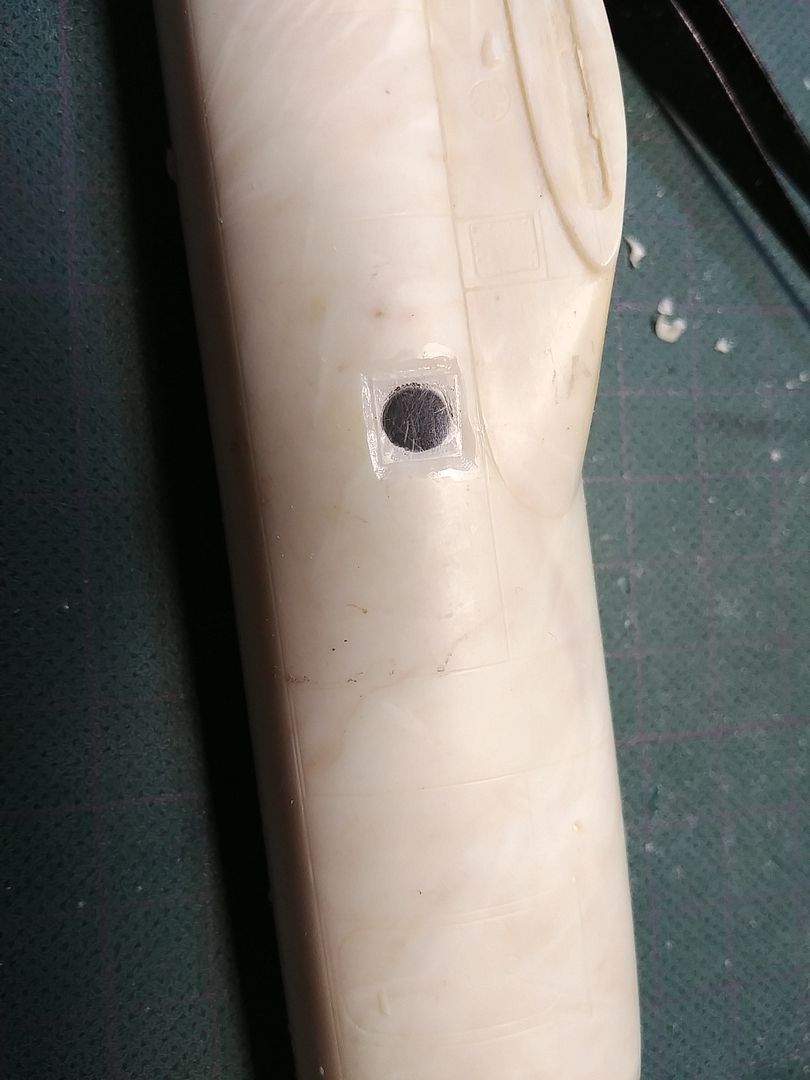
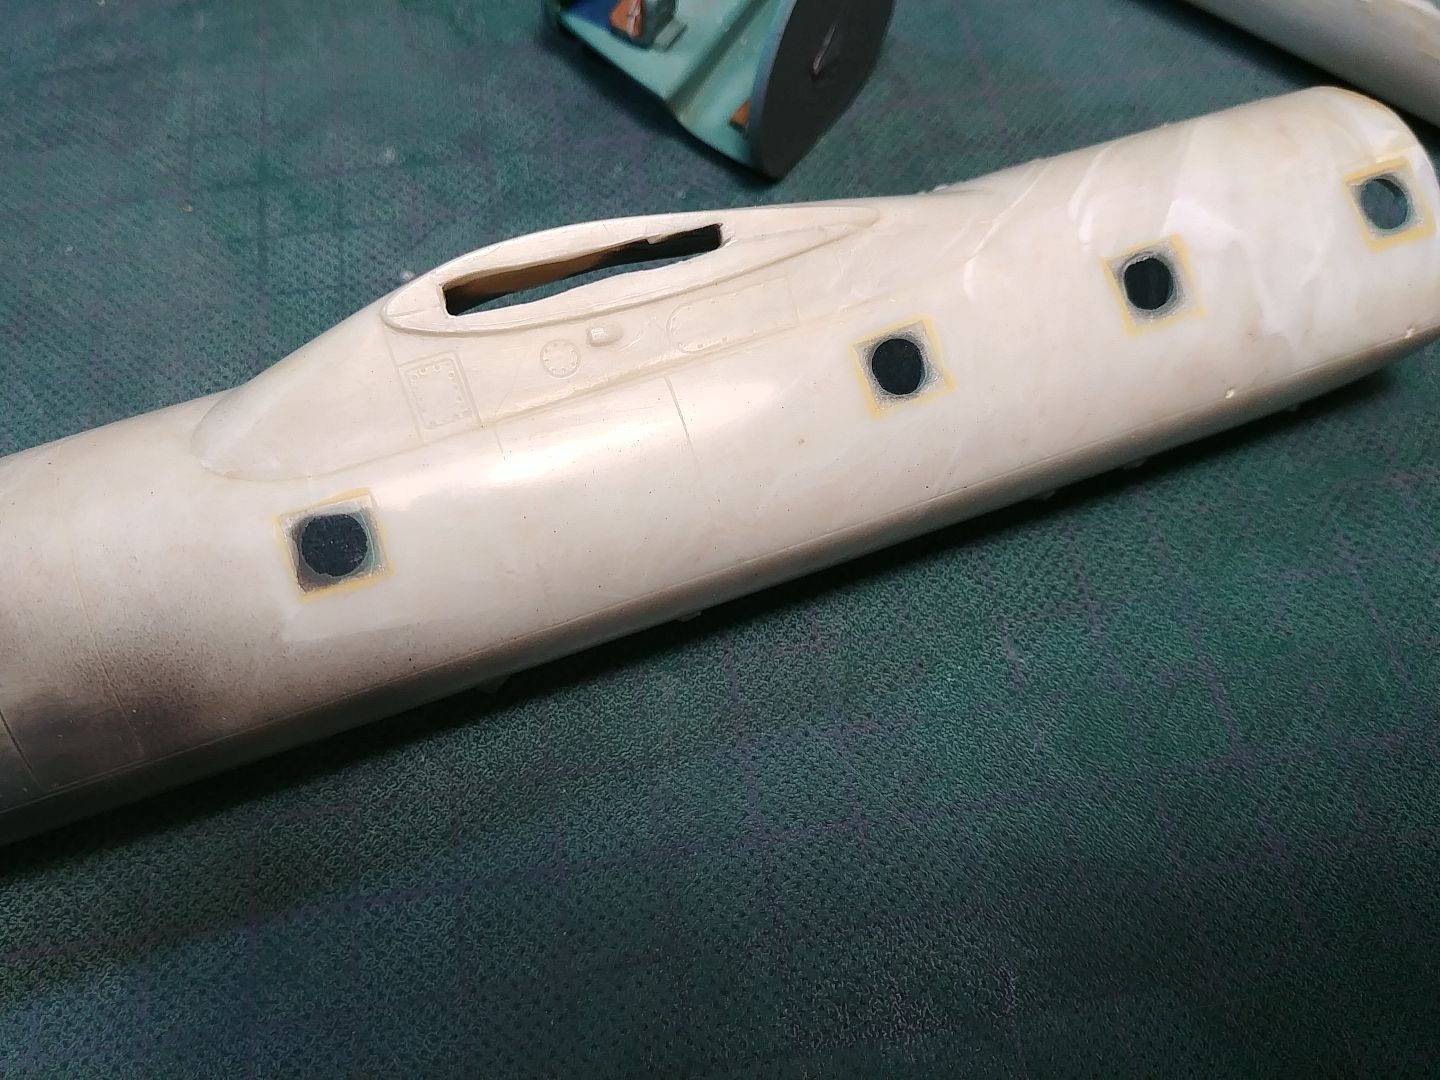
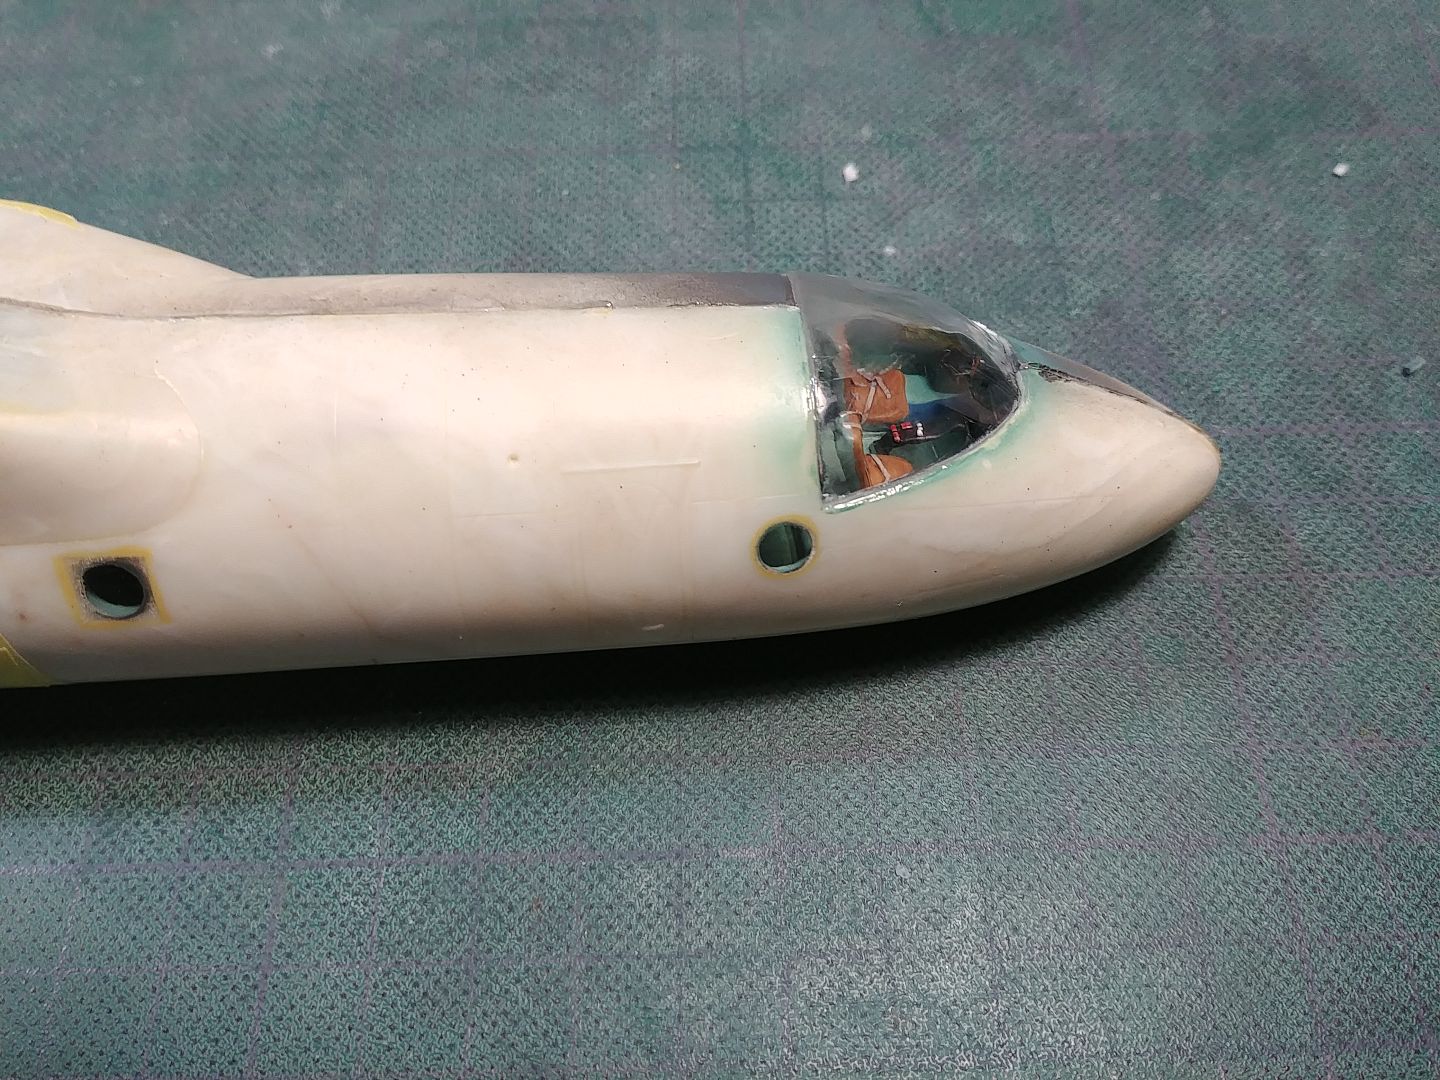
Kits transprent parts for cabin windows are really bad, so I made new ones.
I enlarged holes and inserted transparent styrene.
20180722_165126_zpsav3o0p6a.jpg

20180722_165138_zpsssykogir.jpg

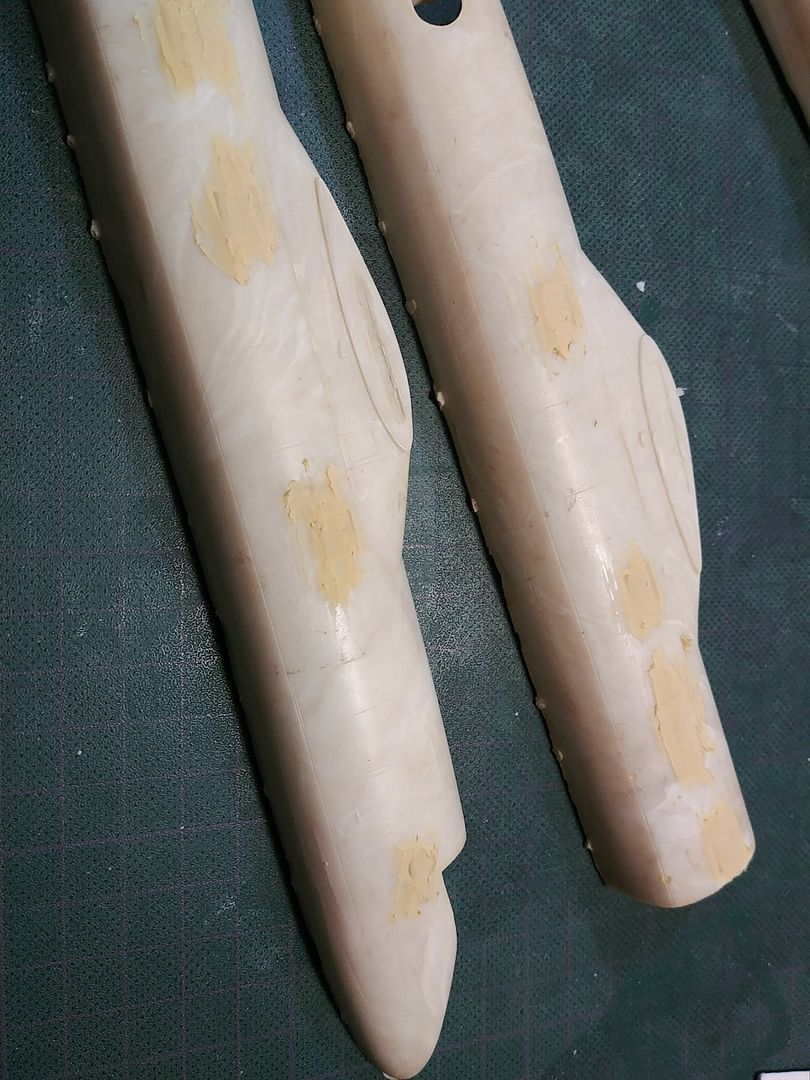
Gaps filled with tamiya epoxy putty.
20180722_171306_zpsodnzn3js.jpg

And sanded and polished.
20180724_180714_zpskjqbiozx.jpg

With that, I was ready to close fuselage halves. Before that, I added some weight in the nose.
20180724_181325_zpsozhsitlt.jpg

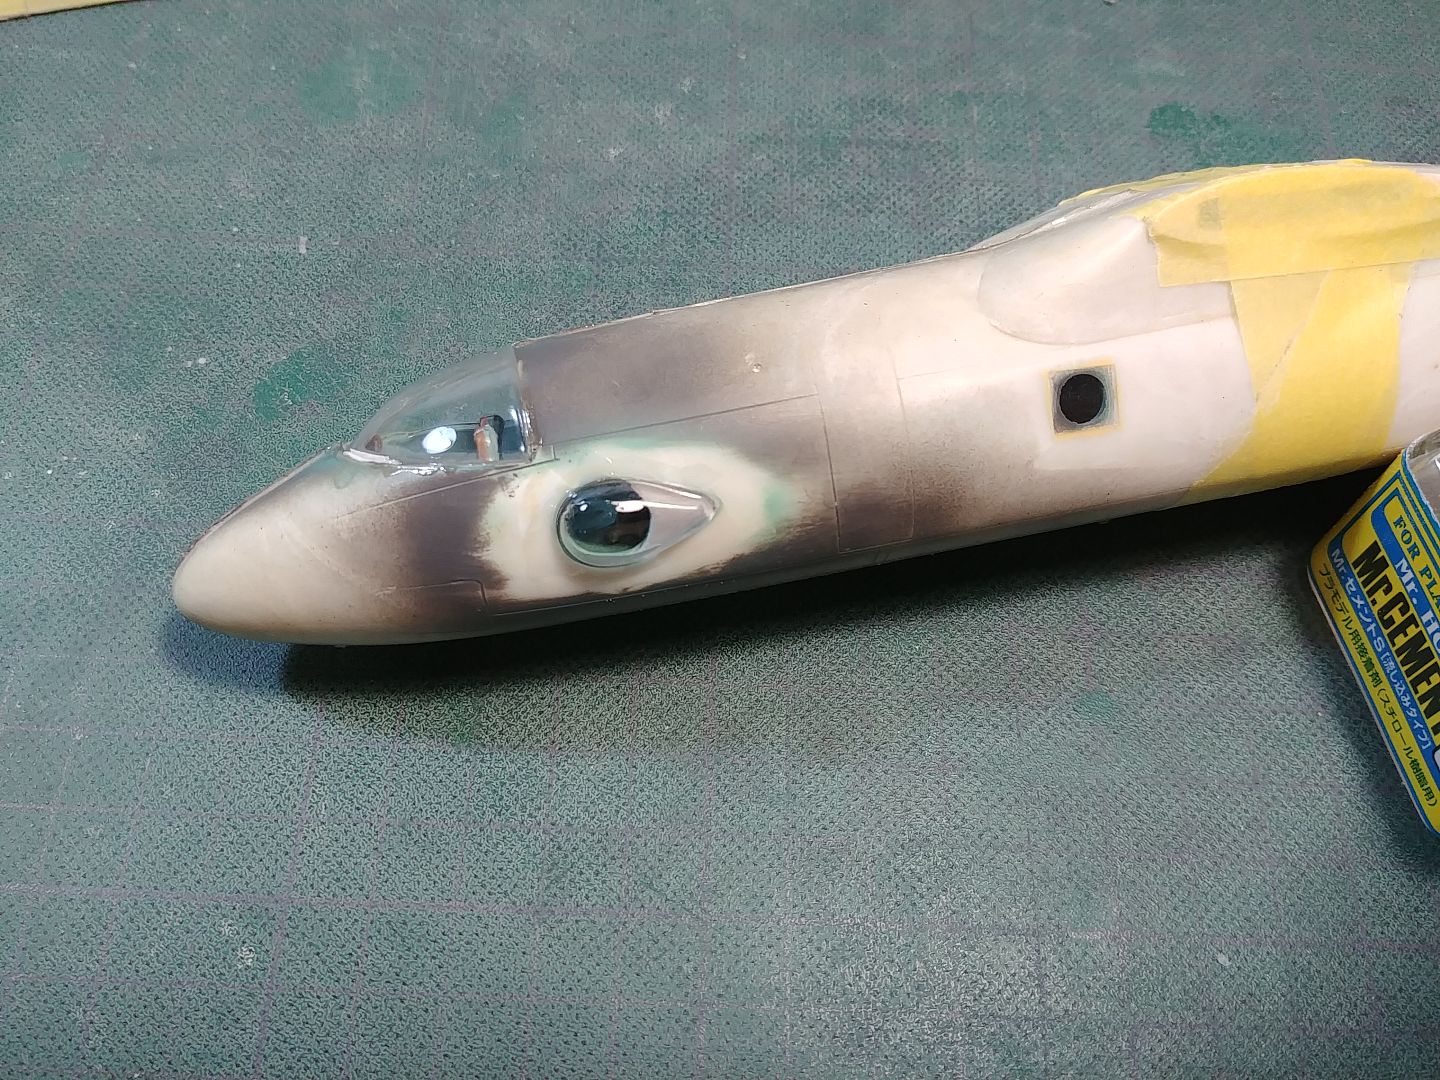
I've also polished cockpit transpret part and side blister for navigator.
20180724_191934_zpsi8vry1li.jpg
20180724_192009_zpsivy2tn4m.jpg

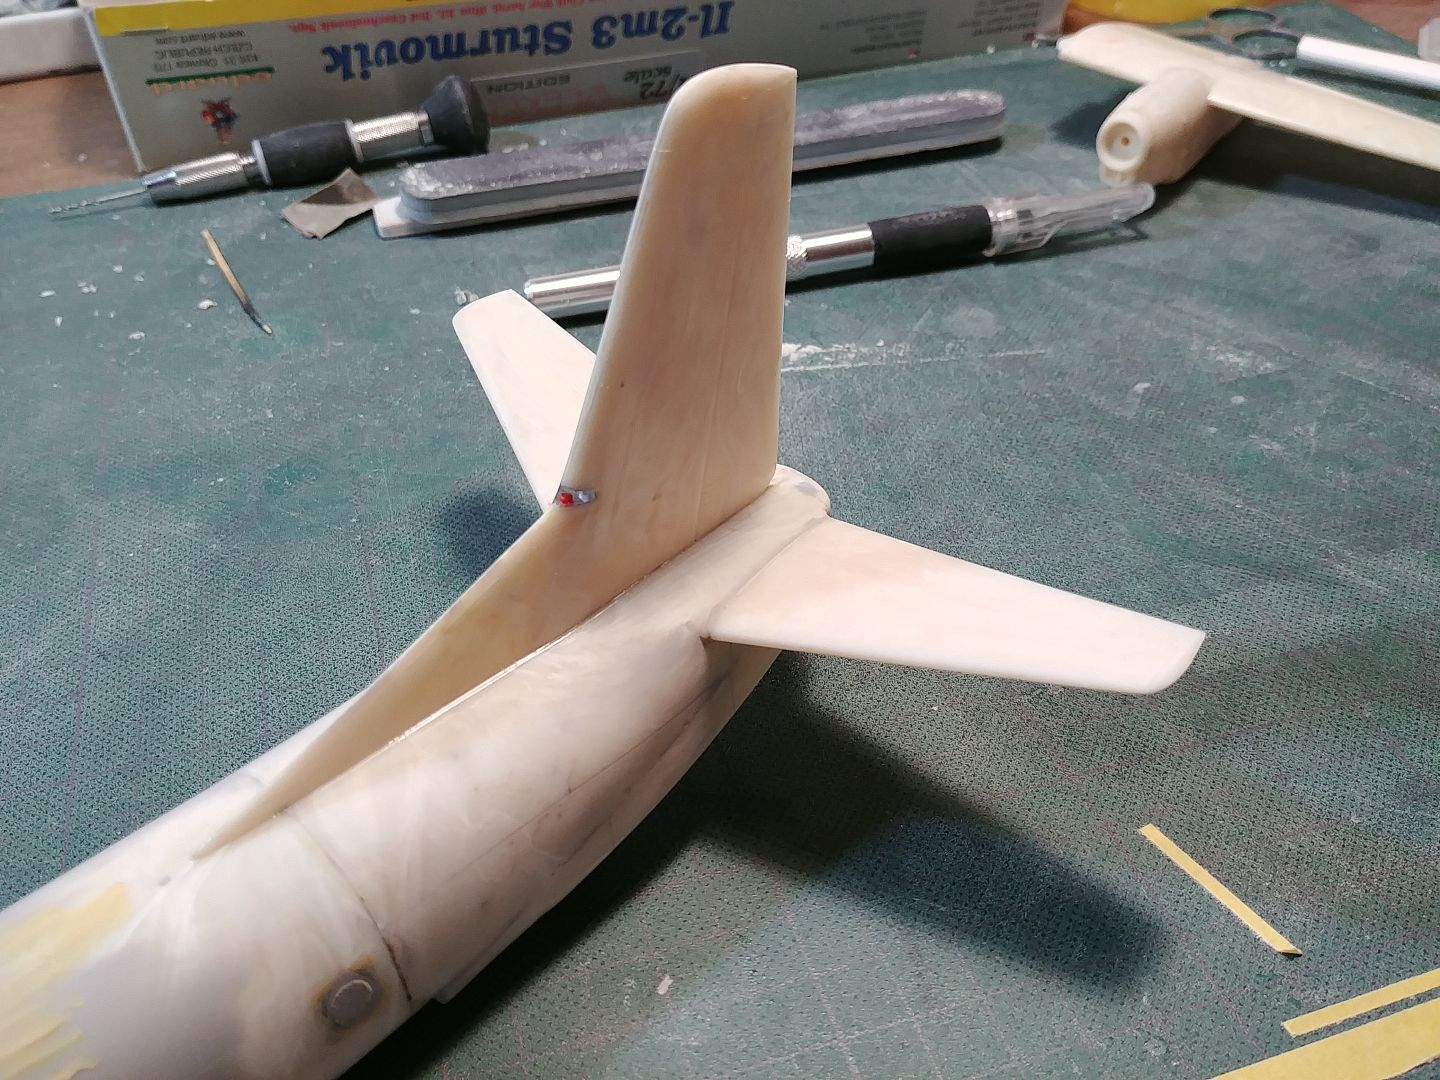
Tail piece is also glued on.
20180724_191942_zpsjdtndypu.jpg
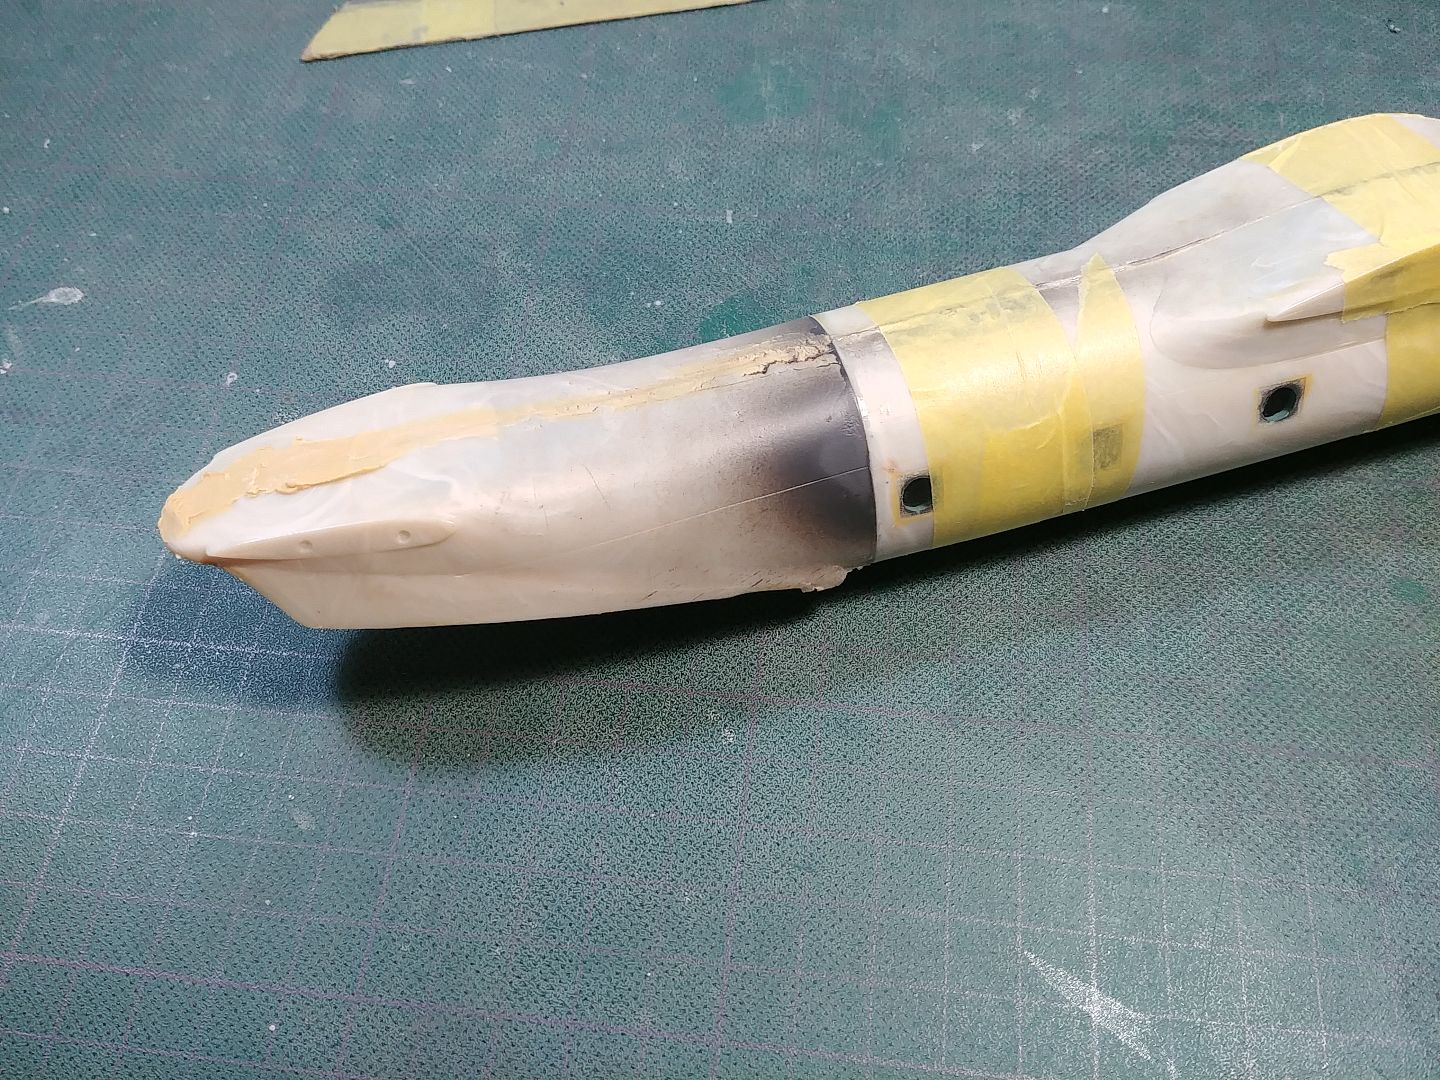
Now I need to wait for glue to dry fill al the gaps. then I see a lot of sanding in my future.

Thanks for looking in!
 
That is one rough looking kit to start with Uros. Looks like you are going to turn it into the silk purse from the turd it is.

thumbsup.gif
thumbsup.gif
 
So you putty over the clear parts and sanded them out to clear again? You guys amaze me how you work with the clear stuff so well. I can't even keep them clean around here. :notworthy
 
Thanks guys! Heavens Eagle, this kit needs some love to be built, but really isn't that bad. Also, polishing clear parts after sanding is not as dificoult as it sounds. Just takes some time.

I'm kepping it simple with this one, so progress pretty fast.
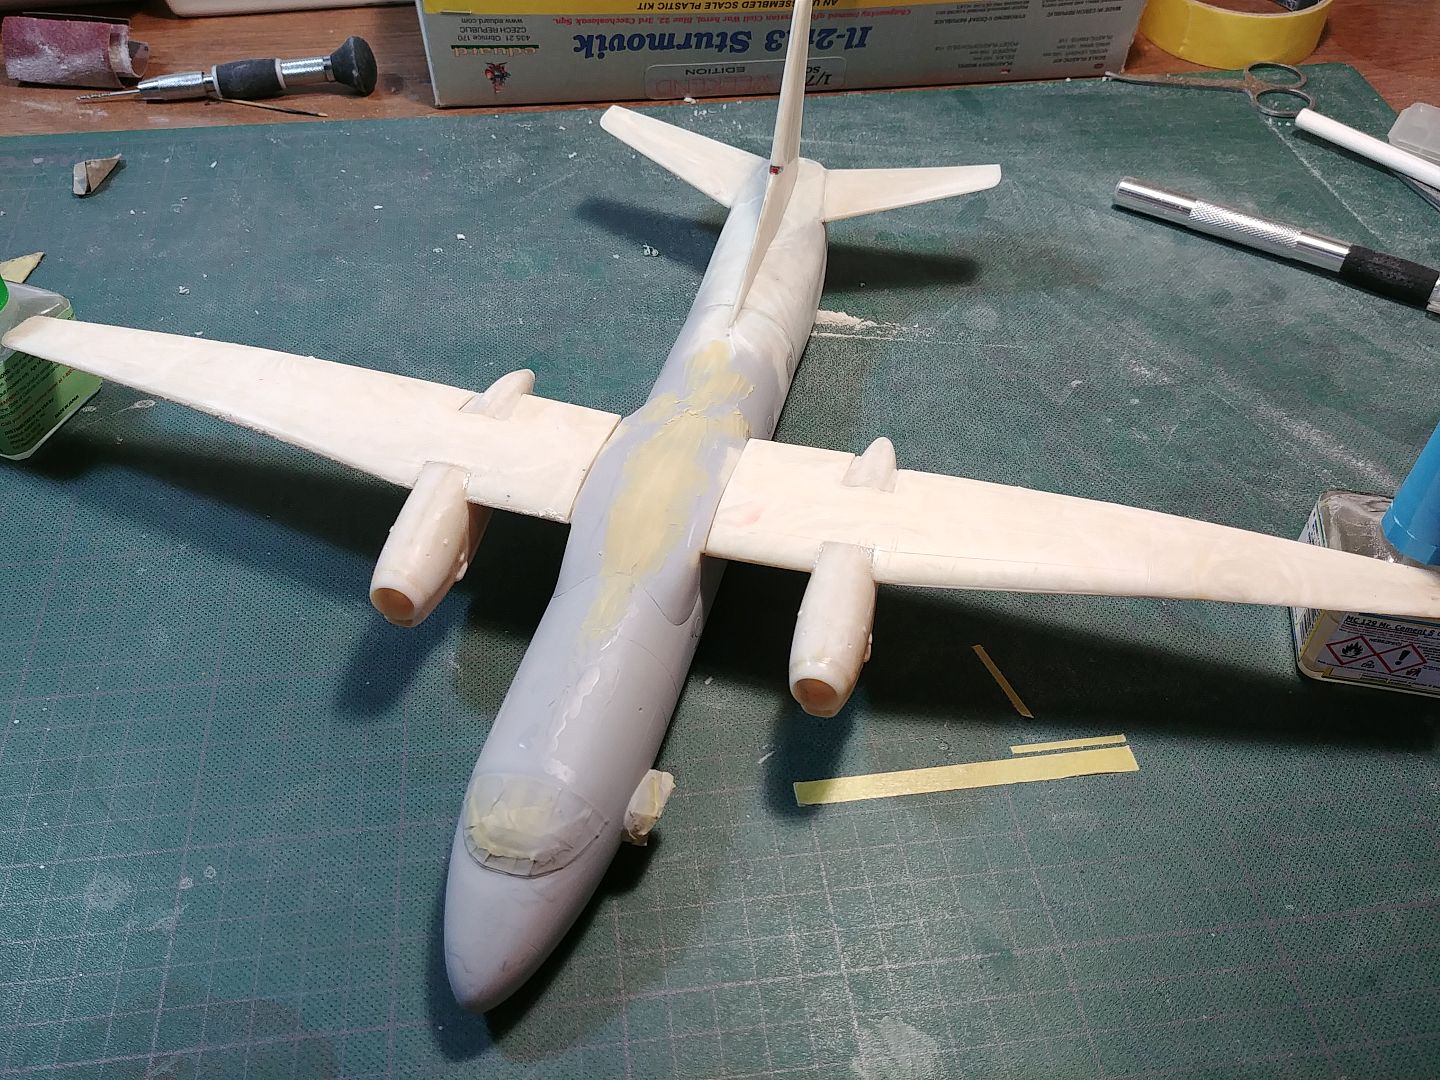
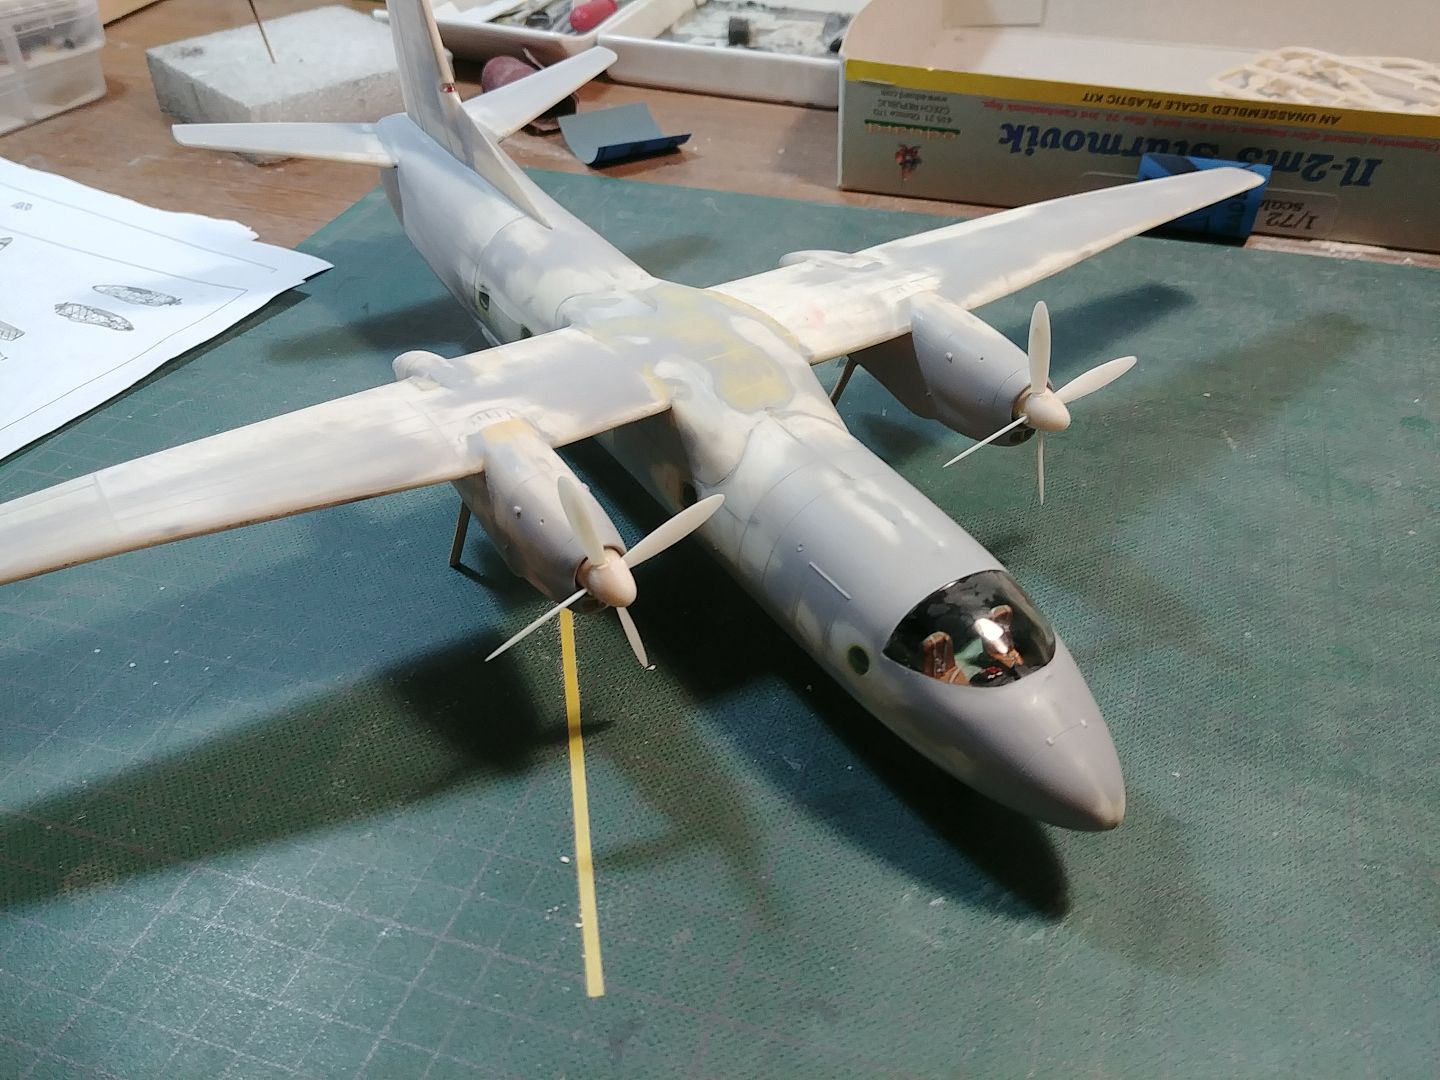
I sprayed a coat of primer on the fuselage to se where I'm at. It has revealed some nice panel lines, unforunately some of them were lost during sanding. I started with rescribing and also glued tail pieces on.
20180728_190312_zpssulsct6e.jpg

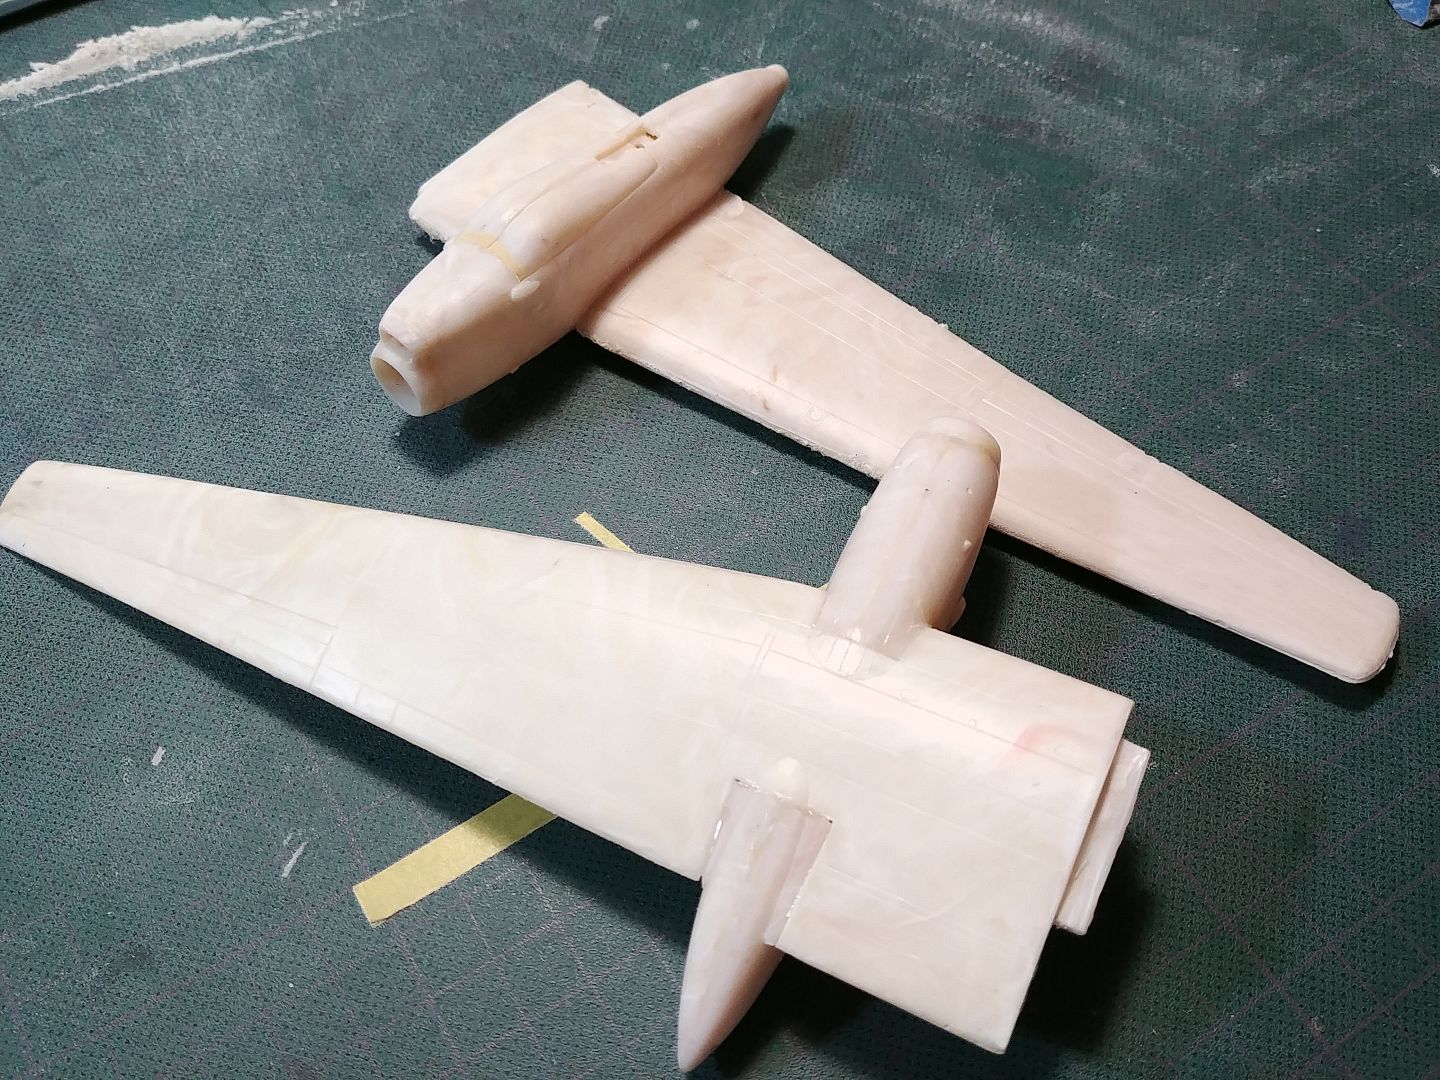
Engine naceles are also asembled, rescribed and glued to wings.
20180728_190339_zpsyvax6axp.jpg

Still needs a lot of filling and sanding, but this one might be finished soon.
20180728_190449_zpsflninee8.jpg


Thanks for looking in!
 
Thanks guys! Here is this weeks progress.
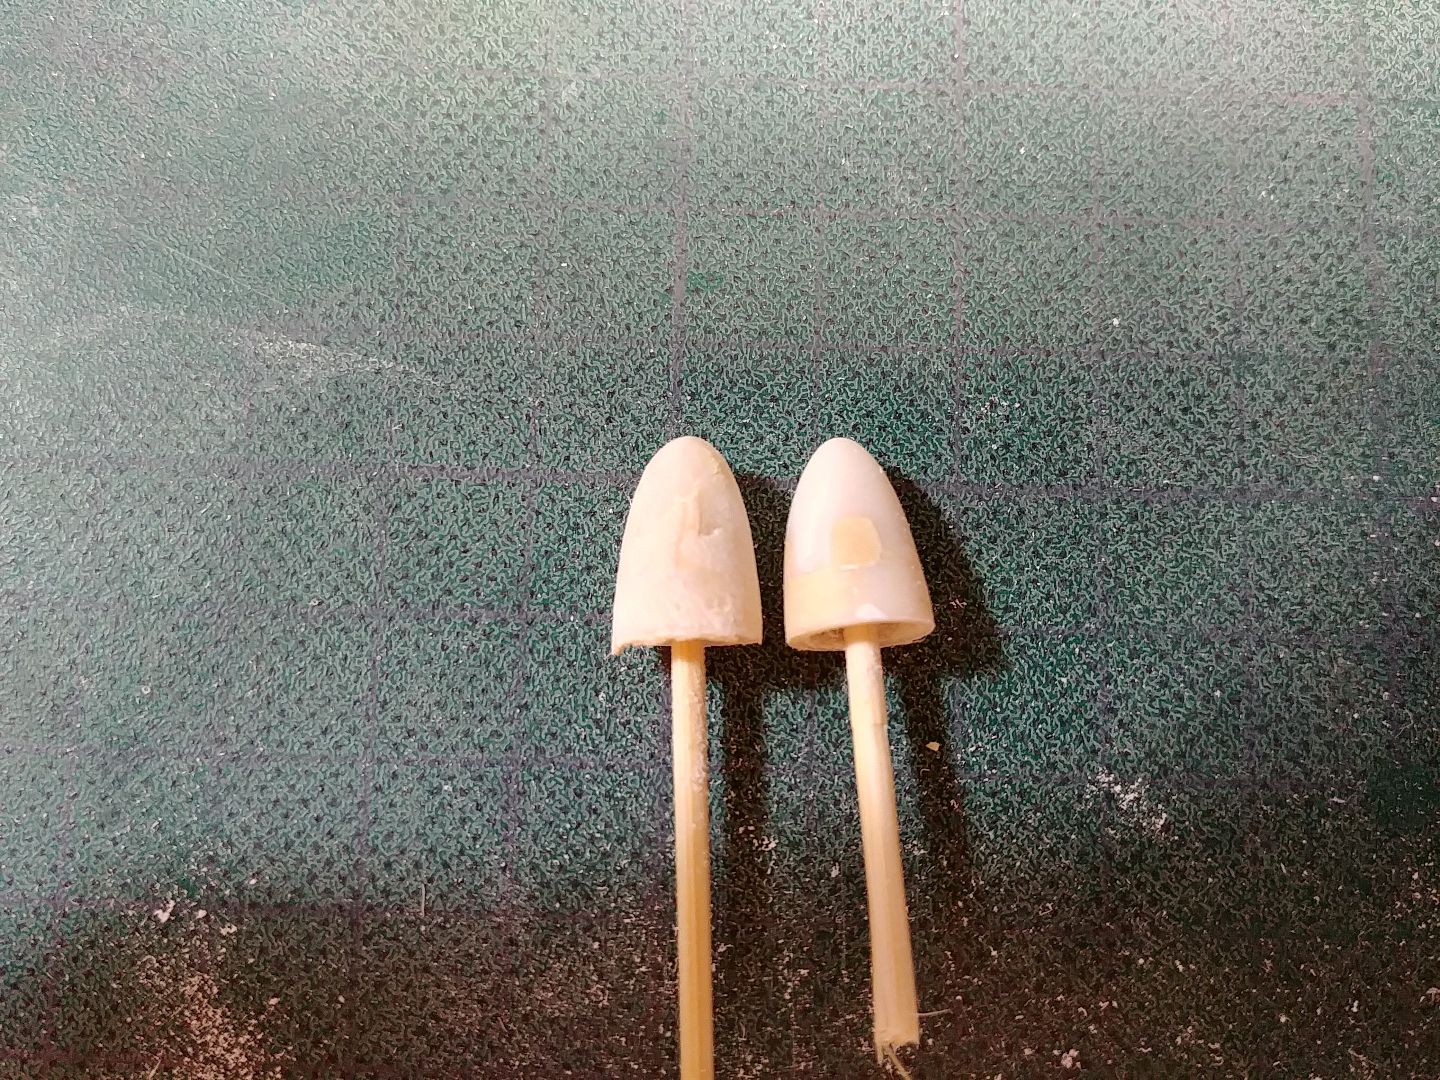
I focused on propelers, while everything was drying. Prop cones are made of two pieces, which did not fit together at all. I glued them together best I could and filled everything with epoxy putty. When dry I inserted them into a drill and shaped them.
left one is roughly shaped, right one is finished.
20180801_132240_zpsu8rfsoug.jpg

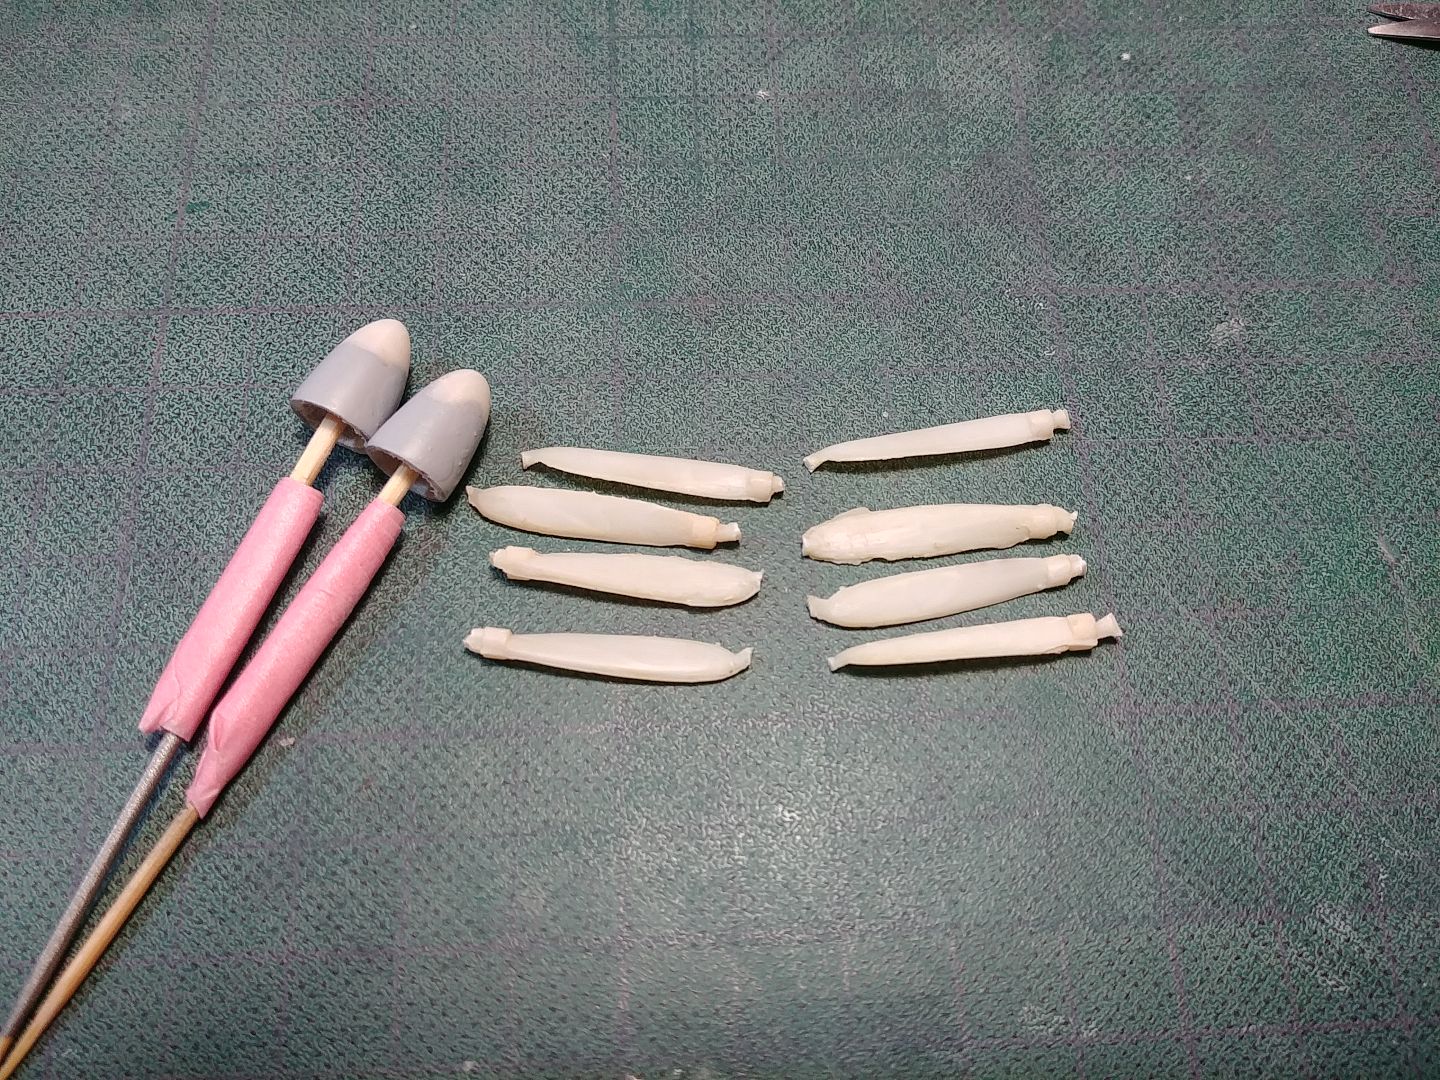
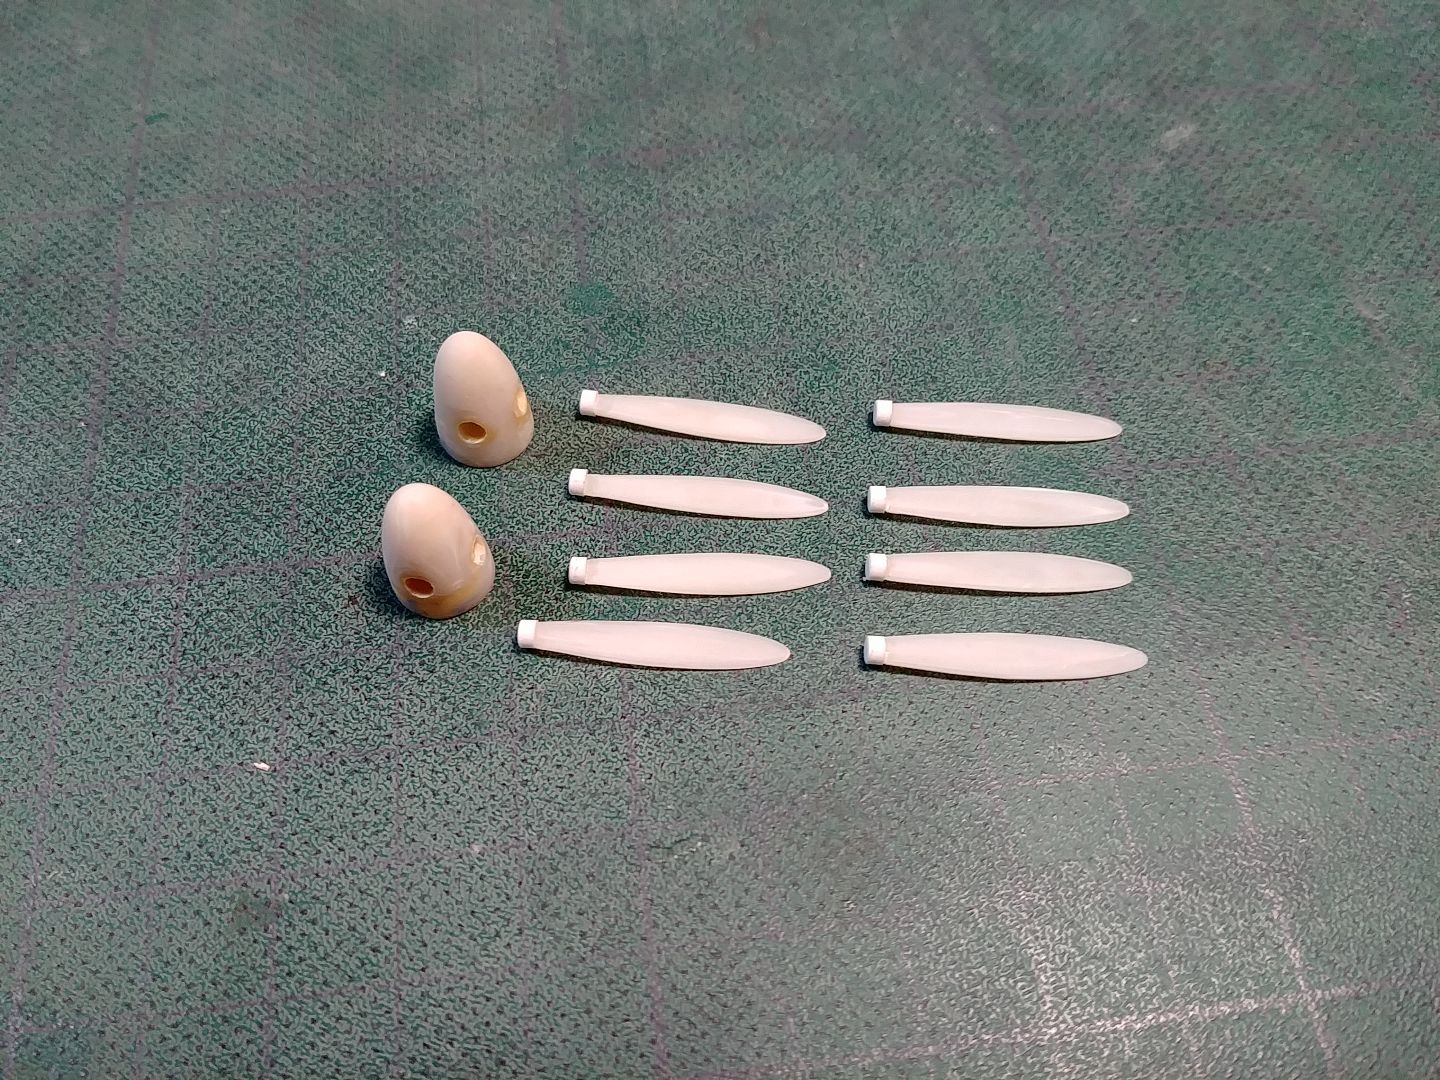
propeler blades also needed "some" work.
20180804_152509_zpsxdpn7jny.jpg

Here they are, thined and shaped.
20180805_194007_zpstytvdl19.jpg

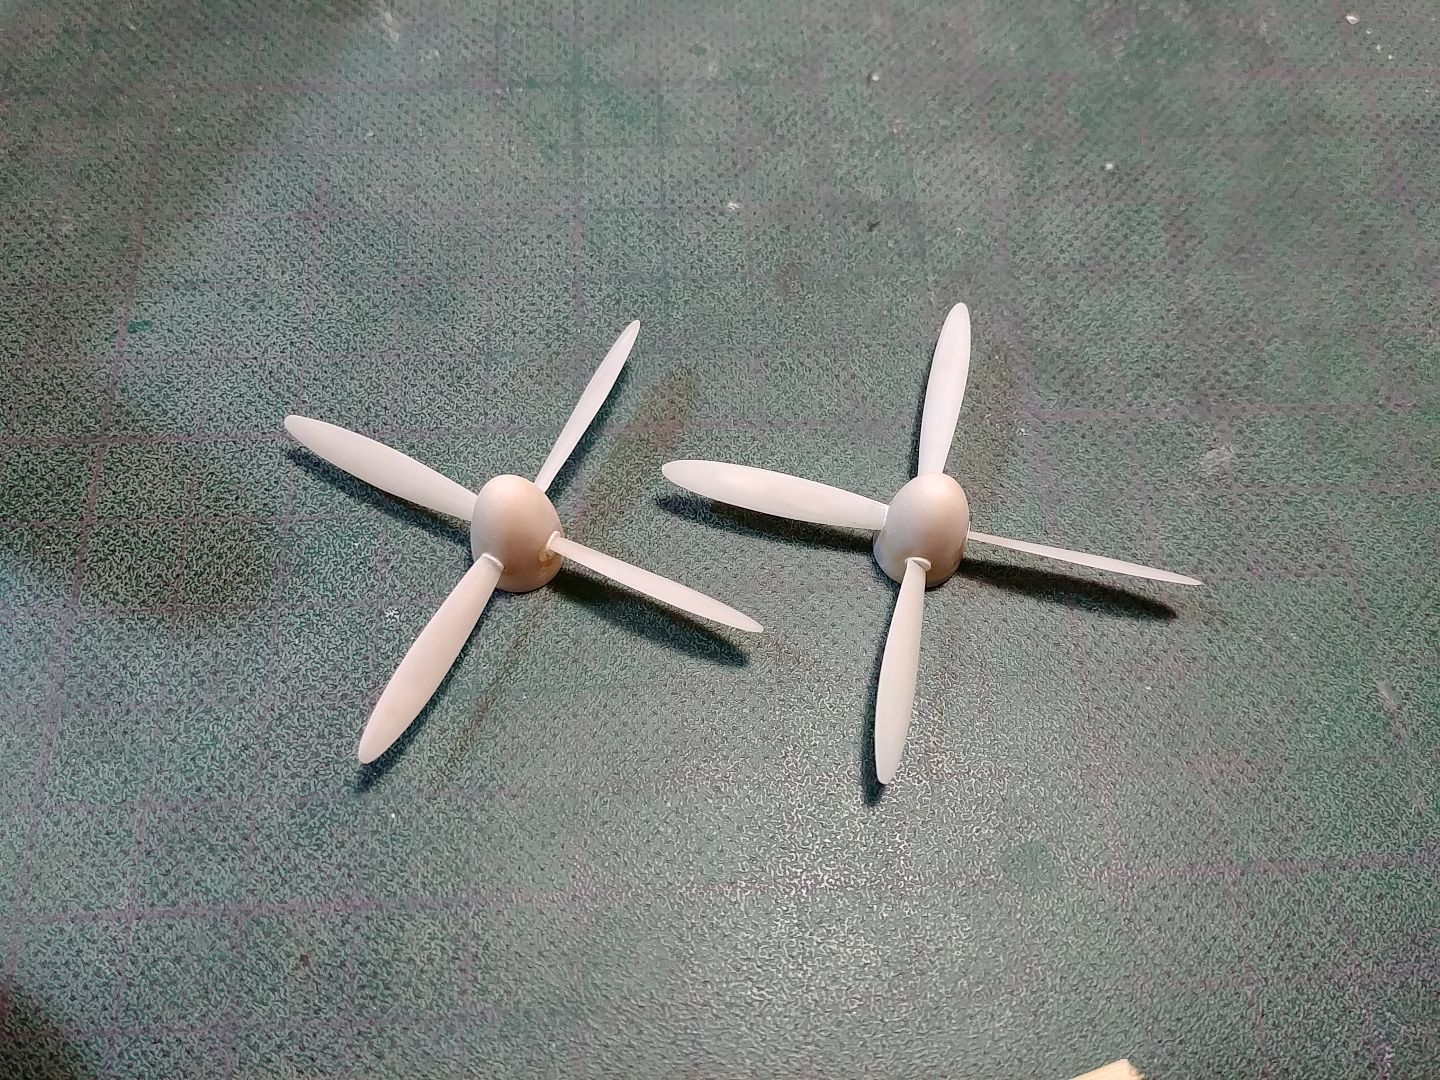
and dryfit.
20180805_180043_zps6uc1dte9.jpg

20180805_175930_zpsbzgcpcki.jpg

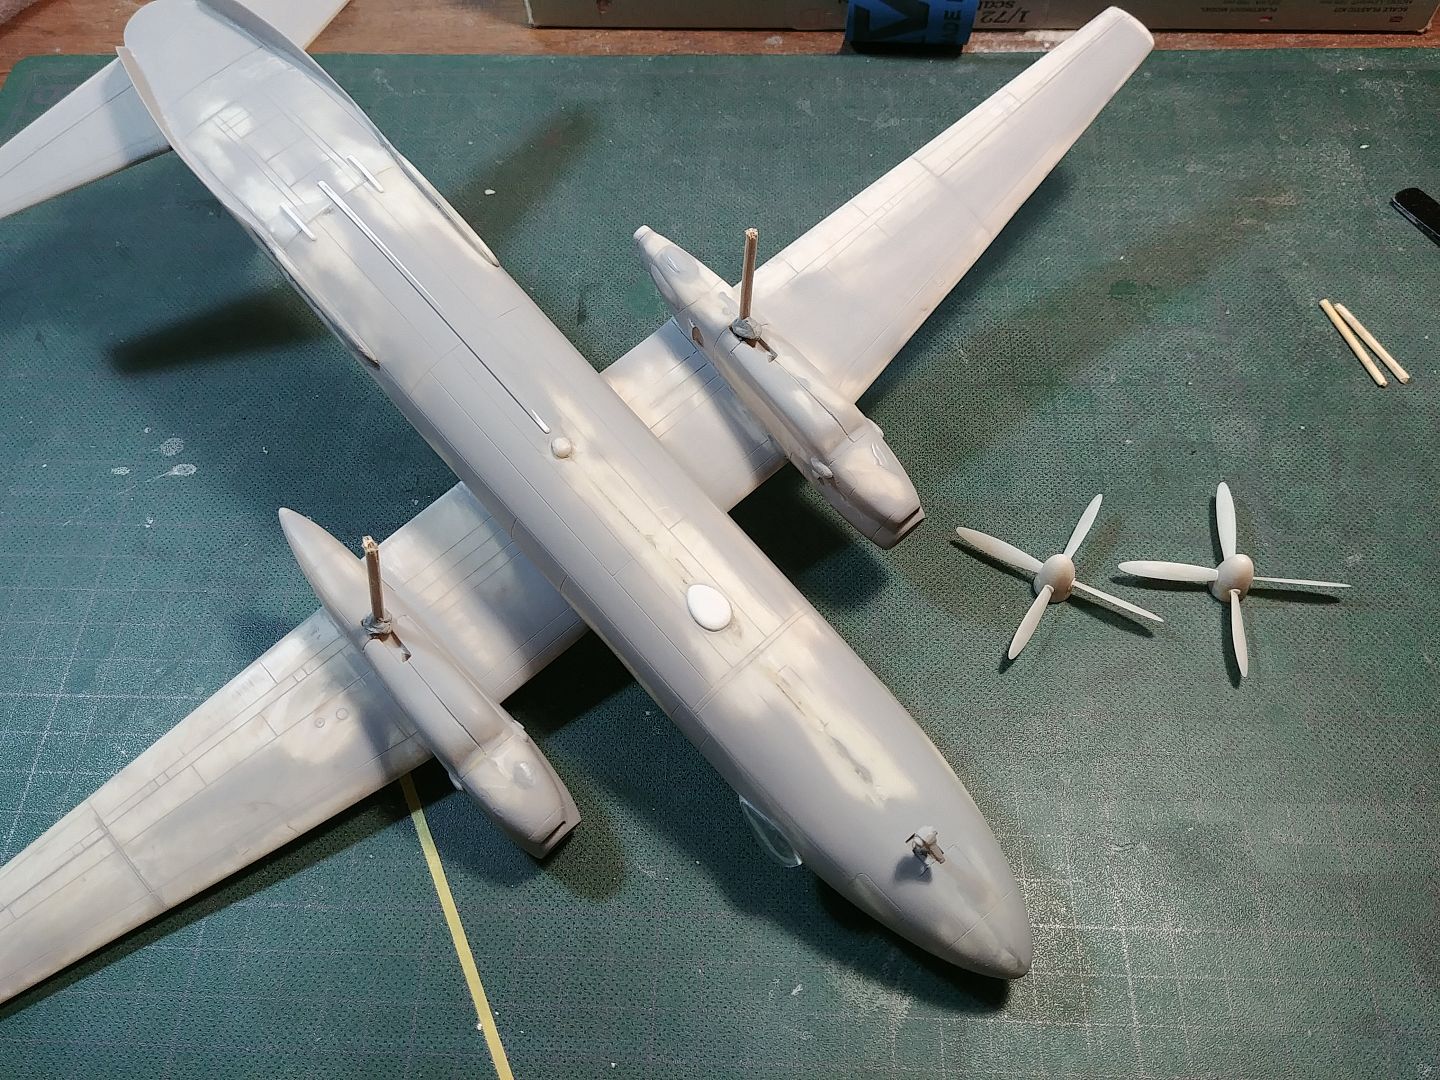
I schratched some details that were missing. Antenas will be added in the end.
20180805_180918_zpsuwuqvuxt.jpg

Most of panel lines are rescribed now. Just need to re-mask transparencies and then spray another coat of primer. I'm pretty sure some touch-ups will be needed, but paint should follow soon!

Thank you very much for looking in!
 
Back
Top