mustang1989
Well-known member
Paddy: That looks great man. Really.
Martin: Diggin' those figures and cannon. I've always had a strong admiration for folks that make figures look that good.
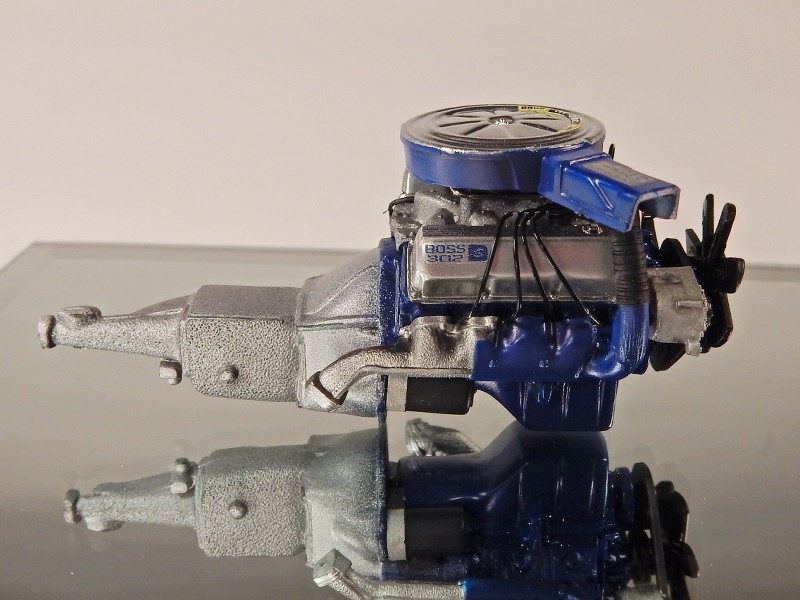
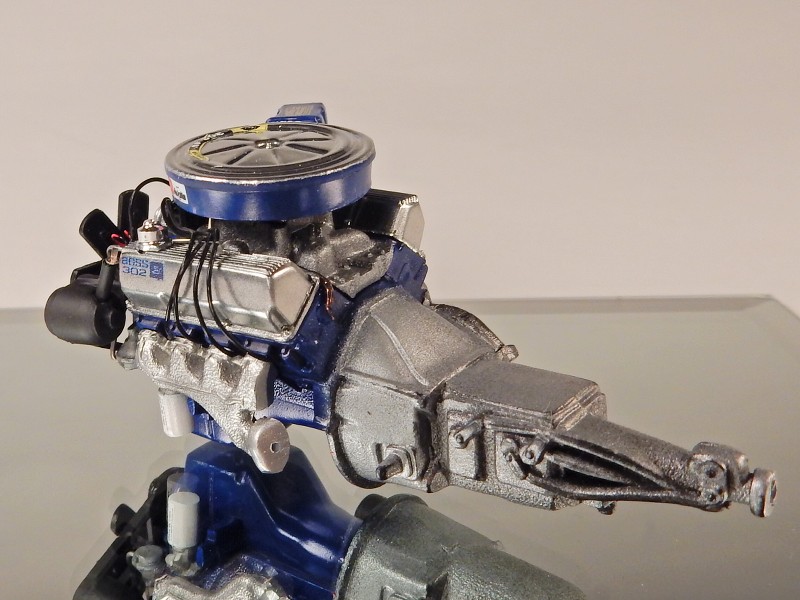
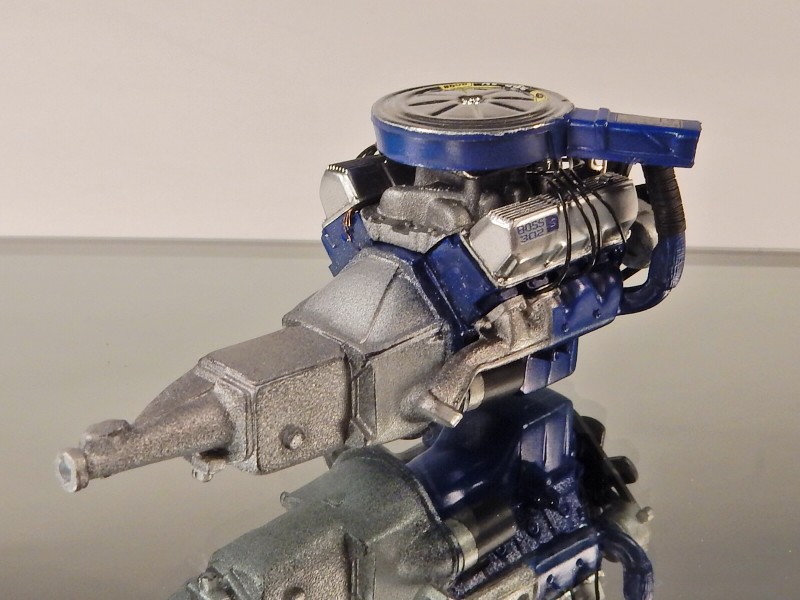
Got the ignition wires and looms installed over the weekend and this morning saw the installation of the ignition coil wire and the wire harness.
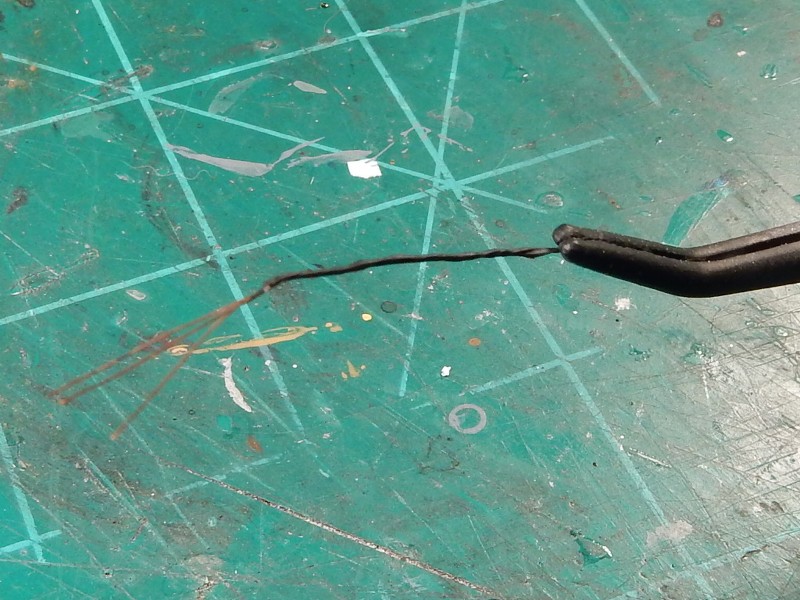
This is how my wiring harnesses start life these days. I use the innards of a section of automotive electrical wire with the insulation stripped off then twisted the wire strands together and applied super glue to the twisted section and allowed to dry. After allowing the super glue to dry flat black enamel was appied to the twisted section to replicate an electrical tape wound wire harness. Then the excess wire strands were clipped off until I had 4 "circuits" remaining which get painted the appropriate wire colors and routed to their final destination on the ignition coil and engine block once the harness was glued into place.
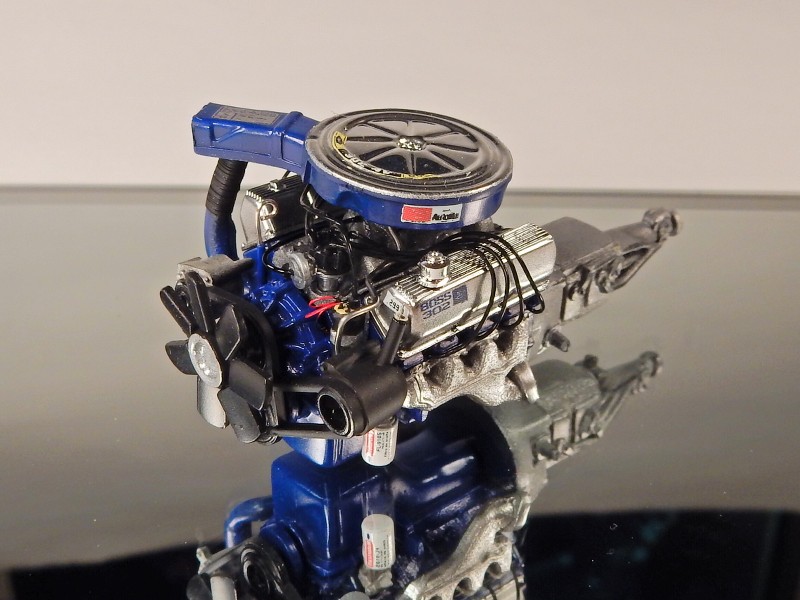
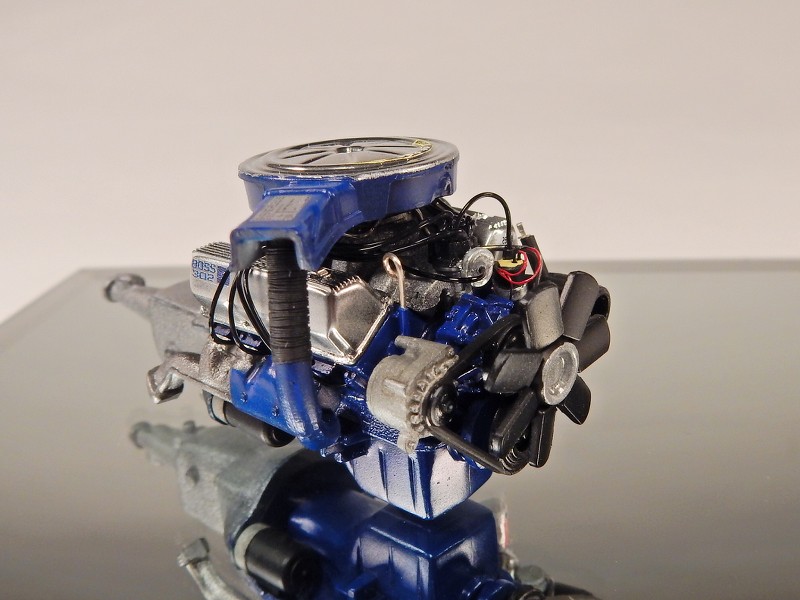
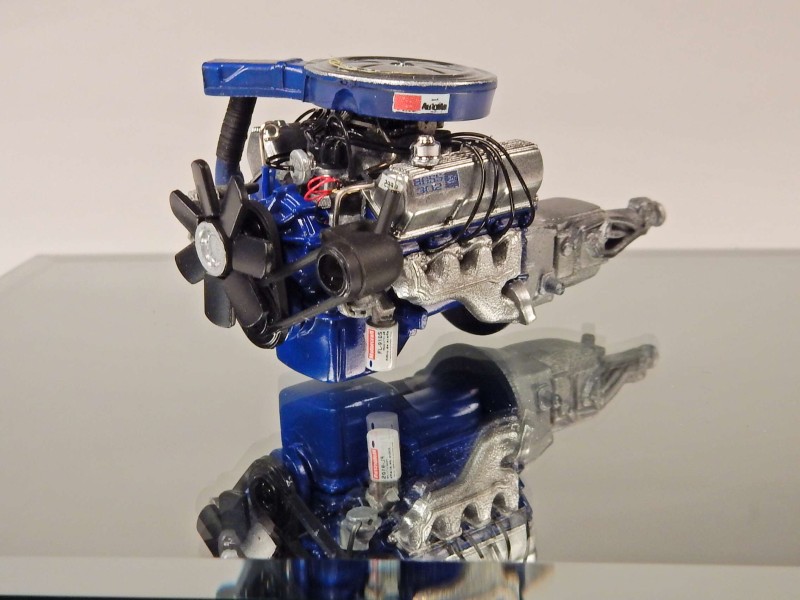
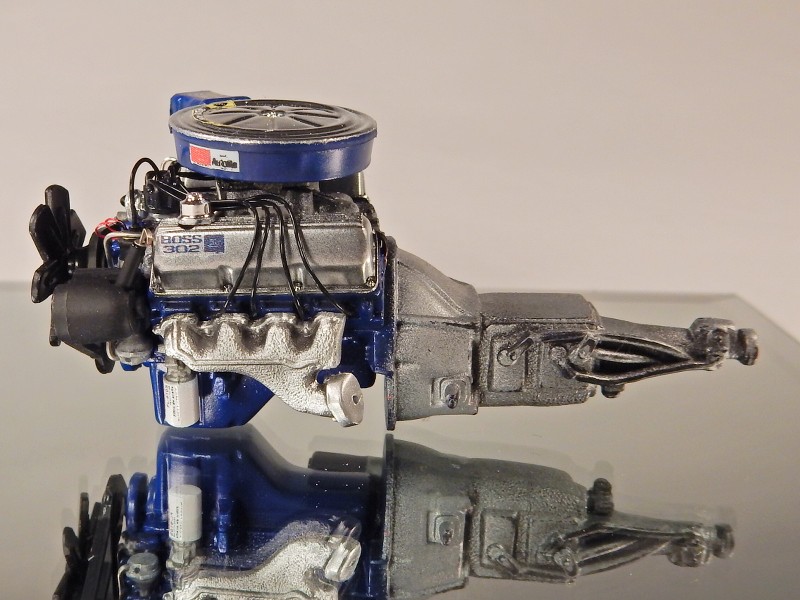
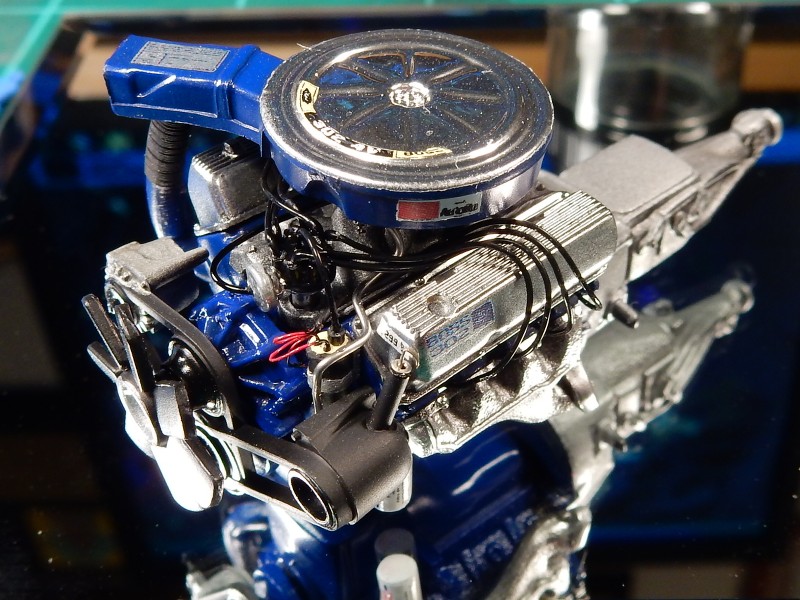
And here's the completed engine with the ignition coil wire, distributor advance vacuum line and electrical harness installed. Glamour shots coming in the next day or so....
Martin: Diggin' those figures and cannon. I've always had a strong admiration for folks that make figures look that good.
Got the ignition wires and looms installed over the weekend and this morning saw the installation of the ignition coil wire and the wire harness.
This is how my wiring harnesses start life these days. I use the innards of a section of automotive electrical wire with the insulation stripped off then twisted the wire strands together and applied super glue to the twisted section and allowed to dry. After allowing the super glue to dry flat black enamel was appied to the twisted section to replicate an electrical tape wound wire harness. Then the excess wire strands were clipped off until I had 4 "circuits" remaining which get painted the appropriate wire colors and routed to their final destination on the ignition coil and engine block once the harness was glued into place.

And here's the completed engine with the ignition coil wire, distributor advance vacuum line and electrical harness installed. Glamour shots coming in the next day or so....


