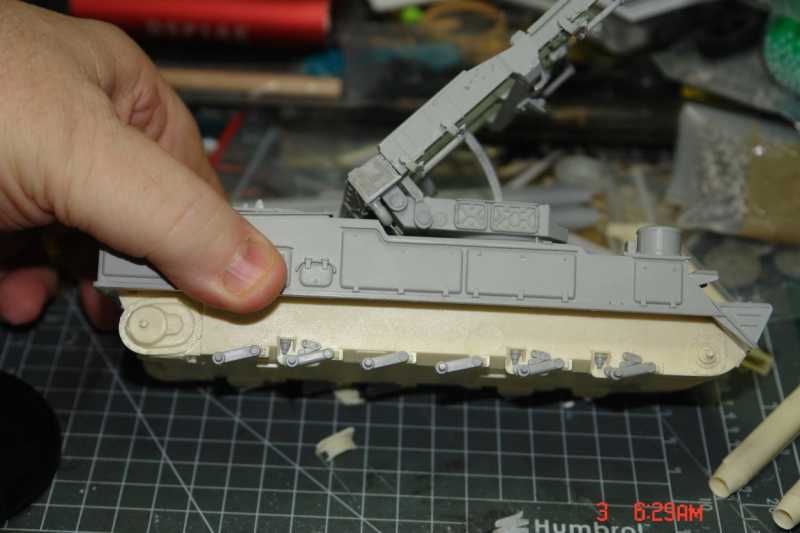
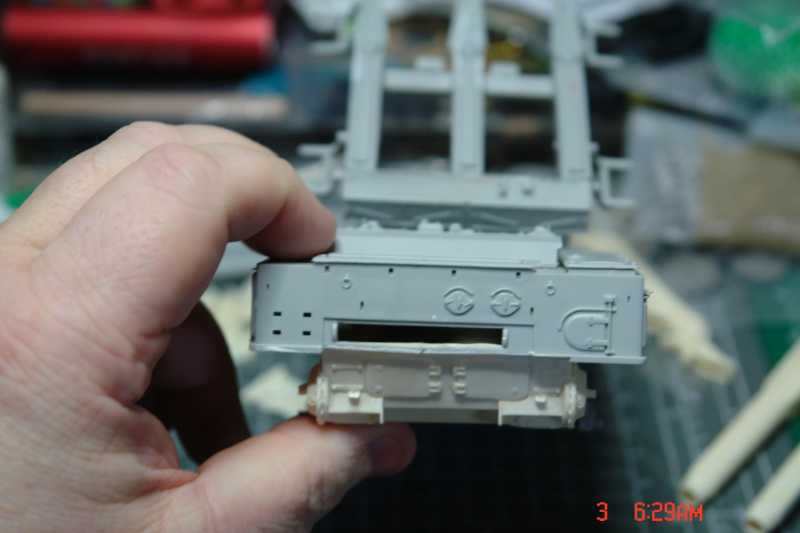
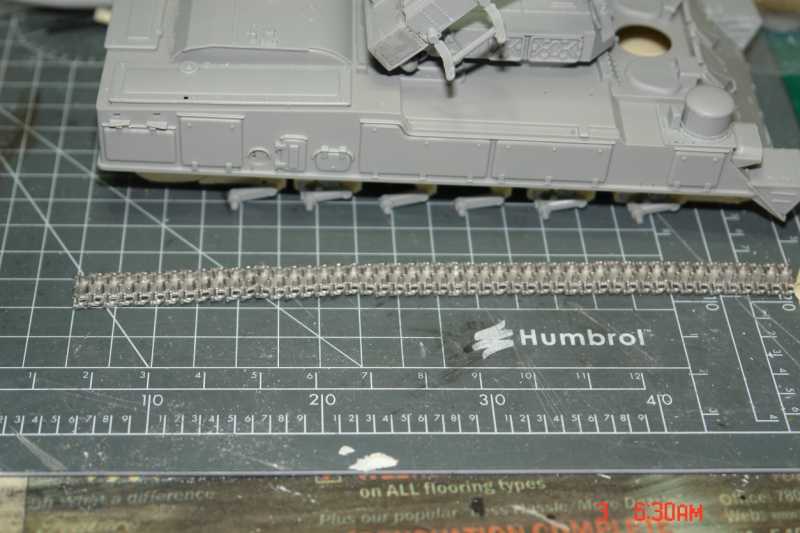
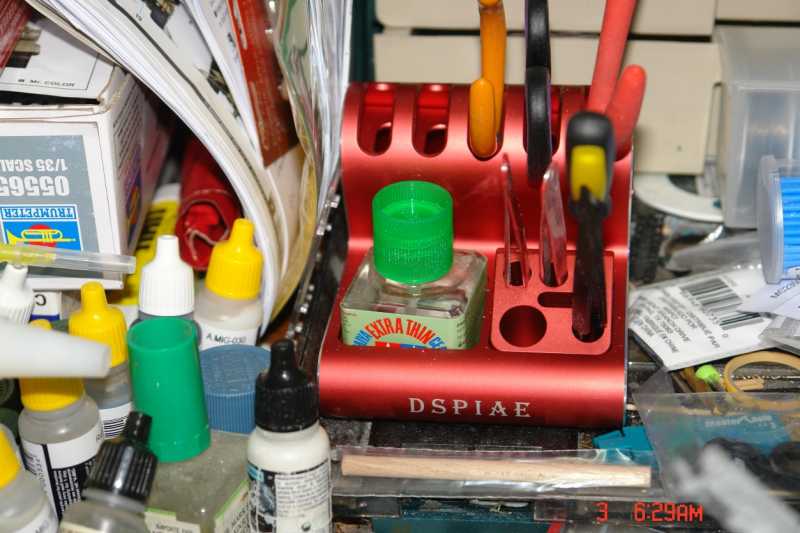
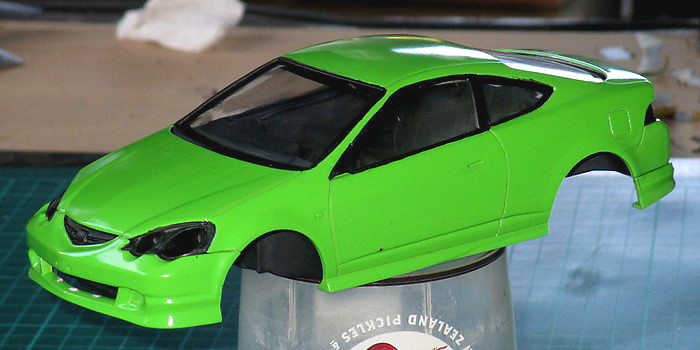
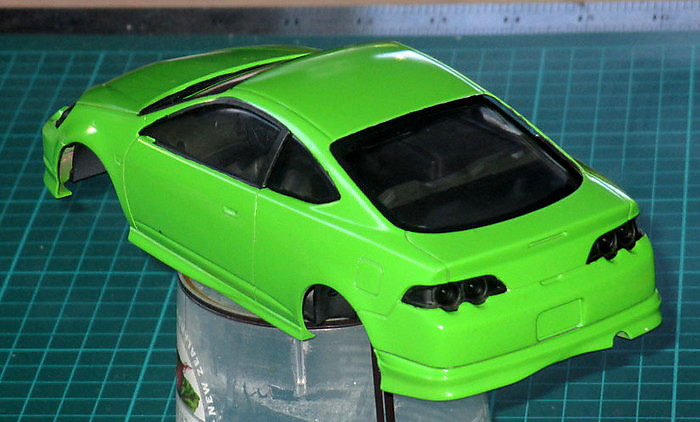
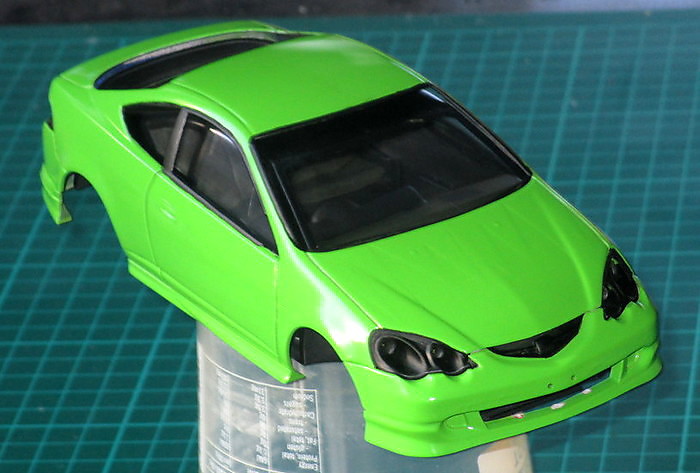
You not kidding anyone Mats, you cleared the bench to make room for the beer! :drinks
-
Modelers Alliance has updated the forum software on our website. We have migrated all post, content and user accounts but we could not migrate the passwords.
This requires that you manually reset your password.
Please click here, http://modelersalliance.org/forums/login to go to logon page and use the "Forgot your Password" option.
You are using an out of date browser. It may not display this or other websites correctly.
You should upgrade or use an alternative browser.
You should upgrade or use an alternative browser.
All Righty ... What's on the bench today?
- Thread starter panzerace007
- Start date
Bagge
Well-known member
I spy a bottle of liquid creativity enhancer!:drinks
I saw that too Mike,
Some great stuff! It opens up the pores and allows creativity to flow freely! It mingles with the Force that surrounds us! A shame most hobby shops don't carry it! :-(
Bob
It's some powerful stuff for sure!
Duke Maddog
Well-known member
I would love to have some liquid creativity enhancer, but I'm not sure I'm allowed to. I gotta check with my doc. In spite of that, and the fatigue I've been fighting from my treatments, I did manage to get some things done both the day before my first treatment and the day after. Here it is so far....
I'll start with my aircraft and helicopters.
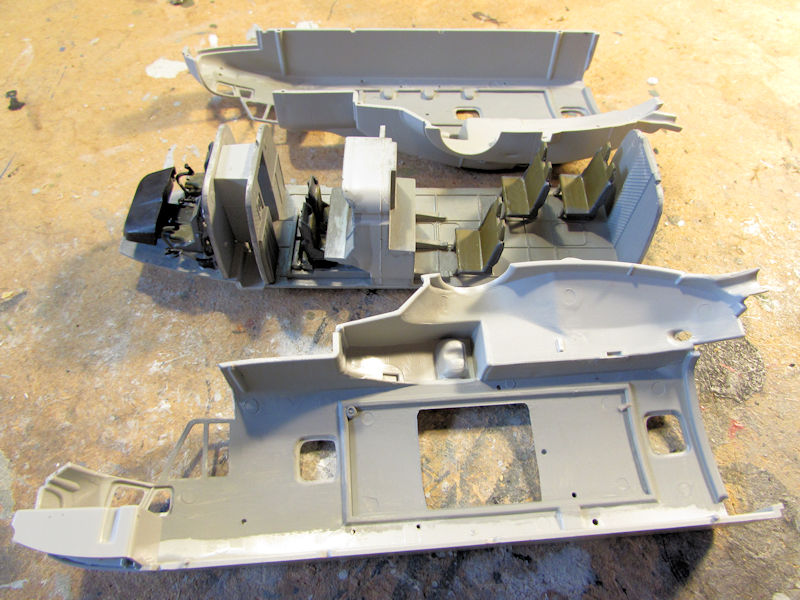
On the EH101 Merlin, I completed the painting of the interior. Now all I have to do is add the interior decals and glass in the windows and I can close this bird up:
Next I worked on my Australian HAP Tigre. I masked the canopies for painting:
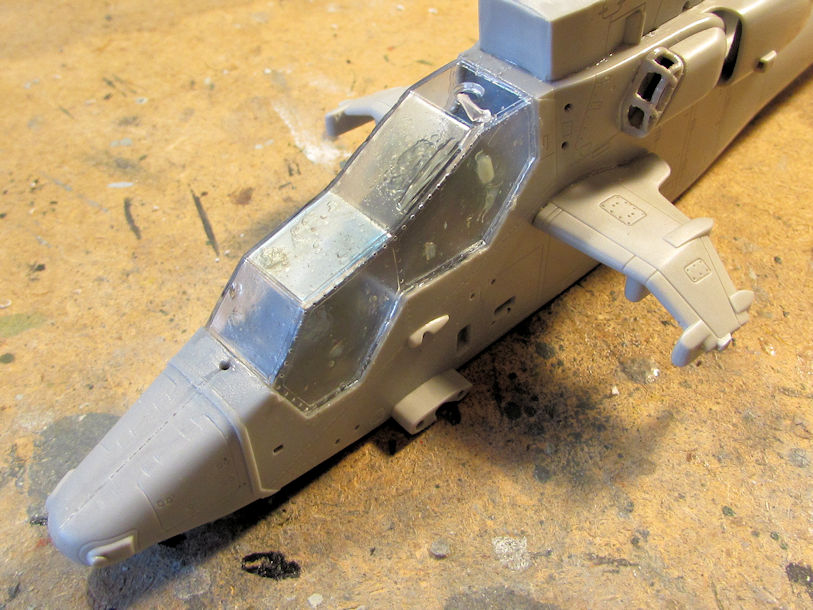
That's when I noticed the gap in the top of the nose. So, I decided this was a good time to try that new Squadron putty:
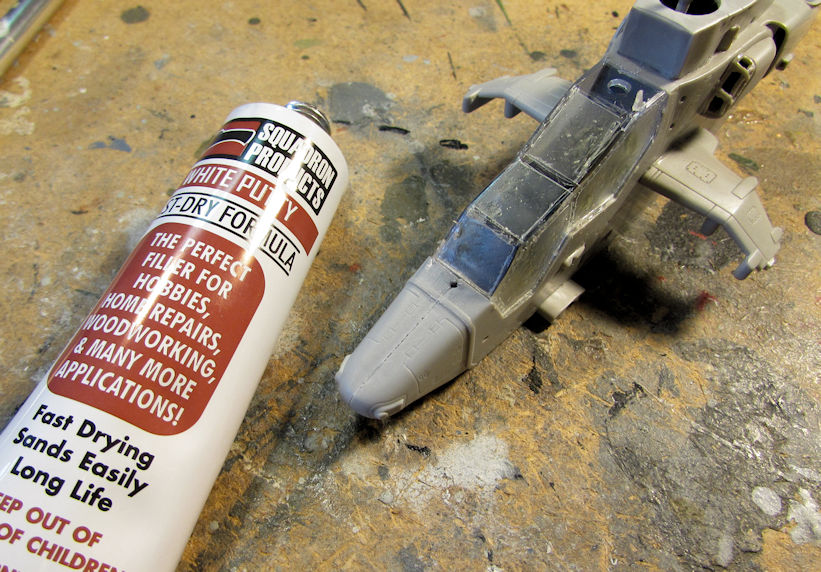
I slathered some on, trying to keep it over the gap as much as possible. I was surprised that it came out looking almost clear:
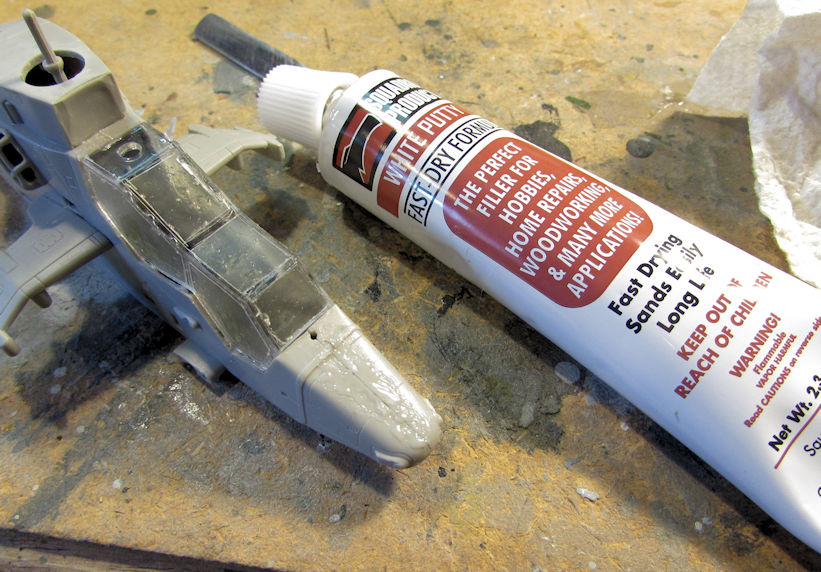
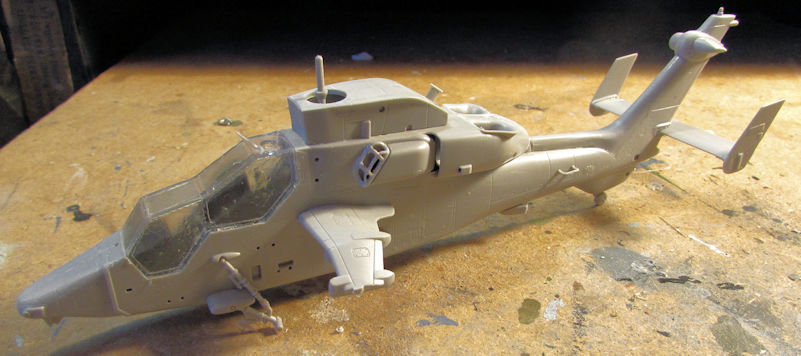
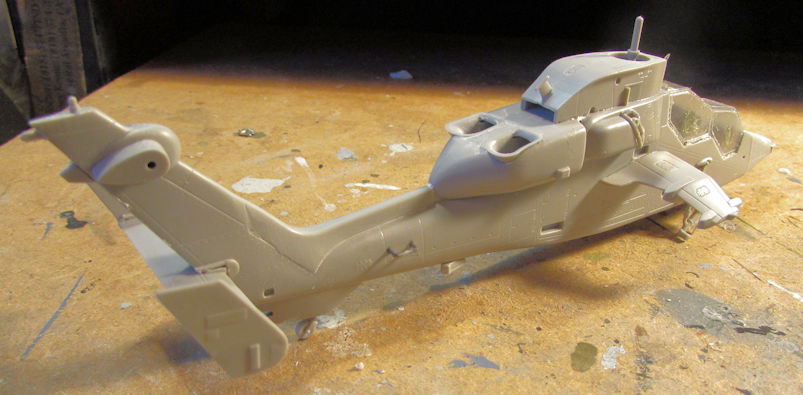
Later on, when I went back to sand it after it was dry, I saw that it had caused some slight pitting in the top of the nose. I was able to sand it all away, but this was unexpected. After reading the tube, it does contain Toluene which does melt plastic a bit. So, this will take some getting used to for me. It also dries clear so that; even though it appears that I still have a gap, there is none there. I forgot to take a pic of the nose after all this. I did move on and add most of the final detail bits to this so it is almost ready for paint:
Moving on, I spent more time on the A-10, trying to bring this over the finish line. I didn't quite make it but I came close. Here's the progress I made on that so far.
First off, I shot a dullcoat over this model:
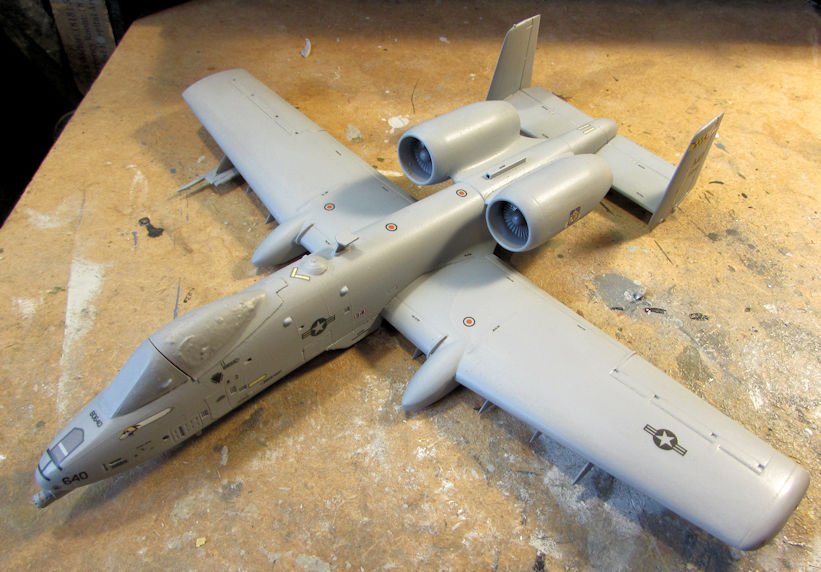
After that dried, I removed the masking from the canopy:
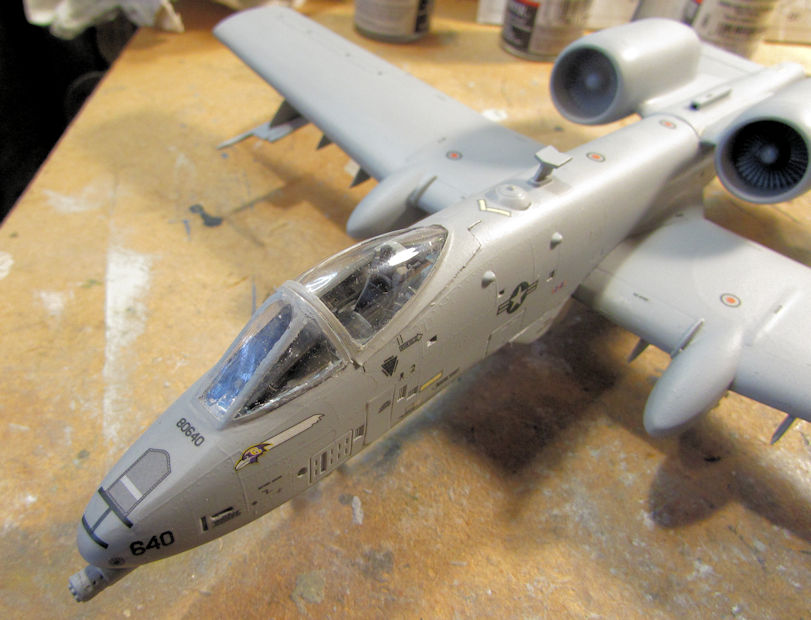
There were a few areas I needed to touch up, which I did later on.
After getting the canopy removed, it was time to install the landing gear and gear doors:
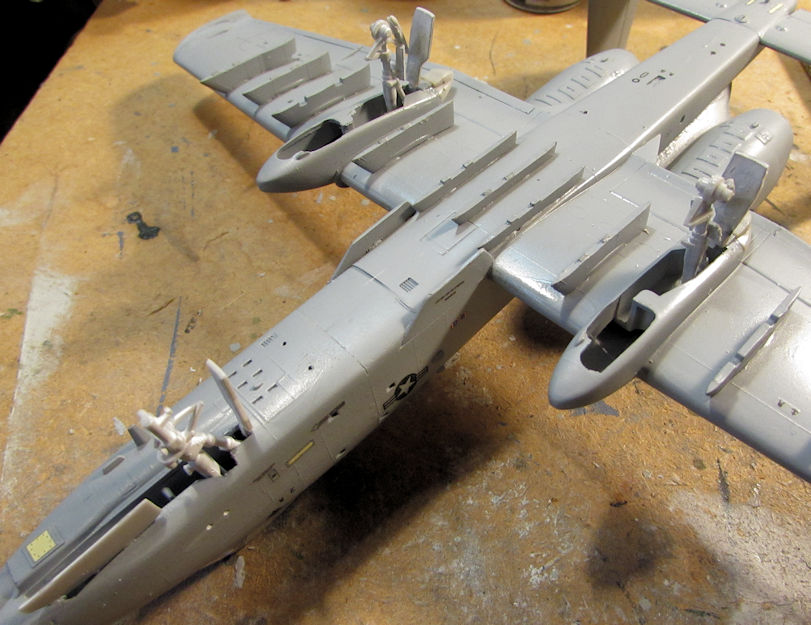
There was a lot of touch up needed here too since I forgot to paint the exterior of the doors. Oh well, I got them after I installed them here.
Once they were sufficiently dry, I added all the ordinance that I could fit in place. I still have one pylon I need to figure out what to mount on but otherwise this bird is loaded for bear:
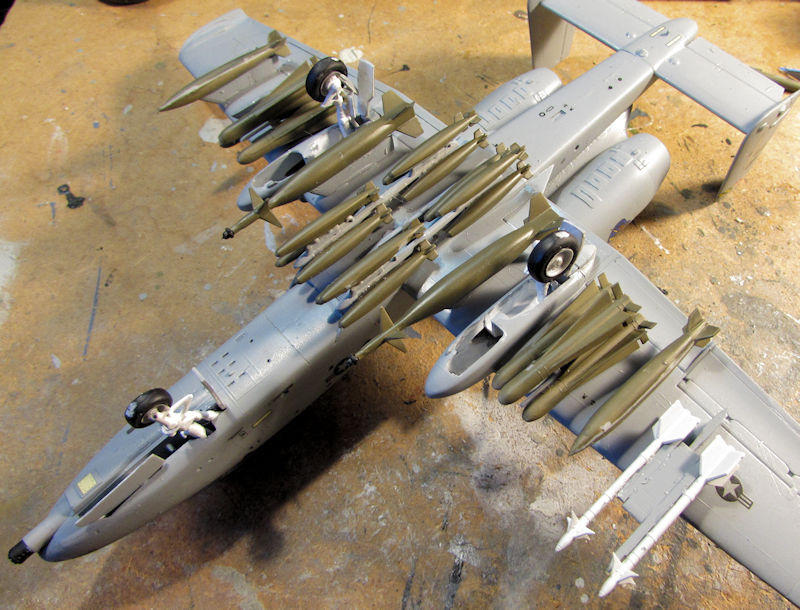
You can see I also added the wheels to this. Now all I have to do is some more touch-ups on the weapons themselves.
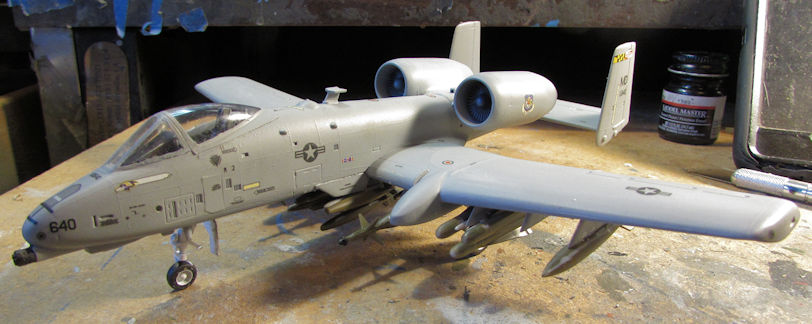
This is by no means the final pic, but it gives you an idea of how this bird will look. I still have a lot of touch-ups to do before I can call it finished:
Moving on, I got a lot of small progress on a number of my armor and vehicles, as well as started one new one.
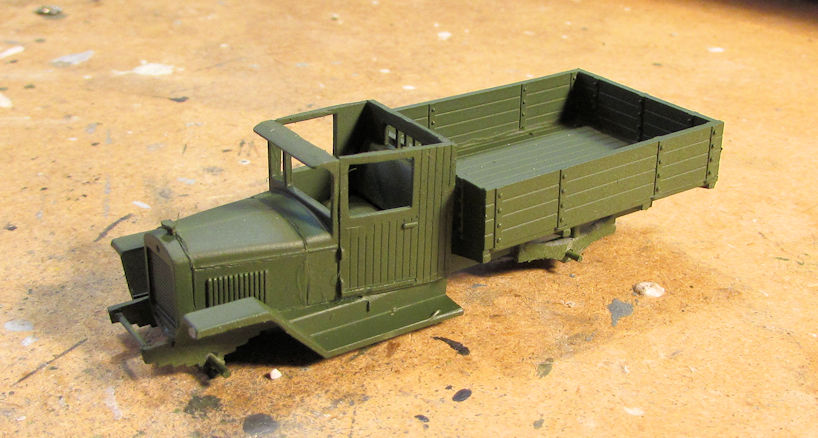
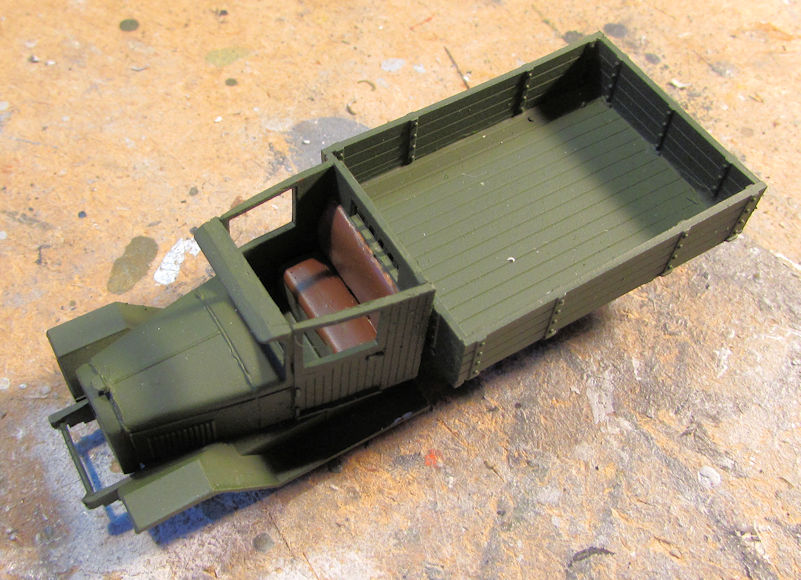
First off, I shot a basecoat of dark green on my Russian Zil 5 truck:
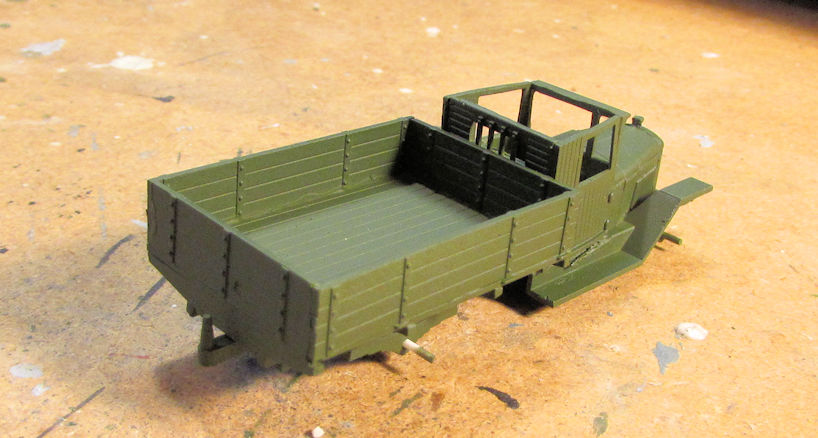
After that dried, I painted the seats inside a leather color:
Meanwhile, since I had the dark green out, I also basecoated the MAN 5-ton truck with this color:
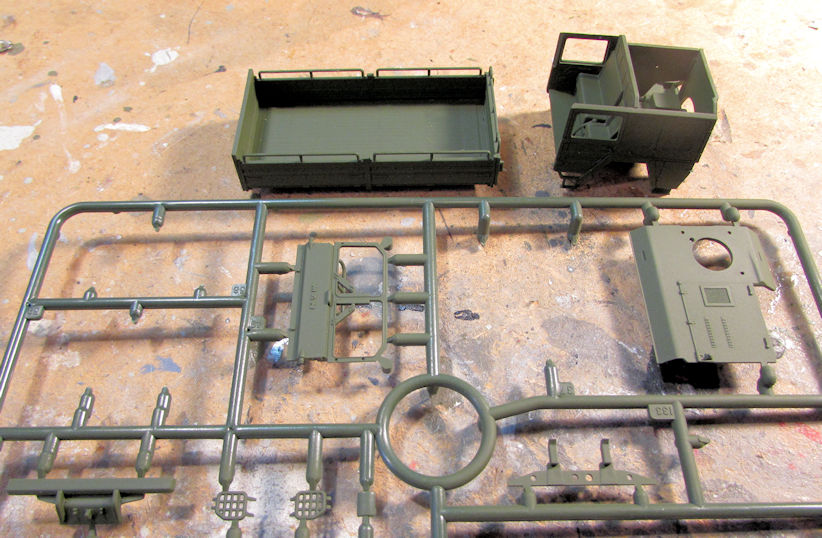
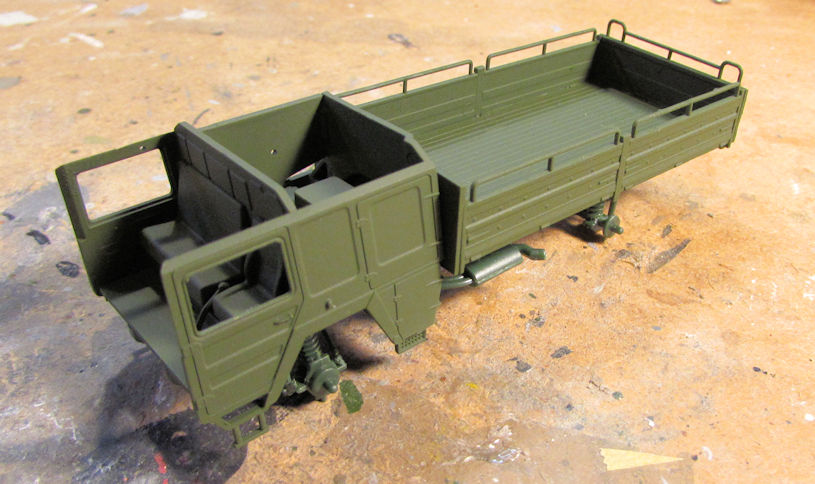
I also dry-fit everything to see how it looks so far, as well as tried to plan how I'll paint the other two camo pattern colors:
Later, I also painted the seats inside a leather color:
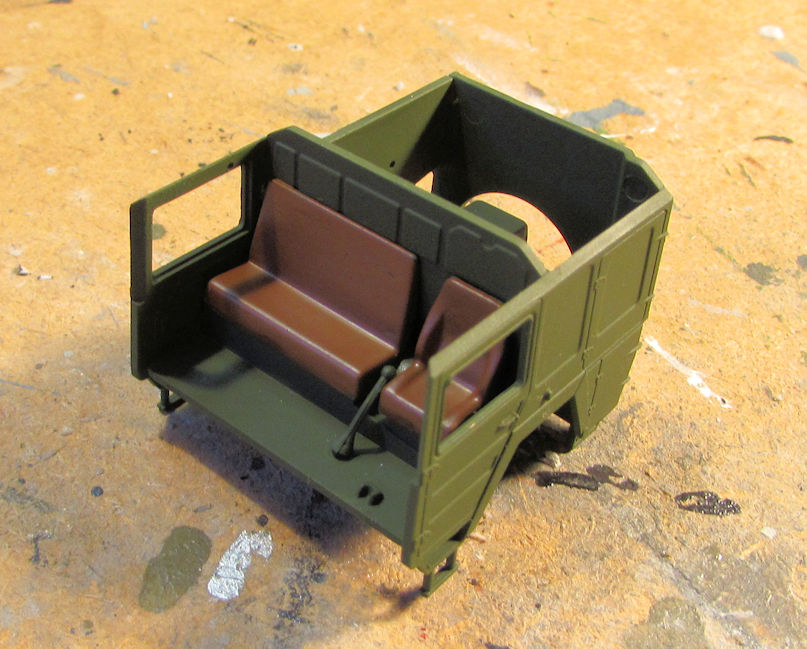
I still need to fix that gear shift lever....
And still, since I had that dark green out; I shot the German M-109:
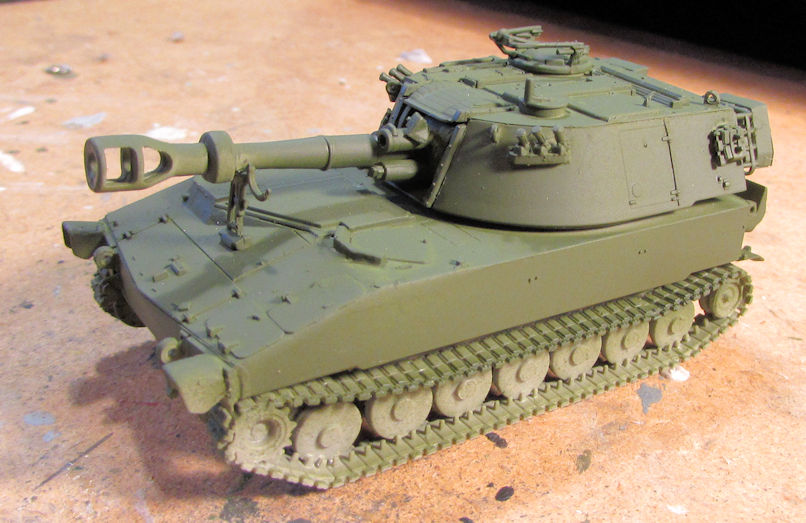
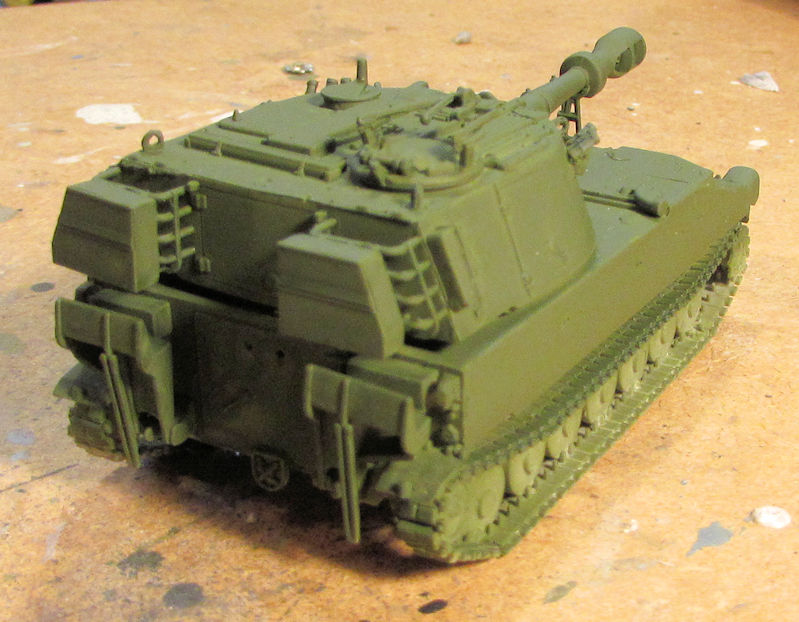
I'm not sure why that second pic turned out so yellow, but the color is the same as the previous two models. I also shot the hubs for the outer wheels:
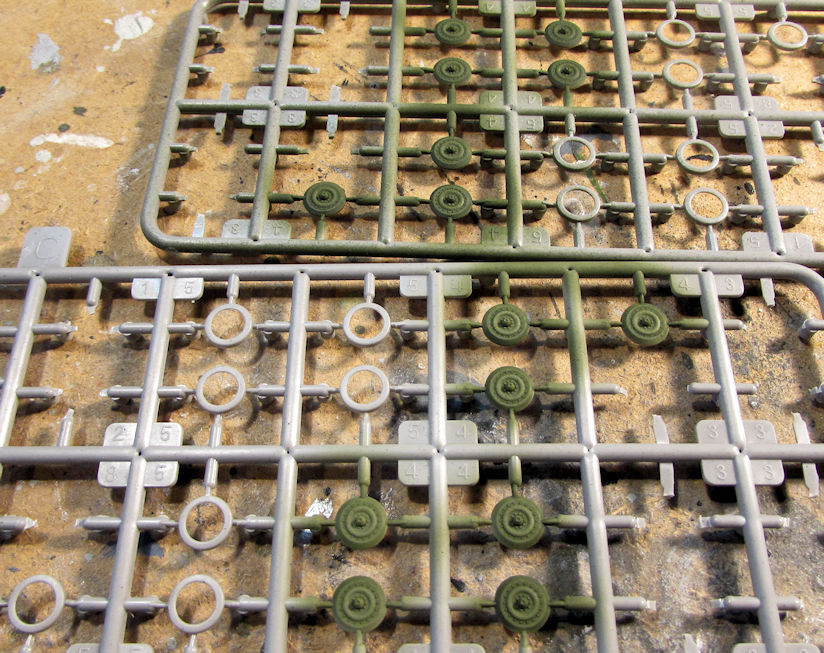
Now I can mask this one and start the second two colors for the camouflage pattern.
After all that, it was time to change colors. I pulled out an Olive Drab ANA color and shot the Churchill bridgelayer:
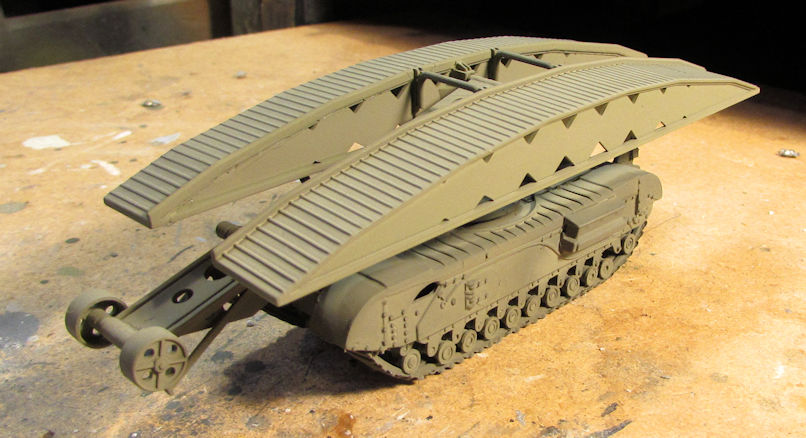
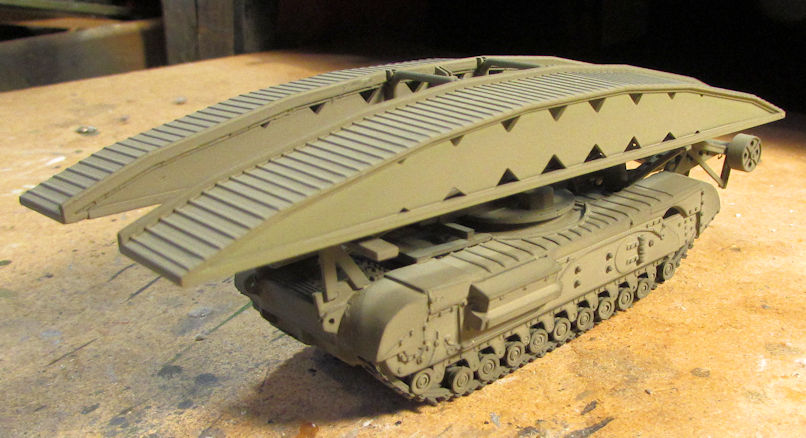
I gave up on trying to make that operational again; the engineering is just a bit beyond me, especially in my fatigued state. I'm just gonna finish that as is. Next up, some color modulation, glosscoat and decals...
Finally, I started the little Roden Vauxhall ambulance that had been calling my name. First up was the delicate suspension:
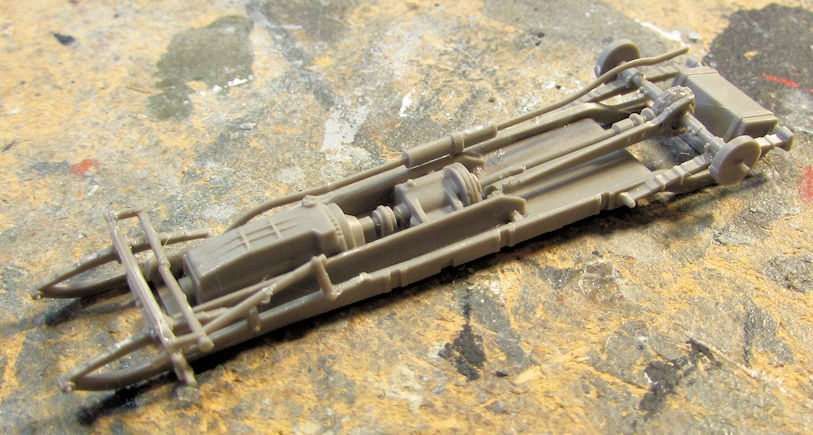
I broke about three of those parts trying to put them in place. That's actually pretty good since on the Vauxhall staff car (which has the same suspension) I broke seven pieces... I'm getting better!
Next was the main body of the car. This was fairly straightforward, but I was a bit put off by the 'blast shield' they had in front of the driver. I guess he's supposed to peer over it as he drives:
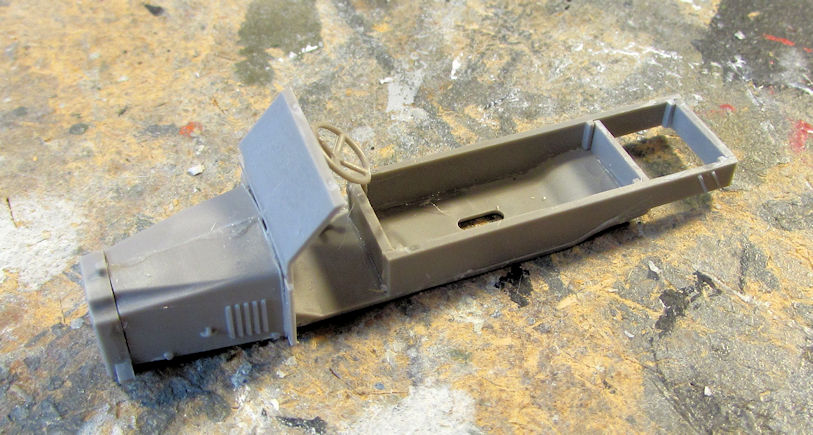
Next I built the upper box area where the stretchers are carried:
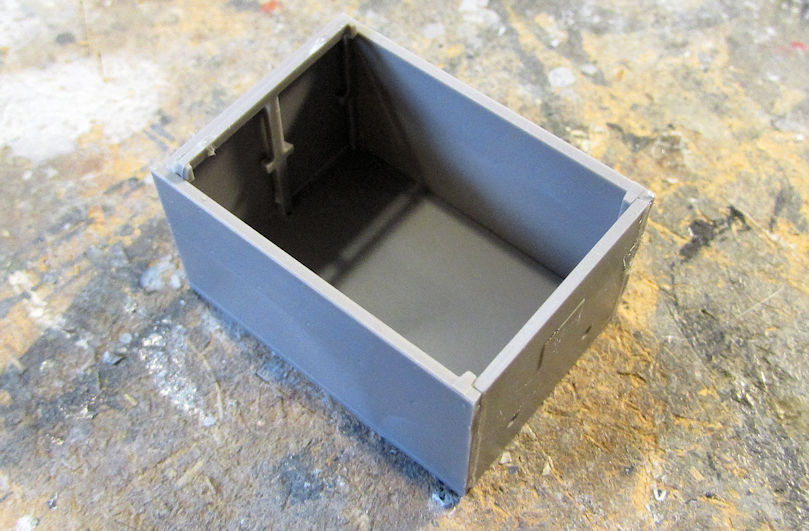
I want to paint the interior and the stretchers first before I close that up. Come to think of it; I wonder why I want to do that. Nothing will be seen once this is closed up. Hmmm.....
Anyway, here is this tiny model all dry fit together so far:
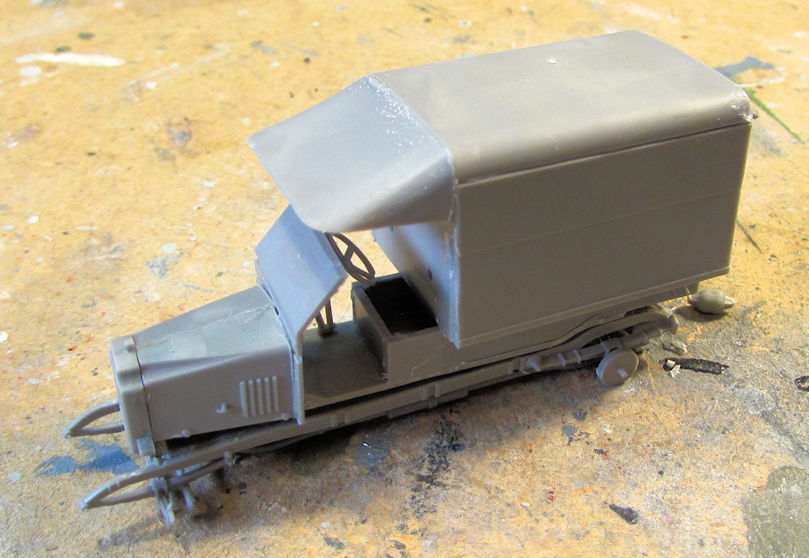
Later, since I had the Olive Drab ANA out, I shot the lower part of this car with it too:
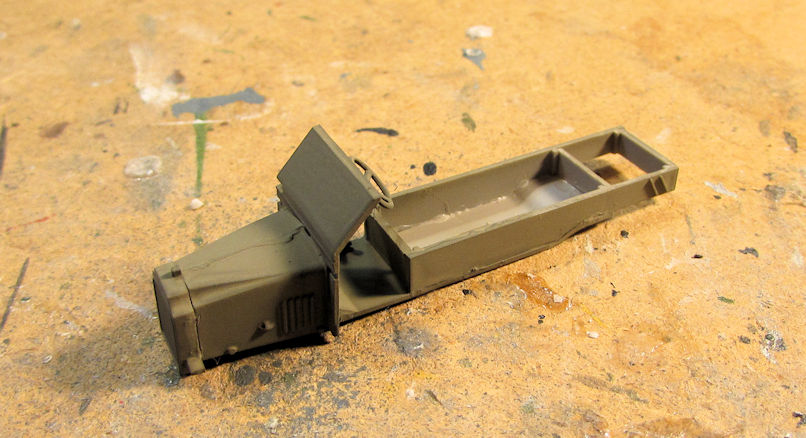
I should have waited here too until I had the fenders on and such. They need the same color. Doh!
Oh well, there is my latest progress so far. I don't know how much more I'll be able to get done after my treatment tomorrow so I may have to wait till next week to get more done. We'll see. Meanwhile, thanks for looking in, comments are welcome.
I'll start with my aircraft and helicopters.
On the EH101 Merlin, I completed the painting of the interior. Now all I have to do is add the interior decals and glass in the windows and I can close this bird up:

Next I worked on my Australian HAP Tigre. I masked the canopies for painting:

That's when I noticed the gap in the top of the nose. So, I decided this was a good time to try that new Squadron putty:

I slathered some on, trying to keep it over the gap as much as possible. I was surprised that it came out looking almost clear:

Later on, when I went back to sand it after it was dry, I saw that it had caused some slight pitting in the top of the nose. I was able to sand it all away, but this was unexpected. After reading the tube, it does contain Toluene which does melt plastic a bit. So, this will take some getting used to for me. It also dries clear so that; even though it appears that I still have a gap, there is none there. I forgot to take a pic of the nose after all this. I did move on and add most of the final detail bits to this so it is almost ready for paint:


Moving on, I spent more time on the A-10, trying to bring this over the finish line. I didn't quite make it but I came close. Here's the progress I made on that so far.
First off, I shot a dullcoat over this model:

After that dried, I removed the masking from the canopy:

There were a few areas I needed to touch up, which I did later on.
After getting the canopy removed, it was time to install the landing gear and gear doors:

There was a lot of touch up needed here too since I forgot to paint the exterior of the doors. Oh well, I got them after I installed them here.
Once they were sufficiently dry, I added all the ordinance that I could fit in place. I still have one pylon I need to figure out what to mount on but otherwise this bird is loaded for bear:

You can see I also added the wheels to this. Now all I have to do is some more touch-ups on the weapons themselves.
This is by no means the final pic, but it gives you an idea of how this bird will look. I still have a lot of touch-ups to do before I can call it finished:

Moving on, I got a lot of small progress on a number of my armor and vehicles, as well as started one new one.
First off, I shot a basecoat of dark green on my Russian Zil 5 truck:


After that dried, I painted the seats inside a leather color:

Meanwhile, since I had the dark green out, I also basecoated the MAN 5-ton truck with this color:

I also dry-fit everything to see how it looks so far, as well as tried to plan how I'll paint the other two camo pattern colors:

Later, I also painted the seats inside a leather color:

I still need to fix that gear shift lever....
And still, since I had that dark green out; I shot the German M-109:


I'm not sure why that second pic turned out so yellow, but the color is the same as the previous two models. I also shot the hubs for the outer wheels:

Now I can mask this one and start the second two colors for the camouflage pattern.
After all that, it was time to change colors. I pulled out an Olive Drab ANA color and shot the Churchill bridgelayer:


I gave up on trying to make that operational again; the engineering is just a bit beyond me, especially in my fatigued state. I'm just gonna finish that as is. Next up, some color modulation, glosscoat and decals...
Finally, I started the little Roden Vauxhall ambulance that had been calling my name. First up was the delicate suspension:

I broke about three of those parts trying to put them in place. That's actually pretty good since on the Vauxhall staff car (which has the same suspension) I broke seven pieces... I'm getting better!
Next was the main body of the car. This was fairly straightforward, but I was a bit put off by the 'blast shield' they had in front of the driver. I guess he's supposed to peer over it as he drives:

Next I built the upper box area where the stretchers are carried:

I want to paint the interior and the stretchers first before I close that up. Come to think of it; I wonder why I want to do that. Nothing will be seen once this is closed up. Hmmm.....
Anyway, here is this tiny model all dry fit together so far:

Later, since I had the Olive Drab ANA out, I shot the lower part of this car with it too:

I should have waited here too until I had the fenders on and such. They need the same color. Doh!
Oh well, there is my latest progress so far. I don't know how much more I'll be able to get done after my treatment tomorrow so I may have to wait till next week to get more done. We'll see. Meanwhile, thanks for looking in, comments are welcome.
The Duke, modelersalliance.com's Mister Prolific!


Bob
Bob
Duke Maddog
Well-known member
Thank you Bob! I may not have the quality, but I can sure overwhelm with quantity! LOL! :woohoo: :woohoo: :yipee
Thanks Mats! So far everything is good, I just have to get over the fatigue issues.
Going for treatment number two in a couple hours, after that, we'll see what we can get done afterward.
Thanks Mats! So far everything is good, I just have to get over the fatigue issues.
Going for treatment number two in a couple hours, after that, we'll see what we can get done afterward.
Duke Maddog
Well-known member
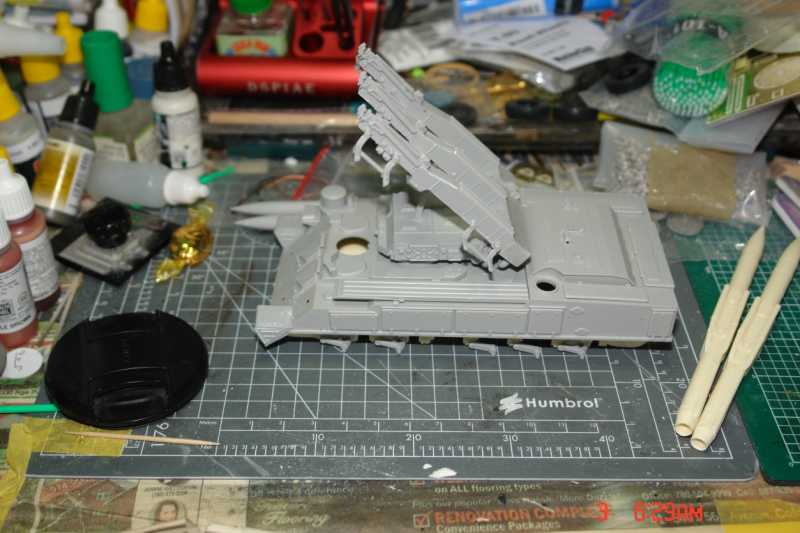
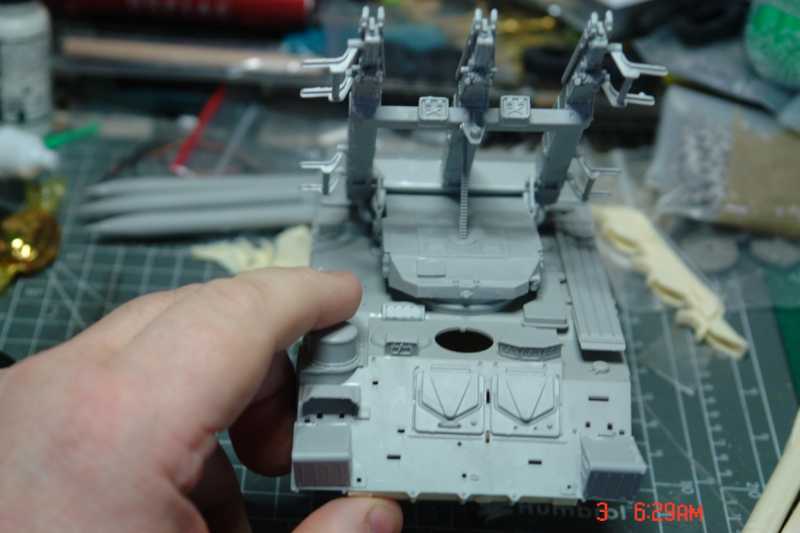
Sweet! I am really hoping to get a few of those Sa-6 Gainfuls in my scale in Phoenix this year!
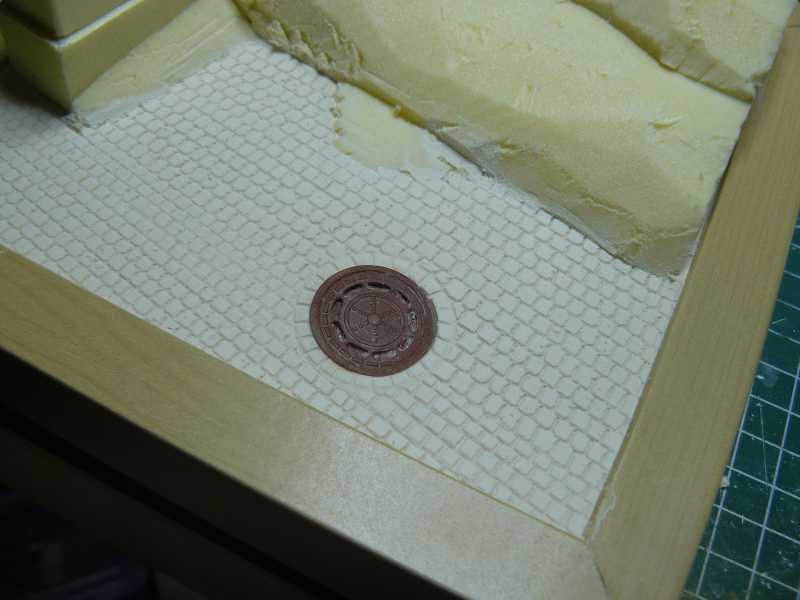
Carving some cobblestones tonight for the baseplate of the Mechatro
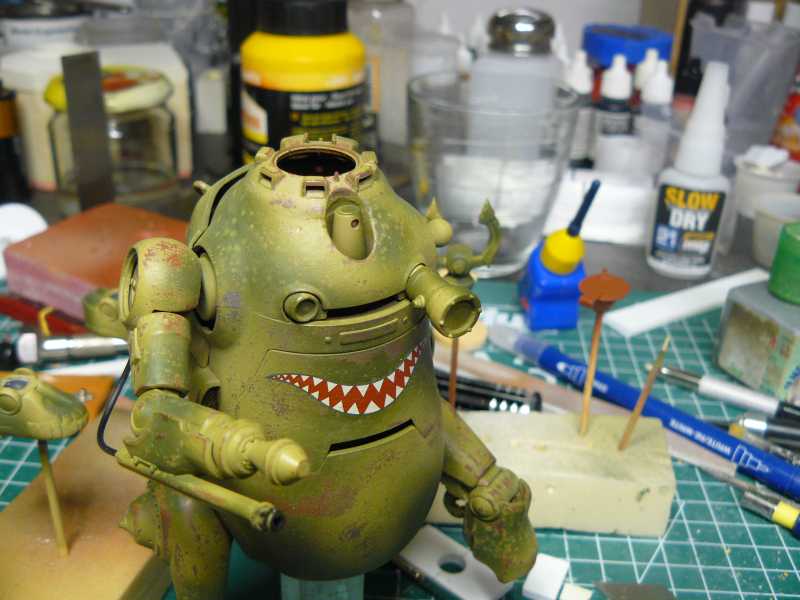
Last pieces in place, made some IR equipment from spareparts
Greetings Mats
Wooo...nice.
Guys really, y'all should start your own threads, too many fine builds get lost on this thread.
Duke Maddog
Well-known member
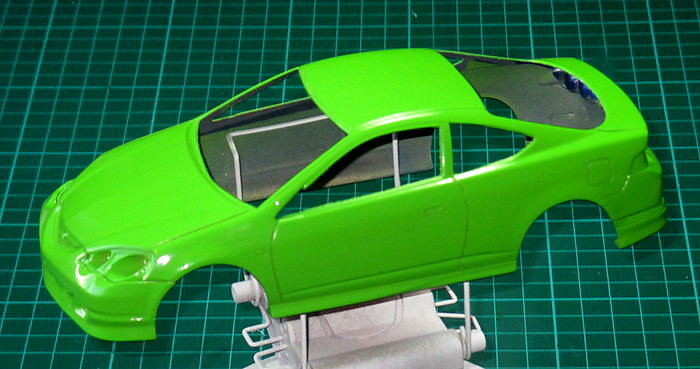
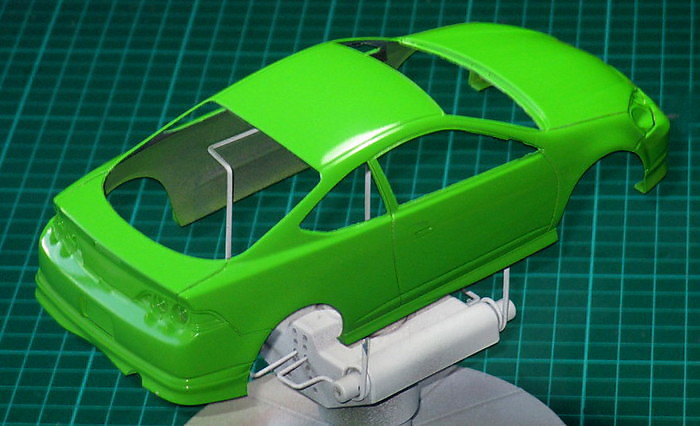
I like seeing these all on here too. I would love to start a Thread like James has done to put all his work on one Thread. With all the work I get done, it would certainly be easier. Not that it matters now; I don't know when I'll be able to post! :idonno 
Great work guys! I am most impressed with those finishes on those cars Ian. I have yet to be able to do such a fine finish on any car.
Matts, That is some fantastic work here! Keep it coming!
Great work guys! I am most impressed with those finishes on those cars Ian. I have yet to be able to do such a fine finish on any car.
Matts, That is some fantastic work here! Keep it coming!
Heavens Eagle
Well-known member
Keep popping in Mark! I know you feel like all kinds of negative stuff but we are here for you, keep in touch and let us know how you are doing.
Go in to your hobby place and just sit if nothing else. You might find that just sitting there can get you a little motivation and then you will find that you've gotten something done and forgot about how poorly you were feeling. Just glue some parts together or paint on something.
Take care my friend!
Jeeves
Well-known member
Ok so some more work on the b&w LRDG...and I've posted a link to the new build thread in dioramas...
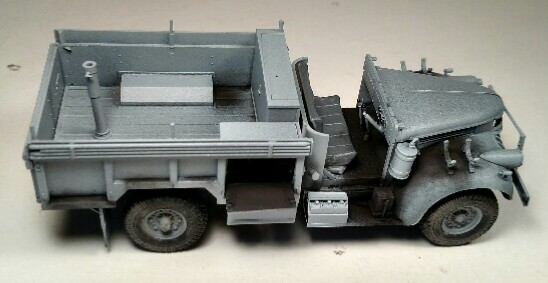
https://www.modelersalliance.org/forum/just-like-the-real-thing/153919-alone-and-in-jeopardy#315215
Also started work on the FT-17 base...some scratch-built barb wire.
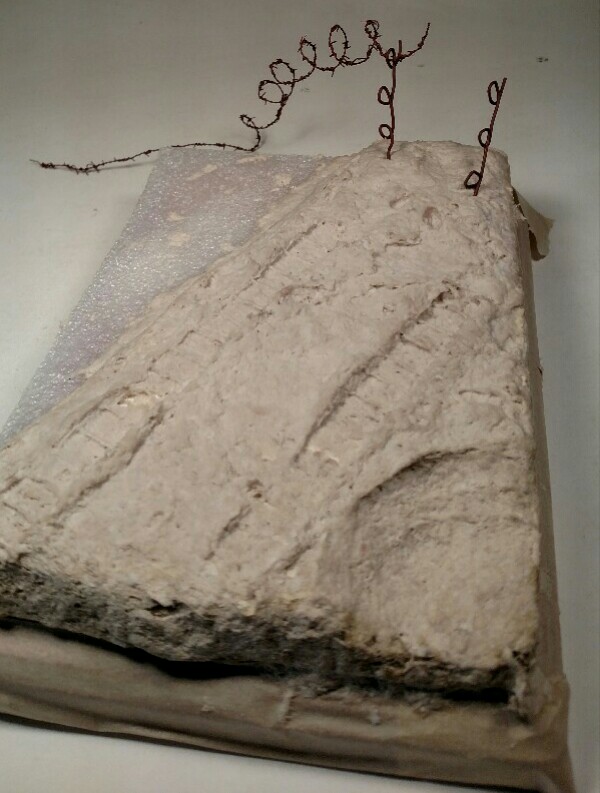

https://www.modelersalliance.org/forum/just-like-the-real-thing/153919-alone-and-in-jeopardy#315215
Also started work on the FT-17 base...some scratch-built barb wire.

Jeeves
Well-known member
Spent the morning riding my bike in the battlefield and felt inspired to work on terrain. First up is the base for the FT-17...
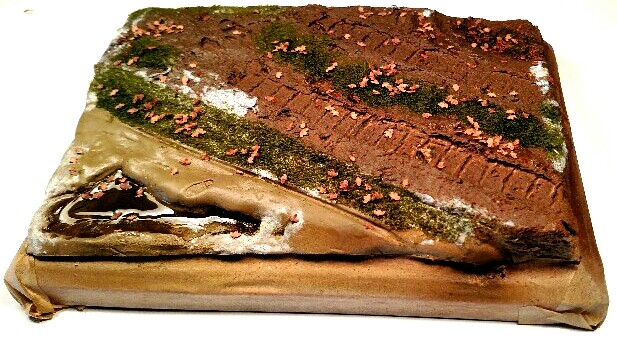
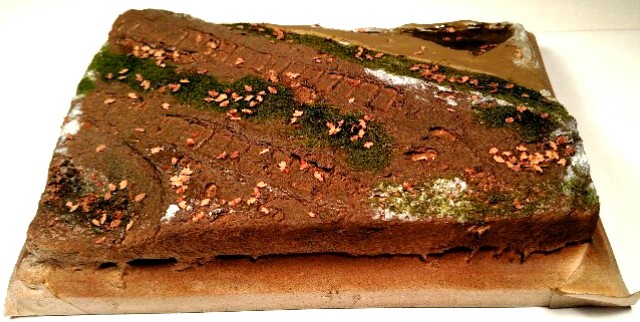
After that was more work on the base for the b&w/color diorama... quite happy with the color side based on the reference pic I'm using...
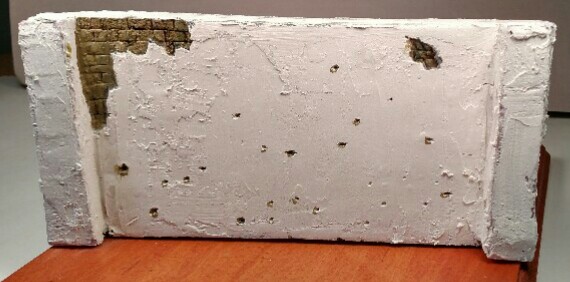
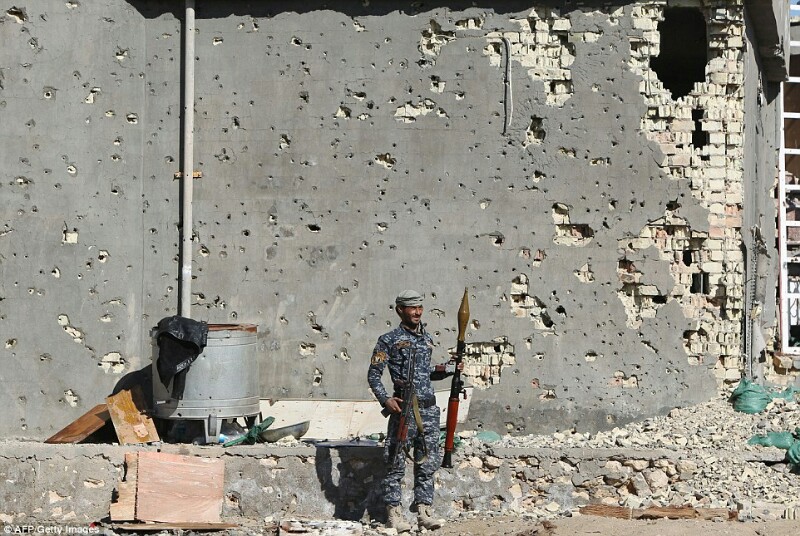
And the brick on the b&w seems a bit blah...might do the stucco halfway up like the reference pic...
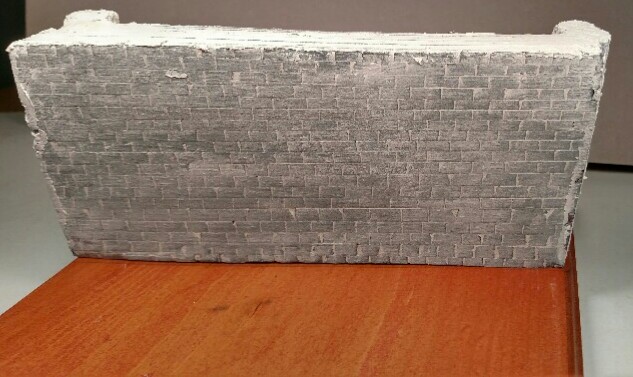
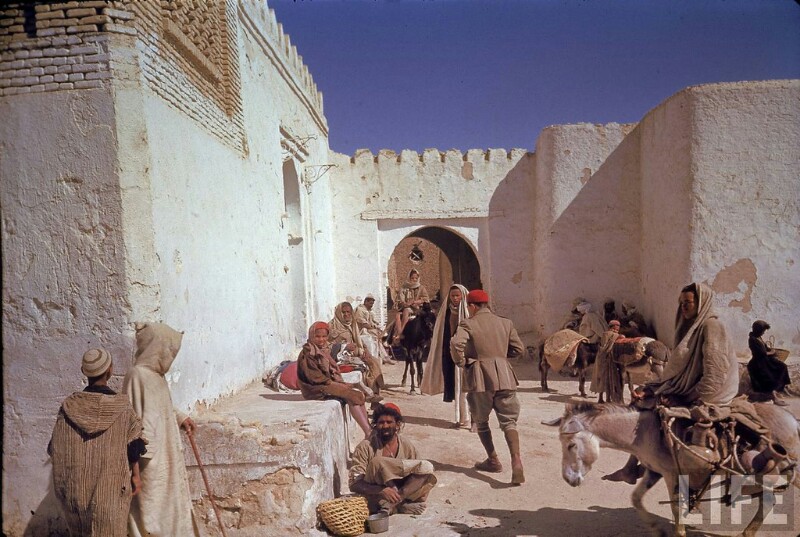


After that was more work on the base for the b&w/color diorama... quite happy with the color side based on the reference pic I'm using...


And the brick on the b&w seems a bit blah...might do the stucco halfway up like the reference pic...


ij001
Well-known member
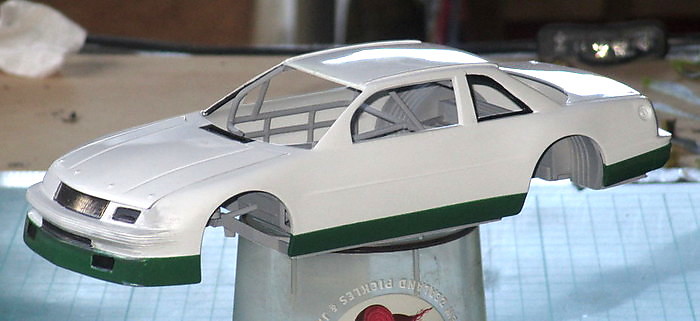
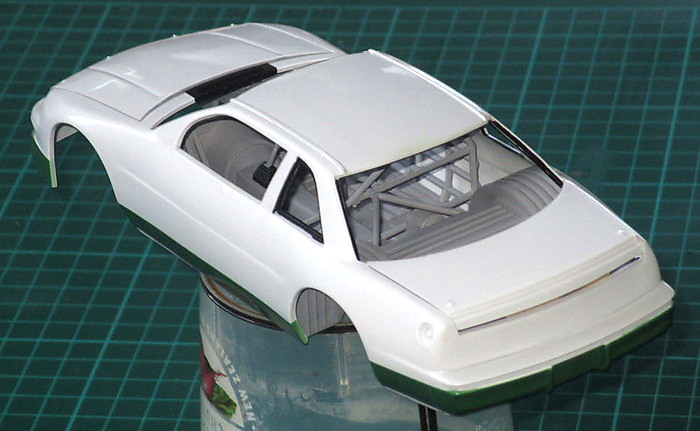
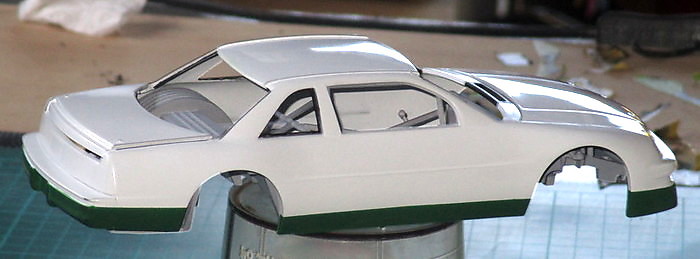
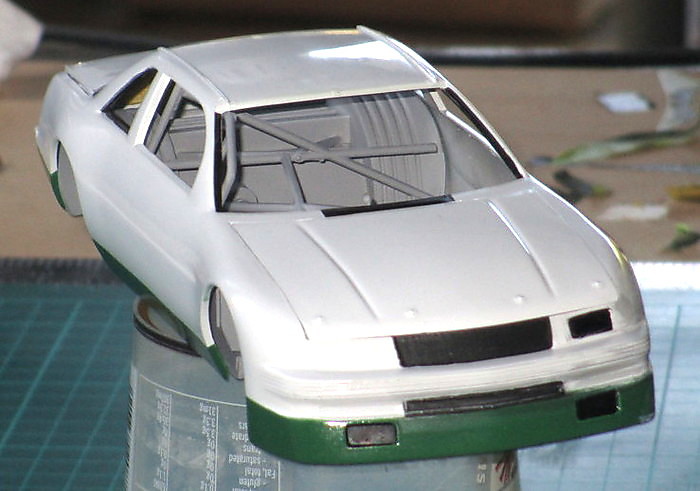
Decals started:


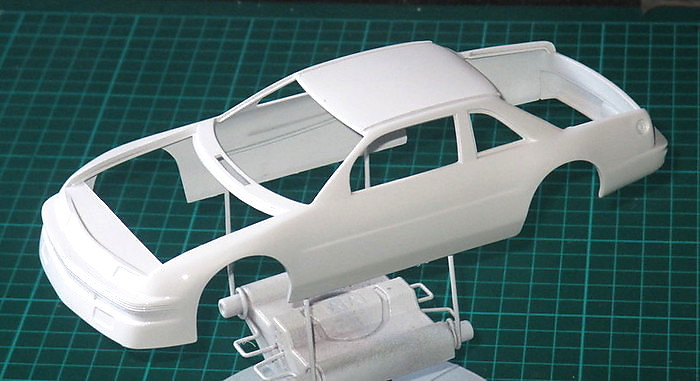
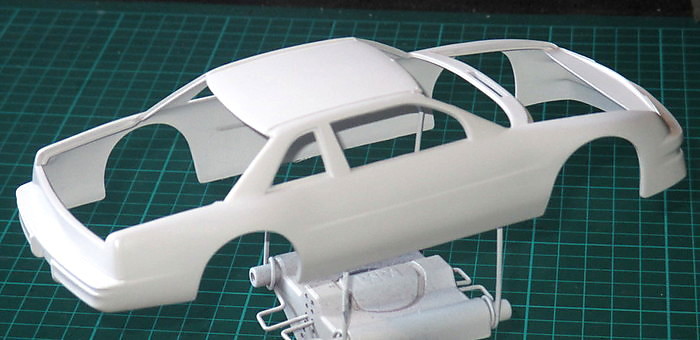
I've done enough NASCAR models to know that you should never try to add all the decals in one session. My way is to put all the major ones on in the first 'sitting' then seal them in the following day with 'Kleer / Future' then wait another day or so and add the rest. Absolutely no point rushing when you're on the 'White Flag Lap', right ?
Ian.
Similar threads
- Replies
- 39
- Views
- 10K
- Replies
- 60
- Views
- 19K

