Okay, as promised, here’s my latest progress on my models that I got done before Christmas.
I’ll start with my little Japanese Centauro-wannabe prototype vehicle. It had been sitting and waiting for the second color of its camouflage pattern for awhile now so I figured it was time to get going on it. I pulled out my Silly Putty and masked off the areas I wanted to remain green:
Now when I have time to get to my spray booth, I’ll give this a second color. I’ll also clearcoat my Japanese Patriot PAC III system while I’m at it. That has been waiting for a while to be finished too. No pics of that as I haven’t done anything pic-worthy yet.
Moving on, I worked on my Pershing II system too. I built the engine cover, but did not glue it down yet. I also added the front armor plate in front of the cab, as well as other bits and bobs:
The cab and engine cover aren’t glued down yet as I have to paint the engine first; it is slightly visible under there:
After this, I started the trailer for this model. It is a very complicated assembly so this is as far as I got so far:
This is going to be one big beastie when I get done with it:
After this, I started on my SMERCH. I finished adding all the remaining bits and bobs to the chassis on this. Finally that part is finished:
Just for fun, I dry-fit the main platform on the top of this:
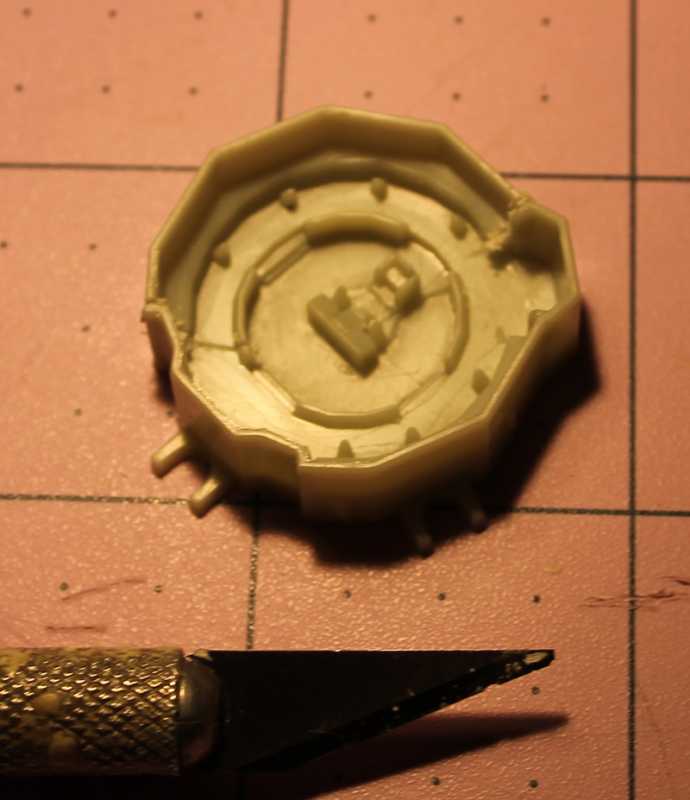
Upon inspecting the pieces and seeing the instructions, I decided that the pivot point for the launcher and the platform where the launcher traverses was too weak. I want these rocket tubes to traverse so I went to work trying to find a way to strengthen this so the tubes would traverse. To start, I added the retaining pin to the lauuncher:
Then I added rod styrene to the groove between them to solidify this and make it one larger post:
Later I’ll sand that smooth to make sure it fits in the hole smoothly.
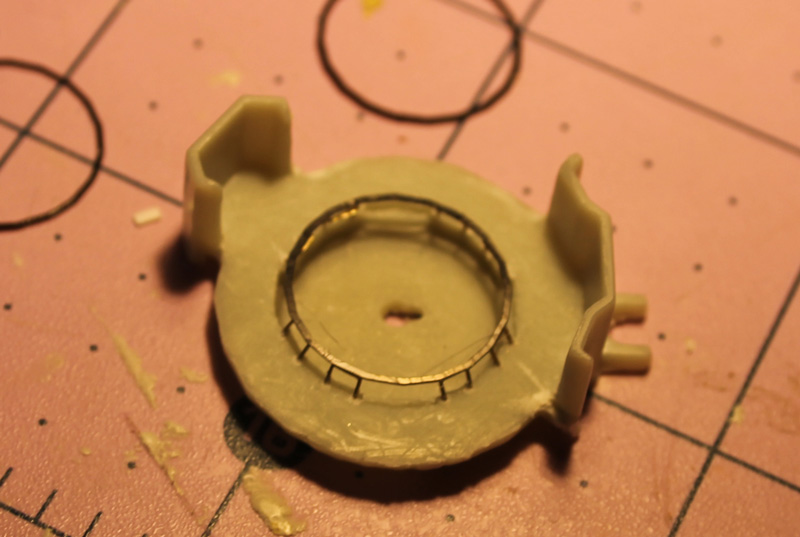
Speaking of the hole, I widened it to make sure it would be big enough:
Later on, I’ll attach that with a bigger plug plate to make sure it stays in place and allows the tubes to traverse. Hopefully this works.
Finally I got some work done on my Leopold rail gun too. I decided it was time to get the wheel/axle assemblies finished. I put them all together; making sure they were all lined up straight, then I installed them on the trucks:
Later I finished the trucks up, adding all the bits and bobs needed:
After that, I finished up the ammo crane/generator box, except for the railings:
I know the shell on the top looks crooked, but it’s an optical illusion from the angle. I checked it.
I left the railings off this and the trucks because I know I’d break them if I added them now. I’ll put them all on last. I did the same with the Dora and it worked.
Finally, I also got the main gun installed on the main gun carriage and finished the basic construction on it. It works:
That’s all I have for now.
Oh, all the models I mentioned in this post (but not all pictured) are the last five models I need to finish to reach my goal. Once they are done, I’ll have reached my latest milestone. Now, I don’t know when I’ll be able to get to my workbench again, so stay tuned and I’ll keep you updated when I do. Meanwhile, thanks for looking in, comments are welcome.


