• Modelers Alliance has updated the forum software on our website. We have migrated all post, content and user accounts but we could not migrate the passwords.
    This requires that you manually reset your password.
    Please click here, http://modelersalliance.org/forums/login to go to logon page and use the "Forgot your Password" option.

All Righty ... What's on the bench today?

Bob, Hippy Ed says :smack


I have started in working on my T-90 again. As the one I chose to do was the lead tank in the squad that was in the Victory Day Parade in Moscow in 2010 it is going to be all clean (though not shiney) I will just have to figure out how to make the flag it had flying.

Videos on U-tube have been helpful.
 
Not sure if Archer Transfers makes the flag you're looking to use, but applying it to foil and then using the abilities of the foil to give it proper folds might work- they have an excellent tutorial on their website
 
Been ducking the heat and humidity all week- makes working in the Man Room unbearable...but I did manage to finish up the X-Wing for the Galaxy Far Far Away build...

image~5.jpeg

image~7.jpeg
 
Not sure if Archer Transfers makes the flag you're looking to use, but applying it to foil and then using the abilities of the foil to give it proper folds might work- they have an excellent tutorial on their website

Thanks for the suggestion, I will look, but don't expect to find the exact one. It is some kind of squad flag. I have found drawings of similar flags, but certain symbols in the center area and four round spots toward the corners change from one (group, squad, division) to another. Other than that the orange corners and whit background are pretty much the same.
 
104F here now 1430 hours (2:30 PM) and I have to bicycle about 15 miles each way in order to pick up my Revell 1/28 scale Fokker Dr.1 triplane kit I'm taking parts from for my Fokker F1.1 triplane build.

I'll be posting a step by step build in the Wesendorf Field sub-forum.

Cheers
 
Italeri Triumph 350
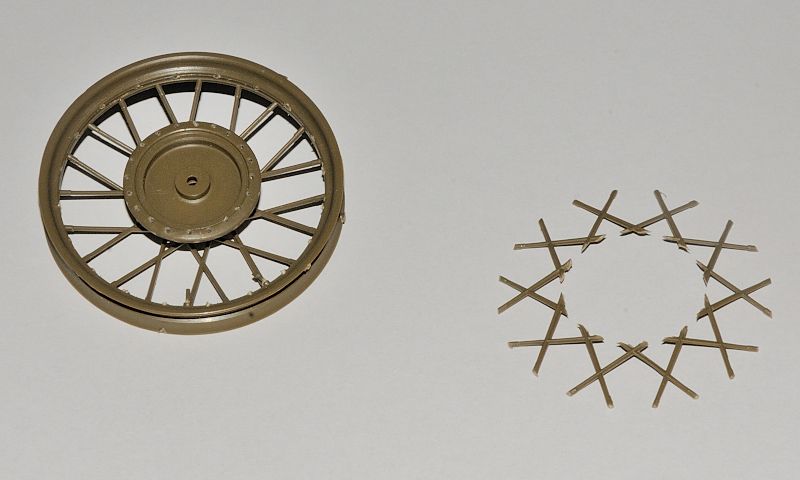
At the moment i am wrecking some wheels by cutting out the plastic spokes and fitting some piano replacements. Its not going well :( think i might have wrecked this kit ........


Your not wrong MP


You can see the difference between the steel spokes and the plastic in the thickness here as i have only done half/one side. The steel spokes look better but would anyone really notice once its all sprayed olive drab ?
I think maybe its a touch to far for my skills. fun to experiment which is what its all about though :) :)
One problem is the plastic spokes go through each other where they cross where as you obviously cant do that with steel so the spokes have to go alternate from inside and outside the hub which is tricky and will be a bigger problem if i do the other half.
 
Actually Paddy, it looks like you have done well. As far as skills go, you only extend and improve your skills by trying things like this. You have done quite well. Especially for a first go! (y)

Only detail I have noticed is that there is a thicker flange at the base of the spoke around the rim. The easy way to add that would be to use some albion alloys tubing around the spoke. A way to do it would be make the holes in the rim big enough to slide the tubing through and then the wire goes inside. When the spoke is placed, slide a piece of tubing over the wire and through the hole until the desired height is reached and glue in place. (for next time of course)

Otherwise a superb first attempt.

As to doing these kind of mods, the hard part is the planning. Thinking it all the way through with all the steps. It takes time, but the process then goes a lot smoother once you start the cuttie-n-choppie.

Oh, and those tubes are the tensioners for the spokes if you are wondering.
 
Oh, a suggestion to add the tensioners to the existing new spokes. Take some thinned putty (or thick paint) and paint the extra thickness to the base of the spoke. Thin with several layers is better than trying to get it all at once. Then you can build up the desired thickness gives more control.

I have learned more from fixing mistakes than I ever learned from a smooth build. Fixing mistakes is the real challenge.

Doing great Paddy! (y) (y)
 
I was on the same line as you as i bought some albion brass tube .5mm bore but it doesnt fit on the .5mm piano wire, in anycase TBH it looks too big because while the ID is .5 the OD is 1mm. I have looked at sleeving as well, nothing in the normal commercial shops but maybe something the the Hiroboy type places.
Thanks for your kind words, i will have a go at the other side. Thankfully the tyres are hollow so i dont need to tidy up the inside of the rim too much.
 
It's coming along fantastic Paddy. While 90% of of the general populace may not notice the difference between the plastic & metal spokes...90% of modelers will. :good:
 
Notice back on Alex's build where the holes on the rim are slightly off set from each other to accommodate that overlap Patty.

I think it would pay off, well worth the effort. (y)
 
Wow Mike great Job ... Paddy nice looking wheel ...

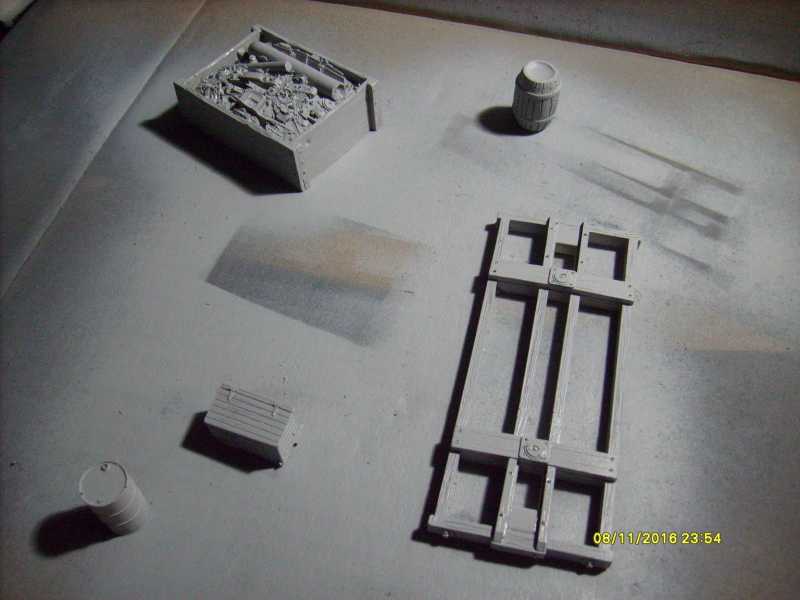
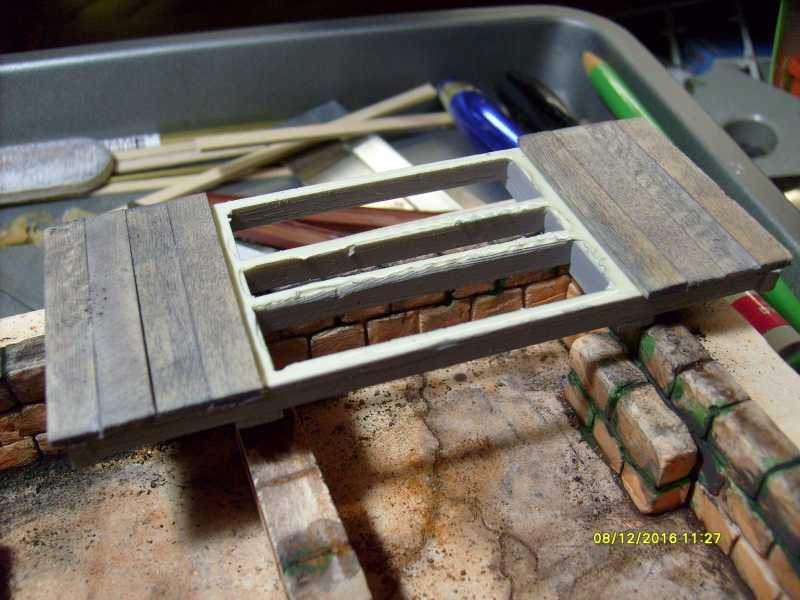
I started two more projects ... to go with the Small engine terminal Modules ...

From Morgan Hills Models ... 1/48 scale ash pit & a small 16 foot jib boom crane/scrap car ...

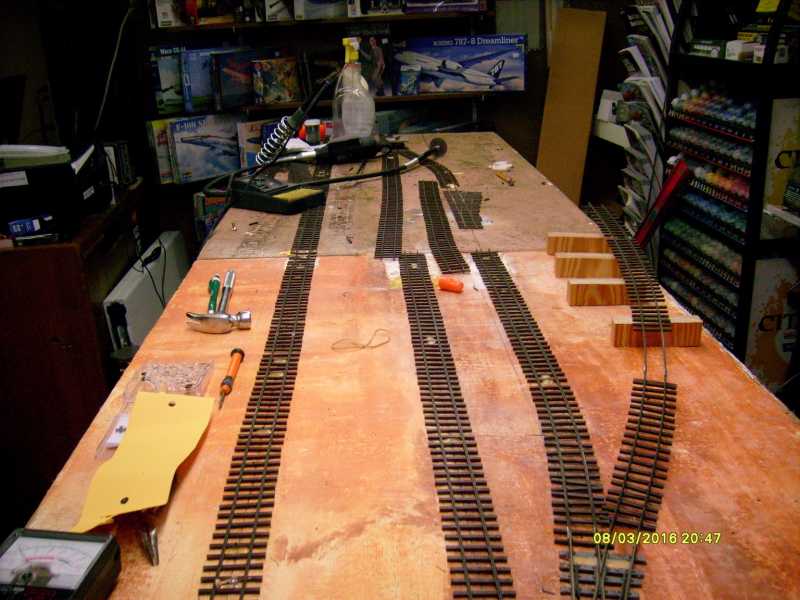
For the small engine service facility modules .... Track being laid ...

hec6ccc1.JPG


Two 2' X 4' modules ... will be part of a 31 module railroad display ... in Oct 2016

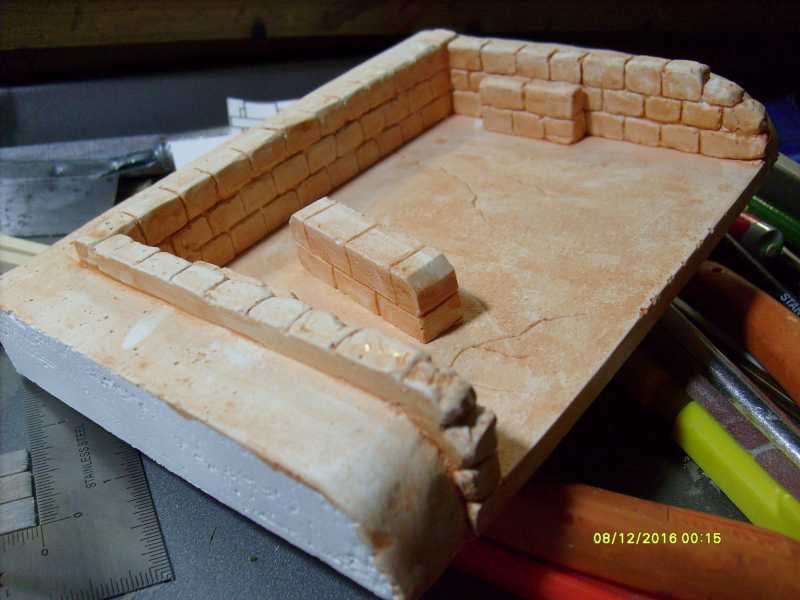
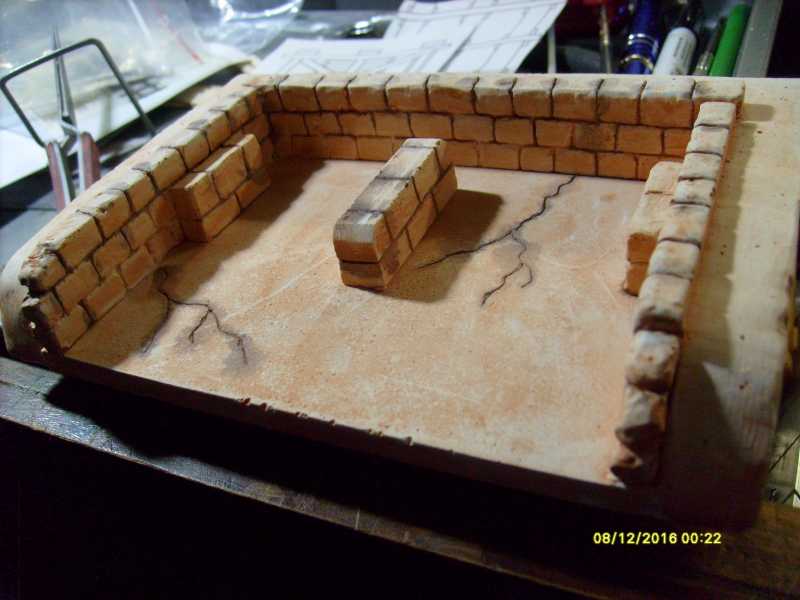
The ash pit is being painted different stains ...

h4fbbd49.JPG


h0e4bb31.JPG


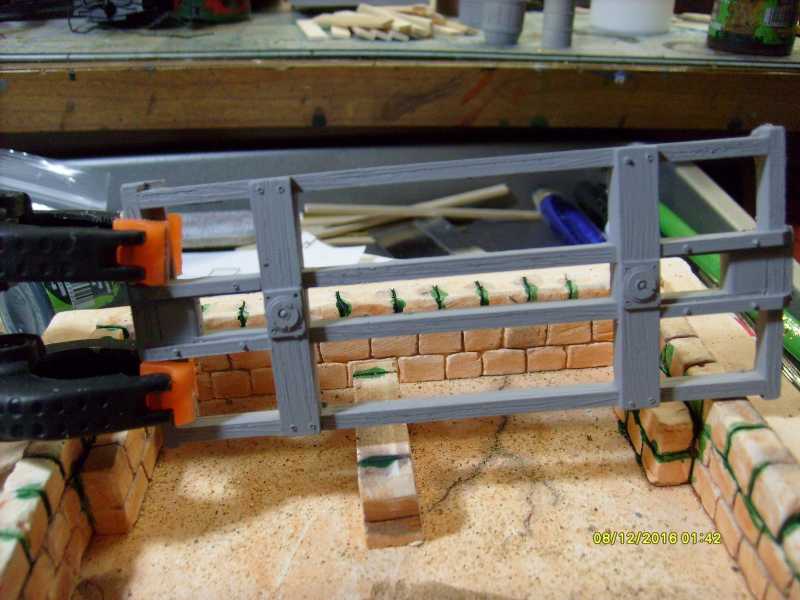
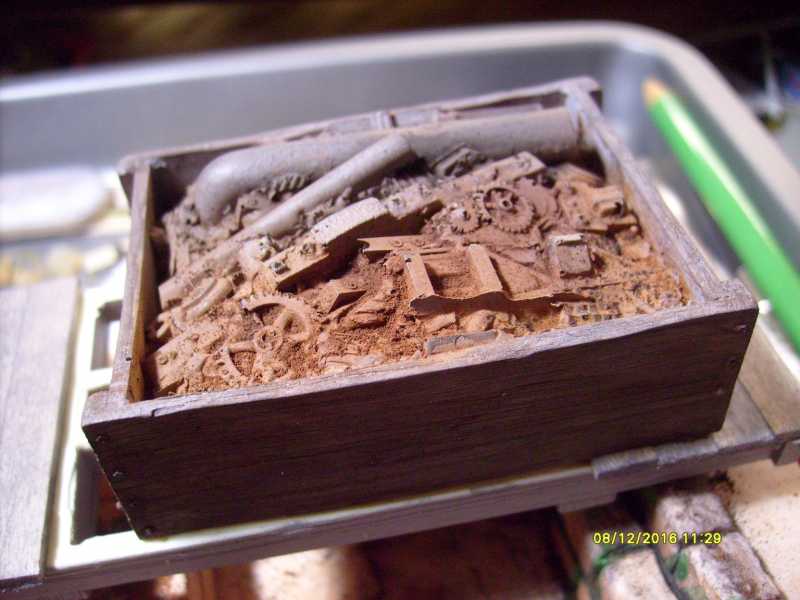
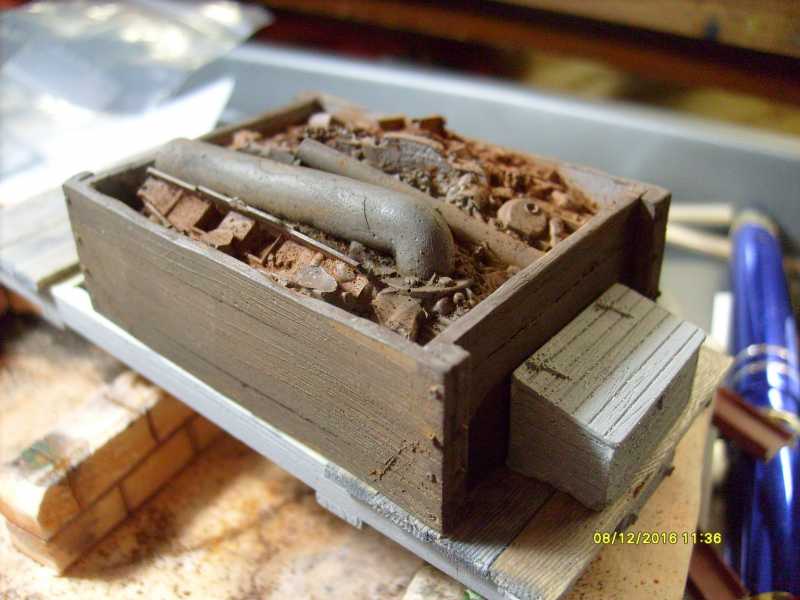
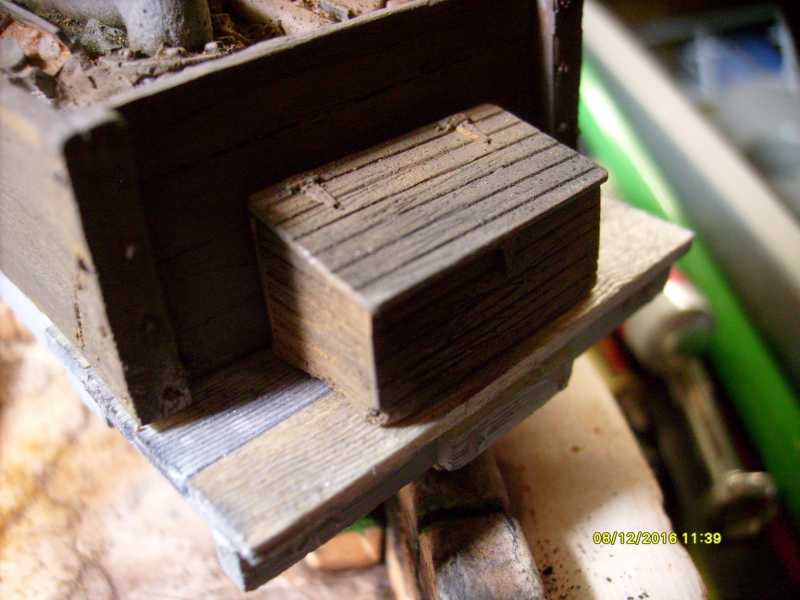
Then we started on this little scrap car ... for my Rail Truck to pull ...

hba90172.JPG


h475e1e5.JPG


h20bdf5b.JPG


The beginnings of the Scrap car ....

ha5dfba9.JPG


h05d0e41.JPG


h47f88ba.JPG


Scrap load ... weathered with Brandon's Powders ...

h31cd45b.JPG


h41684c0.JPG


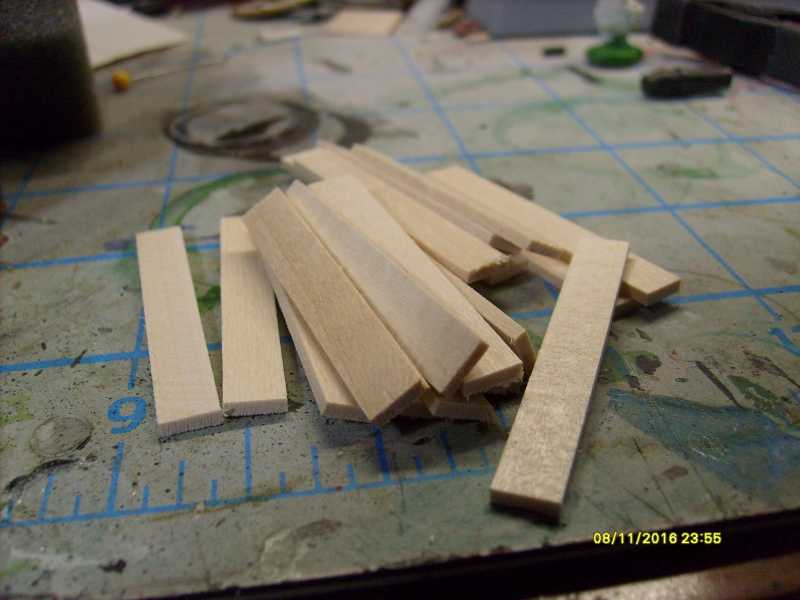
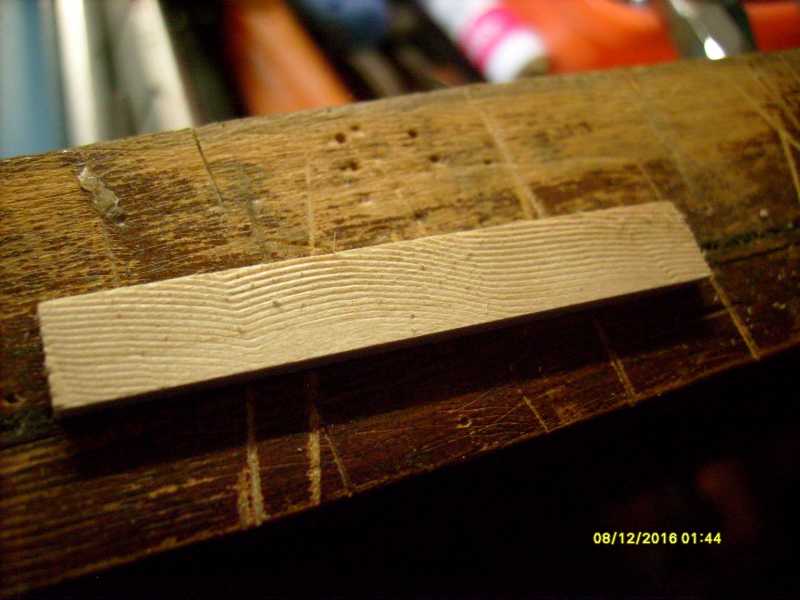
The deck is done now just waiting on the Jib crane's primer to dry ....
 
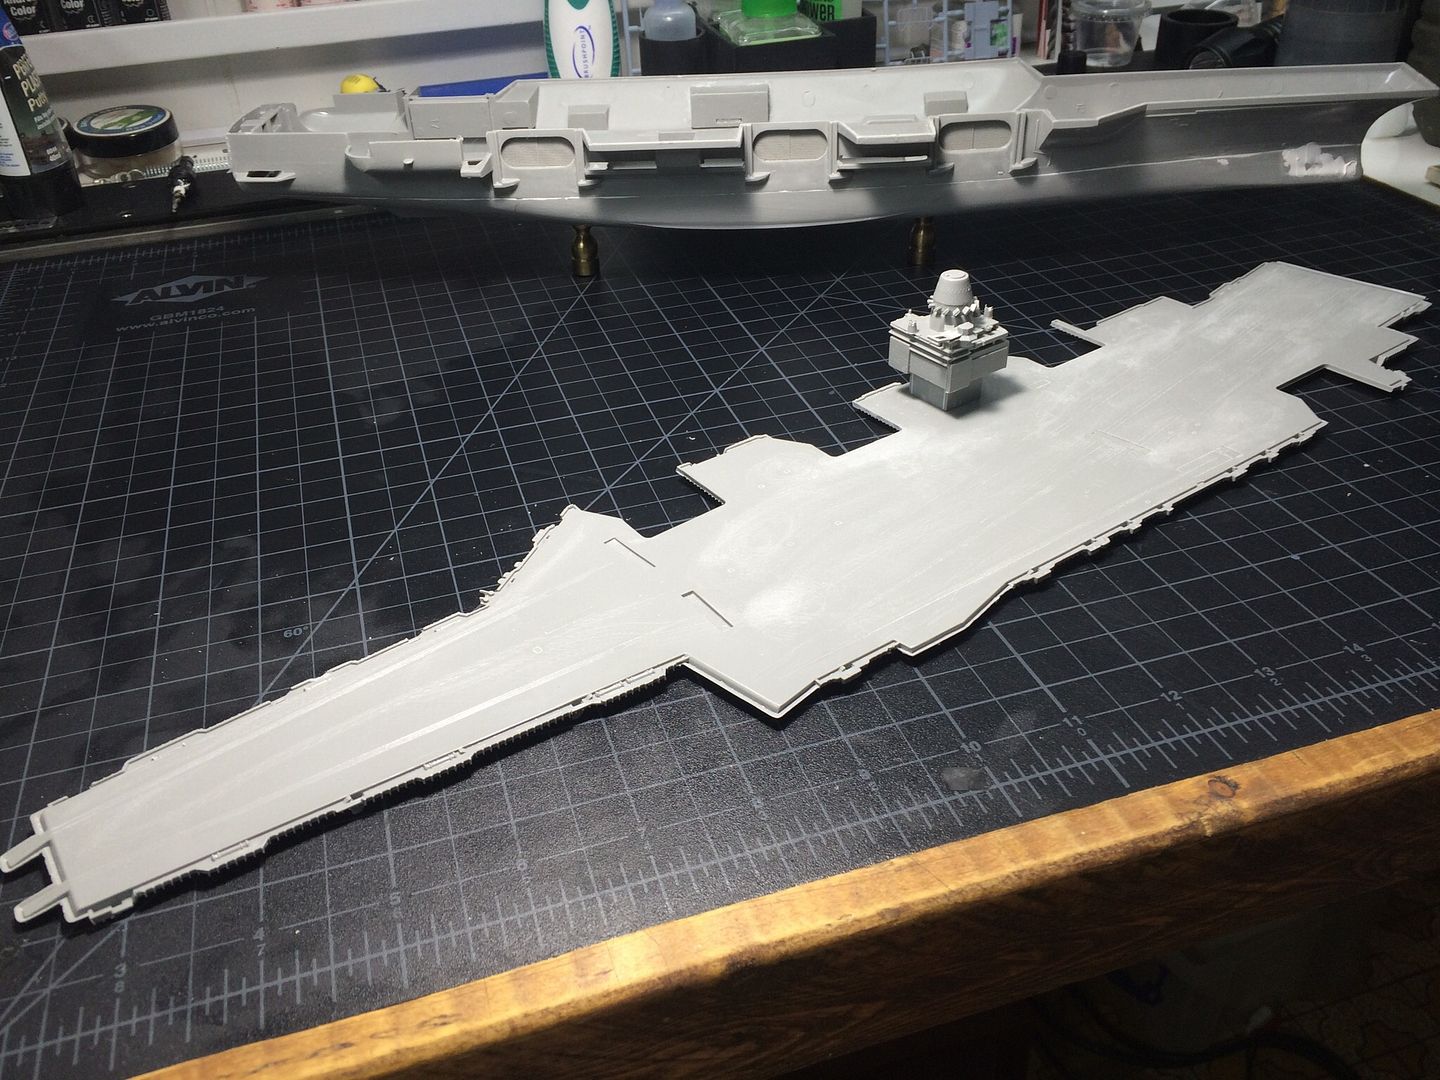
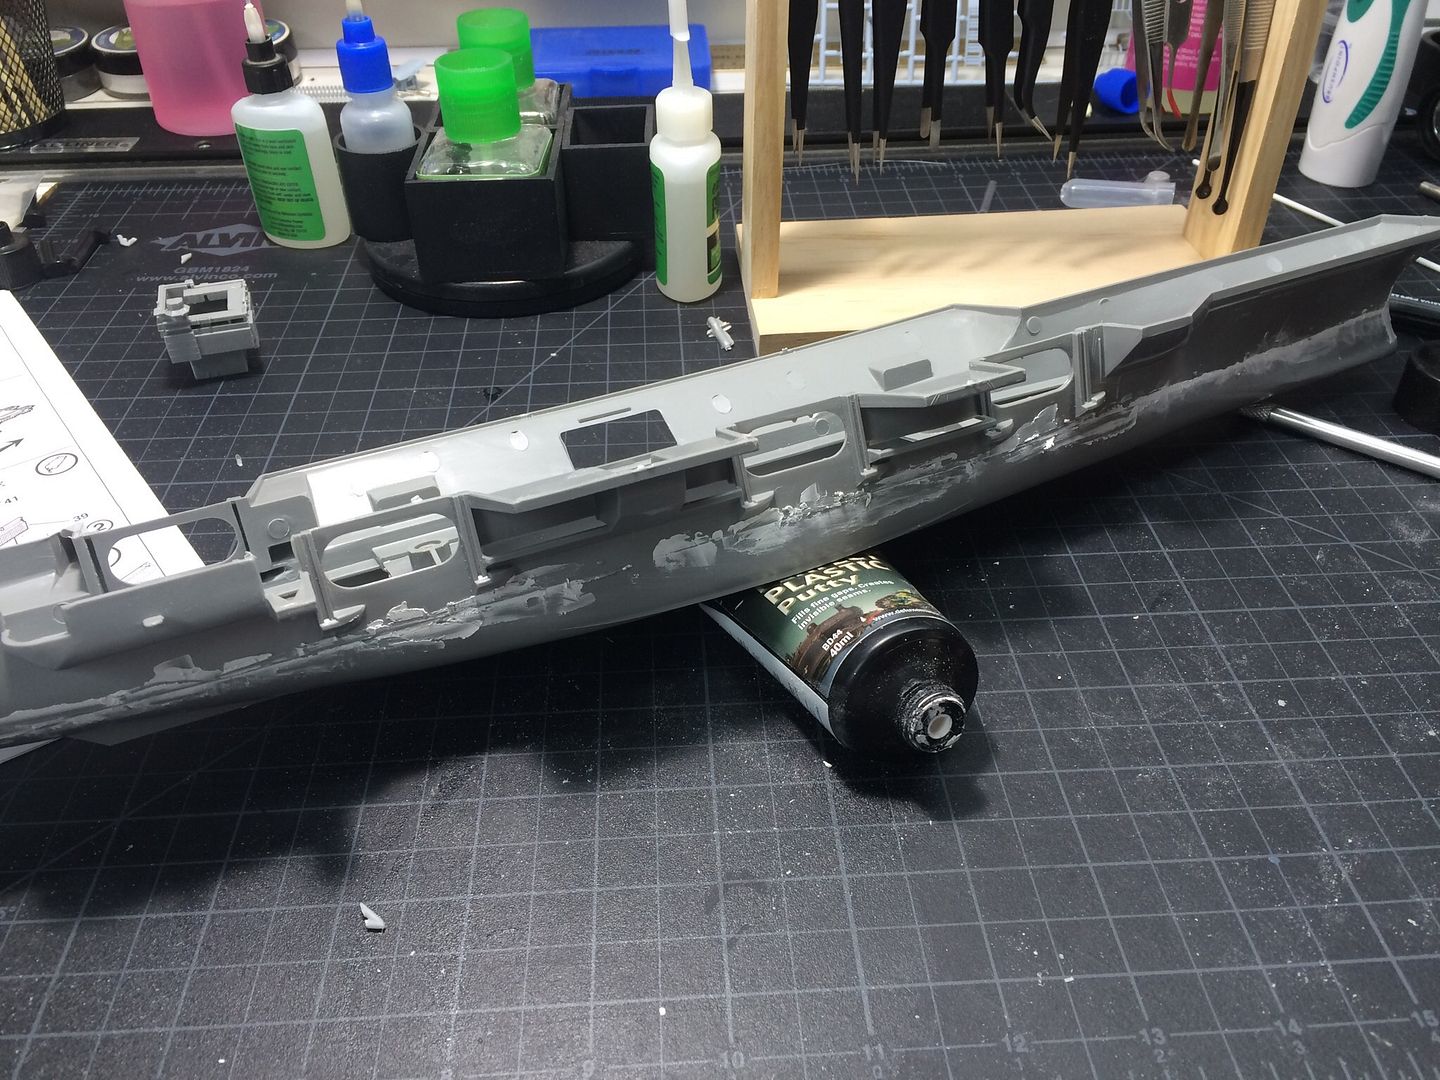
Working on a 1/720 USS Enterprise as a gift to one of Ian's home health nurses. Her late husband served on board.

image_zpsqk2fffhy.jpeg


image_zpsnvmzqu7y.jpeg
 
Wow, after five days away, I finally got caught up on this Thread! Man there has been some phenomenal work going on! Way to go to all of you doing such incredibly masterful work. I haven't gotten much done lately, but I'm hoping to have something to post fairly soon.

Meanwhile, keep up the outstanding work!
 
Back
Top