• Modelers Alliance has updated the forum software on our website. We have migrated all post, content and user accounts but we could not migrate the passwords.
    This requires that you manually reset your password.
    Please click here, http://modelersalliance.org/forums/login to go to logon page and use the "Forgot your Password" option.

All Righty ... What's on the bench today?

I think it would be a cool idea. One of the main reasons I try to follow a lot of the builds (especially ones I want to build myself at some point) is to see how the kits fit, what the original detail is like (or comparisons to added AM bits that are utilized) and what kind of fiddling is to be expected should I choose to venture down that road. It can also impact whose kit I choose to go with in the end.

Watching Mike's build of KH's Jaguar ultimately led me to roll the dice with that kit, after seeing how it could build up with a little bit of fiddling. Listening to some of the people over there complain about the kit you would think it was unbuildable. :rotf
 
My two cents ... We are modelers ... If it don't fit make it ... As for me I don't like a shake the box kit ... Building is what we do the kit is just the starting place ... I started about an hour ago putting a Econami DCC chip in my On30 Shay it is ready to be tested & programmed the head light wasn't working when going forward ... Even though I did. All wiring properly .... Seems Bachmann always has motor installed backwards ... So I reversed the motor wires head light is on when going forward ... Complain ??? Who would hear .... Just Get R Done
 
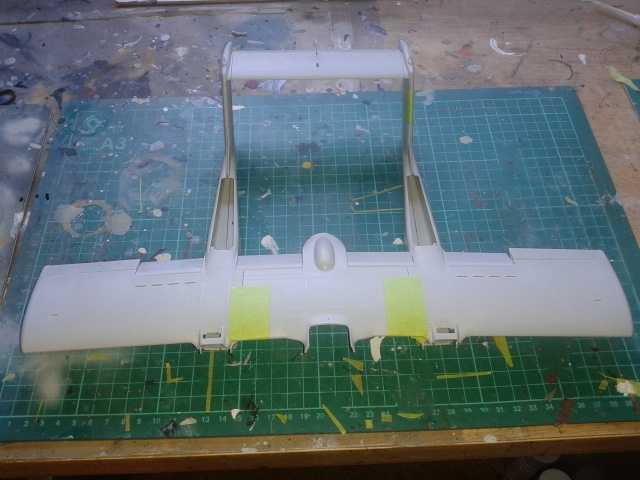
Cheers all, I'll start a thread next week (Daddies Little Stormtroopers are on Autumn holiday this week so no 'proper' bench-time for me until after the weekeend). In the meantime here's some idea of the size of this particular 'hoss' :eek:hmy:


he6e27c5.JPG


This is an A3 cutting board AND there's no forward fuselage on it yet.

AFN

Ian.
 
That's some wing surface. funny how it didn't load out any more than it does, looks like it could carry a load.
 
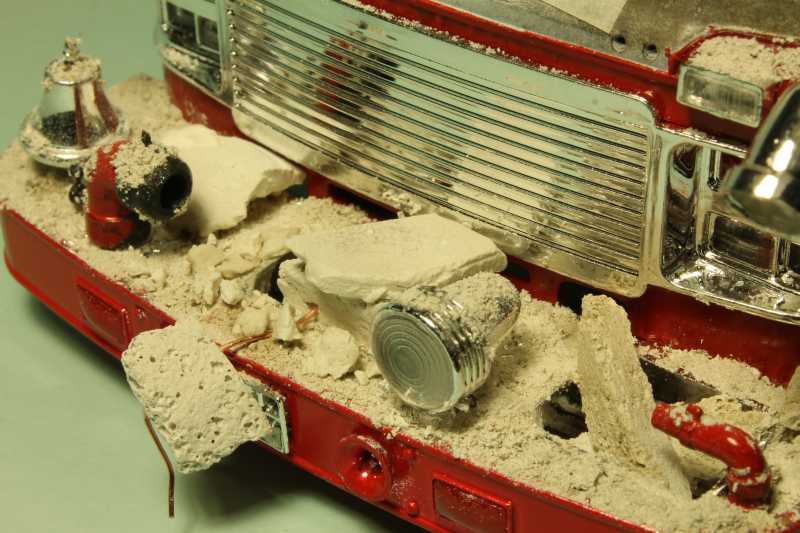
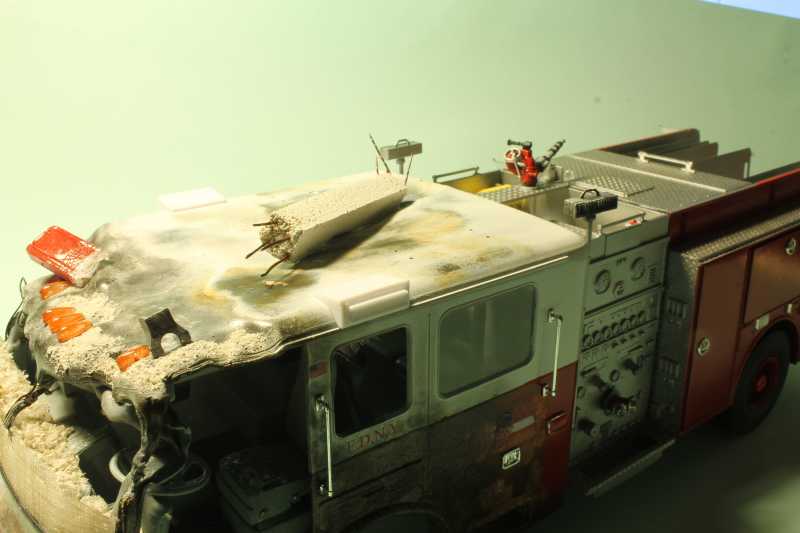
Apart from that Revell 1/72nd beast, I got another one on the bench, that is 1/24th scale ....


h3daa2b5.JPG


h8a113f3.JPG


Heaps more damage to be done ....tedious stuff ...


Laurence
 
Looking very good Laurence ... carry on excellent work ... Damage is the hardest ... We can all make it look good ... but making it look bad is completely different ... (y) :soldier (y)
 
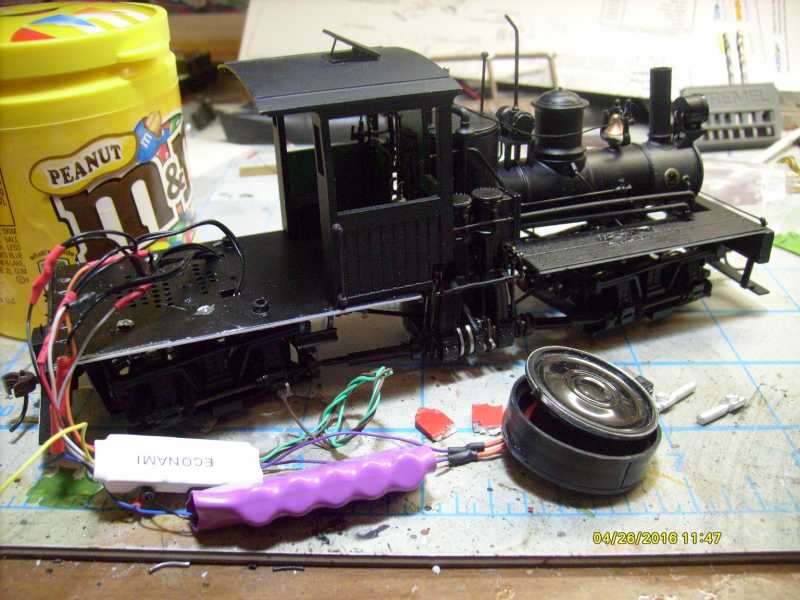
Today April 27 ... I'm finishing up my ECO-100 DCC SoundTraxx installation in My (slightly damaged) On30 Two truck Shay ... She took a side track at the last show ... and meet with the floor from about 42" .... :train

hfca1165.JPG


In the photo you see the Econami ... white heat shrunk object ... and a current keeper Purple Heat shrunk object .... Both of these have to go inside the tender I hope I can get it to fit along with the speaker ... which I may replace with a 23 mm mega bass ... the current keeper is a new product that will allow the engine to be powered for 10 seconds after track power loss.

I fell for that last night after turning off track power ... Shay was still making air pump sounds .... :rotf :coolio (y)
 
Been working on a few things this week-- including redoing my daughter's room for her 13th. While she was taking advantage of the Man Room to paint her shelves in relative warmth, I painted the Blackhawk and 88...

100_8280.jpg

100_8284.jpg


And while those were drying- I was attaching bits to the AMX-30B...
100_8288.jpg


Next up will be work on the tracks and PE bits- which Meng provides a very nice jig for-- PE jigs to help shape the brackets and grills on the left- and a track run to help align the tracks on the right...
100_8292.jpg


We'll see how well that all goes!

While looking through my old posters and prints for some Star Wars art for my daughter-- I came across this print- thought those who called Plattsburgh AFB home might enjoy--

100_8294.jpg
 
Started glueing some bits of the RA-5C cockpit together last night...as I was on my way to bed. Ended up sitting at the desk for probably 45 minutes or so. Didn't get to bed until midnight. :smack
 
Finished the Blackhawk-- a couple small challenges at the end- but was fun to build nonetheless!
100_8298.jpg
 
Very Nice! Were the rotors any problem? I've got a HH-65A Dolphin in the queue. I don't normally do aircraft but that thing interested me.

EJ
 
Nope- everything was pretty straightforward. I had my worries as some Minicraft kits in the last were a bit rough- but this one, while pretty basic, really gave no issues!
 
Good progress guys! Glad to see all these great models coming together.

This week I have a little bit more to show. I was able to get a lot more bench time than expected so I made the most of it.

I'll start with my aircraft. Only one update there; and it's a small one. I found the nose cone for the Me-110 and now I can move forward on this:

WIP_TwinPropsGB_XI.jpg


Next up are my ships. I got all the detail parts on and painted on almost all of them so far. Here's the USS Ingraham first:

WIP_USS_Ingraham_VIII.jpg


Next is the USS Arthur Radford. The main mast isn't glued on yet, that'll come later:

WIP_USS_Arthur_Radford_VII.jpg


The USS New York now has all her detail parts as well:

WIP_USS_New_York_XXII.jpg


Finally, I got most of the photo-etch and other detail parts on the USS Forrest Sherman. I still have more parts to add to the photo-etch platforms:

WIP_USS_Forrest_Sherman_IX~0.jpg


WIP_USS_Forrest_Sherman_X.jpg


After all this, I started the decals on all these ships, except the Radford. I still have to paint the white stripes and patterns on the deck first. The others are sporting their deck decals though:

WIP_USS_Ingraham_IX.jpg


WIP_USS_Forrest_Sherman_XI.jpg


WIP_USS_USS_New_York_XXIII.jpg


Finally, it's amazing what I find on my workbench when I'm moving things around. This is Revell's Chris Craft fishing boat that I started some time ago. I decided to pull it out and start detailing it out. Here's where it is now with some additional paint work done and the masking removed from the windows:

WIP_Revell_Fishing_Boat_I.jpg


That's all I have for all of that so far. Now here's my latest progress on my armor.


I'll start out with a couple trucks. The Canadian truck and the Japanese fuel truck now have a basecoat of green on them:

WIP_Canadian_Truck_V~0.jpg


WIP_Japanese_Fuel_Truck_IV~0.jpg


Then I decided to shoot another coat of Panzer Dunklegelb on the SS-100:

WIP_OTS2016_XXII.jpg


I also finished painting the mittraelerwagen with Panzer Schwartzgrau:

WIP_OTS2016_XXIII.jpg


WIP_OTS2016_XXIV.jpg


While it was sitting and drying, I had the misfortune of having the fan on my 'spraybooth' fall on this, breaking it up pretty good:

WIP_OTS2016_XXV.jpg


After some time, I re-assembled the wheel truck:

WIP_OTS2016_XXVI.jpg


I then finished adding all the rest of the broken parts to the rest of it:

WIP_OTS2016_XXVII.jpg


And now it is back in shape again! I also gave it a wash and a dry-brush of a lighter grey so now all this needs is dust and weathering to be done.


I also removed the window masking on my SS-100. All I have left to do is add the wheels and then weather this as well and I can call it done. Well, as done as I can get it since the decals went missing. They are only license plates so I can replace them with spares from my spares box:

WIP_OTS2016_XXVIII.jpg


Finally, I started a model for the APC campaign here in the Alliance. This is the Revell of Germany 1/72 scale Boxer. It's a neat little kit with some pretty good detailing. I started out building the lower hull:

WIP_APC_GB_III.jpg


After that, I added the floor plate inside:

WIP_APC_GB_IV.jpg


Next it had me build the driver's compartment:

WIP_APC_GB_V.jpg


After that, I added it to the lower hull:

WIP_APC_GB_VI.jpg


Next I started the rear troop compartment. Since the real vehicle is modularized, they made the model the same way. Here is the basic box:

WIP_APC_GB_VII.jpg


I didn't worry about the huge sinkholes in this because the top covers them quite well:

WIP_APC_GB_VIII.jpg


Later, I slipped this into the rear compartment on the lower hull. I was very amazed at how well this fit! This is only dry-fit in place:

WIP_APC_GB_IX.jpg


Well, that's about all I have for now so enjoy the tour. Thanks all for looking in, comments are welcome.
 
No race tonight, so I think I'm going to continue forward with the Vigi cockpit. Who knows...I may even go dig out my Pearl Harbor entry. :evil:
 
Slow down Mark your making Me look bad ... :rotf ... Very nice job on all of those ... (y)

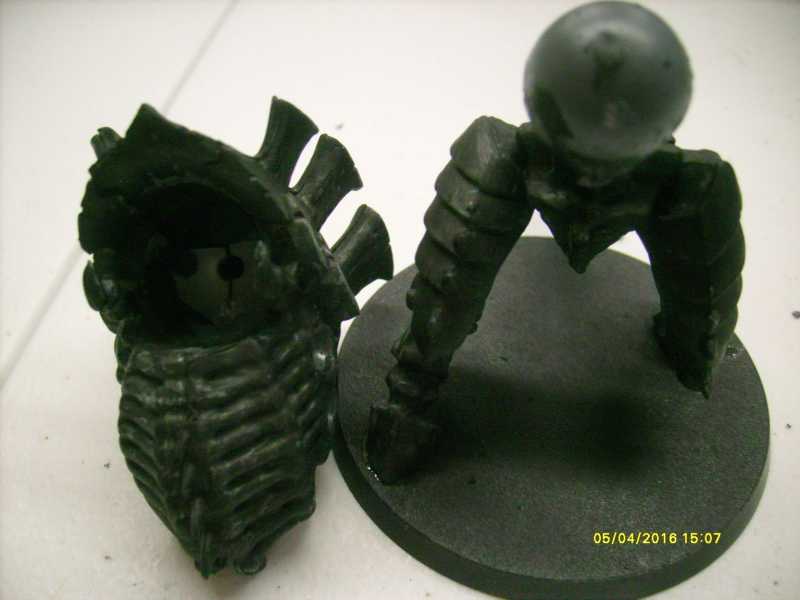
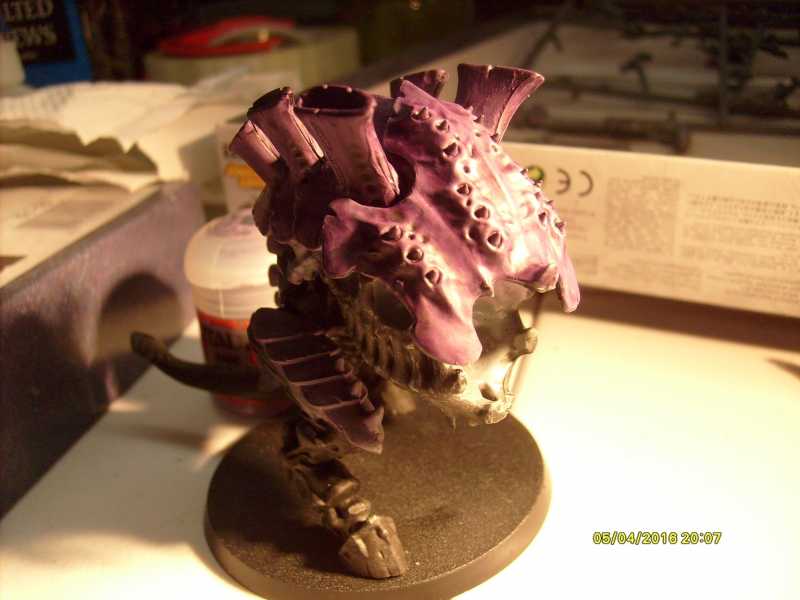
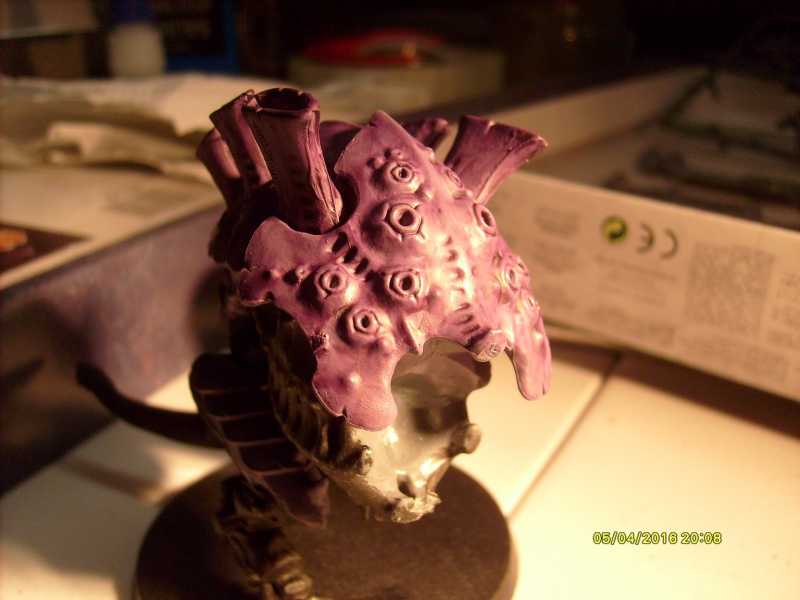
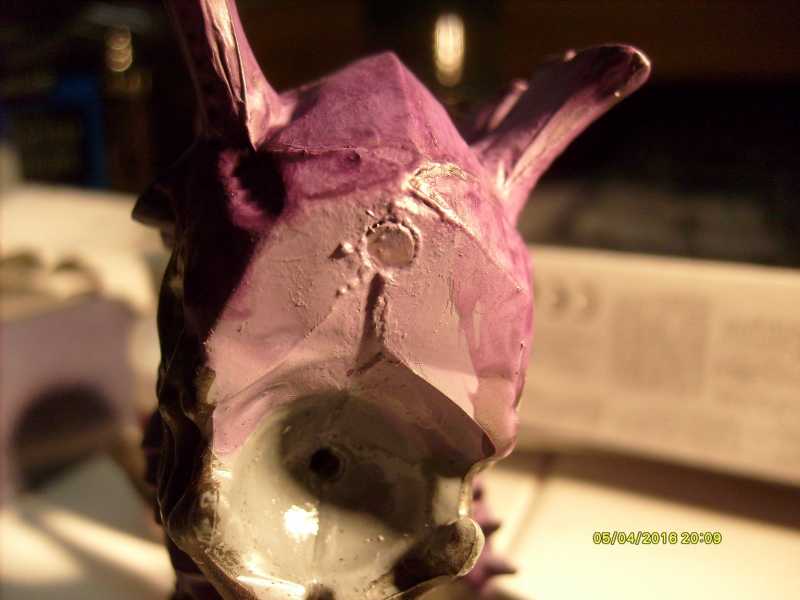
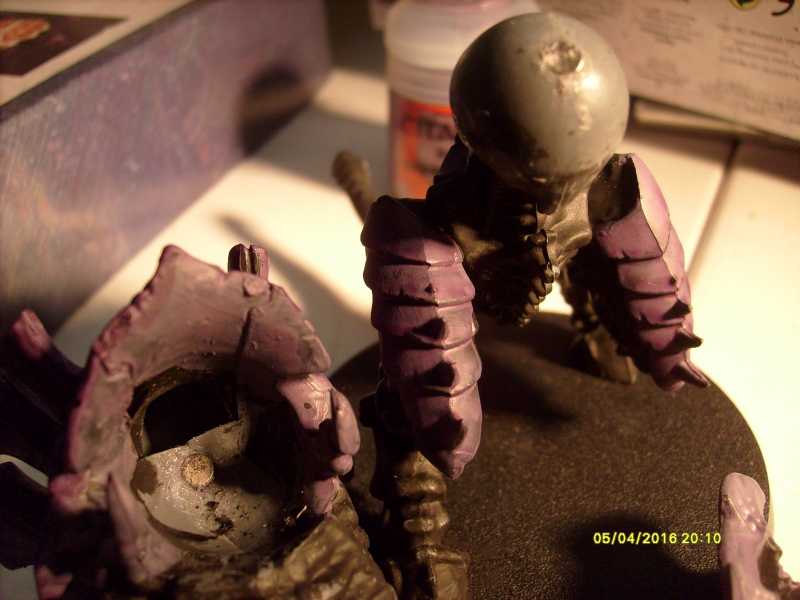
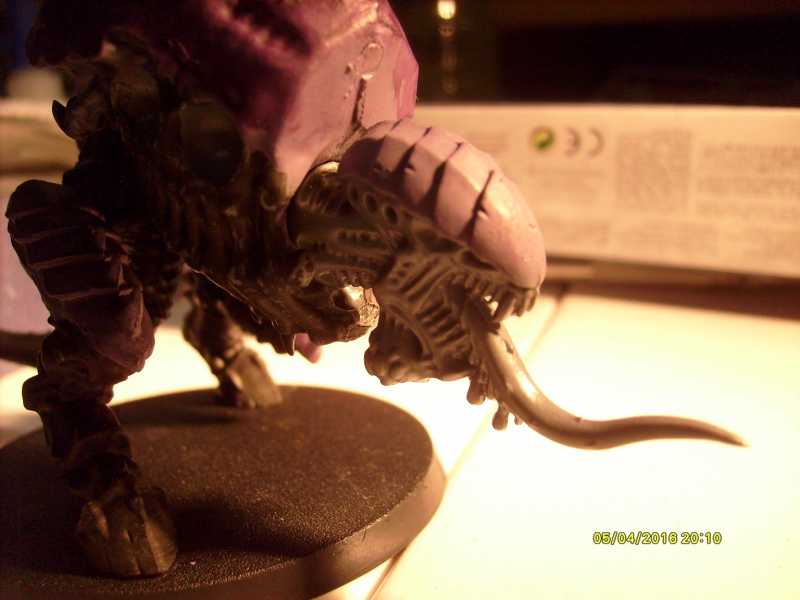
Me I decided to build a Bug (Tyranid Carnifex) while at the shop ... So I started with the legs & chest ...

h70d74d8.JPG


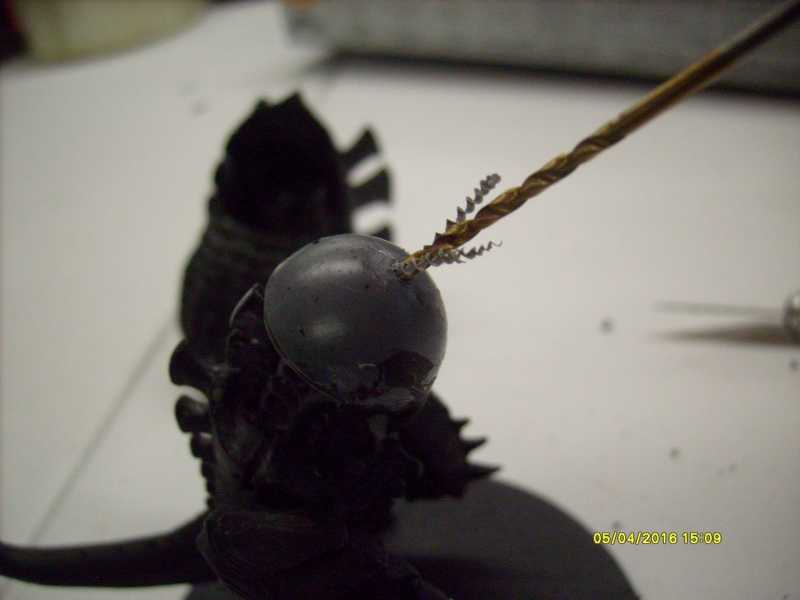
Then I drilled holes for Magnets ... so I can change these parts ... because I don't know much about carnifex's ...

he960075.JPG


h33397c5.JPG


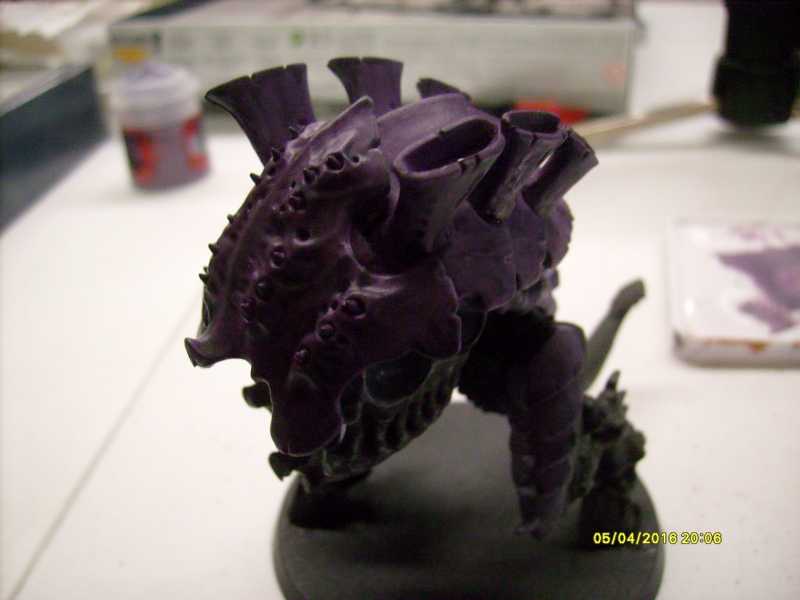
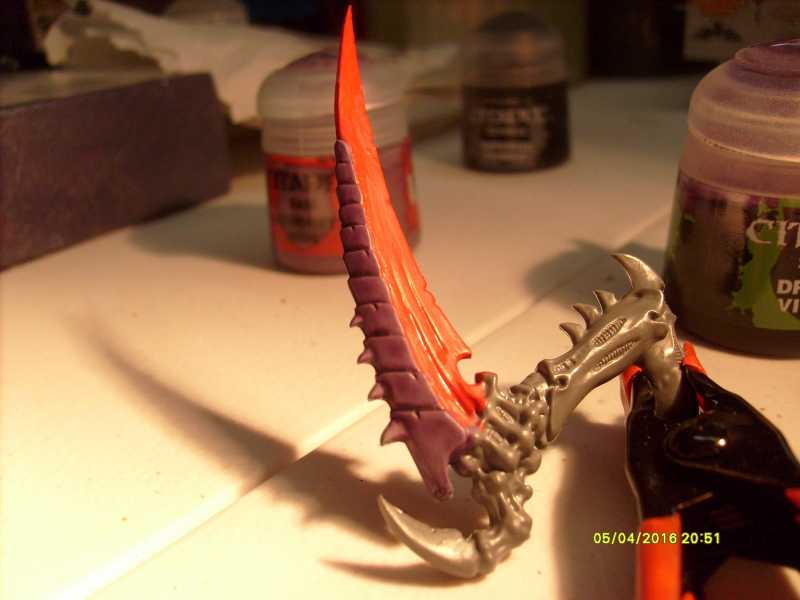
I primed Him black then added some Purple

h0198ef2.JPG


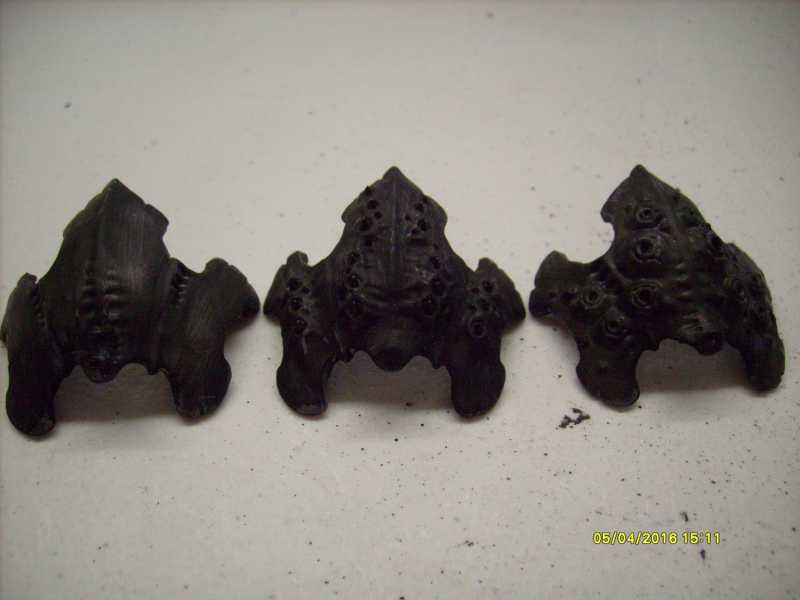
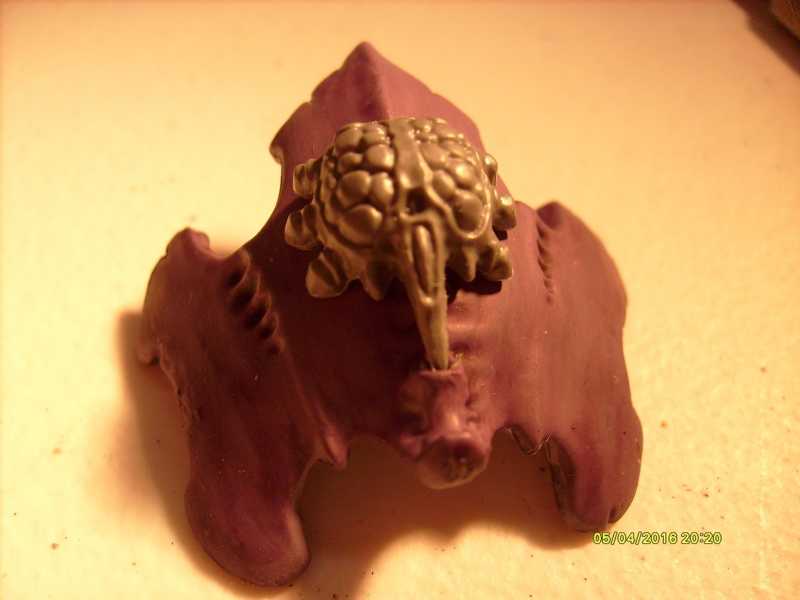
Here's different pieces on Its Back ...

h41d9029.JPG


h67326ba.JPG


The holding Magnet ....

hd684d5d.JPG


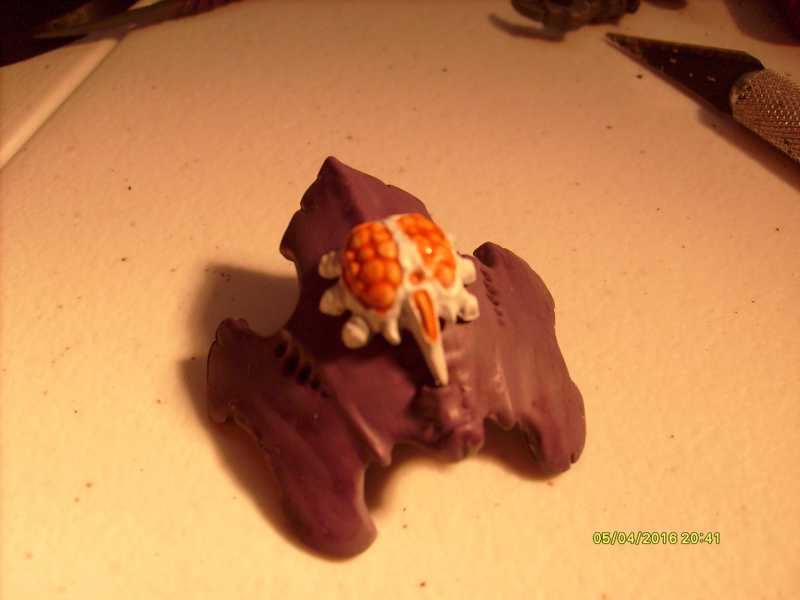
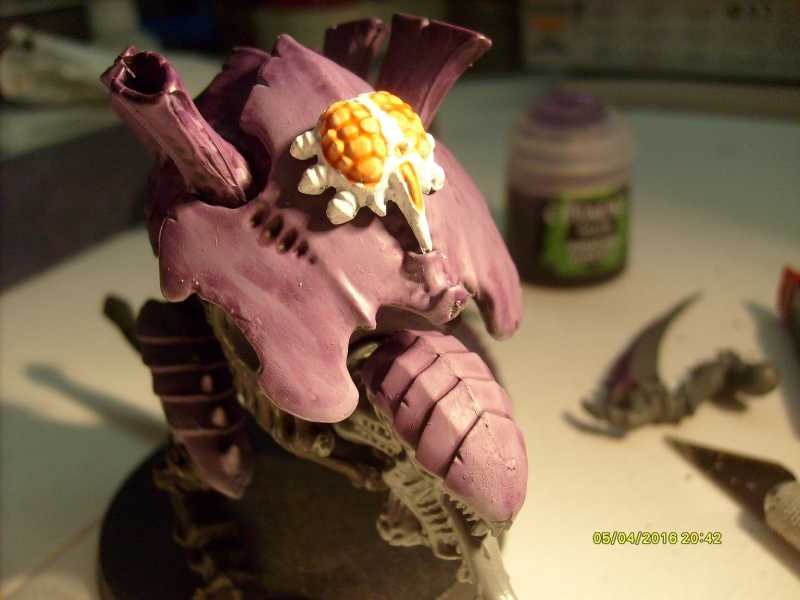
We're getting there ... still lots of detail painting left to do ...

h284ebbd.JPG


h9d89e17.JPG


I worked on this other version which has this little diddy on it ...

h3da5ed1.JPG


h691fab7.JPG


h95f493f.JPG


Then I started painting one of Its arms ???

h4f73d79.JPG


Only three more to go + finish this one .... other than that and about three On30 Locos & One diesel there is lots on the bench but, the fire is getting smaller ... just some flare ups here & there ....

Cheers Gerry ... :woohoo:
 
Back
Top