Duke Maddog
Well-known member
Mark try painting a flat white base then gloss coat it. Worked out great for me one something I did...can't remember now.ldguy
That is exactly what I have been using. After washing my hands and using paper towels to handle these things, I spray Flat White over Tamiya's grey primer and sanding smooth with a 4000 grit sanding pad. If there wasn't any dust or smudges beforehand, there always appears some dirt smudge afterward. I just don't get it.
Anyway, here's where I am so far on all these projects.
I'll start with the three that have been giving me fits. The Jet Commando needed another coat of paint so instead I masked off the leading edges of the wings and tail and painted on the black de-icing boots:

There was bleed-through as I knew there would be, so next I'll mask off the black parts and engine exhaust and re-shoot some more white. Then it'll be sealed again (hopefully!!!) and decals applied.
Next, I shot another coat of primer on the Shuttle with Boosters:

When it was dry, I shot another coat of white. The shuttle (so far) has remained white:

...but the boosters got screwed up again. Back to the drawing board...
The lower chassis of the two SCUDs got a coat of black on them:

Here is everything dry-fit together. What doesn't show is the inconsistency of the green coat on these that requires another spray session:

Finally, I had painted a dark blue deck color on the USS New York, but wasn't happy with it since there were brush marks galore on this. So, I stripped off the deck color and will try to airbrush it on and then mask to shoot the superstructure again:

After dealing with all this frustration, I decided to pull out some other models that I hoped to have better success with. I was rewarded with some success on these models.
This first one is the USS Ingraham with some additional bits and bobs added. I'm ready to try and shoot her deck along with the deck of the USS New York:

Next I pulled down the Russian Be-6 Madge and went to work on her so I could clear another large aircraft off the bench. I got the fuselage all cemented together and the main canopy/clear part installed. Here she is sitting on her wheels which are snapped into place:

While that was drying, I drilled out two parts that look like exhaust pipes that go under the wings:

They aren't very near the engines so I'm not sure what they vent out. Moving on, I also assembled all the underwing ordinance this bird is going to carry. It is quite a load:

Now that the fuselage had dried, I completed the assembly, adding the wings and tail. The front of the engines are snapped in on this picture here; I kept them removable so that I wouldn't break the props when it came time to mask off all the windows:

This is one big bird! As mentioned above, I now removed the engine cowlings and started to mask off all the windows:

That was a couple days ago. Now that the masking is dry, I can now add the cowlings and start painting this bird. Hopefully I can get to it this week.
Moving along, I pulled out another model I'd been working on. It was time to get the Stearman closer to completion. To start, here are all the engine parts before assembly:

And here they are afterward:

Now, when it came to the wheel spats; I realized that sanding the seams smooth on these, and then re-spraying them with my airbrush was going to be difficult if I installed them on the plane first. So, I went out of sequence on the instructions and cemented the two halves together on the sprues so I could more effectively sand these seams:

Success! Here they are all sanded smooth before I added some more tan to these to smooth them out before assembly:

Finally I was able to start on the decals. I chose to apply them to the upper wing first:

Some time later, all the decals were applied:

You can see here that I didn't bring the wing and tail decals together on the front of the wings and tail surfaces. Lining them up and getting them pressed into place made doing it this way much better. Any attempt to bring them together only complicated the application causing one to become misaligned while attempting to line up the other. Sometimes I almost tore them so applying them like this was far easier.
BTW, the top wing is only sitting on the inner struts of this model for the pic. I removed it here so I could install the engine:

Installing the engine was very difficult. There's an inner assembly that made attaching this extremely difficult. Not only that but there are several notches that need to be lined up and they are quite small which compounds the difficulty. I made every attempt to get this engine assembly installed property, but every effort to close that gap was unsuccessful. Any more, and I would probably have broken this model so the gap remains. One recommendation is to leave off the rearmost assembly behind the engine and it might fit far better. One can't see it anyway when the engine is installed.
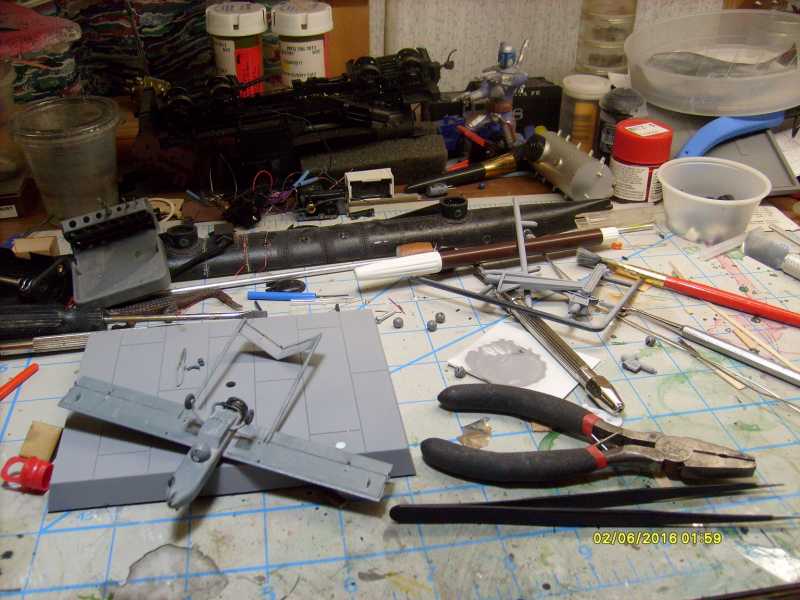
Finally, here is a pic of the whole plane with all the bits and bobs and decals attached. Once again, the top wing is only placed on the inner struts for now:

Later I painted the leading edges of the wings and tail with the red color. I also added that red color to the engine cowl to try and reduce the seam a little more.
I won't attach the top wing until I have the EZ line delivered and get the first part of the rigging done. That way, I'm not having as much difficulty with getting it rigged when the time comes.
Okay, that sums up a long and difficult two weeks on the workbench. Hopefully this week and next will be far easier and more productive. Stay tuned for more and thanks for looking in, comments are welcome.


 :woohoo: