-
Modelers Alliance has updated the forum software on our website. We have migrated all post, content and user accounts but we could not migrate the passwords.
This requires that you manually reset your password.
Please click here, http://modelersalliance.org/forums/login to go to logon page and use the "Forgot your Password" option.
You are using an out of date browser. It may not display this or other websites correctly.
You should upgrade or use an alternative browser.
You should upgrade or use an alternative browser.
All Righty ... What's on the bench today?
- Thread starter panzerace007
- Start date
...I fear much beer will be consumed :drinks
Ian.
OH THE HORRORS!!
Me, letting the Hawk cure and thinking of something else.... :hmmm
As this is written, my Skyhawk is lying on its back on the bench with its legs in the air whilst the centreline tank is setting (fixed with CA glue).
If all goes well, I'll try and get a gloss-coat on the underside this week and then add the four Mk82SE's. Unfortunately No2 daughter is home with a 'tummy bug' today, which will curtail any 'plastic-wrangling'. Bad for modelling, but good for my booze-consumption, one of my mates and another former WO at Liverpool Coastguard arrives here in sunny New Plymouth a little later today to stay with us for a few days...
...I fear much beer will be consumed :drinks
Ian.
YOu killed the Scooter!?!
 Oh the Horror!! :drinks
Swordsman
Active member
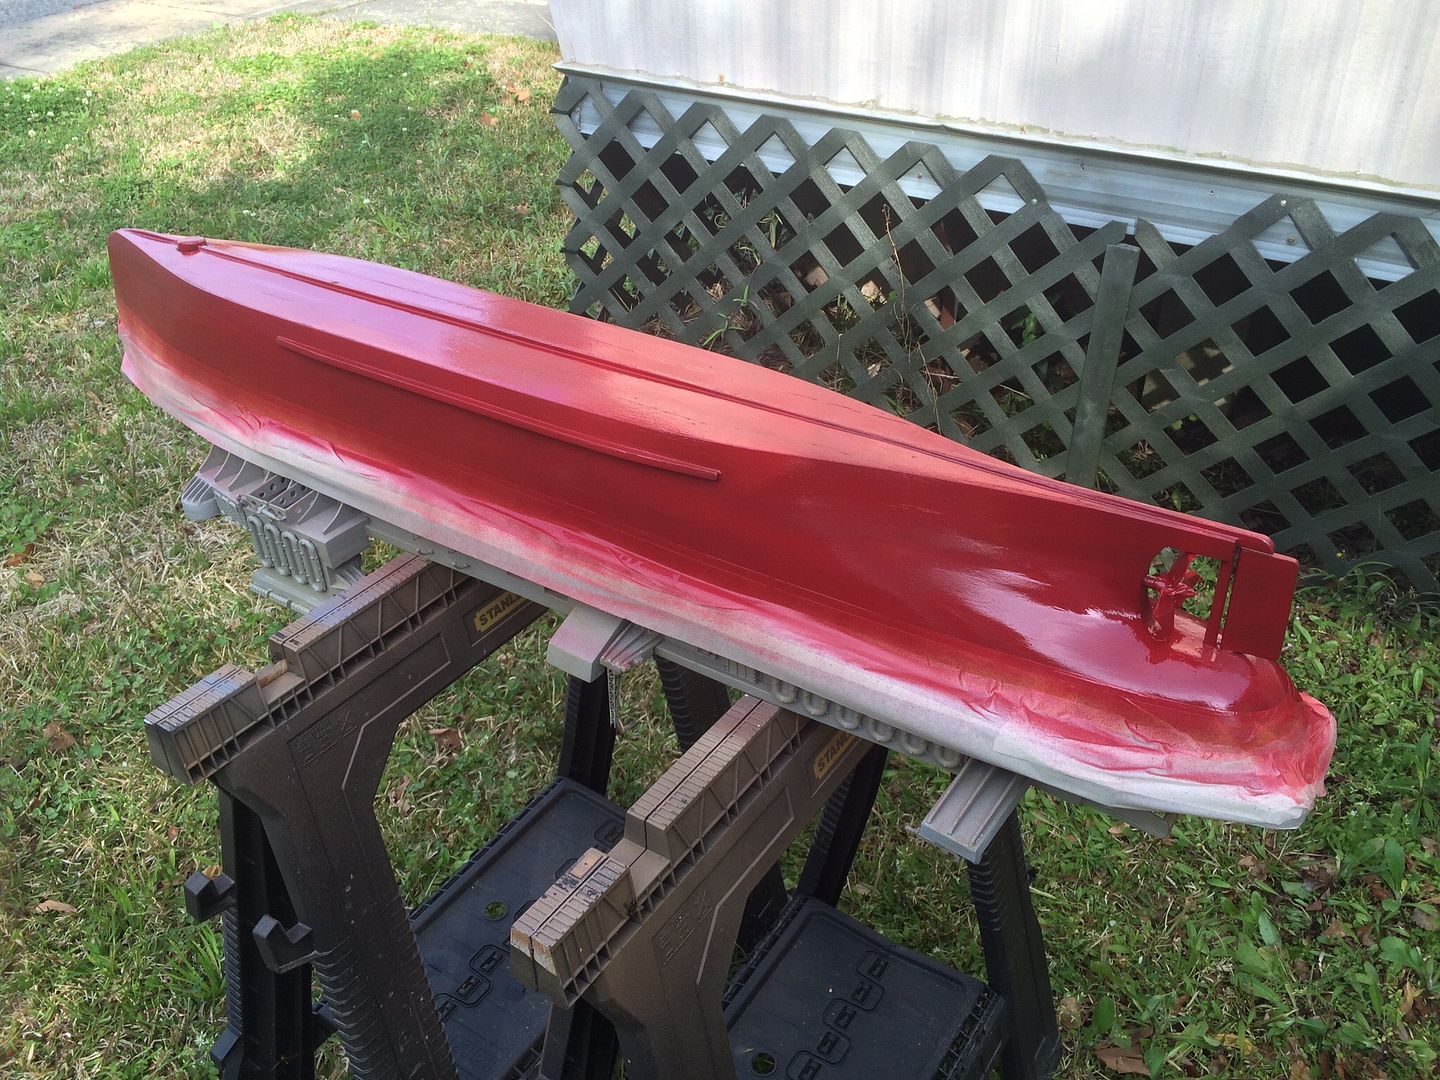
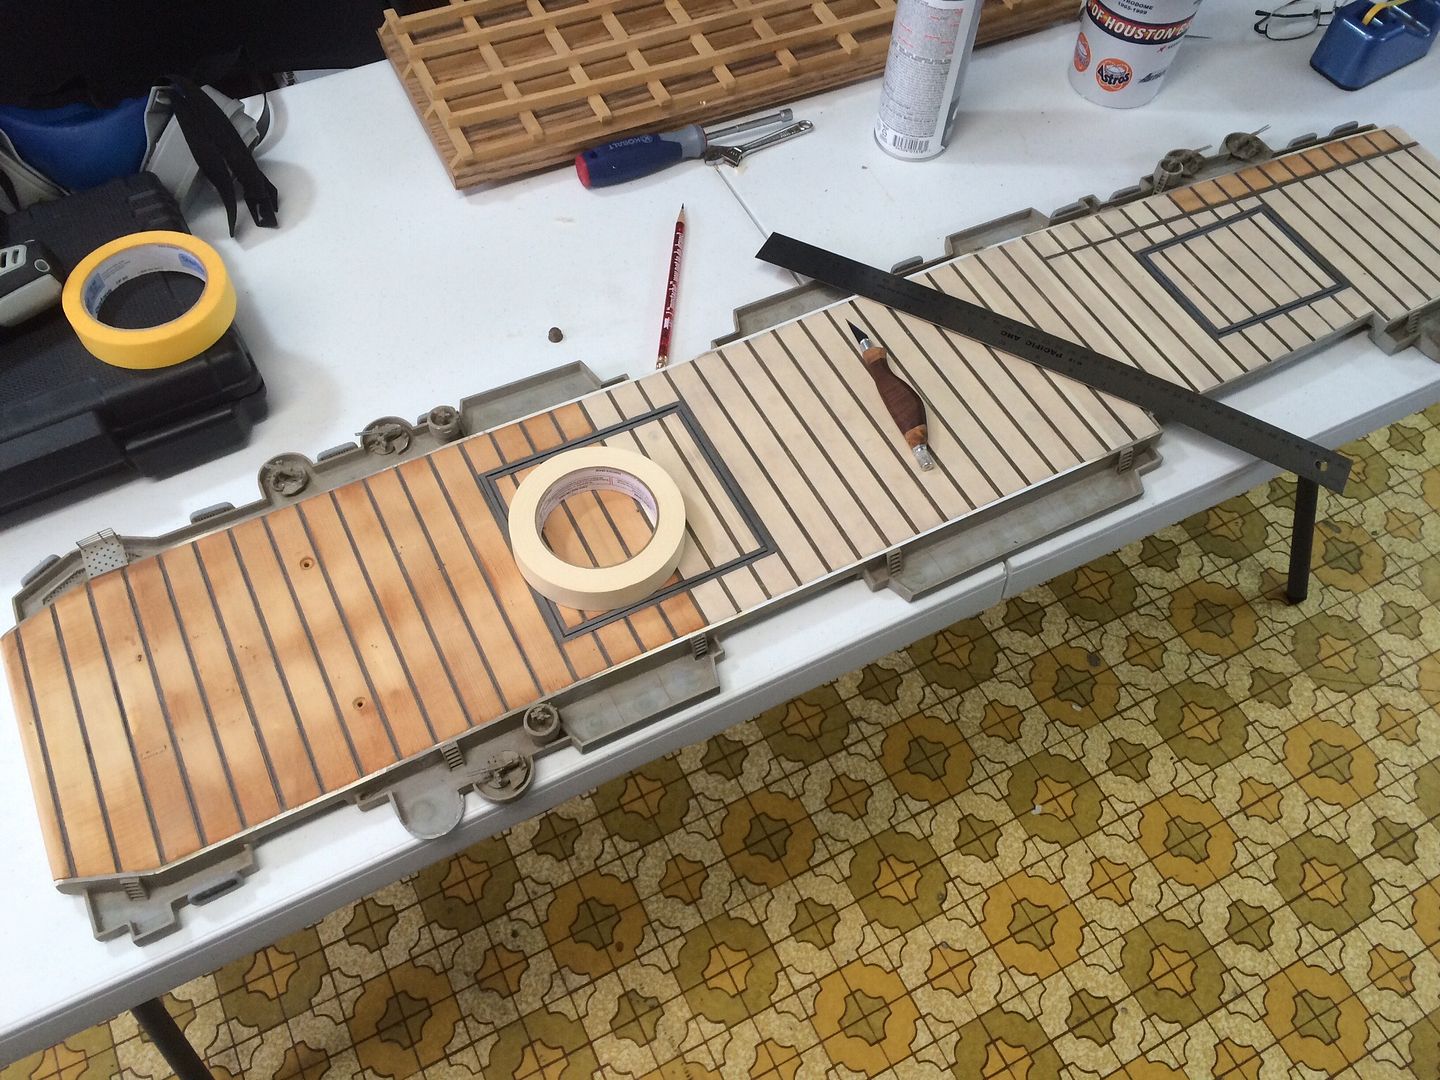
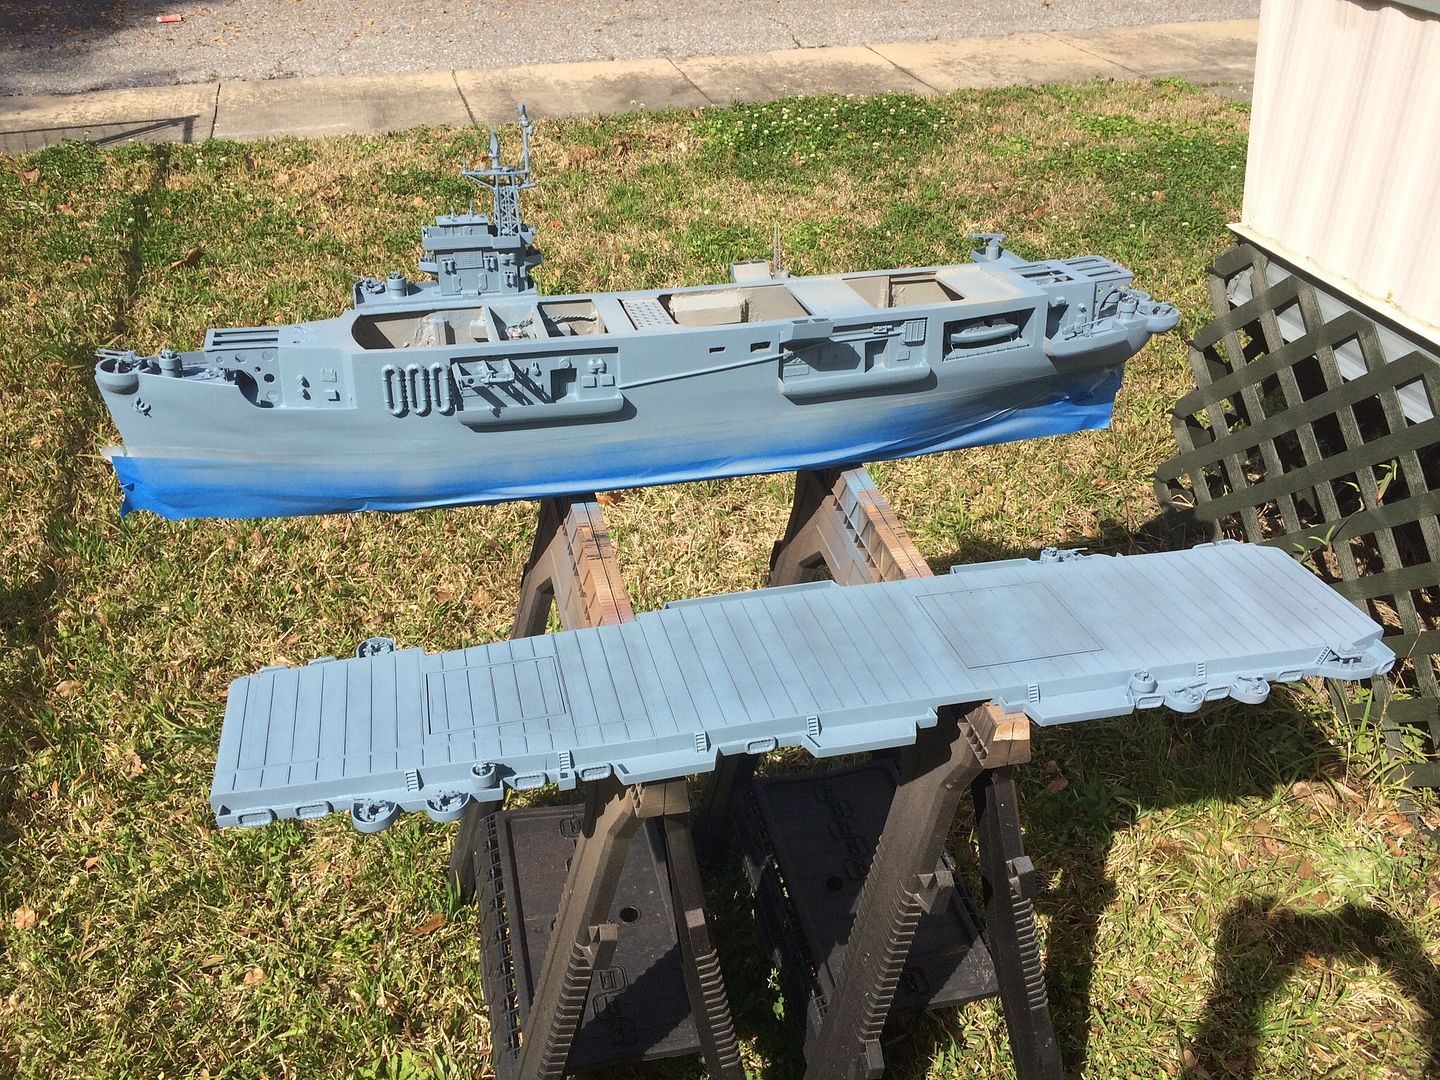
Sun is out for the first time in a couple of weeks. Working on getting paint on 1/96 USS Bogue for the Orleck Naval Museum.


That's looking pretty good but send some of that sunshine that's why I'm tired of the dreary dreary weather ....
That's looking great Kenny. 1:96 scale, kinda odd one isn't it? It is a kit?
Duke Maddog
Well-known member
Outstanding work Kenny! Way to go!
Heavens Eagle
Well-known member
Really looking nice Kenny. Had a gorgeous day yesterday with upper 60's weather. Opened the back door to the porch and let the air come and go while I cleaned the house a bit. Then went and finished up the seams on Curly the Stooge and primered him.
Another nice day today and I have to work.

Another nice day today and I have to work.


Duke Maddog
Well-known member
Okay, here's another small update. It seems I can't ever find time to make any significant progress lately.
I'll start with this 1/72 scale Airfix RAF Rescue Launch. I mostly just tried to refine the seams along the deck and deckhouse. I need a few more applications here I guess:

Just for fun while it was drying, I dry-fit some of the extra parts on it, including the pilot house which is why it has such large seams:

Moving on, I took this F-4 Phantom to Hobby Day to finally get the decals on it. Seeing all the tiny stencils made me realize why I waited so long! Well, I buckled down and three and a half hours later, here is the final result:


Now all I have to do is apply another clearcoat, then a dullcoat and then I can add the landing gear and extra detail parts to this and call it done. This will then be another of the Modeling New Year's Resolution builds.
After that ordeal though, I was ready for something simple, so I pulled out this old Eastern European kit of another Czech biplane whose name escapes me at this time. This is the biplane I recently got and I started it by painting the cockpit interior black. There is no cockpit, and the seat that I was going to put the pilot in was missing so I painted everything black so that there would be nothing visible through the canopy. I then built it up, adding the wings, landing gear and tail surfaces to it. I then started to sand the atrocious seams and steps; you can see some of the sanding residue still on this little beast:


I'll be applying WWII German Luftwaffe markings on this since the decals are unrecoverable. It's the easiest thing to do since the Luftwaffe assimilated these into the Luftwaffe after the annexation of Czechoslovakia.
After all that, it was time to step it up a notch. I got the last of the structure of my Saturn V done: the escape tower. This was a tough little assembly since everything was molded in clear plastic. I was quite surprised when I got everything more or less aligned. In this pic, I raised the dark contrast significantly so you could see it; otherwise this all but disappeared in the pic. No, it is not singed at the top:

Here it is sitting on top of the fully (dry-fit) assembled rocket:

Just to give this a size reference, I took this next pic with my friend Frank standing next to it. He's 6'2" and the rocket is sitting on a three-and-half to four-foot tall table:

He didn't know I'd snapped that pic I told him later. Later on I assembled this rocket on the floor and stood next to it while someone else snapped a pic. Silly me, I didn't get the same pic with my own camera. The model comes up to my nose though.
That's all I have for this week. As I said, small update, but at least I'm crawling along. Enjoy this trip through the Factory, and as always, comments are welcome. Thanks for looking in.
I'll start with this 1/72 scale Airfix RAF Rescue Launch. I mostly just tried to refine the seams along the deck and deckhouse. I need a few more applications here I guess:
Just for fun while it was drying, I dry-fit some of the extra parts on it, including the pilot house which is why it has such large seams:
Moving on, I took this F-4 Phantom to Hobby Day to finally get the decals on it. Seeing all the tiny stencils made me realize why I waited so long! Well, I buckled down and three and a half hours later, here is the final result:


Now all I have to do is apply another clearcoat, then a dullcoat and then I can add the landing gear and extra detail parts to this and call it done. This will then be another of the Modeling New Year's Resolution builds.
After that ordeal though, I was ready for something simple, so I pulled out this old Eastern European kit of another Czech biplane whose name escapes me at this time. This is the biplane I recently got and I started it by painting the cockpit interior black. There is no cockpit, and the seat that I was going to put the pilot in was missing so I painted everything black so that there would be nothing visible through the canopy. I then built it up, adding the wings, landing gear and tail surfaces to it. I then started to sand the atrocious seams and steps; you can see some of the sanding residue still on this little beast:


I'll be applying WWII German Luftwaffe markings on this since the decals are unrecoverable. It's the easiest thing to do since the Luftwaffe assimilated these into the Luftwaffe after the annexation of Czechoslovakia.
After all that, it was time to step it up a notch. I got the last of the structure of my Saturn V done: the escape tower. This was a tough little assembly since everything was molded in clear plastic. I was quite surprised when I got everything more or less aligned. In this pic, I raised the dark contrast significantly so you could see it; otherwise this all but disappeared in the pic. No, it is not singed at the top:

Here it is sitting on top of the fully (dry-fit) assembled rocket:

Just to give this a size reference, I took this next pic with my friend Frank standing next to it. He's 6'2" and the rocket is sitting on a three-and-half to four-foot tall table:

He didn't know I'd snapped that pic I told him later. Later on I assembled this rocket on the floor and stood next to it while someone else snapped a pic. Silly me, I didn't get the same pic with my own camera. The model comes up to my nose though.
That's all I have for this week. As I said, small update, but at least I'm crawling along. Enjoy this trip through the Factory, and as always, comments are welcome. Thanks for looking in.
jknaus
Administrator
Cool stuff. Love the Saturn.
Well I got the tracks together for my Takom Mk IV male last night on the right side. Rebuilt them about 10 times until I got fed up and glued them to the tank. Was going to try the left today but didnt want to face the agrivation. Put my Sopwith Pup away as over the past couple of days everytime I touched it something broke or fell off. Got so ticked I gave up. Today I decided okay lets try and fix mistake on the Pfalz IIIa. So repainted the tail. Doesnt look too bad. Acid test will be the border decals on the tail plane. Maybe pics later.
James
Tankbuilder
Active member
Cool stuff. Love the Saturn.
Well I got the tracks together for my Takom Mk IV male last night on the right side. Rebuilt them about 10 times until I got fed up and glued them to the tank. Was going to try the left today but didnt want to face the agrivation. Put my Sopwith Pup away as over the past couple of days everytime I touched it something broke or fell off. Got so ticked I gave up. Today I decided okay lets try and fix mistake on the Pfalz IIIa. So repainted the tail. Doesnt look too bad. Acid test will be the border decals on the tail plane. Maybe pics later.
James
Hey James are those Takom tracks in sections and/or of similar material to tthe ones in the 1/35 Emhar kits? What did you end up gluing them together with?
Cheers from Peter
Tankbuilder
Active member
Emhar tracks are multi-piece too. You can get them glued together but they sometimes pop apart months after installation if you don't relieve all the tension where they bend around the sprockets.
Doesn't someone make individual styrene links tracks for these now? I seem to recall seeing them somewhere.
Cheers from Peter
Cheers
Doesn't someone make individual styrene links tracks for these now? I seem to recall seeing them somewhere.
Cheers from Peter
Cheers
Gator
Well-known member
It is an RC kit, thus the scale. It was one of the models given to the Orleck when the USS Radford closed down. It had some damage and everything from the color scheme to the aircraft was wrong. She'll be wearing her camo pattern and have a couple of Avengers and Wildcats on the deck.That's looking great Kenny. 1:96 scale, kinda odd one isn't it? It is a kit?
So where would one find 1:96 scale Wildcats and Avengers?
Similar threads
- Replies
- 39
- Views
- 10K
- Replies
- 60
- Views
- 19K


