JamesOLeary
Master at Arms
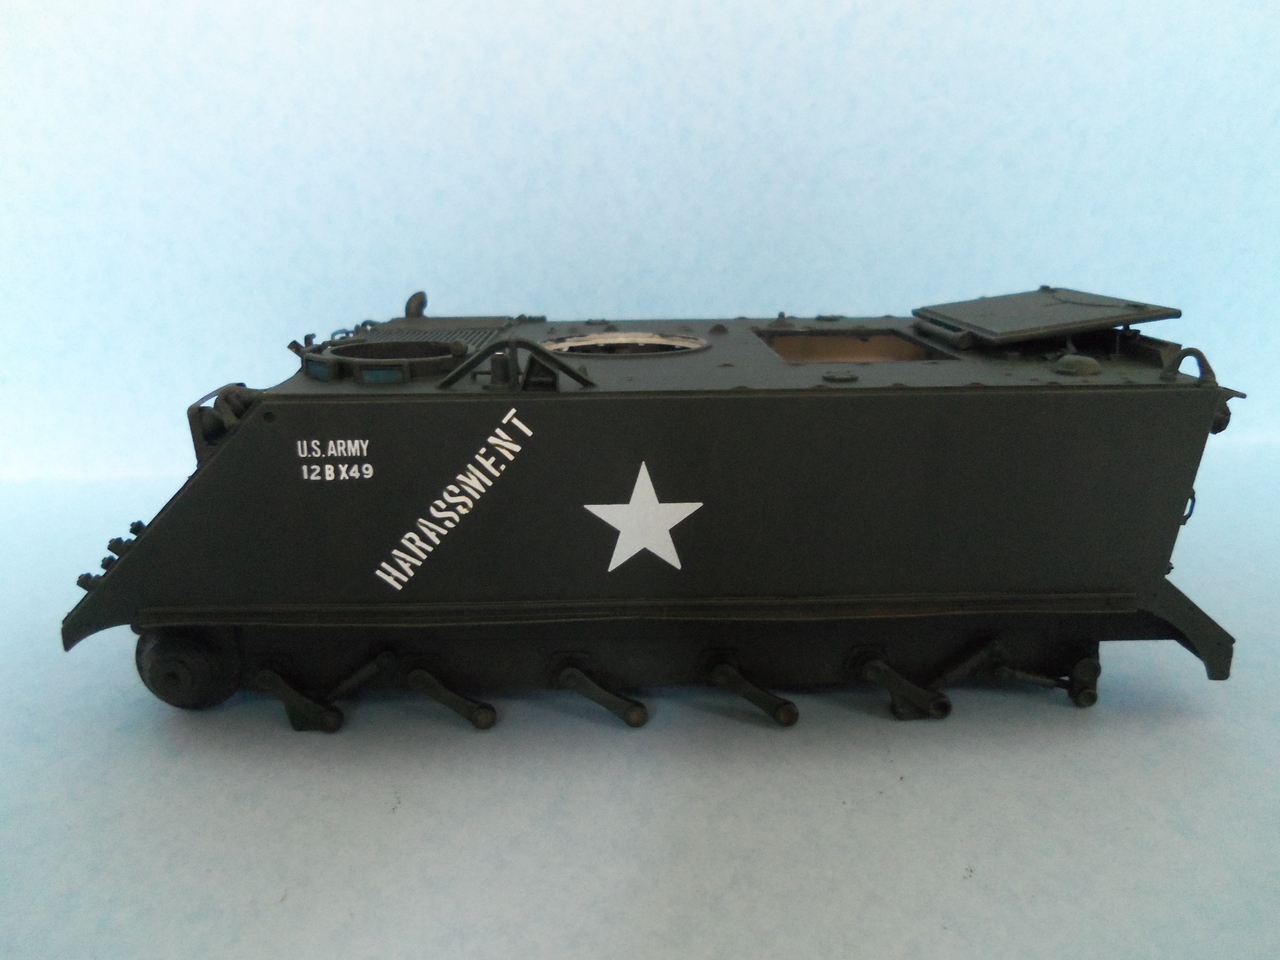
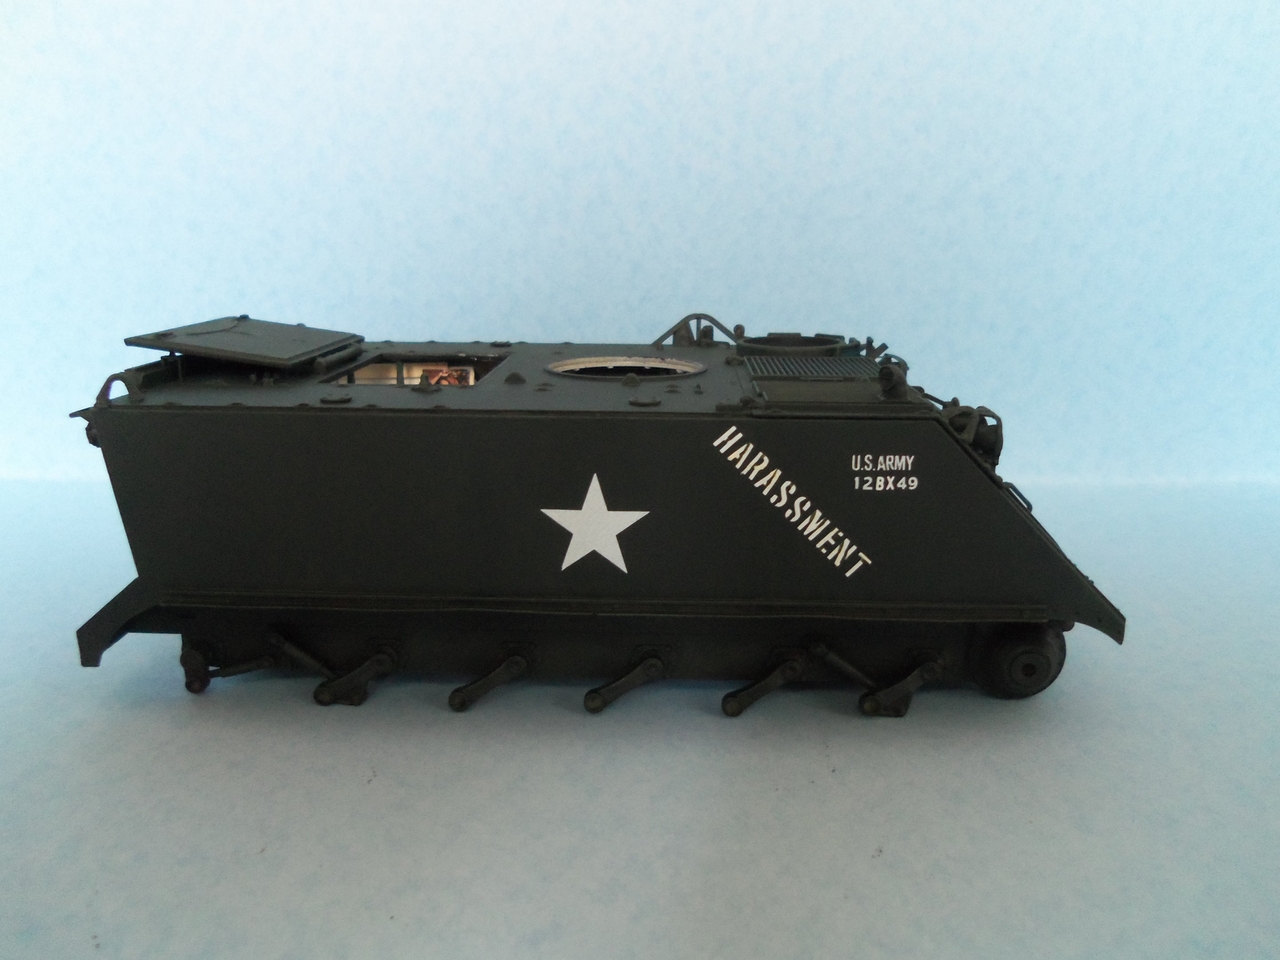
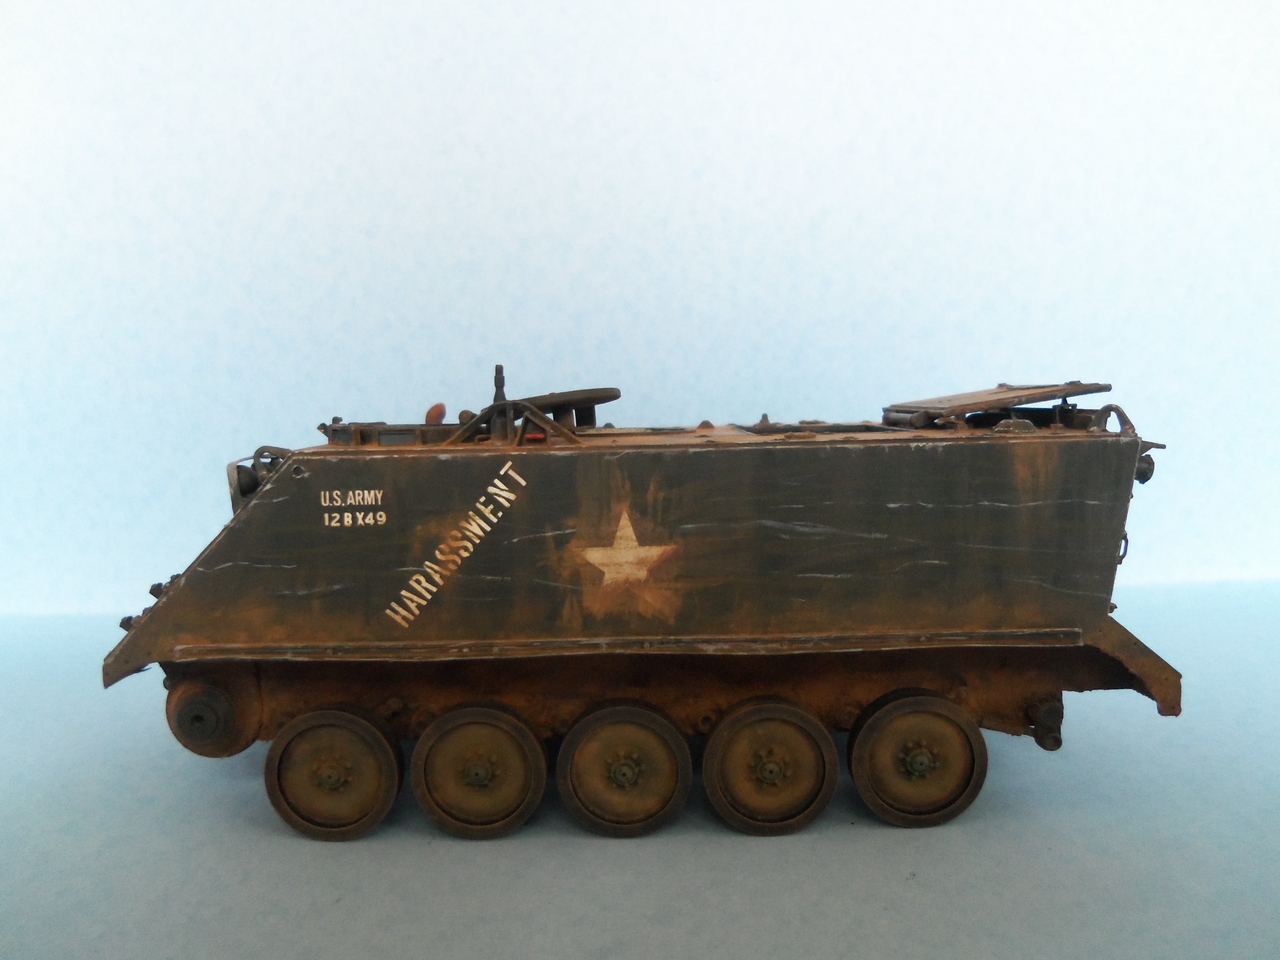
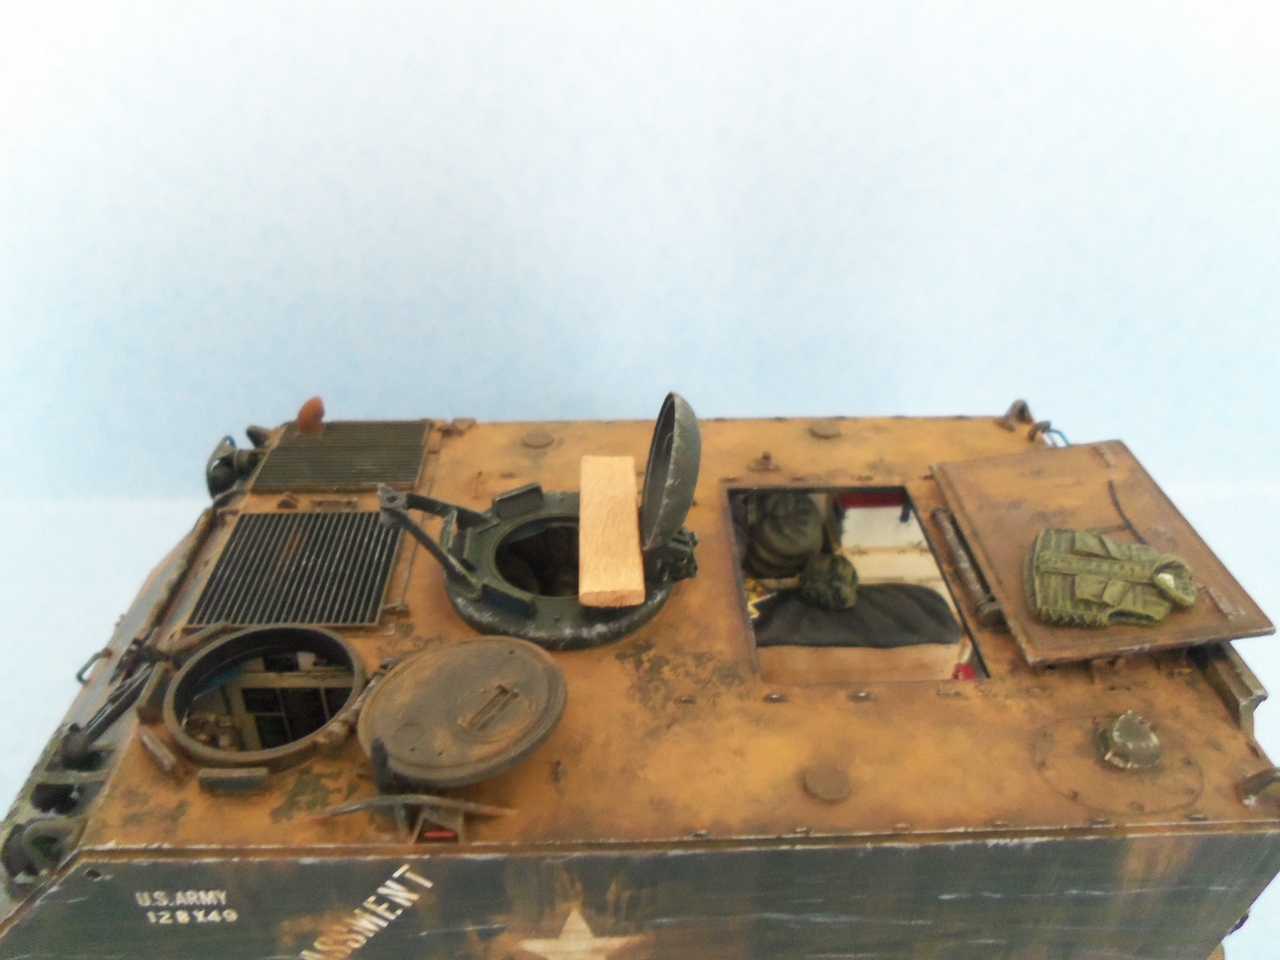
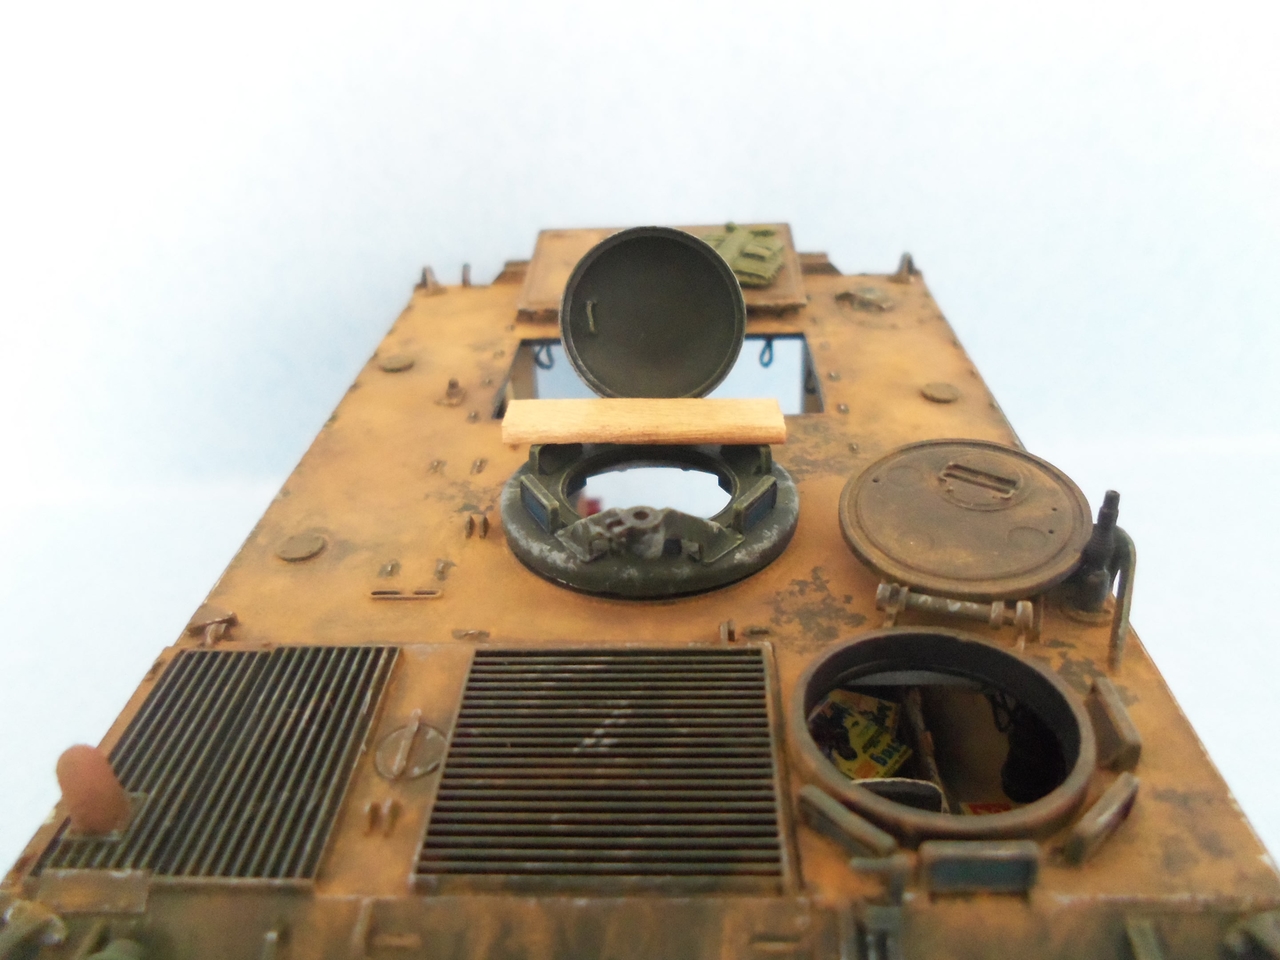
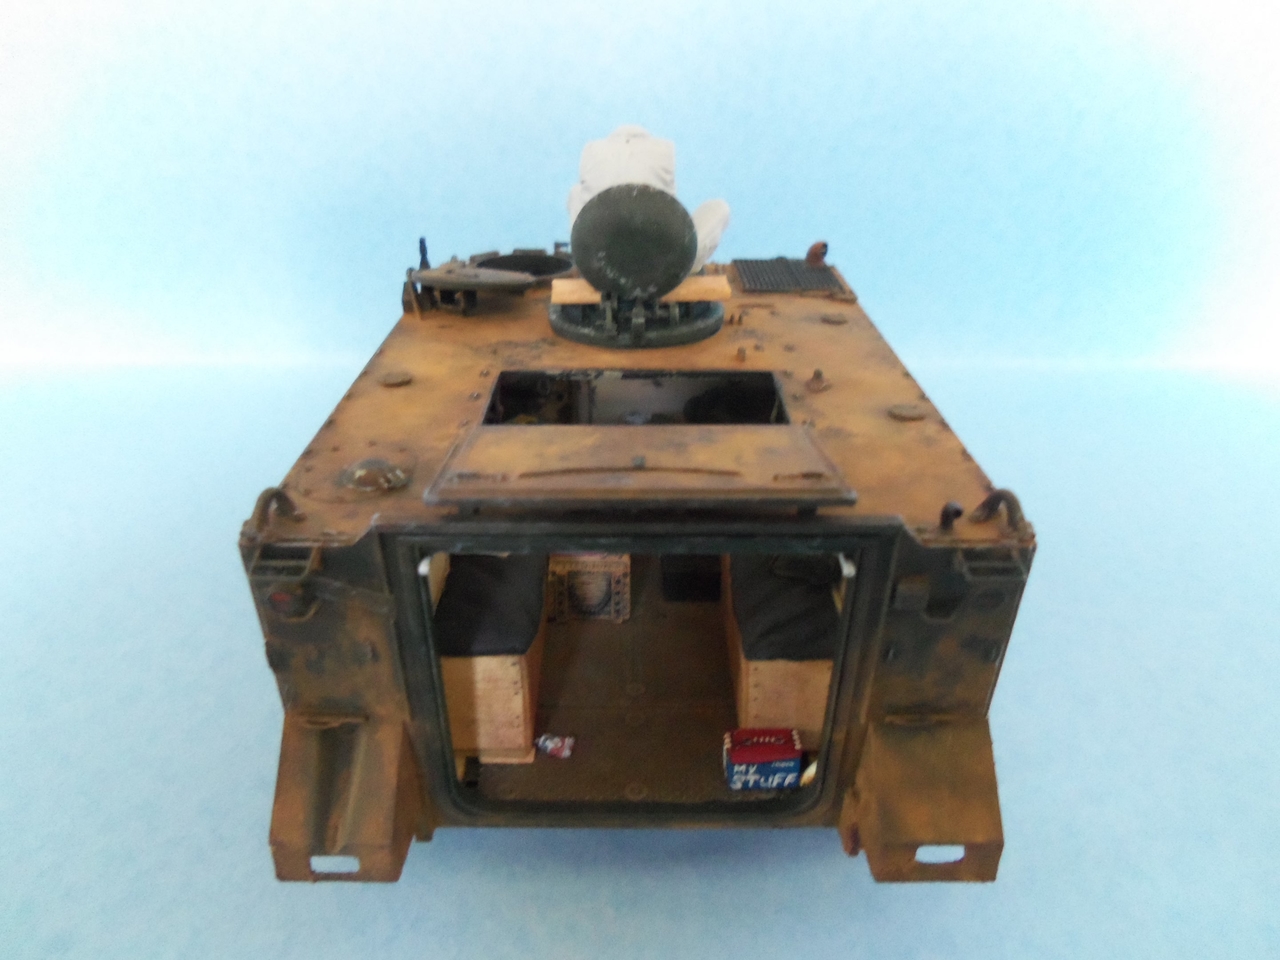
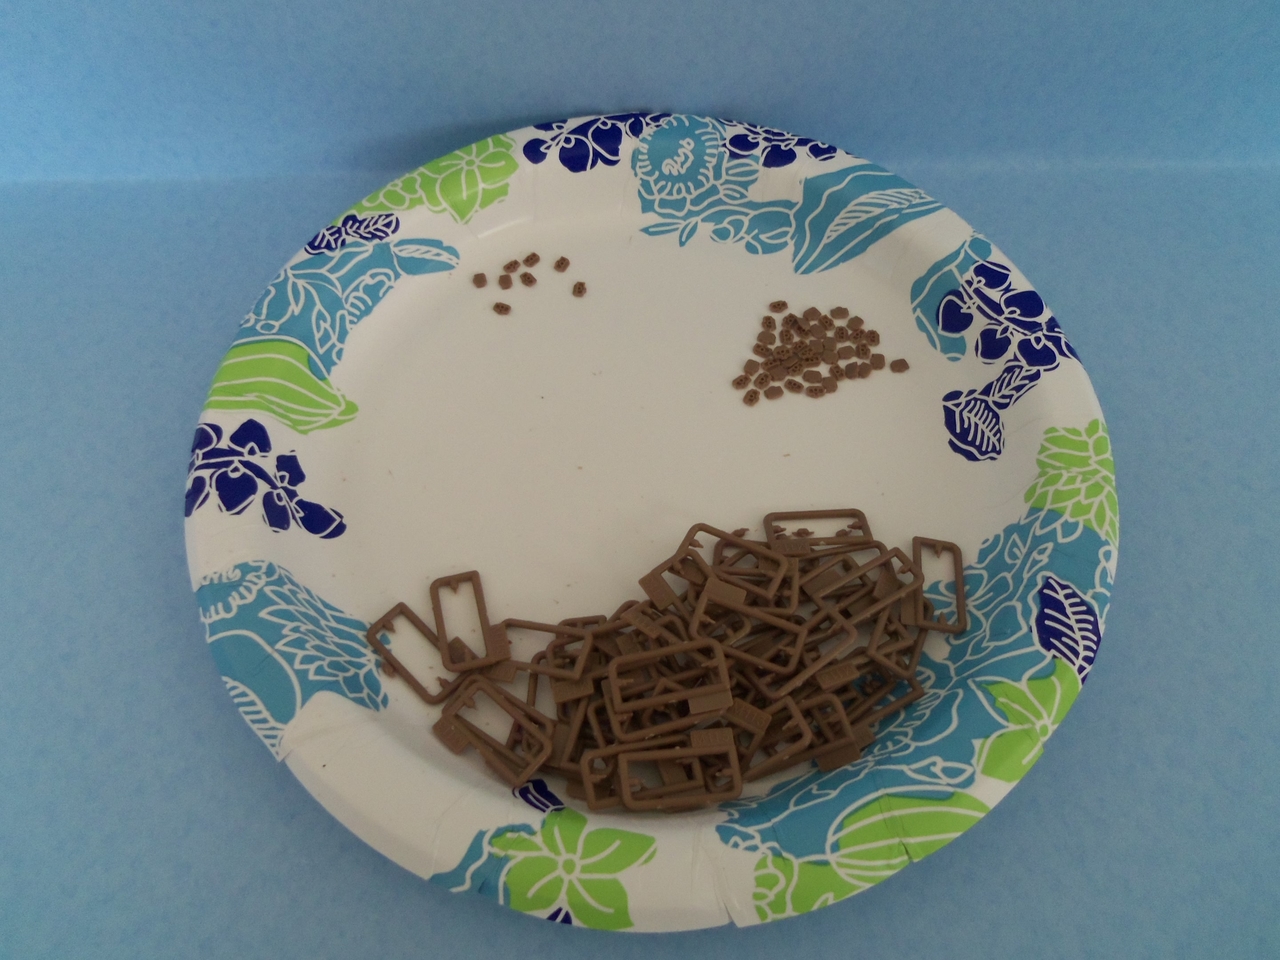
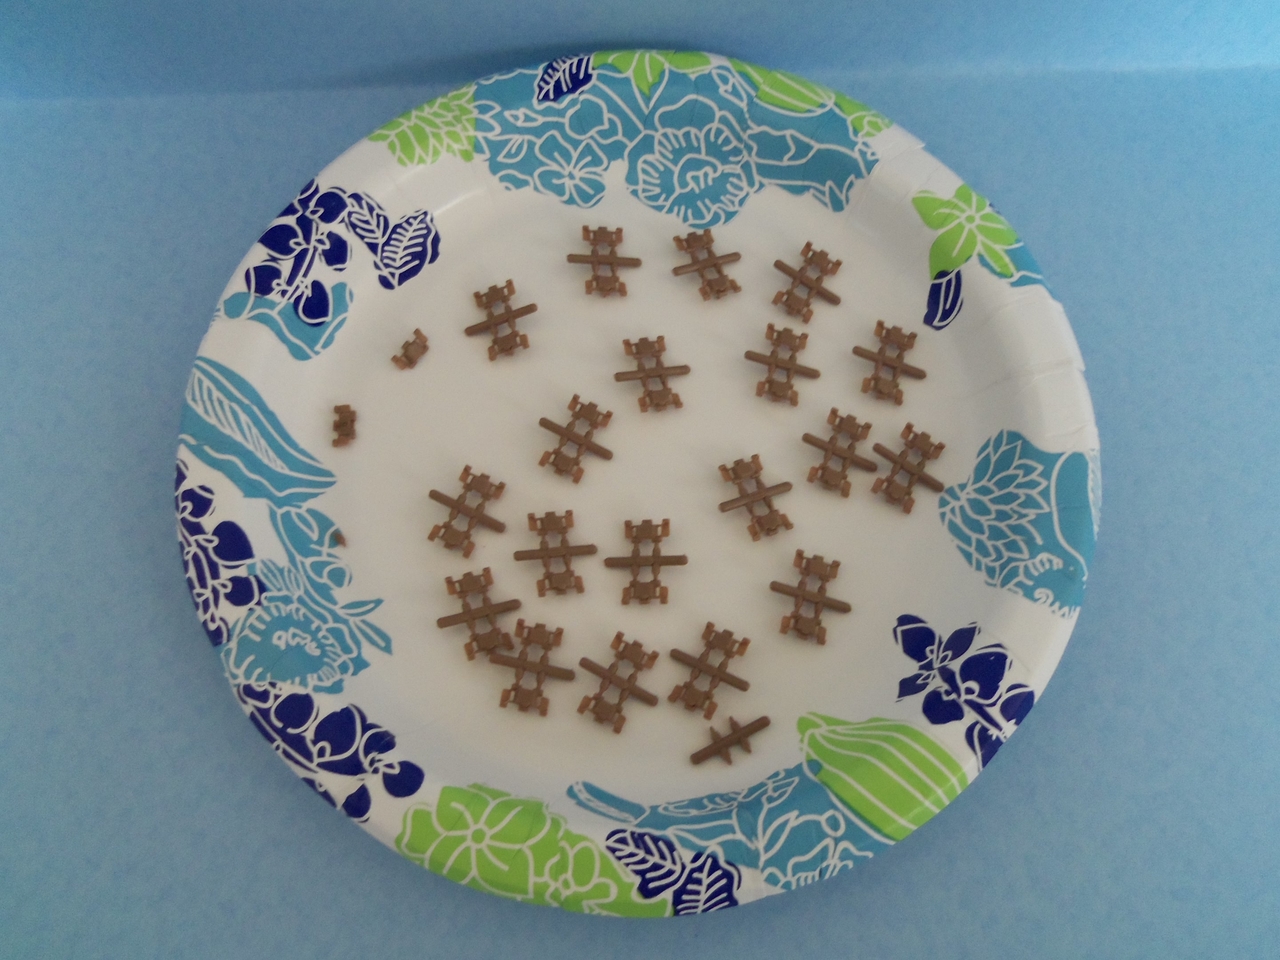
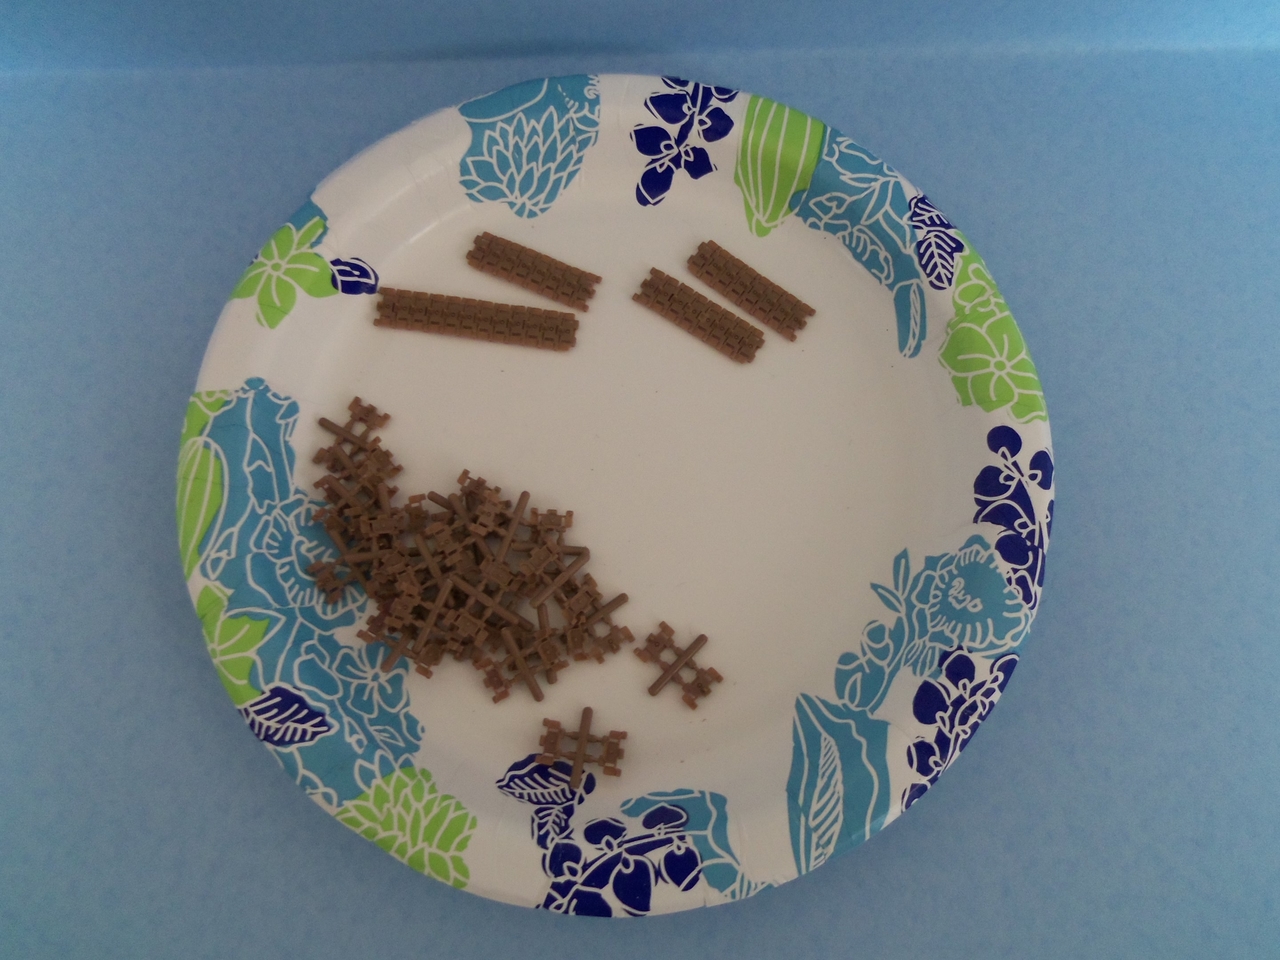
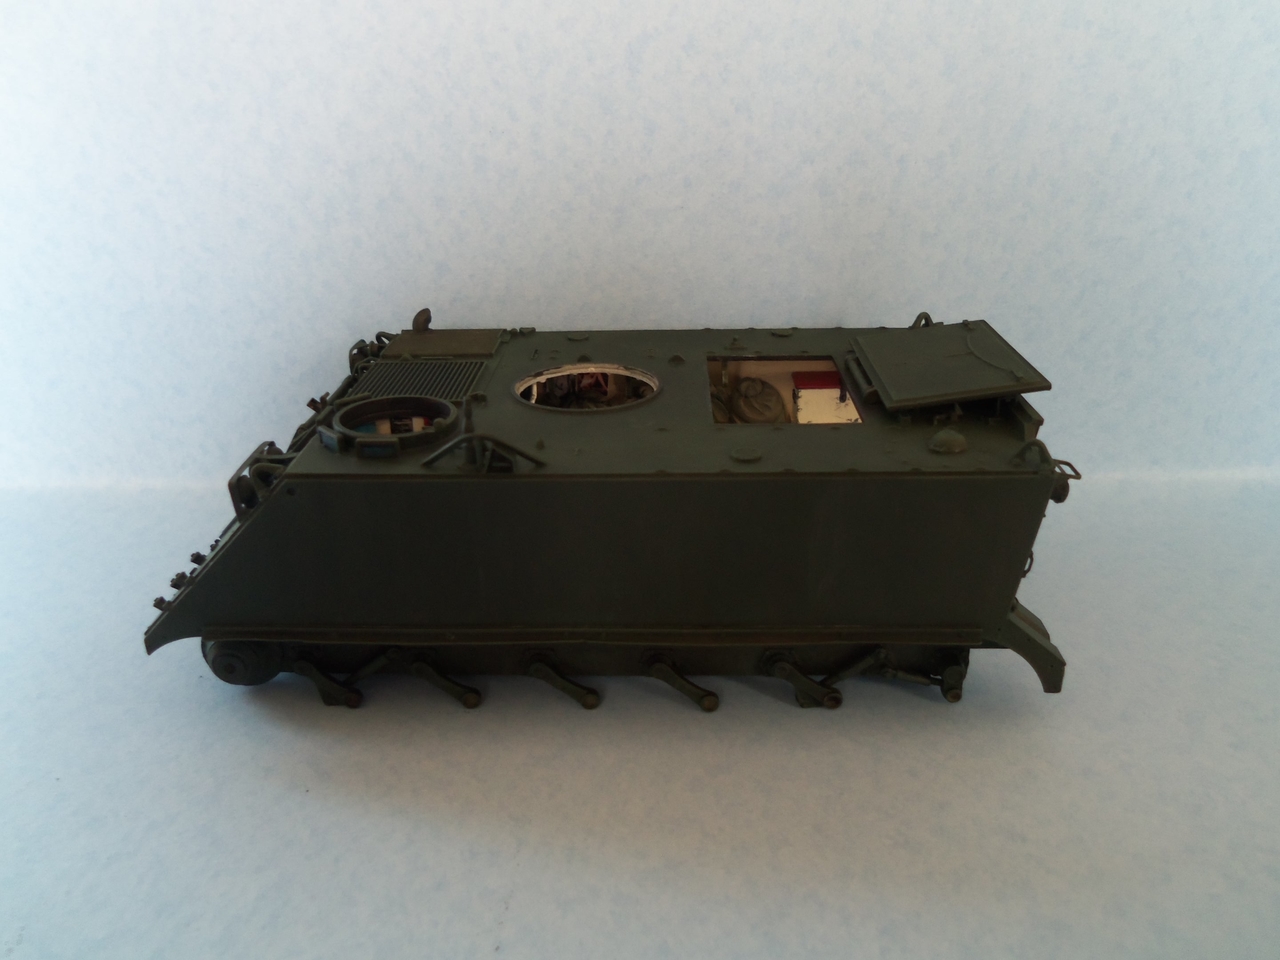
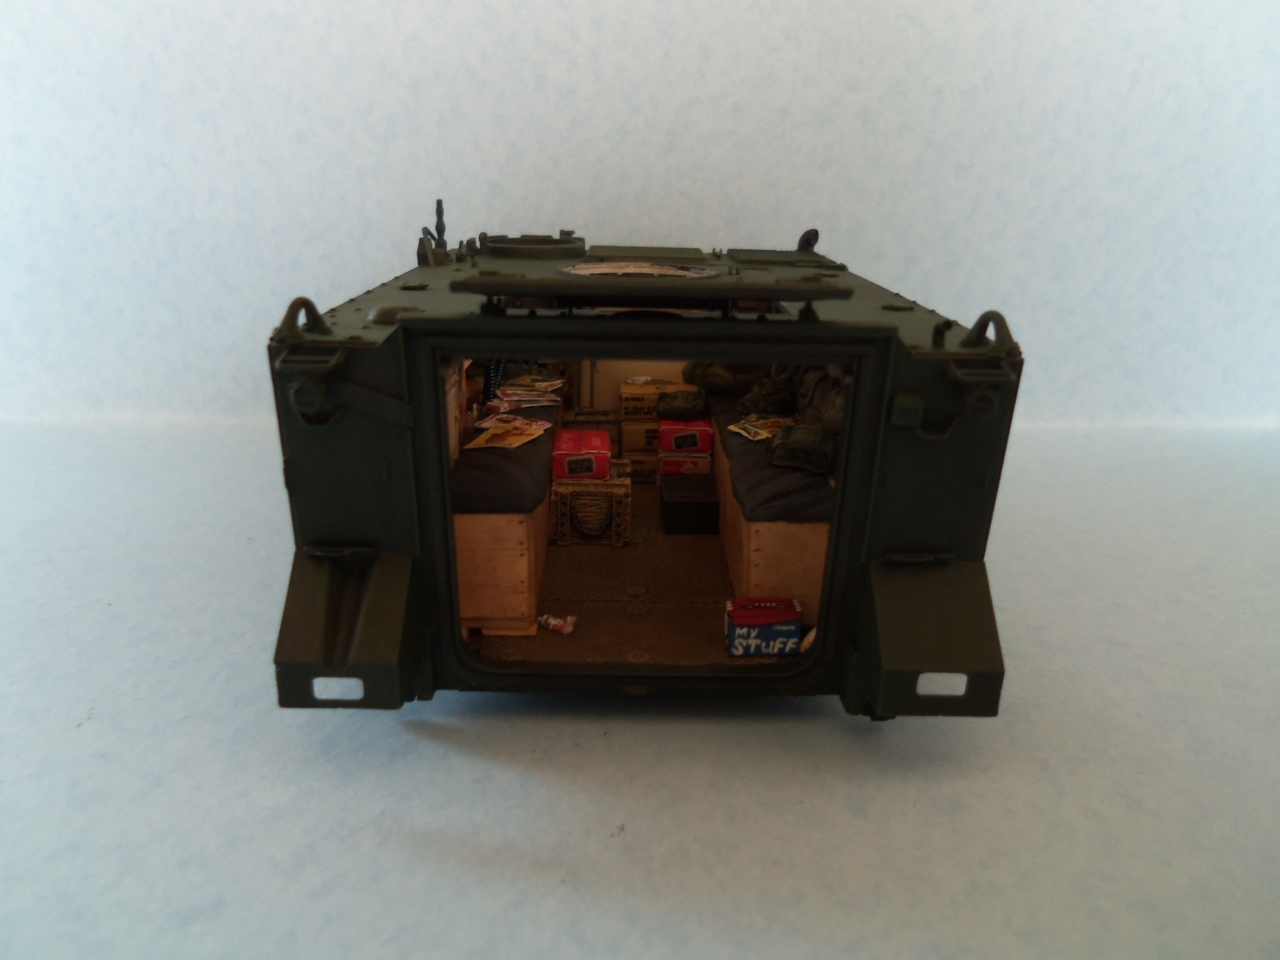
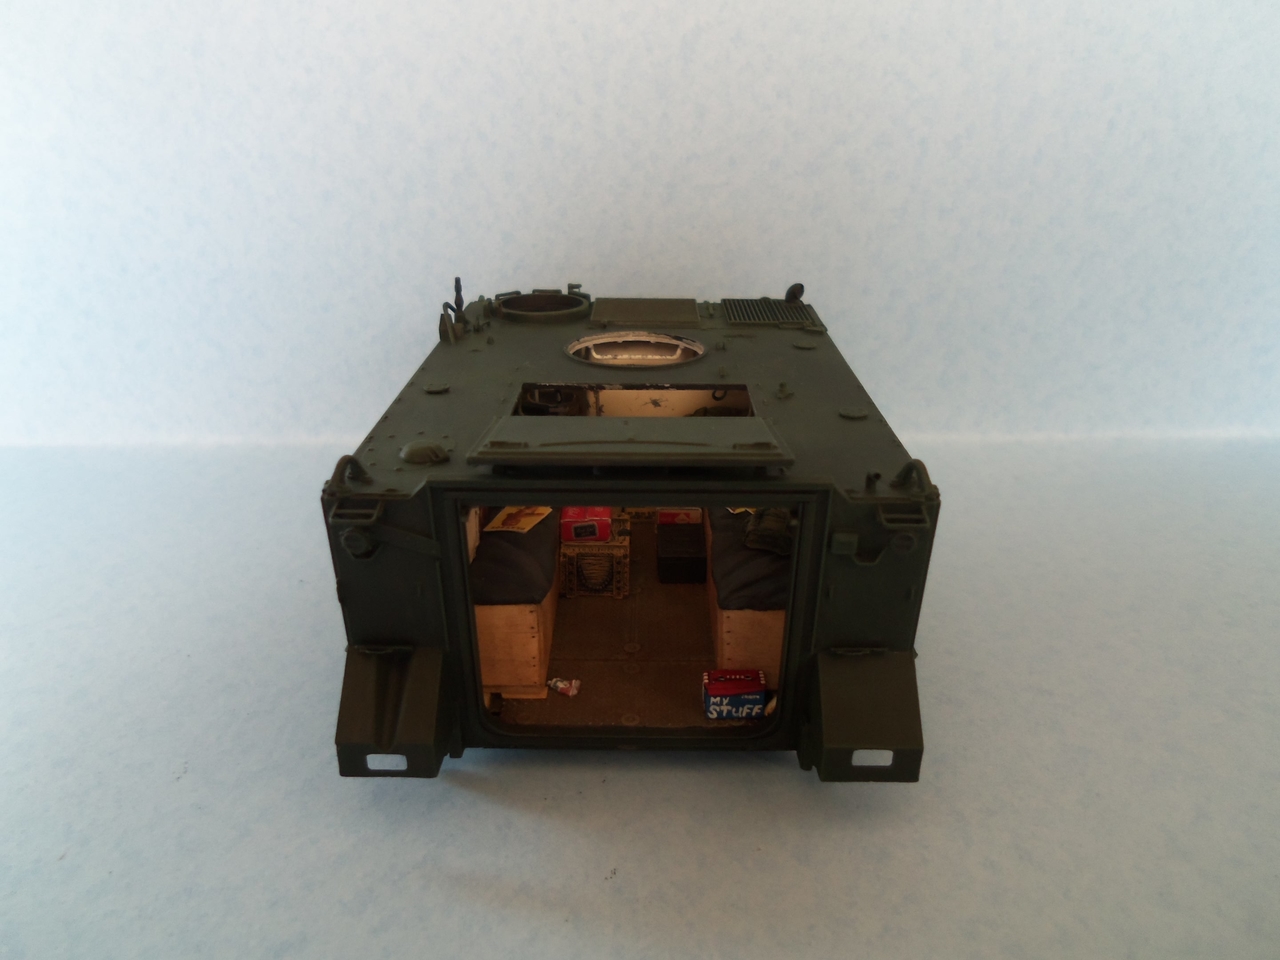
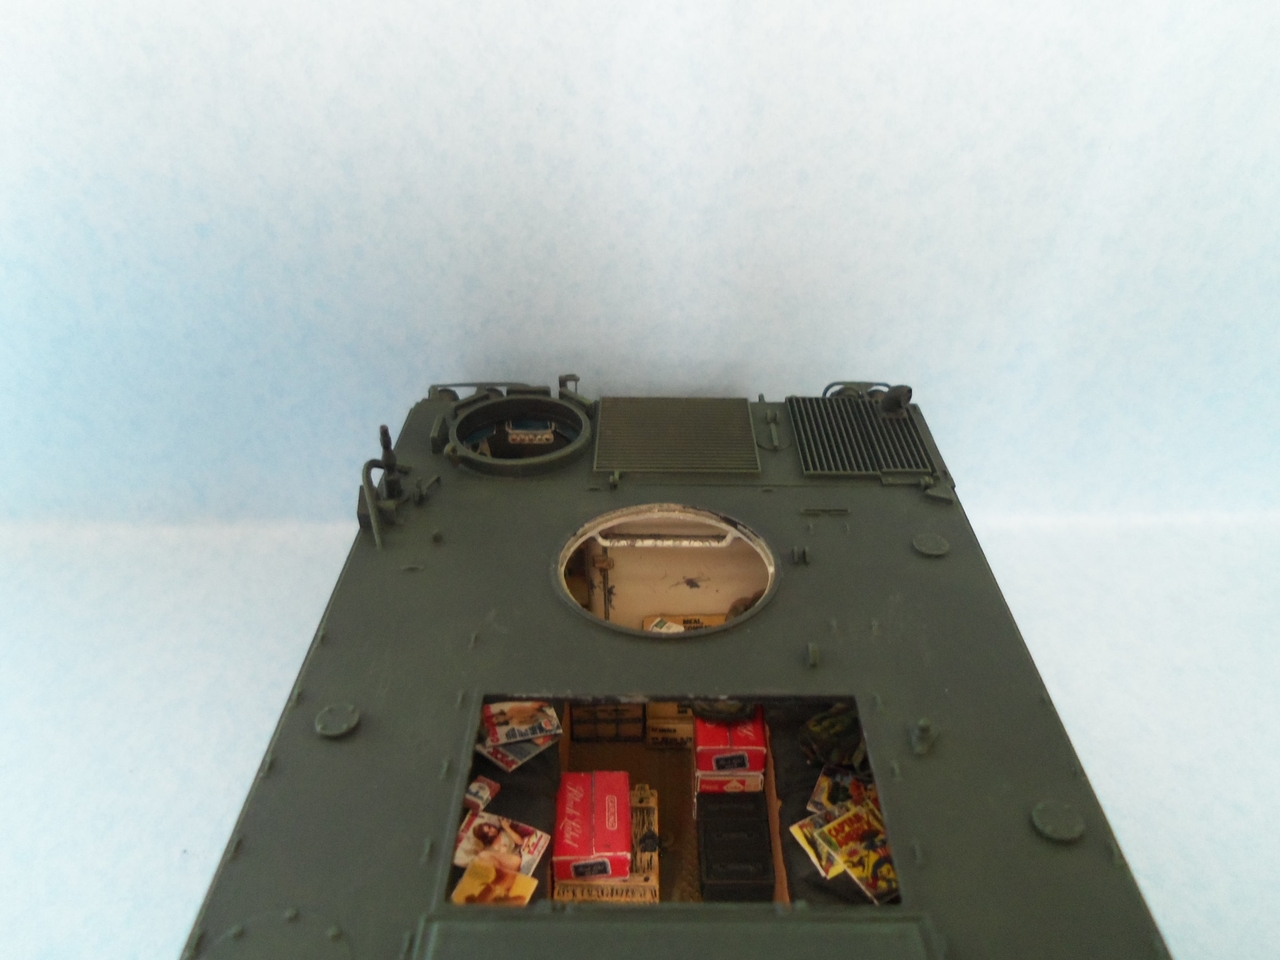
I've been steadily trudging on between mowing and other chores. Here is my current progress...
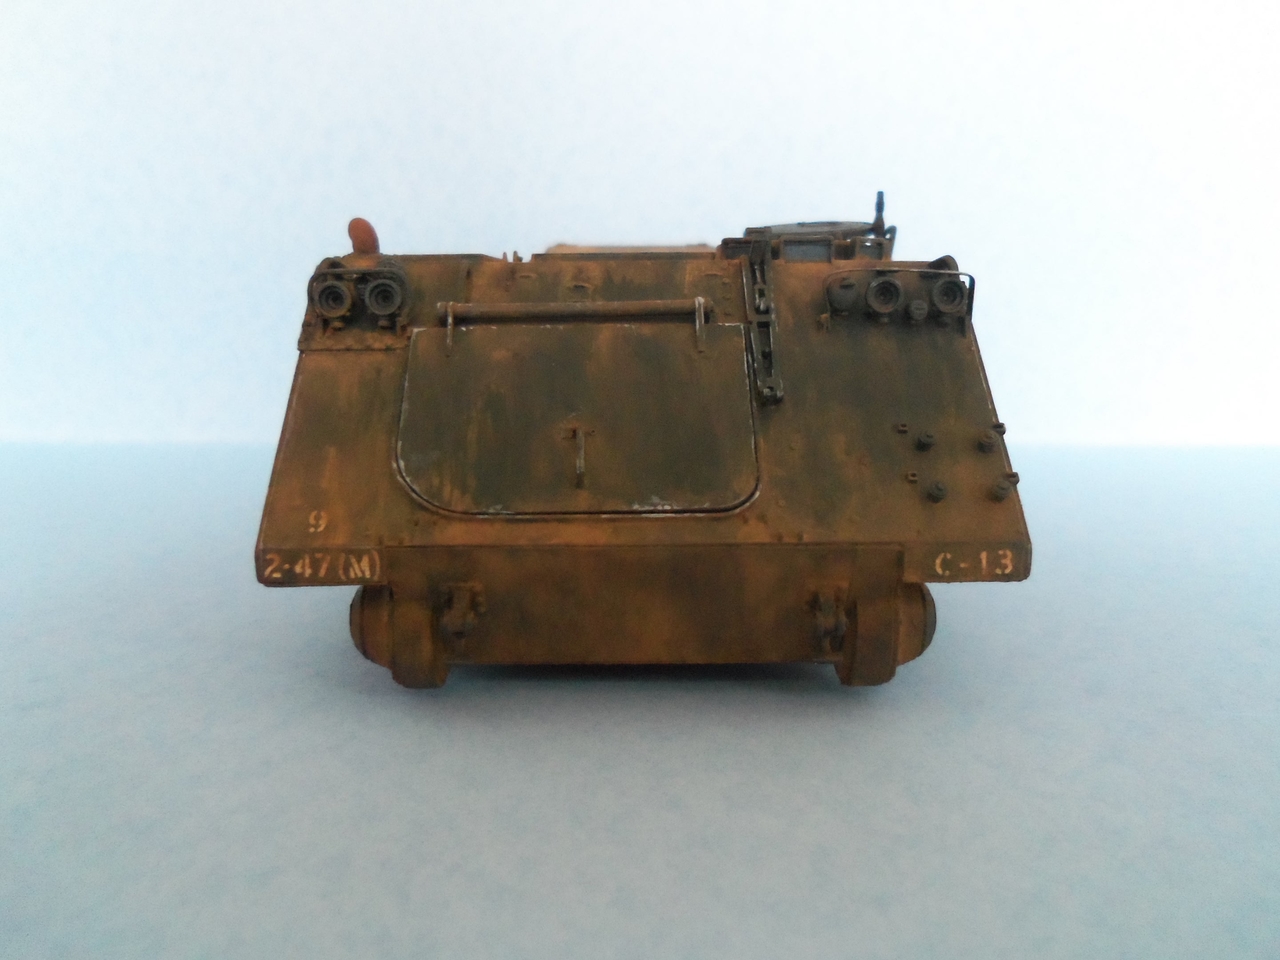
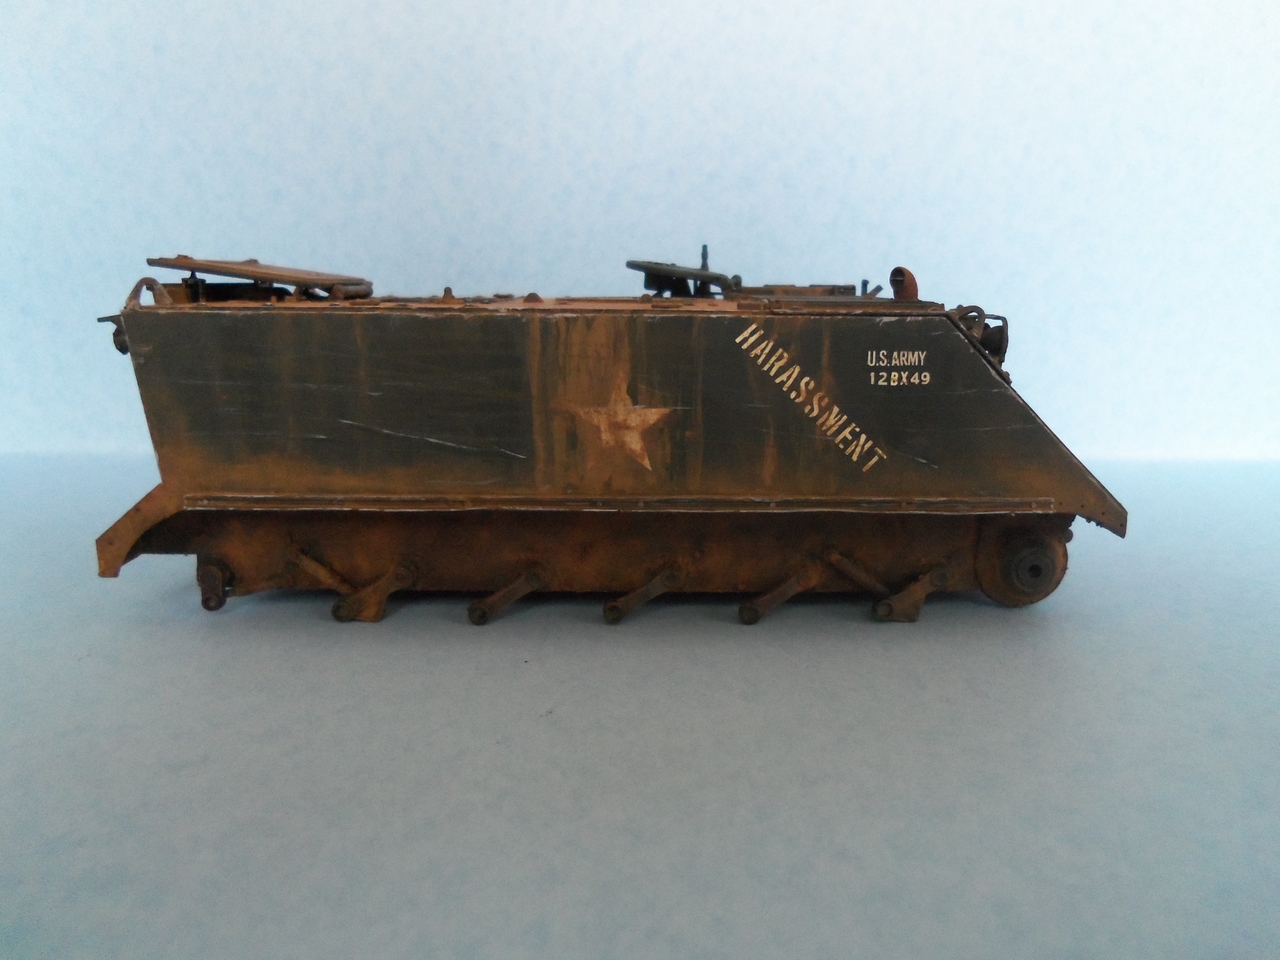
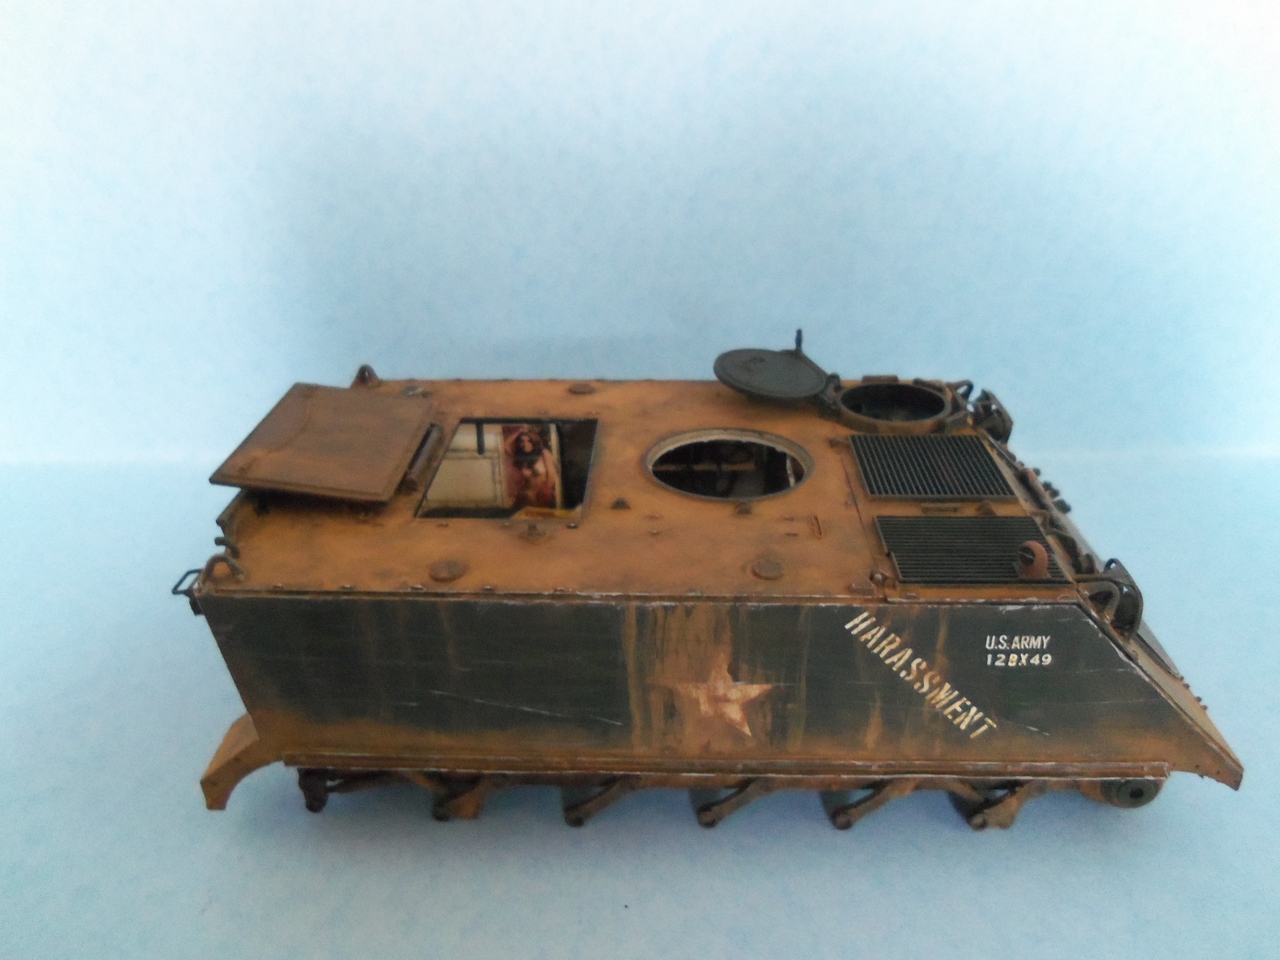
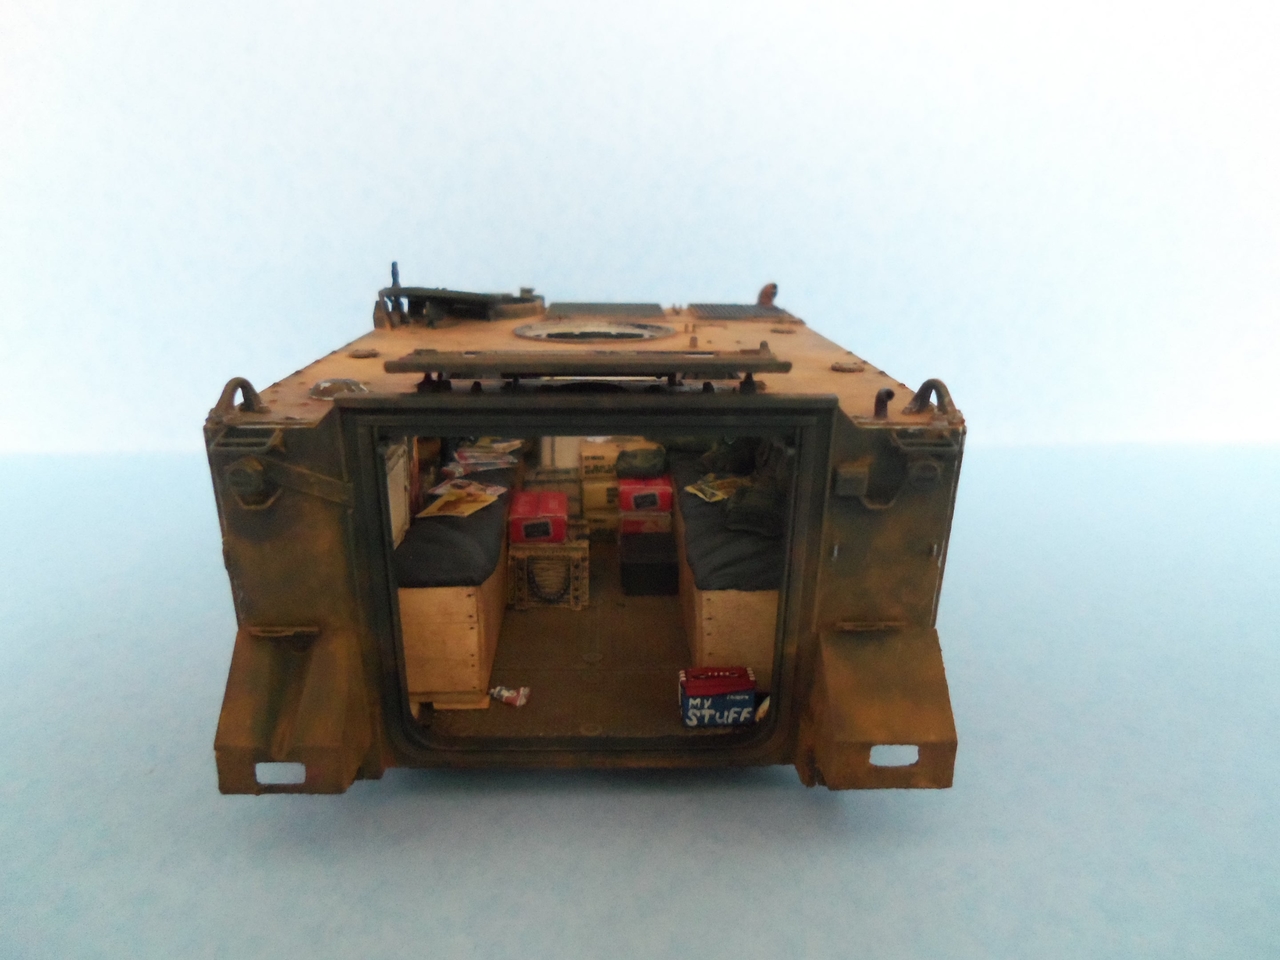
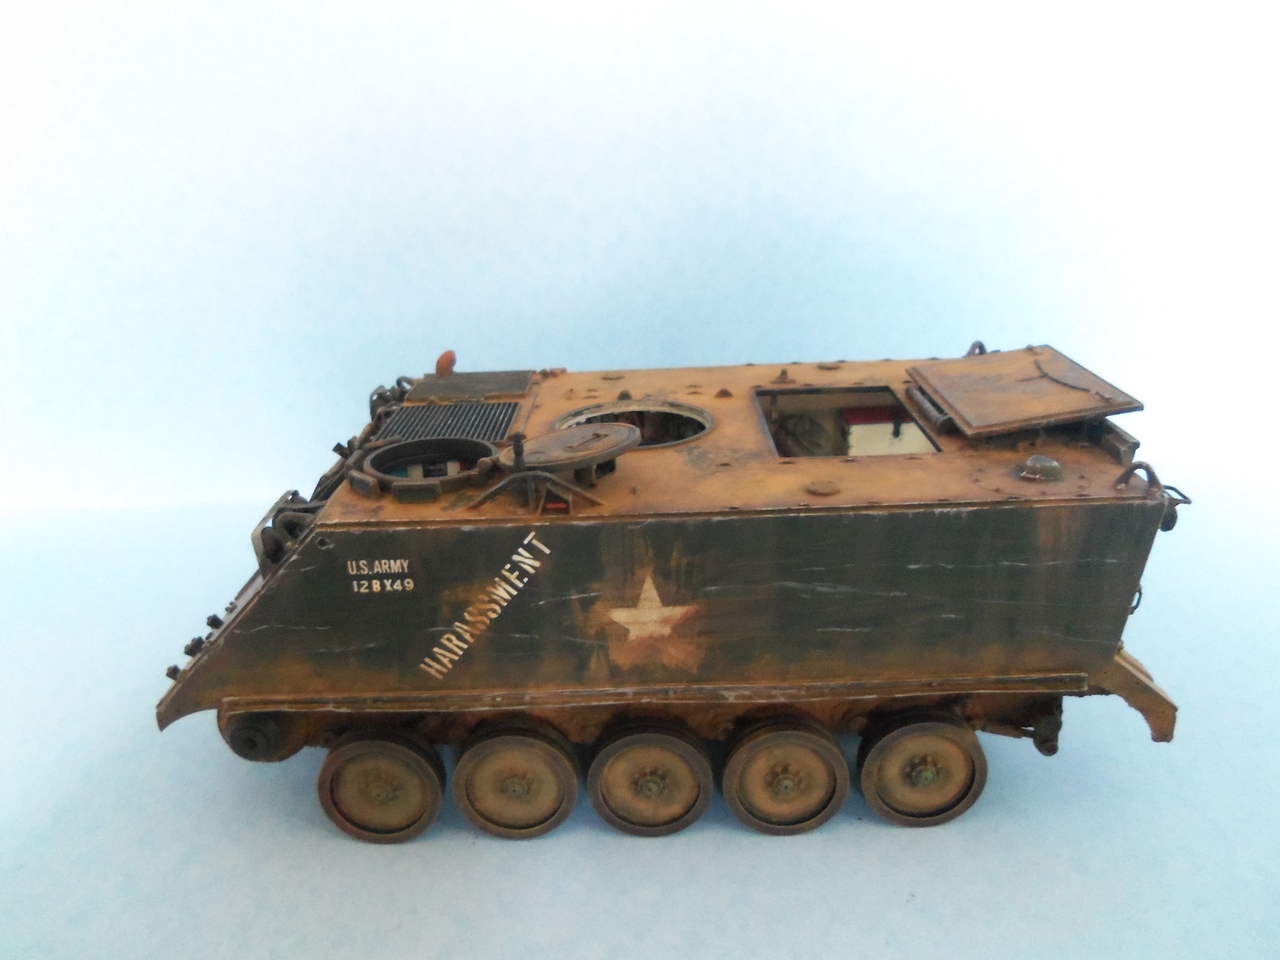
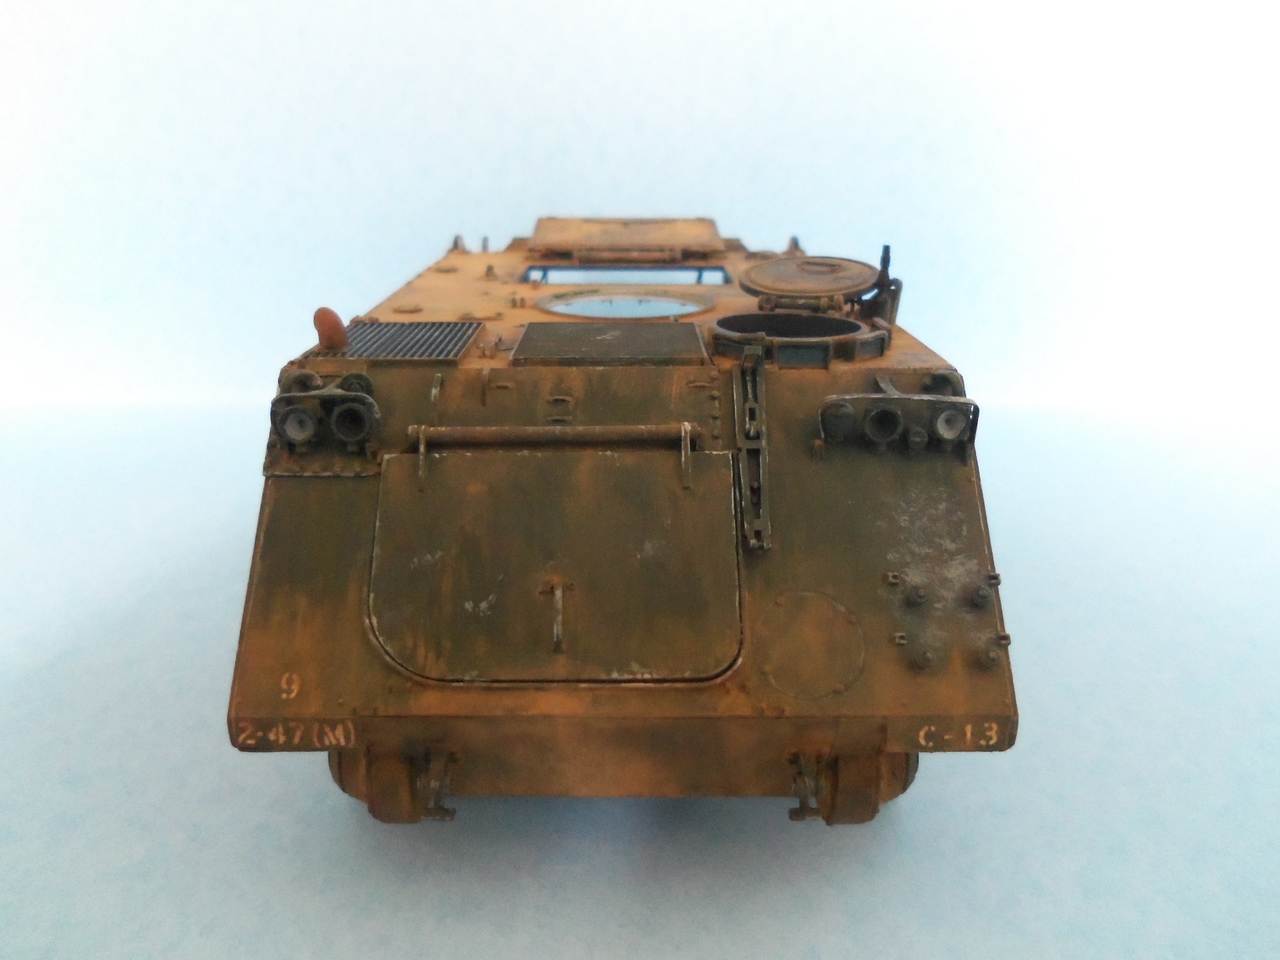
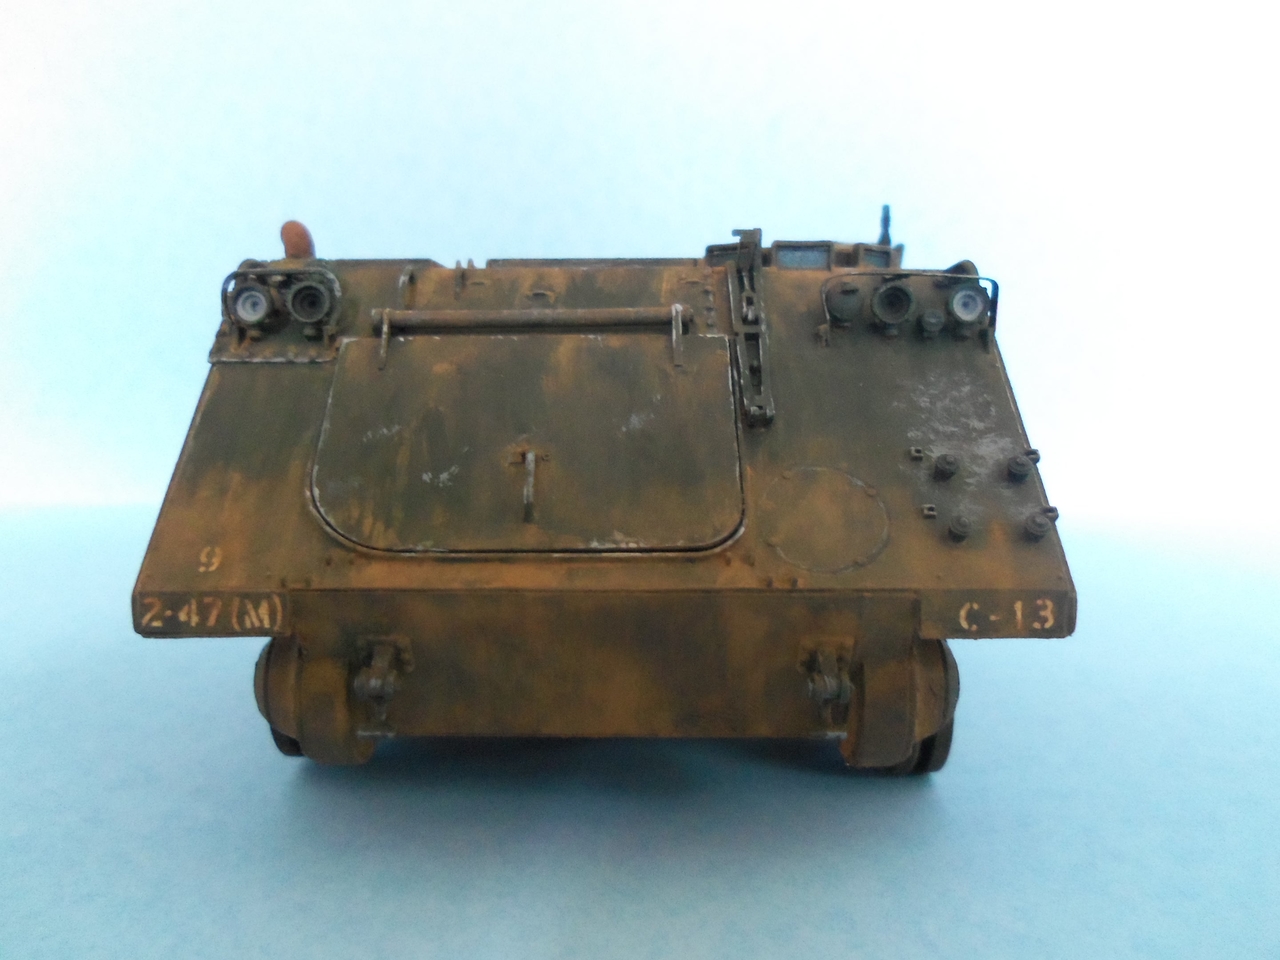
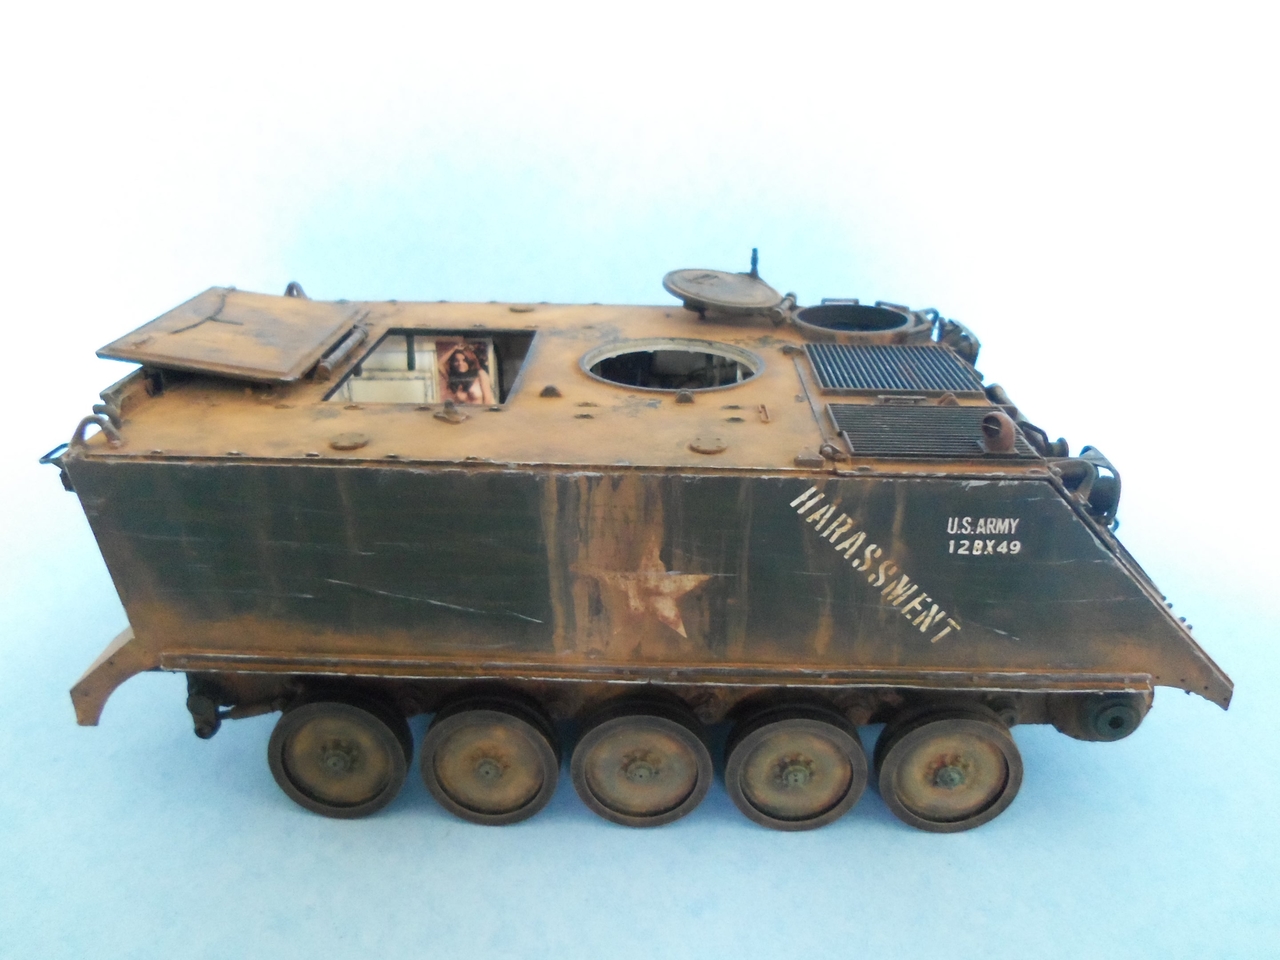
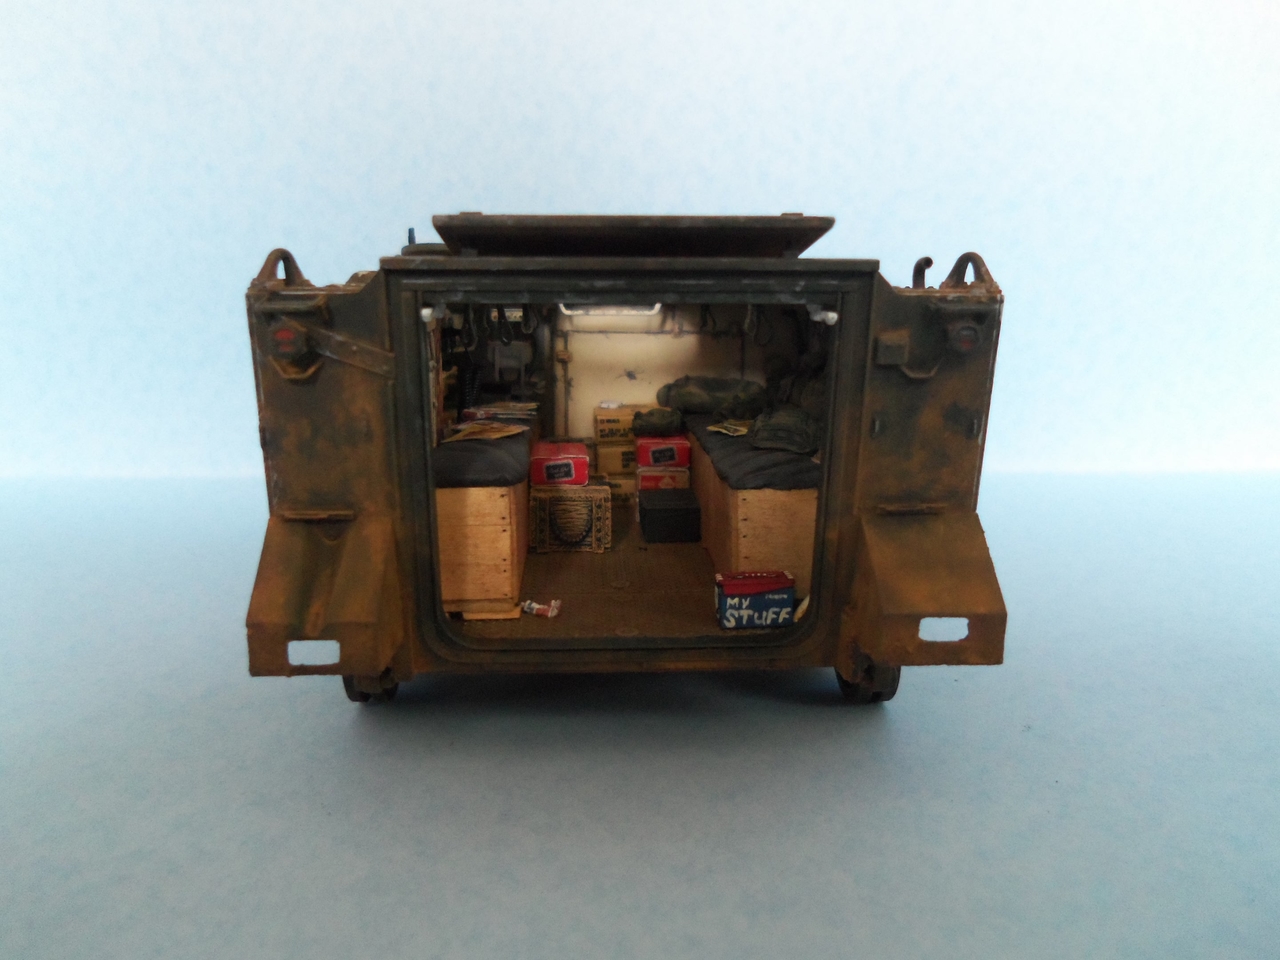
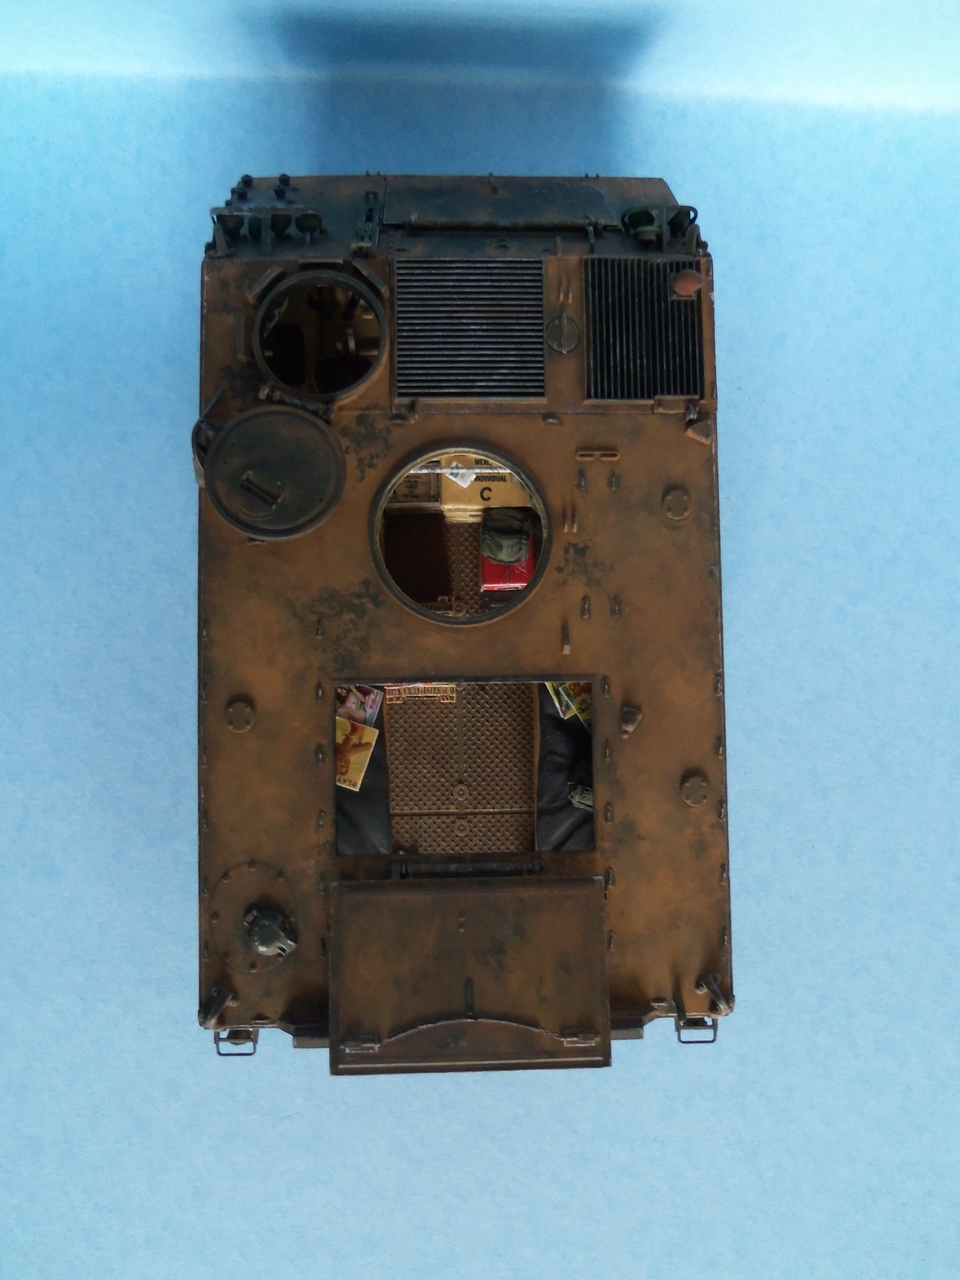
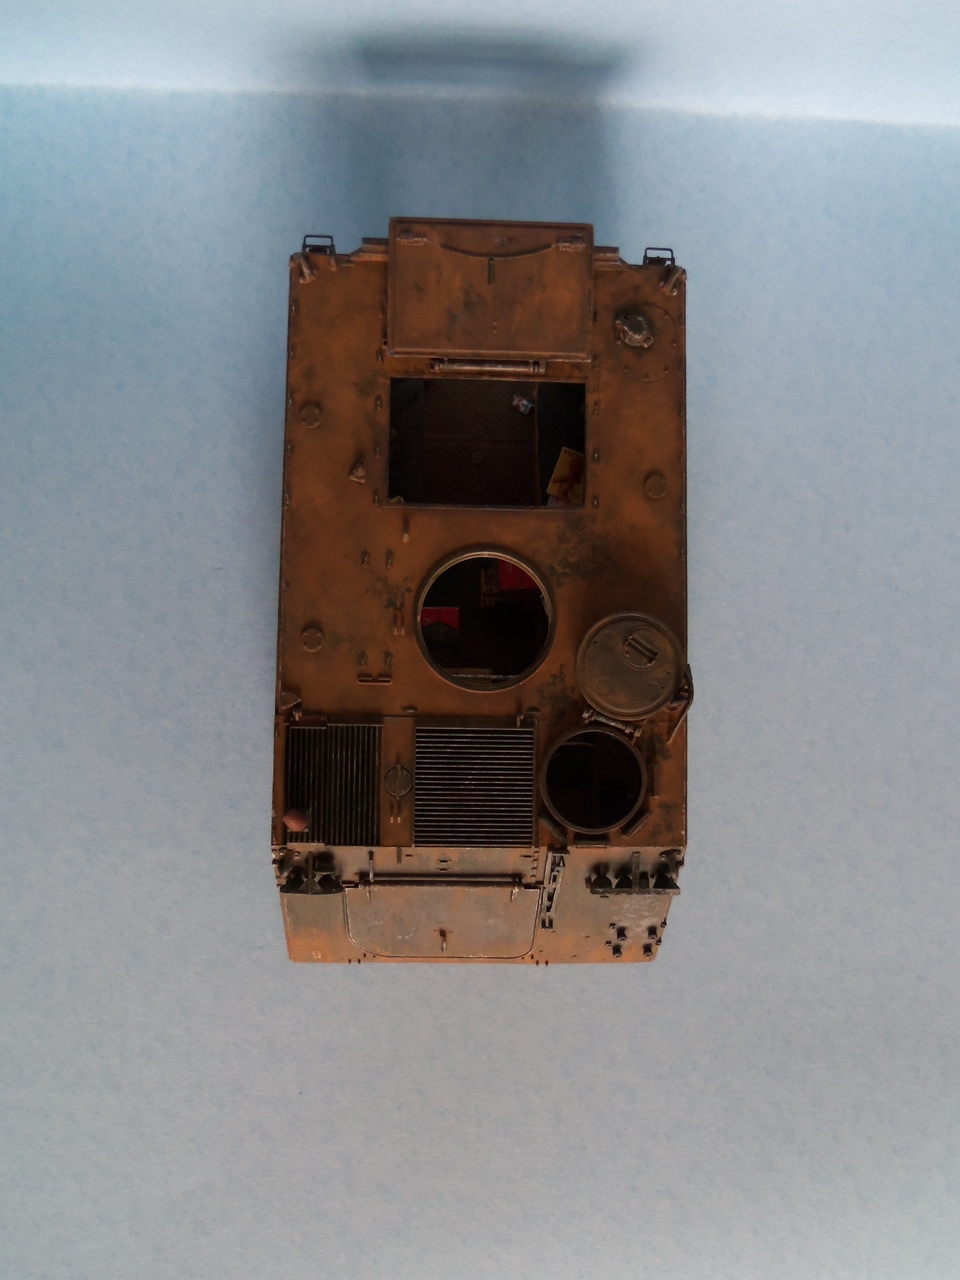
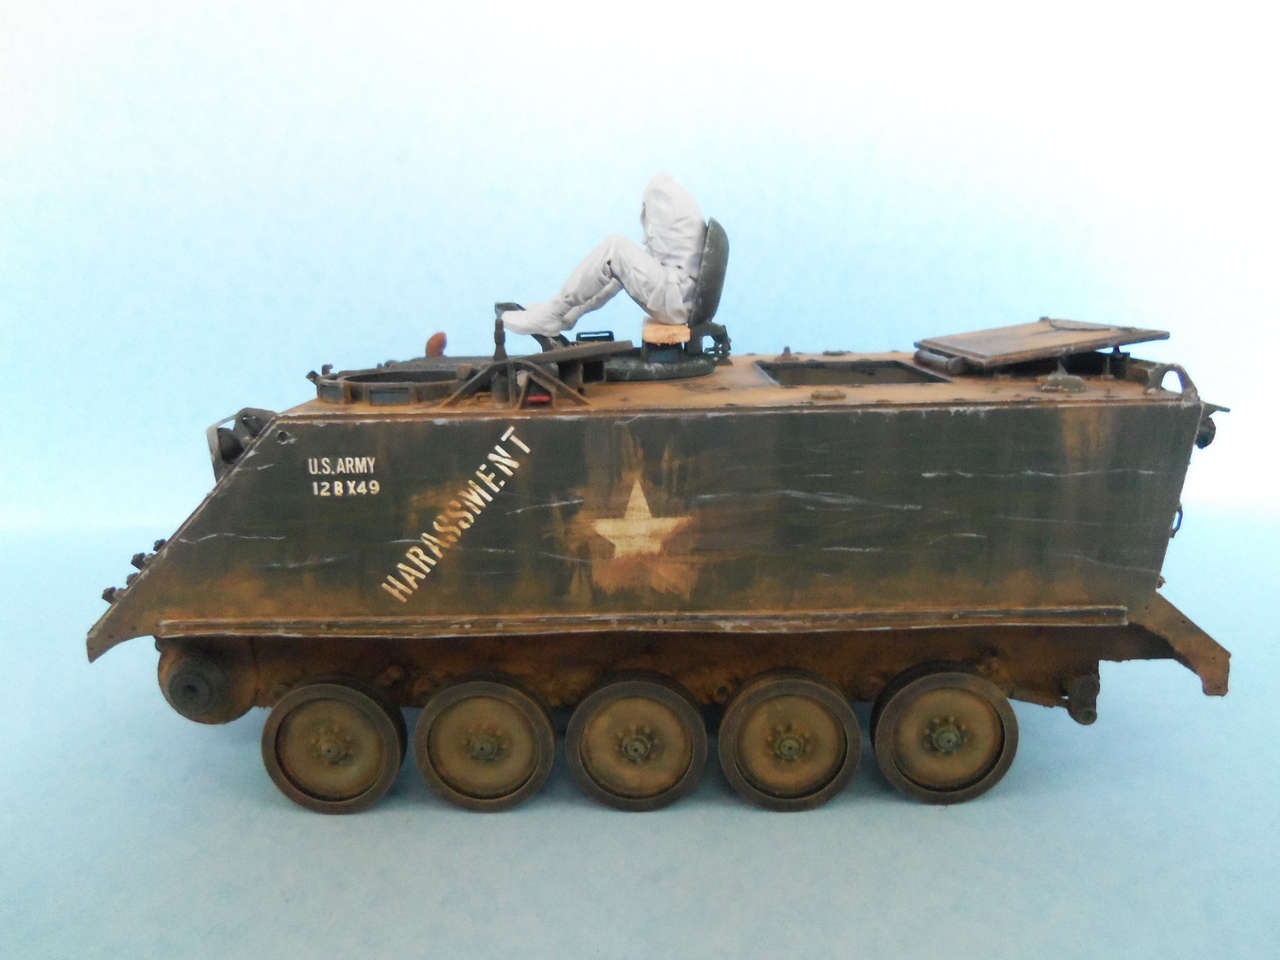
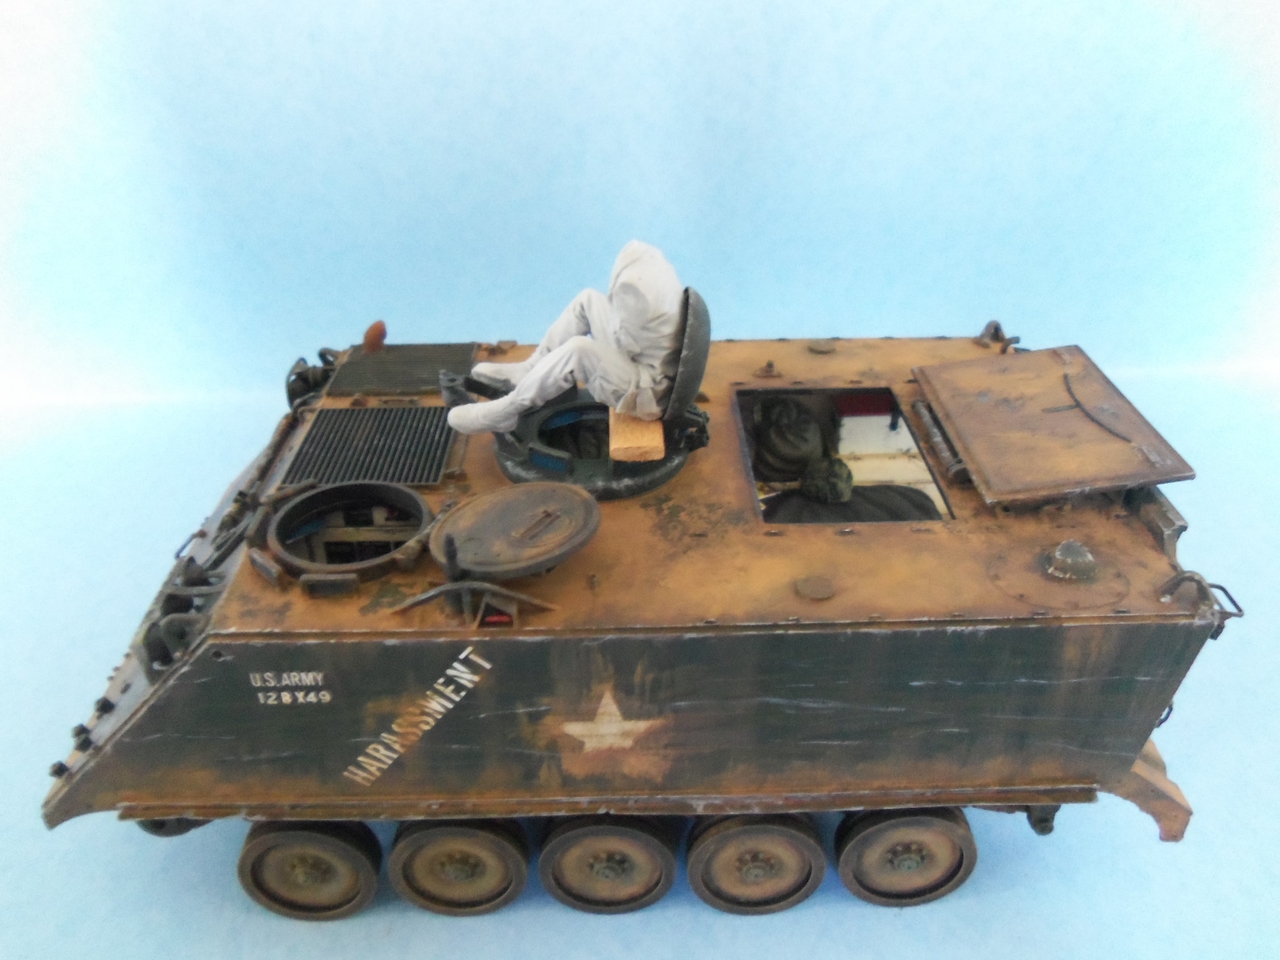
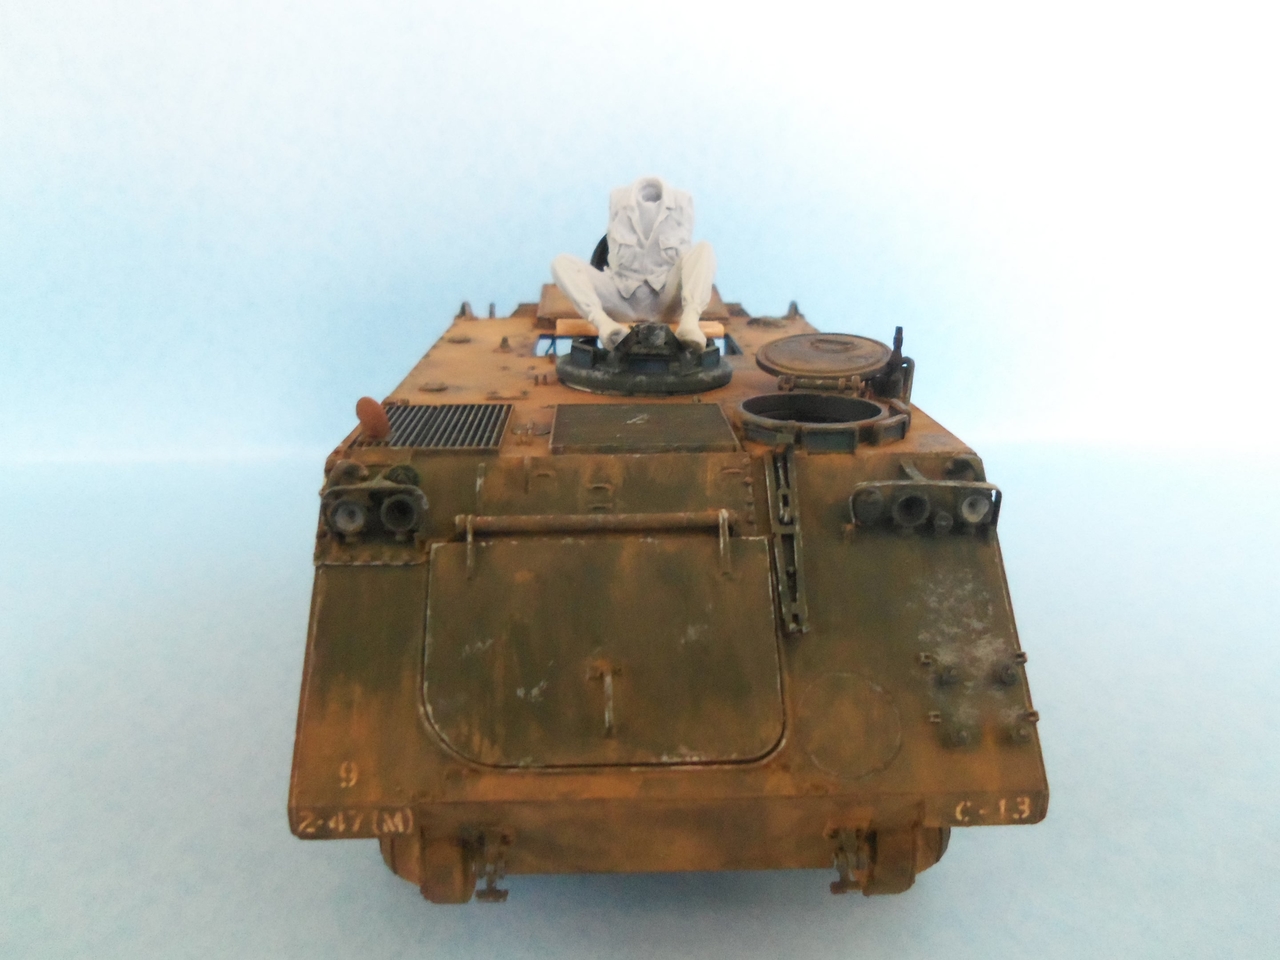
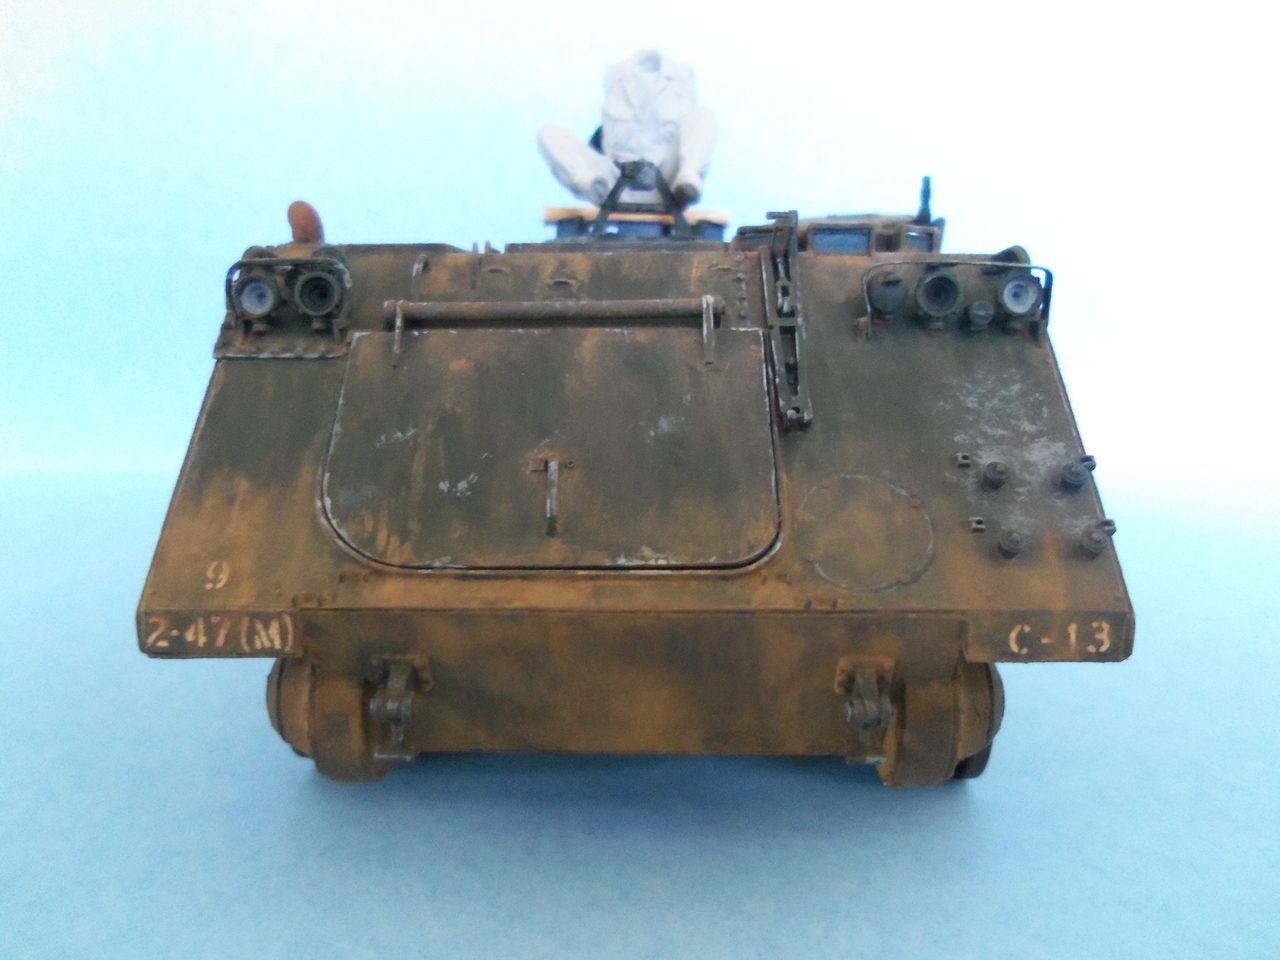
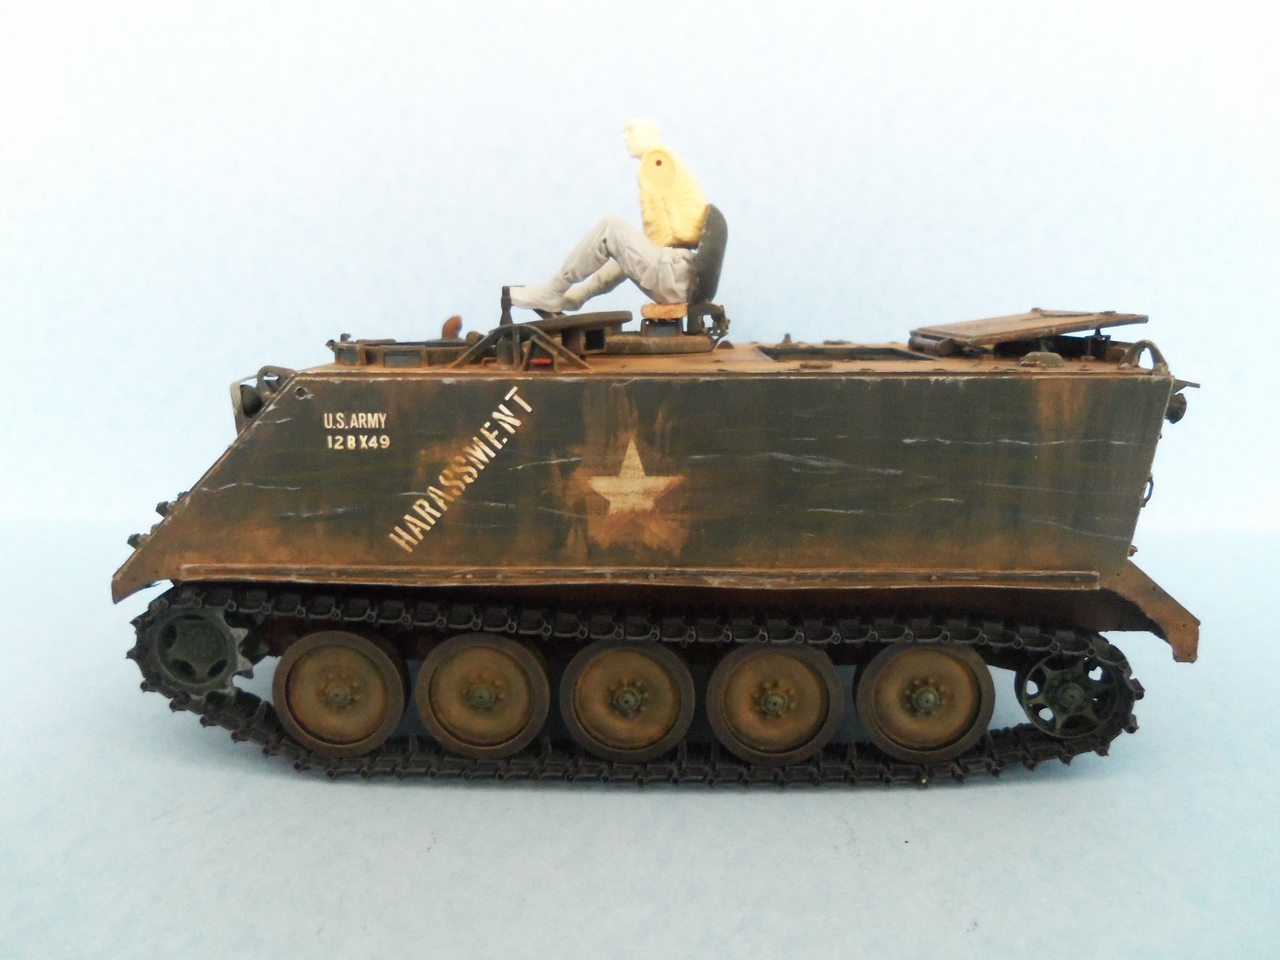
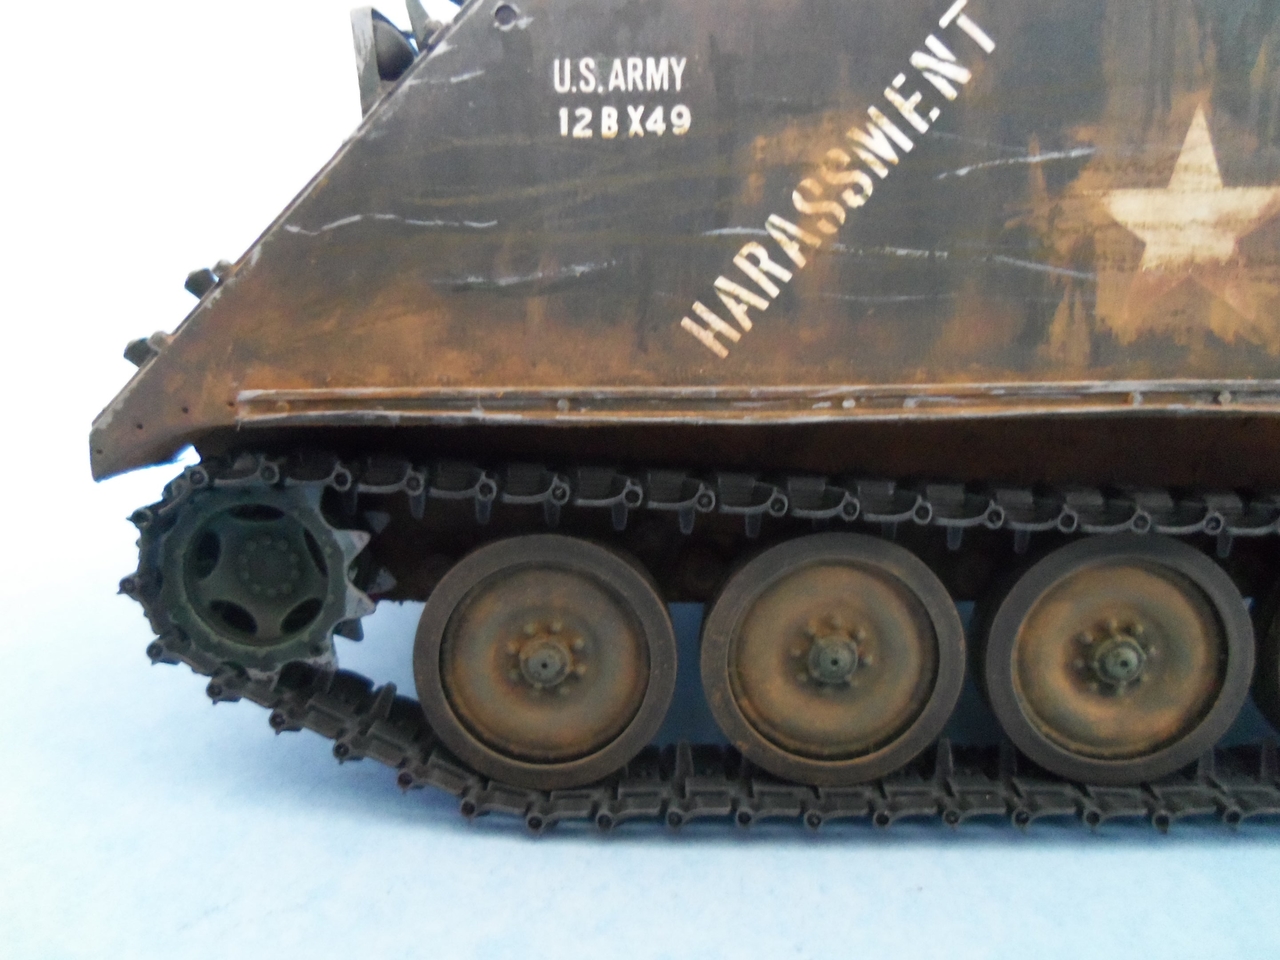
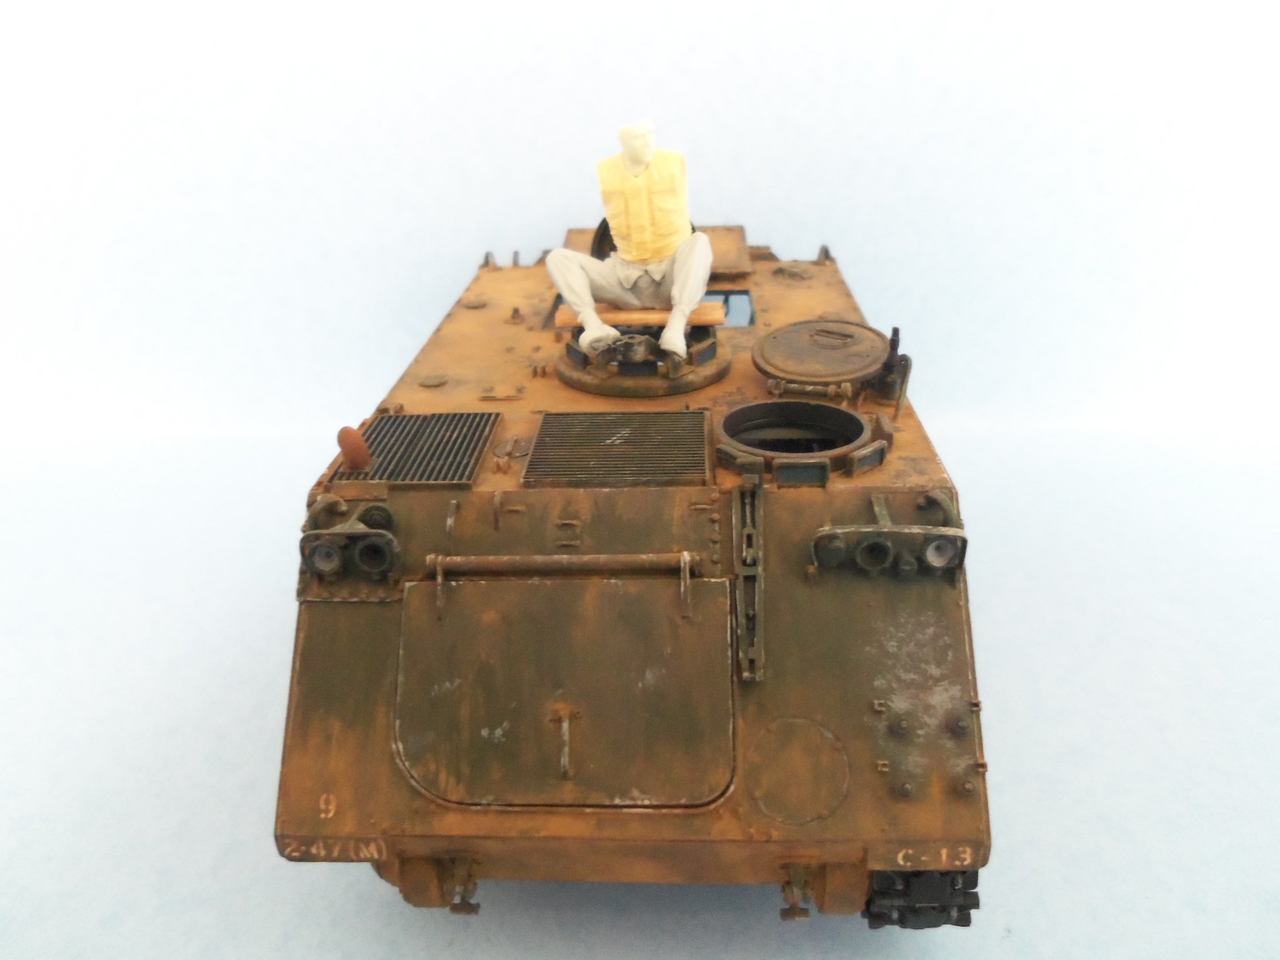
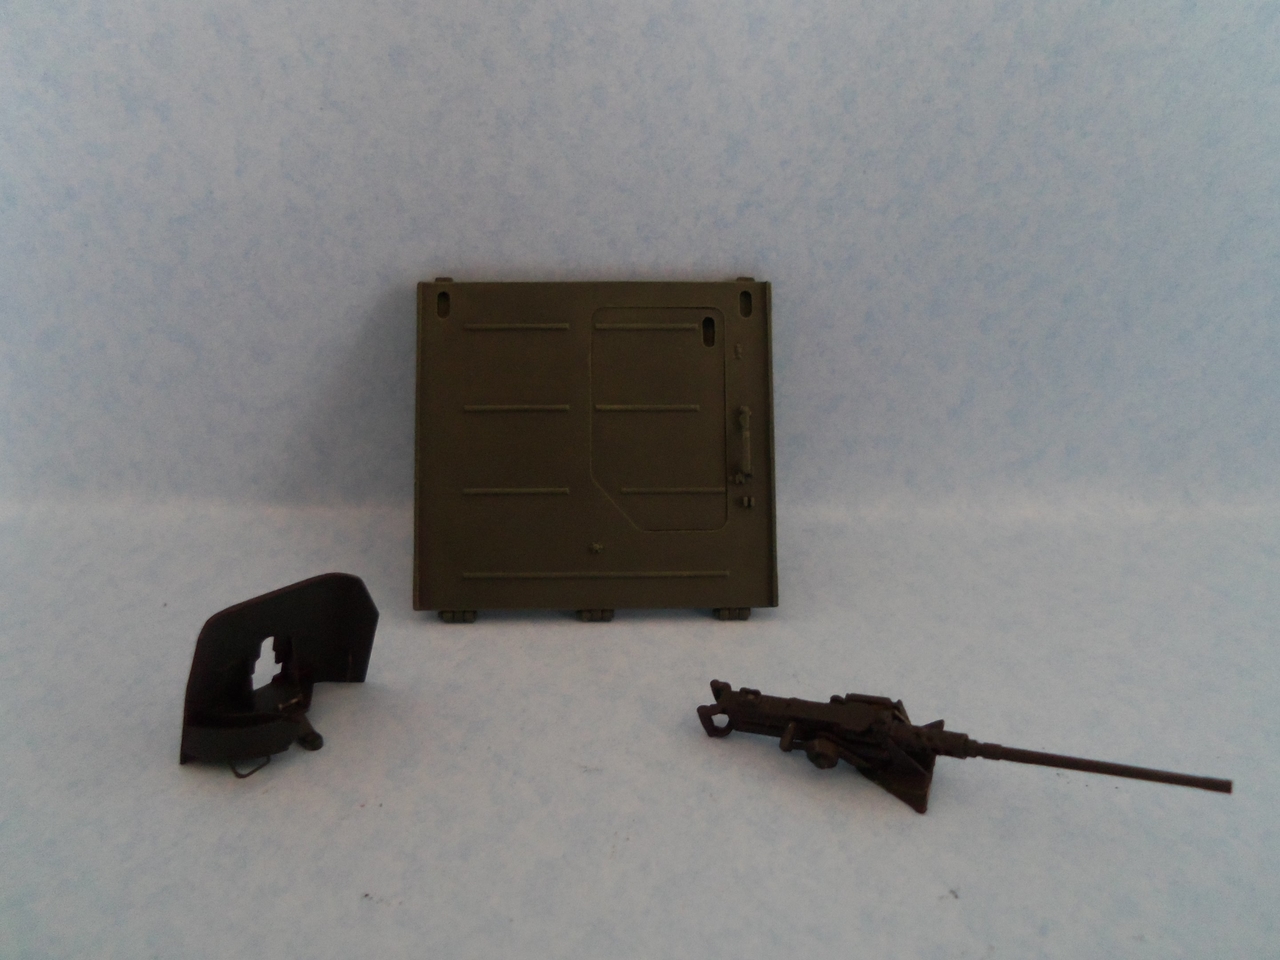
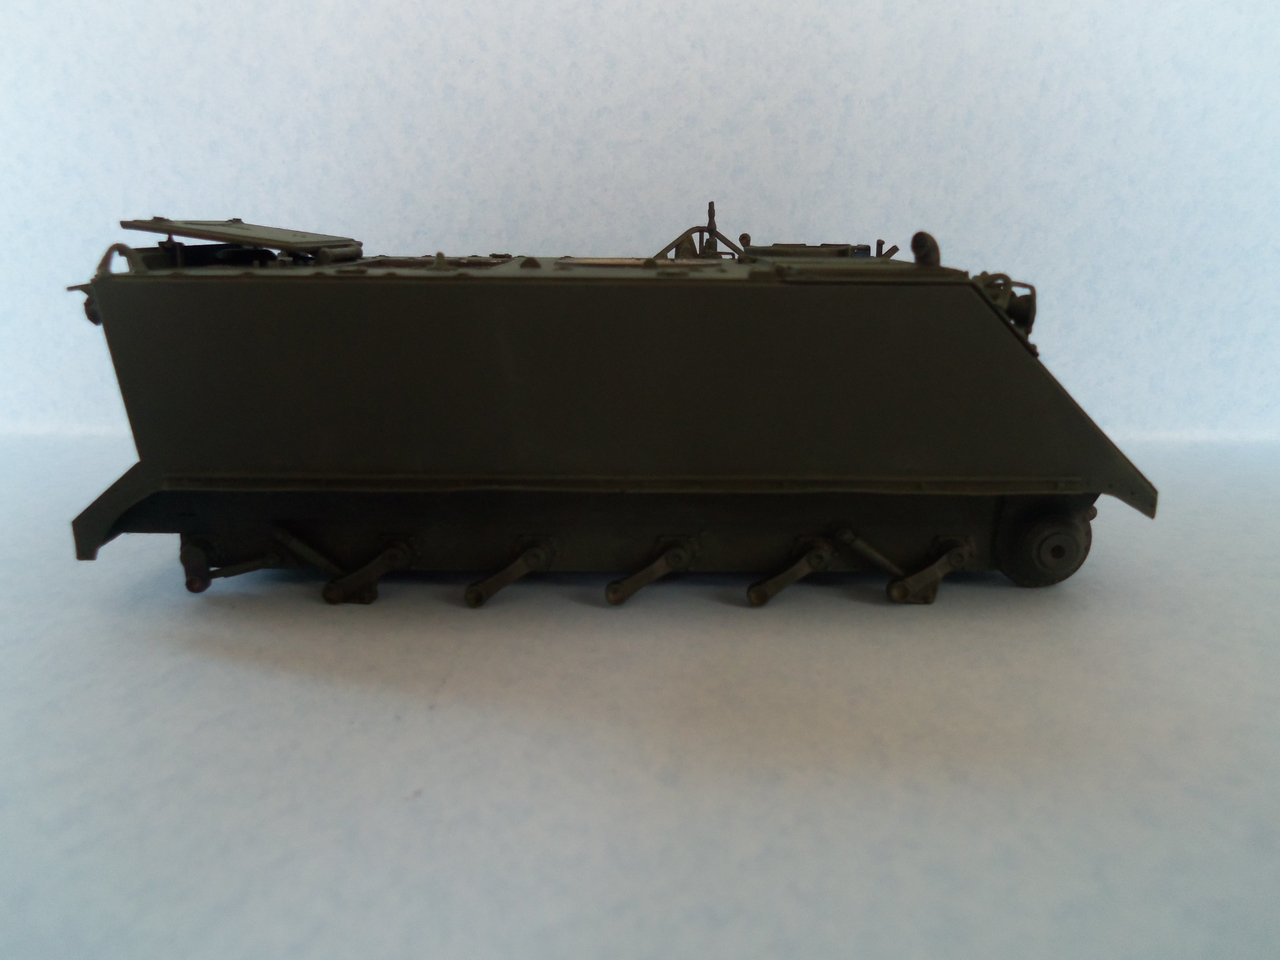
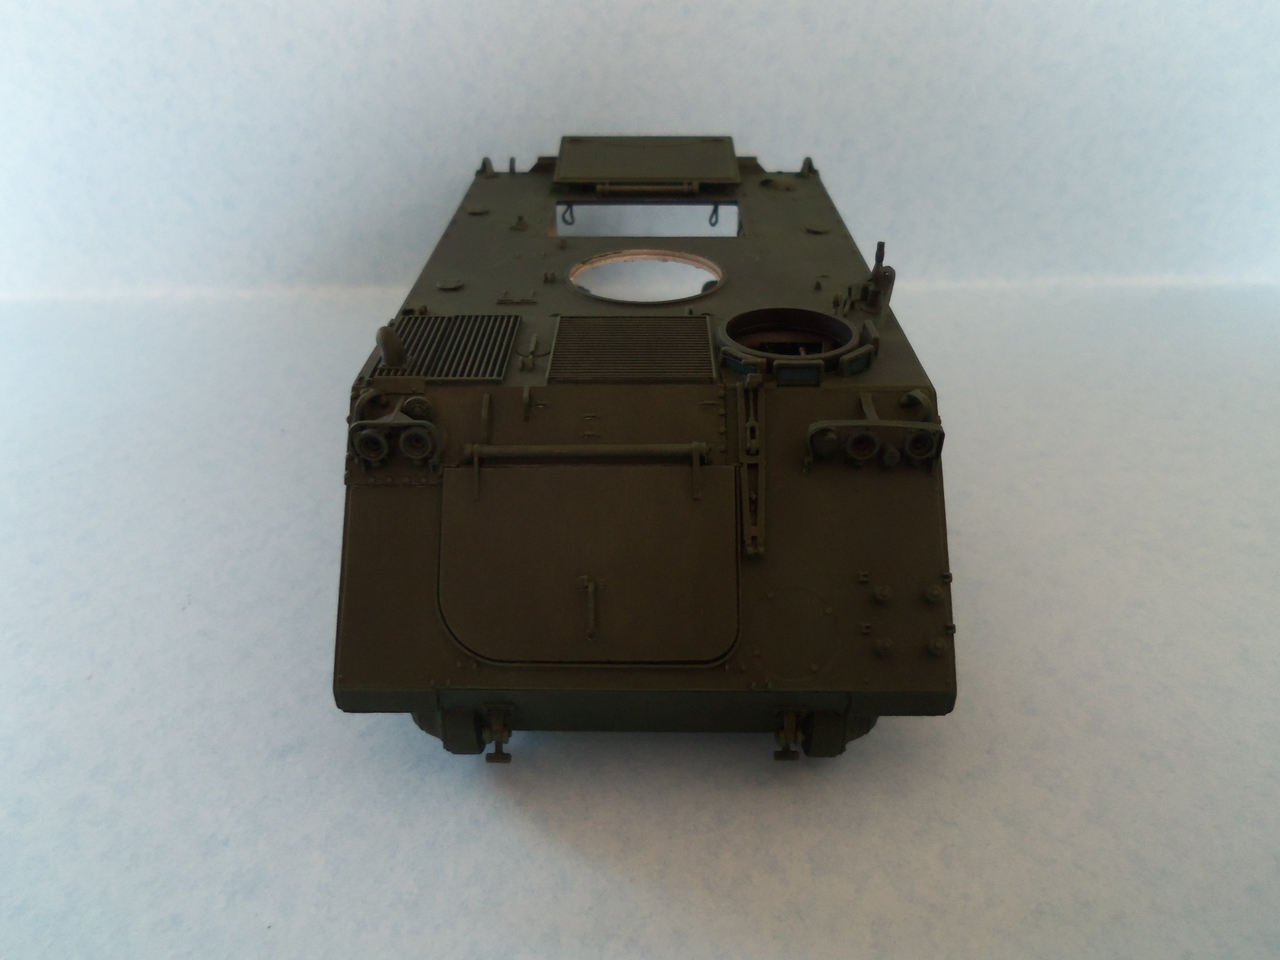
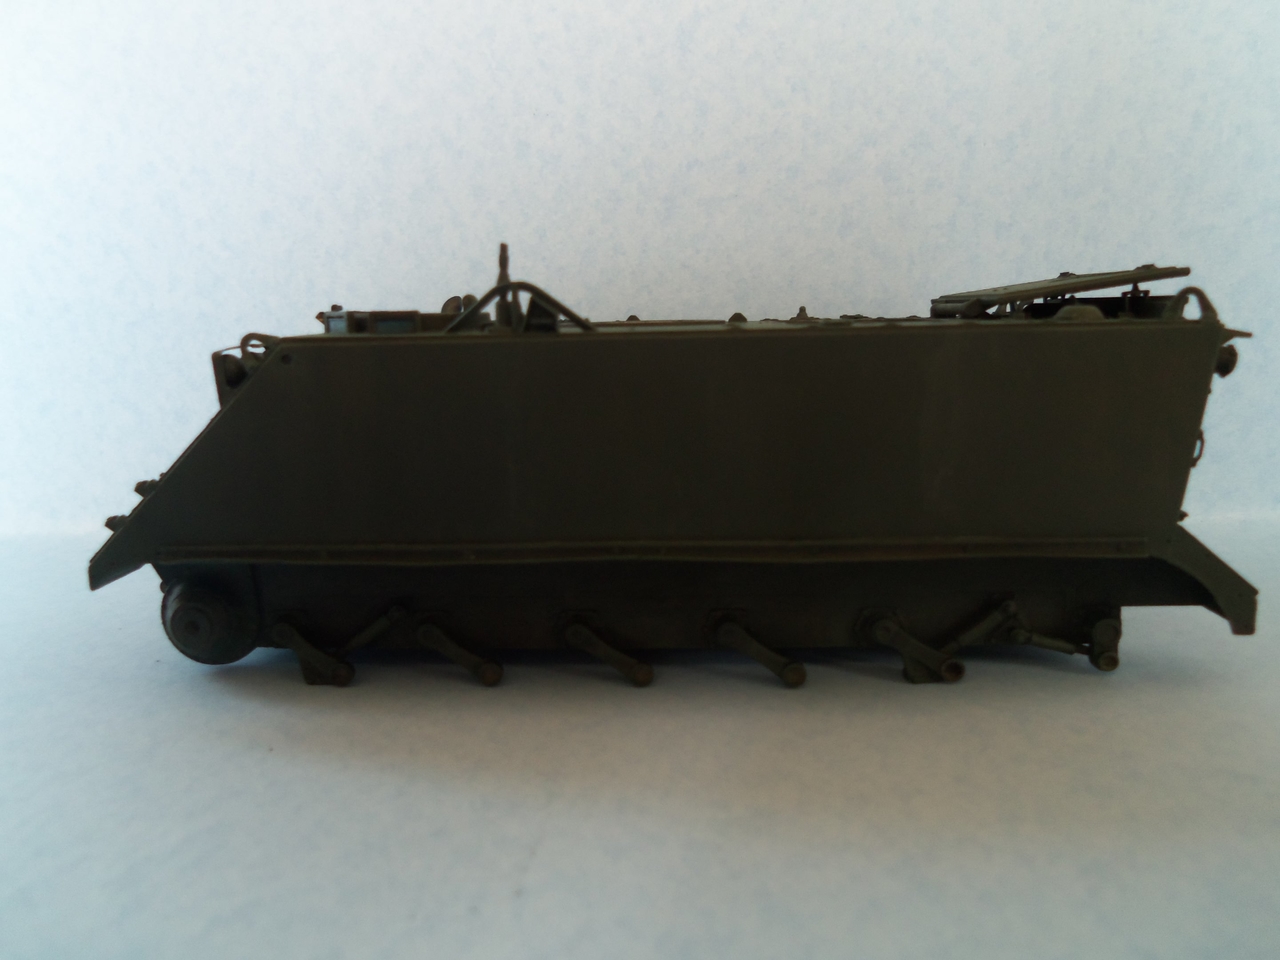
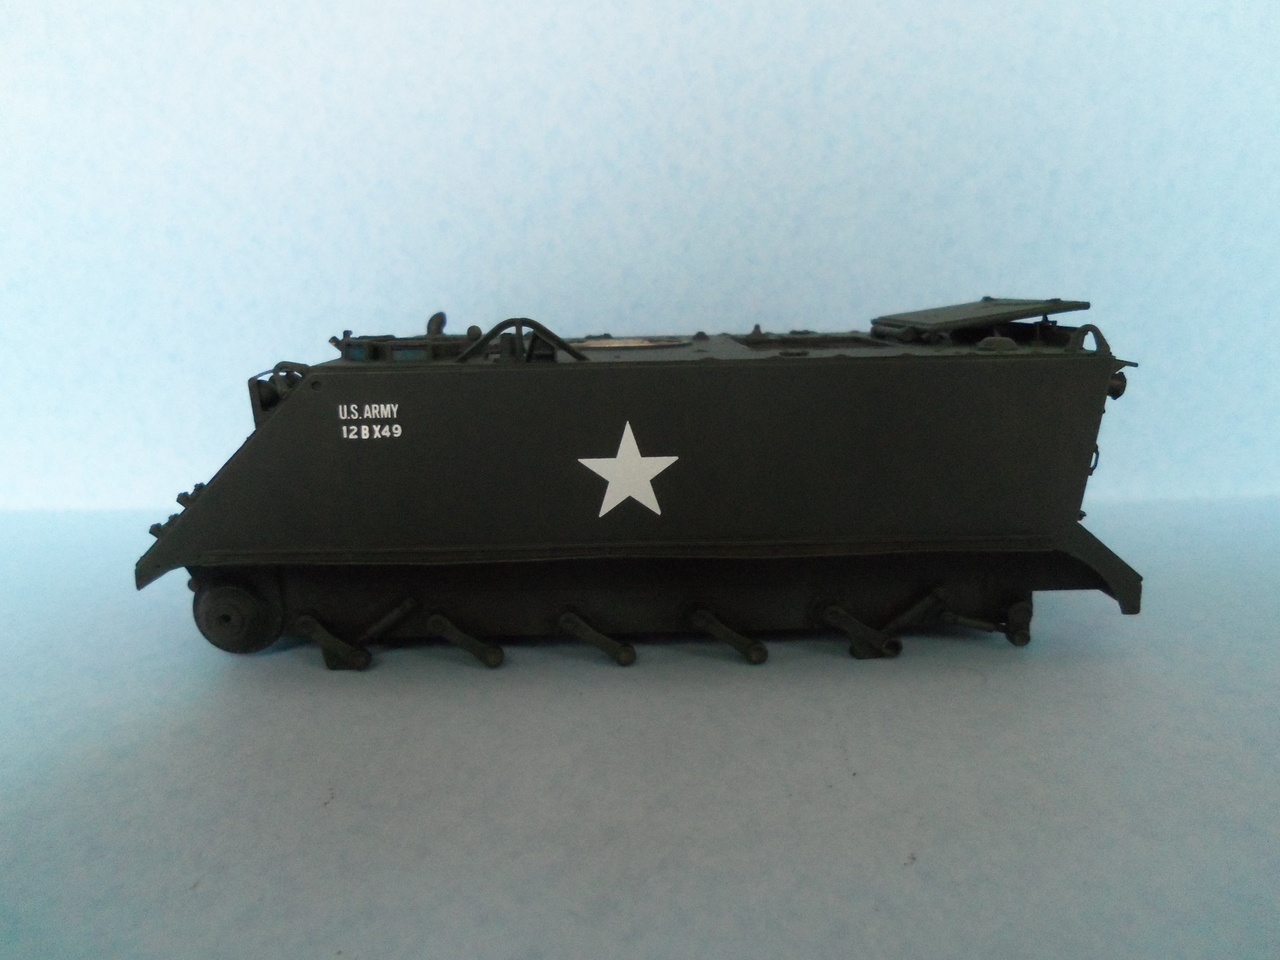
I got the main body of the model primed, then a undercoat of Vallejo USA Olive Drab, and a final coat of Reaper Black Green to get that Post-war Dark OD Color. It was then lightly drybrushed with a lighter shade of green and then shot with some dullcote. With the exception of the dullcote, all of the painting was done by hand with a round brush as I did not want to run the chance of stray spray paint getting into the interior.

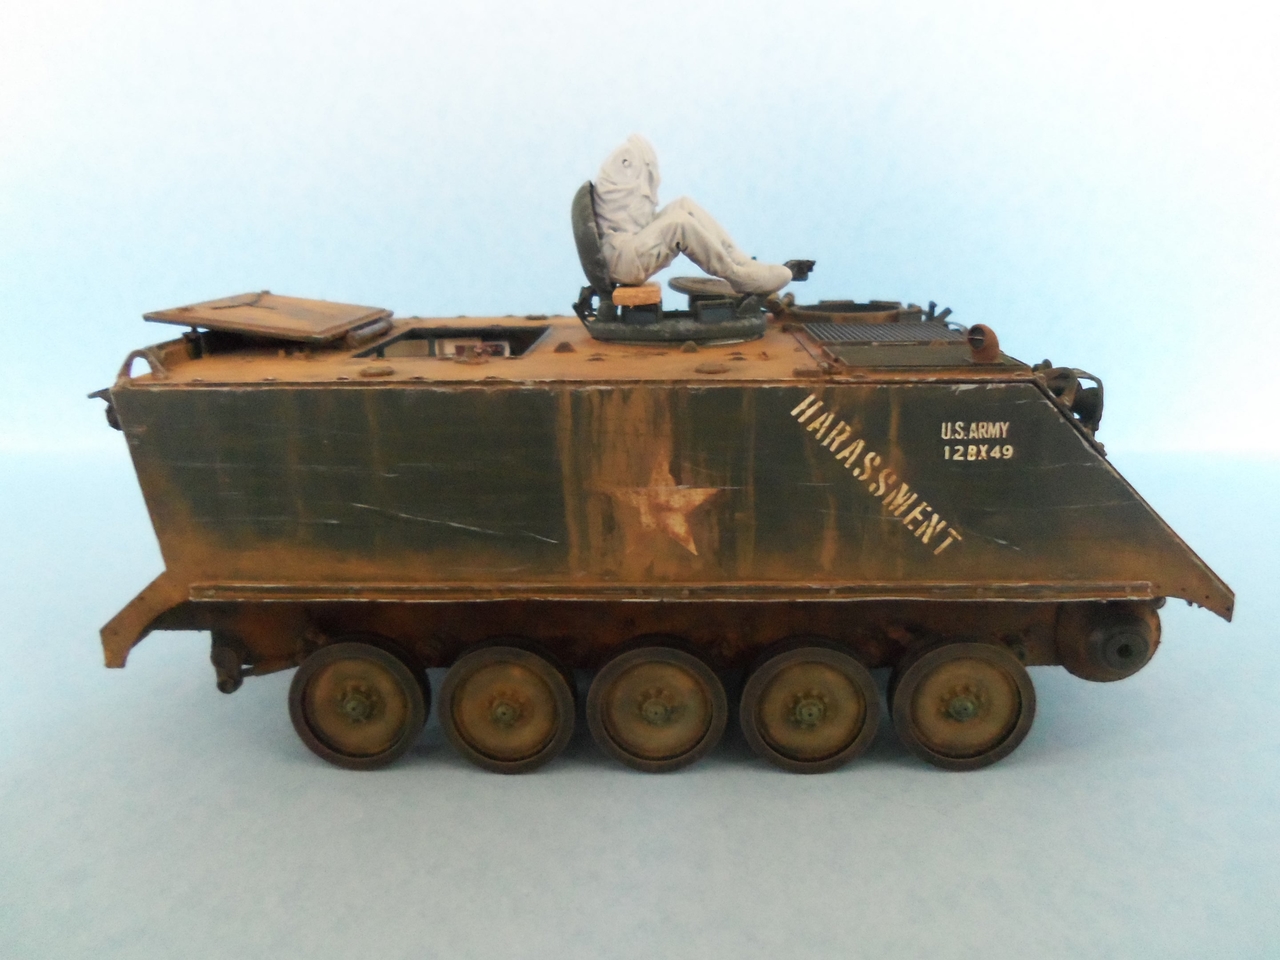
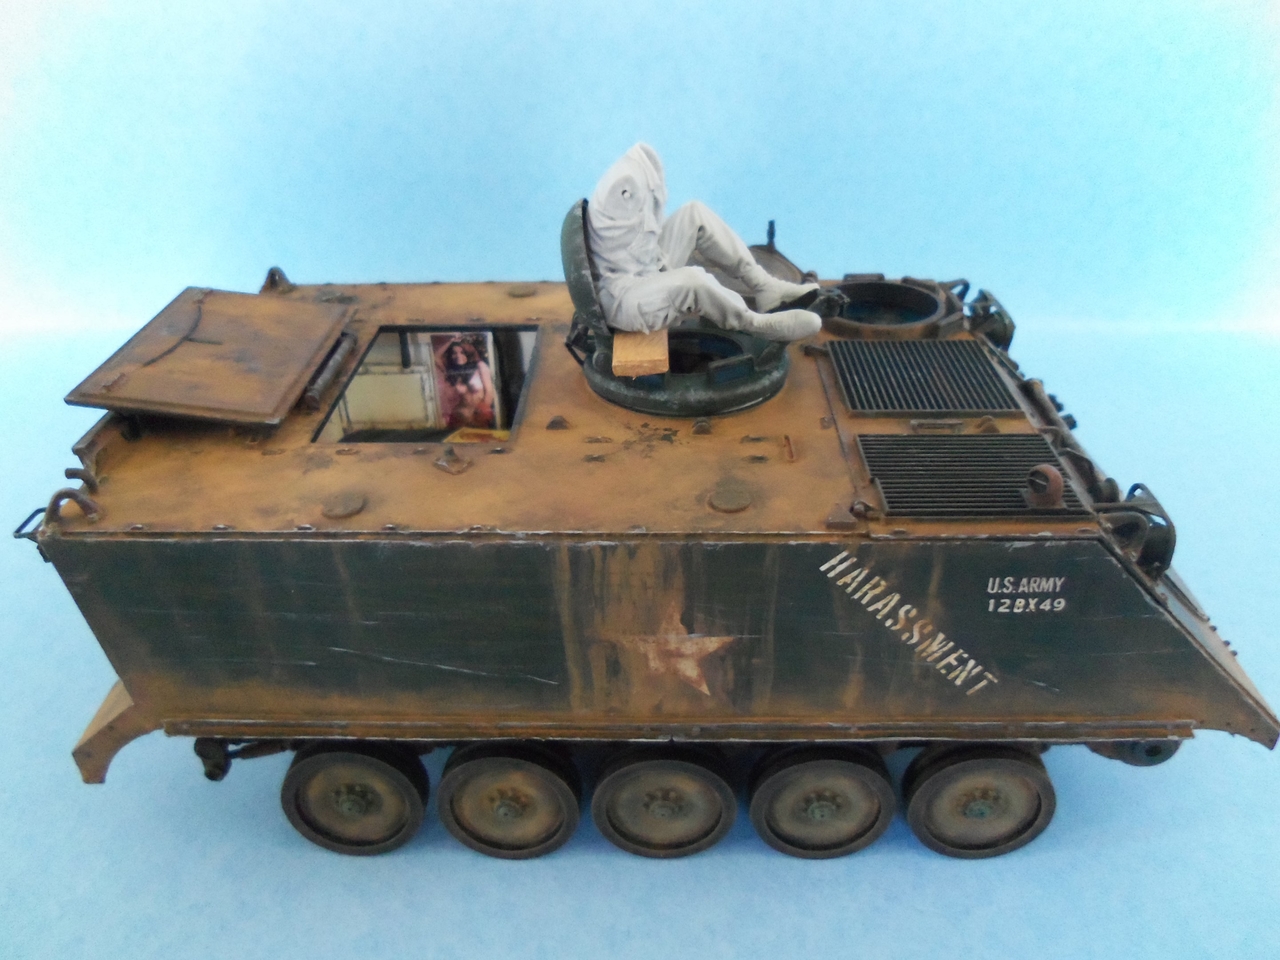
Today I will start applying the markings and registration numbers.
Thanks for looking.
Cheers,
James
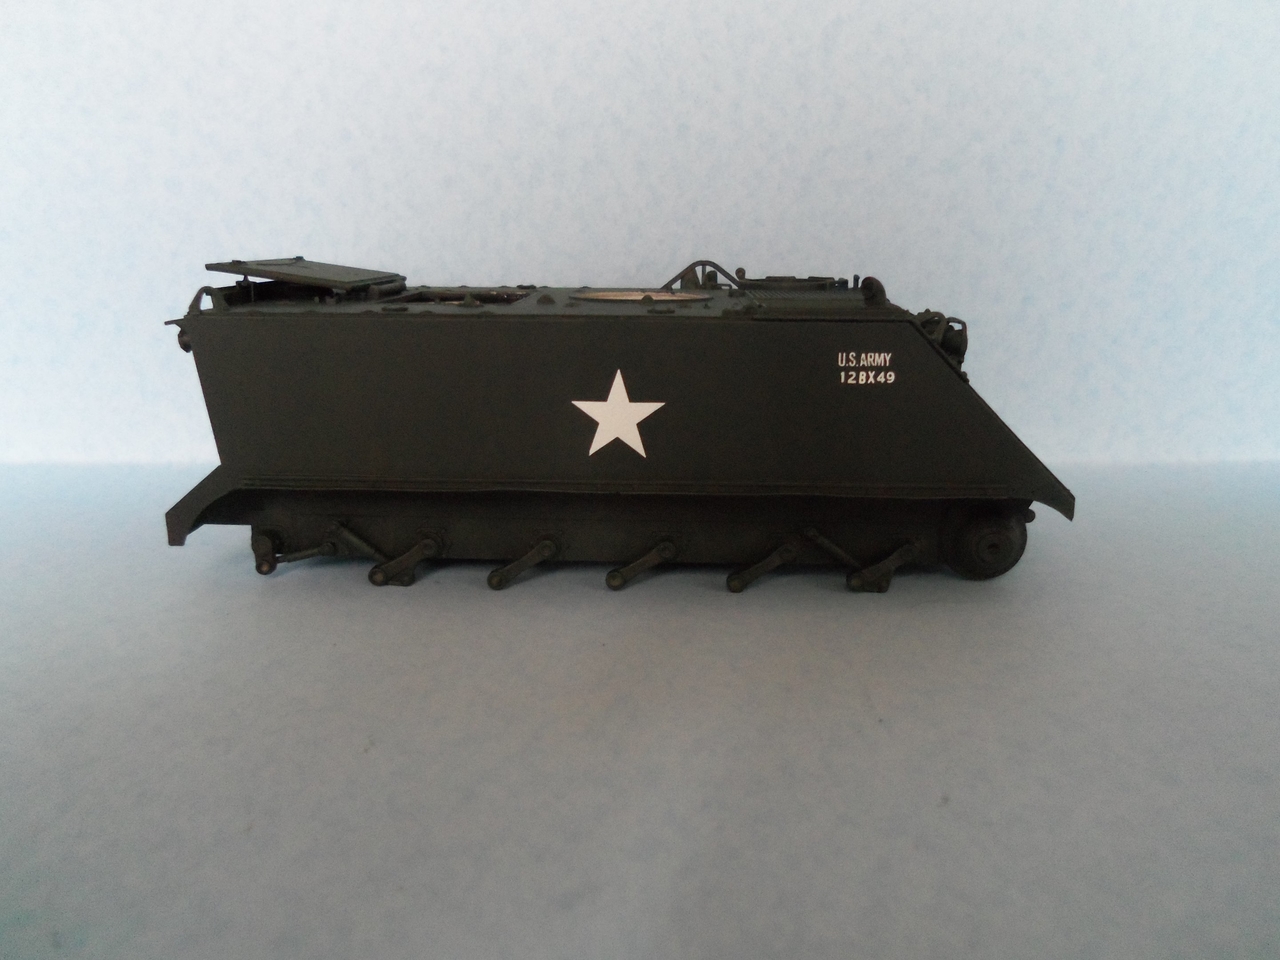
I got the main body of the model primed, then a undercoat of Vallejo USA Olive Drab, and a final coat of Reaper Black Green to get that Post-war Dark OD Color. It was then lightly drybrushed with a lighter shade of green and then shot with some dullcote. With the exception of the dullcote, all of the painting was done by hand with a round brush as I did not want to run the chance of stray spray paint getting into the interior.
Today I will start applying the markings and registration numbers.
Thanks for looking.
Cheers,
James

")