Re:2cm Flakvierling 38 auf Selbstfahrlafette Sd.Kf
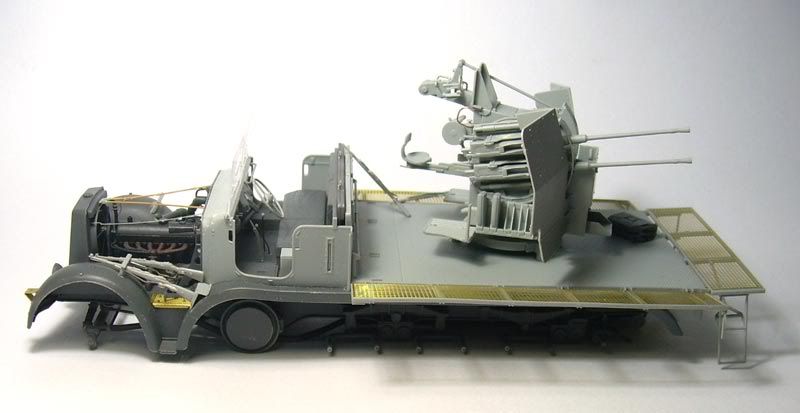
Really well done Dario!
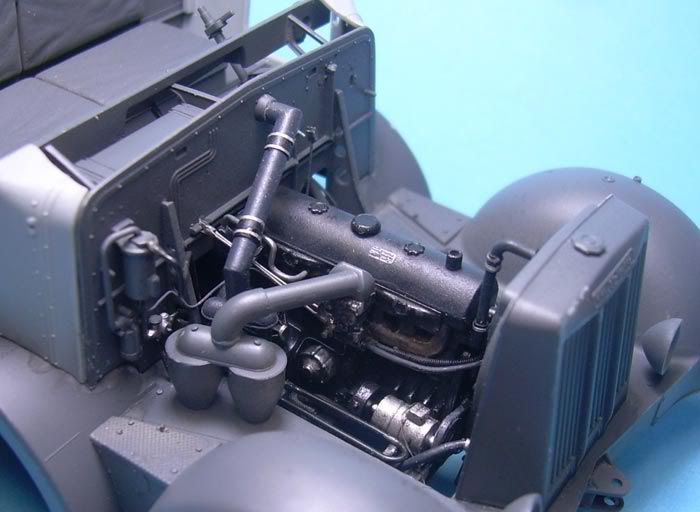
The details are great!
I will definitely be following this!
Bob
Really well done Dario!
The details are great!
I will definitely be following this!
Bob

Modelers Alliance has updated the forum software on our website. We have migrated all post, content and user accounts but we could not migrate the passwords.
This requires that you manually reset your password.
Please click here, http://modelersalliance.org/forums/login to go to logon page and use the "Forgot your Password" option.


")


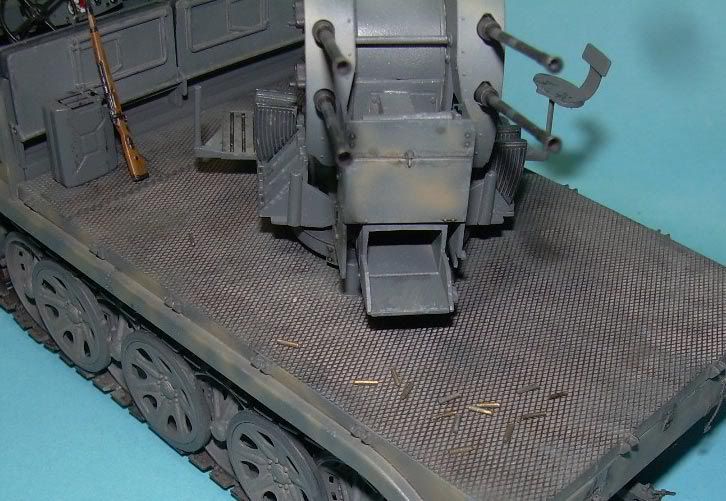 .
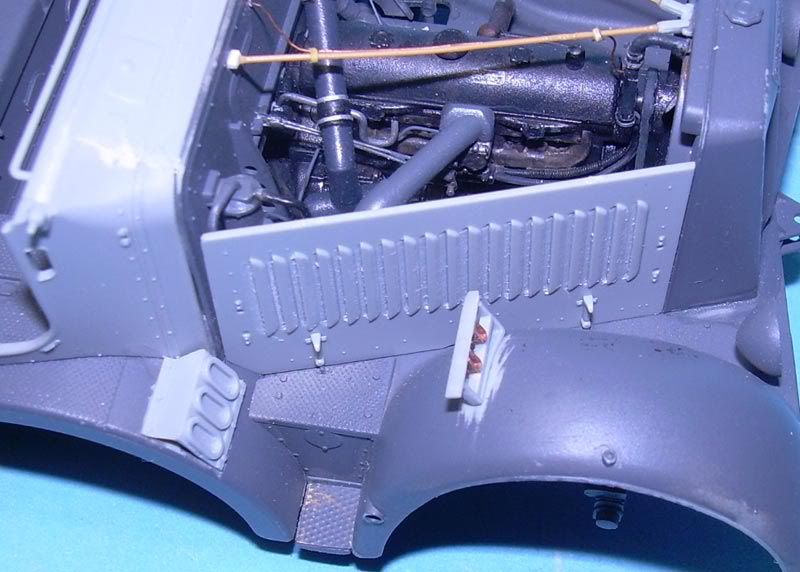
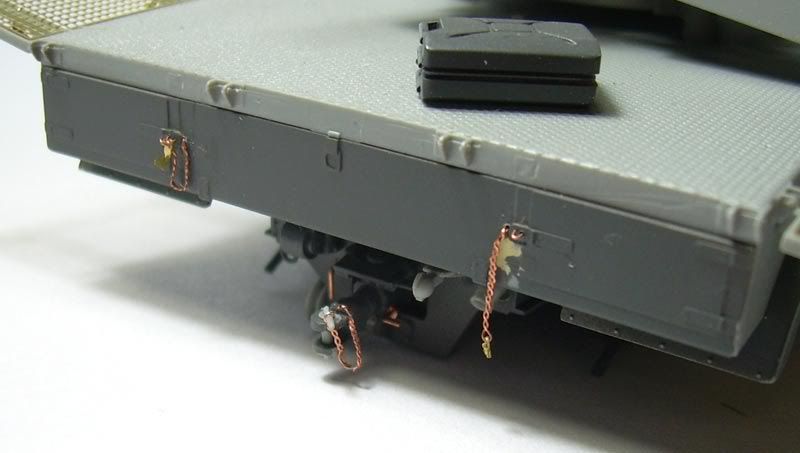
.Does anyone knows what happens with the spent ammo of the flakvierling? They were collected in the box below? I'm wrong putting those empty shells over the platform?
hmy: So...I choose to make them lighter, avoiding to repaint the guns