• Modelers Alliance has updated the forum software on our website. We have migrated all post, content and user accounts but we could not migrate the passwords.
    This requires that you manually reset your password.
    Please click here, http://modelersalliance.org/forums/login to go to logon page and use the "Forgot your Password" option.

1/35 scale 160th SOAR MH-60M

Hawkwrench

Active member
Like I said in my introduction thread, I don't get to model much so to be honest, I don't know if I'll even finish this helo in 10 months, but I'll give it my best.
This pic shows what the back wall of a MH-60M looks like.
And this is what my back wall looks like for now.

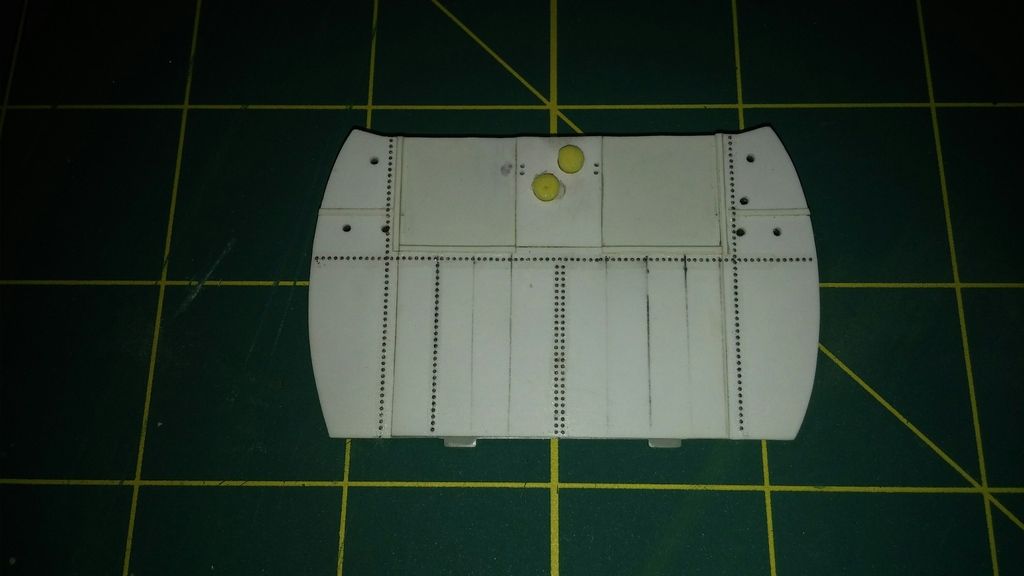
All comments welcome!
Clear up right!
Tim
 
Couple of use went to a show in Fayetteville NC, Fort Bragg right next door. Someone had done a Special Ops Blackhawk (Maybe Mike can pull up one of those pictures)and they obviously had intimate knowledge of the aircraft and what went inside. Obviously you have the same knowledge and from the looks, the same skills. Will be looking forward to this. :popcorn
 
Nice start!

I plan on doing a 160th SOAR bird eventually. I've got the kit for it, but don't have all the bits & pieces yet.
 
Thanks for the compliments.
I've been working alot so no modelling, but I've been buying aftermarket pieces for it.
1) Interior & exterior MH-60S PE.
2) Werner Wings UH-60 stencil decal sheet.
3) Cobra Company 160th SOAR subdued markings.
4( A combination of Meng, Masterclub and Aber nuts and bolts.
5) Micromark HO scale resin rivets.
Eventually I'm going to buy either the CC MH-60M detail set or the upcoming Black Ops Models MH-60M detail set.
I'm not sure which one just yet.
Also, I'm not finished with the back wall. I still have more rivets and details to add. It's a shame it Wil be covered by the internal fuel tank, but I still know it's there.
Clear up right!
Tim
 
Thanks guys! Sorry about the stinky lighting, I take the pics with my android phone.
Any suggestions on making the Lighting better?

Clear up right!
Tim
 
Here's my official start time for my helo build.
Is there anything else I need in order to be in the helicopter campaign?

Clear up right!
Tim
 
Well, I finally am getting the time to work on my model (albeit at work!) I've been wanting to make a better main rotor head because the kit rotor head is pathetic!
So here we go!
I started by added .020 styrene strips to the lower PC rod mounts on the swashplate and sanding to shape.
Next I took out my Dremel tool and ground away one of the 4 oval points inside the part.
On the real helo, there are only 3 and they are used for connecting the lateral, aft, and forward primary servo linkage rods to the bottom of the swashplate.
To simulate the rod ends inside the swashplate, I used the .020 strips once again, rounded one edge and then cut the strip a few millimeters down from the top and glued them inside the small oval holes in the inside.

Next, I'll begin work on the rotating scissor mounts on the outer edge of the swashplate.
Tim
 
Thanks guys! While working on my swashplate, I also began redoing/scratchbuilding the main rotor hub.
The kit part shows the hubs flat while on the real H-60, the hubs actually point up at an 8 degree angle. So here's what I've got as the beginning of a new rotor hub.

I tried to get the correct pitch of 8 degrees as close as I could with a little MK 1 eyeball thrown in for good measure.
Here's a diagram to show the upward pitch of the gun:

Tim

More to come soon
 
Some more progress.
I finally have the rotating scissor mounts done. I still need to drill the holes on the mounts. Next up, drawing up and making the lower pressure plate and gluing on the nuts and bolt heads.


Tim
 
Back
Top