• Modelers Alliance has updated the forum software on our website. We have migrated all post, content and user accounts but we could not migrate the passwords.
    This requires that you manually reset your password.
    Please click here, http://modelersalliance.org/forums/login to go to logon page and use the "Forgot your Password" option.

1/32 Trumpeter P-40B..Going Dark

1/32 Trumpeter P-40B..Small Details

Many thanks. Took me a while to get a clear(ish) image of one so that I could try it.


Joe
 
1/32 Trumpeter P-40B..Framed

The next major construction stage is to work on the cockpit.

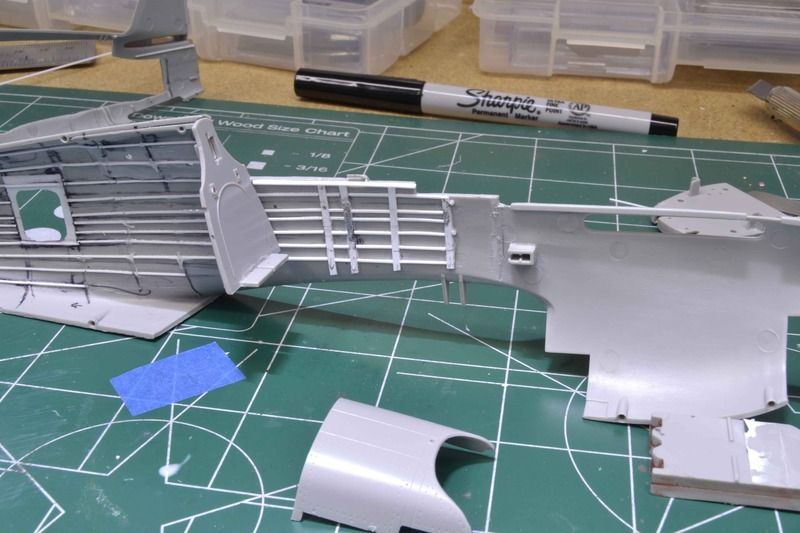
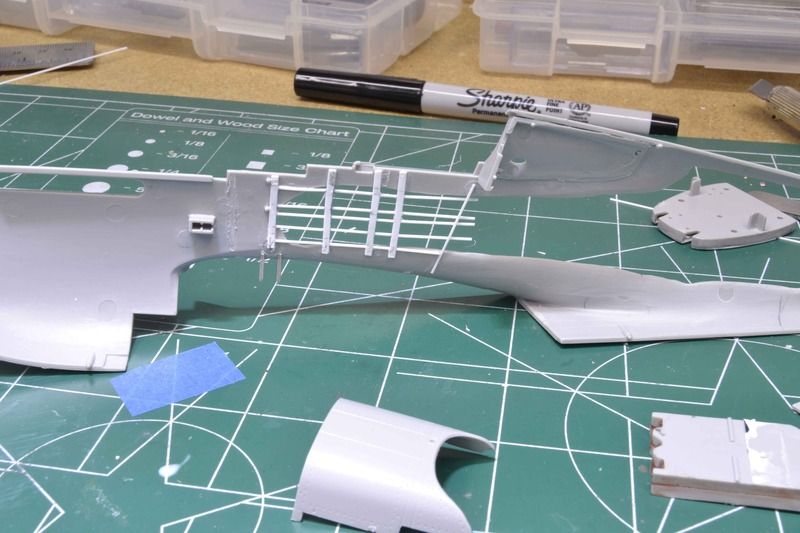
This begins with framing in the pit. Bulheads and frames. After putting in the bulkheads each stringer was cut to fit. I used .020 by .040 strip for the bulkhead. I used .020 square strip for the stringers.

Cockpit-6_zpssrnsixt5.jpg

Cockpit-5_zpsrpq9t9xc.jpg


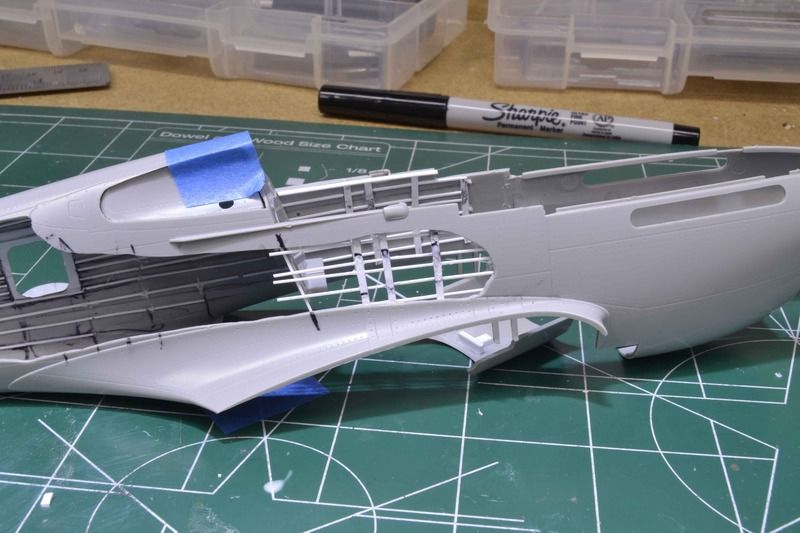
And how it looks all together. Taped of course.

Cockpit-4_zps199steks.jpg


Now there are a couple of major flaws in the pictures. One I have fixed the other I will live with.

Moving right along and actually kind of quick with this part so far.


All comments, critiques, and criticism are encouraged.


Joe
 
1/32 Trumpeter P-40B..Cockpit Port Side

How about a long overdue, a month since the last one, update????

When last we saw our hero the framing for the cockpit had been readied and installed. We had prepared to begin to start detailing.

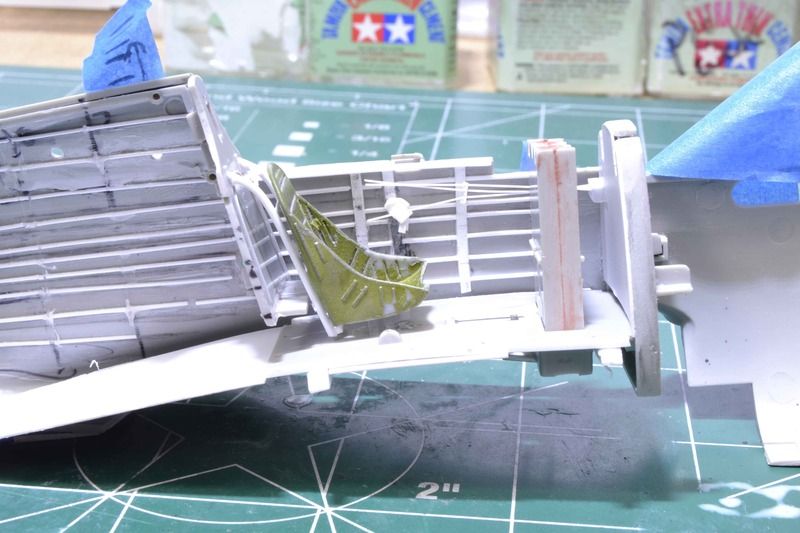
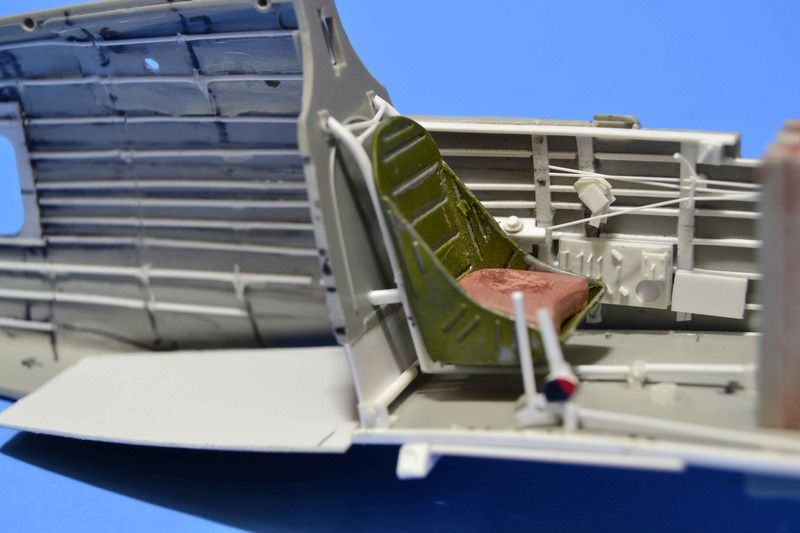
This update is all about the seat frame and the port side.

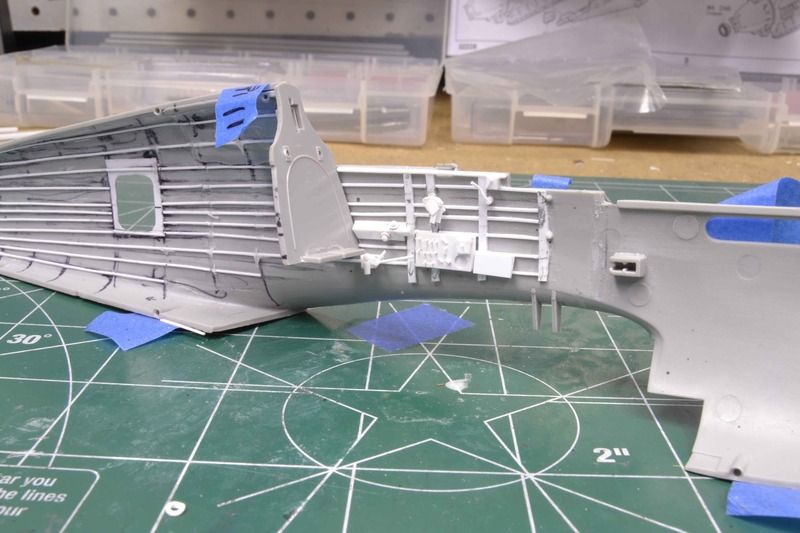
Working off of several pictures work began with the electrical panels and the throttle control. Using strip, rod, tube, and scrap plastic the panels were fashioned. After they were ready some little odds and ends on the port side were fashioned to match the pictures.

The port side.

Cockpit-Port-Side1_zpslqmfbjv5.jpg


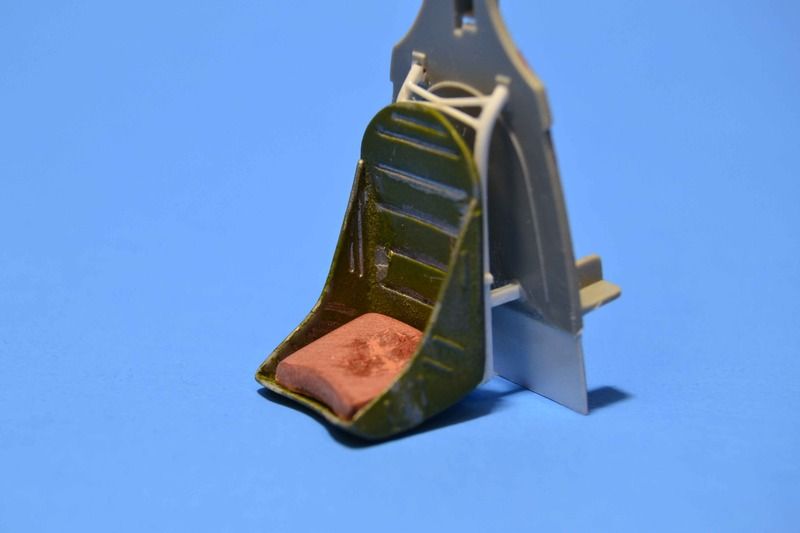
I also worked on the seat framing. This is not 100% accurate but needed to have a bit more strength than what I could see for a plastic frame. I canibalized a seat from the parts box and have it in place temp.

Cockpit-Port-Side-2_zpsypaf2pdf.jpg


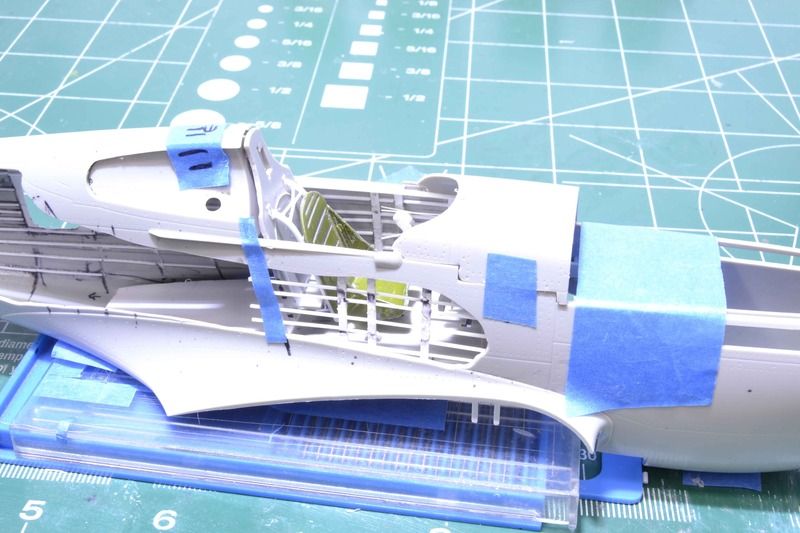
And finally just a glimpse of what this looks like, minus the port detail, with the fuselage together.

Cockpit-7_zpsgyznkxcs.jpg


That is about all the detail seen in my pictures for the Port side. Next up will be to work on the Starboard side.


All comments, critiques, and criticism are encouraged.


Joe
 
1/32 Trumpeter P-40B..Cockpit Port Side

Looking good Joe. As I said before you are getting better and better at this style of modeling. Fantastic stuff. Just as a side thought, if you're thinking of your next challenge might I suggest a WWI a/c that should be right up your alley? My friend Bo has a Fokker D.III he is producing through shapeways that is all cutaway. http://www.shapeways.com/product/PZFLLT7NK/fokker-d-iii-fuselage-early-1-32?li=shareProduct

625x465_3629667_14137617_1458759035.jpg


James
 
1/32 Trumpeter P-40B..Cockpit Port Side

Many many thanks.

God that looks so very cool but soooooo very fragile.


Joe
 
1/32 Trumpeter P-40B..Cockpit Starboard Side

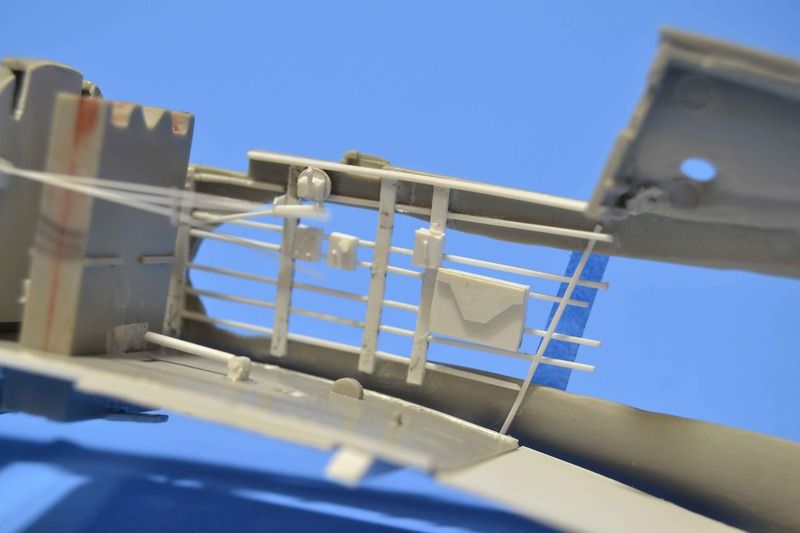
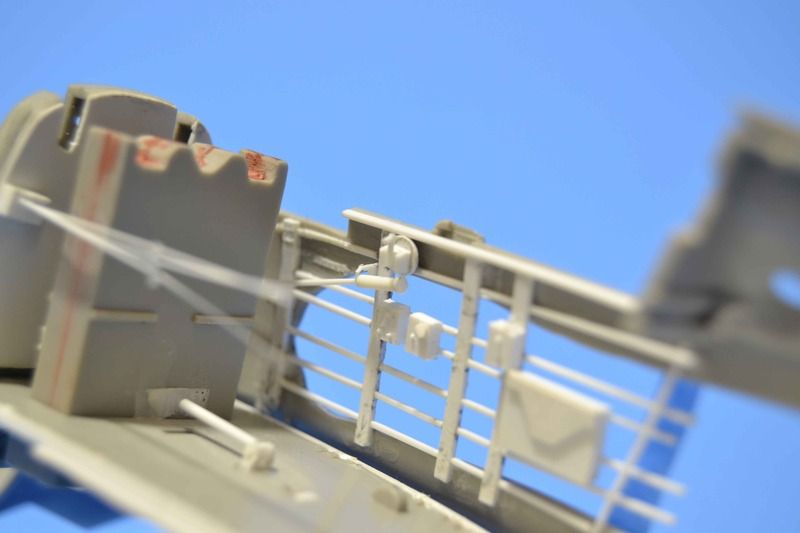
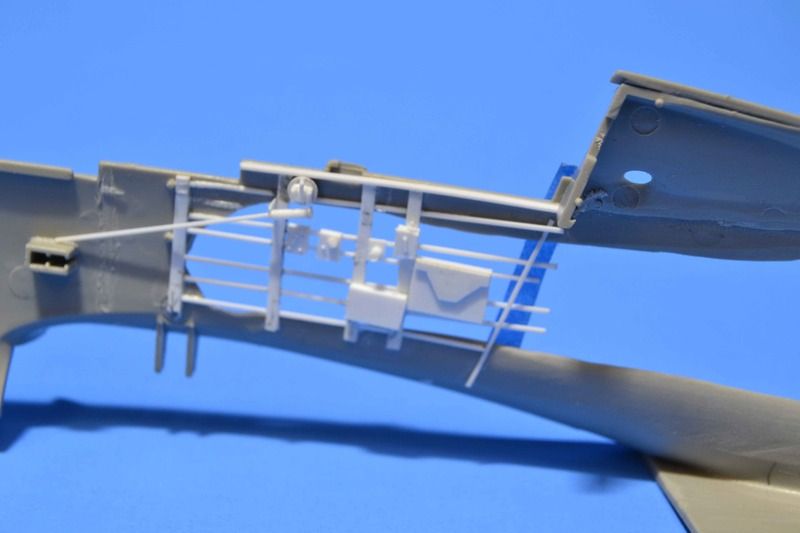
On to the Starboard side of the cockpit. A little of detail but to be honest I missed a couple of things that I will have in the next update.

Radio boxes, a light, and the canopy handle dominate this side.

Starboard-Side-1_zpso4yxn77c.jpg

Starboard-Side-2_zpsvbs9frqw.jpg

Starboard-Side-3_zpsvjcfgnbf.jpg


Now let me back up a bit, playing with different camera settings. Here are a couple of shots of the Port side using a different background and different settings.

Cockpit-Port-Side-3_zpsbbqlacrl.jpg

Cockpit-Port-Side-4_zpso9lm62jo.jpg

Cockpit-8_zpslru8k9we.jpg


Next up will be the top of the wing/floor of the cockpit.


All comments, critiques, and criticism are encouraged.


Joe
 
1/32 Trumpeter P-40B..Cockpit Starboard Side

Looks good, like how you got the toggle switches. :popcorn
 
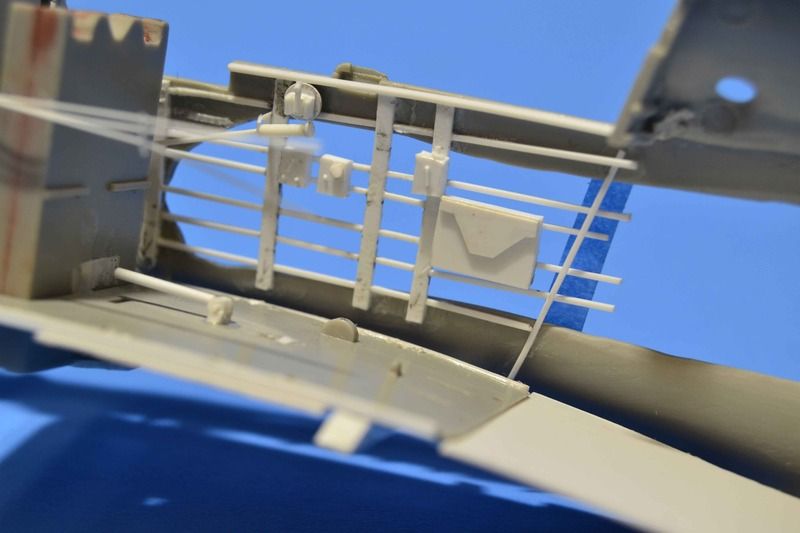
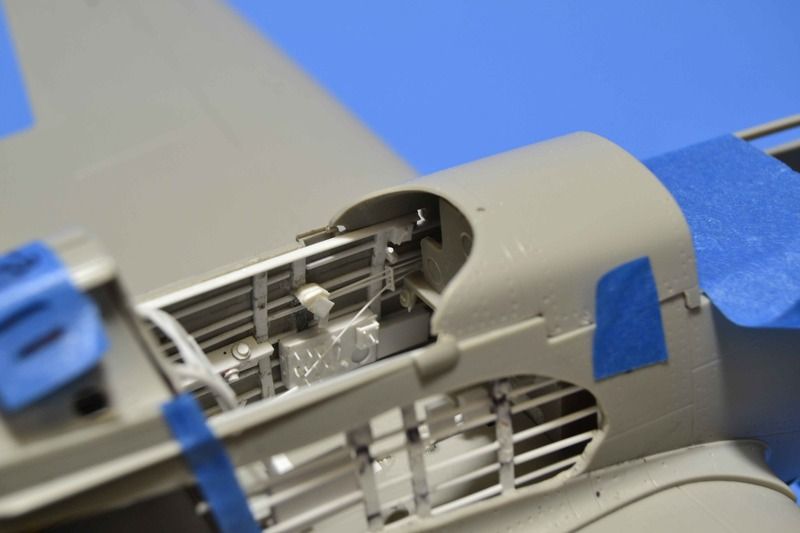
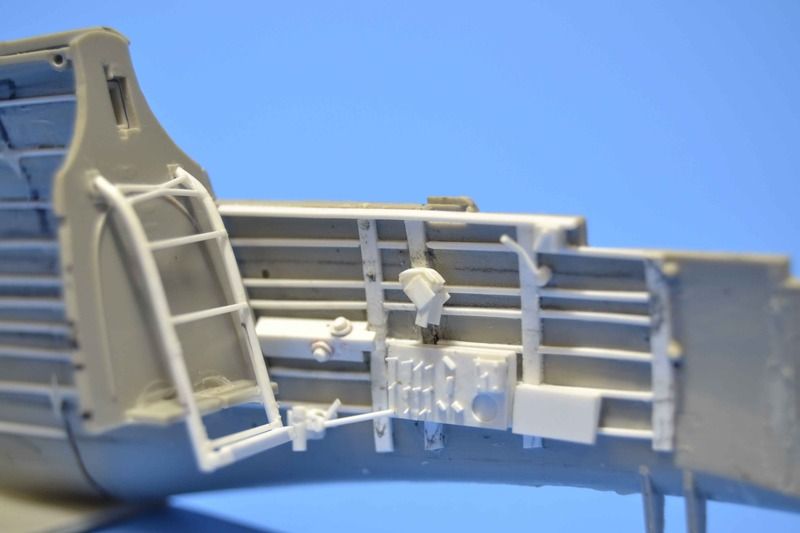
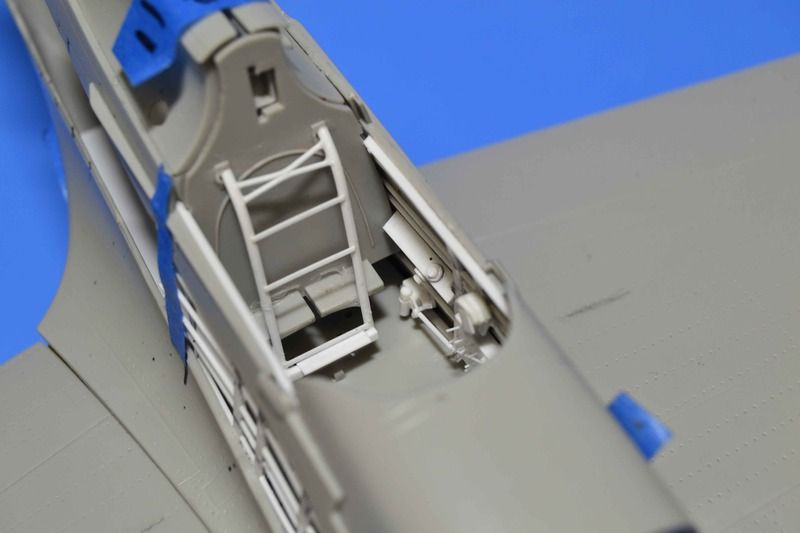
1/32 Trumpeter P-40B..Cockpit Almost Ready

Many many thanks. They are .010 round styrene.

My friends most of the cockpit is now ready for paint.

There are a few things that I have not worked yet but they can be done at paint.

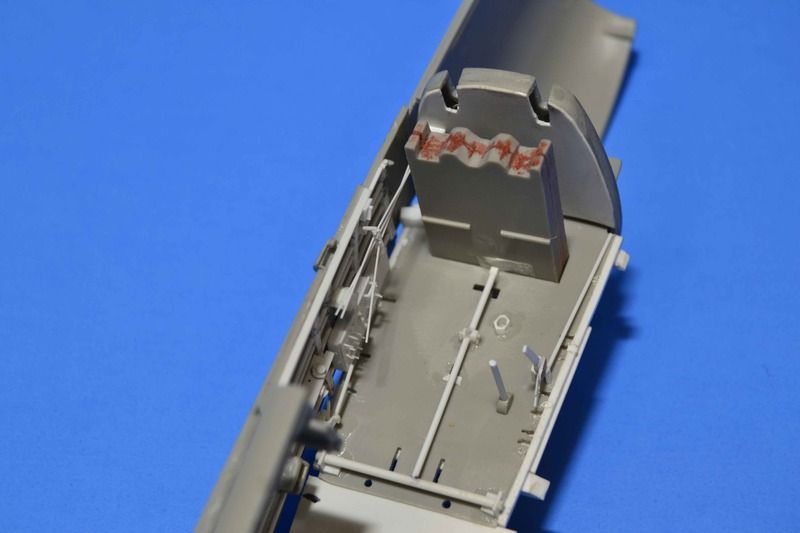
I added a box on the starboard side, reworked the frame a bit, reworked the instrument panel to add some detail that was lacking, and added just a couple of things to the floor/top of the wing.

Cockpit-Port-Side-5_zpswzy0dboq.jpg

Starboard-Side-4_zpsuqd2mtqj.jpg

Cockpit-10_zpsyg0wtgxg.jpg

Cockpit-9_zpsjc1fvdkj.jpg


This section is now far enough that I can move on.

Next up will be the firewall and the engine compartment moving into the engine.

Many thanks all for sticking around this long.


All comments, critiques, and criticism are encouraged.


Joe
 
Back
Top