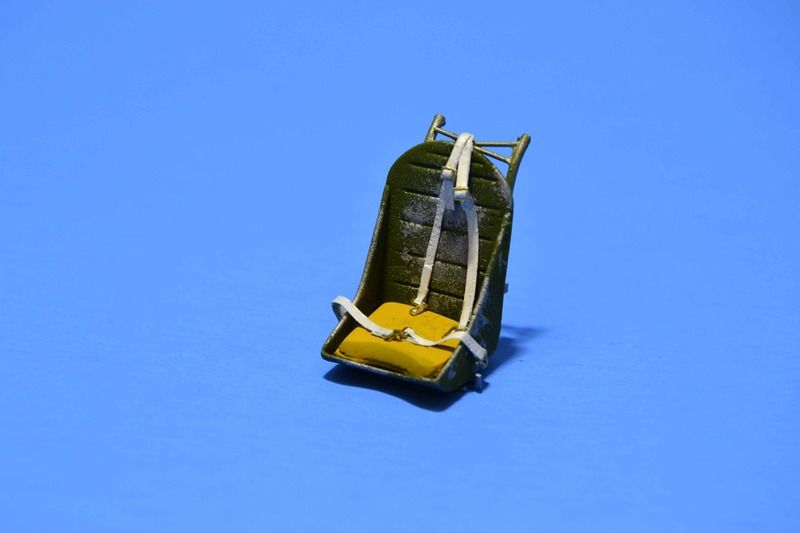
1/32 Trumpeter P-40B..Dressing Her Up
An update, a rather quick moving one.
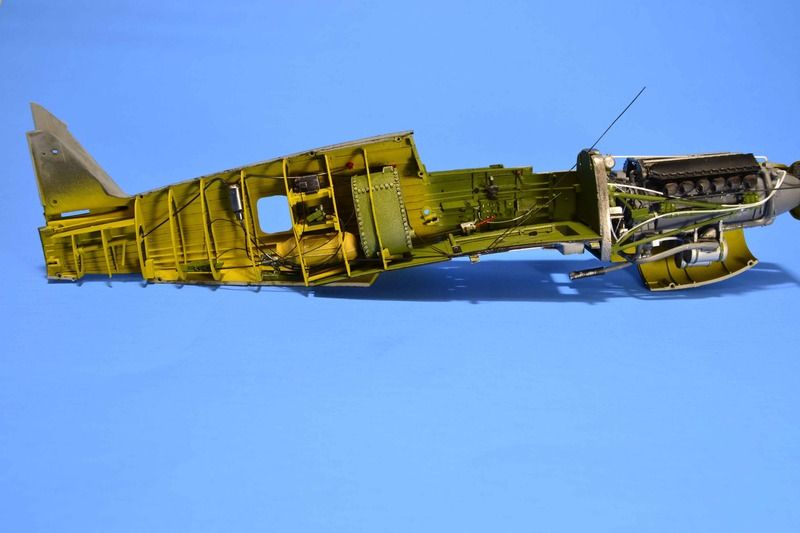
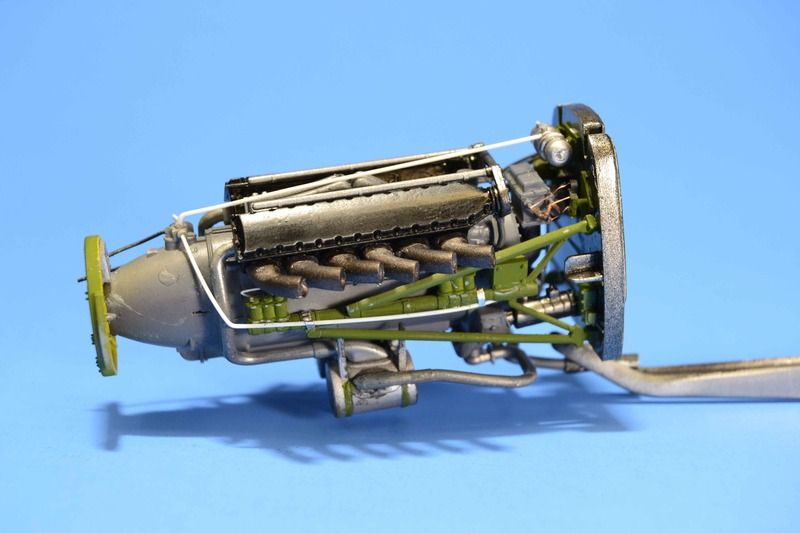
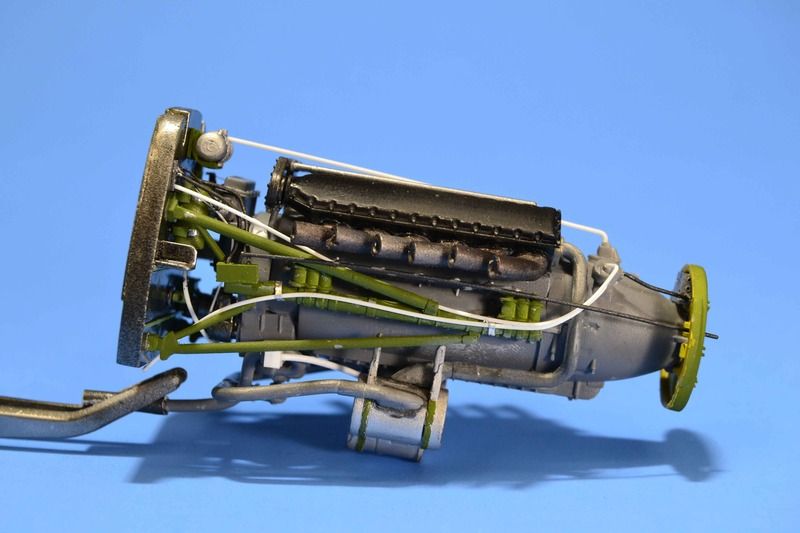
First up is finishing up the engine. Exhausts are now added.
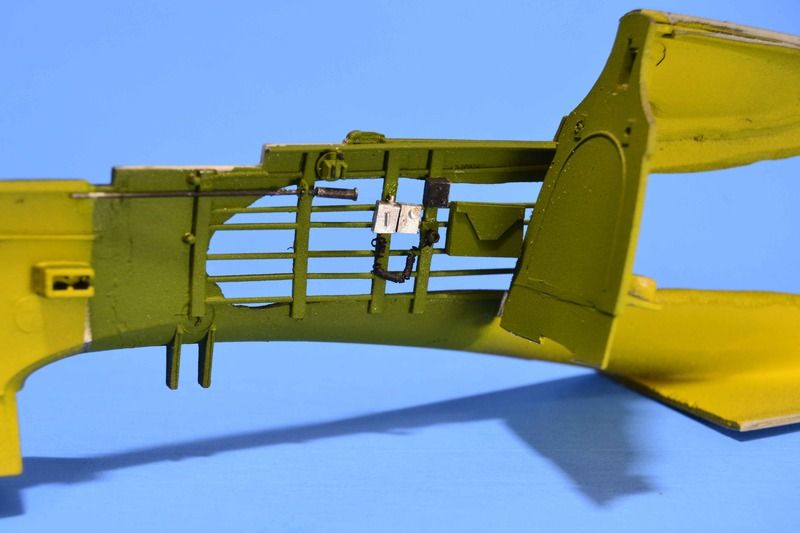
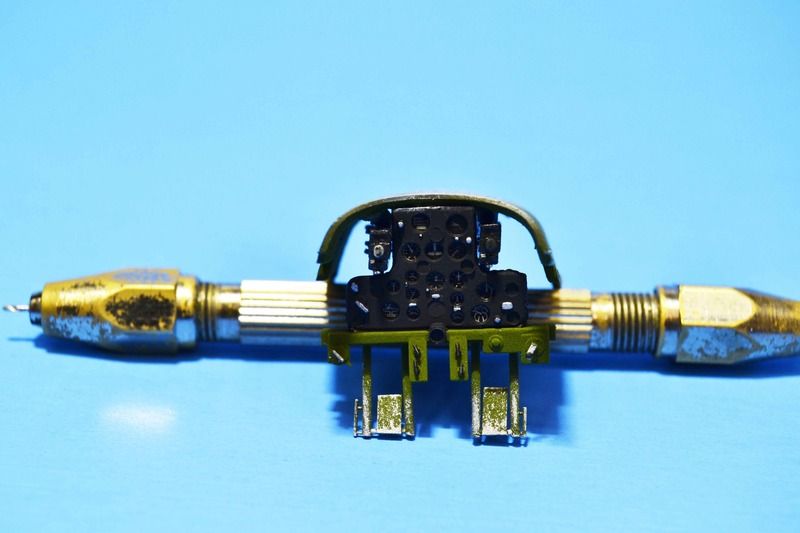
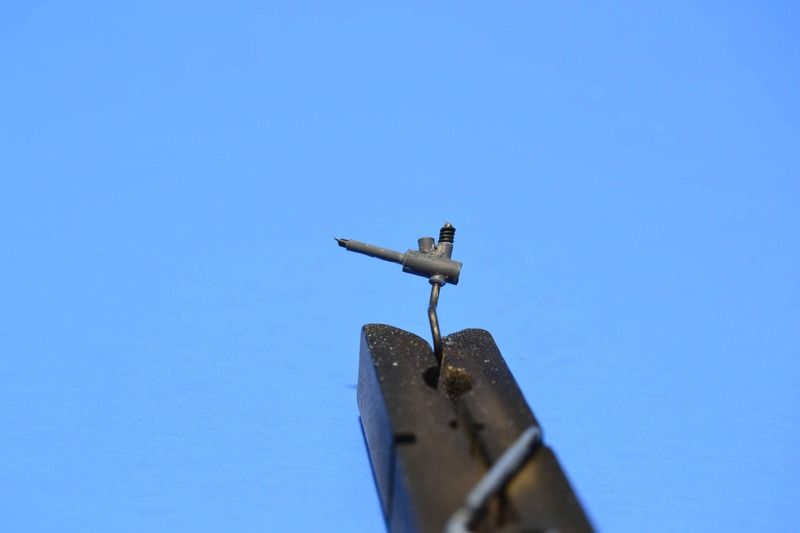
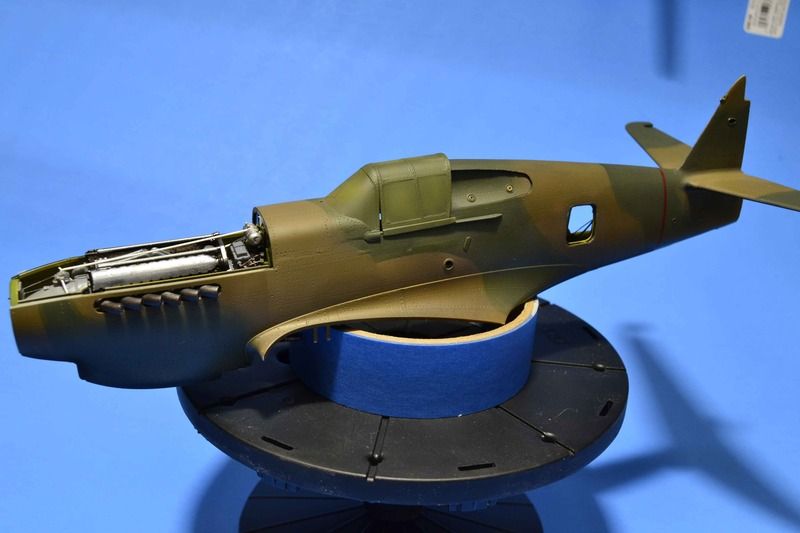
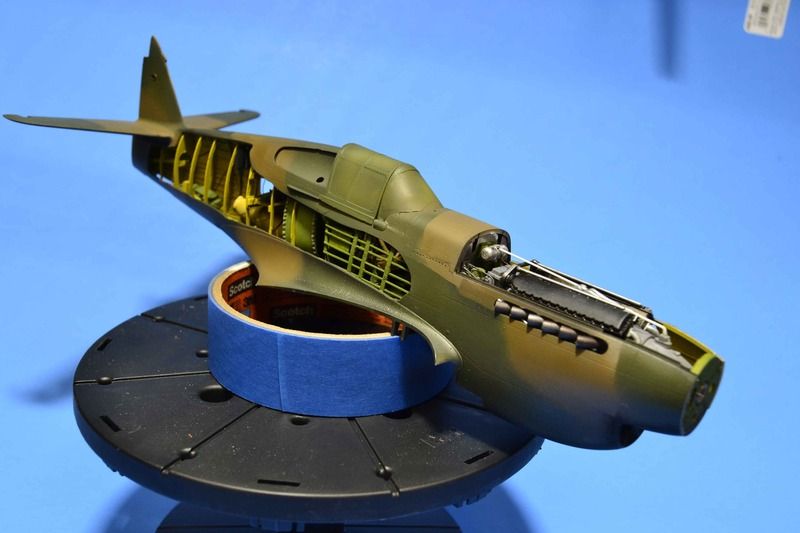
Next up is to actually begin the painting process. Some may ask why, why do that prior to gluing all of the bits and pieces? Well simple really. I am a bit scared when it comes to painting around that cut away bit. For that reason I choose to paint it now and then when I get it all together I can go back over the bits and touch up.
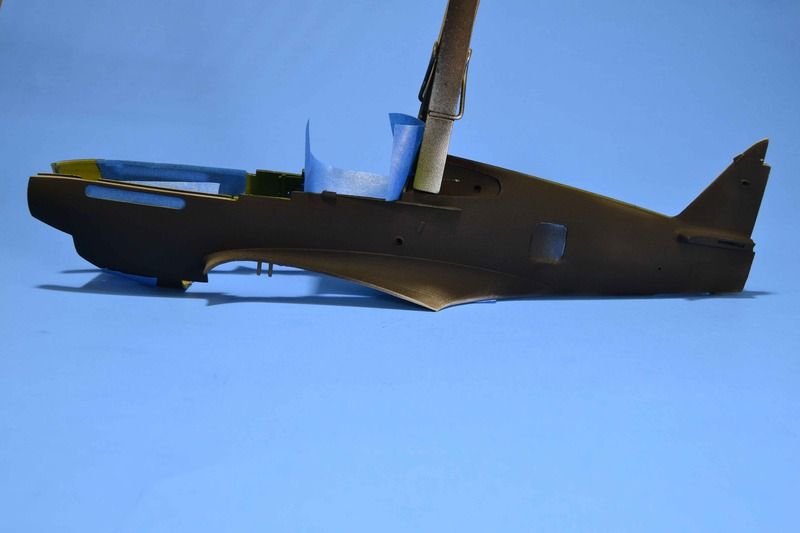
First up is my usual, a coat of Flat Black.
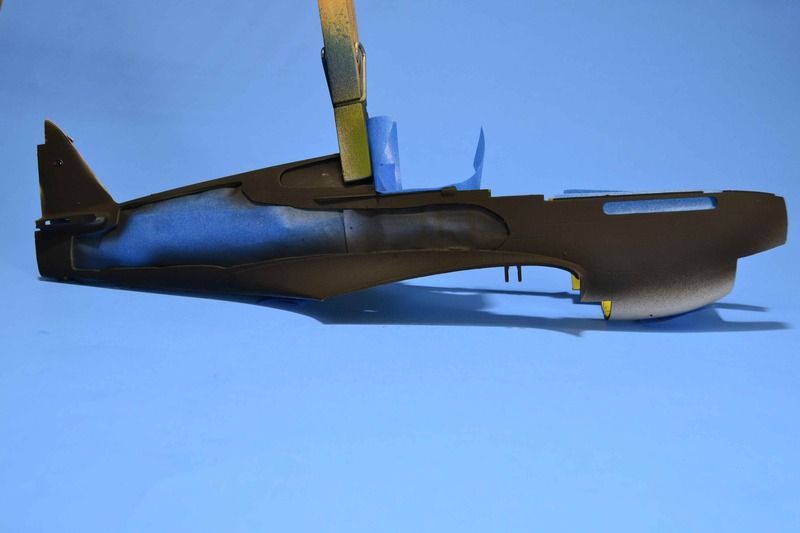
Next up is to break this up just a bit. I choose to use Model Master Aluminium Plate. This is sprayed on randomly. This is to break the monotone of the top colors.
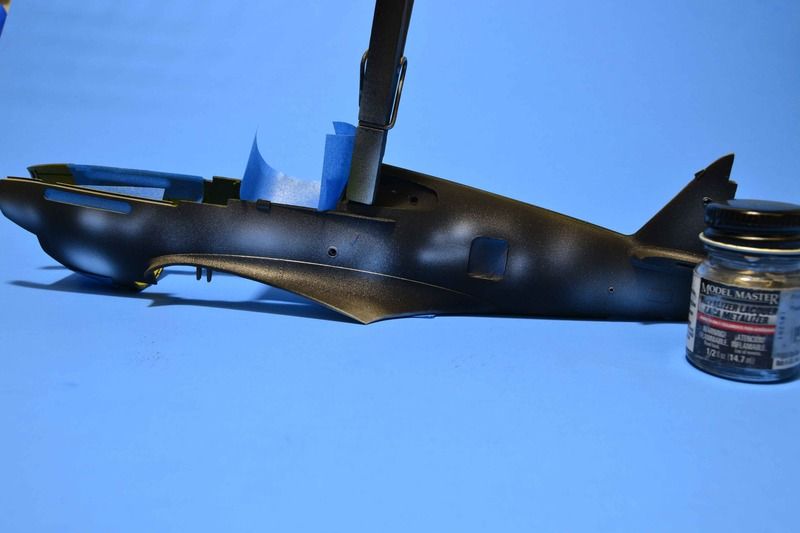
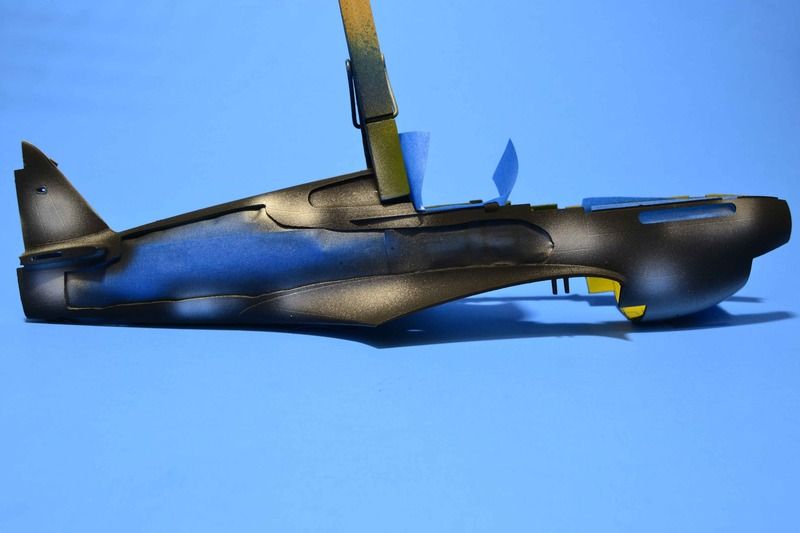
I then sprayed Pollyscale colors, Dark Earth, and Dark Green. I used homemade paper masks. To be honest they worked ok but they could have been so much better. The paints on the other hand again do not impress me. They are some of the most difficult I have used.
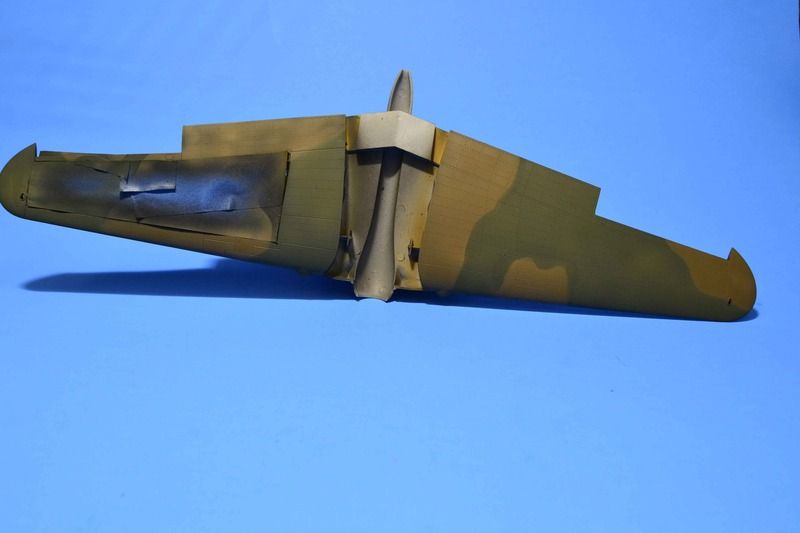
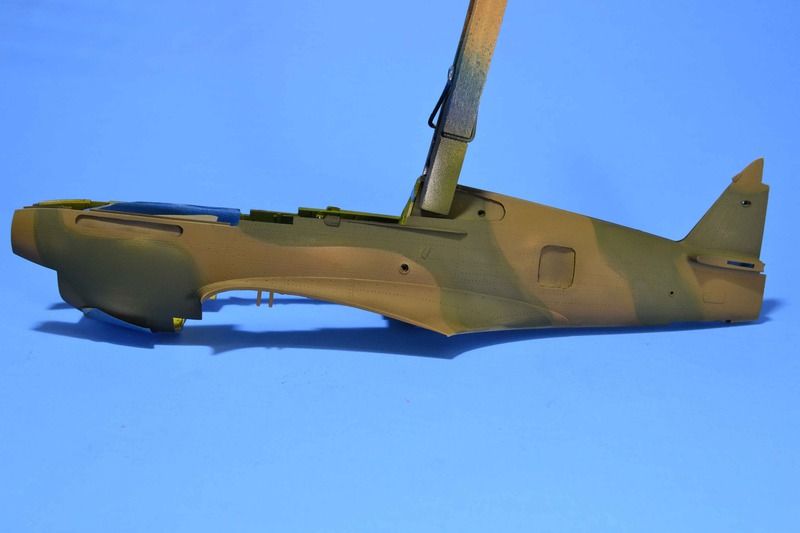
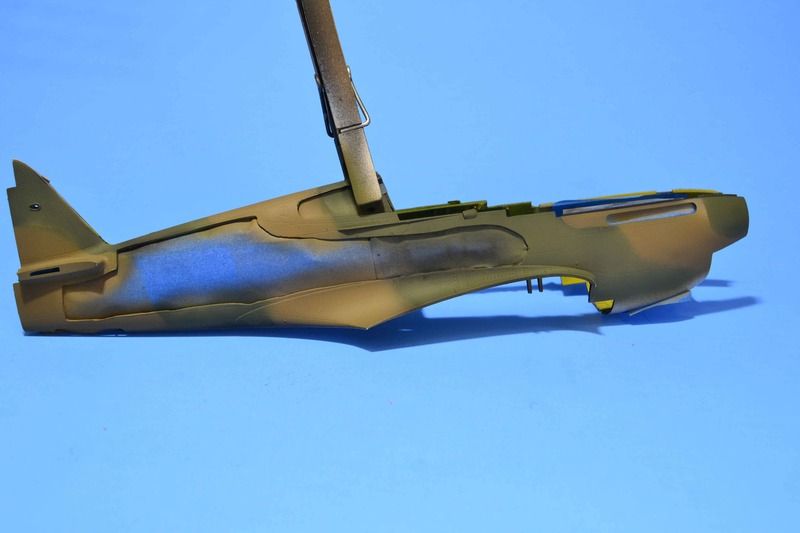
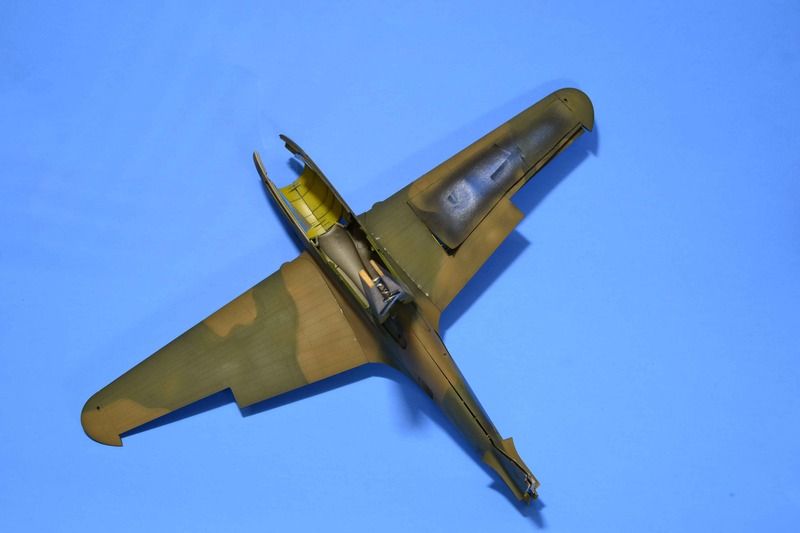
Being up front about it, any tone modulation in the paint are strictly because I either sprayed too heavy, not heavy enough, or otherwise screwed up. It might just work for what I intend though.
Next up will be to begin the reconstruction of the interior and the permanent installation of the assorted pieces.
All comments, critiques, and criticism are encouraged.
Joe
An update, a rather quick moving one.
First up is finishing up the engine. Exhausts are now added.


Next up is to actually begin the painting process. Some may ask why, why do that prior to gluing all of the bits and pieces? Well simple really. I am a bit scared when it comes to painting around that cut away bit. For that reason I choose to paint it now and then when I get it all together I can go back over the bits and touch up.
First up is my usual, a coat of Flat Black.


Next up is to break this up just a bit. I choose to use Model Master Aluminium Plate. This is sprayed on randomly. This is to break the monotone of the top colors.


I then sprayed Pollyscale colors, Dark Earth, and Dark Green. I used homemade paper masks. To be honest they worked ok but they could have been so much better. The paints on the other hand again do not impress me. They are some of the most difficult I have used.


Being up front about it, any tone modulation in the paint are strictly because I either sprayed too heavy, not heavy enough, or otherwise screwed up. It might just work for what I intend though.
Next up will be to begin the reconstruction of the interior and the permanent installation of the assorted pieces.
All comments, critiques, and criticism are encouraged.
Joe


