Paulw
Well-known member
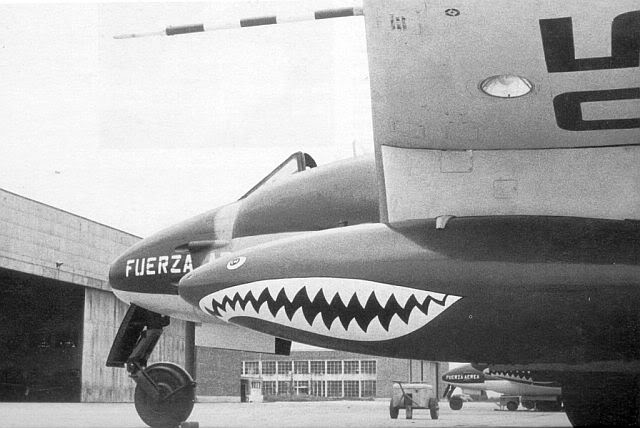
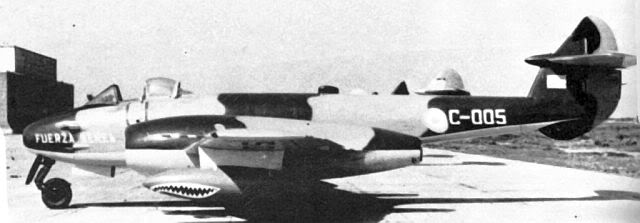
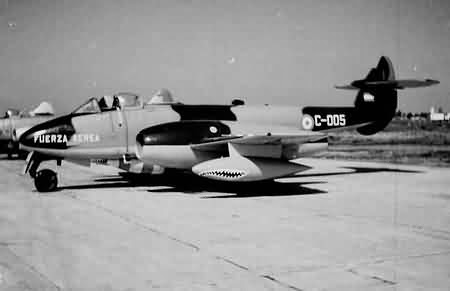
I thought I would do a ersatz build report on this kit just because nobody else has gotten there before me. I won't be bringing any history of this plane but you can research it yourself.
I got this from a real good friend and since he was kind enough to had it to me I figured I would do rhe best that I can on this and sort of give you a heads up.
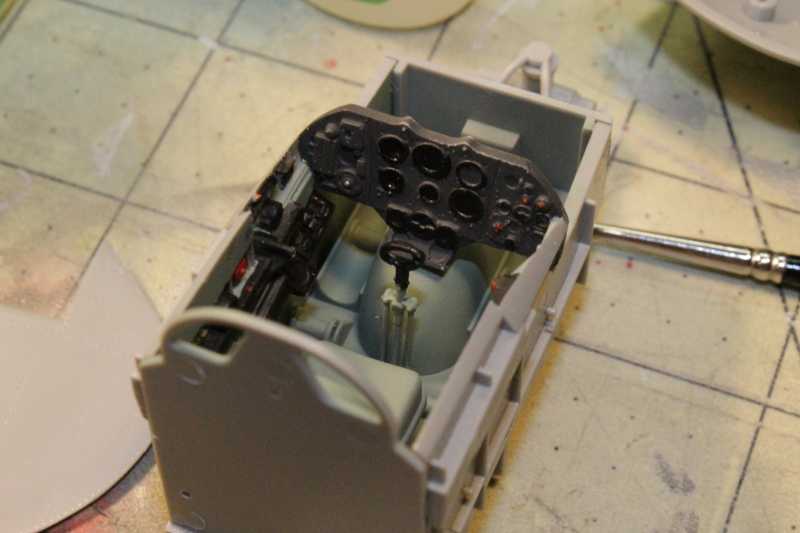
The instructions are simple drawings and are clear and easy to understand so as always I began with the pit. It is 8 parts and the fit is real good. The detail is pretty plain,I would suggest the Eduard interior set if that's your thing but since this is OOB and payday is next month I just couldn't wait.
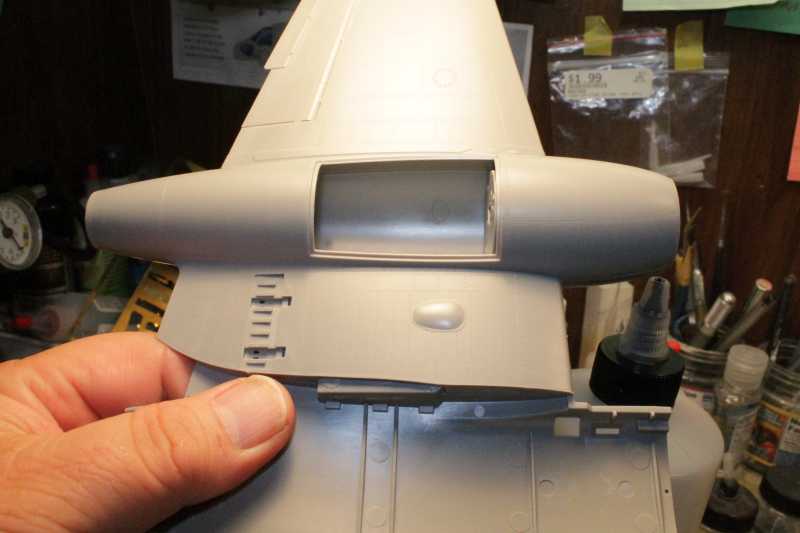
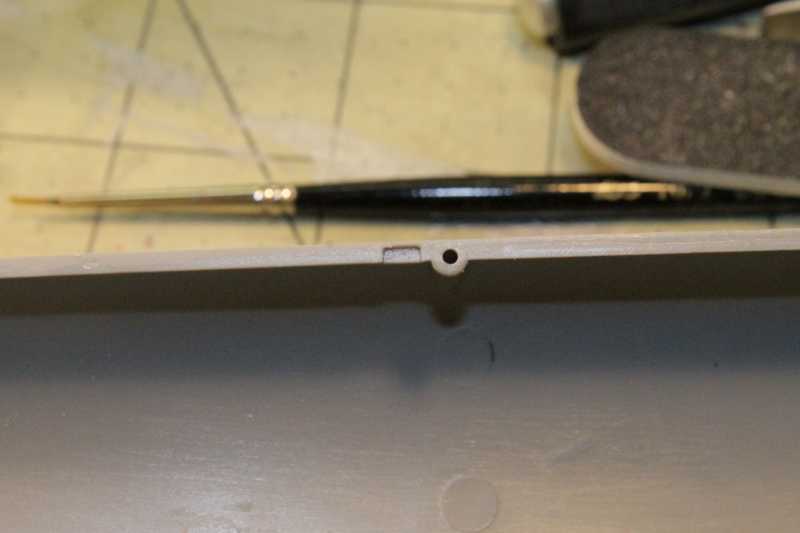
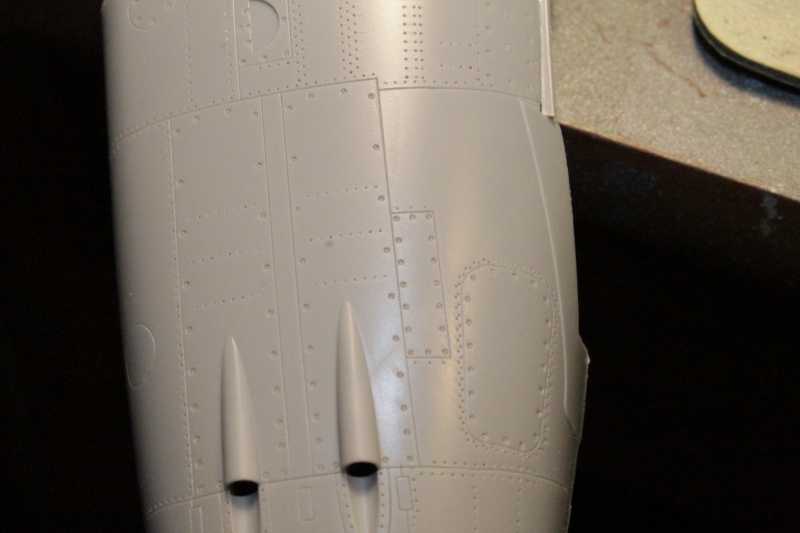
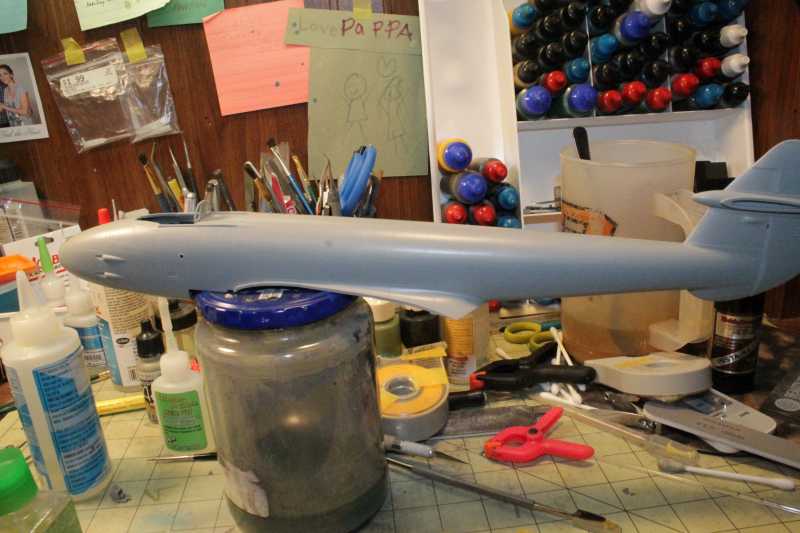
The plastic is fairly thick and not to hard or soft but good enough to do some carving if that is warranted, like these antenna locations.
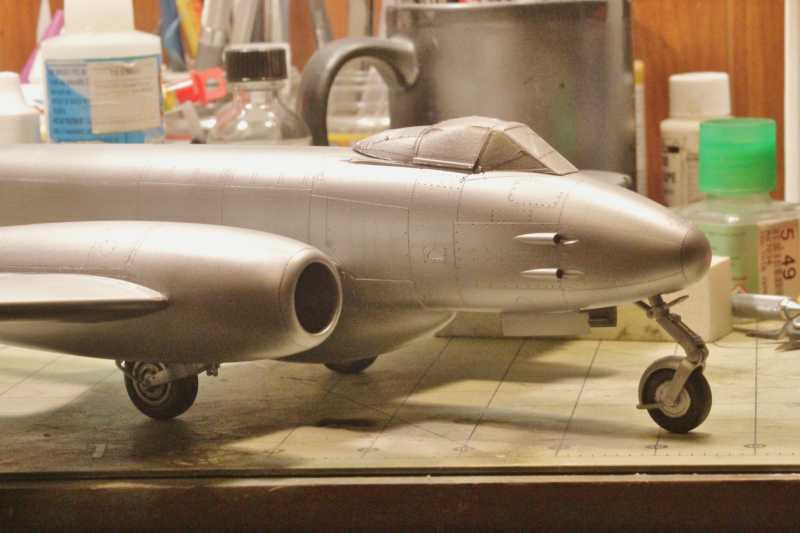
The external detail is very nice and subtle so take care if you have to do any sanding on the kit or else you may have a herd of corgis on your tail.
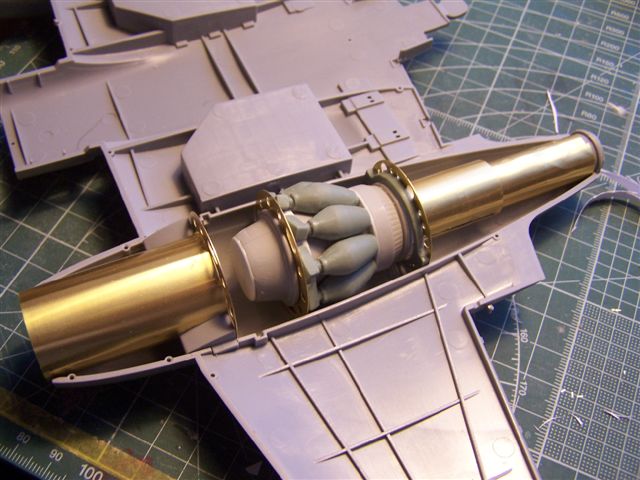
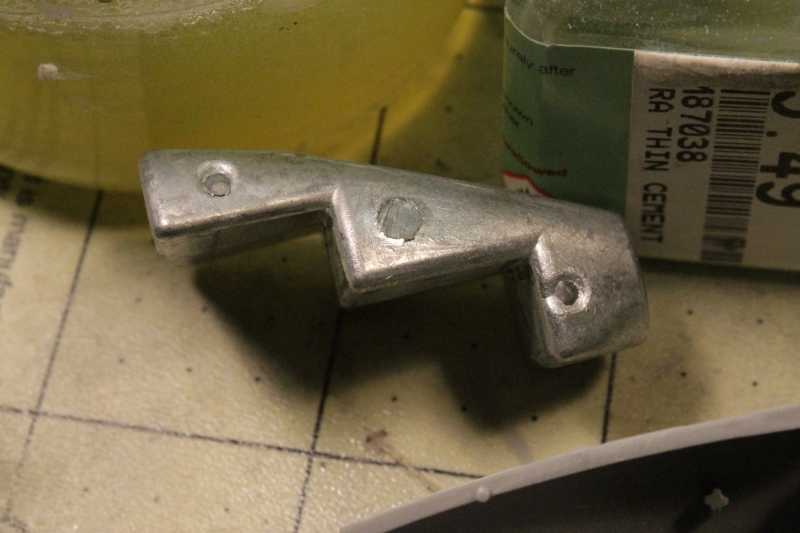
A nose weight is provided and it is a good sized chunk of white metal.
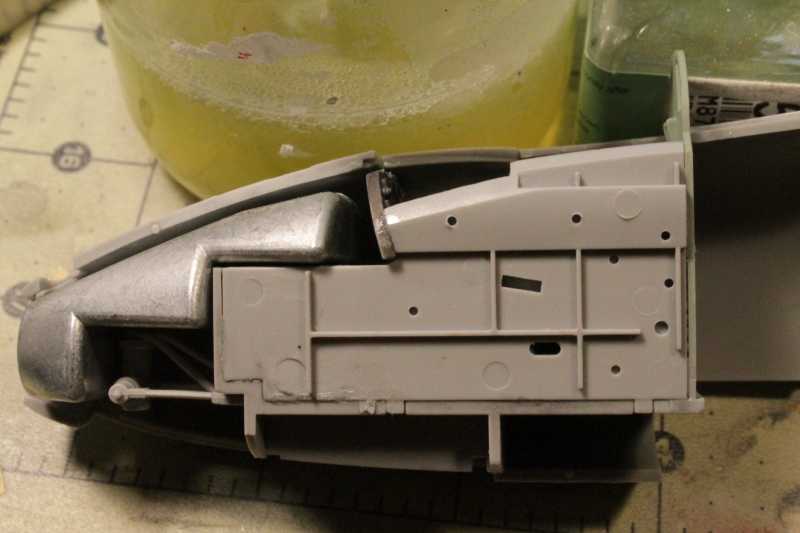
How ever be sure to make adjustments to the way it locks in to the nose or you will have a fit problem. The two tabs here
fit into the holes here
so its your choice to either drill the holes a bit deeper or just take the easy way out and snip down the tabs.
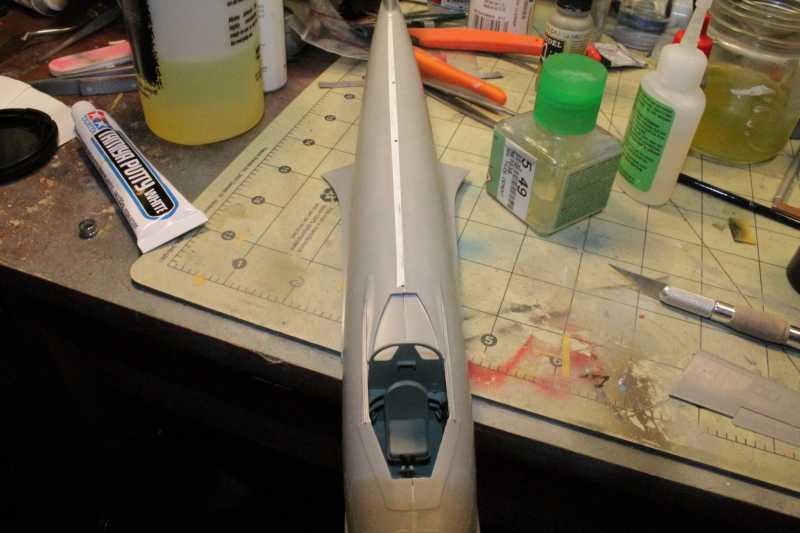
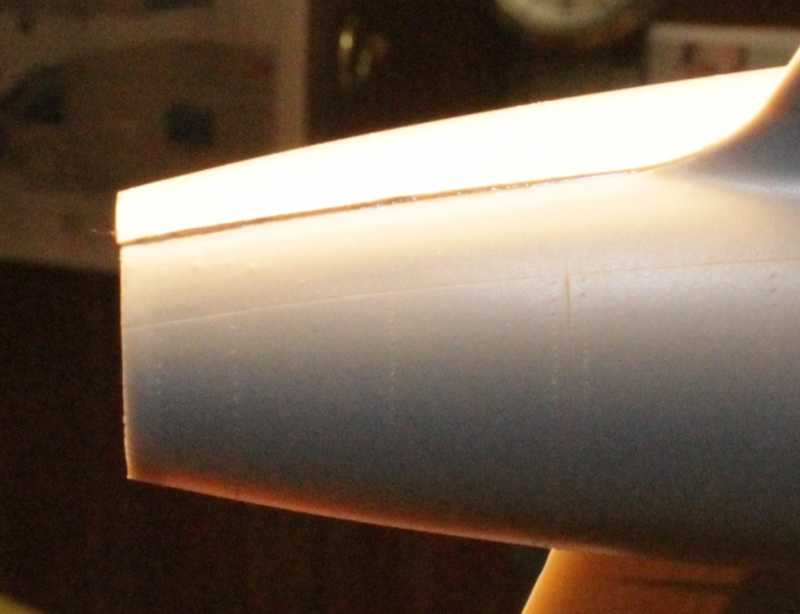
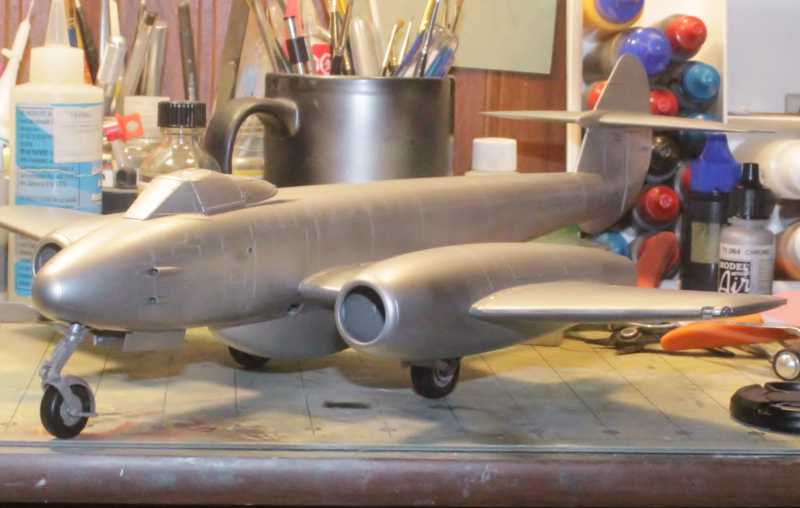
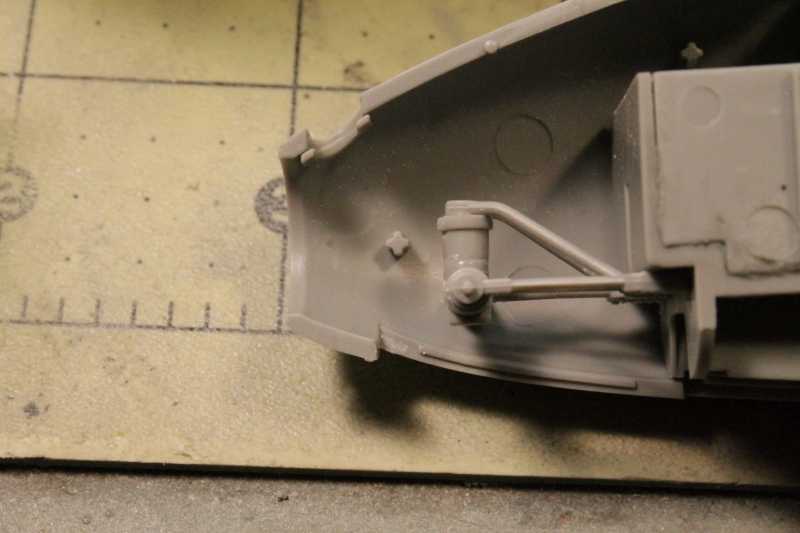
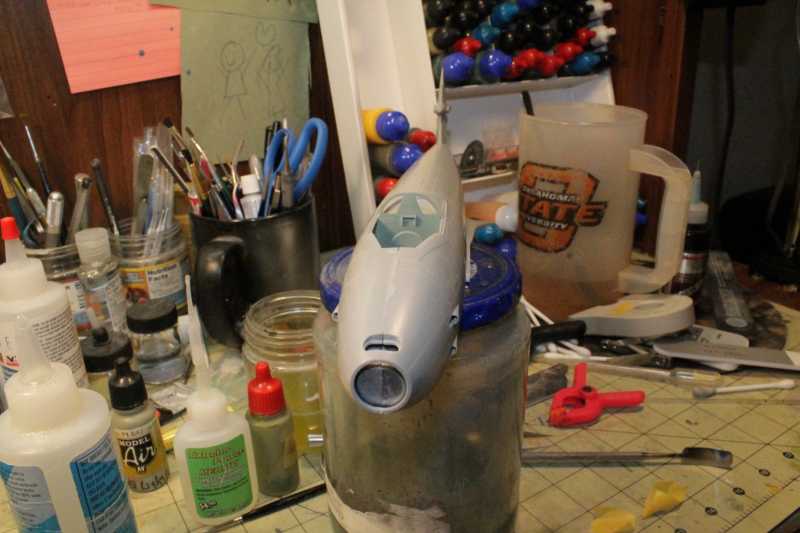
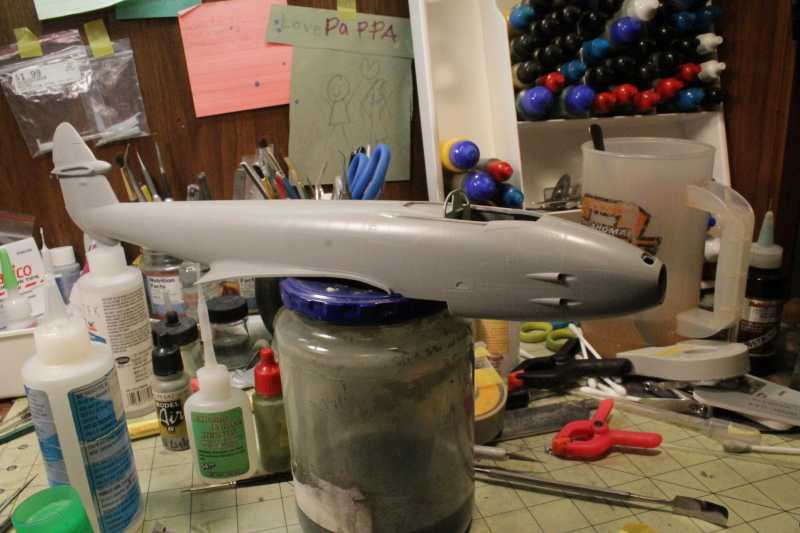
I got it sewn up and found that there are some small gaps in the fuse but I think that is from sanding off the little nubs from the sprue so again dry fit it well and mark the areas where the issues are.
Well maybe I can get this done in the next two weeks or so. I hope I have provided some good info for a start and Ill be posting more as soon as I can.
I got this from a real good friend and since he was kind enough to had it to me I figured I would do rhe best that I can on this and sort of give you a heads up.
The instructions are simple drawings and are clear and easy to understand so as always I began with the pit. It is 8 parts and the fit is real good. The detail is pretty plain,I would suggest the Eduard interior set if that's your thing but since this is OOB and payday is next month I just couldn't wait.
The plastic is fairly thick and not to hard or soft but good enough to do some carving if that is warranted, like these antenna locations.
The external detail is very nice and subtle so take care if you have to do any sanding on the kit or else you may have a herd of corgis on your tail.
A nose weight is provided and it is a good sized chunk of white metal.
How ever be sure to make adjustments to the way it locks in to the nose or you will have a fit problem. The two tabs here
fit into the holes here
so its your choice to either drill the holes a bit deeper or just take the easy way out and snip down the tabs.
I got it sewn up and found that there are some small gaps in the fuse but I think that is from sanding off the little nubs from the sprue so again dry fit it well and mark the areas where the issues are.
Well maybe I can get this done in the next two weeks or so. I hope I have provided some good info for a start and Ill be posting more as soon as I can.