• Modelers Alliance has updated the forum software on our website. We have migrated all post, content and user accounts but we could not migrate the passwords.
    This requires that you manually reset your password.
    Please click here, http://modelersalliance.org/forums/login to go to logon page and use the "Forgot your Password" option.

1/16th scale sFH 18 Howitzer

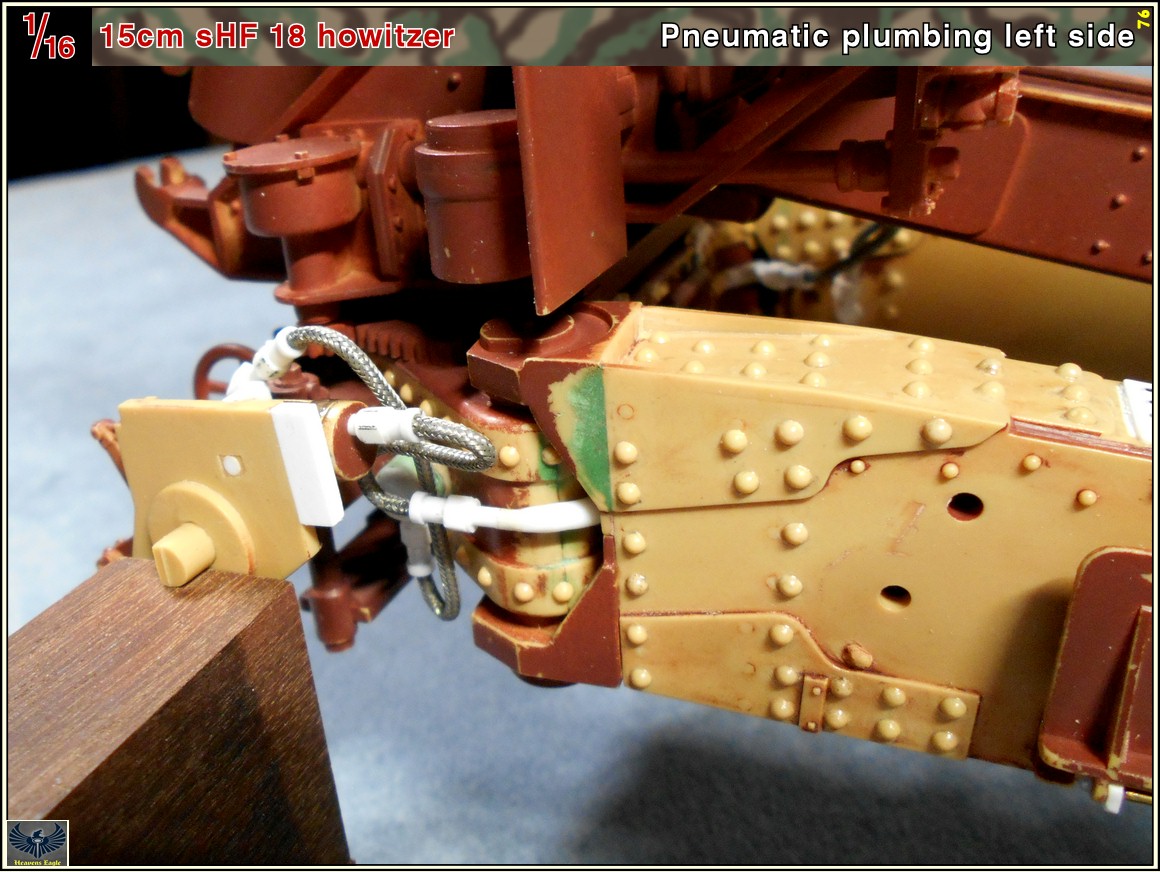
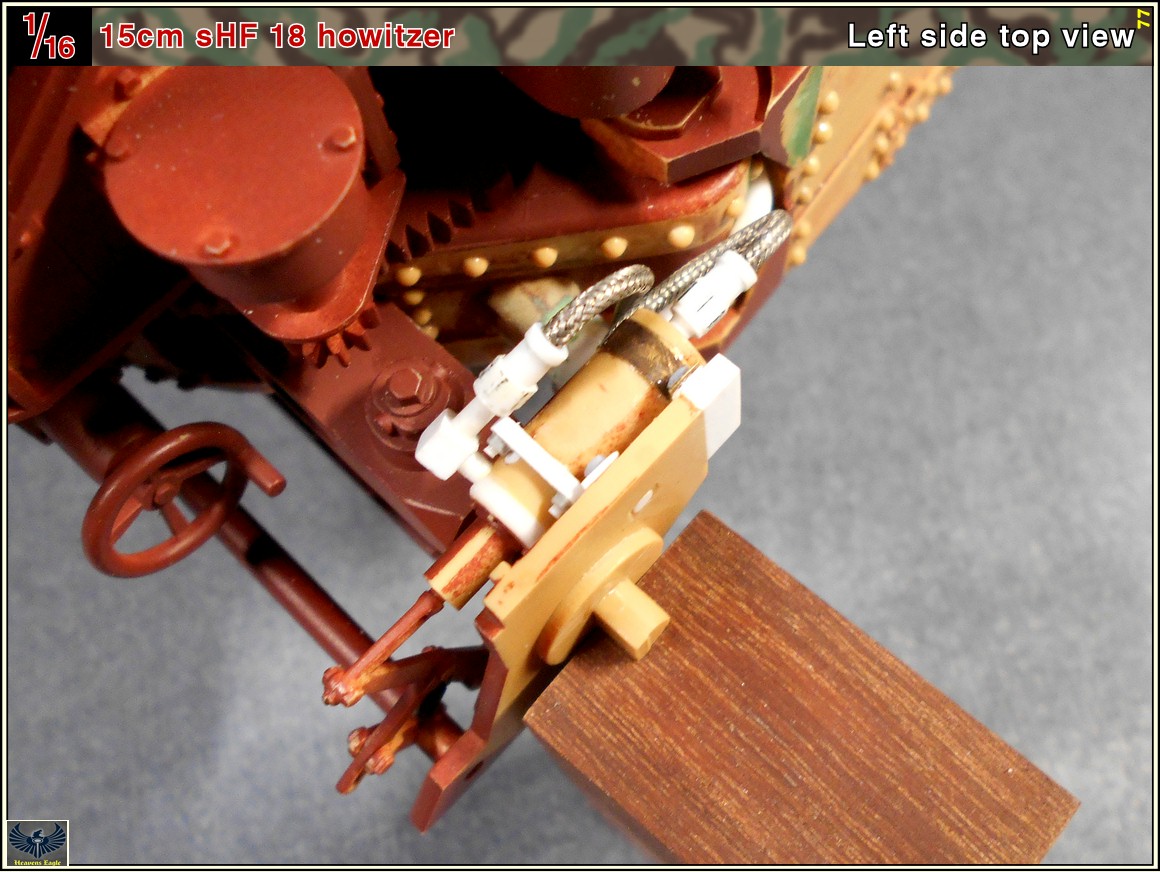
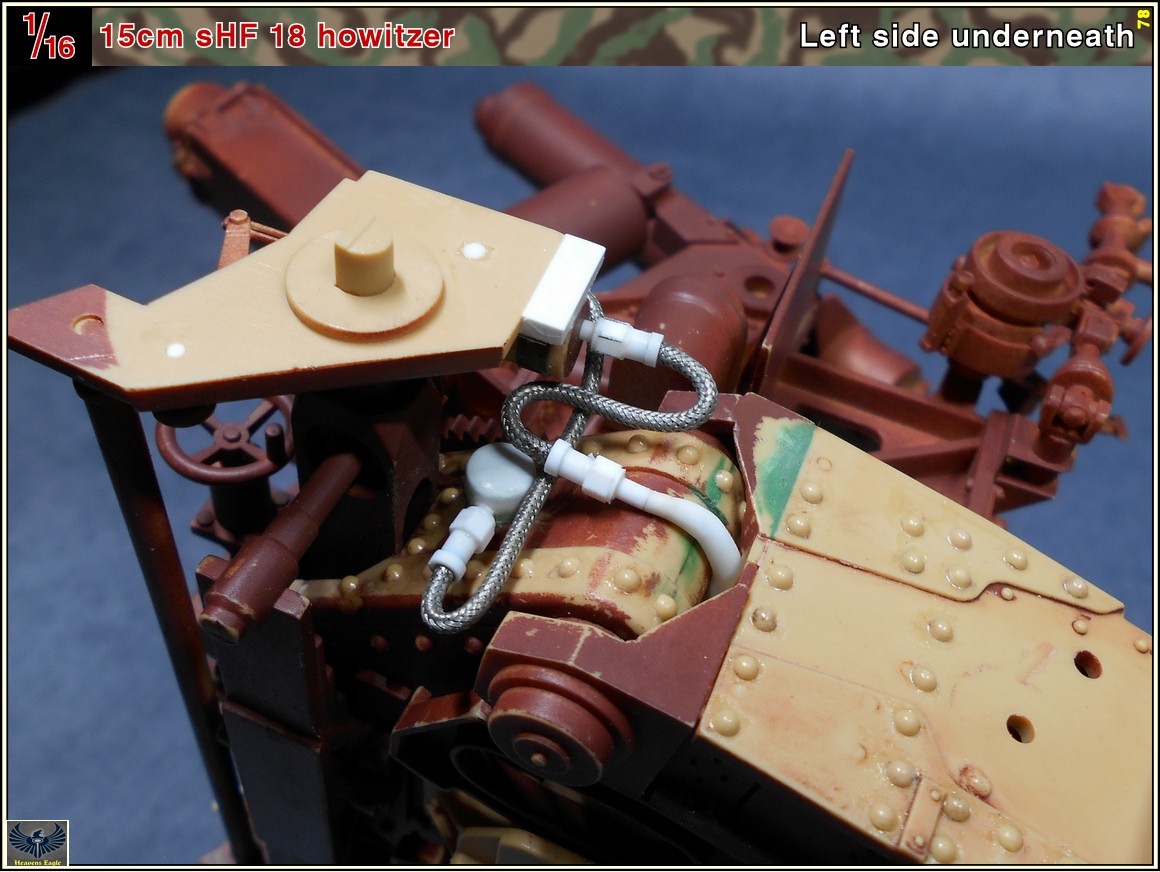
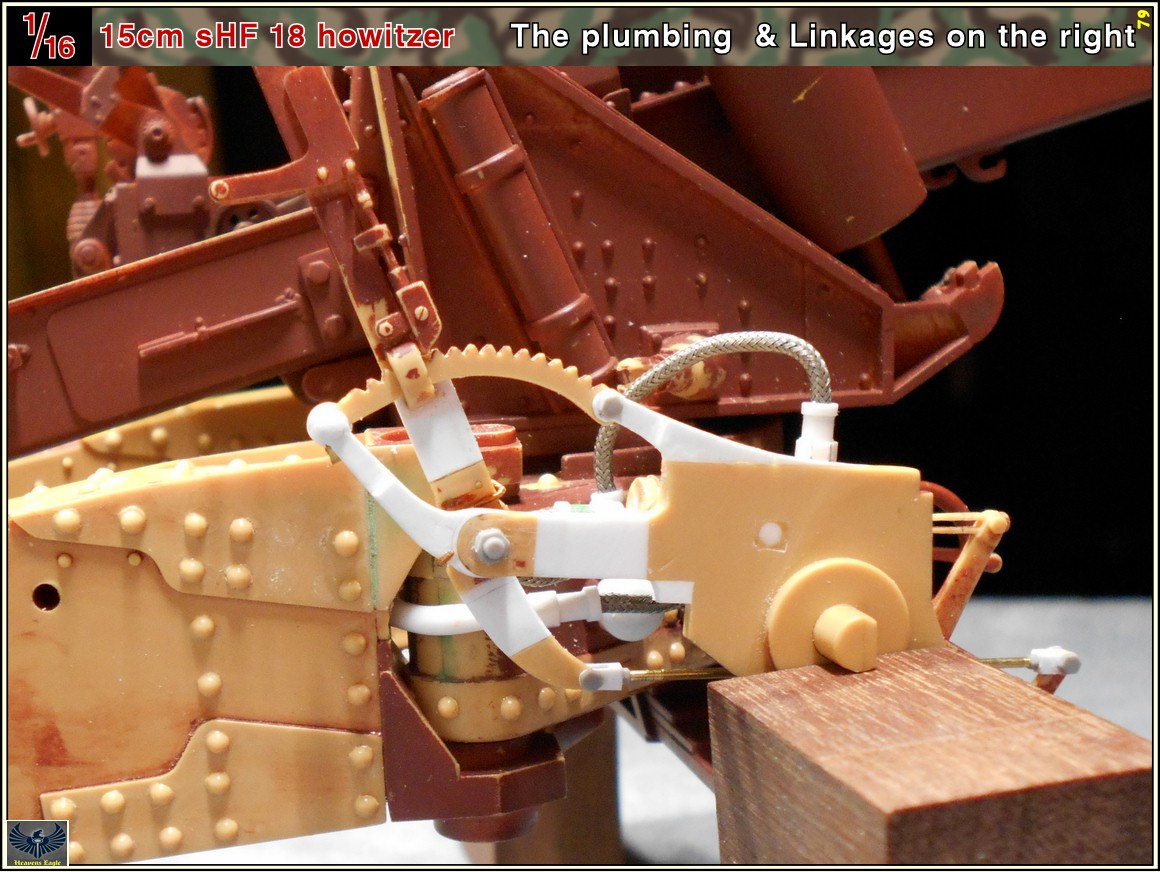
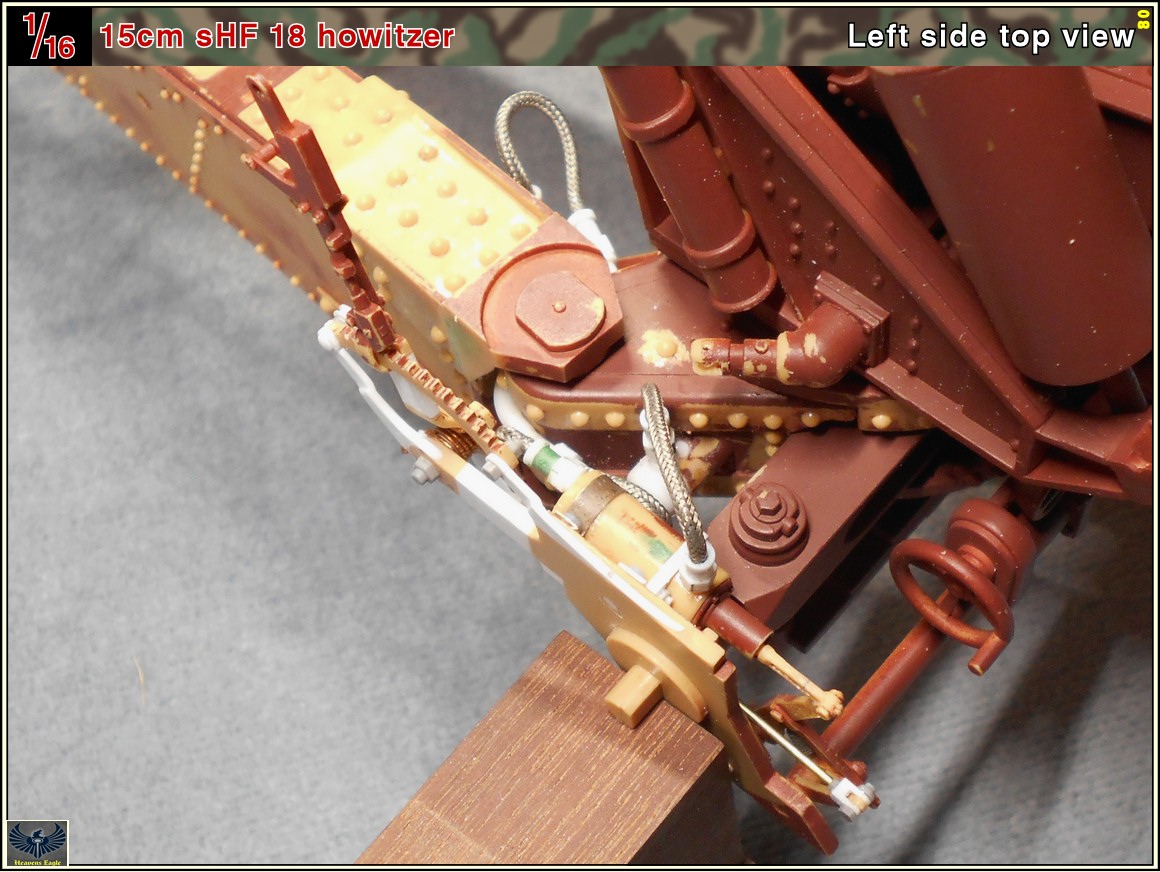
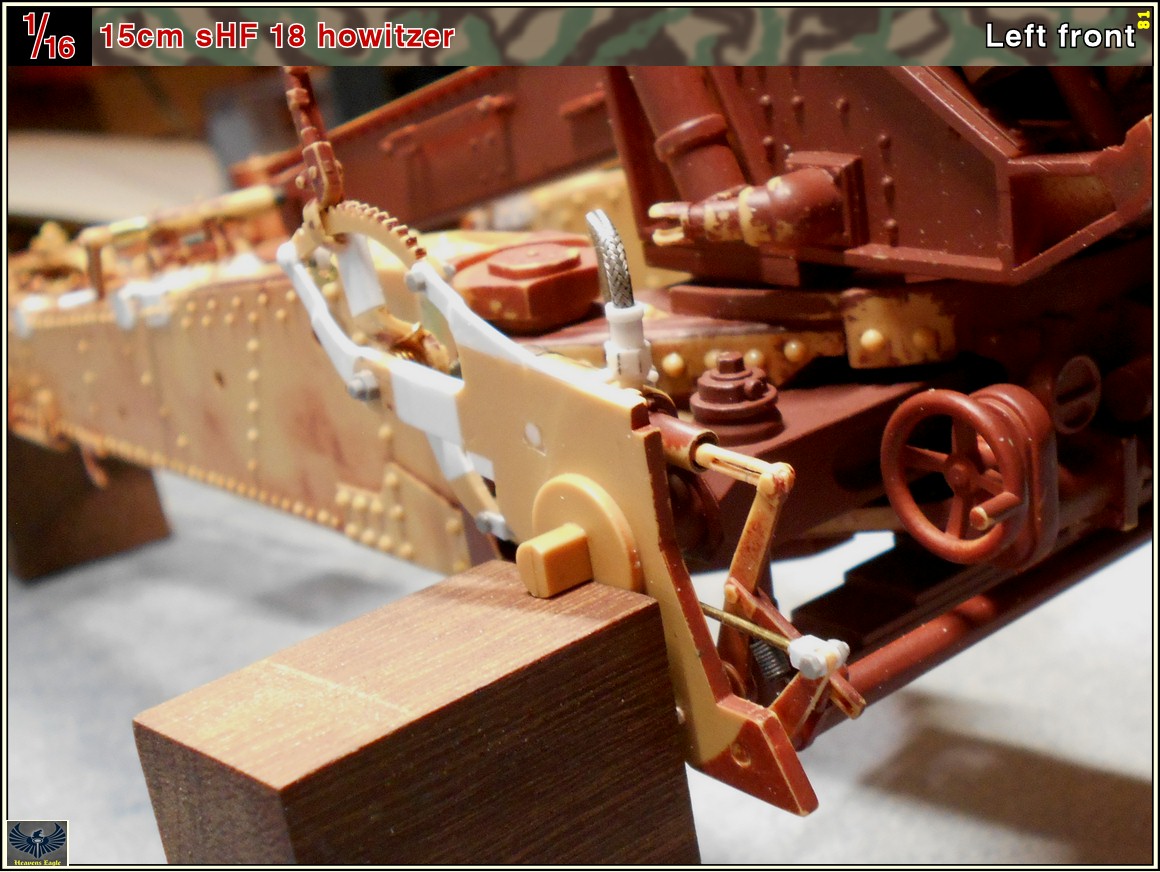
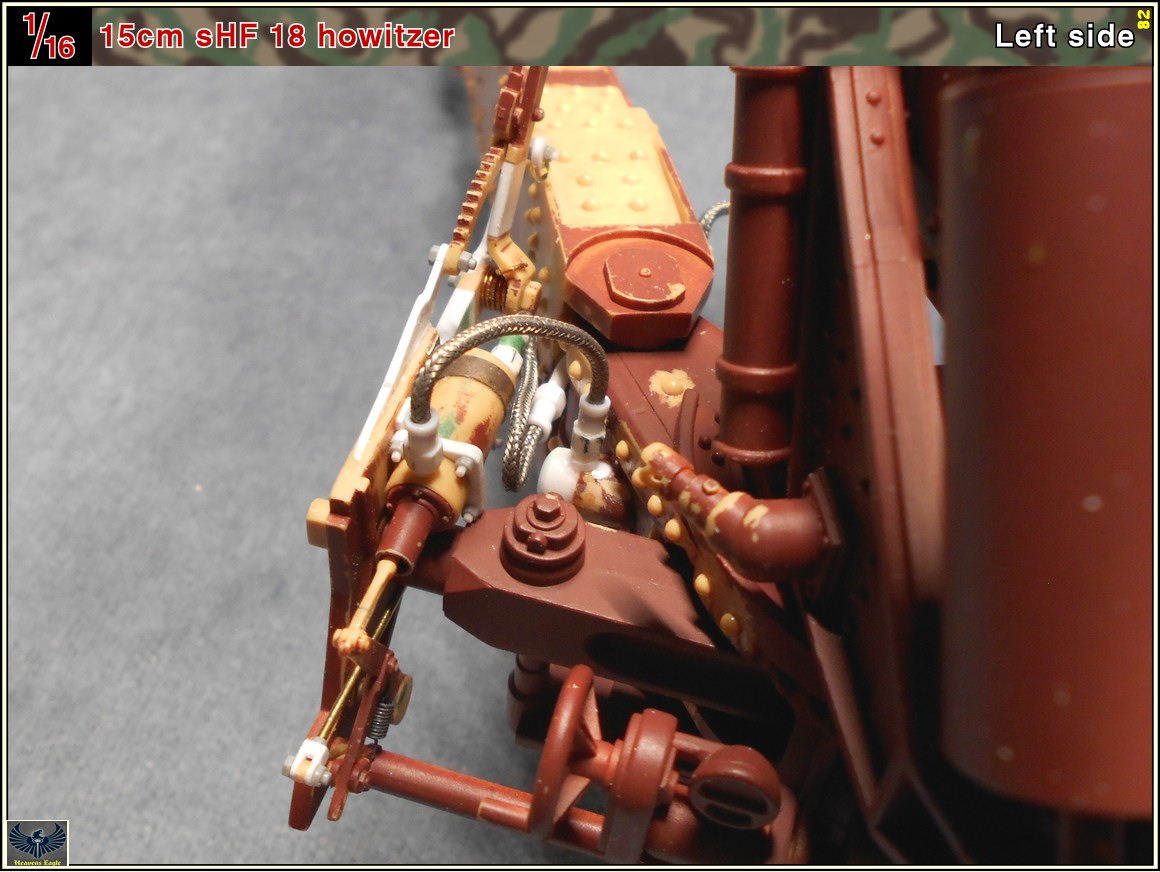
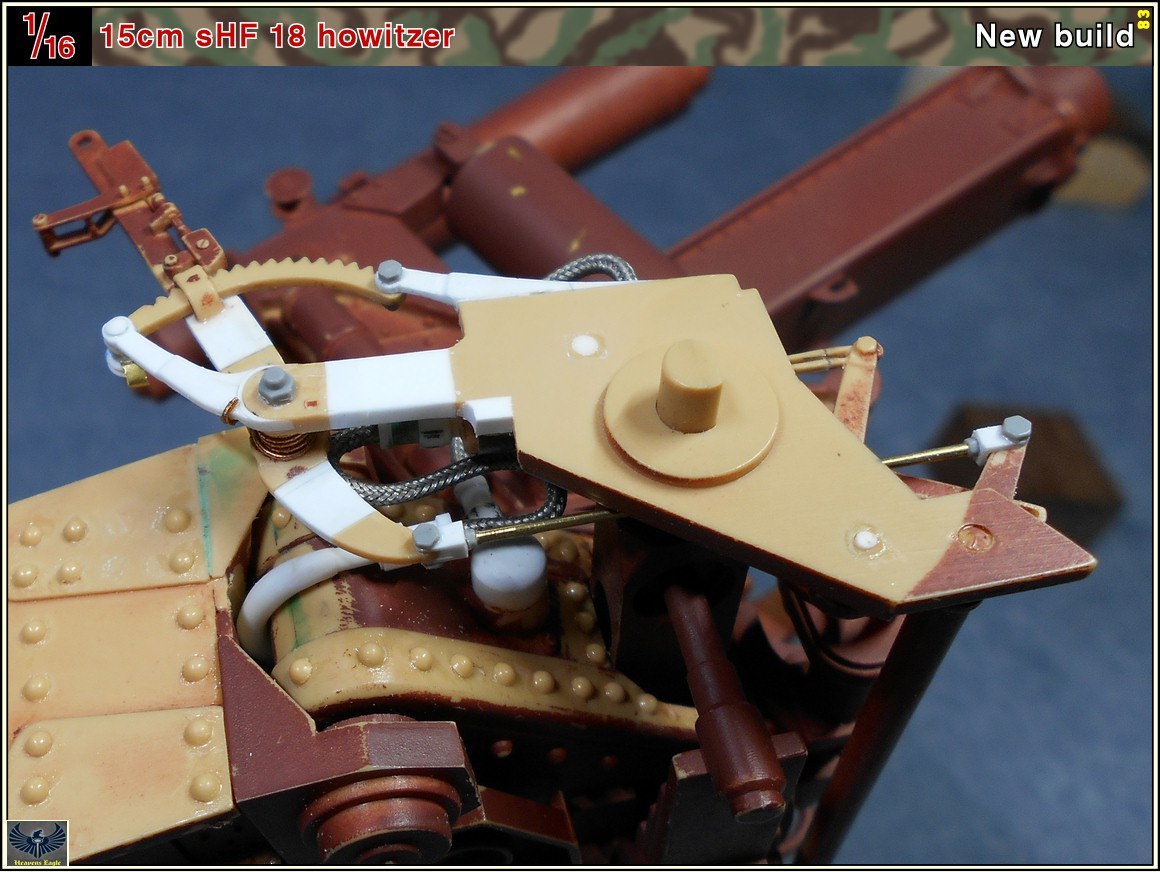
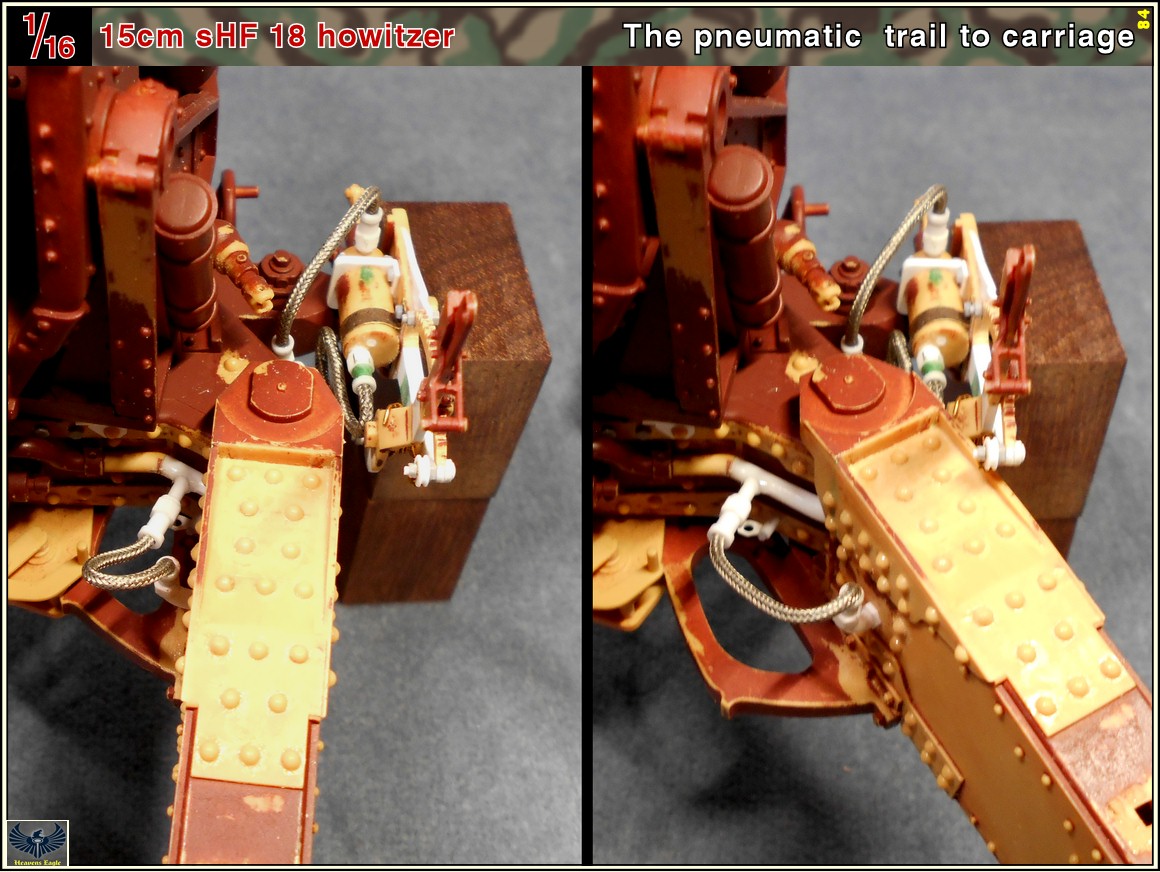
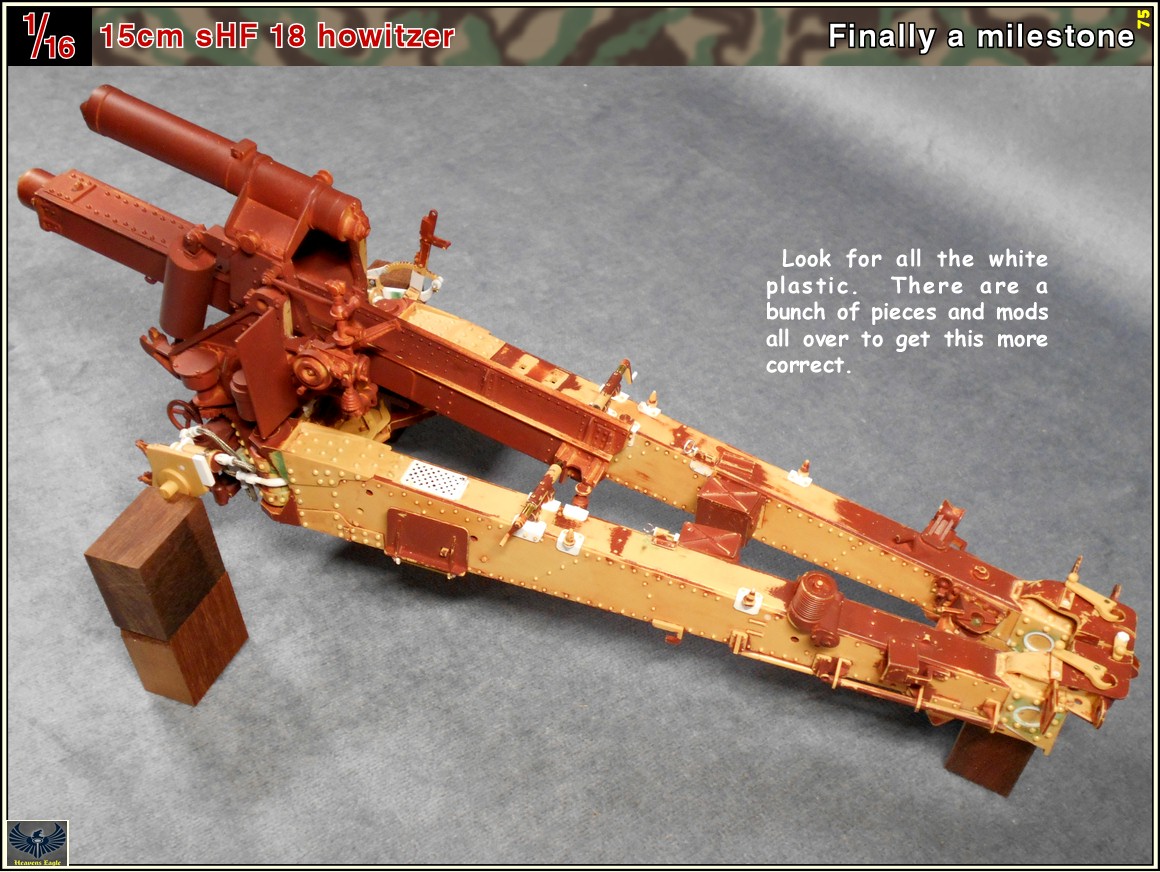
I have finally hit a milestone with this. I think I have most if not all the corrections done. All the major corrections are done. Might be a few rivets here or there that I missed and no reason to post those if/when I find them. So, here is all the pneumatic plumbing done and the lines are added. The braided line is an aftermarket car part. The hard part was getting the ends so they wouldn't fray open. They "just" fit down in the holes in the connectors. :good:Woohoo!

So here it is before paint where you can see the things added.
sFH 18 Howitzer - 75.jpg


sFH 18 Howitzer - 76.jpg


sFH 18 Howitzer - 77.jpg


sFH 18 Howitzer - 78.jpg


sFH 18 Howitzer - 79.jpg


sFH 18 Howitzer - 80.jpg


sFH 18 Howitzer - 81.jpg


sFH 18 Howitzer - 82.jpg


sFH 18 Howitzer - 83.jpg


sFH 18 Howitzer - 84.jpg


The pneumatic lines in each of the side are best guess from the photos I have been able to find. There is a little rhyme and reason to it so I am not going to worry about it. After all this is one of those Trumpeter kits where they probably pulled sizes out of their butts instead of doing actual research. In any case, as I look at the build now it has a lot more impression to it compared to out of the box. I am seriously considering getting some thick foam and building a base for a display where it is deployed. The thick foam as the spades that go on the ends of the trails will set down about 3/4 of an inch into it. If there was an 8 ton semitrack (FAMO) in 1/16th scale it would be an even more impressive "in tow" build.

So what do you think? Did I get close and nail it?
 
Fantastic construction work. :tens:
A quick question [I may have missed it earlier] - are your hex nuts created using hex rod and if so what size?
 
If you are talking about the hex on the connectors, those are not hex material. They were made using my lathe which has some basic index holes. I marked 6 of the holes each 60° apart, set it for a hole and file a flat area, then rotate to the next hole and do the same. I also have an attachment I made that I can rest the file against to help guide the flat filing. Have to head off to work now, but will take a photo later to show you Ian.
 
@Brokeneagle I hope this answers your question about the hex shapes and nuts and bolts.

sFH 18 Howitzer - 85.jpg


sFH 18 Howitzer - 86.jpg


sFH 18 Howitzer - 87.jpg


sFH 18 Howitzer - 88.jpg


I also made some brass hex "tools" to cut some thinner hex nuts a while back. (what I made the roller tool for) So I could cut some nuts and bolt heads out of flat stock if I needed them. Those tools need a little more refinement to make them work like I envisioned.
 
@Steve Ski and @Greg Kimsey Thanks for looking in. There was a point where I was "why am I bothering" (as this was supposed to be out of the box) Yeah, Right, famous last words with me. Anyway now that it is almost all assembled with all the heavy riveting that it is supposed to have, the boilerplate look and other extras DO make a difference.

I have some "fake" u joints to make that only need to flex side to side but need to "look" right. Have some thoughts on how to do it, so will get with it.
 
It is astonishing, and light years beyond OTB. It is a thread that will be referenced by anyone building this or a similar kit. You have set the bar very high Paul.
 
It is astonishing, and light years beyond OTB. It is a thread that will be referenced by anyone building this or a similar kit. You have set the bar very high Paul.
Thanks Greg. Little did I know when I bought it from you what I was getting myself in to. There were several sites that had reference photos, but there was one that someone did a walk around that helped a huge amount. The gun had been painted white at sometime in the past, and was set up semi deployed. It didn't have a limber with it, but the person walked all the way around it and took about 75 photos. In some cases those photos raised more questions. Then there were another handful of sites each with a handful of photos that clarified some items that were hidden with the main site. The Pak 40 I built last year gave a lot of experience and kind of forced me to go ahead and attempt a bunch of stuff that I had not ventured into before. This challenged me even more, but for each thing I did, I thought and planned it out somewhat before I started cutting and chopping.
3D-Zorro.gif
3D-choop OWCH.gif

And, there were a number of instances where I took several steps backward before striking out on a better path. Turns out the rivets were actually rather fun once I figured out a decent way to make them.
 
Wow Paul!
Excellent work.
Can you make this thing fire? Stupid question...of course you could 😆

Btw, Thats a nice lathe.
 
Wow Paul!
Excellent work.
Can you make this thing fire? Stupid question...of course you could 😆

Btw, Thats a nice lathe.
Thanks Tim.
That lathe is a watchmakers lathe that I bought over 20 years ago. Lucky for me it has a lot of capabilities and I do use them. I also got a lot of tooling back in the day, but wasn't able to get the chuck set that went with it (off ebay) at the time as I was out bid. Tonight I have to machine some posts on a couple of watch plates and press some bushings on them. At $50 a pop It goes in the savings for hobby things. It has taken a while but it has paid for itself over time.
 
Back
Top