• Modelers Alliance has updated the forum software on our website. We have migrated all post, content and user accounts but we could not migrate the passwords.
    This requires that you manually reset your password.
    Please click here, http://modelersalliance.org/forums/login to go to logon page and use the "Forgot your Password" option.

1/350 Pre Dreadnought Tserasivich.

Tim A.

Well-known member
Taking a break from big scale land armor, I'm changing things up with a little sea armor.
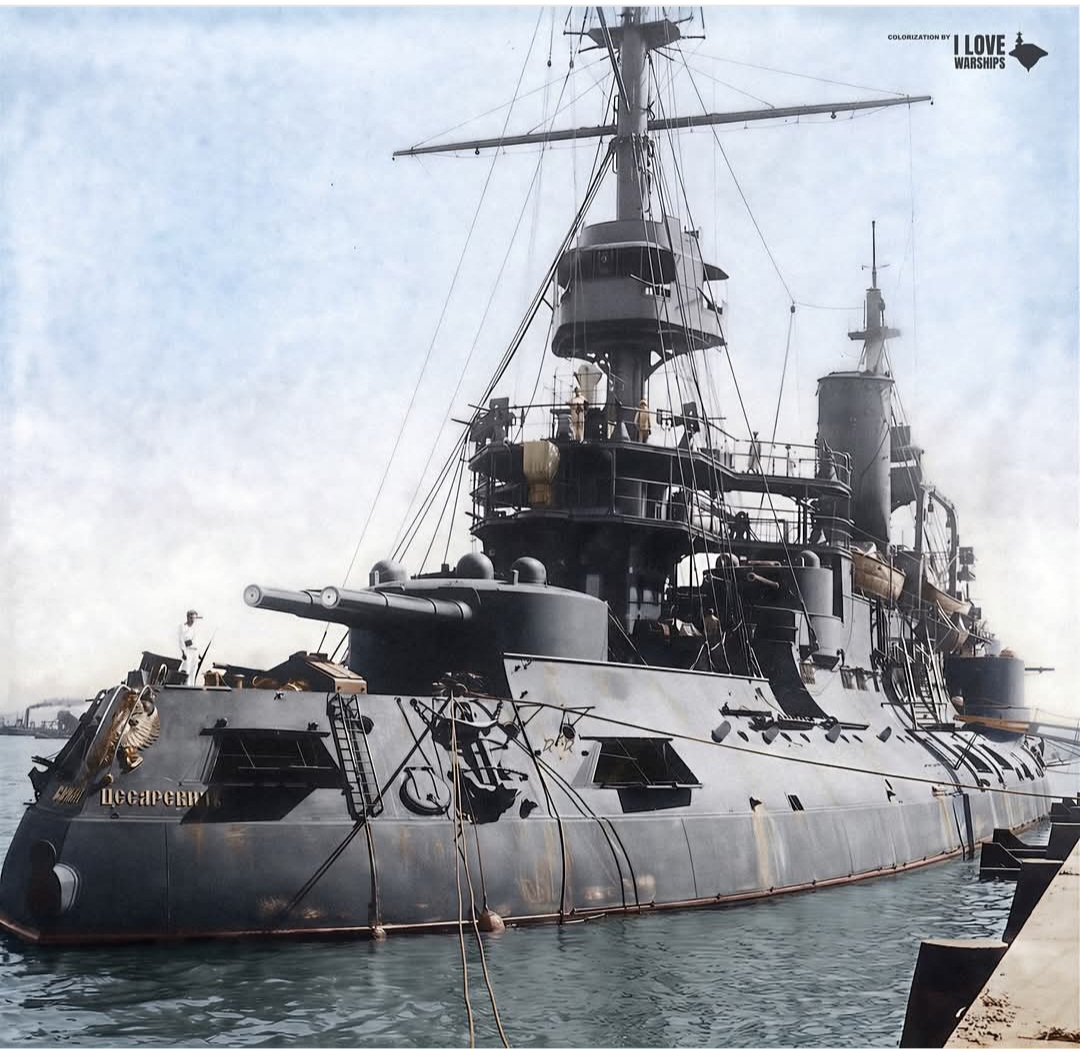
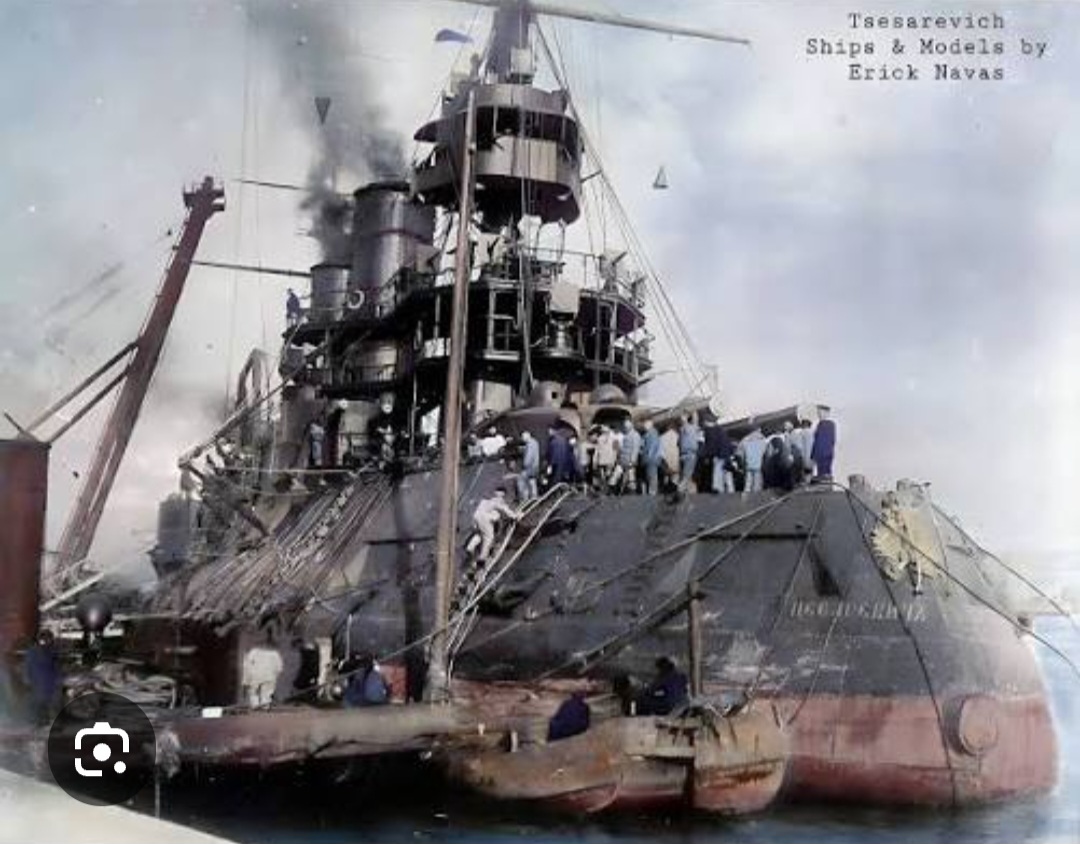
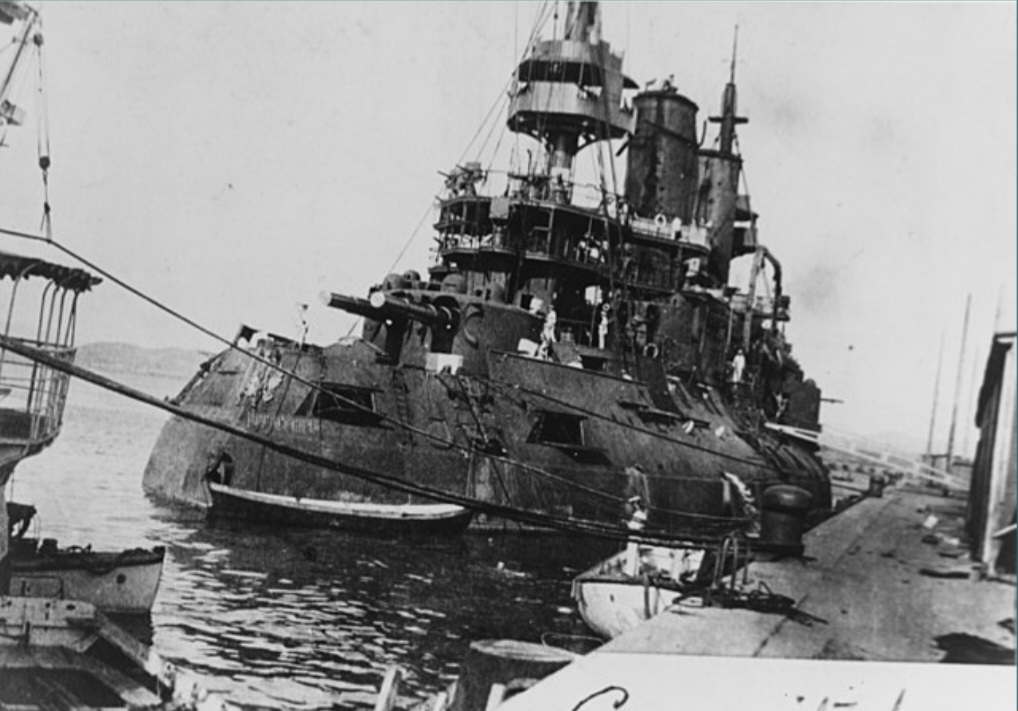
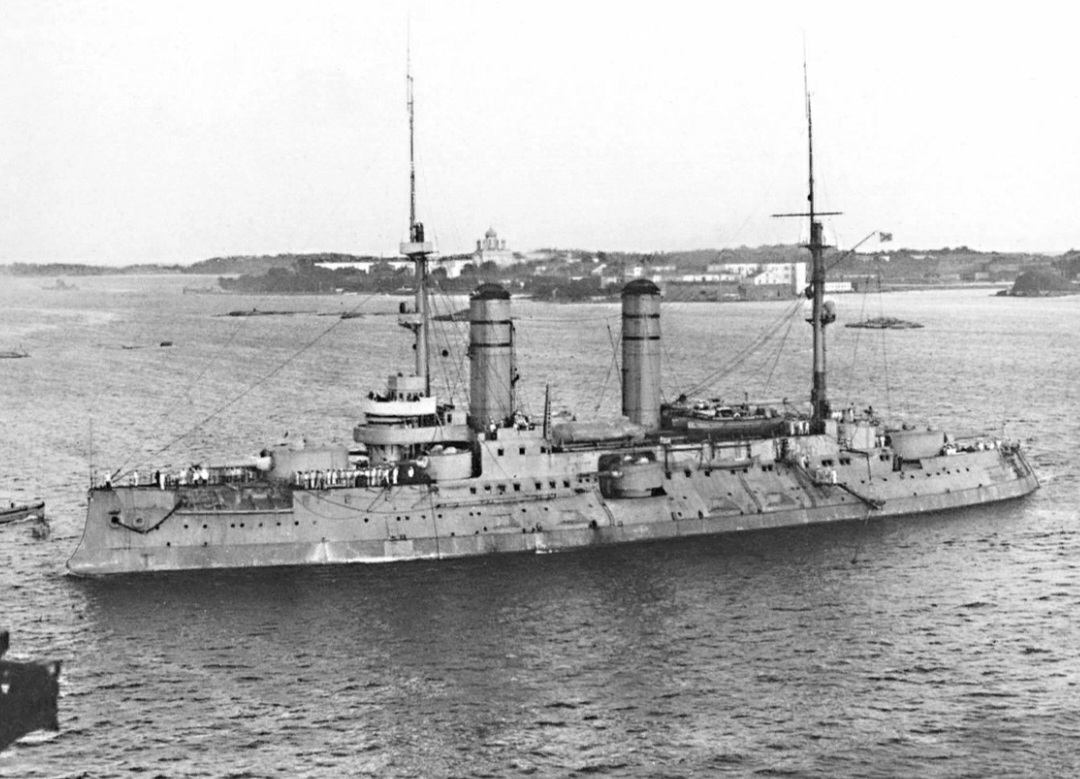
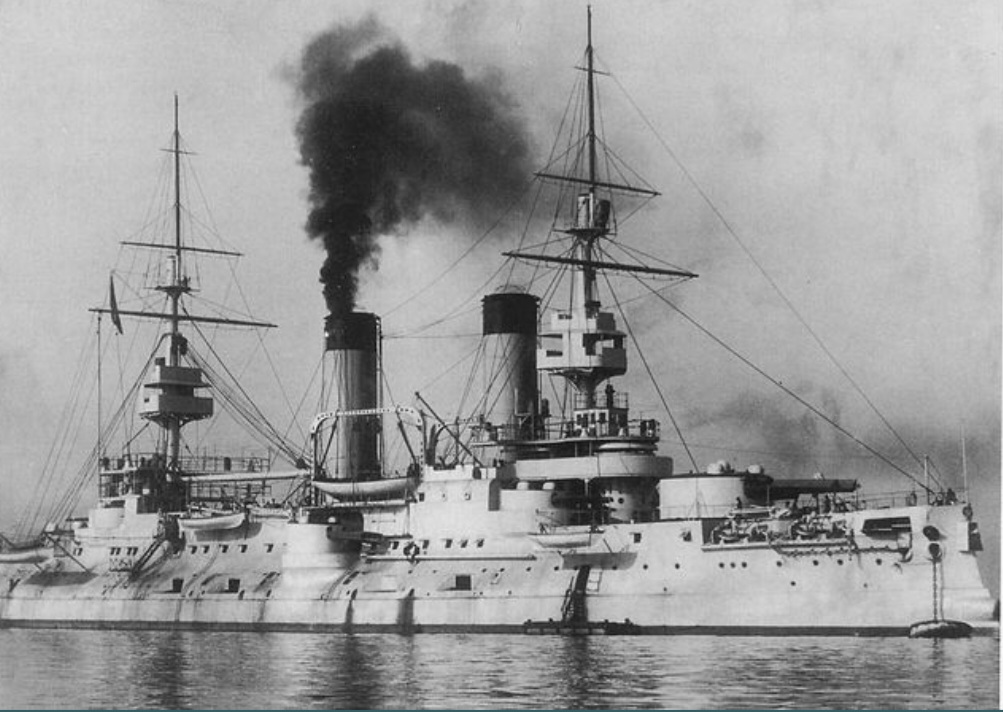
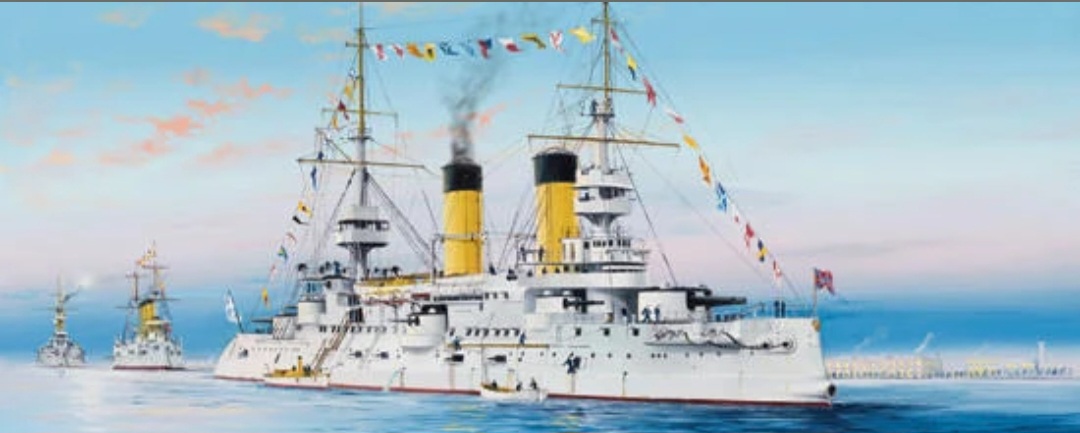
The French built Russian battleship "Tserasivich". Launched in 1901.
It had a rather sketchy life that included a good 'ol mutiny.
Trumpeter offers two versions of the ship, 1904 or 1917. I'm doing the 1904 look.
Screenshot_20260830_171150_Chrome.jpg
Screenshot_20260829_223729_Facebook.jpg

Screenshot_20260829_223842_Google.jpg
Screenshot_20260829_211246_Chrome.jpg
Screenshot_20260829_230648_Google.jpg
Screenshot_20260829_210821_Chrome.jpg
 
It's nice having a world wide model distributor warehouse like SQUADRON HOBBIES just 14 miles from the house.
I'm back from picking up the kit, a new roll of fine E-Z line and the gun barrel upgrade set.
The fun part was getting to go into the warehouse and get it. With over 2 thousand model kits not to mention the thousands of aftermarket parts and books in one spot I was overwhelmed!
20260831_124427.jpg
 
I want to do a road trip over there with the boys.
First time I'd been in the warehouse. It's mind boggling actually. Must have been a half dozen pickers pushing carts up and down aisles getting online orders. It's a large place. When I mentioned I'm going to order the gun upgrade kit for the Tserasivich the owner said we have that, so it was back to the warehouse we went. Funny thing was out of the thousands of aftermarket offerings they have for everything he knew exactly where it was.
They have a get together after hrs every 3rd Monday of the month. He said come. We just stroll through the aisles, hang out in the warehouse and talk modeling.
 
Dry fit of the hull and deck. It looks good. I've decided not to use the aftermarket printed wood deck. The main reason is as thin as it is it still that thick above the hull's sides.
I'm not going to get to ticky over details on this build, however theres some things I'll change. One is the molded hull ladders. I have some extra PE ladders from my Texas build so I'll add them.
I do want to do the rigging up, though. I think thats going to be the challenge.
20260831_165803 (1).jpeg
20260831_165448 (1).jpeg
20260831_165102 (1).jpeg
 
Yeah Tim, I get it with the AM wood deck. A decal deck would almost be too thick at this scale. If the model is not specifically made for the wood deck thickness, it is NOT going to work or look right.

Are those supposed to be round port holes on the side?
 
I had to look carefully at the first 2 pictures to spot they were the shame ship , the first picture gives little impression of the curves.
 
Are those supposed to be round port holes on the side?
They are supposed to be round.
I read that because of the slide mold the portholes are distorted where the tumblehome hull is at it's most severe? Idk.
As much as I try to ignore it I can't.
Not sure what I need to do to correct it, yet.
 
They are supposed to be round.
I read that because of the slide mold the portholes are distorted where the tumblehome hull is at it's most severe? Idk.
As much as I try to ignore it I can't.
Not sure what I need to do to correct it, yet.
I had a similar problem with some of the portholes on the Arizona build. They ended up being oblong front to back where there was a curve. The big problem was that they had a ring around them the stuck out a little. I finally did some measurements of the correct portholes and made a small master that was a standard drill size that was a reasonable size bigger and then made a mold. This was on a 1/200 scale kit so the portholes might be a bit bigger than on your build. Here were the steps I did to fix the 22 portholes on my build.

Arizona-005.jpg


Arizona-006.jpg


Arizona-008.jpg


Arizona-009.jpg


Arizona-010.jpg


Arizona-011.jpg


If they are fairly flat around the edge with no lip, you could get some evergreen tubing (if the hole is small enough) drill a decent sized pilot hole for alignment then drill a final sized hole for the new porthole plug. Then if the hole is slightly small you can just go down the line drilling them out to the right size. I think I actually opened mine up one drill size so they would all be the same size.
You could also use some aluminum tubing that is close to the right size hole.

Hope this helps.
 
I had a similar problem with some of the portholes on the Arizona build. They ended up being oblong front to back where there was a curve. The big problem was that they had a ring around them the stuck out a little. I finally did some measurements of the correct portholes and made a small master that was a standard drill size that was a reasonable size bigger and then made a mold. This was on a 1/200 scale kit so the portholes might be a bit bigger than on your build. Here were the steps I did to fix the 22 portholes on my build.

View attachment 193959

View attachment 193960

View attachment 193961

View attachment 193962

View attachment 193963

View attachment 193964

If they are fairly flat around the edge with no lip, you could get some evergreen tubing (if the hole is small enough) drill a decent sized pilot hole for alignment then drill a final sized hole for the new porthole plug. Then if the hole is slightly small you can just go down the line drilling them out to the right size. I think I actually opened mine up one drill size so they would all be the same size.
You could also use some aluminum tubing that is close to the right size hole.

Hope this helps.
Thanks Paul. It gives me some ideas 👍
The portholes on that Tserasivich appear to be half the size of the Arizona and looking at my Texas build about the same.
 
Back
Top