• Modelers Alliance has updated the forum software on our website. We have migrated all post, content and user accounts but we could not migrate the passwords.
    This requires that you manually reset your password.
    Please click here, http://modelersalliance.org/forums/login to go to logon page and use the "Forgot your Password" option.

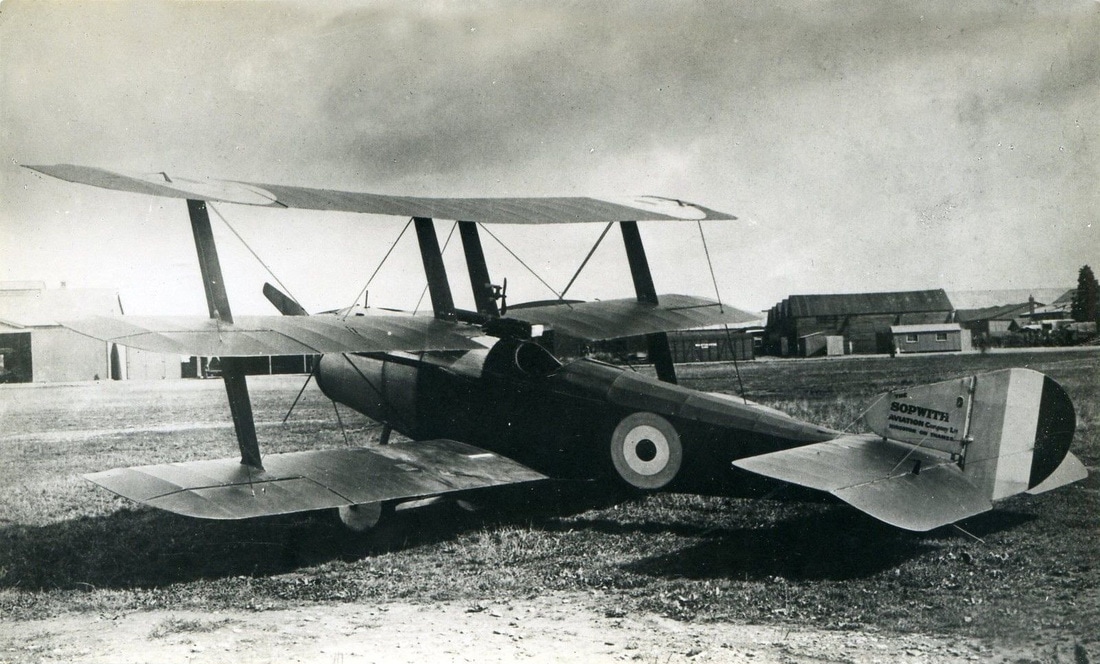
Wingnut Wings Sopwith Triplane

Thanks guys, I'm going to do that on the CDL side but I want the upper ribs dark.
Go over the ribs with a black sharpie?

@Rhino

That hit me like a brick, I got the black paint marker, highlighted the ribs and leading edges.

1750119067528.png


This is what I'm wanting. @centaur567 I'll be moving on now. :soldier
 
So it's not all about the exterior.
I got working on the Cockpit, got the IP built up and realized I was supposed to be doing the 2 gun variant.
1750559593655.png

Well you don't say anything, I won't. Tripes came with only one Vickers, our man Raymond had his fitted with two. Let's just say this is his aircraft before the ground crew got the message he wanted it upgunned. See Rich's comments below.

The sideways are all just dry fitted, most excellent fit it is. I am running control cables but the black stretchy string will just disappear. I do the rigging in the frame but I don't think I'll be making the effort of making full on turnbuckles. Maybe some brass tube or even just some paint to represent.

Got a lot of painting to do on the frames yet.
 
Last edited:
I added some wire bracing when I built the DH-9A and found that nothing can extend outside the wooden structure or the fuselage shells will have trouble closing up.
 
So it's not all about the exterior.
I got working on the Cockpit, got the IP built up and realized I was supposed to be doing the 2 gun variant.
View attachment 182316
Well you don't say anything, I won't. Tripes came with only one Vickers, our man Raymond had his fitted with two. Let's just say this is his aircraft before the ground crew got the message he wanted it upgunned.

The sideways are all just dry fitted, most excellent fit it is. I am running control cables but the black stretchy string will just disappear. I do the rigging in the frame but I don't think I'll be making the effort of making full on turnbuckles. Maybe some brass tube or even just some paint to represent.

Got a lot of painting to do on the frames yet.
So I shouldn't mention that only 6 aircraft were fitted with the twin Vickers and were built at the Clayton & Shuttleworth facility in Lincoln.

Cheers,
RichB
 
So I shouldn't mention that only 6 aircraft were fitted with the twin Vickers and were built at the Clayton & Shuttleworth facility in Lincoln.

Cheers,
RichB
Not at all, always correct those misinformed. I thought the two gun rig was a field modification but ok. Since I only have the Black Maria markings I'll just have to wing it and take a beating when called out.
But hey, the Vintage Aviators reproduction is a single gun ship with Black Maria markings. :pilot
 
They replied on the 21st but you're past that. May I show them your build? You did use the panel.
Please do, I didn't use the bezels just the IP faces on some. BTW, I found the eduard made PE from HWG less than useful. The seatbelt is nice but the PE just isn't necessary.
This says more to how nice the WnW kit is, it really doesn't need a bunch of parts replaced.
 
It probably doesn't help you for the markings provided in the kit, but for general interest, Collishaw flew 3 Triplanes named "Black Maria". N5490 (Apr-Jun 1917, 14 victories), N5492 (Jun-Jul 1917, 18 victories) were both single gun aircraft. N533 (Jul 1917) was the twin gun aircraft. He only scored two victories with N533 before being ordered on 2 months leave in Canada. He returned to the front in Dec 1917 on 13 Sqn flying Camels.

Cheers,
RichB
 
I added some wire bracing when I built the DH-9A and found that nothing can extend outside the wooden structure or the fuselage shells will have trouble closing up.
@jeaton01
you are absolutely right, I tried rigging outside the frame because I didn't want to drill holes through the corners and the tolerances are just too tight.
1751075692418.png


I removed all the rigging, with the combing in place you're not going to see it anyway.
 
When i built my Sopwith Pup i made up some simple turnbuckles but i am not sure they use them on the triplane looking at the pictures on your link ?


Pup 20.jpg

it must have been a nightmare setting these things up in production. We have a TV prog here called warplane workshop where a group of pensioners built a Sopwith 1 1/2 strutter over 20 years and basically the wings just hang on the aircraft and they are then pulled into position with turnbuckles but just imagine that every angle and warp and twist has to be adjusted out and exactly mirrored from side to side for the the thing to fly straight hands off and it took them as week to set it up with modern alignment tools a lasers.
What did notice though was my build with the turnbuckles is not really correct. the turn buckles themselves are so near the wire dia you can hardly see them and in this scale would be invisible so my build is actually quite wrong :)


I realise its not a triplane but its the same factory and era :).
 
Last edited:
One of the manuals on that page states they use plum bobs hung from the top wing to align the lower wings. I guess if you do this every day it becomes easy.
When I had rigging in the cockpit I played with building up some thick CA and then painting it. Inconsistent results on that one.
 
When I built my 1/48th Albatros, I placed the flying lines with fine nylon line. Worked quite well. To simulate the turnbuckles, I used a piece of the same nylon line cut to length. Then used a little super glue to round it up it worked fairly well on the 1/48th scale kit. Something to consider with the British builds is that they didn't use cables for the wings. They are preformed, airfoil shaped flying "wires" as such. Only the landing gear had actual cables with turnbuckles. Here are some photos of the Camel reproduction at the Air Force museum.

20241109_092755.jpg


20241109_092828.jpg


20241109_092837.jpg


20241109_092846.jpg


20241109_092850.jpg


20241109_092909.jpg


20241109_092939.jpg


20241109_092929.jpg


This has flying wires with threaded ends that are adjusted and then attached to the wing or mounting point. In the last photo you can see the wire for the landing gear folded over and attached to a turnbuckle.
Hope these help. Reducing the size to post them made the detail a bit smaller. If you need I can crop the photos for specific details.
 
Back
Top