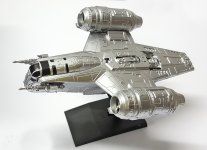
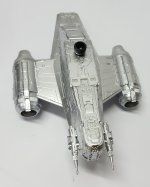
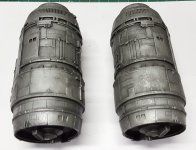
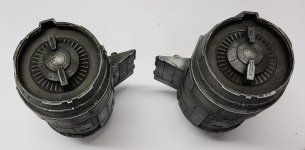
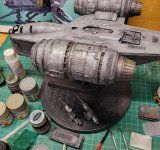
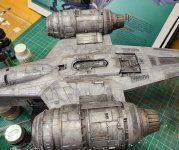
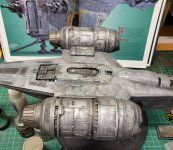
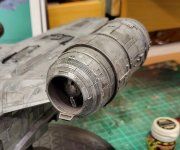
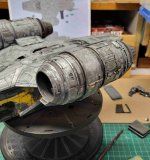
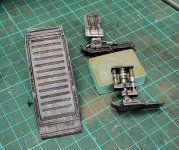
The next phase...............
This project is being driven by a chance to be really creative. The blacks are down on the large 1/72 RzCrest and its ready for the build up to dirty metal. I decided in doing this one that I wanted to get the most realistically weathered result that I could 'muster' from my armour modeling experiences and my artwork, so as the Knight Rider used to say....
"
come ride with me"......... into the unknown future of experimental painting with sci-fi where anything goes to try to achieive the final result.
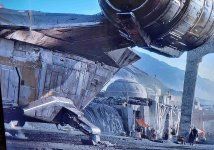
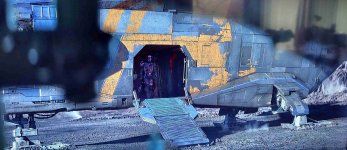
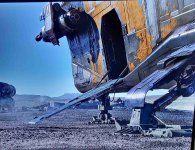
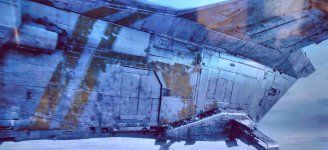
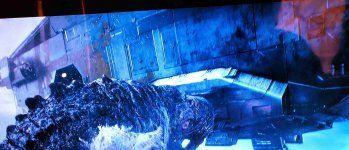
I have a definate image in my mind acssociated with some ideas on the paint process based around what I have seenof the finish of the ship in the show. Its not all shiny metal as a lot of people think and certainly the Revell box imagery.
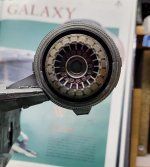
I took these shots off the TV from episodes 1 and 3 to show what I am going for in detail. The colors vary due to the tone of the image on screen and the camera in my phone trying to handle it, especially the bluish shots that I had to try and color correct as much as I could. Overall the best color match is with the first 4 photos but all of the 'snaps ' clearly show the rugged and weathered apperarance of the metal plates of the ship and the multiple shades of steel, aluminium and chrome that will be needed. Black and dark browns will also play a major part with panel line enhancement and metal plate differentiation.
I can't wait to get into this one and are super excited as my creativity on metal plate weathering can go wild.



 BASE COAT/PRIMER
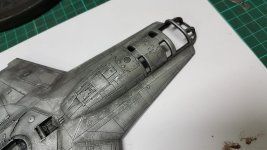
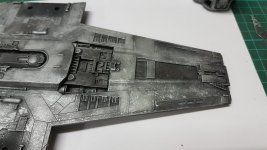
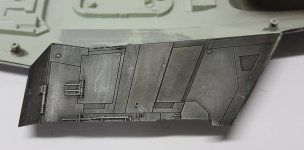
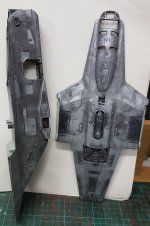
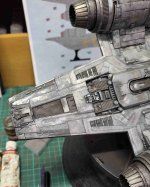
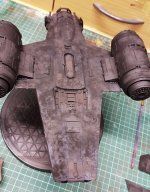
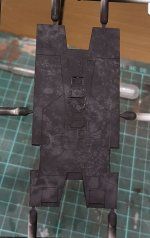
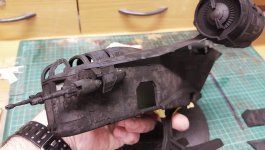
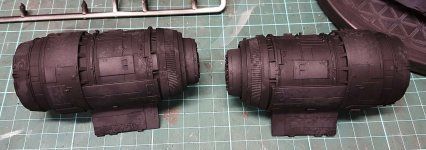
To underpin the metal weathering I needed to start with a black primer. This base will provide all the shadows, dark patches and uneven finish for the metal plates. I also went with some airbrushed stencil patches in dirty browns made from black, dark iron and red brown acryclics *(all Tamiya). This idea may not work everywhere, especially where the metal paints are more opaque but hopefully in the darker , more 'unpainted' areas it will help.
I mean, whatever right, this is all about experimentation and what doesn't work with this may work well for another model. This is how I always discover new methods and happy accidents. The focus is the variation in the metal plates combined with subtle dirt and grime - most of the plates are not just a perfect finish so this is why I will be building most of this surface effect up with traditional dry brushing of multiple layers, combined with stippling of more solid colors and detailed brush work, finishing with oil paints and pigments.
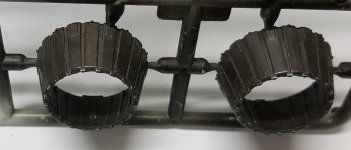
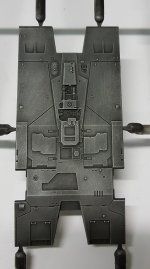
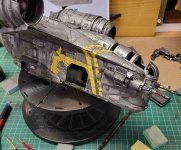
In the beginning there was only plastic....... but what a great platform to start with. A highly detailed surface covered in panel lines and plates of varying heights. 

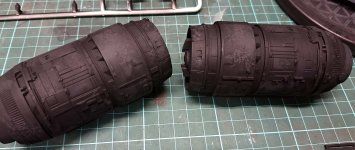
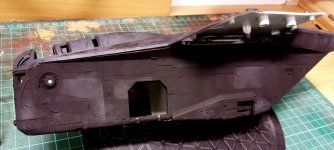
first stage - black acrylic basecoat. I also added some plastic strip and rod to the edges to cover seam lines on the engine cowling sides.
I had some issues with my acrylic clear coat that I sealed the black with, before adding the brown. I used Vallejo acrylic matt varnish but it turned the black into a light grey when I sprayed it on with the airbrush, so I had to redo the black.
Can anyone recomend a good acrylic matt or satin varnish that can be sprayed through the airbrush without effecting the base color paint?
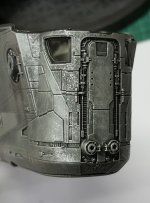
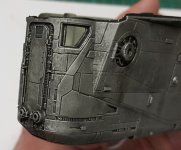
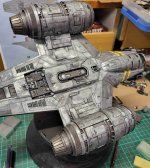
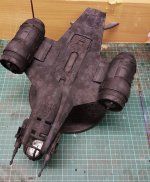
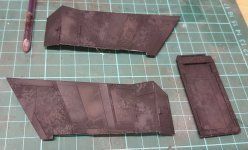
Black acrylic basecoat with random brown shapes.............

 .
.

