• Modelers Alliance has updated the forum software on our website. We have migrated all post, content and user accounts but we could not migrate the passwords.
    This requires that you manually reset your password.
    Please click here, http://modelersalliance.org/forums/login to go to logon page and use the "Forgot your Password" option.

Typhoon - Day 3

ausf

Master at Arms
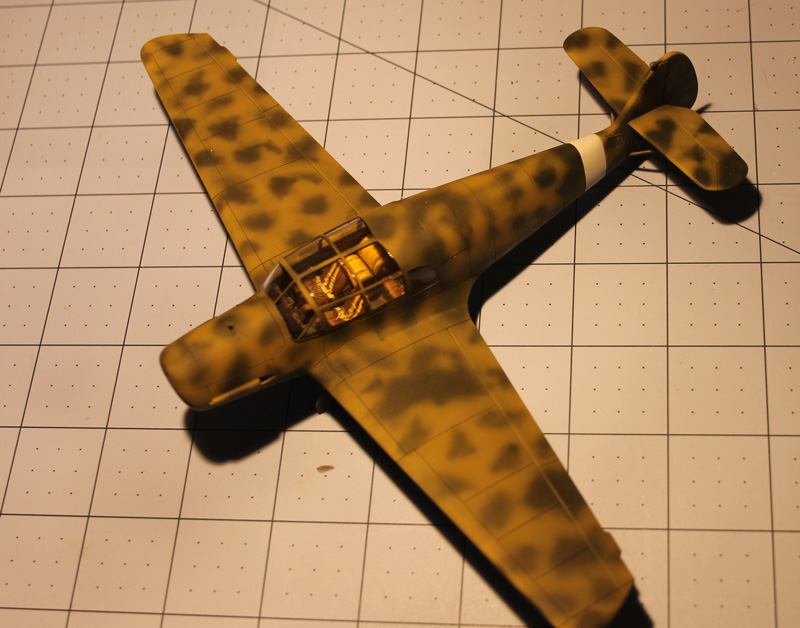
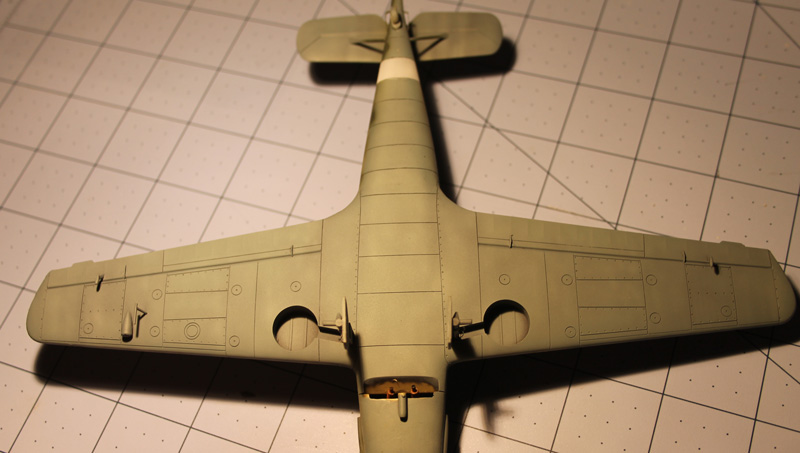
I'm building a Taifun (Typhoon), like a Typhoon: fast and furious.


hedeb4bf.jpg


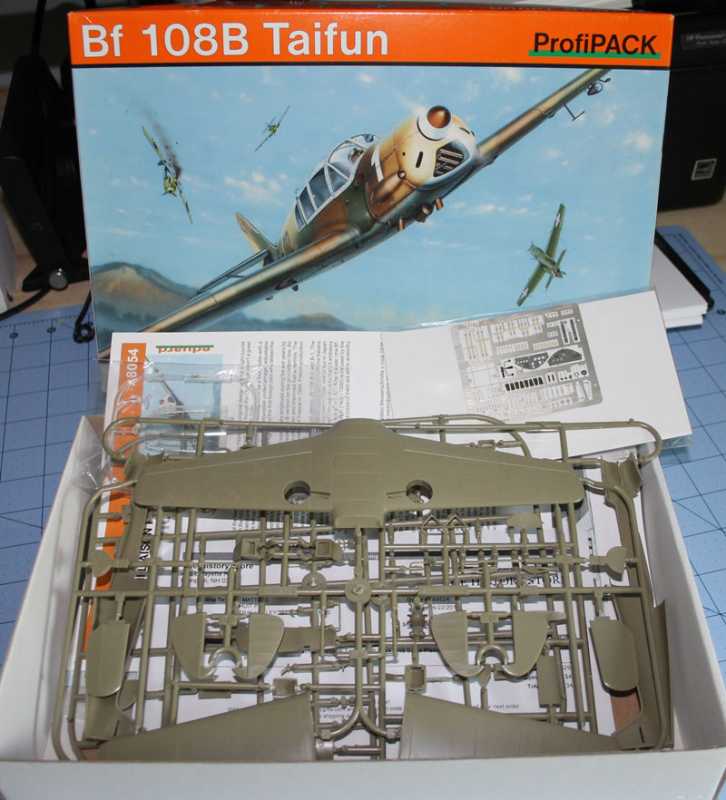
I was originally going for a campaign since the 108 was used as both a trainer (Learning Curve) and recon, but when I cracked the box and found the Blaich option of a tropical scheme, I was hooked. A 3 plane raid in Libya, led by an unarmed liason plane? I'm in, especially considering all the sand I can add to the weather. :D


Day 1: Building strength.

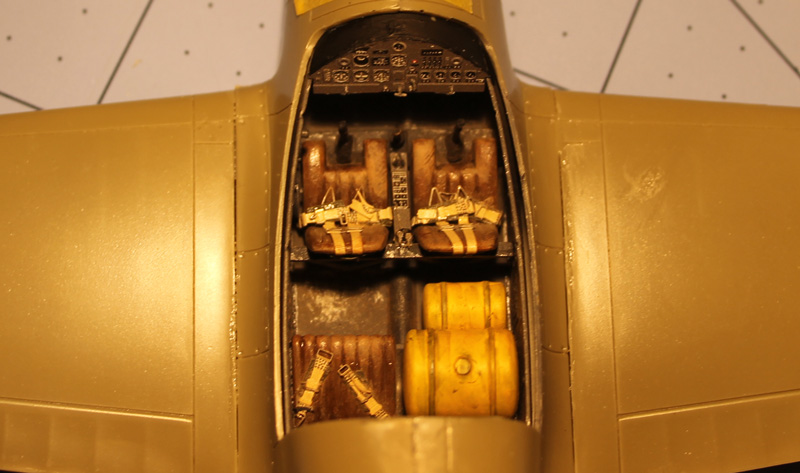
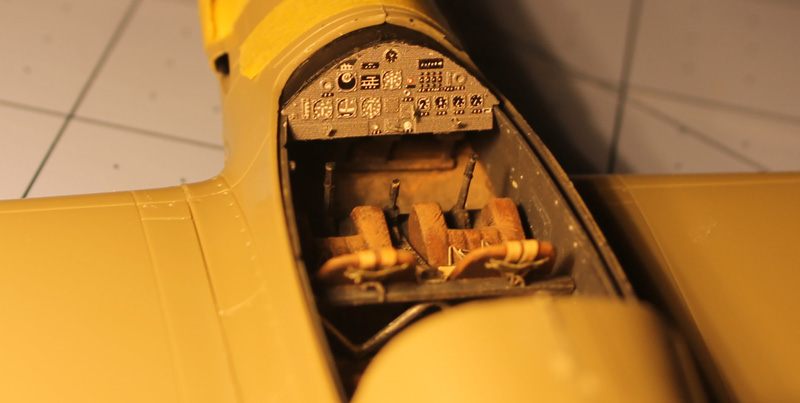
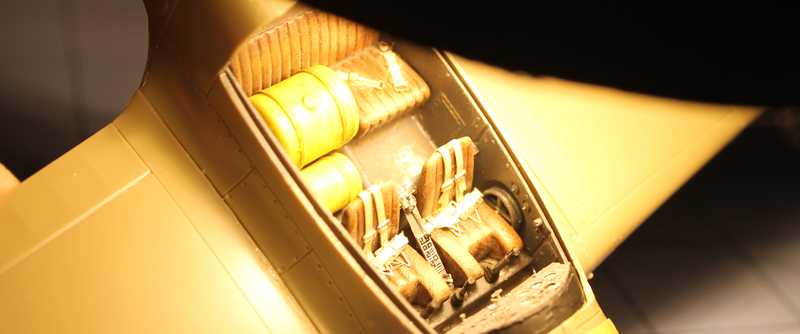
Subassemblies built, cockpit base-coated, canopy Future-dipped and sequestered under glass.


h9ed5854.jpg


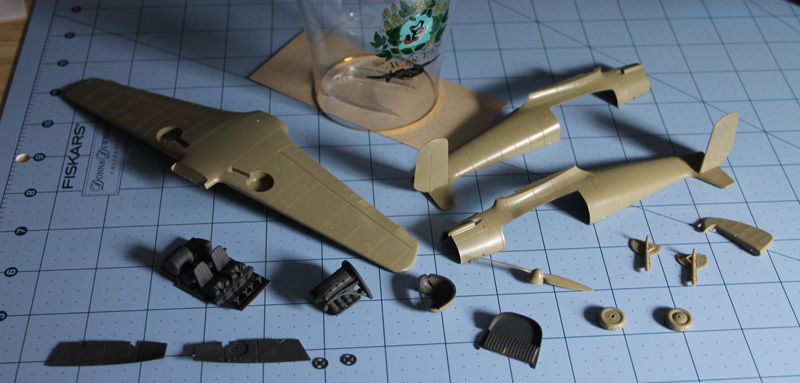
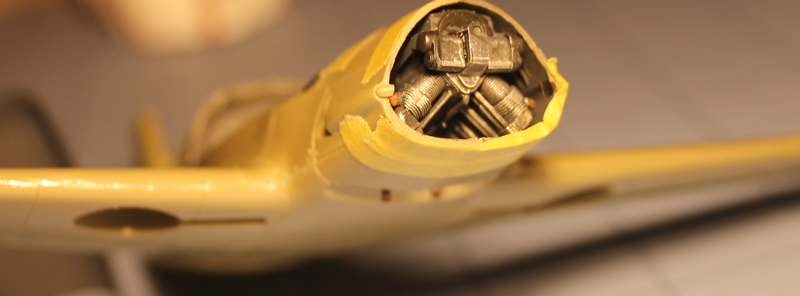
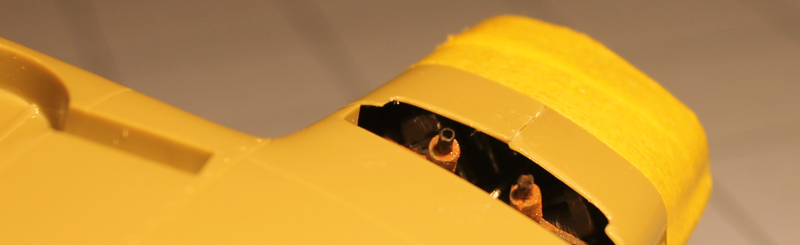
Next up, detail paint and PE for the cockpit, engine paint and closing the fuse.
 
Typhoon - Day 1

Was that the plane chasing Indy and his dad in The Last Crusade? Cool!
 
Typhoon - Day 1

Was that the plane chasing Indy and his dad in The Last Crusade? Cool!

Close, good eye and memory. I had to look it up, but it was a Swiss trainer mocked up in the film (There are existing Taifuns around, a French company built them well after the war).


he127ebf.jpg


Thanks for the replies guys.
 
Typhoon - Day 1

I remember when this kit came out Brett Green had issues with the fit of the cockpit side walls however a later build on Hyperscale the builder found that " Contrary to what other reviewers have experienced, I had no difficulties whatsoever with the fit of the cockpit sidewalls. The only area I had to do any trimming was at the most inboard part of the well wells, on the inside of the wing bottom. This was to allow the cockpit tub to sit squarely on the wing bottom." and also added "A couple of minor kit faults other reviewers have missed are the tailplane supports and the tail wheel. The positioning of the struts are shown incorrectly in the instructions. Eduard suggests that the end of the strut with the large fairing should fasten to the fuselage, which is incorrect. Photos show that the large part mounts to the underside of the tailplane. This means that you must switch the struts from side to side and end over end. Also, the tail wheel strut is too long. It is fine if the model is to displayed in an in-flight configuration, but it should be shorter if the model is to sitting on the ground." I have a couple of these yet to build so I can't verify the above but it might be worth checking so save some grief later, looking forward to your build.
 
Typhoon - Day 1

Thanks Old Dog, that'll be a big help.

I noticed the cockpit side walls are supposed to sit on the molding of the rear seat support. Since Eduard doesn't have registration marks, if the seat isn't aligned perfectly (like mine, I'm only using half to fit the tanks), there may be an issue with how the sides sit. I'll definitely be careful with a lot of dry fitting here on out. I'm assuming the canopy hides the connection of the fuse to the pit walls, but I'll see when I have the PE in a pit together.

Good call on the supports and tailwheel. I didn't get that far, I'll certainly make the adjustments you outlined. The tailwheel did strike me as being kind of long when I cut it from the sprue, not from an accuracy viewpoint, but as 'how the heck am I not going to break this thing'.
 
Typhoon - Day 1

I remember when this kit came out Brett Green had issues with the fit of the cockpit side walls however a later build on Hyperscale the builder found that " Contrary to what other reviewers have experienced, I had no difficulties whatsoever with the fit of the cockpit sidewalls. The only area I had to do any trimming was at the most inboard part of the well wells, on the inside of the wing bottom. This was to allow the cockpit tub to sit squarely on the wing bottom." and also added "A couple of minor kit faults other reviewers have missed are the tailplane supports and the tail wheel. The positioning of the struts are shown incorrectly in the instructions. Eduard suggests that the end of the strut with the large fairing should fasten to the fuselage, which is incorrect. Photos show that the large part mounts to the underside of the tailplane. This means that you must switch the struts from side to side and end over end. Also, the tail wheel strut is too long. It is fine if the model is to displayed in an in-flight configuration, but it should be shorter if the model is to sitting on the ground." I have a couple of these yet to build so I can't verify the above but it might be worth checking so save some grief later, looking forward to your build.

Thanks for this heads up Gary! I have an older issue of this kit in my stash as well.

Will be watching! :popcorn
 
Typhoon - Day 1

This rocks Jeff. I'm going to follow along with this one.

You're right that there are other Taifuns out there; I saw one at the Fullerton (CA) Airport days:

FulertonMakenTake00002.jpg


My friend Sean and I went over there to take a look at it. We even got to sit in it!

Here's some reference shots of it for you if you like:

FulertonMakenTake00003.jpg


FulertonMakenTake00004.jpg


normal_FulertonMakenTake00005.jpg


I was in the back seat to take this pic:

FulertonMakenTake00006.jpg


Some shots of the inverted 'V' Engine:

FulertonMakenTake00013.jpg


FulertonMakenTake00014.jpg


I know you may not be doing all that much detail but I thought these pics of an actual Taifun would be fun for you to see.

I'll be following along wiht this build, keep going man.
 
Typhoon - Day 1

Great pics Mark, thanks!

Besides some interior padding, it's real close to the military version.


Well, here's Day 2: Building strength.

Cockpit is done, painted, PE'd and weathered. Didn't get good photos, the camera was set to automatic, but it's grey, the leather is worn and the floor and crevices are caked with sandy dirt.


hc0861ea.jpg


h48c6cff.jpg


h5151dfb.jpg


The engine, won't be seen very much, just the pushrods really.

h5d9e664.jpg


I even drilled out the exhausts.

h4c21fe0.jpg


I'll fill some sizeable wingroot seams tonight. The canopy has beed masked, primed and painted (inside), so it's ready for some PE and installation, then it's prime, base and camo...
 
Typhoon - Day 2 (building strength)

Thanks MP.

I got some paint on it.

I took pics of pre shading, but can't find them. :unsure:

The preshading worked well after the first color, but is lost with the camo blotches. I'm not sure how I like the outcome so far, there are some touchups necessary, including making the big blotch on the left wing smaller. I was the beneficiary of a nice water bomb in that spot while spraying. It's wet humid day here, and the two watertraps inline were overwhelmed I guess.

It's weird, I have a real expensive trap at the compressor that doesn't seem to do anything, and then a cheap Iwata knockoff at the AB end that does the trick (usually).

Anyway, need to paint the landing gear and touchup spots, Future and decal.

The more I look at the Taifun, the less I like it. It's kind of an ugly design due to the width, and not in a good way. The Storch is ugly, but still very cool. This bird is just plain ugly. :blink


he715d78.jpg


hdd417a8.jpg


h572ef76.jpg
 
Typhoon - Day 2 (building strength)

Well yeah but you must consider that it was a passenger plane and not a fighter.

On the other hand it was probably a test bed for Willy's concepts without giving away his plan .

Not all girls get to be supermodels . ( Thank God )

I think it was brilliant as the wings folded back and you could tow it away and hide it in a garage :woohoo:

Cheers, Christian B)
 
D*mn !! - Blink and you miss it !!
This is as fast as a 'Chef' build. I was going to say that I look forward to the next update, but I think it'll be built by the time I finish typing this reply :eek:hmy:


Ian.
 
Thank you gentlemen.

I'm taking advantage of a rainy weekend, wife at a wedding in Oregon and kids on their own for the most part. :D

I decided to try to build like I would when I was kid: get the kit on a Saturday morning and have it finished by Sunday bedtime.

Only as a kid, I didn't have putty, an airbrush, references, PE, Future, etc. Those things take time. I was going to push a clear coat on it today, but with touchups and the LG, I'll give it another day.

Plus I started the AM SBD too and that cockpit was a chore.
 
Back
Top