• Modelers Alliance has updated the forum software on our website. We have migrated all post, content and user accounts but we could not migrate the passwords.
    This requires that you manually reset your password.
    Please click here, http://modelersalliance.org/forums/login to go to logon page and use the "Forgot your Password" option.

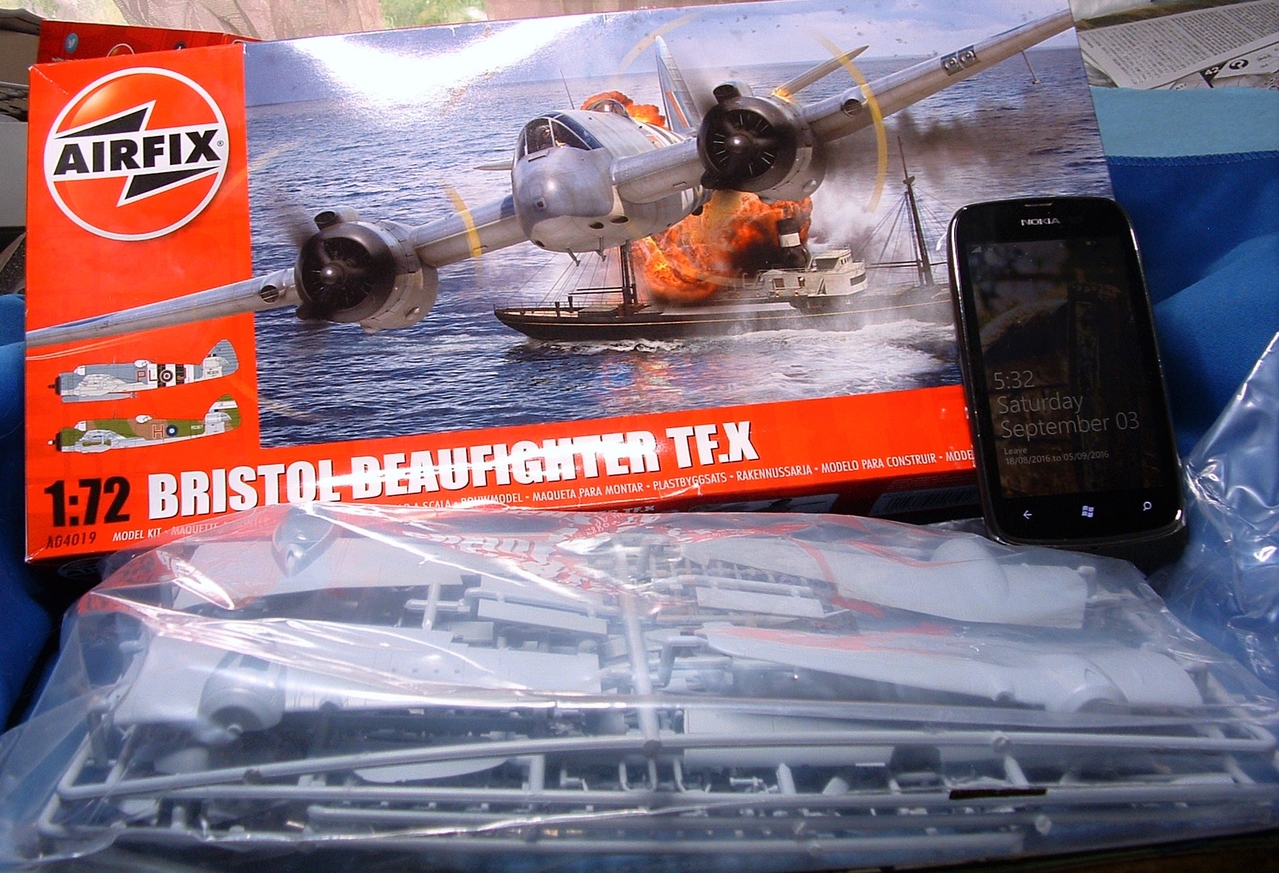
TorBeau - Airfix 1/72 Beaufighter TF.X

RichB

Well-known member
Started this last weekend.
DSCF0015~5.JPG


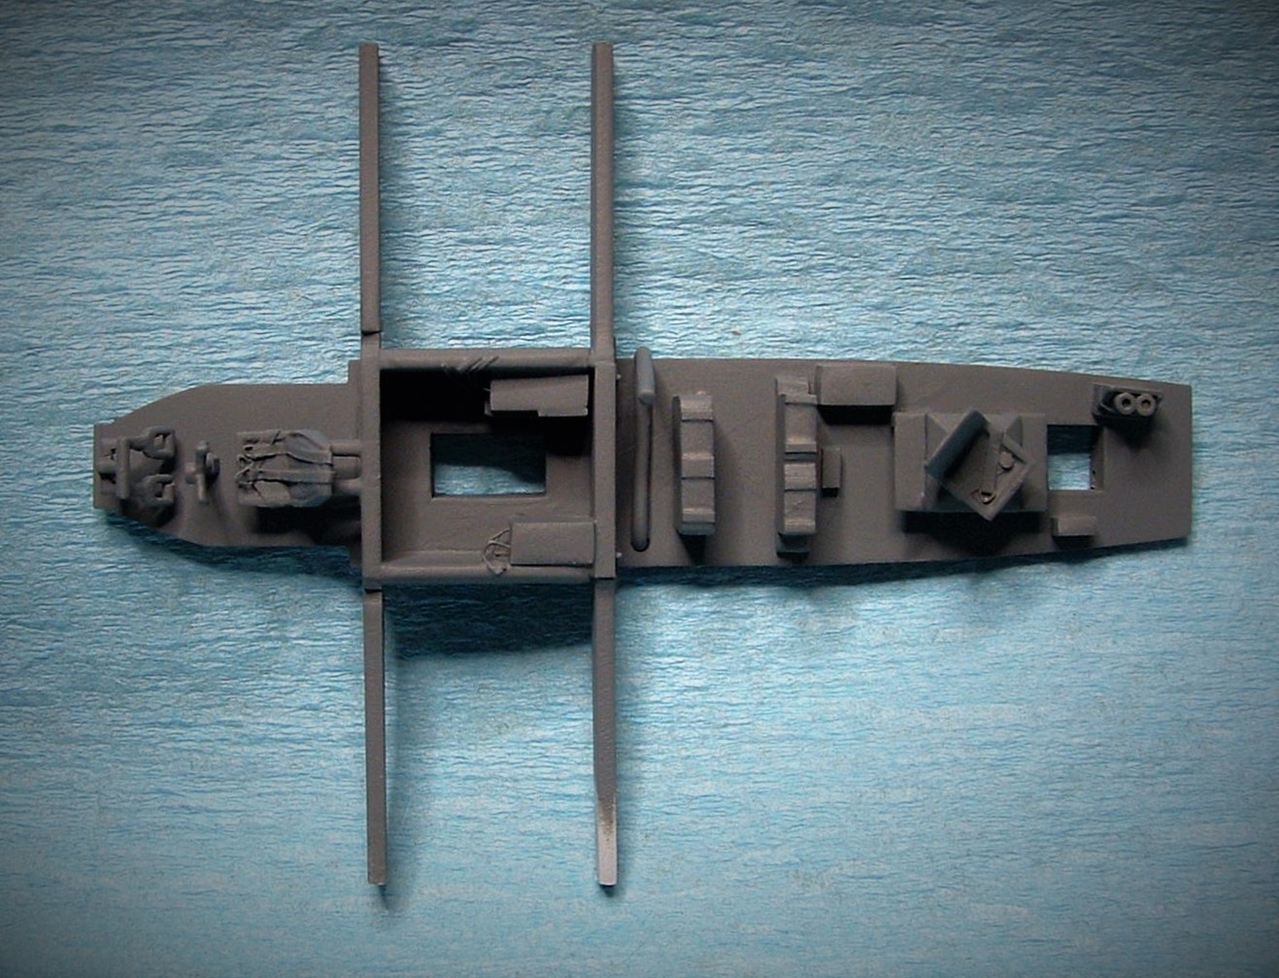
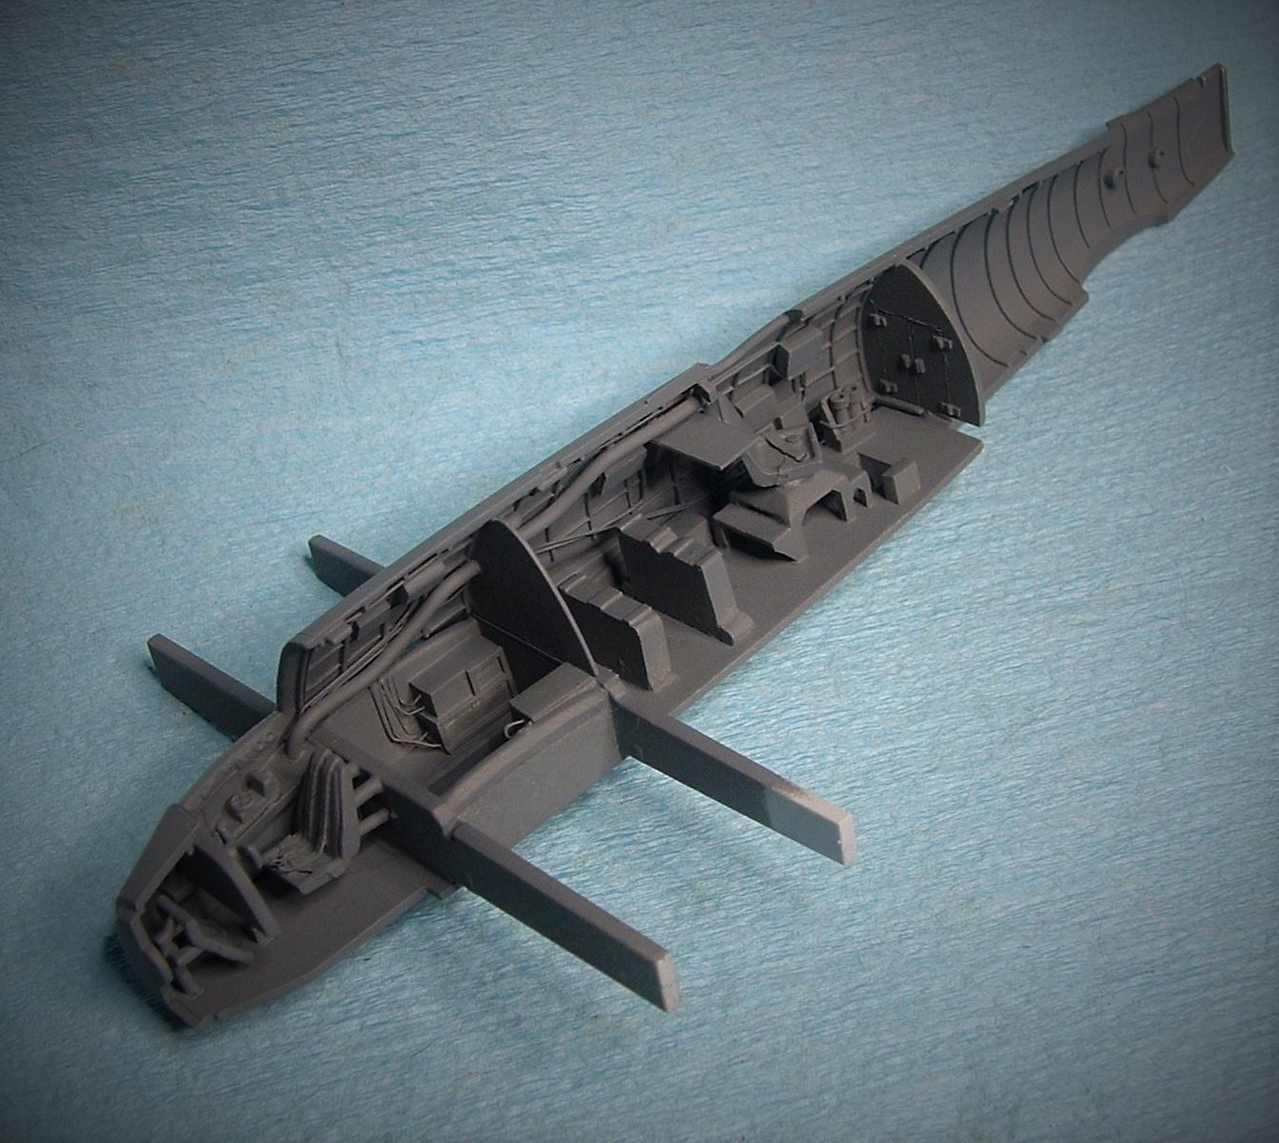
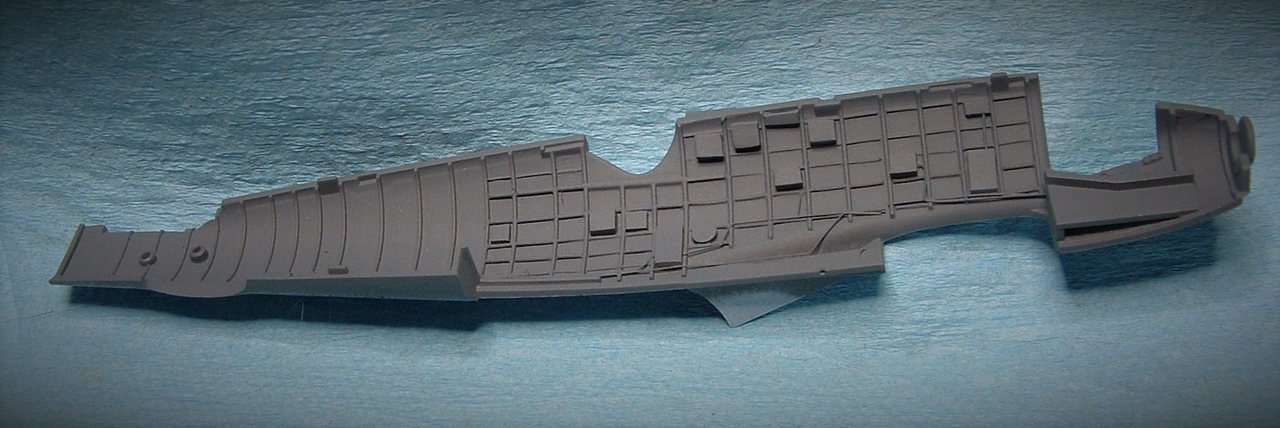
What started with adding some of the major bits to the interior like seat belts, the heat ducting and ammo cans spun out of control and I ended up adding longerons (the vertical frames are molded in), the armoured bulkheads, avionics, wiring, flare rack, map table and cutouts in the floor for the belly hatches. It's not 100% accurate, but makes the otherwise empty area behind the cockpit and Navigator/Gunner compartment look busy. Of course, once the fuselage goes together, a lot of it won't be visible, but I know it's there. :laugh:

DSCF0018~4.JPG


DSCF0017~4.JPG


DSCF0016~3.JPG


DSCF0019~4.JPG


Cheers,
Rich
 
I'll be using the kit decals for this one as 404 Sqn, although having received initial training in torpedo attacks, never used them operationally. They specialized in using rockets in the anti-shipping and flak suppression roles as well as providing fighter escort for the TorBeau Squadrons. I do have the 1/48 Aviaeology sheet for 404 Sqn Beaufighters.

Maybe a 404 Sqn Beau if the SEAD Campaign comes to fruition. :hmmm

Cheers,
Rich
 
A tremendous amount of interior detail. What a shame that so little will be seen when the build is completed.

Good looking kit (y)

Cheers, Christian B)
 
The interior looks as good as The Tamiya kit in 48th scale. Gary

I did use a 1/48 Tamiya kit for some of it. I scanned and reduced the kit parts for the heat duct, ammo boxes and bulkheads. The bulkhead contour was almost a perfect match when scaled down to 1/72. For the boxes and wiring along the fuselage sides I used some cut-away drawings and the SAM Beaufighter book along with some creative gizmology.

Cheers,
Rich

Great job!! I though they were the kit parts. Gary
 
Thanks for looking in everyone. Got the interior painted up.

DSCF0019_28229~1.JPG


DSCF0020~3.JPG


DSCF0021~1.JPG


DSCF0022~0.JPG


DSCF0025~0.JPG


DSCF0026~0.JPG


Now to put the fuselage together and hide most of that. :eek:hmy:

Cheers,
Rich
 
Thanks for the comments guys.

The fuselage is closed up now. My efforts on the interior didn't cause any troubles in getting the three fuselage pieces together. The tail planes are one piece so you don't have to worry to much about getting equal dihedral when installing them

DSCF0022_28229.JPG


DSCF0023~0.JPG


Wings together. There is some minor surgery to remove a small blister from the upper wing on the version I'm building. For rocket armed aircraft there are blast panels to install on the outer wing where the shell casing ports are.

DSCF0020_28229~1.JPG


The engine cowlings are probably the most challenging pieces to assemble. They are made from three pieces with no locating pins or tabs. The aft cylinder bank has a ring around it that fits right against the inner cowl that helps shape it. A light sanding of the ring makes it easier to get the three cowl pieces to join. The locating cutout on the aft cylinder back that mount the assembly to the face of the nacelle needs to be enlarged just a hair to fit over the pin on the nacelle.

DSCF0021_28229.JPG


With these bits fitted, its beginning to look like a Beaufighter.

DSCF0019_28329.JPG


Cheers,
Rich
 
Back
Top