• Modelers Alliance has updated the forum software on our website. We have migrated all post, content and user accounts but we could not migrate the passwords.
    This requires that you manually reset your password.
    Please click here, http://modelersalliance.org/forums/login to go to logon page and use the "Forgot your Password" option.

Tom's StuG IV

Thanks Mike and Richard, I had a little bit of a learning curve with the Lifecolors after using enamels, the big thing for me was spraying super light coats letting it dry then another coat and another coat. I thinned the paint with Lifecolor thinner at a ratio of about 80/20 paint to thinner, I will definetly use them again, it was nice to not have to put a coat of Future on before applying the oil wash.


Tom
 
Thanks for the feedback guys, I agree with you Pavel and Roman regarding the tracks and will take care of them this weekend.


Thanks, Tom
 
With much nervousness I am posting my finished StuG, I've got so much to learn regarding weathering it's not funny. A couple of first's for me, using Lifecolor acrylics, Fruilmodel tracks and spraying weathering pigments through my airbrush. I put the screws to myself by letting this sit for 3-4 months before continuing on it and felt a little rushed to finish on time (lesson learned). I had big plans for a diorama, figures etc. but wasted too much time so here we go:

015.jpg


010-1.jpg


012-1.jpg


013.jpg


017.jpg


001-1.jpg


014.jpg


016.jpg


011-1.jpg


This is the first kit I've completed since last summer, plenty of WIP's but having trouble finishing them :blush:.

As always all comments and criticism welcome.
Thanks for looking, Tom
 
Critical, how can someone be critical. Really nice finish Tom.

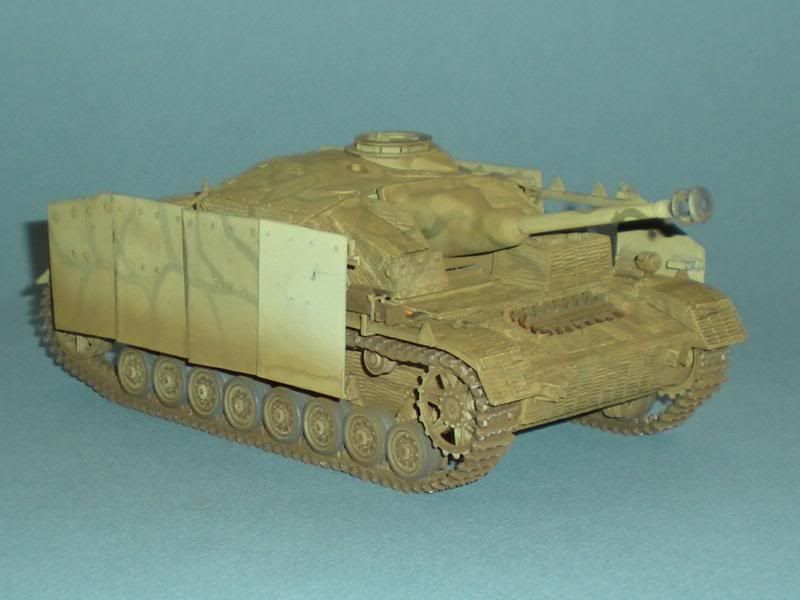
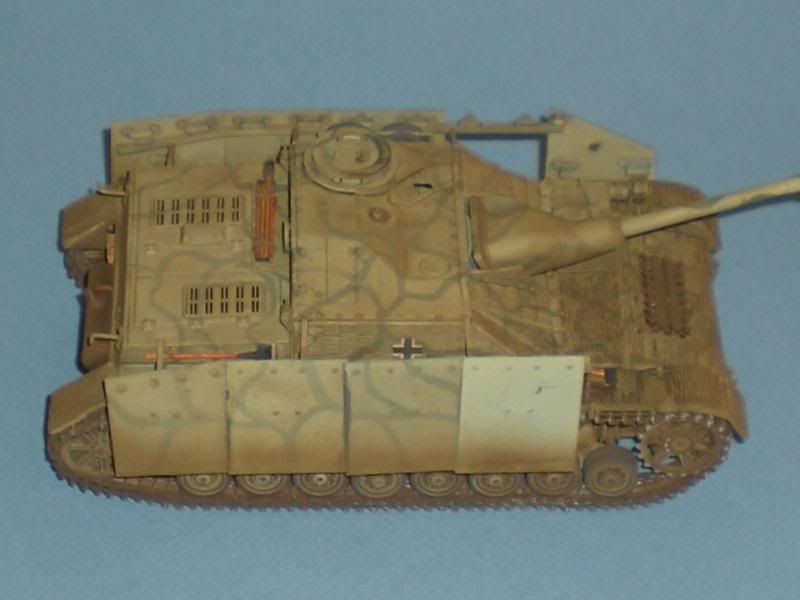
Let's touch on something you said here, you said you sprayed pigments. I recall reading about this somewhere else but could not find the link when called on it before. Did you cover this on a previous post or are ya sandbaggin' on us? Tell us about spraying the pigments, what were you after and how did it turn out for you?

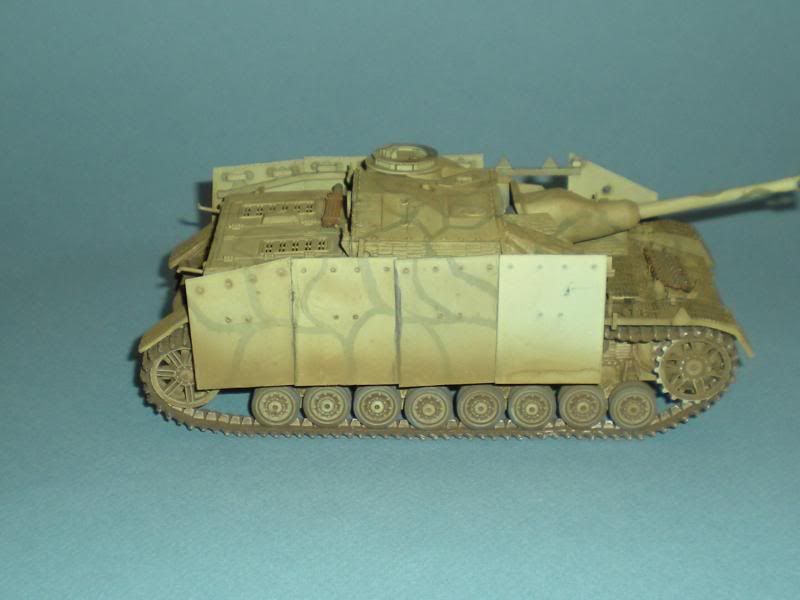
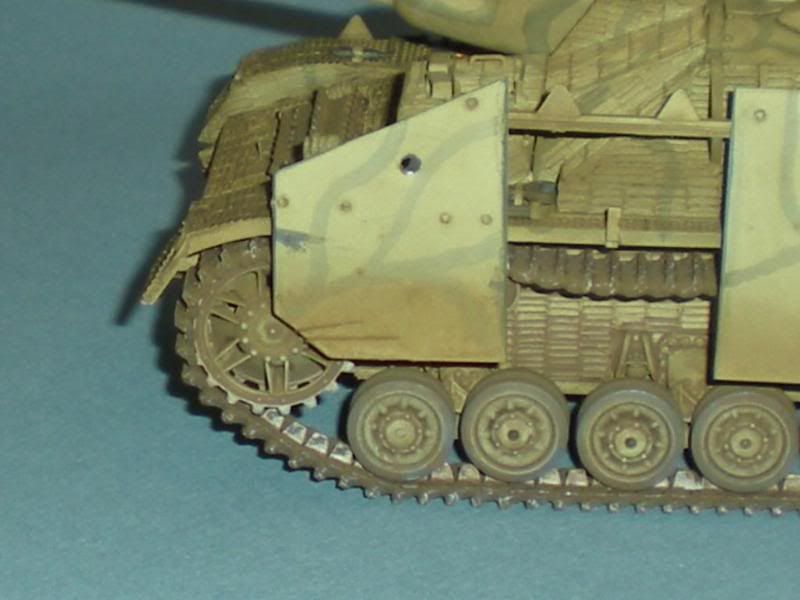
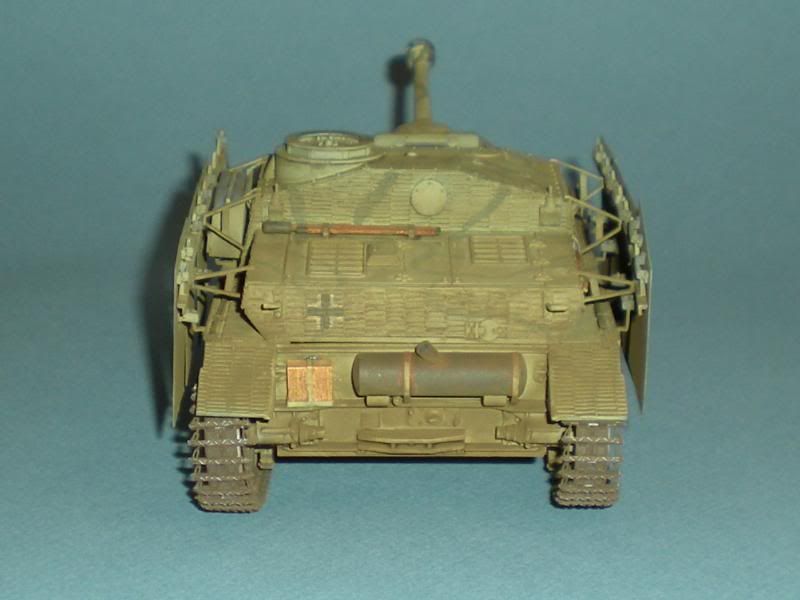
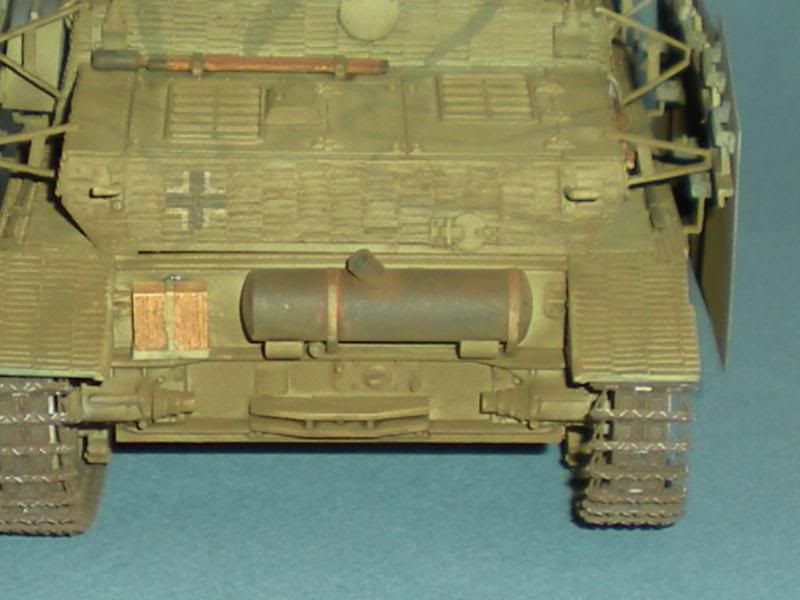
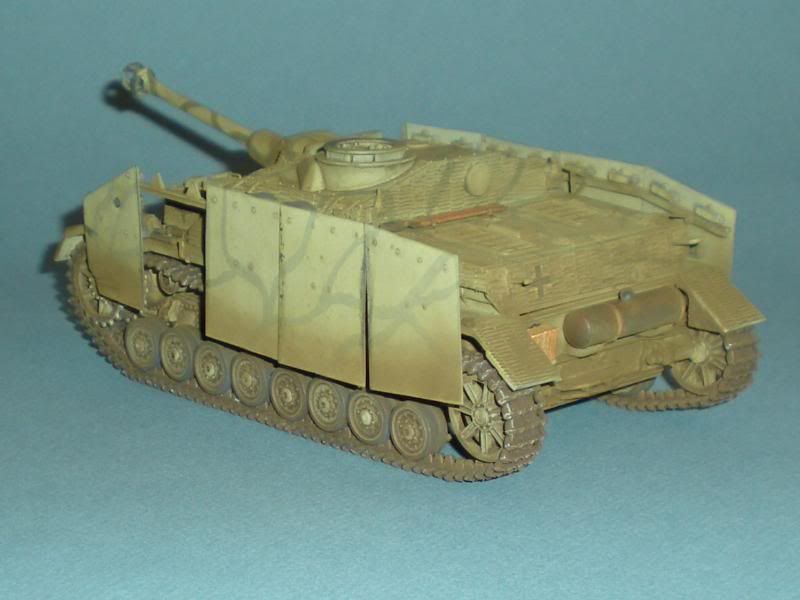
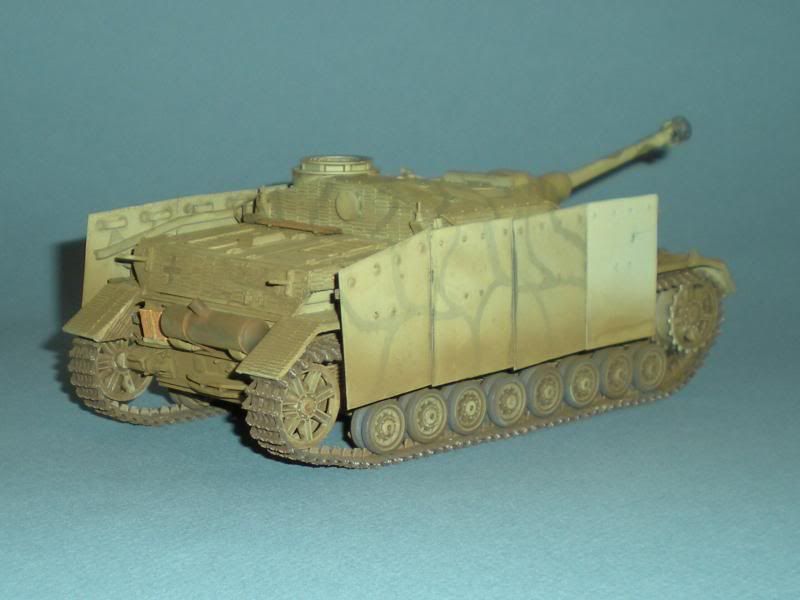
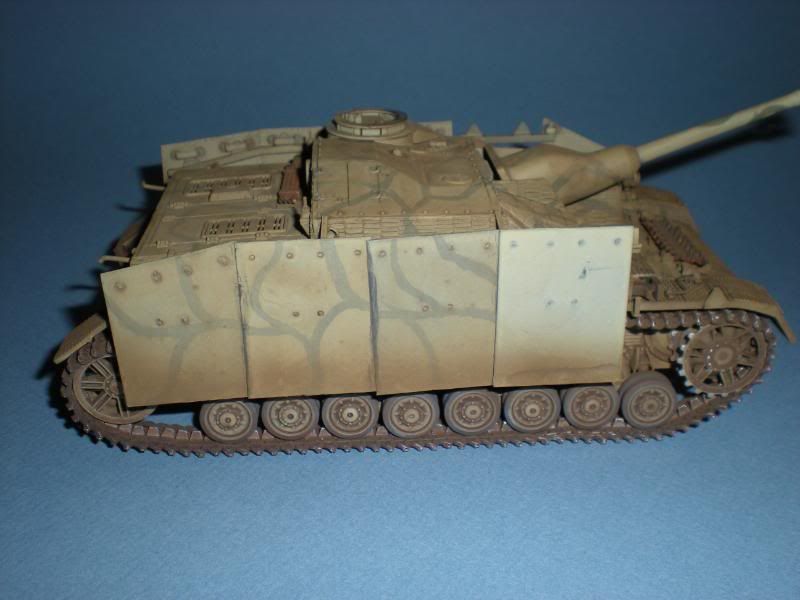
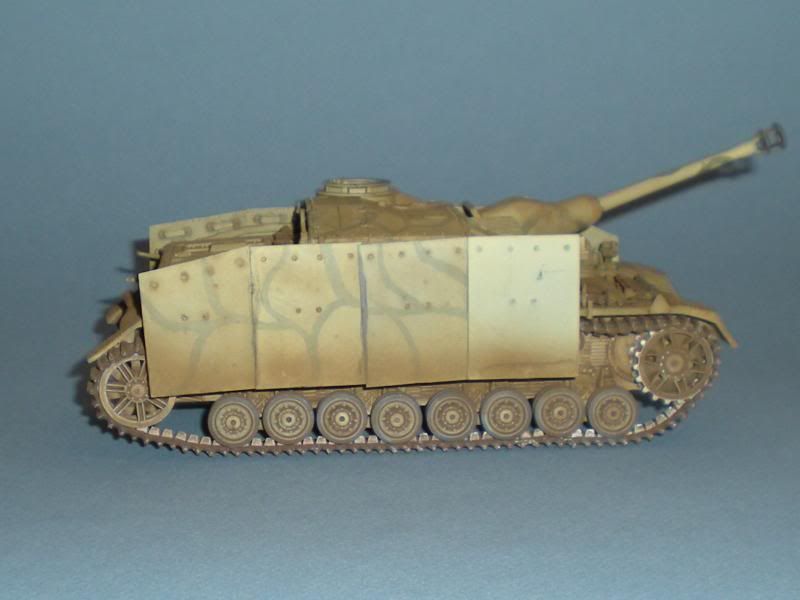
If it's the dusting on the armor plate I think you nailed it. looks like some build up on the bottom of the front plate on the RHS, like a puddle dried, not sure what the intent was there or if the light is hitting it wrong.

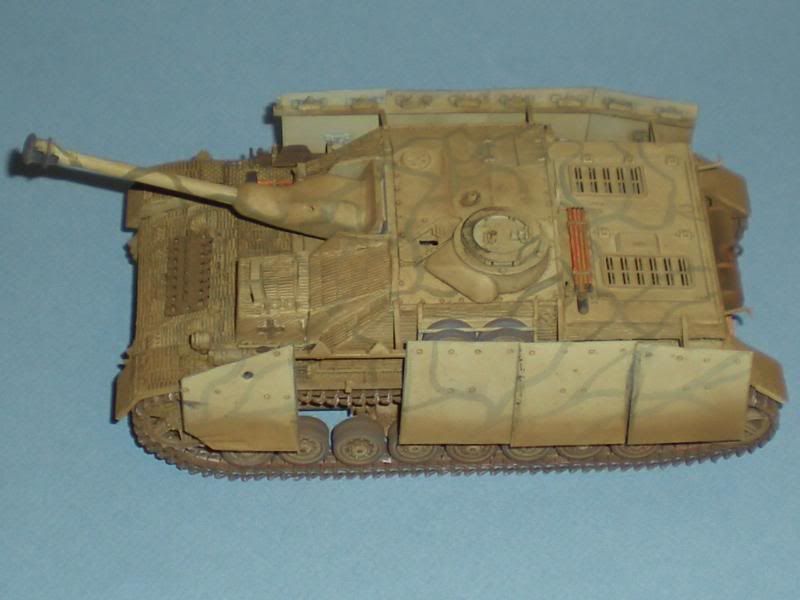
If I had to be critical, I think you need some more color in the weathering, can't tell ya what color but it looks a little monotoned.

But what can I say, I've been working on a firewall for 2 months now, you've actually gotten a complete model done!

Thumbs up big guy!
 
Hi Tom,

Looking good! But looking at the pictures of the post before the pigment spray, I think it looked better. I'm not an expert but I think the "dust" is now sitting not only on the highlights of the StuG but also in the "seams" (sorry for my bad English, I hope you understand what I mean)

Mayby you could try a wash to get the depth back? So there will be more contrast, and the details show up more? But if you do be sure the pigment spray is dry enough!!

Keep up the good work my friend!! (y)

Erik
 
Hi Tom

The base and figures can wait until next time! Don't these builds always take longer than we expect?

Great job on the Stug your tracks and wheels look especially nice.

Ant
 
good job Tom.
I agree with Dioramix, if this Stug planned to be on the dio outside the town, after long march, this is perfect weathering.
PS My English is not so good as I want it to be.
 
Thanks for the comments and advice all, I am going to try to remove some of the pigments and see what it looks like. My thinking with the dusty look was a video of a StuG hauling a$$ down a dusty road and it was blanketed by a huge cloud of dust, and Moon Puppy the spraying of the pigments through the airbrush worked OK but the problem for me was the pigments would start to settle to the bottom of the cup immediately so I had to keep swirling the brush and cup around and spray at the same time.....not a good idea for trying to get a light even coat :blink . Watch for the next installment!!

Thanks again guys, Tom

Edit: MP my airbrushes are siphon feed so my thinking is this might work better with a gravity feed airbrush but I don't know, maybe someone here knows more and can help out. And, the pigments were mixed into 91% Isopropyl Alcohol
 
I"m thinking Erik hit on it best, I think the monotoned dusting has erased any depth that was there. Maybe if you can get back in the shadows and get those popping out again you'll be OK, not that there's anything wrong with what you have. Just needs to be more defined I think.
 
To try and remove some of the pigments I took a wide, soft flat brush and moistened it with water then wiped it on some paper toweling so it was damp (think dry brushing paint) then brushed across the pigment to pick some of it up, it worked to some degree just not as much as I thought it would. Hopefully the difference will show in the pic's. I mentioned earlier to Moon Puppy that I kind of lost perspective on this when I started the weathering :) Anyway here it is:

001-2.jpg

002-1.jpg

003-1.jpg

004-1.jpg

I left the back of the tank as is.
005-1.jpg

006-1.jpg

007-1.jpg

008-1.jpg

009-1.jpg

010-2.jpg

011-2.jpg


I'm calling this one DONE!
Ya know what I'm going to say......all comments and criticism welcome!
Thanks, Tom
 
I like it Tom, and considering the dusty dessert element it is coming from I think you're right on the money.
 
Hey Tom,

Great job!!! I think this is a winner, it looks dusty but still got some depth, making the details and zimmerit stand out a bit. The dusty look comes out better I think.

The extra dust on the bottom sides of the schurzen looks great!!

Cheers Erik
 
Thank you Gents! Terry I've got the Corsair to work on, an FJ-4 Fury to finish for a GB at Swanny's and I'm thinking of starting a DML T34/76 Mod. 1941 but don't know yet if I will :)


Tom
 
Back
Top