
-
Modelers Alliance has updated the forum software on our website. We have migrated all post, content and user accounts but we could not migrate the passwords.
This requires that you manually reset your password.
Please click here, http://modelersalliance.org/forums/login to go to logon page and use the "Forgot your Password" option.
- Home
- Forums
- Current Campaigns
- Past Campaigns
- Finished Campaigns
- 2010 Campaigns
- Xtremely Mighty Middleweights
You are using an out of date browser. It may not display this or other websites correctly.
You should upgrade or use an alternative browser.
You should upgrade or use an alternative browser.
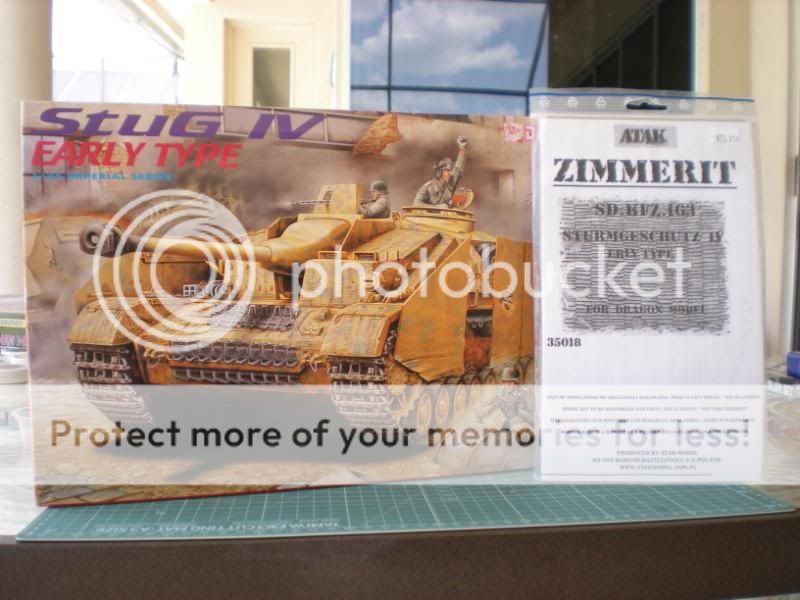
Tom's StuG IV
- Thread starter tomwes
- Start date

mike walsh
Master at Arms
Hi Tom,
The stug is coming along nicely .
Looks like a good build so far.
Look forward to seeing more .
Cheers
Michael")
The stug is coming along nicely .
Looks like a good build so far.
Look forward to seeing more .
Cheers
Michael
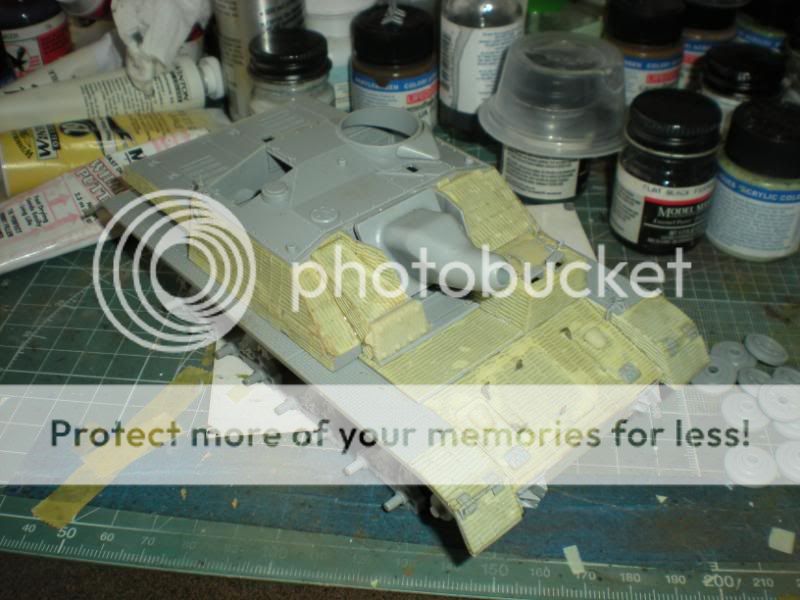
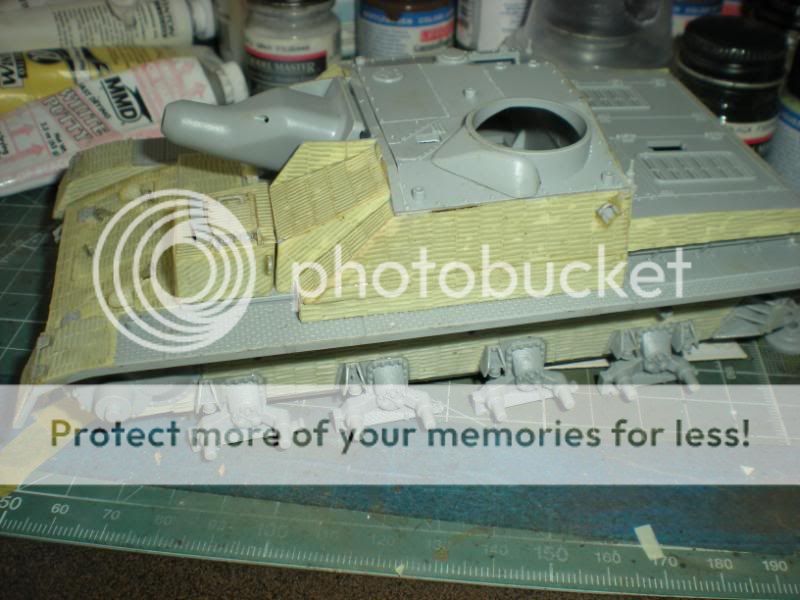


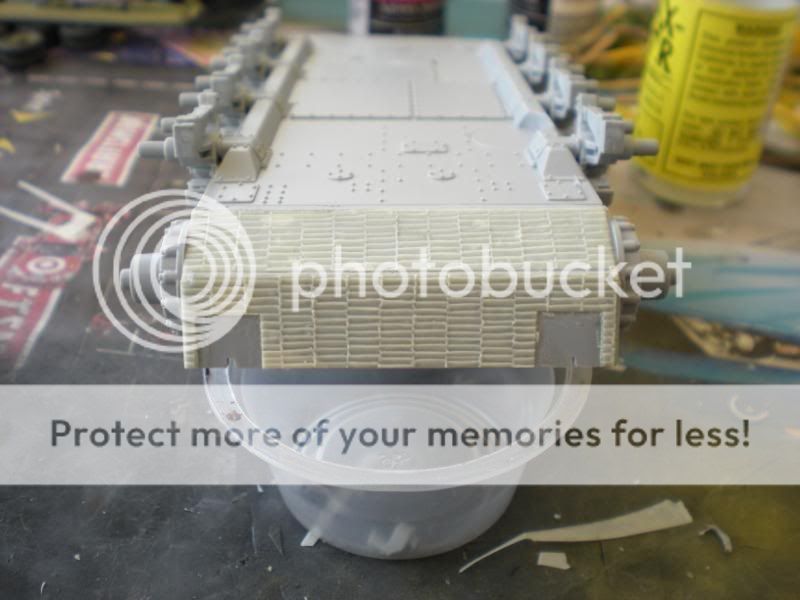
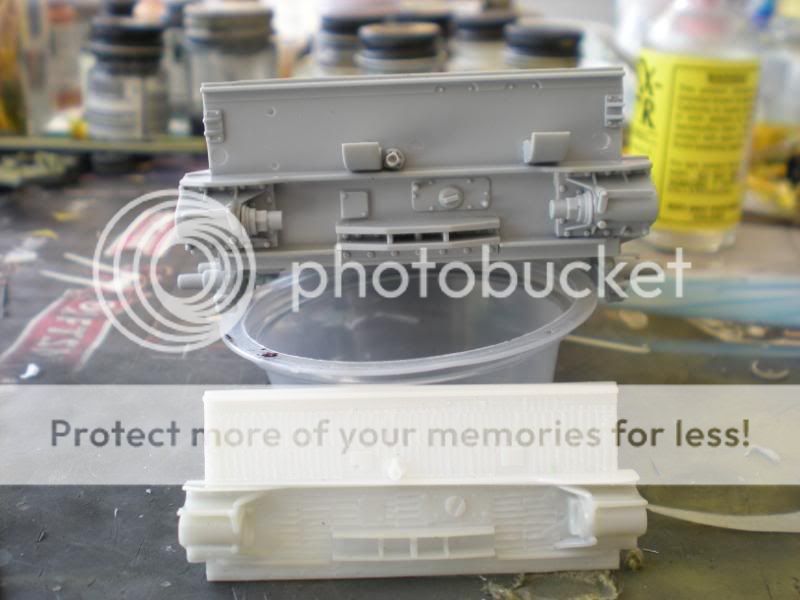
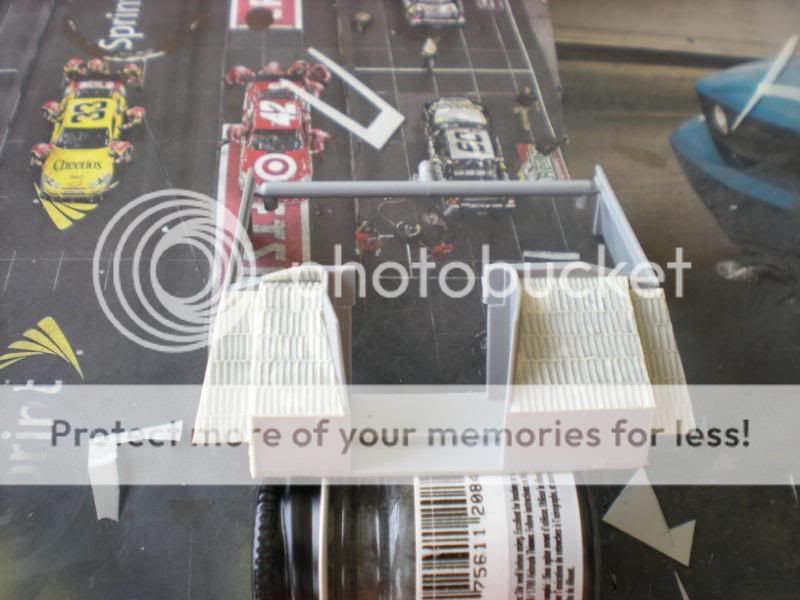
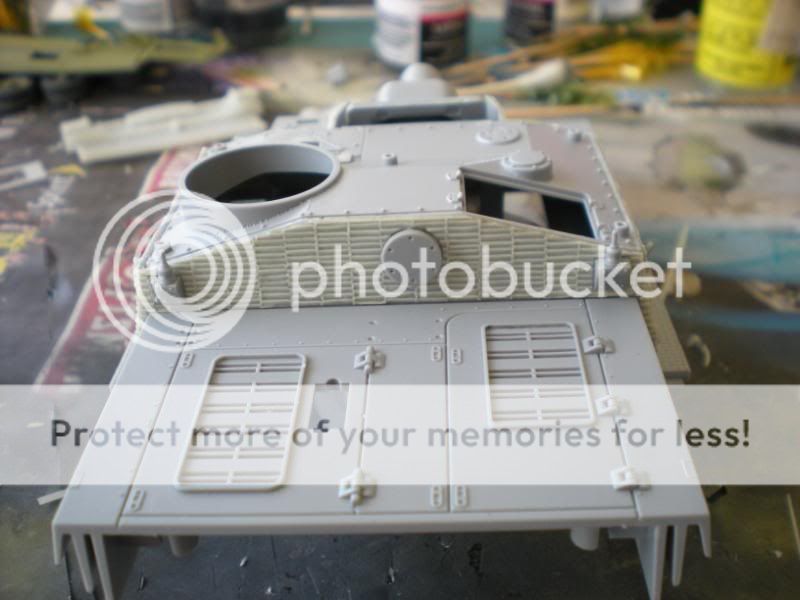
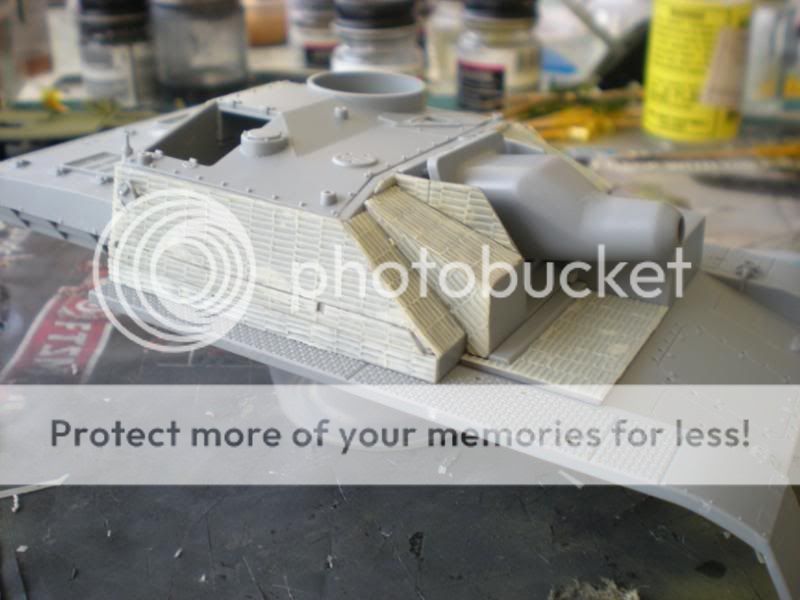
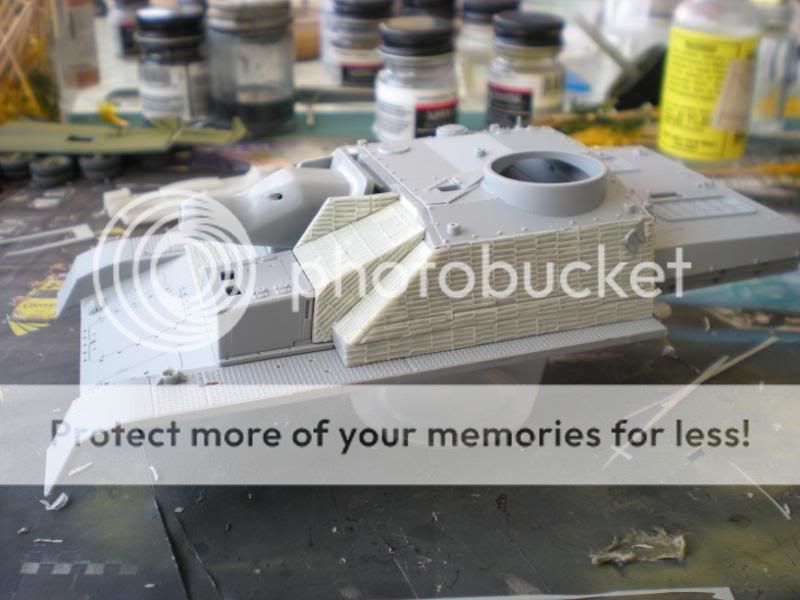
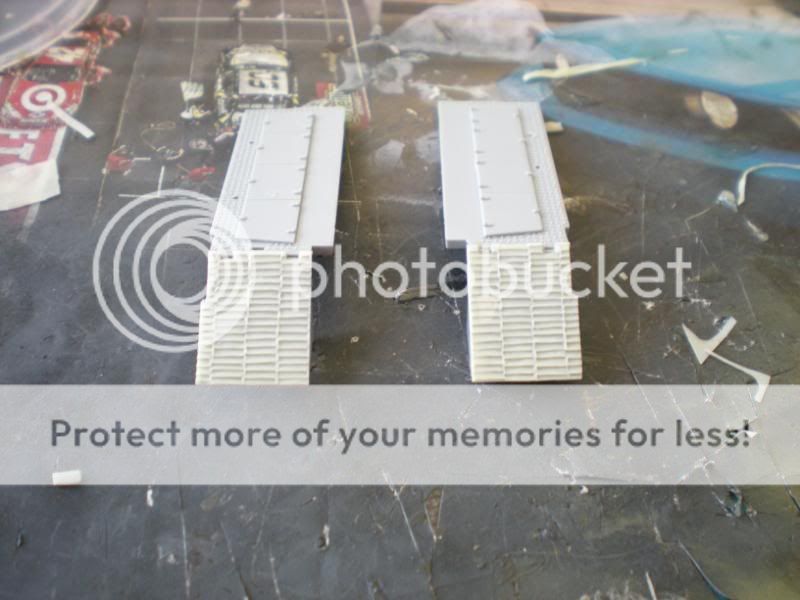
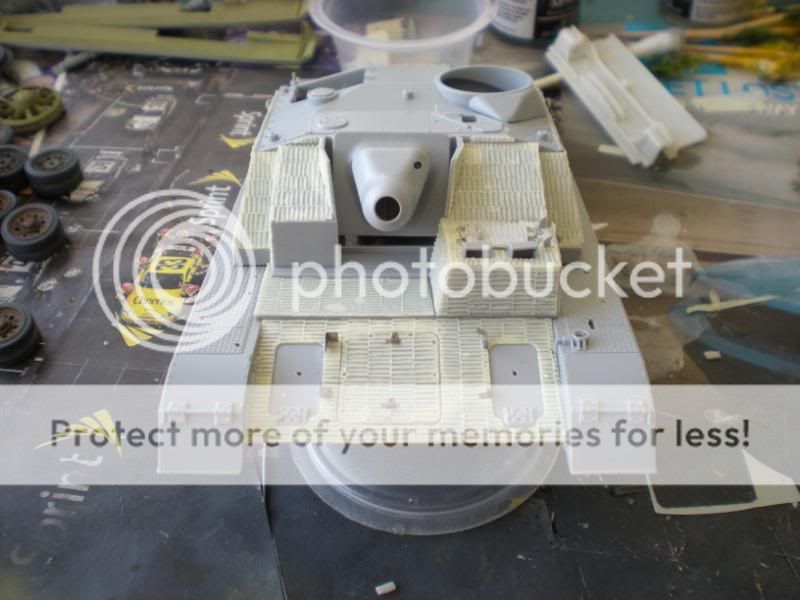
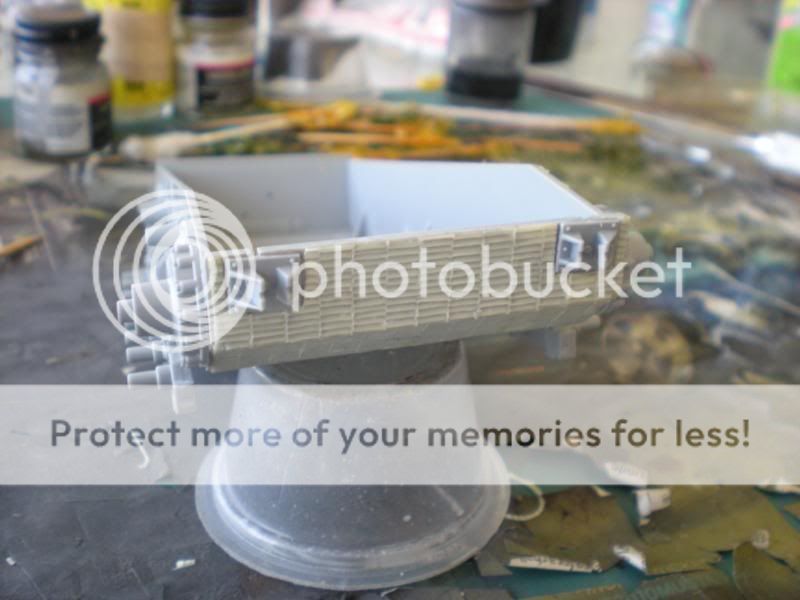
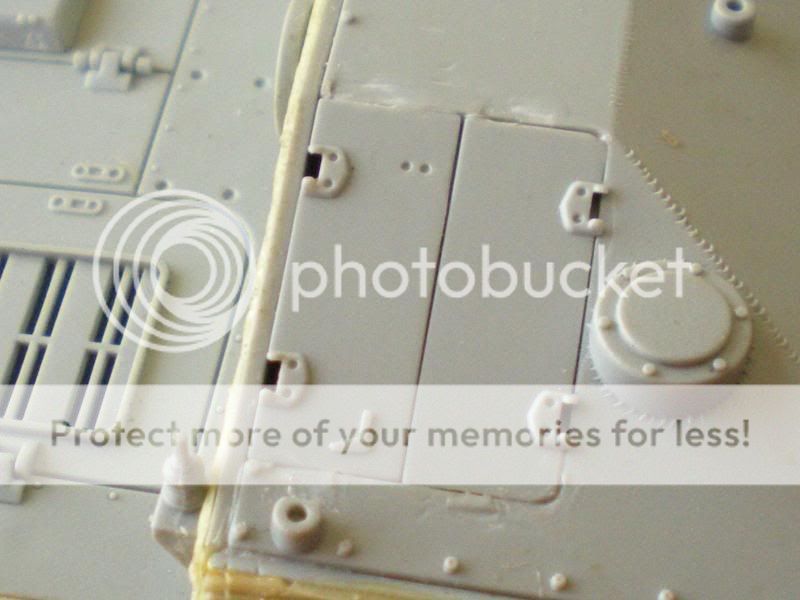
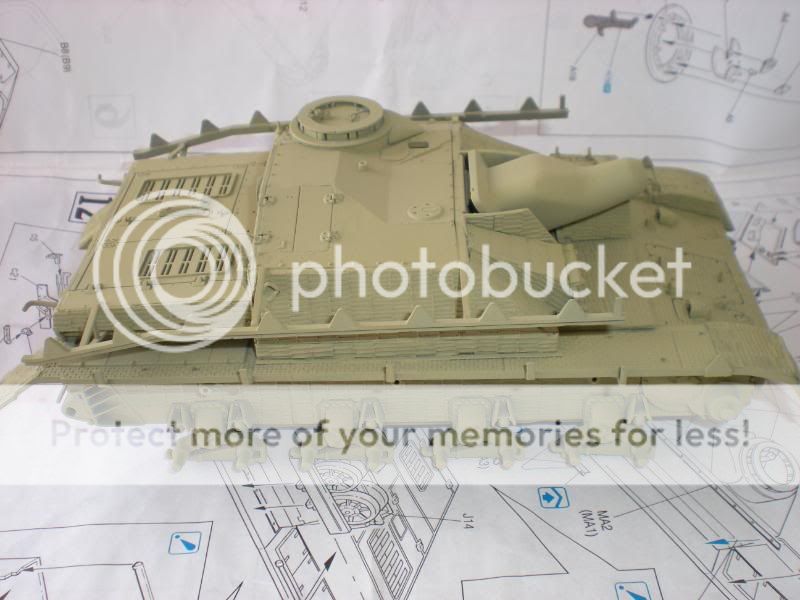
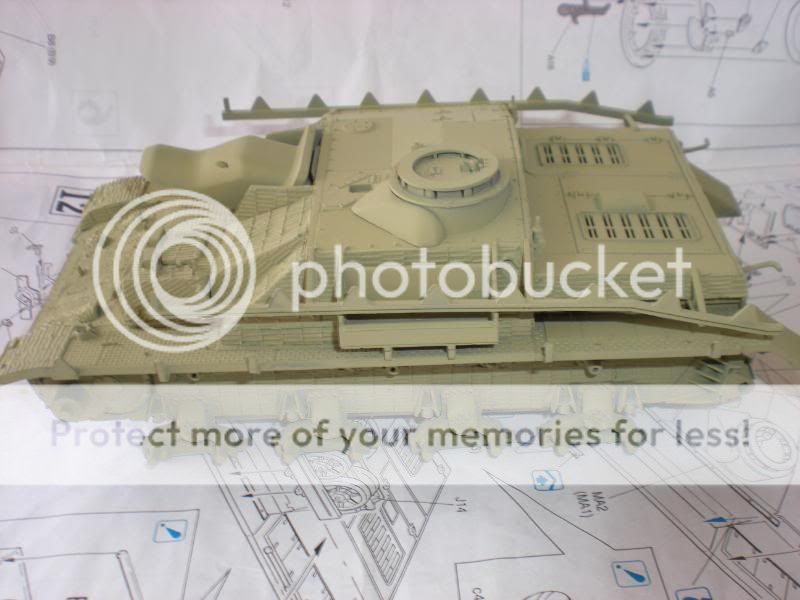
Thanks guys, yesterday I realized I made a fairly big mistake on this, when I was assembling this I used the wrong part for the top of this so some modifications need to be made. First the hinges for the doors are in the wrong spot

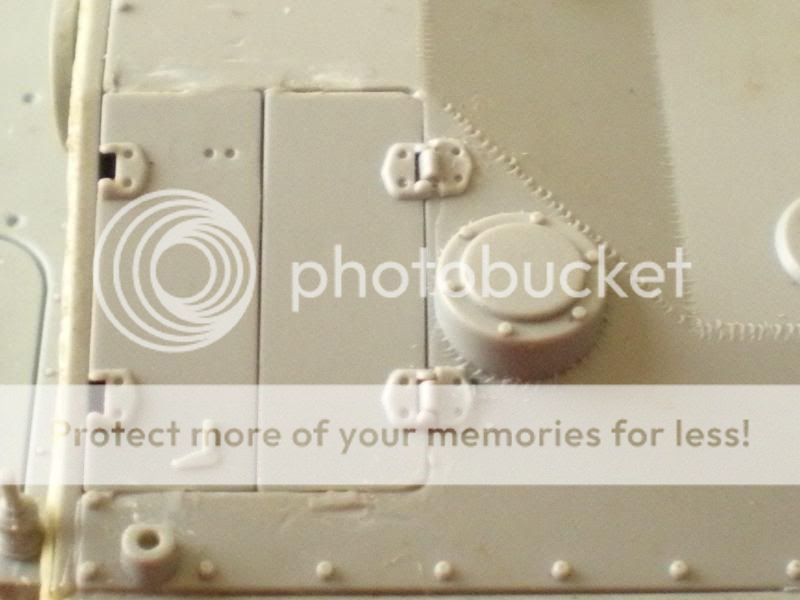
I shaved the hinges off and repositioned them to match up with the doors
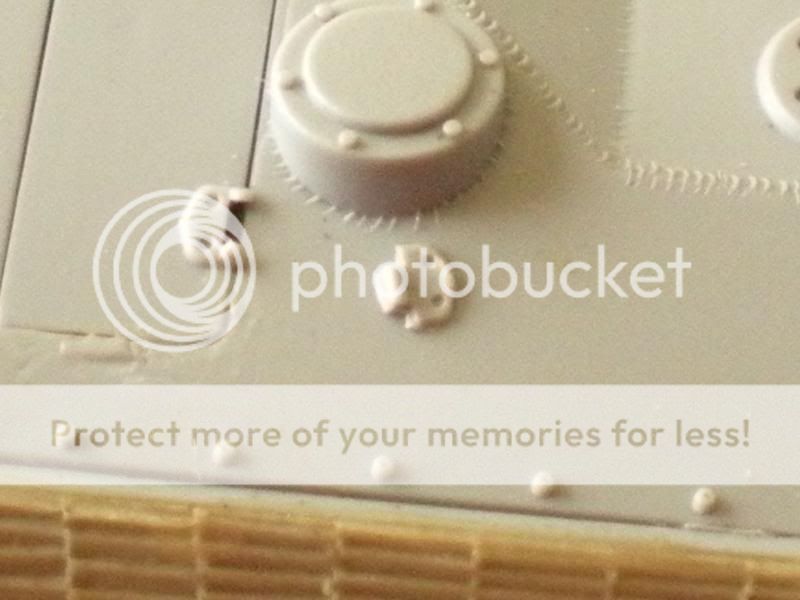
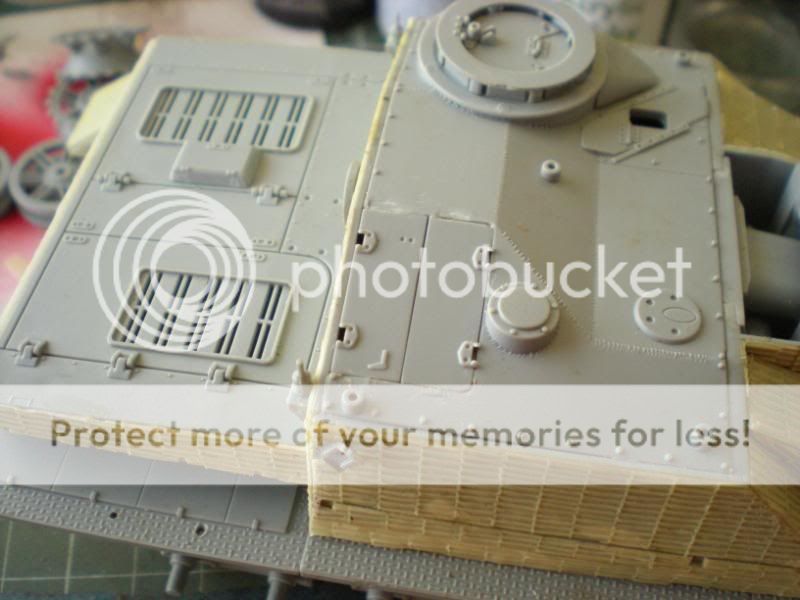
Next to do is remove the five cylinderical posts from the corners and center of top plate and remove the air vent? from in front of the doors.
Tom
I shaved the hinges off and repositioned them to match up with the doors
Next to do is remove the five cylinderical posts from the corners and center of top plate and remove the air vent? from in front of the doors.
Tom
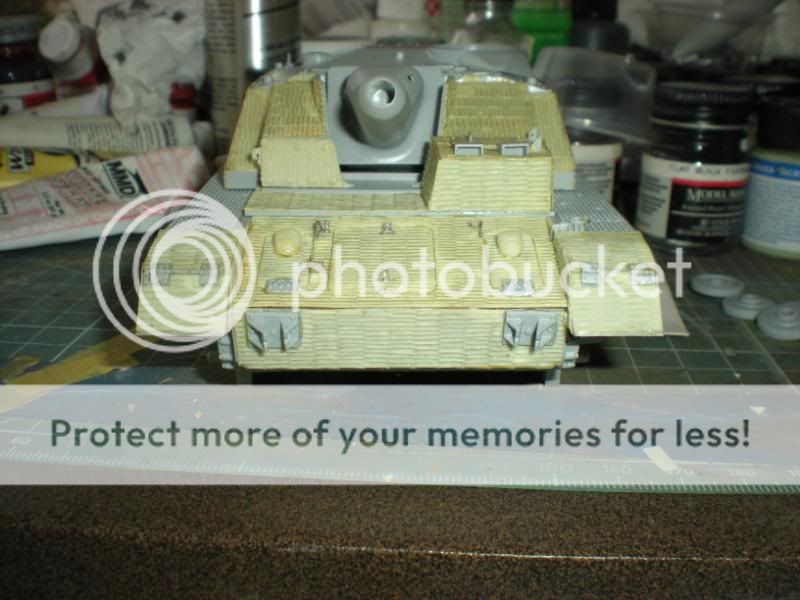
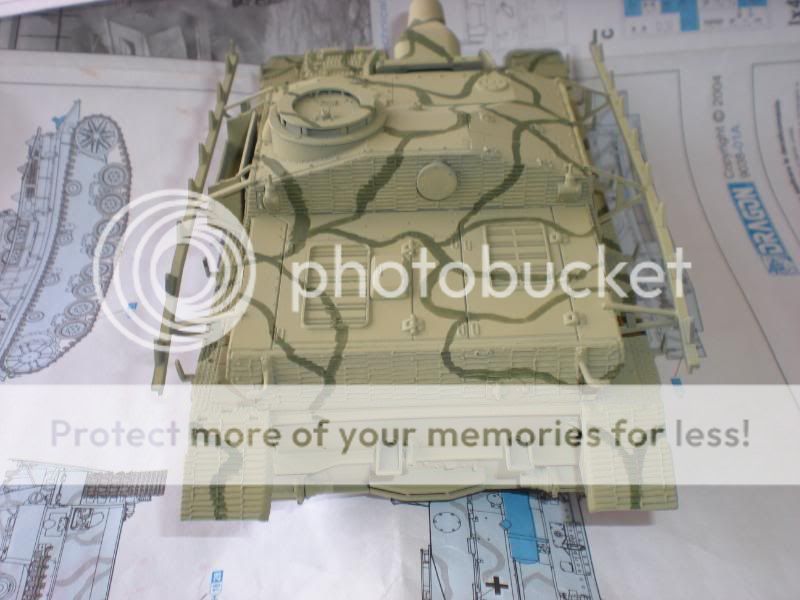
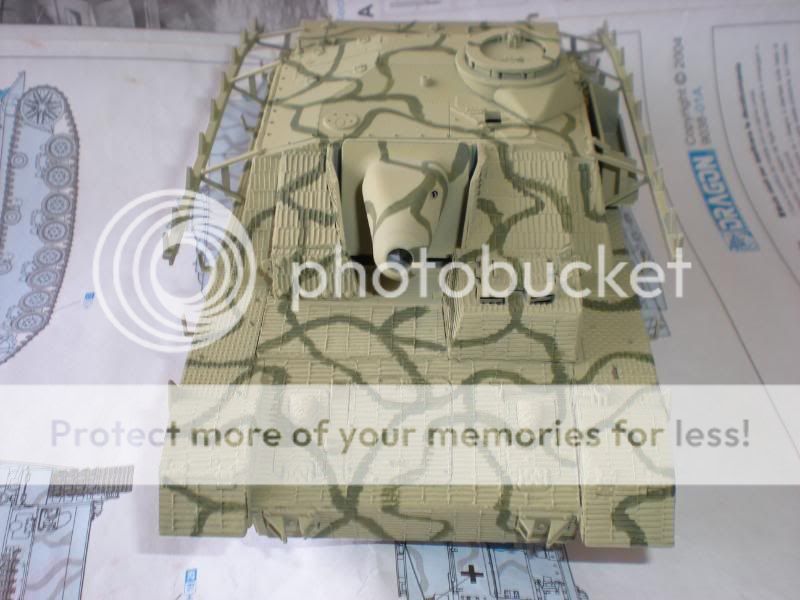
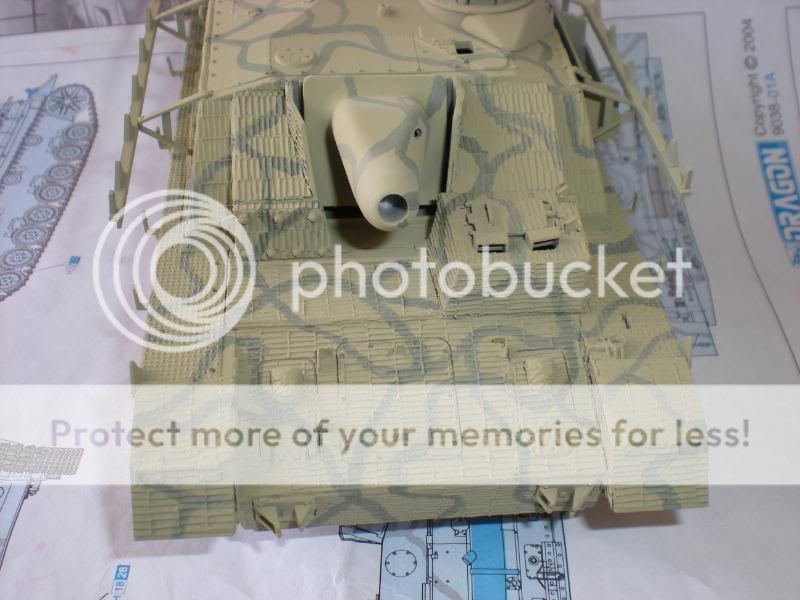
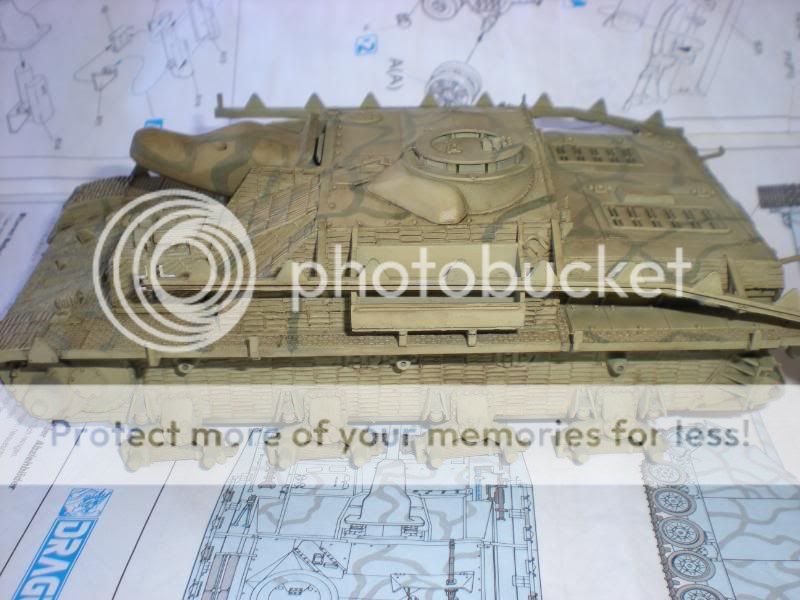
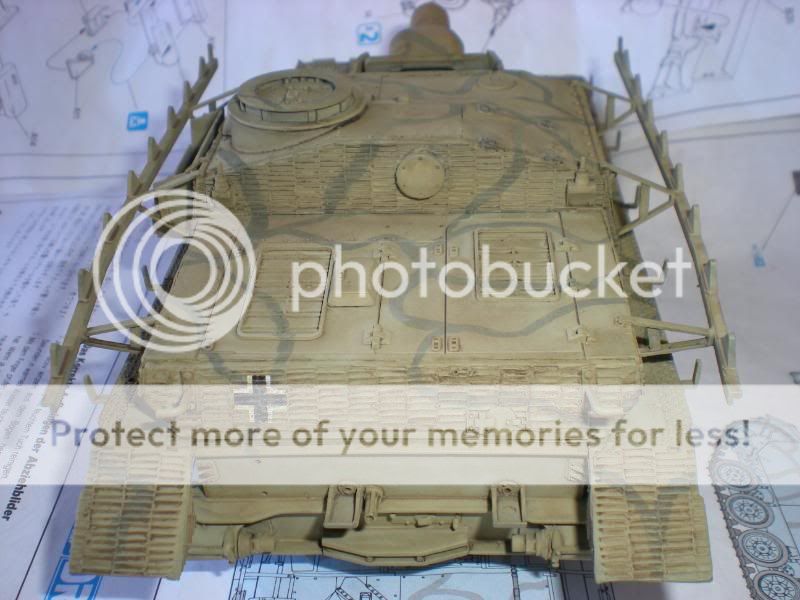
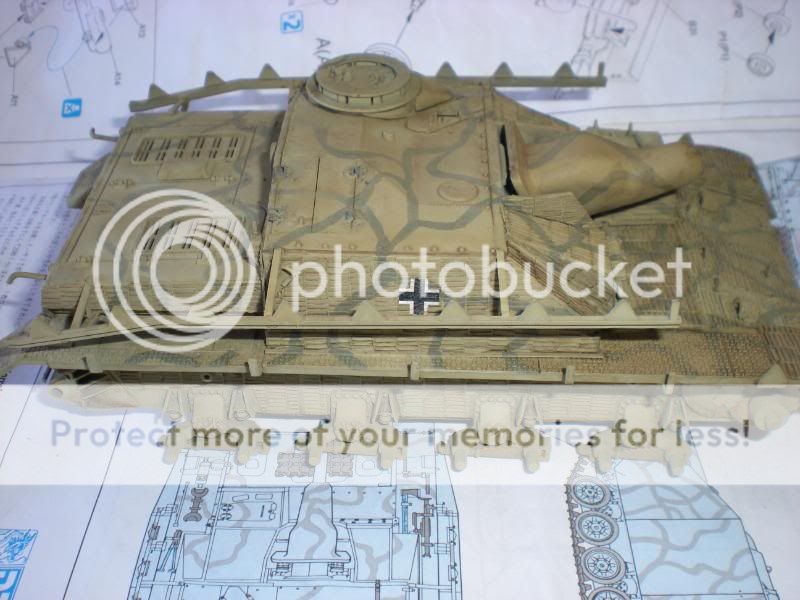
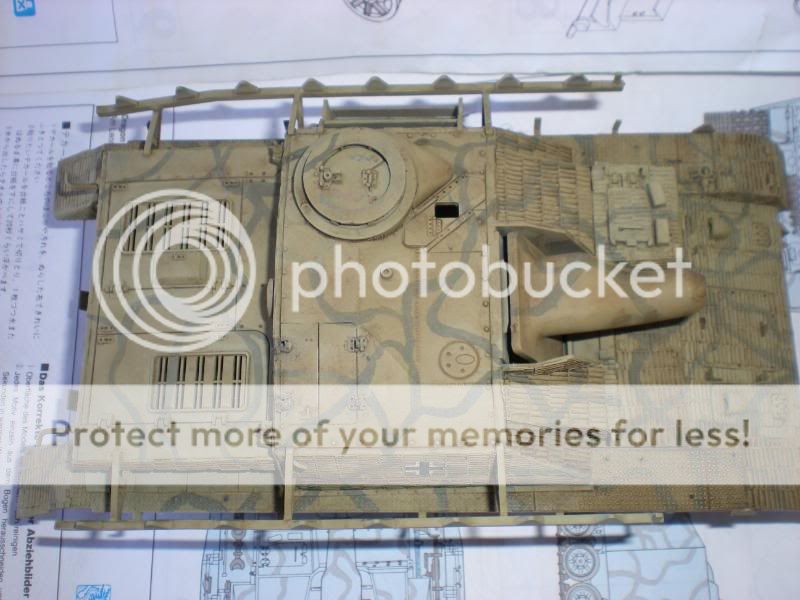
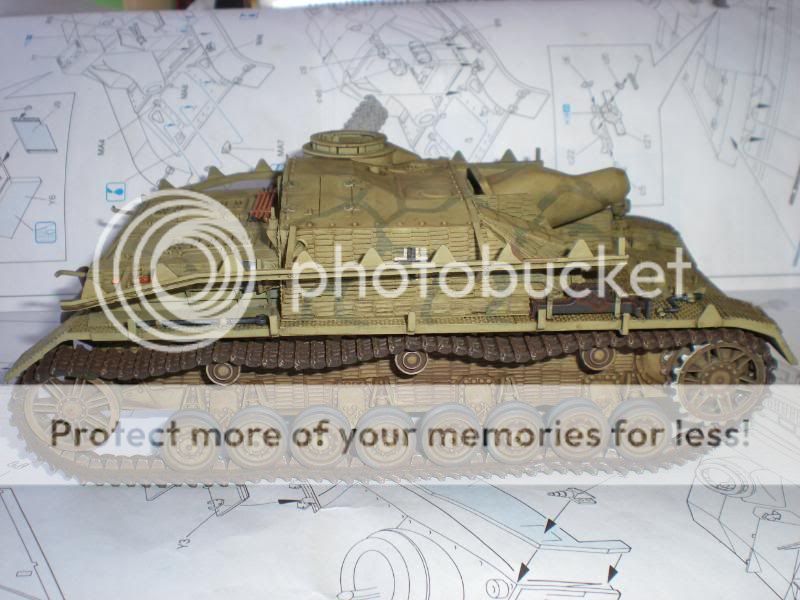
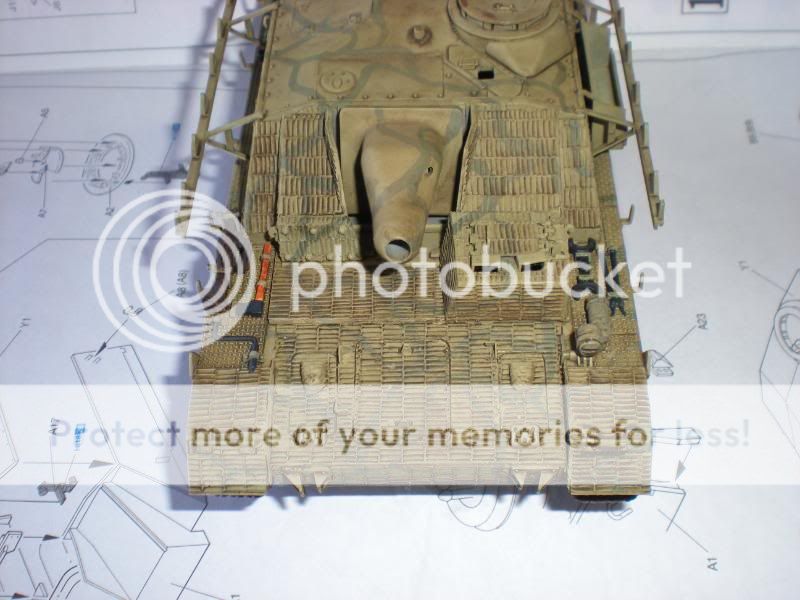
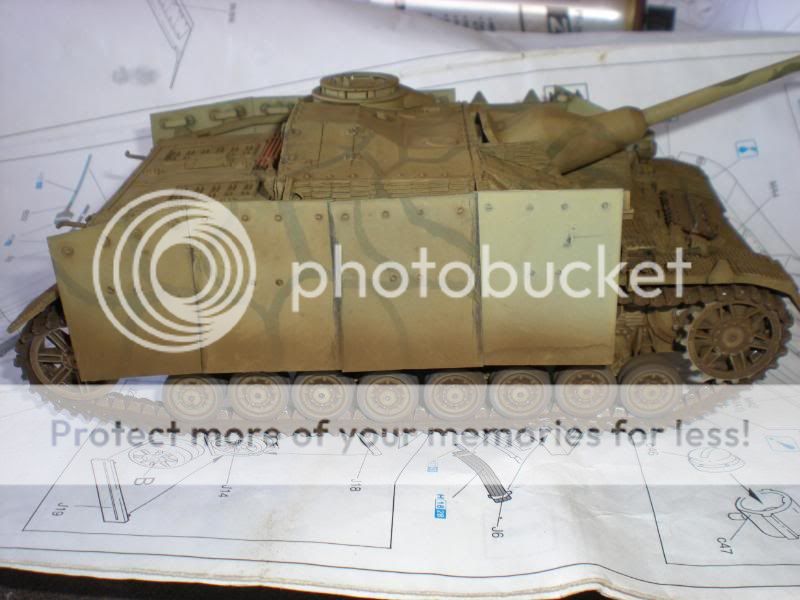
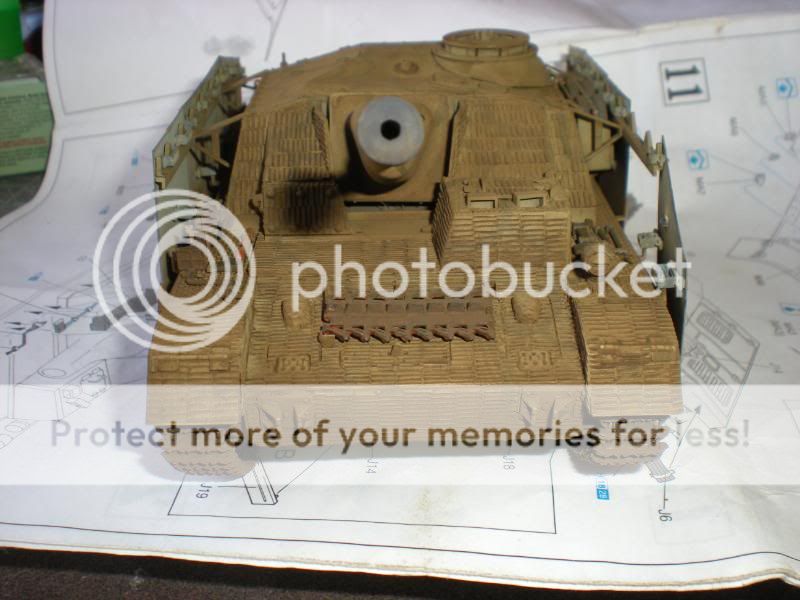
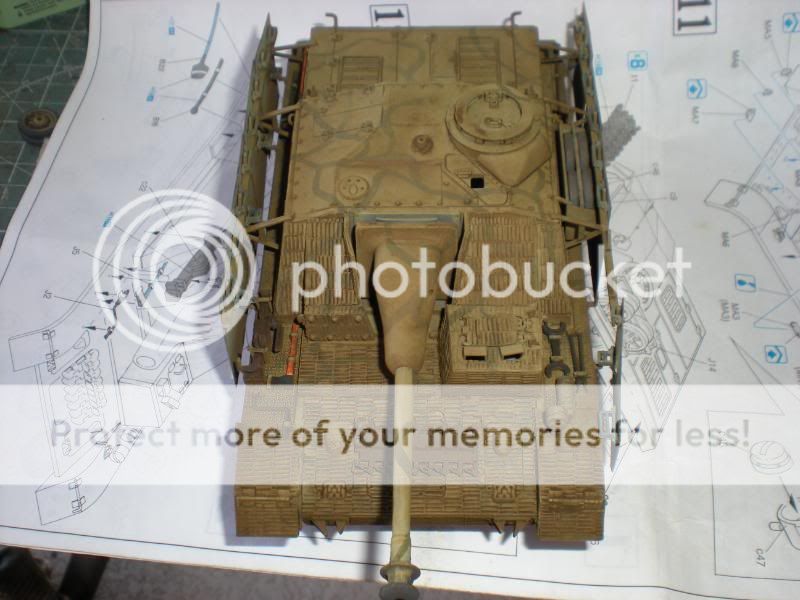
Finally got to the painting stage, first time using Lifecolor paints....a little bit of a learning curve for me since I have used Model Master enamels since I got back in the hobby 5 years ago. I did use enamel for my primer coat though.

This StuG should have a striped camo pattern and after practicing with the Lifecolor on my test mule I could not get a decent thin spray pattern so I brush-painted the stripes. Hopefully they look like a rushed field applied camo pattern.

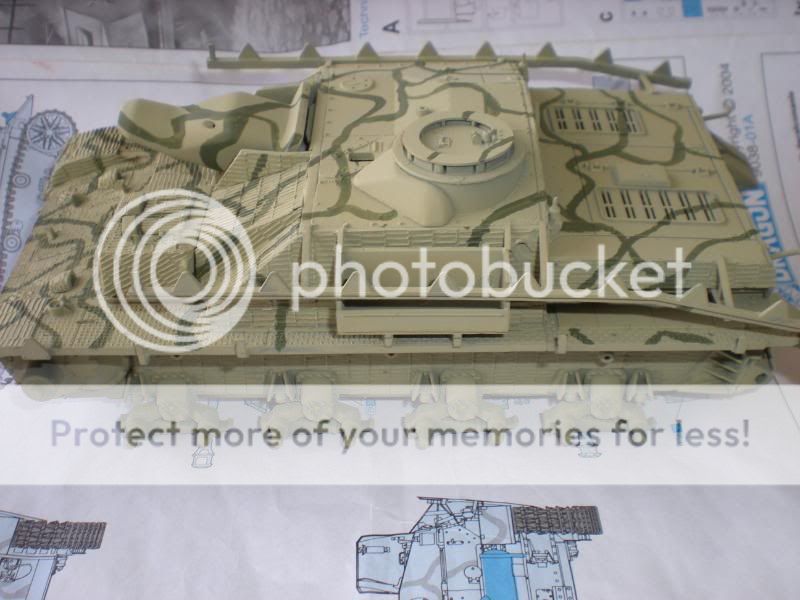
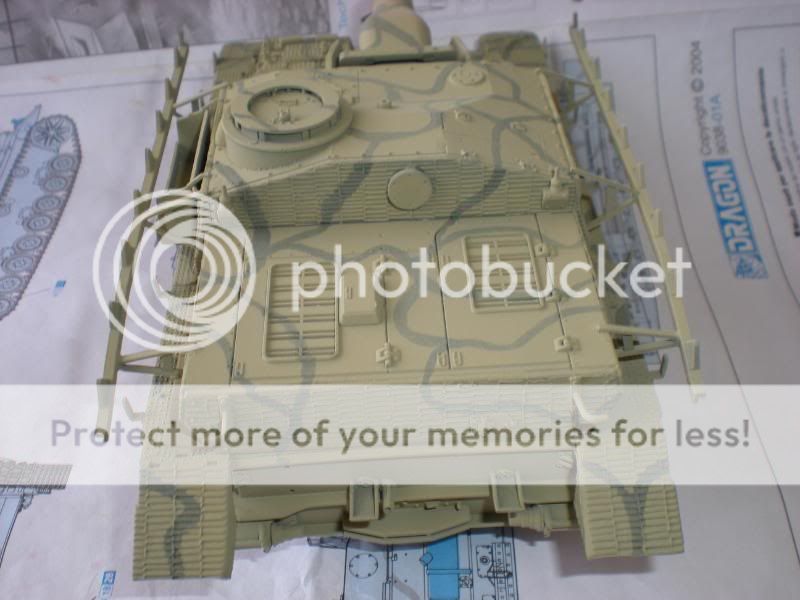
And with the side armor
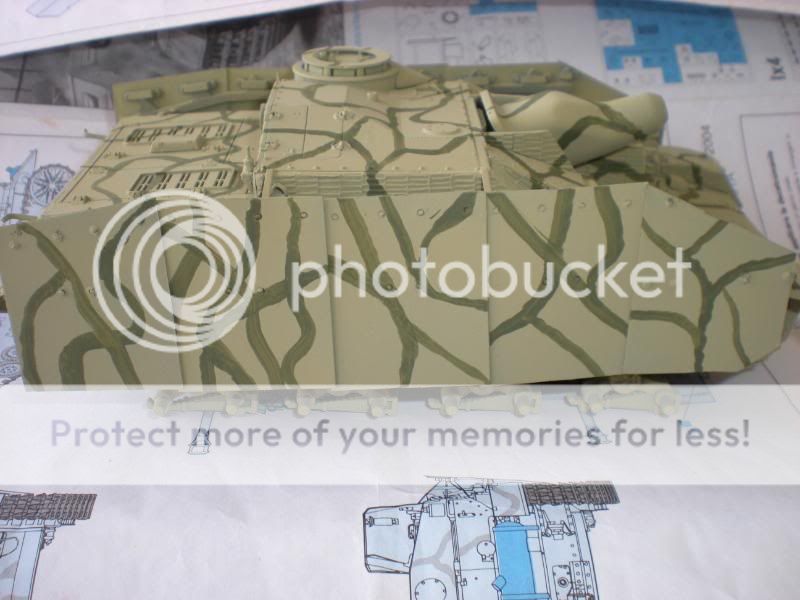
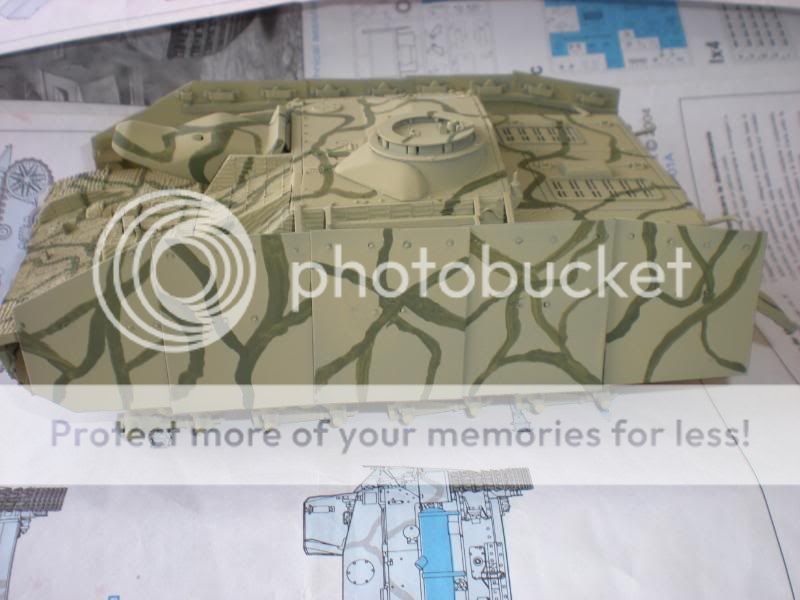
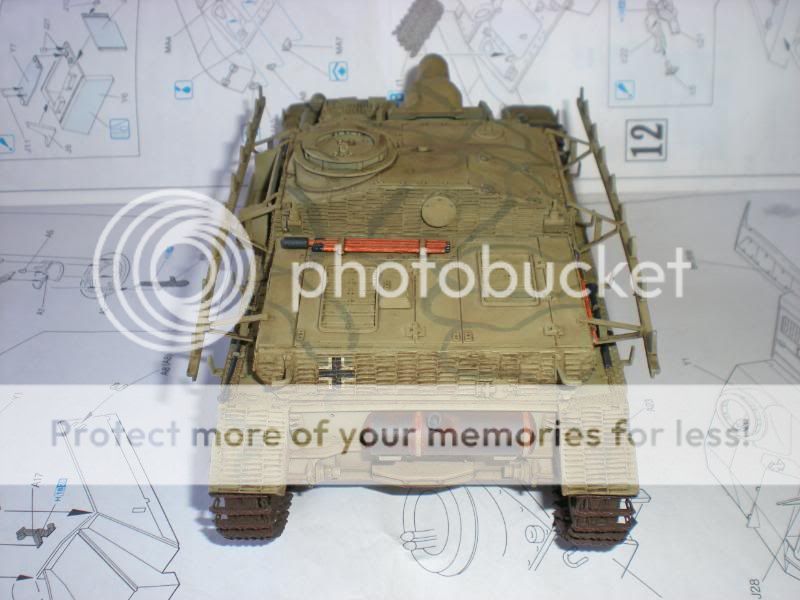
And with a light overspray of the base color
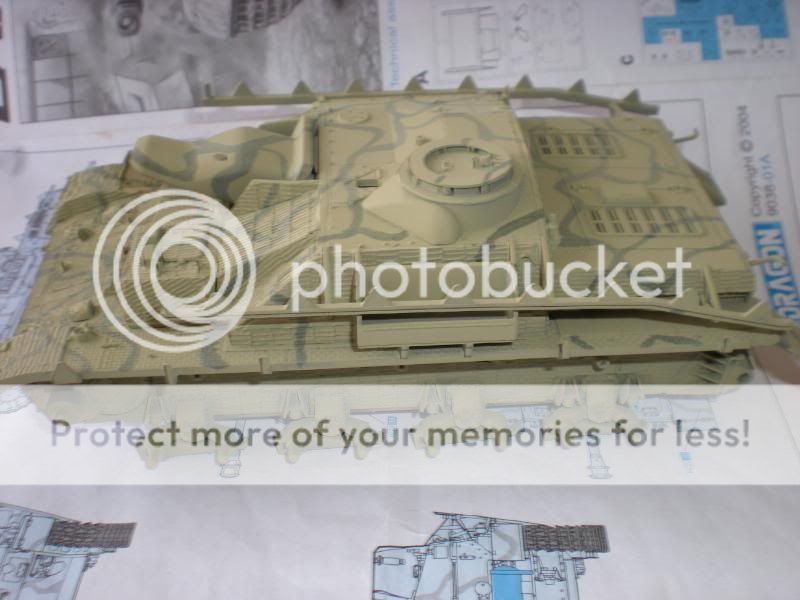
And to be honest, I don't know if I like this or not....I'll look at it for a couple of days and see if it grows on me :ermm:
All comments welcome.
Thanks, Tom
This StuG should have a striped camo pattern and after practicing with the Lifecolor on my test mule I could not get a decent thin spray pattern so I brush-painted the stripes. Hopefully they look like a rushed field applied camo pattern.
And with the side armor
And with a light overspray of the base color
And to be honest, I don't know if I like this or not....I'll look at it for a couple of days and see if it grows on me :ermm:
All comments welcome.
Thanks, Tom
mike walsh
Master at Arms
Hi Tom,
That was a nice effort on the brush painting .
Well done .
Michael
That was a nice effort on the brush painting .
Well done .
Michael
Hey Tom,
Nice clean build, the paint looks nice. On your way to a keeper!!
Bob
Nice clean build, the paint looks nice. On your way to a keeper!!
Bob
shawngehling
Active member
Tom,
Sweet, Sweet, Sweet.
I've got a bunch of Zis-3 Cannons all hunkered down and waiting
for you to finish... :evil: :evil: :evil:
I'll even take the gun shields off if you want to make them
harder to see. :huh:hmy:
Great build so far, love the zim and paint job. Looks great.
Shawn
Sweet, Sweet, Sweet.
I've got a bunch of Zis-3 Cannons all hunkered down and waiting
for you to finish... :evil: :evil: :evil:
I'll even take the gun shields off if you want to make them
harder to see. :huh:
hmy: Great build so far, love the zim and paint job. Looks great.
Shawn
Ruben Lopez
Active member
This really looks amazing Tom!
You have taken your time with it but the result are worth waiting.
Ruben
You have taken your time with it but the result are worth waiting.
Ruben
TREEMENDUS
Member
Hi Tom
This is looking sweeeet mate. I look forward to watching your progress.
Ant
This is looking sweeeet mate. I look forward to watching your progress.
Ant
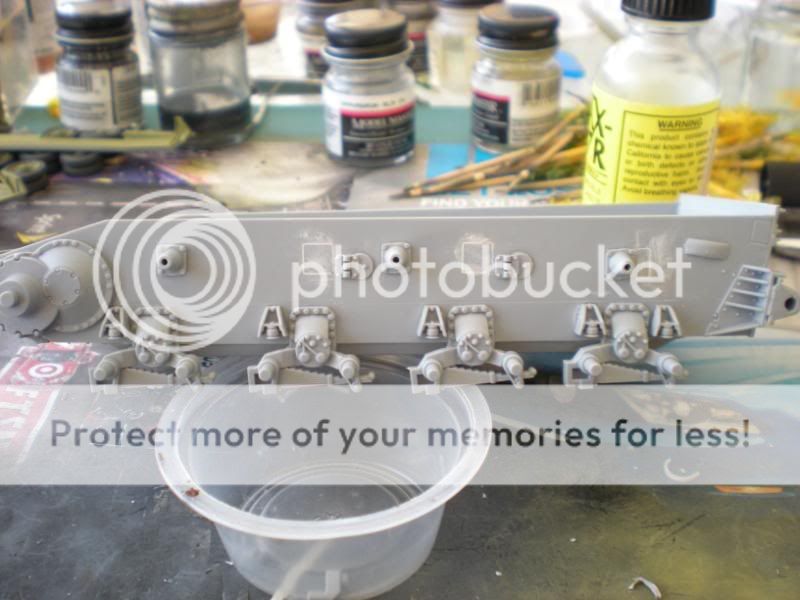
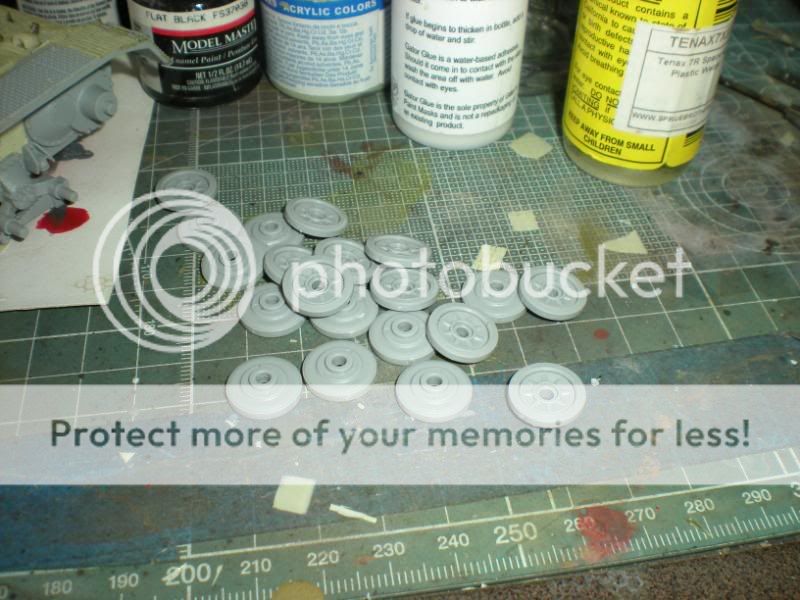
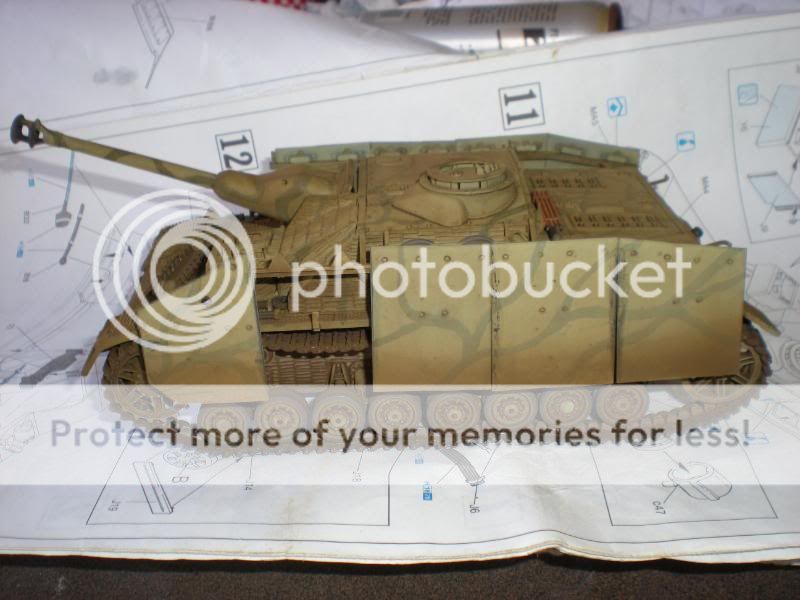
Thanks everyone, continuing on I have mounted the road gear and tracks.....I thought that I had the correct length for the tracks but after I put them on it looks like I have too much sag to them.
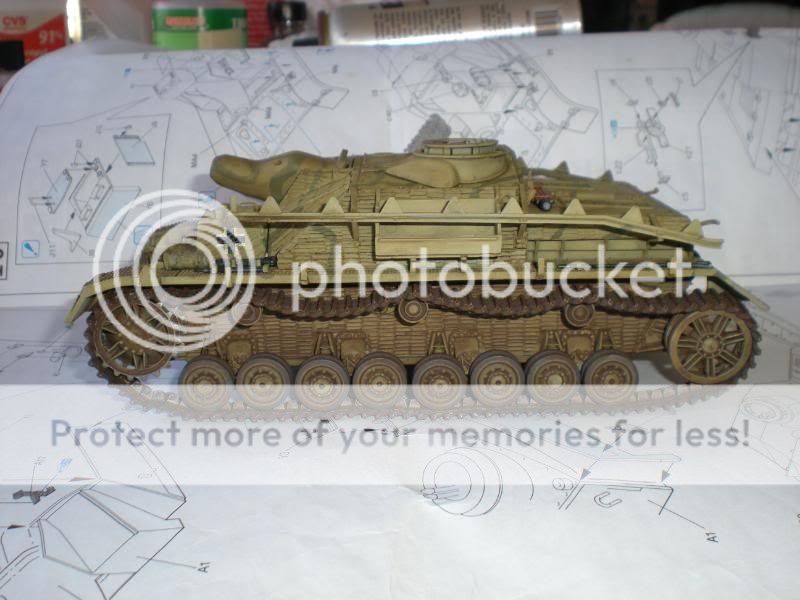
I will somehow figure out how to take a link or two out of the tracks.
I managed to remove a link from each run of tracks and put them back on, one link wasn't quite enough and two was too many! :pinch:
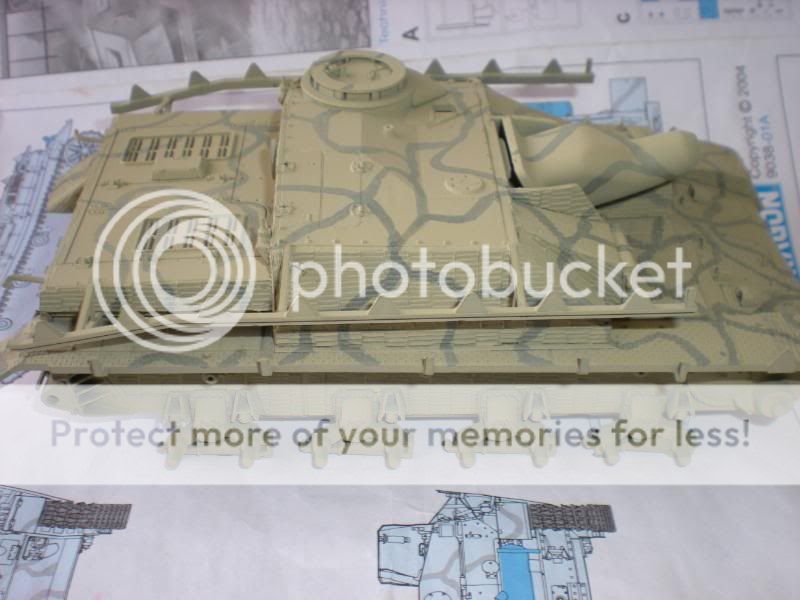
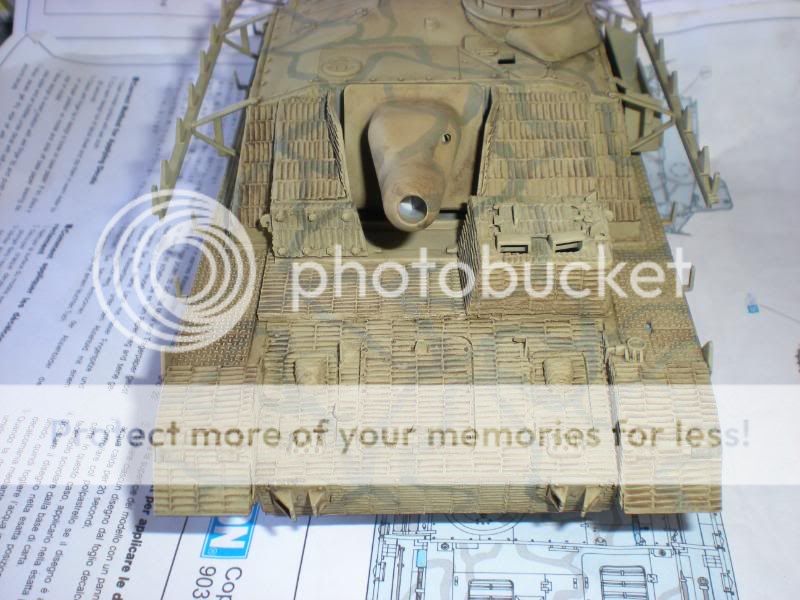
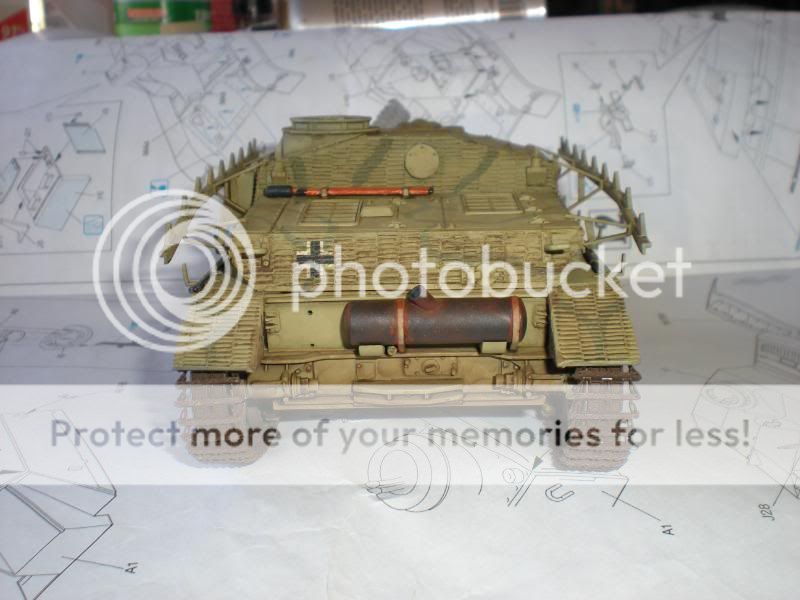
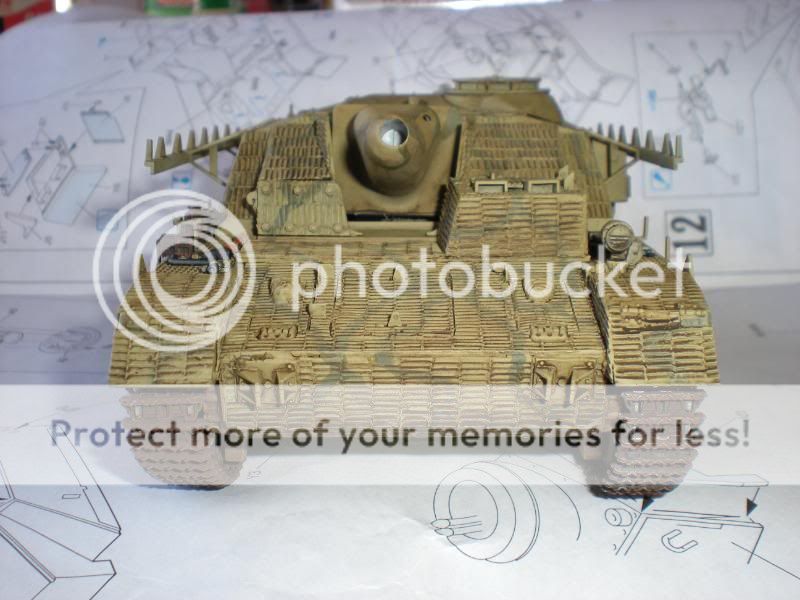
I wasn't happy how the camo on the shurtzen looked so I stripped the paint off and started over, I think they look better now. All tools have been mounted and I added weathering with CMK Stardust pigments mixed with 91% isopropyl alcohol and sprayed through my airbrush. This is the part of armor building that I have no idea what I'm doing, I think I over did it.
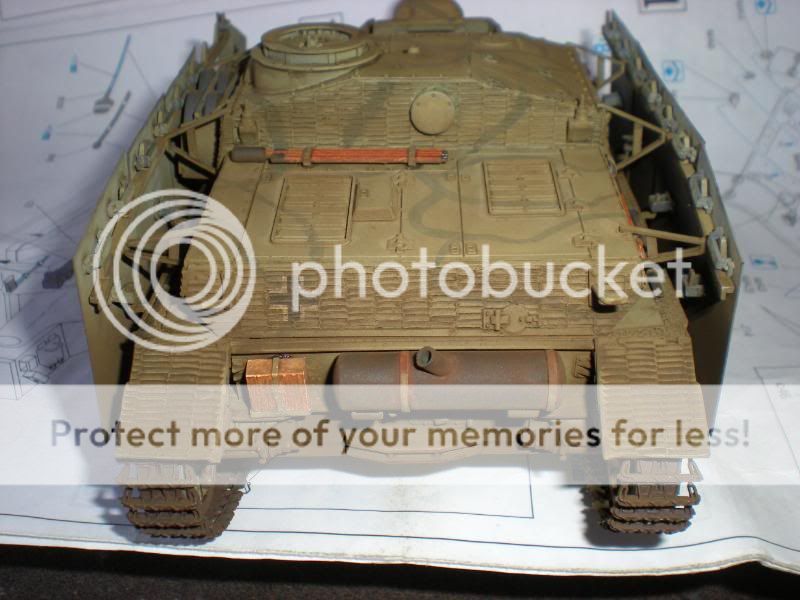
That's what I have so far, please all comments and criticism welcome
Tom
I will somehow figure out how to take a link or two out of the tracks.
I managed to remove a link from each run of tracks and put them back on, one link wasn't quite enough and two was too many! :pinch:
I wasn't happy how the camo on the shurtzen looked so I stripped the paint off and started over, I think they look better now. All tools have been mounted and I added weathering with CMK Stardust pigments mixed with 91% isopropyl alcohol and sprayed through my airbrush. This is the part of armor building that I have no idea what I'm doing, I think I over did it.
That's what I have so far, please all comments and criticism welcome
Tom