• Modelers Alliance has updated the forum software on our website. We have migrated all post, content and user accounts but we could not migrate the passwords.
    This requires that you manually reset your password.
    Please click here, http://modelersalliance.org/forums/login to go to logon page and use the "Forgot your Password" option.

Tamiya P-38F build

Heavens Eagle

Well-known member
I have been having build mojo depression the last few months. Since I had not felt like building any models, other things have been finished up. The vac table and a few other little projects have been successfully finished (YAY!)

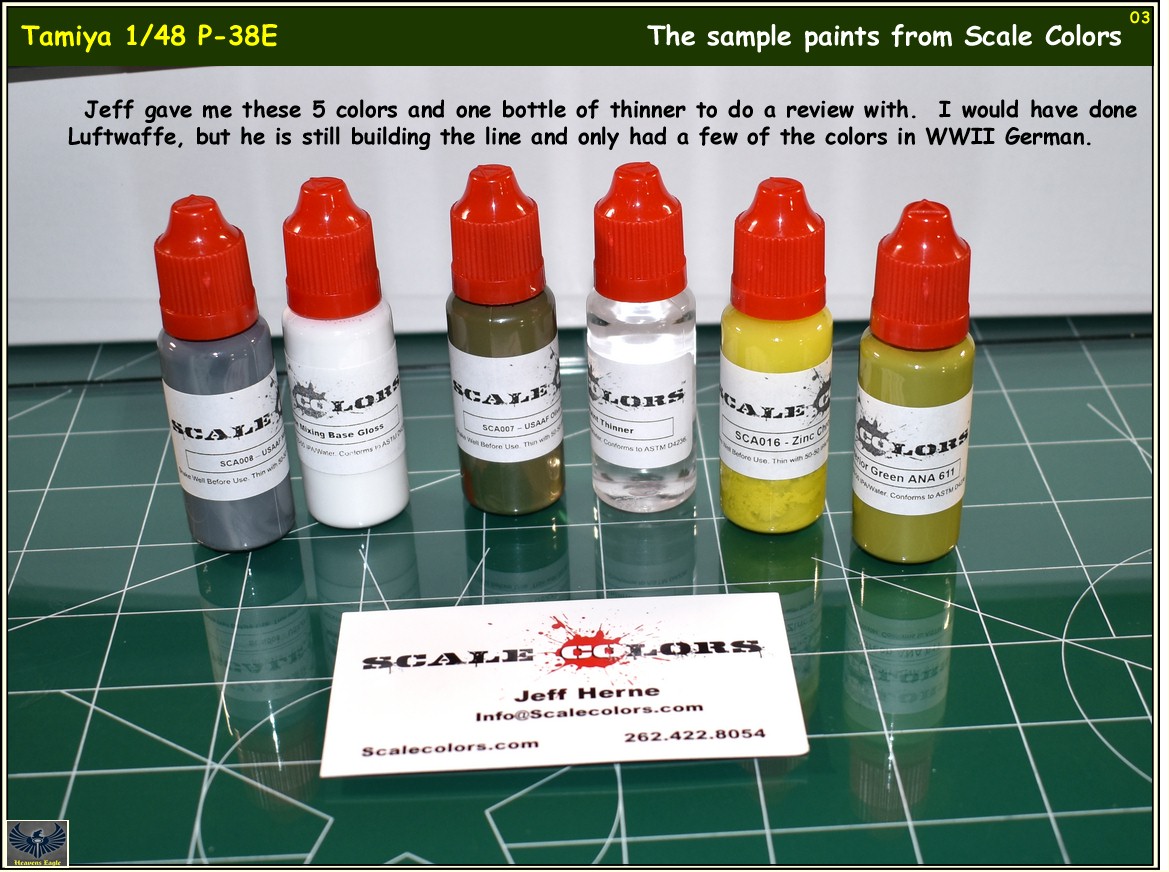
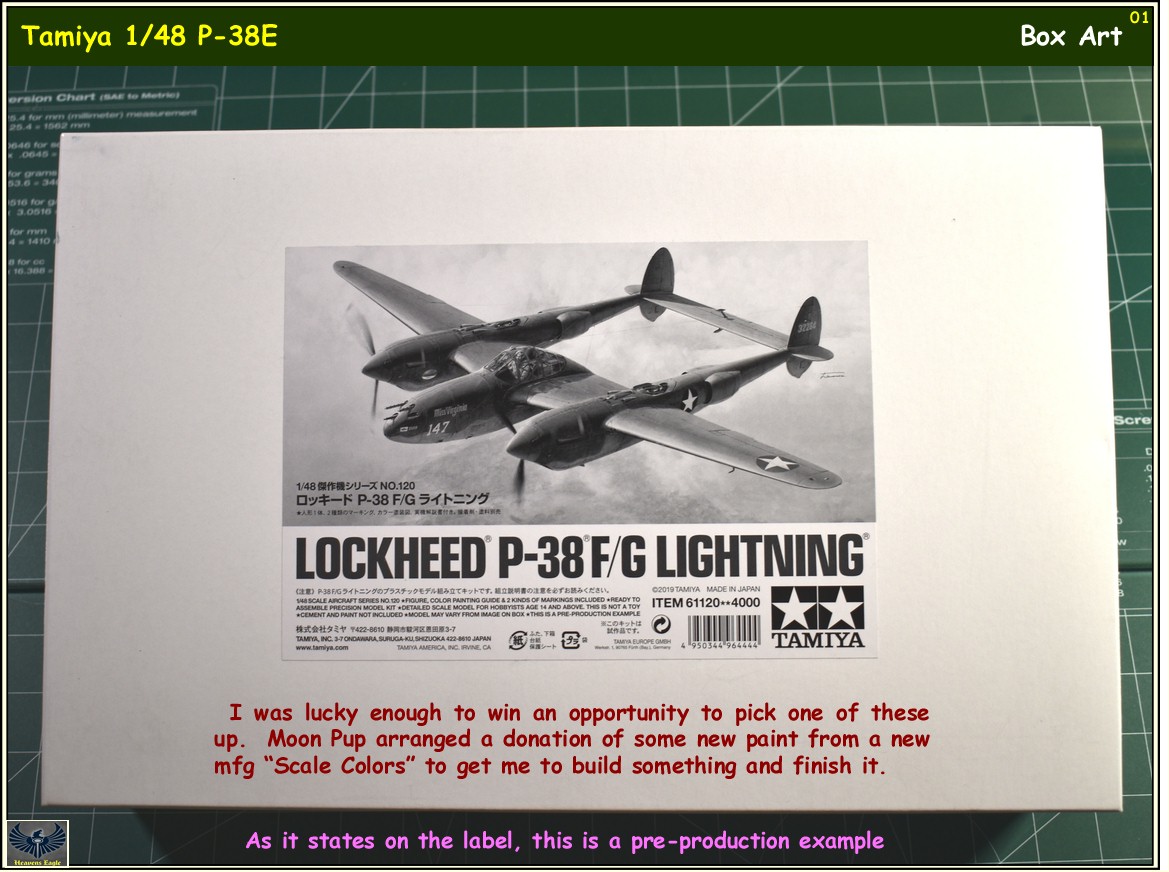
So when I attended the Nationals and won an opportunity to buy the new Tamiya P-38E/F kit I went ahead and bought it. While at the Nationals Moon Puppy and I were walking through the dealer room and we stopped and visited with a new paint supplier "Scale Colors". He gave me 5 bottles of color and a bottle of thinner to use for a review.

Here is the first installment...
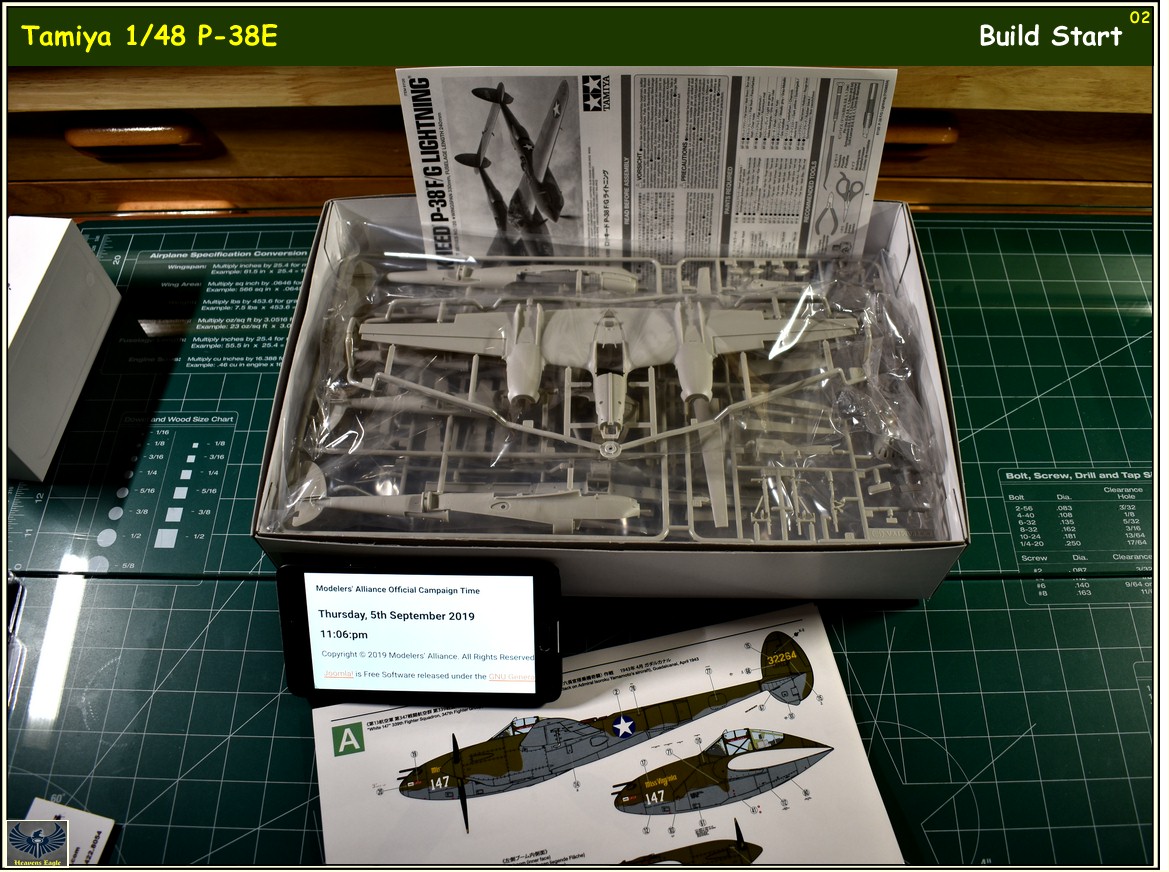
Tam-P-38E-001.jpg


Tam-P-38E-002.jpg


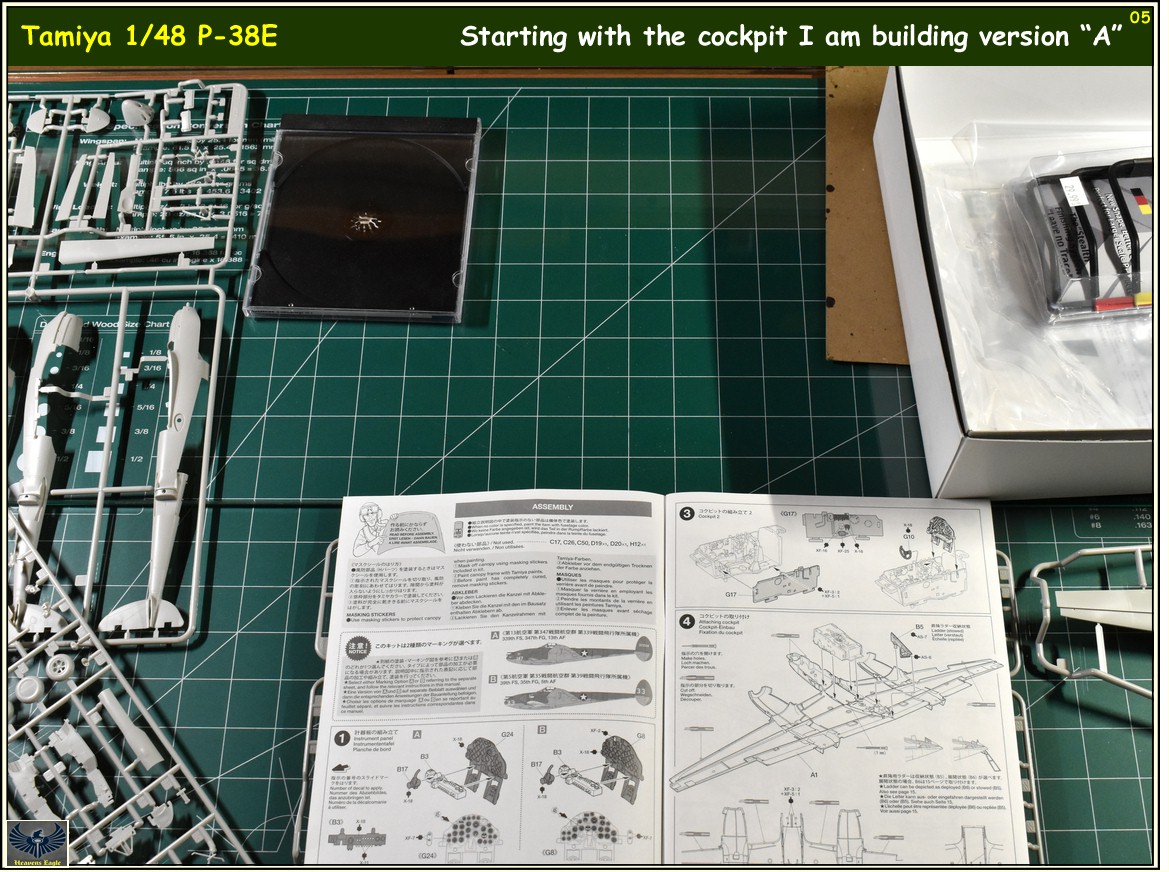
Tam-P-38E-003.jpg


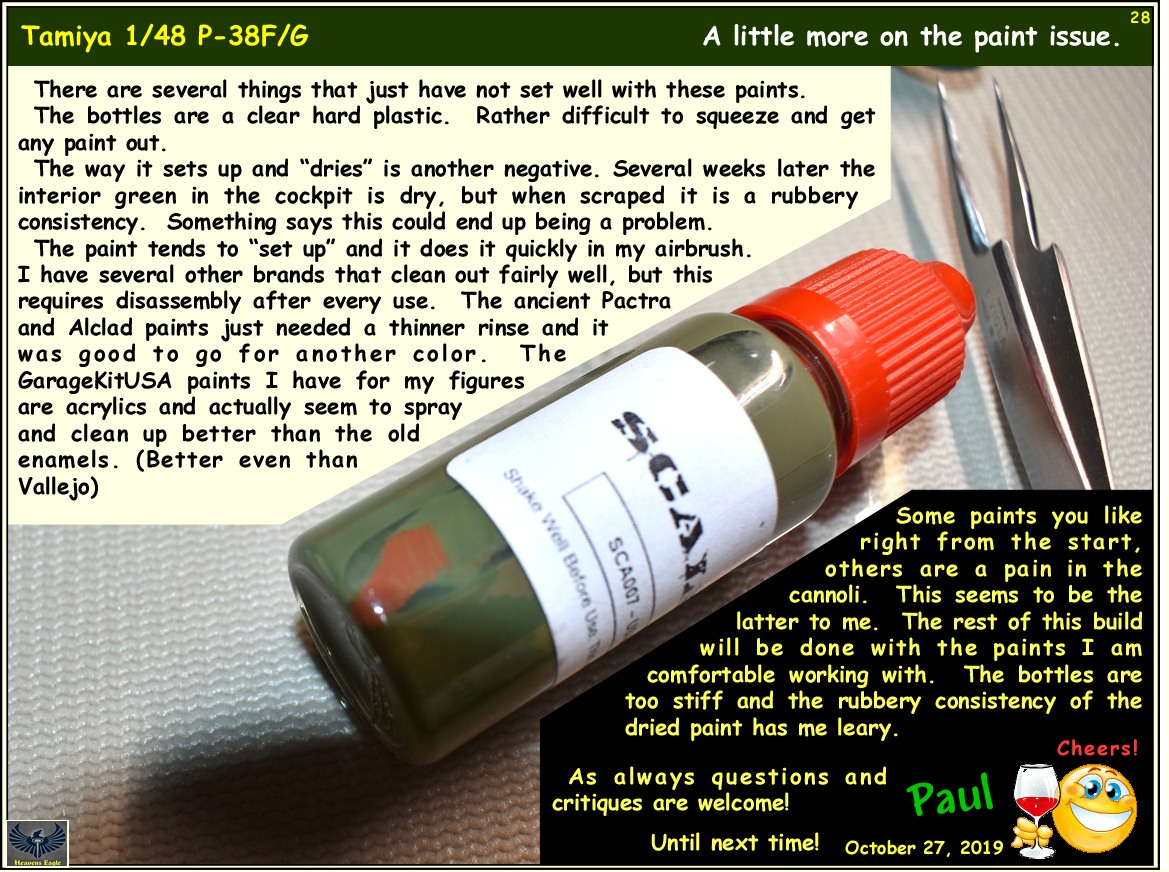
Ok folks, I am editing this here (10-31-19). The paint (in my opinion) is a fail. The problem seen in the next photo also was happening when mixed with the supplied paint thinner for airbrushing. It also seemed to happen to a lesser extent when mixed with water and the thinner. Finally in my eyes the interior green is too light and does not really seem to cover all that well. The Vallejo Air Green Chromate matches to the old Pactra Zinc Chromate Green quite well and brush paints and sprays much better.

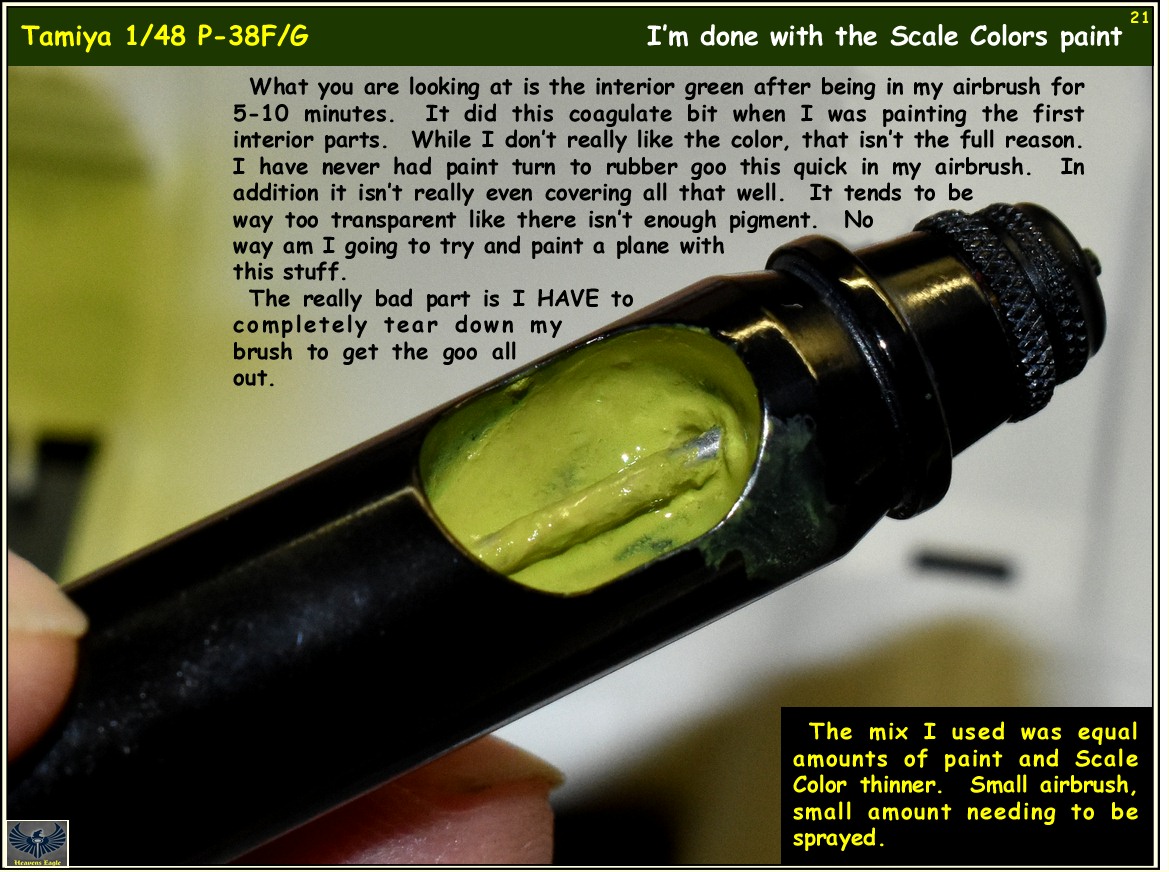
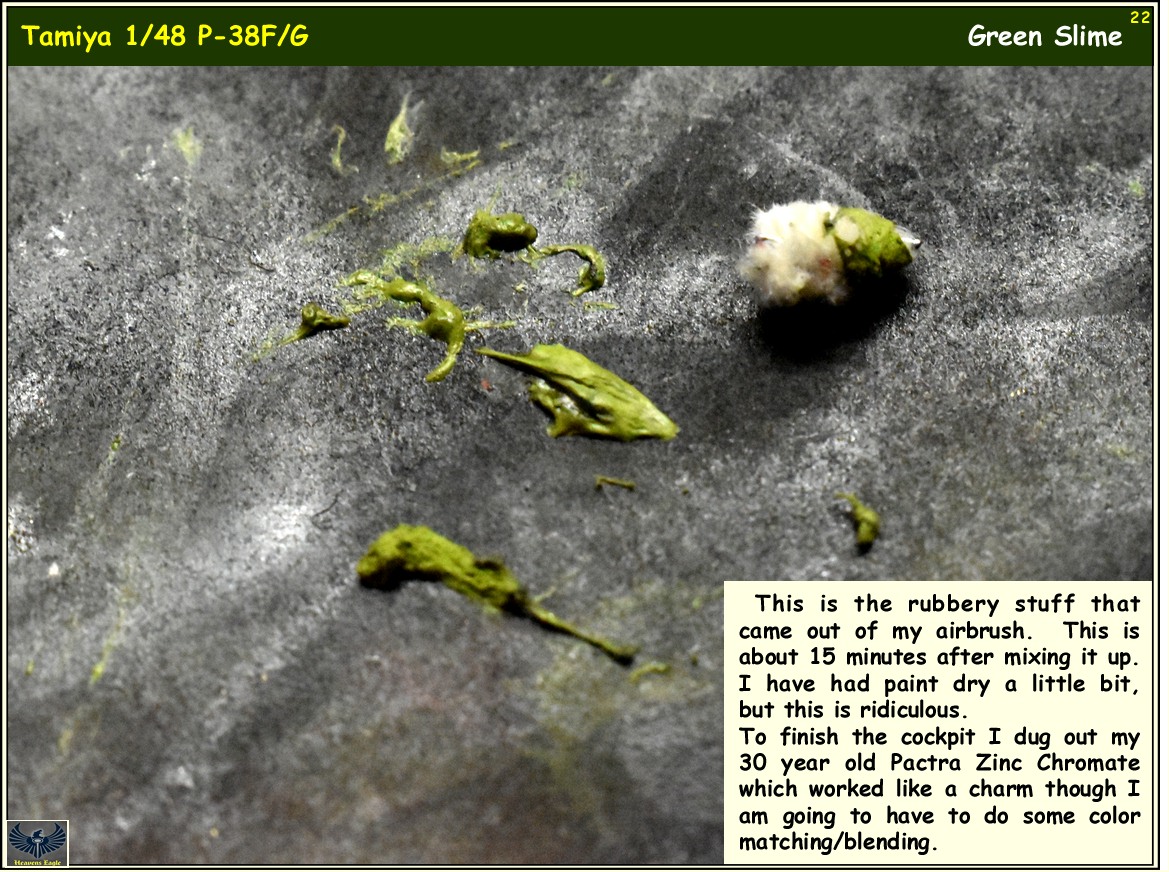
In addition it really gums up my airbrush. Every use "required" a full disassembly to remove the green goo that formed over all the internal surfaces. This coating would form within just a few minutes (5 to 10) of pouring the mixed paint into the airbrush. If you are looking in this for the first time jump to the next page to post #18 and you will see photos of the paint failing. In addition when the paint is dry, it isn't really hard, it has a rubbery tendency that is apparent when scraping it away for glue adhesion.

If you use any of the various methods to do paint chipping this could screw that up entirely. I am not going to attempt to use this for any of the other painting on this build. I have a number of paints that are much better and way easier to use. They are tried and tested and can be counted on to work as expected.

I just in all good faith suggest you avoid the Scale Colors paint.


Tam-P-38E-004.jpg


Tam-P-38E-005.jpg


Tam-P-38E-006.jpg


Tam-P-38E-007.jpg


Tam-P-38E-008.jpg


Tam-P-38E-009.jpg


Tam-P-38E-010.jpg


Tam-P-38E-011.jpg


Tam-P-38E-012.jpg


Tam-P-38E-013.jpg


Tam-P-38E-014.jpg


Tam-P-38E-015.jpg


Tam-P-38E-016.jpg


Tam-P-38E-017.jpg


Tam-P-38E-018.jpg


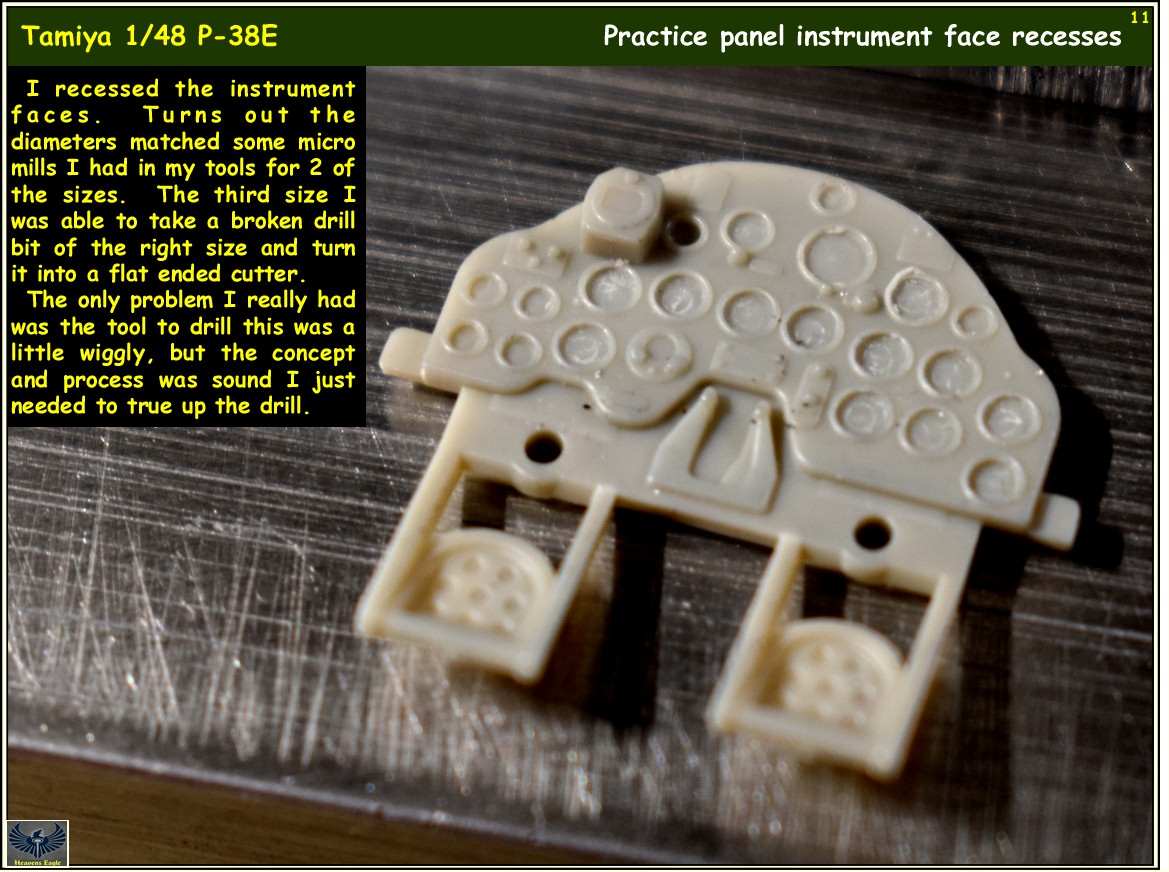
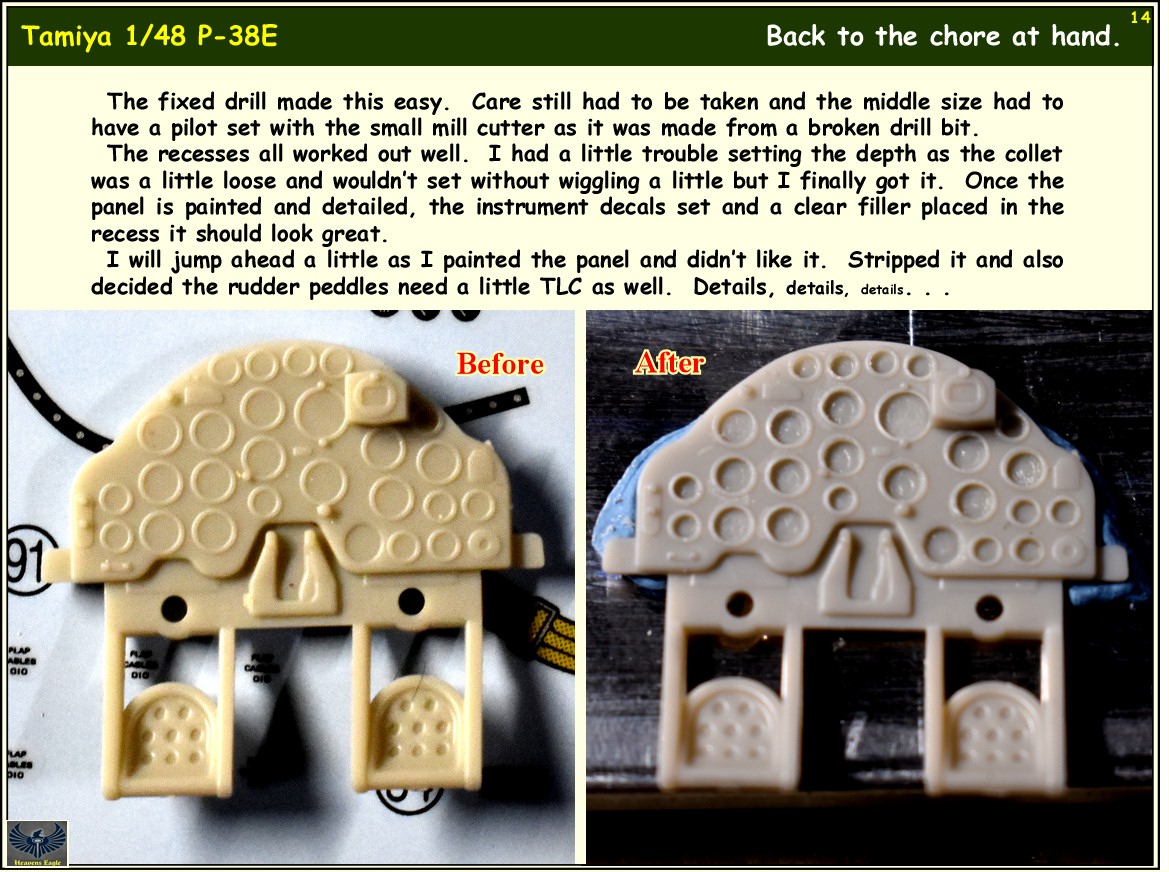
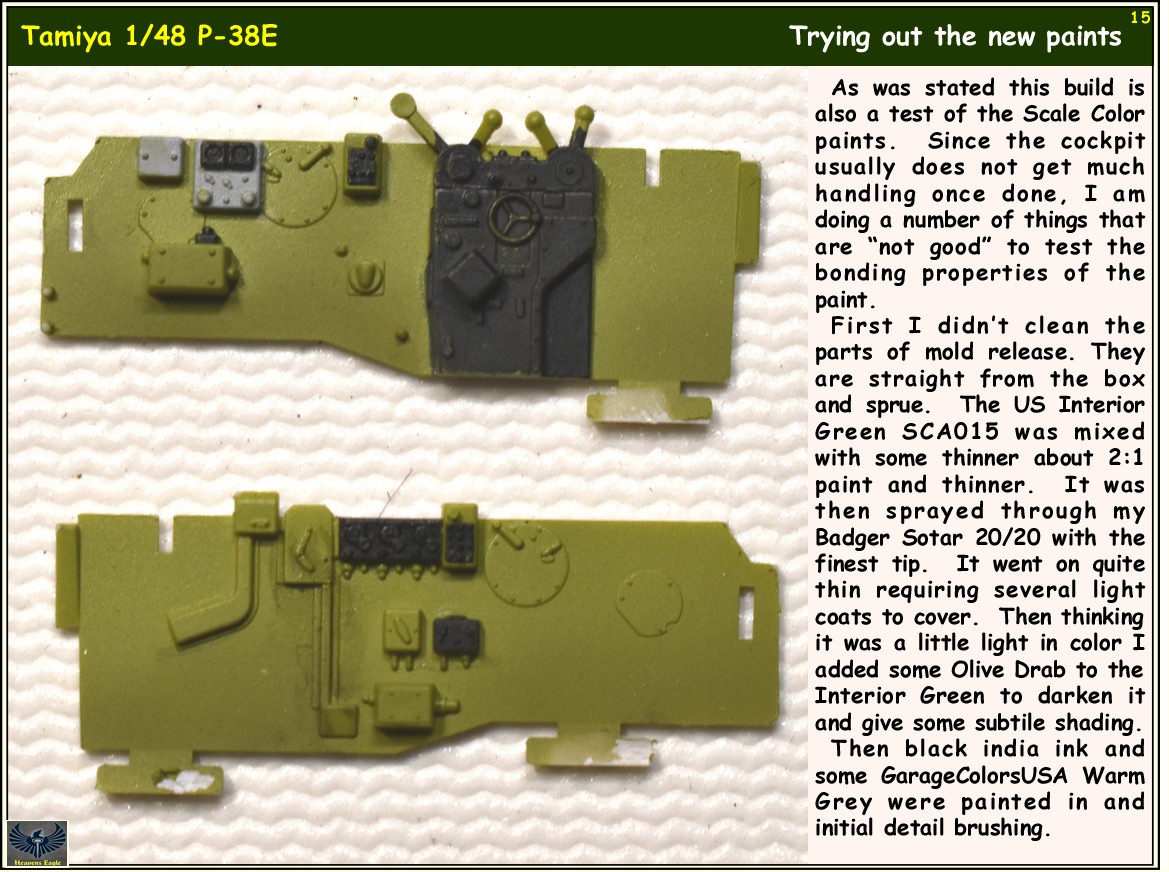
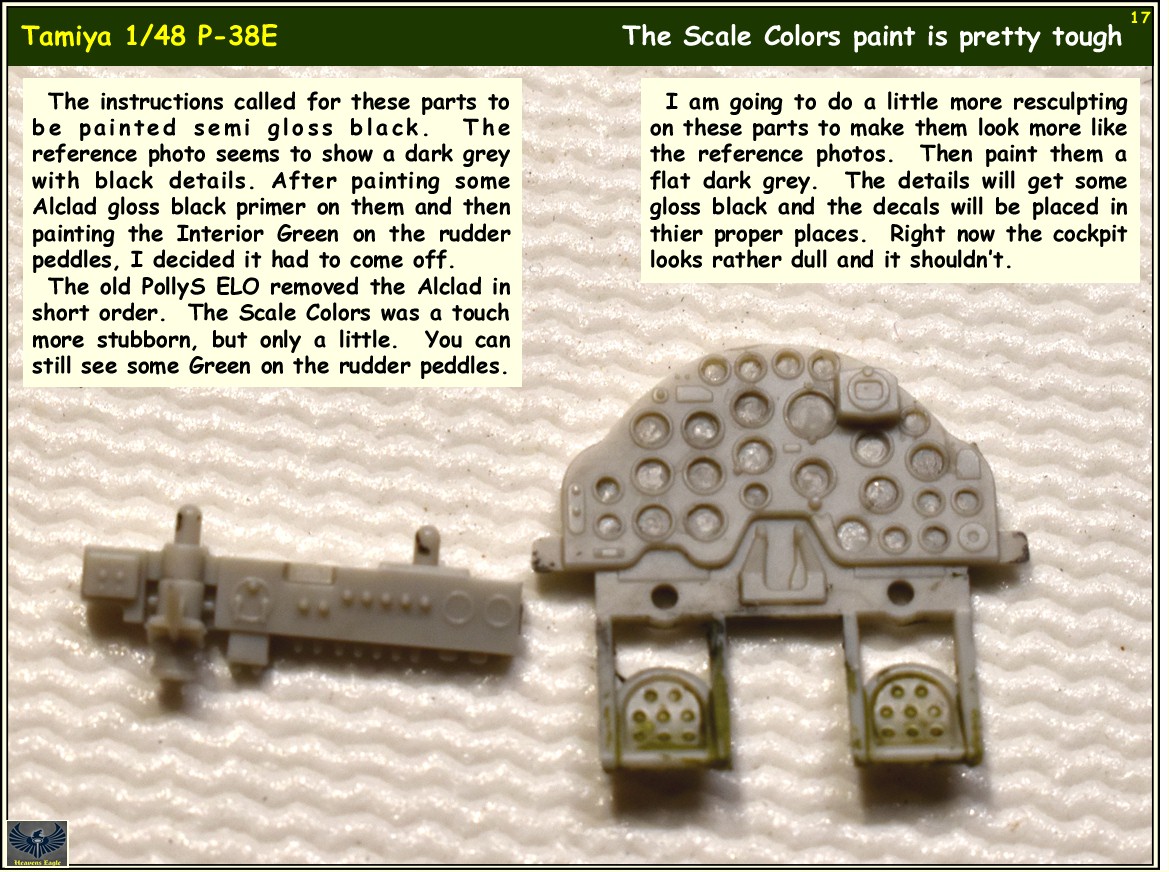
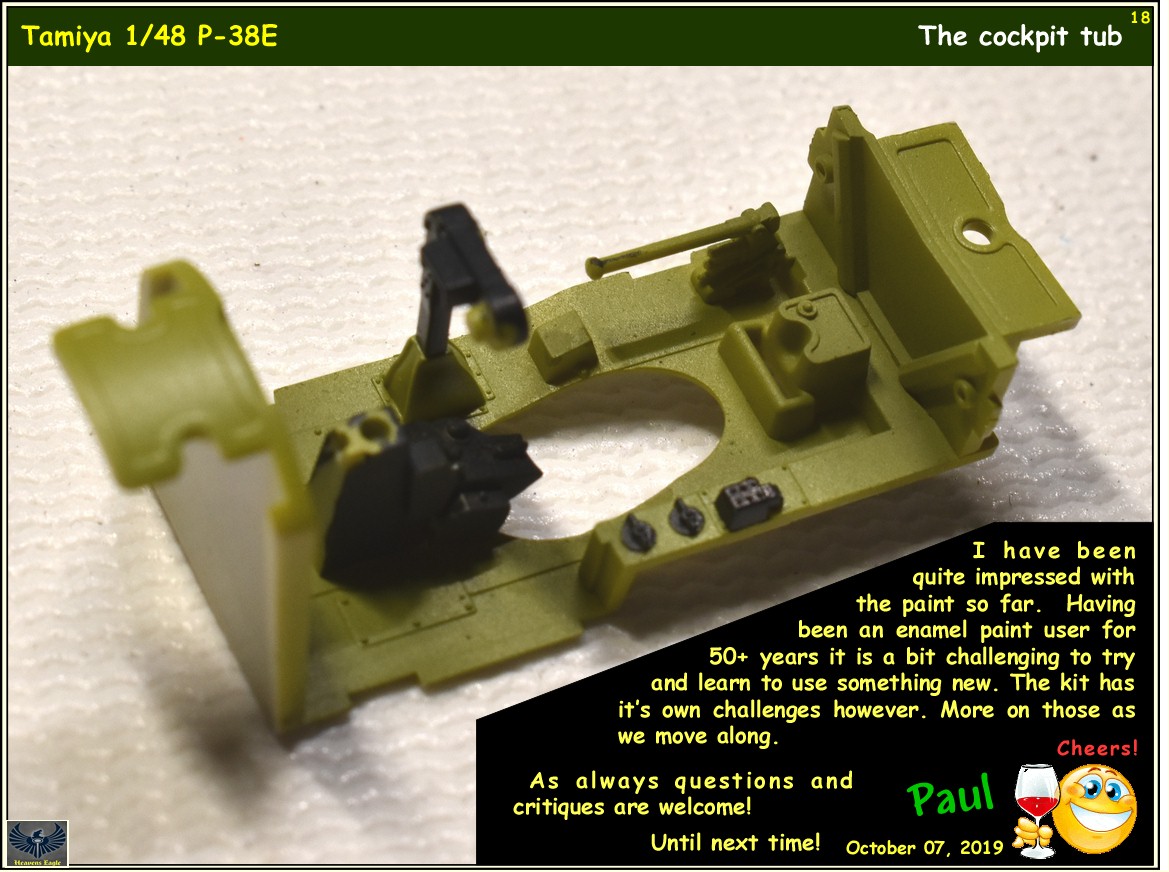
As stated I am liking the new paint. It sprayed through my extra fine airbrush just fine. It goes on quite thin and all the detail on the part still shows through just fine. I will be trying other paints over it for detailing in the cockpit and the cockpit parts are being used as a test for how well the paint bonds to the plastic (without washing the parts first. I should have some more observations in a few days.

Thanks for looking in.
 
Tamiya P-38E and New Paint build review

Thanks Paul, glad Jeff stepped up offering to replace the paint. How's the other colors looking in the bottle?
 
Tamiya P-38E and New Paint build review

Could not find any hint of what this new color is . I'will therefore assume that it's another Acrylic :idonno

Regards, Christian B)
 
Tamiya P-38E and New Paint build review

"Scale Colors" Chris. Has his businesss card in the 3rd picture.

https://scalecolors.com/
 
Tamiya P-38E and New Paint build review

Thanks Paul, glad Jeff stepped up offering to replace the paint. How's the other colors looking in the bottle?

The other paints are just fine Bob. I used the interior green color to paint the cockpit. Then as it seemed a little light to me, I did a mix with a little olive drab to darken it slightly to accent and darken the lower cockpit a little.

Spraying is a little like you are supposed to spray Vallejo, very fine with a lot of passes. It did cover quite well without a primer. Of course when you don't use a primer there is less paint thickness to hide detail.

I wanted to see just how well the paint bonds straight to the plastic and the cockpit is the safest place to do that. As it is interior it wont see any handling after it is installed so I am doing it over uncleaned plastic. Enamels always have done fine for me with acrylics to add detail. This will be my first kit to do acrylic base colors.

The only negative I kind of have with the paints actually doesn't refer to the paint. The clear bottles are VERY stiff and hard to squeeze the paint out of. The look good and are easy to see the color, but man they are stiff.

Broke out my ancient Robart paint shaker and used it to mix the colors. Had a little trouble with the OD not wanting to shake/mix a while back and pulled the tip out and mixed it by hand with a steel wire. Once it was mixed up some it does fine with the paint shaker.
 
Tamiya P-38E and New Paint build review

"Scale Colors" Chris. Has his businesss card in the 3rd picture.

https://scalecolors.com/


Which in itself tells me nothing about whether it's acrylic , enamel or lacquer. That is the most useful bit of info there could be . I don't really care who makes it.

Regards, Christian B)
 
Tamiya P-38E and New Paint build review

Could not find any hint of what this new color is . I'will therefore assume that it's another Acrylic :idonno

Regards, Christian B)

There is the card in the 3rd photo Christian. I am testing this without primer as I really hate the extra layer of primer on a tiny model. I am impressed with the way the paint is bonding to the cockpit parts so far.

Airbrushing is similar to what is suggessted with Vallejo, lots of light coats. It did cover well and is quite thin. I did a scrape test on a part that needs to be cleaned off for gluing and it seemed to have bonded with the plastic. I am also applying some of the Interior Green color with a brush to cover and clean up some of the detailed areas.

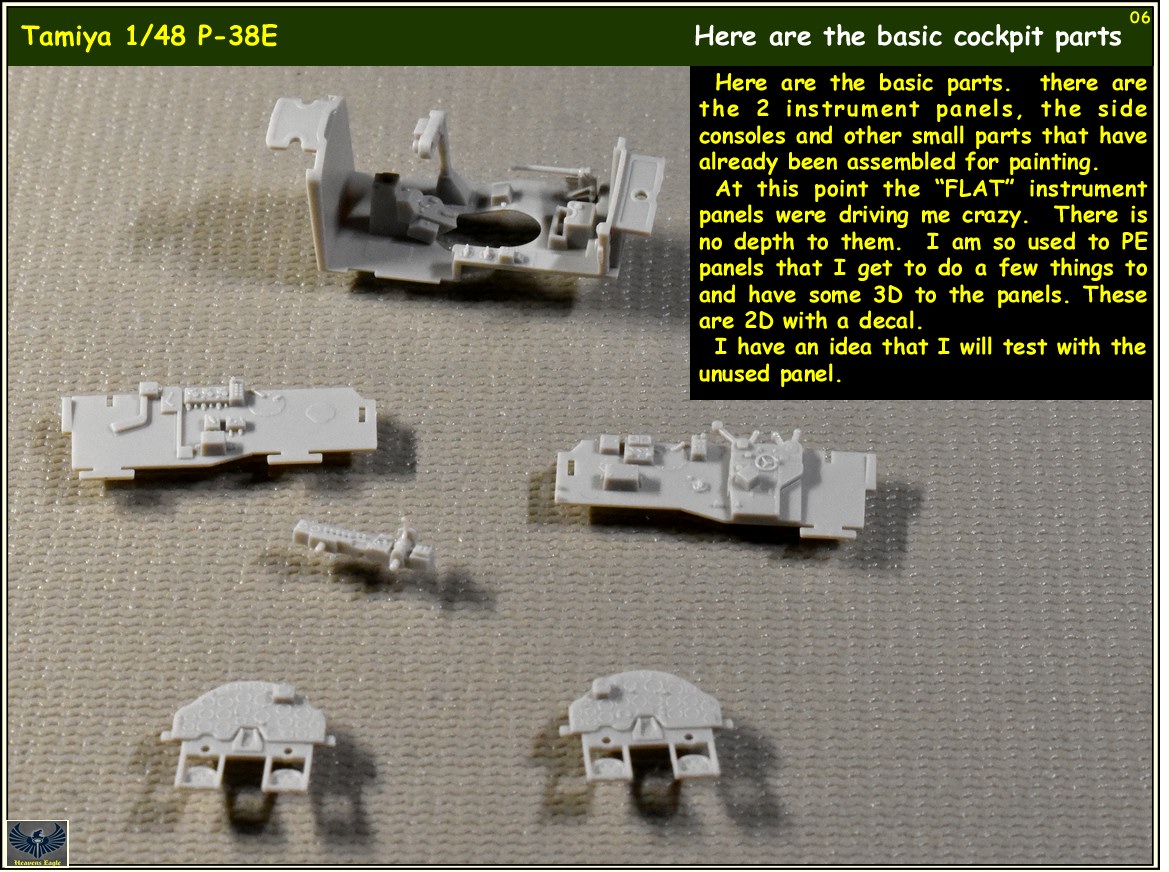
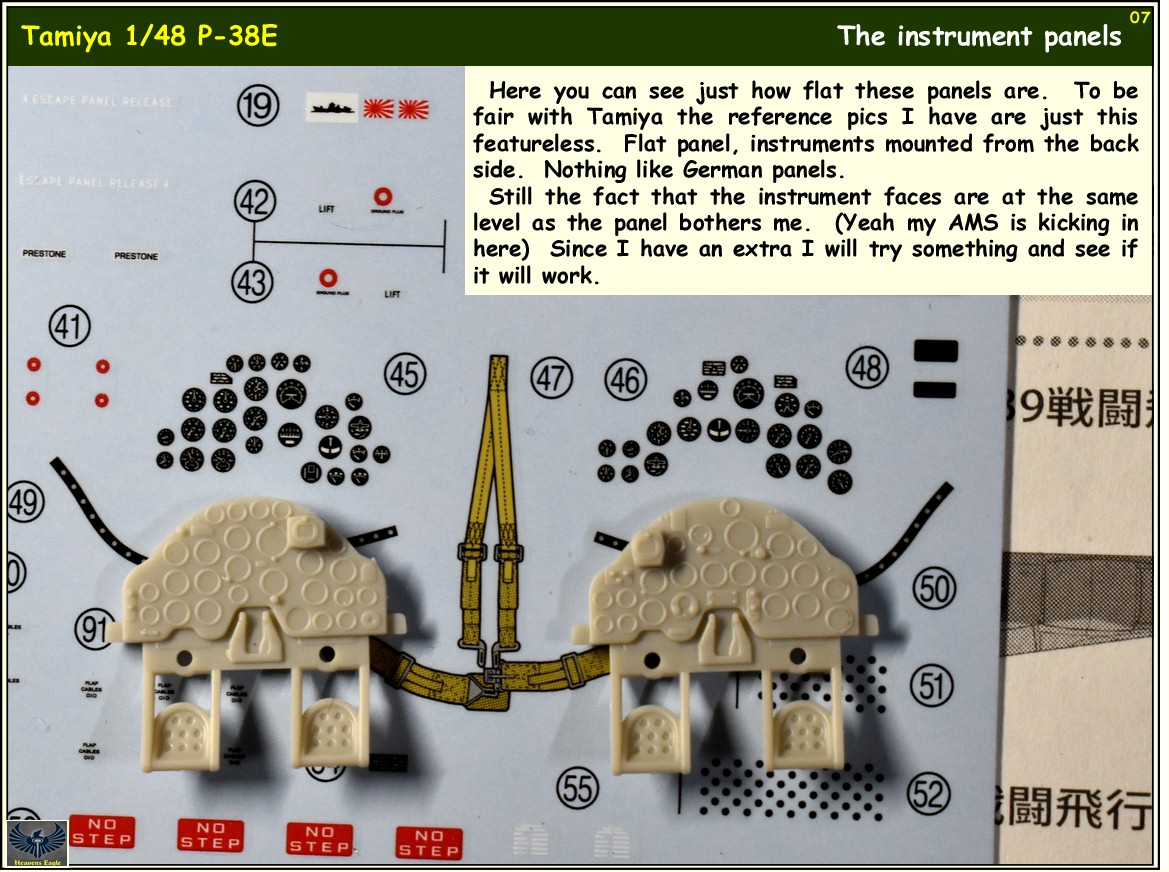
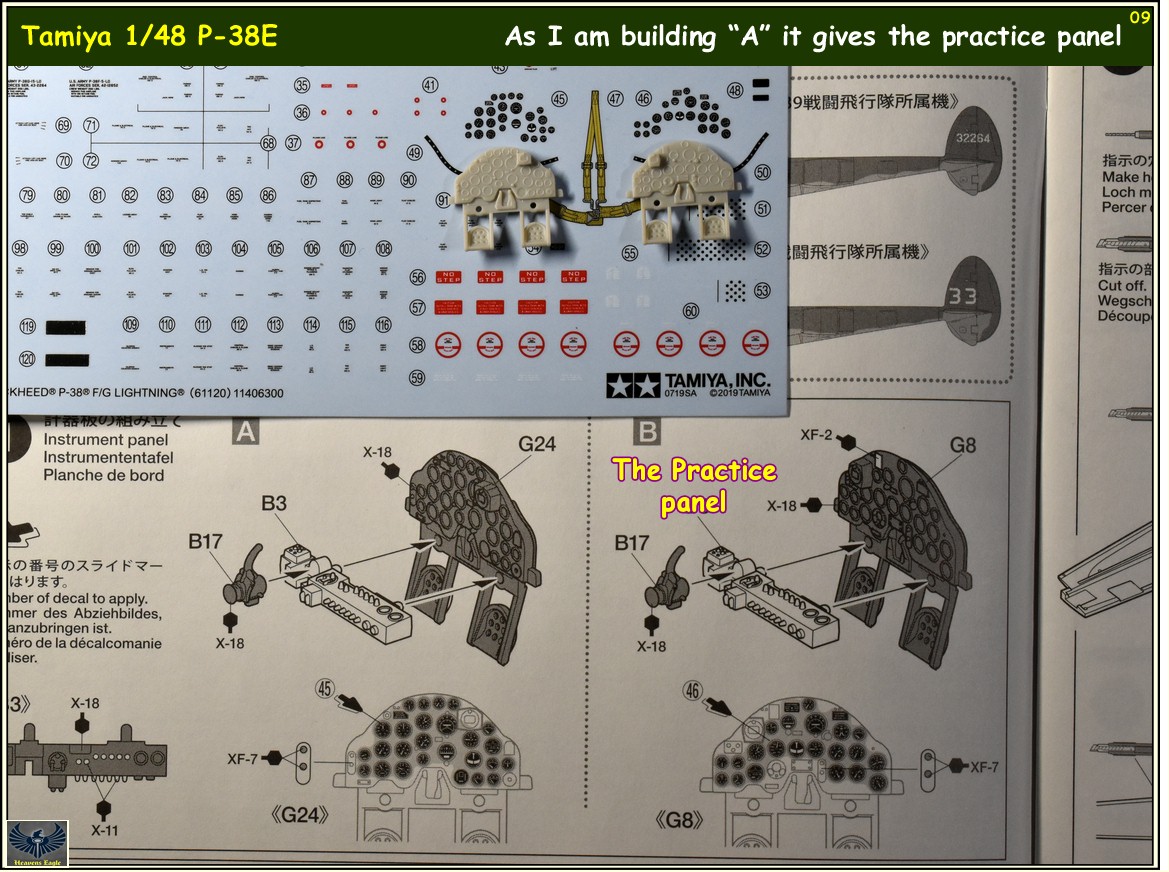
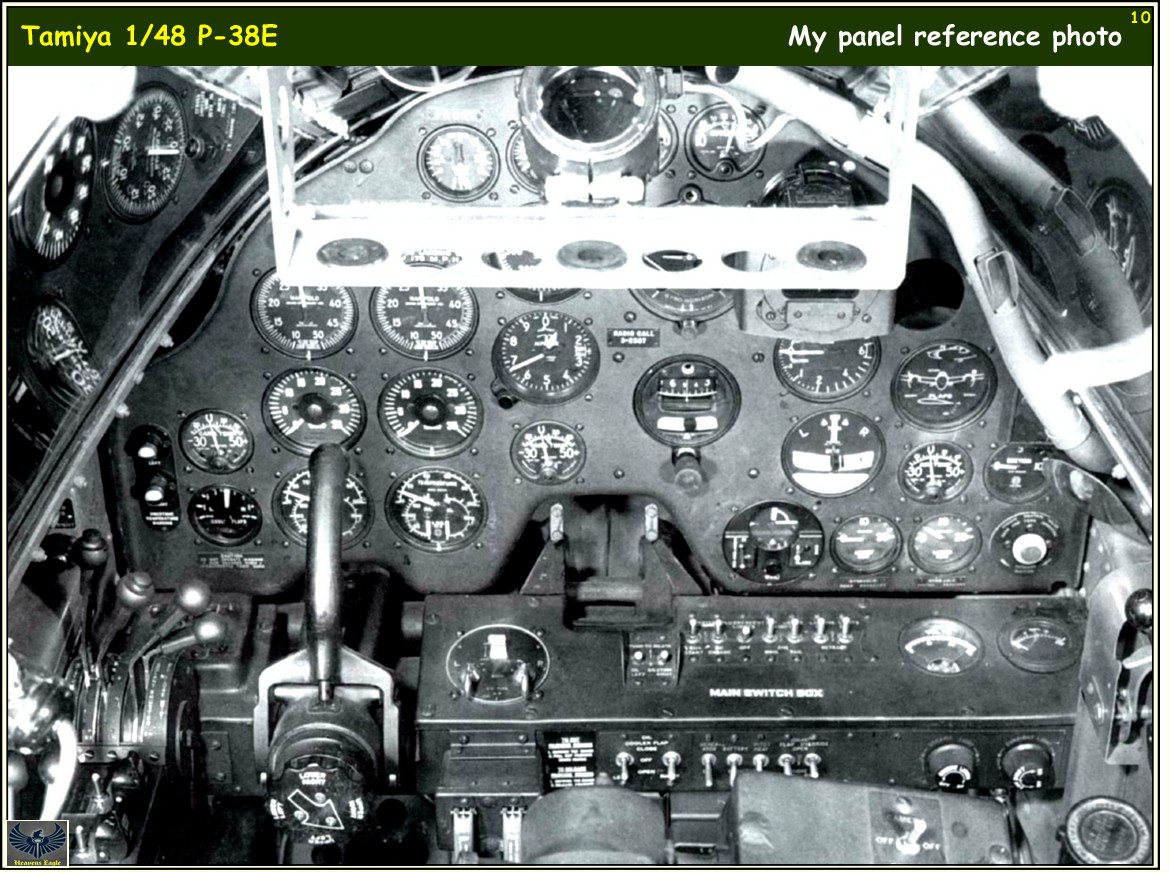
As to the kit I am finding the cockpit detail a bit light. Granted it is 1/48th and I am used to adding a ton of PE to kits, but this one is driving me up the wall a bit. As I stated earlier, my AMS is kicking in hard. We will see how well I deal with it.
 
Tamiya P-38E and New Paint build review

"Scale Colors" Chris. Has his businesss card in the 3rd picture.

https://scalecolors.com/


Which in itself tells me nothing about whether it's acrylic , enamel or lacquer. That is the most useful bit of info there could be . I don't really care who makes it.

Regards, Christian B)

They are supposedly and acrylic polymer Christian. According to what we were told and the Nationals, the polymer sets up with air contact and fully bonds after a week. The sample plane that was there they applied the decals directly to the paint (no clear coat) with Solvaset. This is what I do with my kits over enamel paints. So we will see.
 
Tamiya P-38E and New Paint build review

Nice progress.


I have looked at the Arbor press from Micro-Mark and always held off - glad I did!
 
Tamiya P-38E and New Paint build review

Looking forward to this build but I must say that I am somewhat disappointed in the level of detail that Tamiya gave us(cockpit wise) with a new mold 2019 kit. I understand the IP panel but the surrounding areas just look meh.

I guess we will have to wait and see if Eduard releases a Brassin cockpit for this kit, if not, wonder if the one for the Academy kit will fit?
 
Tamiya P-38E and New Paint build review

I guess we will have to wait and see if Eduard releases a Brassin cockpit for this kit, if not, wonder if the one for the Academy kit will fit?

I would wait to see if the Brassin would fit before investing...long story. :bang head
 
Tamiya P-38E and New Paint build review

Nice progress.


I have looked at the Arbor press from Micro-Mark and always held off - glad I did!

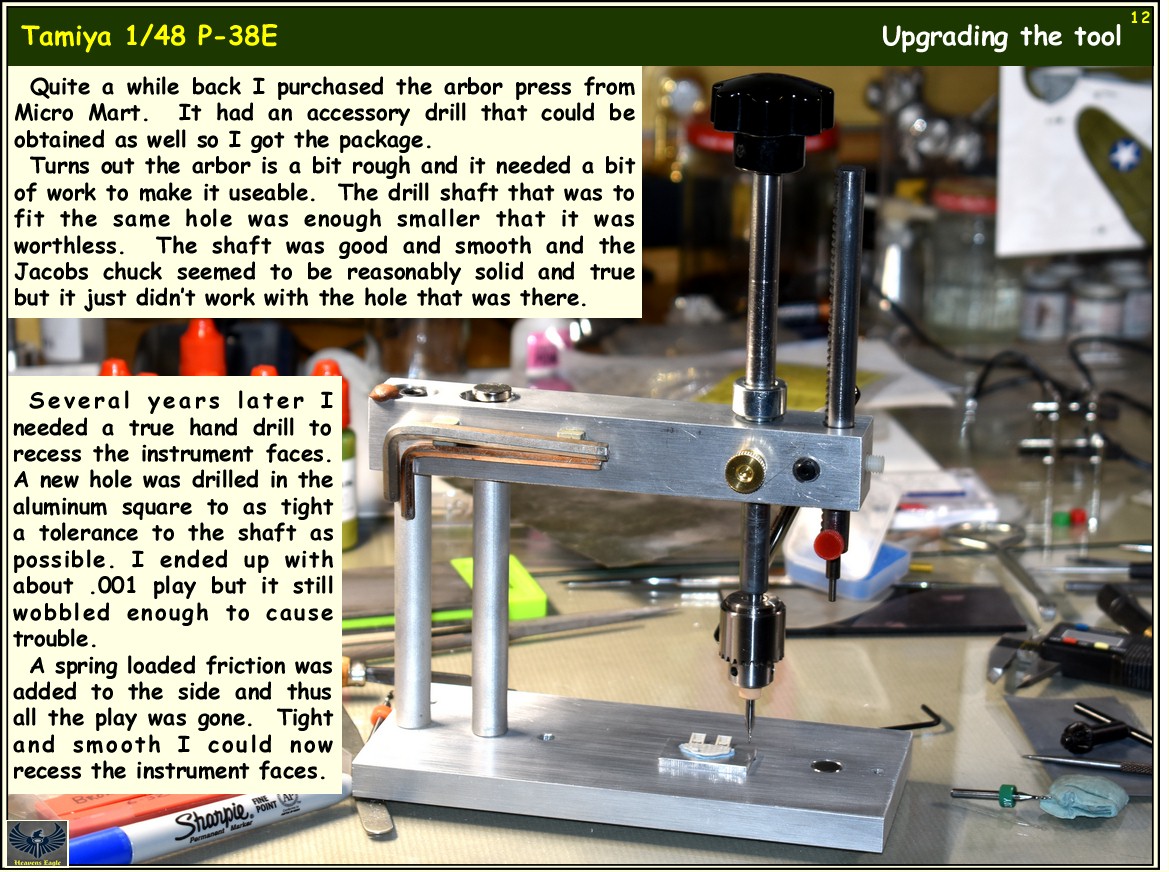
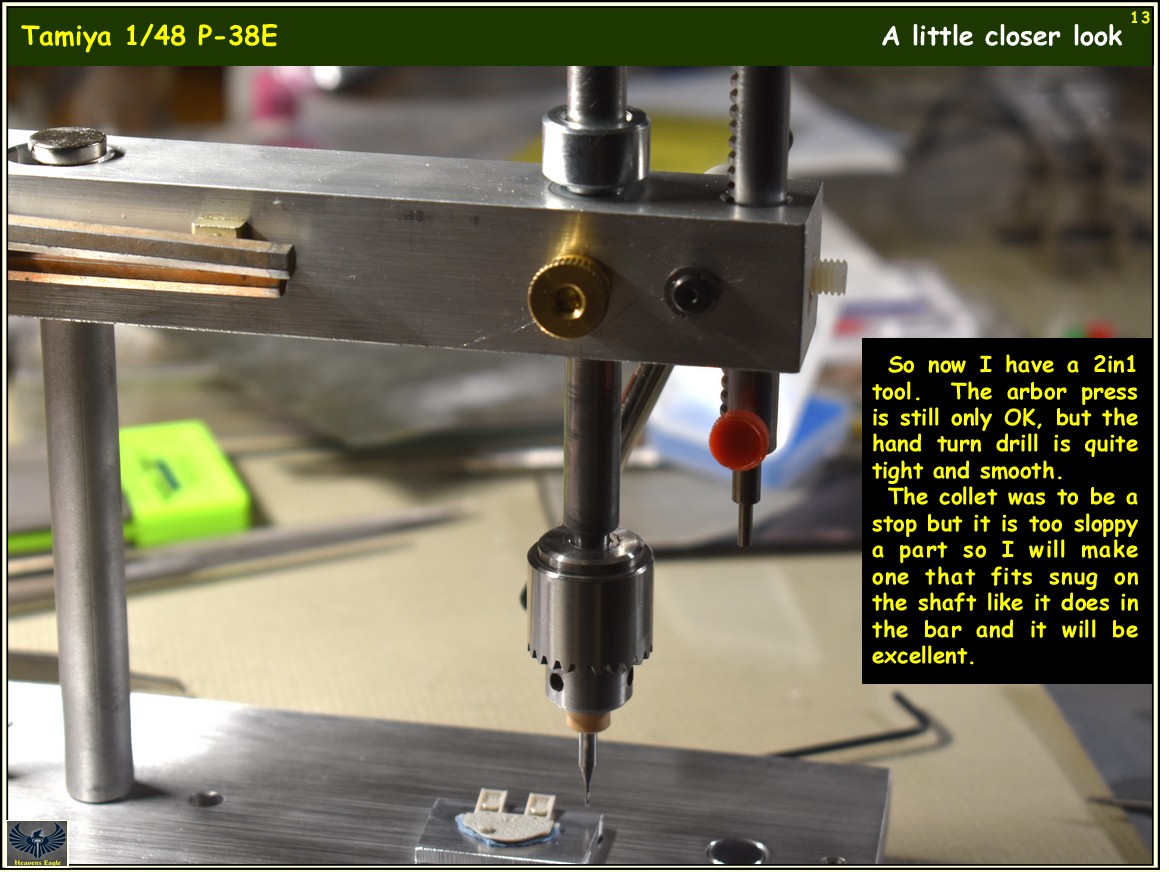
John I bought the arbor press to use with my Waldron punches. When I got it originally I was rather disappointed with the horible fit and function of the tool. To make it useable the handle part had to be bushed and all the teeth on the rack had to be reshaped slightly. It still isn't quite riht but is a LOT better than I received it.

Another thing about it is that I read someplace that the Micro Mart arbor is actually a rip off copy of one done by another company. Seems like I did do some looking around and found the other one. Wished I had known before I bought this one.

On a positive note, the press works with the Waldron punches wonderfully. I always hated having to hit them to punch out plastic and brass.


Bob, I have to remind you that all the newer brassin that Eduard does is a totally newer generation of quality and fit from the old POS you keep pitchin' a fit about. The quality and fit is much better than that Silver Wings kit you gave me.


Big10, I believe this kit does need a Brassin cockpit. There is way too much detail either left out or softened in the molding process. I will be doing some scratch work to get mine up to snuff.

Ponder this: I have not even looked at the landing gear bays yet. :eek:hmy: :blink :S :bang head
 
Tamiya P-38E and New Paint build review

Bob, I have to remind you that all the newer brassin that Eduard does is a totally newer generation of quality and fit from the old POS you keep pitchin' a fit about. The quality and fit is much better than that Silver Wings kit you gave me.

I know Paul, it still stings, not so much it didn't fit but the reaction I got from their "support". I know, I carry a grudge too long.

Fit on that Silver Wings, there was no fit! :rotf
 
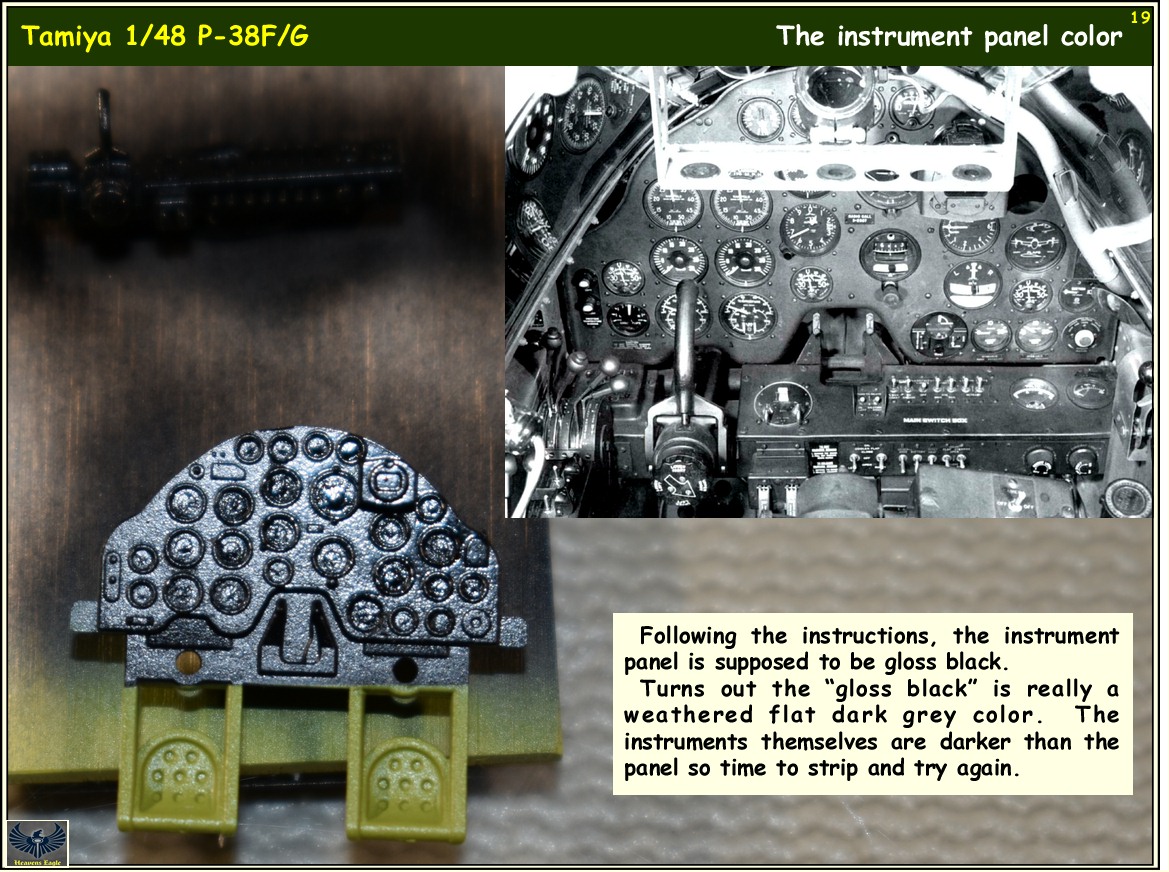
Tamiya P-38F and New Paint build review

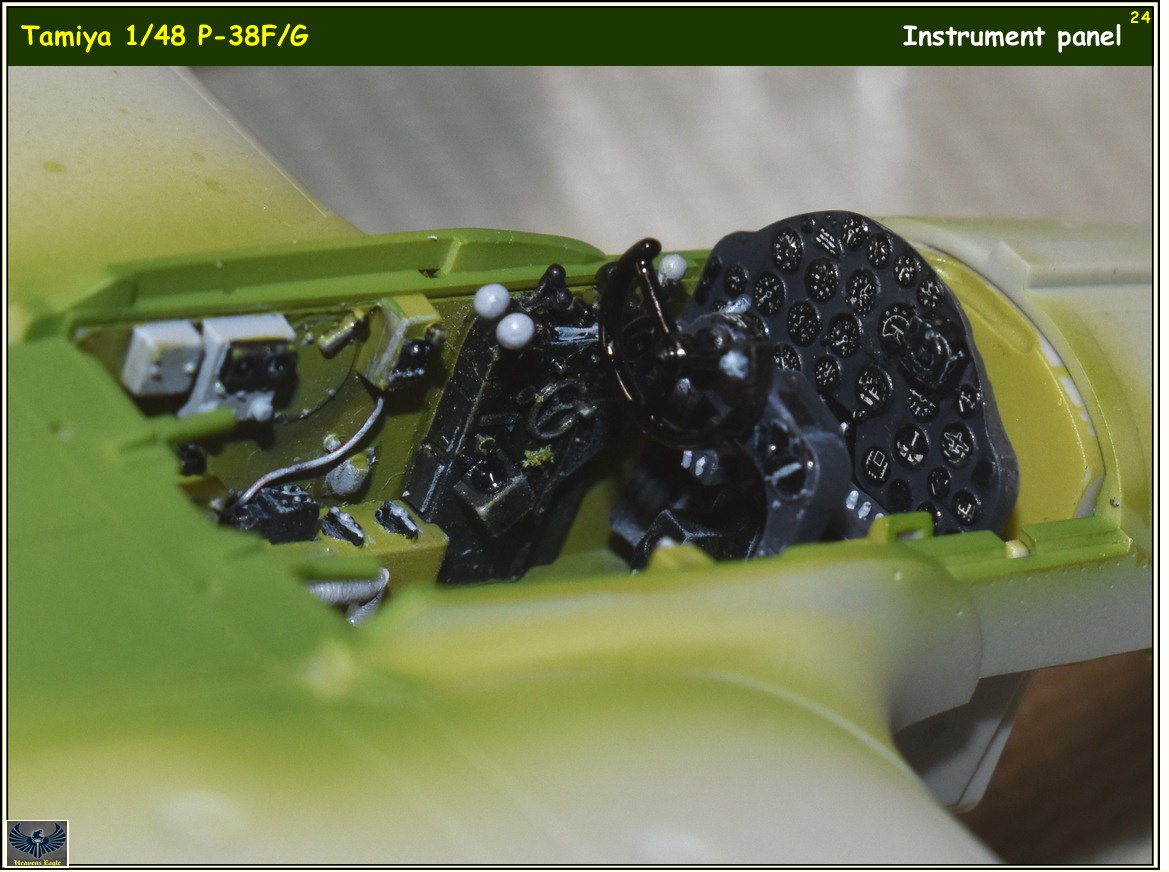
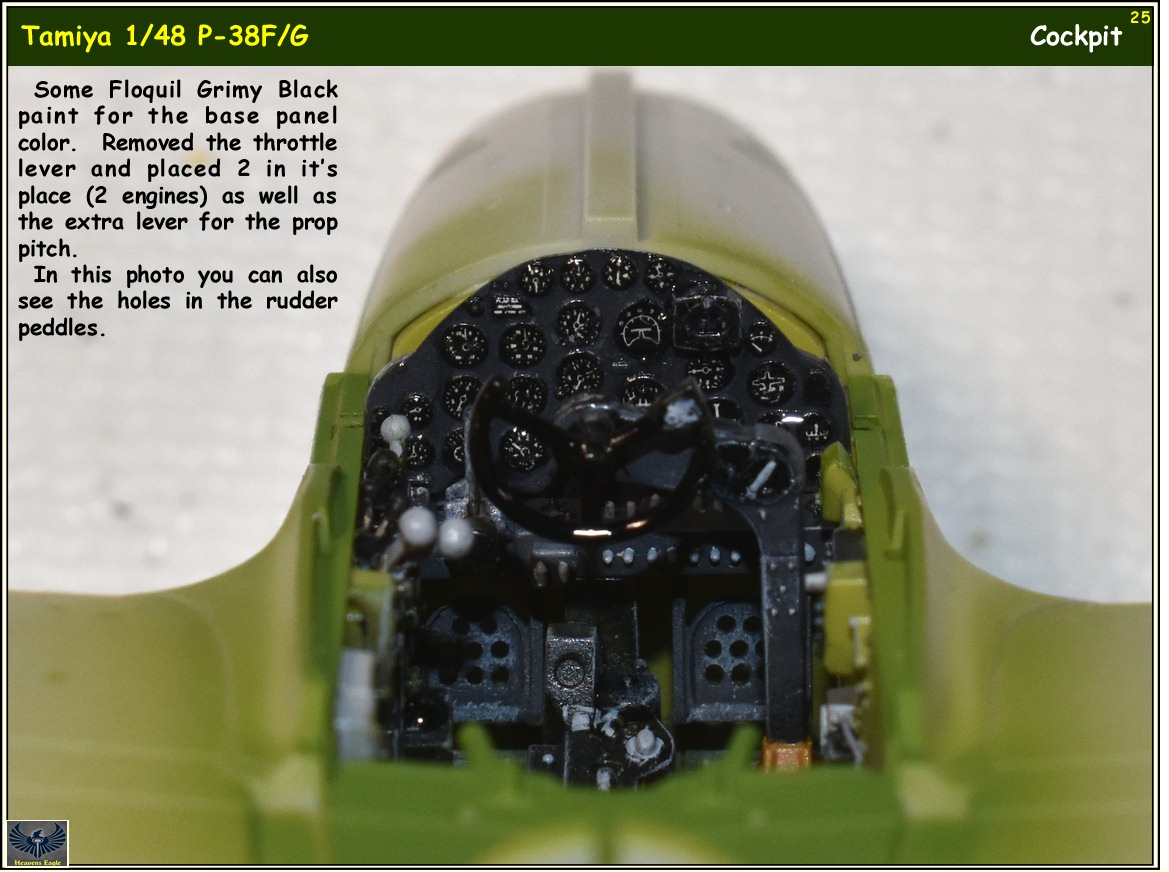
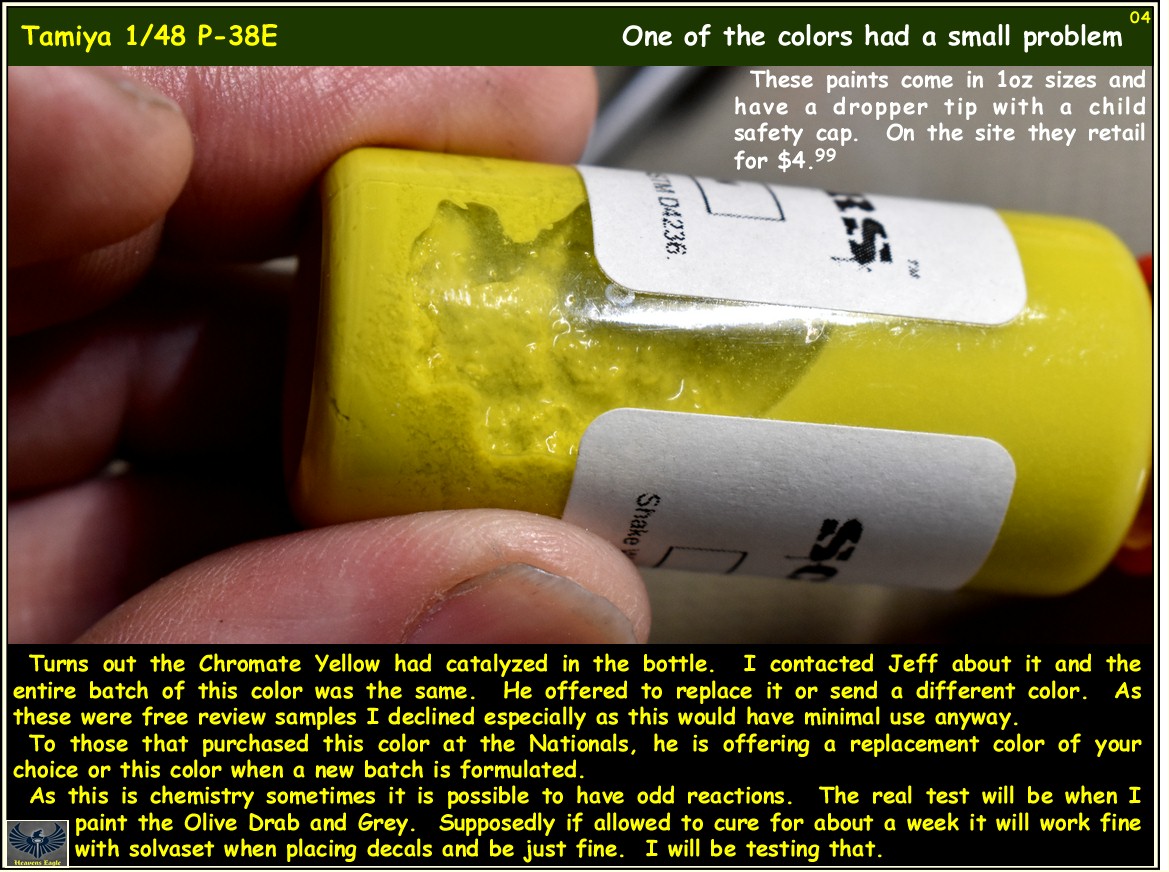
It's time for another update. I have been working on it a little at a time. The paint thing has been giving me some grief as it doesn't cover all that well. In addition it doesn't want to paint well with a brush and it tends to polymerize rapidly once it is placed in the airbrush.

Within 5 to 10 minutes of trying to start spraying it starts turning to goo. This was with a mix of 1 to 1 paint and paint thinner (both Scale Colors) I finally decided it was enough and broke out my good old reliable paints.

Anyway here is the update.

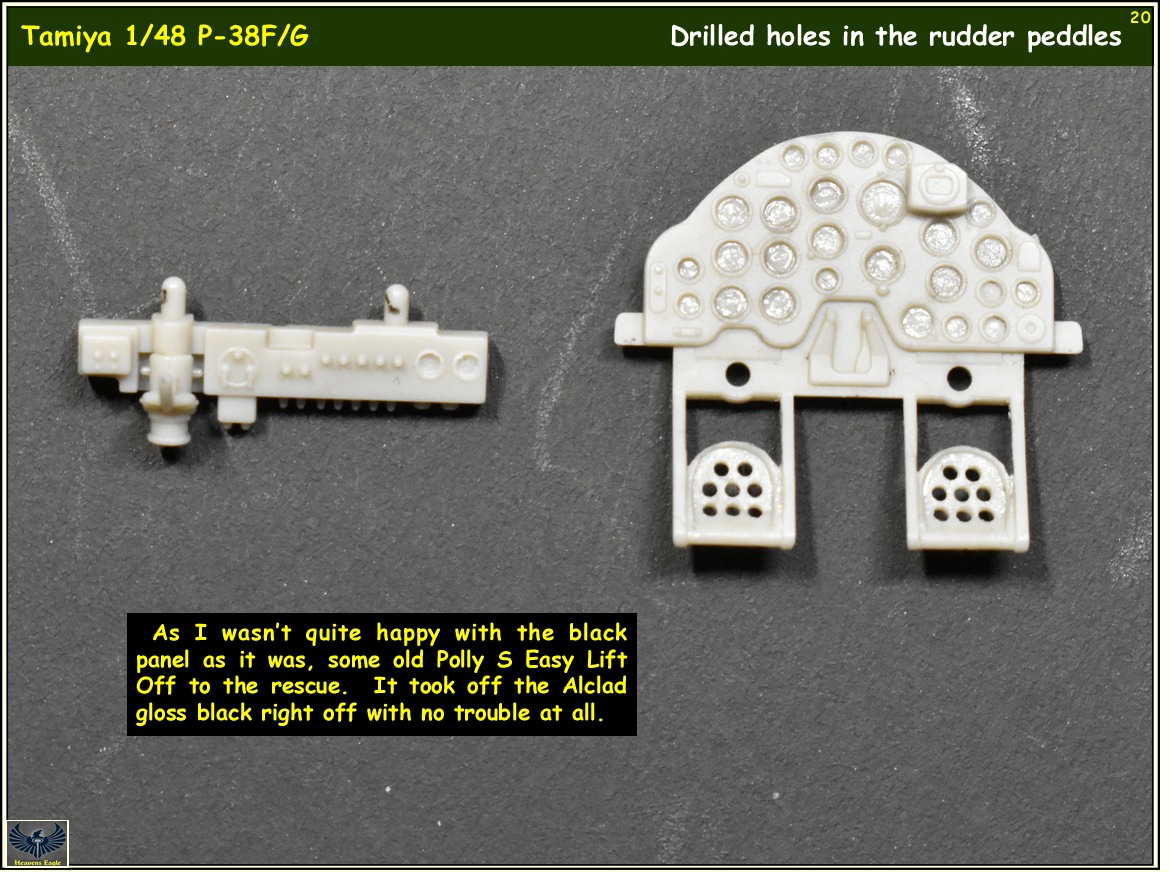
Tam-P-38F-019.jpg


Tam-P-38F-020.jpg


Tam-P-38F-021.jpg


Tam-P-38F-022.jpg


Tam-P-38F-023.jpg


Tam-P-38F-024.jpg


Tam-P-38F-025.jpg


Tam-P-38F-026.jpg


Tam-P-38F-027.jpg


Tam-P-38F-028.jpg


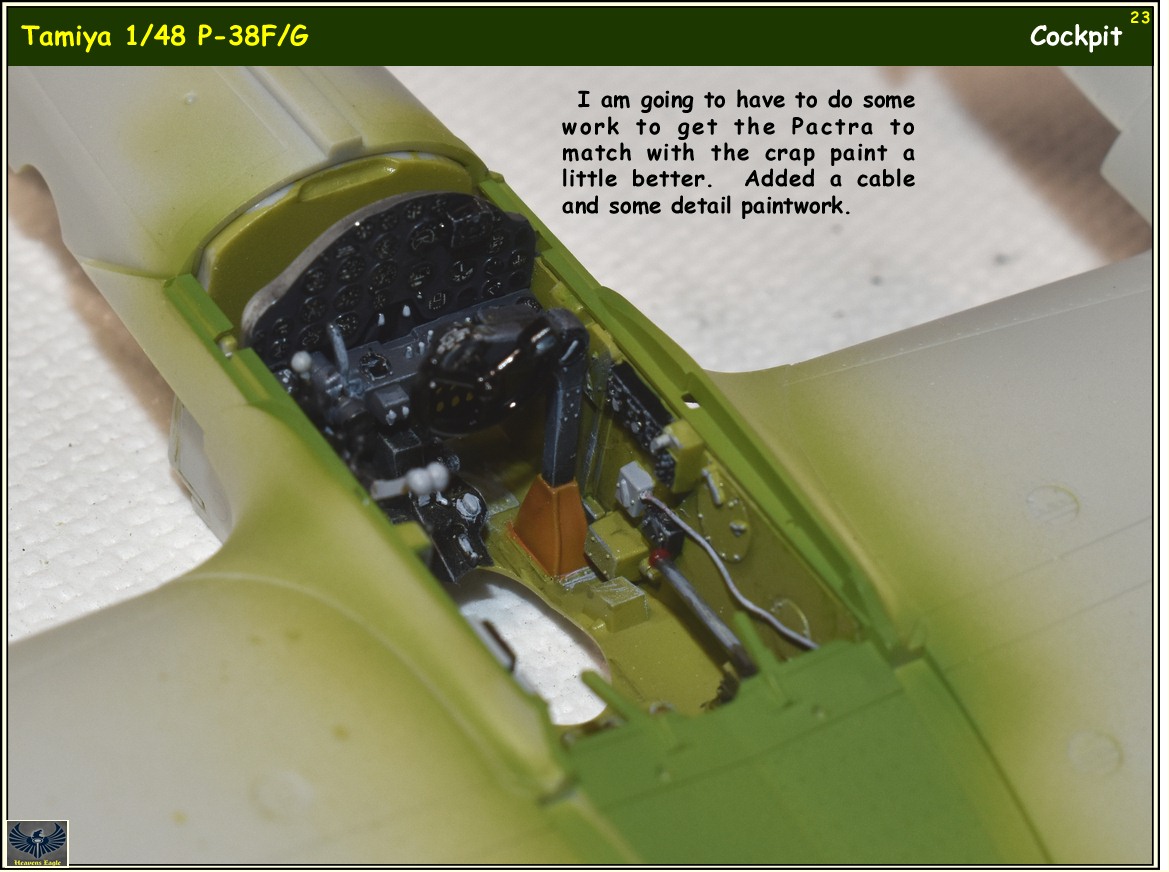
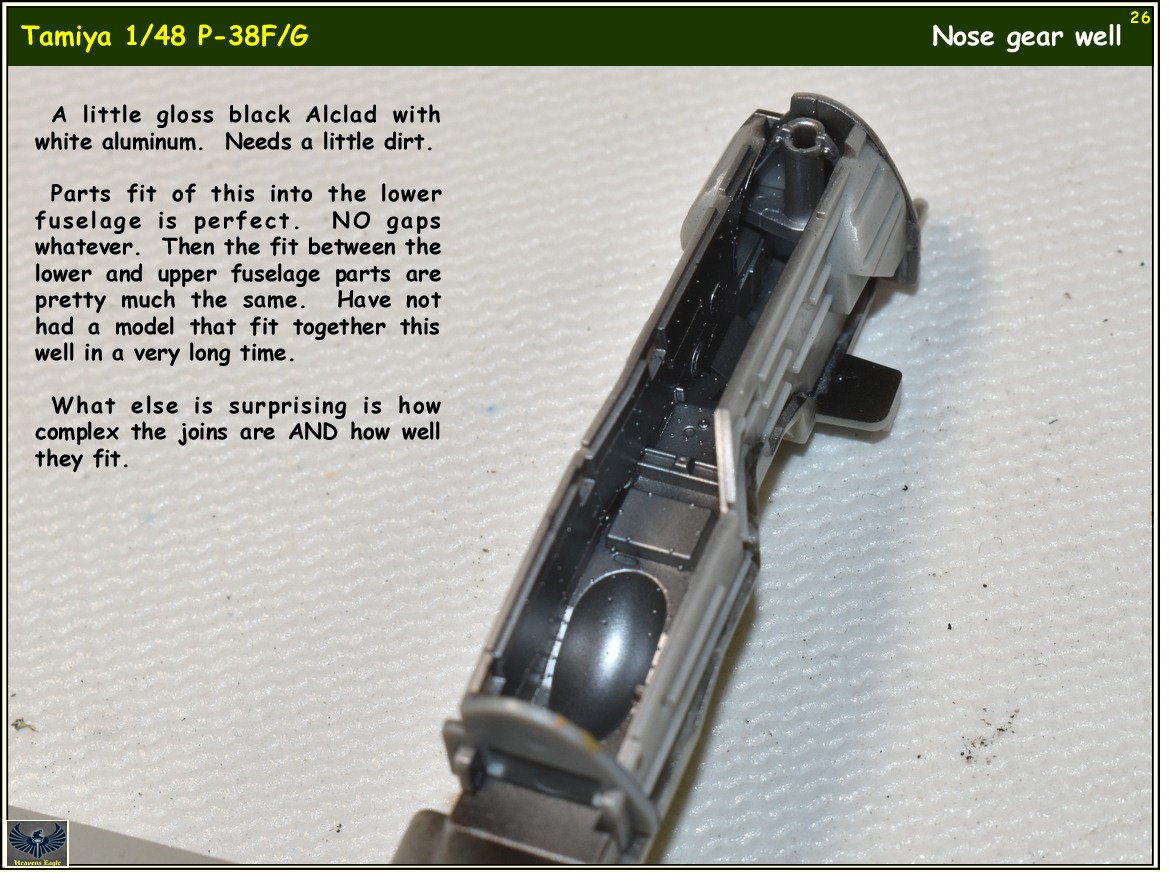
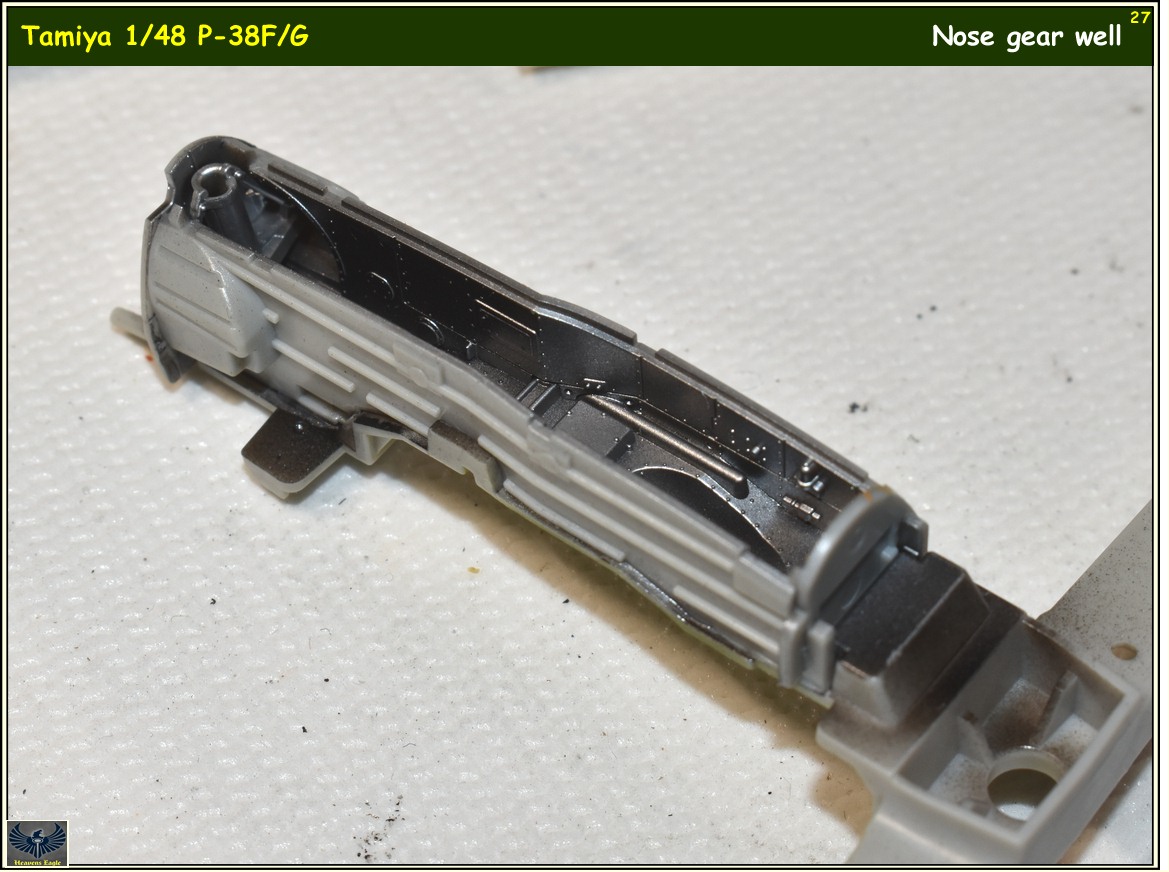
As another positive thing, all the parts I have assembled so far in the kit fit exceedingly well. Complex parts that fit with no gaps. I even fitted the fuselage top (with cockpit) and fuselage lower (with nose gear well) fit with perfect alignment and no gaps.

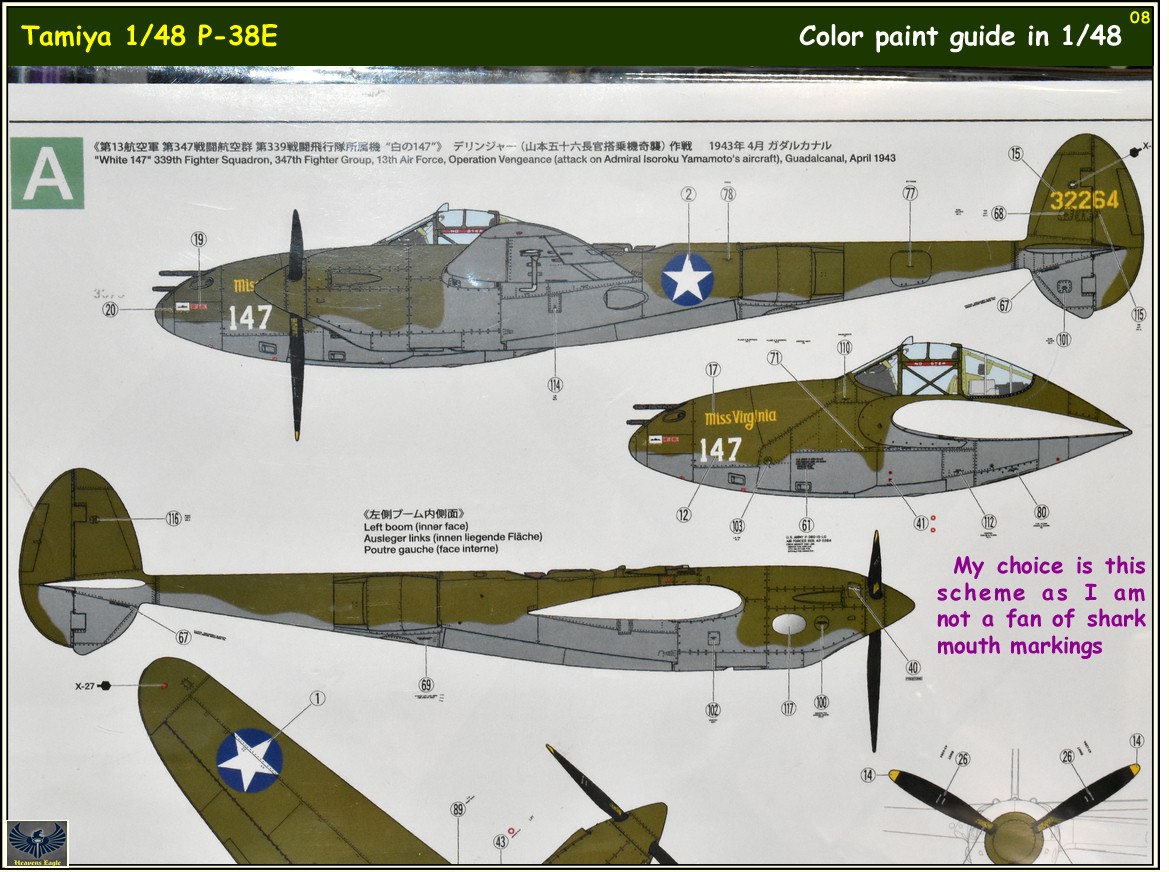
I have also ordered a decal set with some interesting nose art for this kit. (turns out Academy has had a 1/48 F/G kit for a while)


h9114075.jpg
 
Tamiya P-38F and New Paint build review

Yeah the Academy kit is what Eduards kicked out with their ill fitting resin a while back. I should finish mine, it's so close.

Sorry to read the bad news on the paint, did the guy ever get back in touch again? You're right, sometimes it's best to cut losses.

Kit is looking good! :popcorn
 
Tamiya P-38F and New Paint build review

He got in touch with me over the original bottle clotting up. If I had bought this paint I would be chucking it. On the other hand the GarageKitsUSA colors paint is phenomenally good. It comes in a larger bottle (1 full oz) has a large shaker ball in it that you can actually hear break loose when it does. And it has been done for artist grade painting.

Some colors are called semitransparent, which means they spray on thinner so you can use them to tint and adjust coloring. I will be using them to weather the colors on the P-38 especially around the superchargers and in other areas.

Right now trying to figure out how to blend the crap color into the Pactra color without buggering it all up.
 
Back
Top