Those that were expecting a thread about bacon may now leave the room. 
The piston Otter was known fondly as the Stoneboat. I have no idea why, but suspect it was because they cruised at about the same speed. The Otter was an 8000 lb. airplane that used a geared version of the bulletproof Pratt & Whitney R1340. The gearing was 2:3 thus at the cruise setting of 1800 RPM the prop turned at 1200 RPM. Bored pilots would count the blades as they went by. The engine developed 600 hp plus a measurable amount of thrust from the exhaust augmentor tubes. The augmentor tubes were directly below the cockpit, so the extra thrust came at a price. Talk to any old Otter pilot and the first words out of their mouth after saying hello is "WHADDYA SAY???" To say the cockpit was noisy is a vast understatement. Ok, where was I?? Oh yes, some years ago after P&W invented the PT-6 light turbine engine, someone had the bright idea of dropping the old ironworks off the nose into the lake and hanging a Pratt & Whitney PT-6 up front. It worked a charm, and Texas Turbine and Vazar added their offerings as well. The old 1340 farted and snorted whereas the turbine whines, so that may have been why the turbo version of the Otter is sometimes called the Swine.
The same gentleman who commissioned the Son of Beech has also asked for a Turbo Otter. In addition to owning a couple of them plus a Beaver and a couple of Cessnas - known collectively as Slate Falls Airways - Rich is also a professional photographer who has published two volumes of aviation photographs. All of his shots are great, but some are nothing short of spectacular. Google 'Bush Flying Captured' for a preview of Rich's work.
The kit is the venerable Hobbycraft 1:48 offering. This kit is getting pretty long in the tooth and has been reissued a couple of times, but there are warping issues with it. Rich sent me two kits, one of which I used for the floats on Son of Beech, so I shall build this one on wheel skis. A friend who works for a small airline in Northern Saskatchewan has created a homemade resin kit consisting of a new nose, propeller, exhaust stubs, and engine intakes, so I'll have something to work with rather than building all that stuff from scratch. I shall add a complete interior and cockpit, cut away and reposition the control surfaces, and cut away and reposition the double slotted flaps to the takeoff position - 20 degrees, as I recall from 40 years on - and correct a few inaccuracies in the model profile.
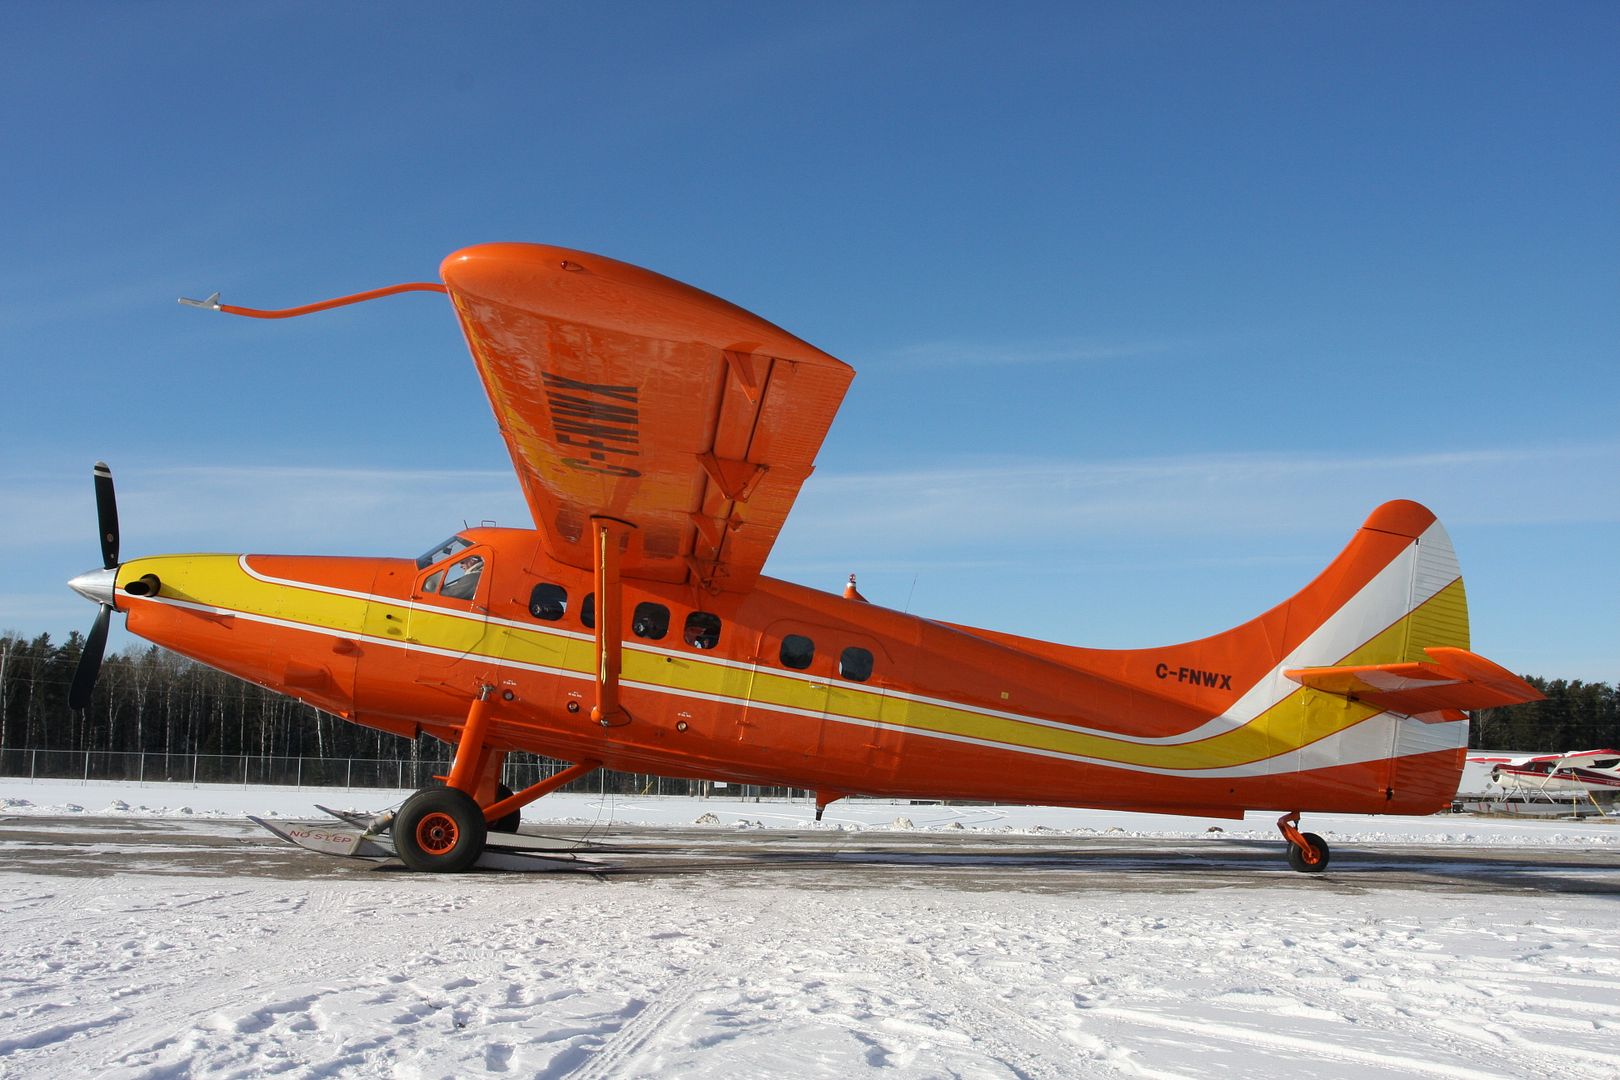
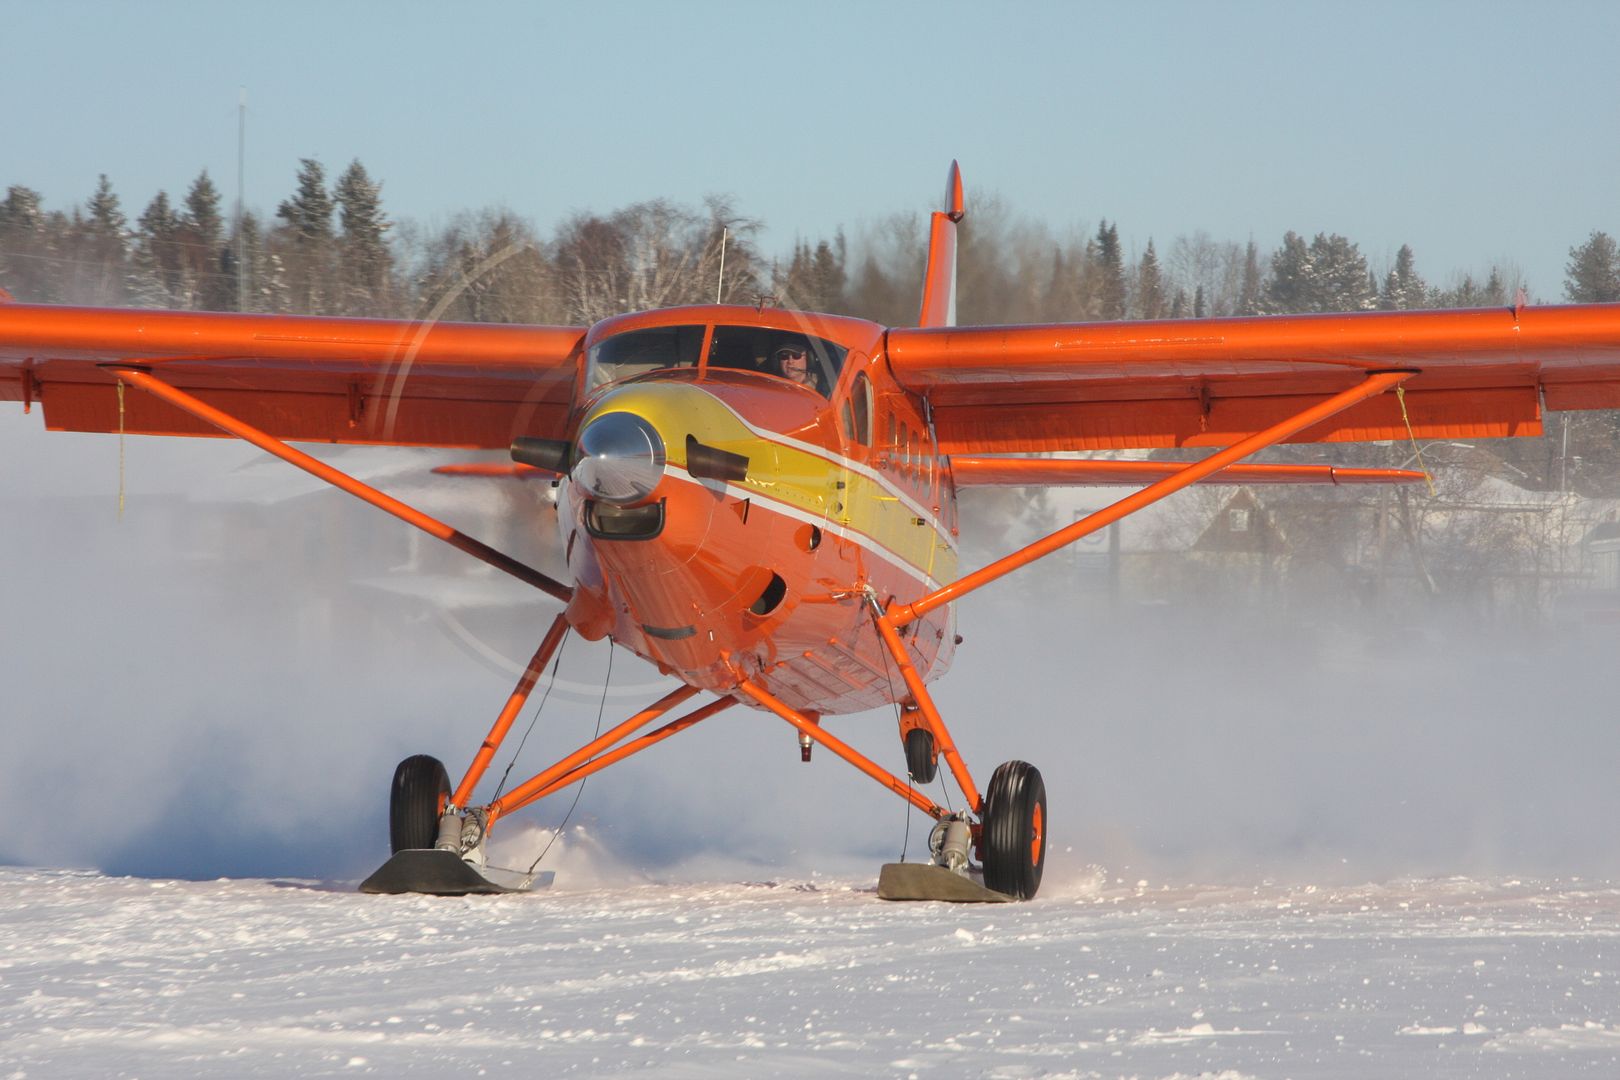
Here's a couple of pics of the example I shall attempt to replicate, C-FNWX.
So, let the cutting begin to commence.
The top of the rudder is too pointed and should be rounded off a bit. I removed about 1/16" of material by sanding it off and correcting the profile.
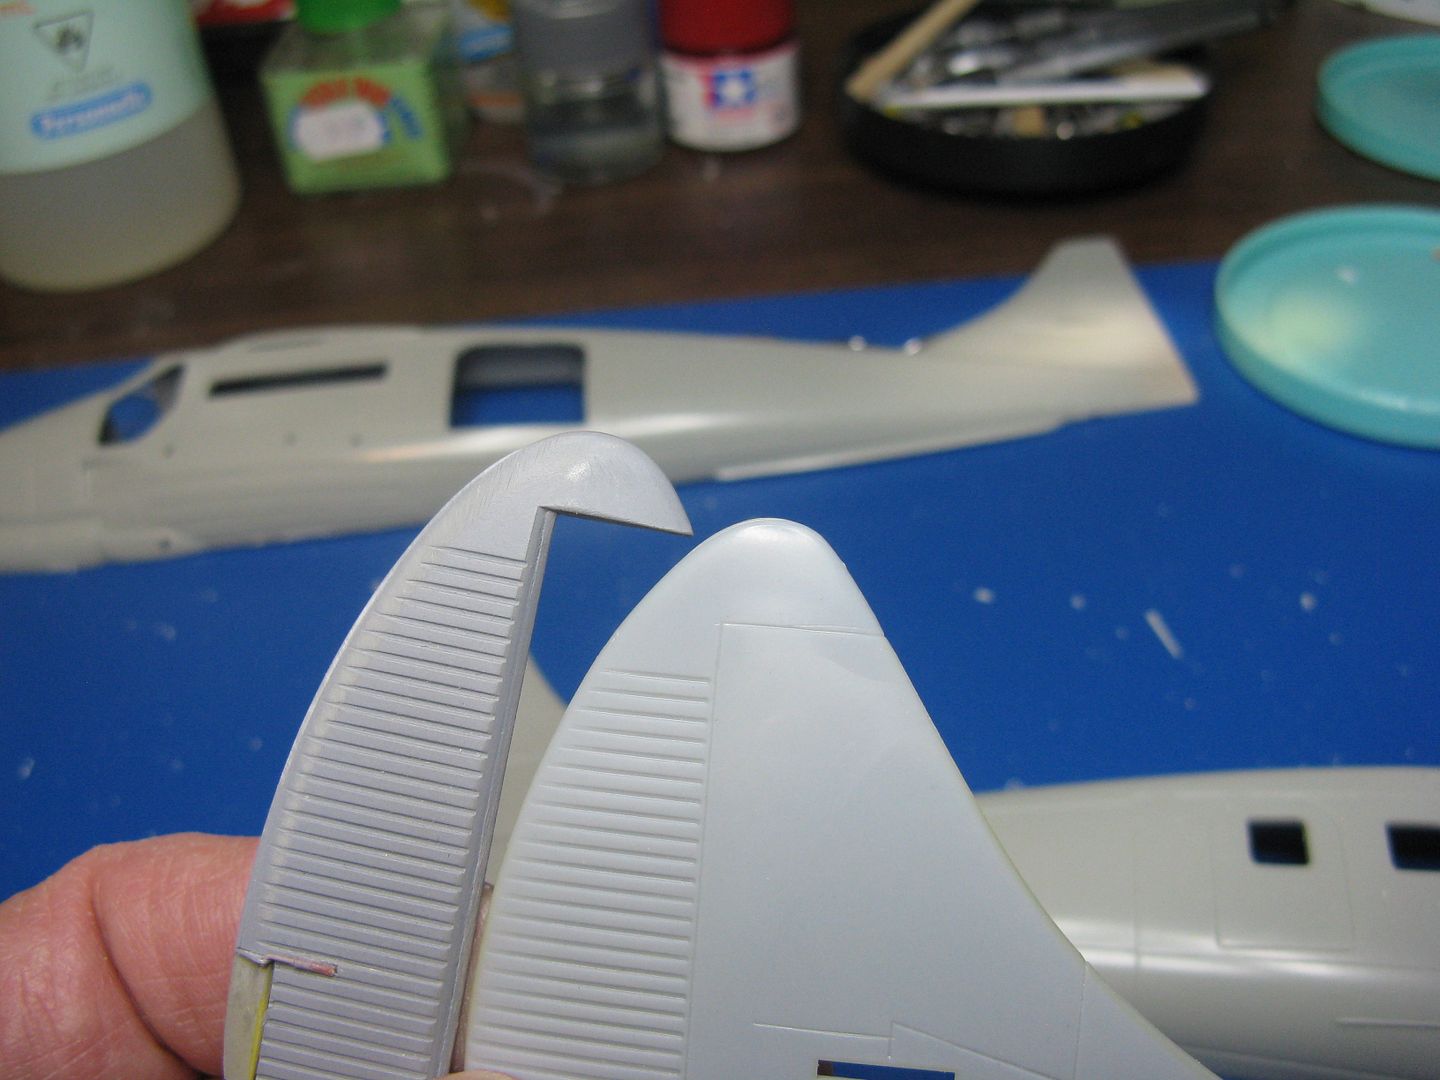
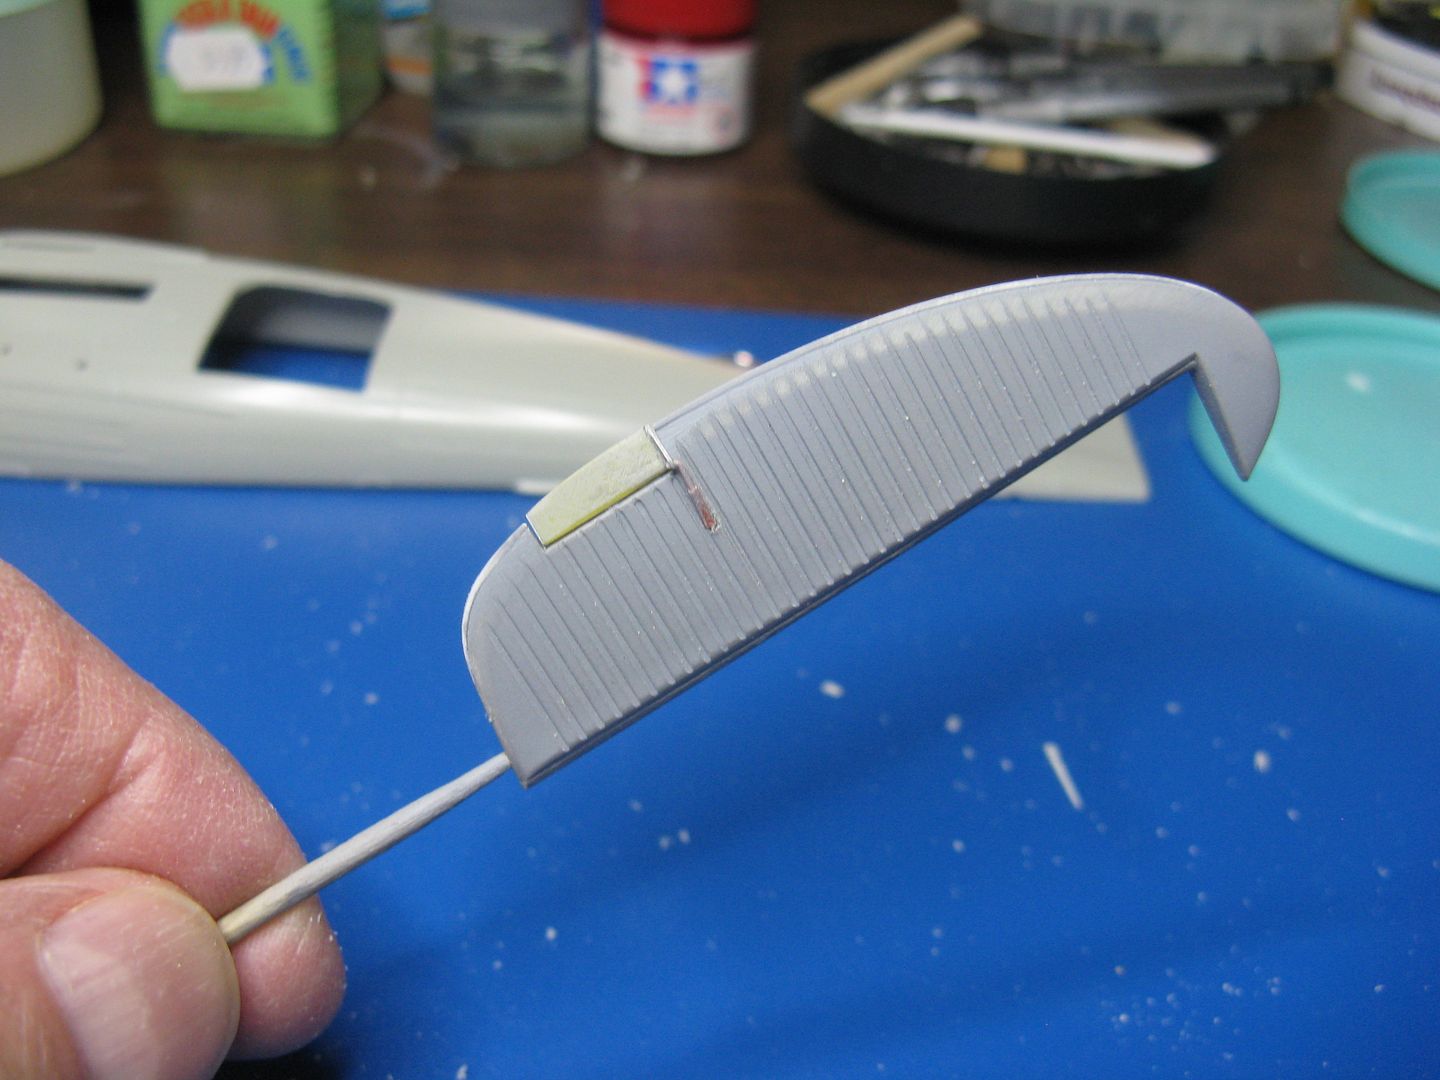
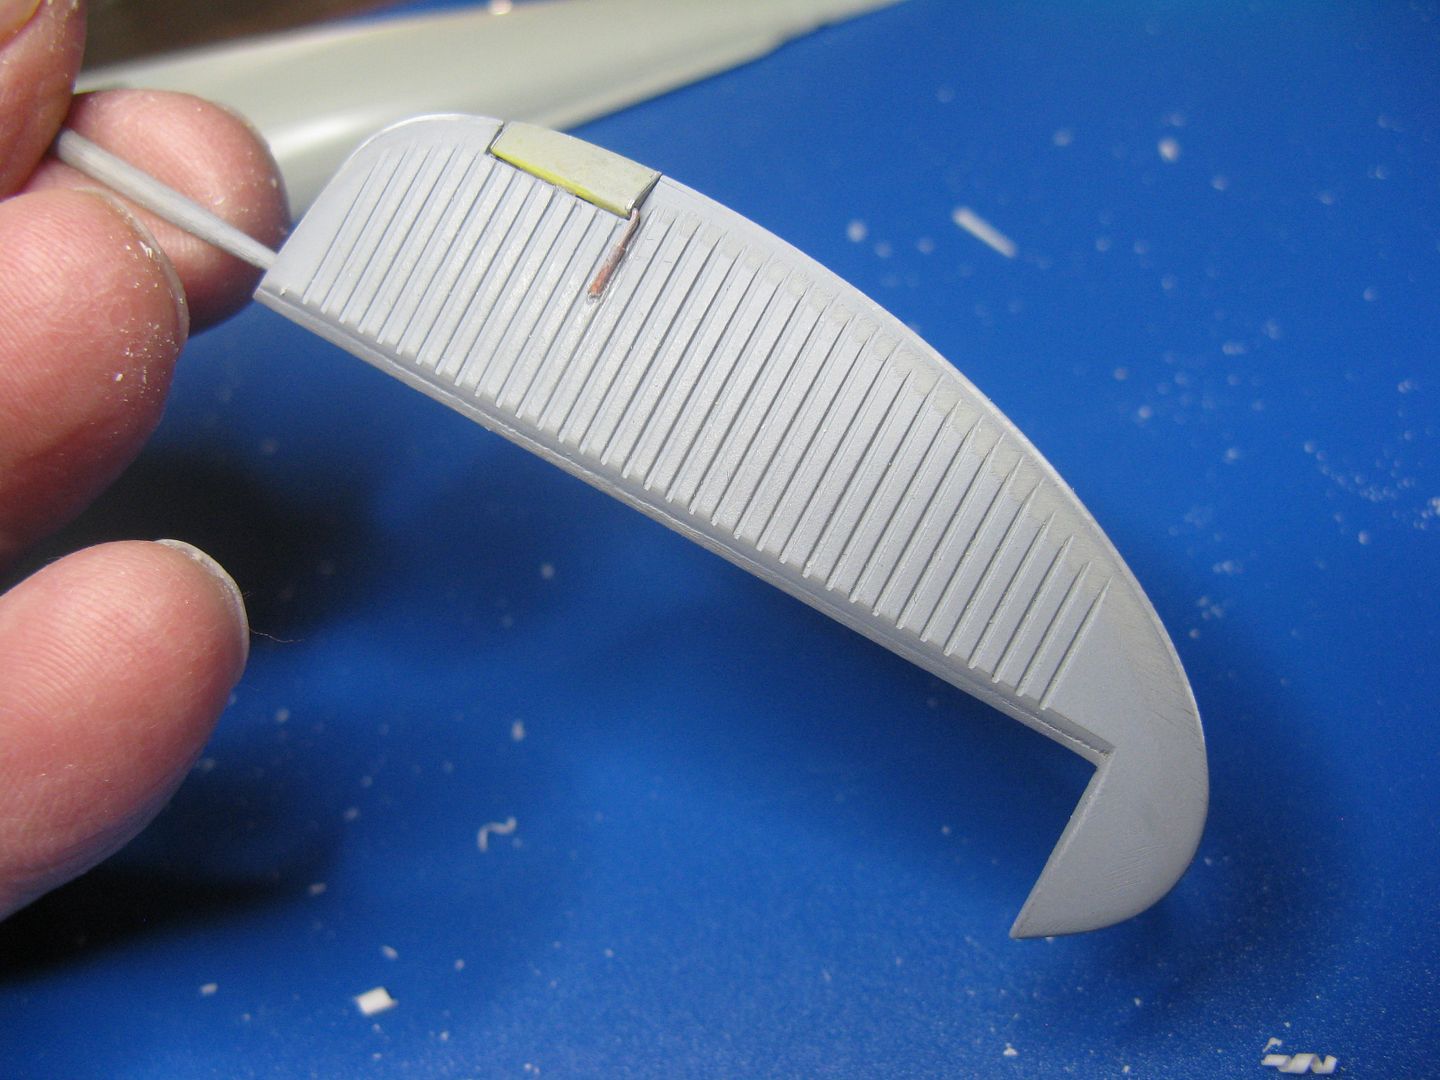
I then cut the rudder off the right hand fuselage half, straightened the leading edge and added a strip of wood to better allow the rudder to fit between the fuselage halves. Then I sanded a bit off the trailing edge and added a strip of .010 x .020 styrene to make a nice crisp trailing edge, and faired the new trailing edge into the rudder by carefully sanding a bit of material off either side of the rudder. When that was done I cut away the rudder trim tab and scratchbuilt a new one - along with an actuator - cobbled together with bits of wire and plastic.
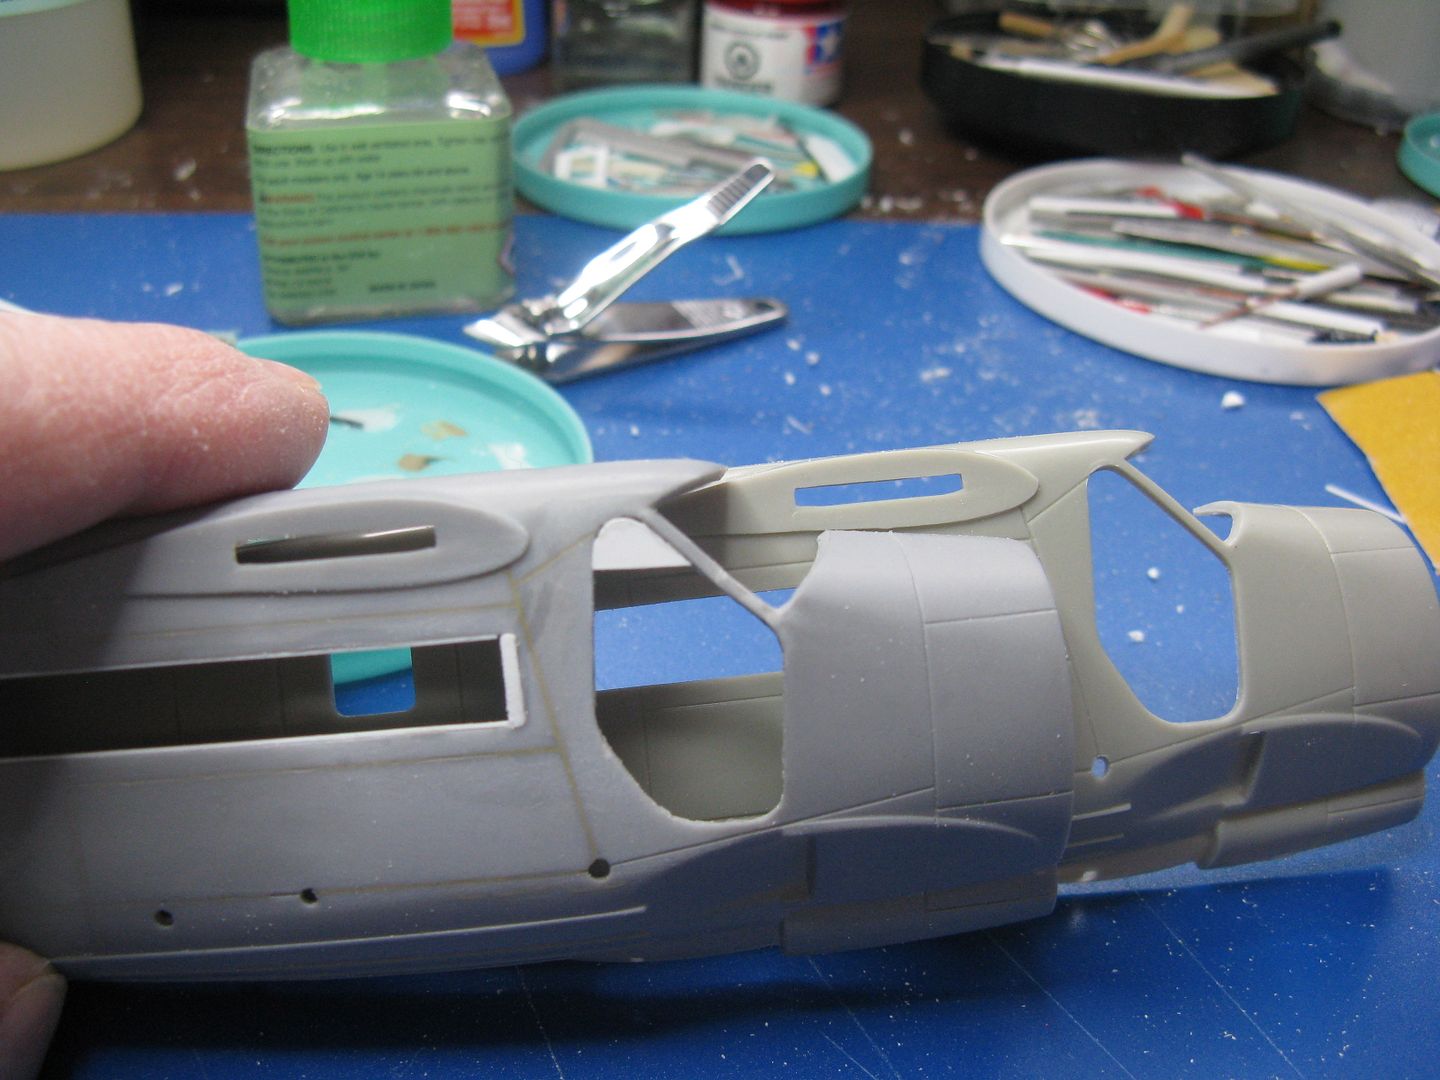
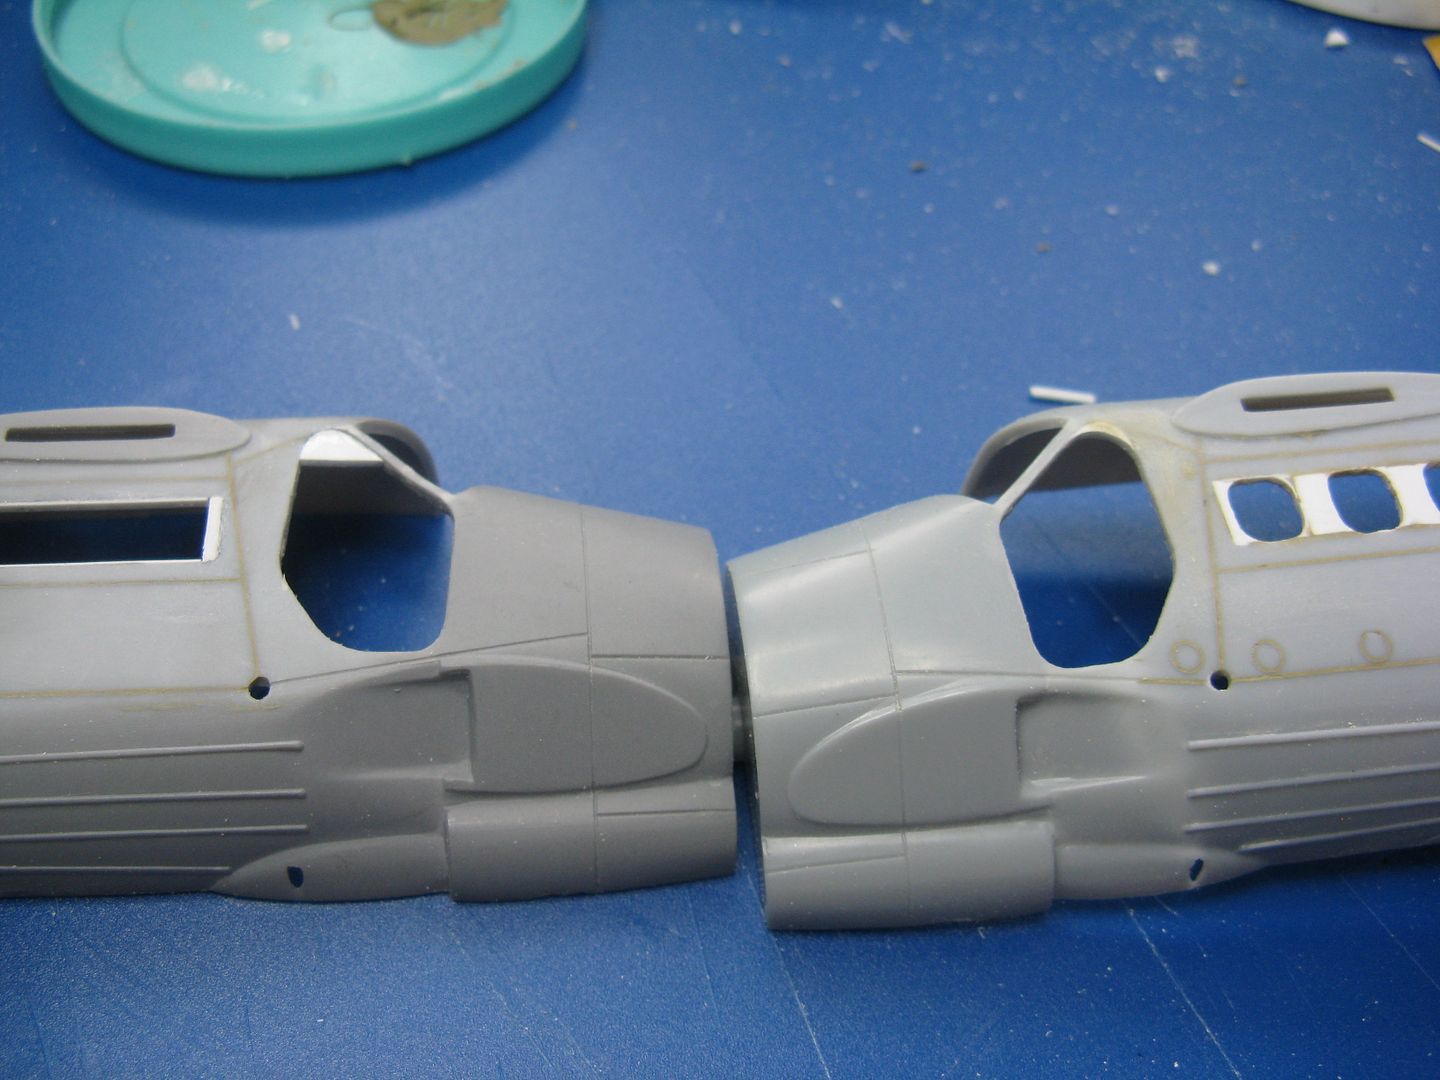
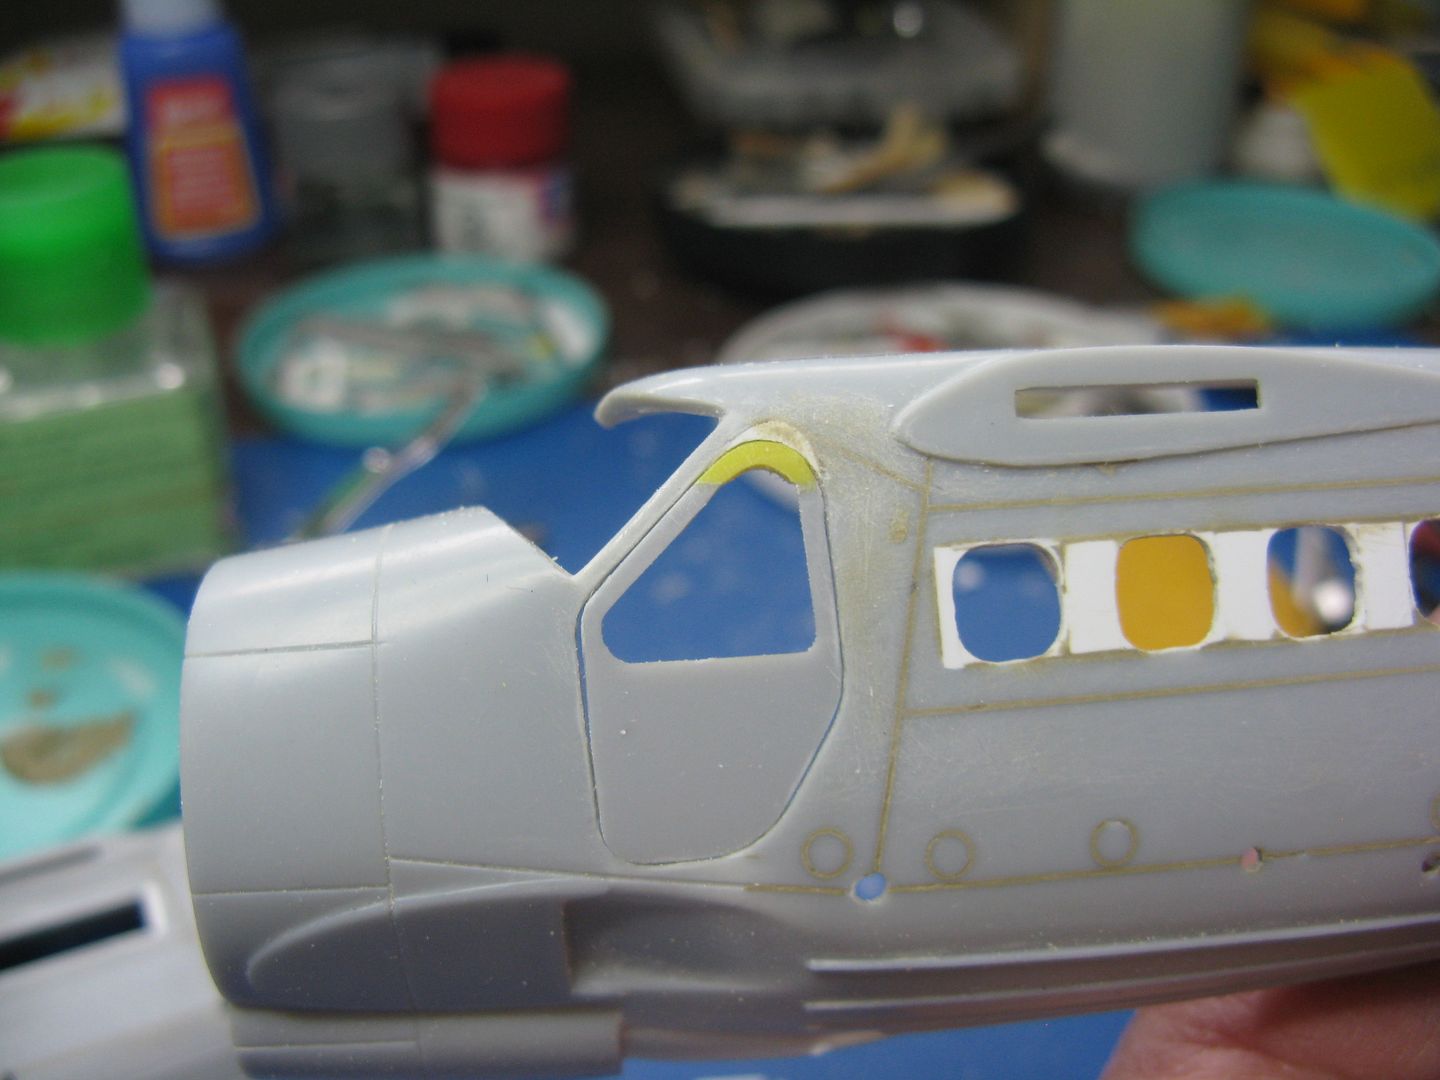
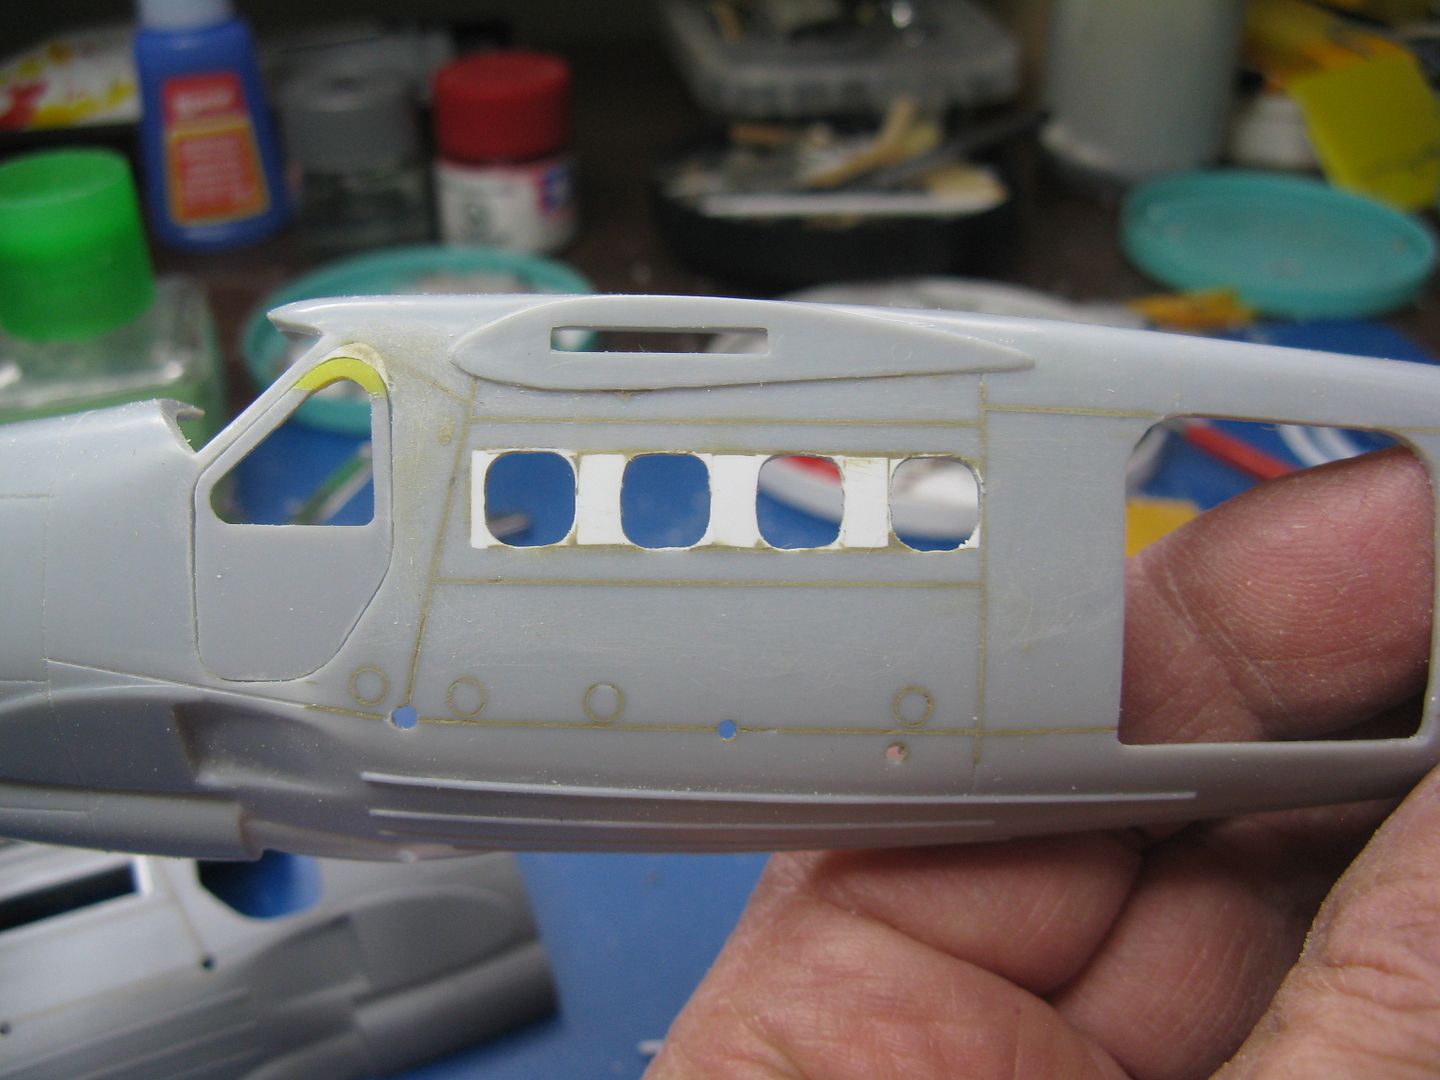
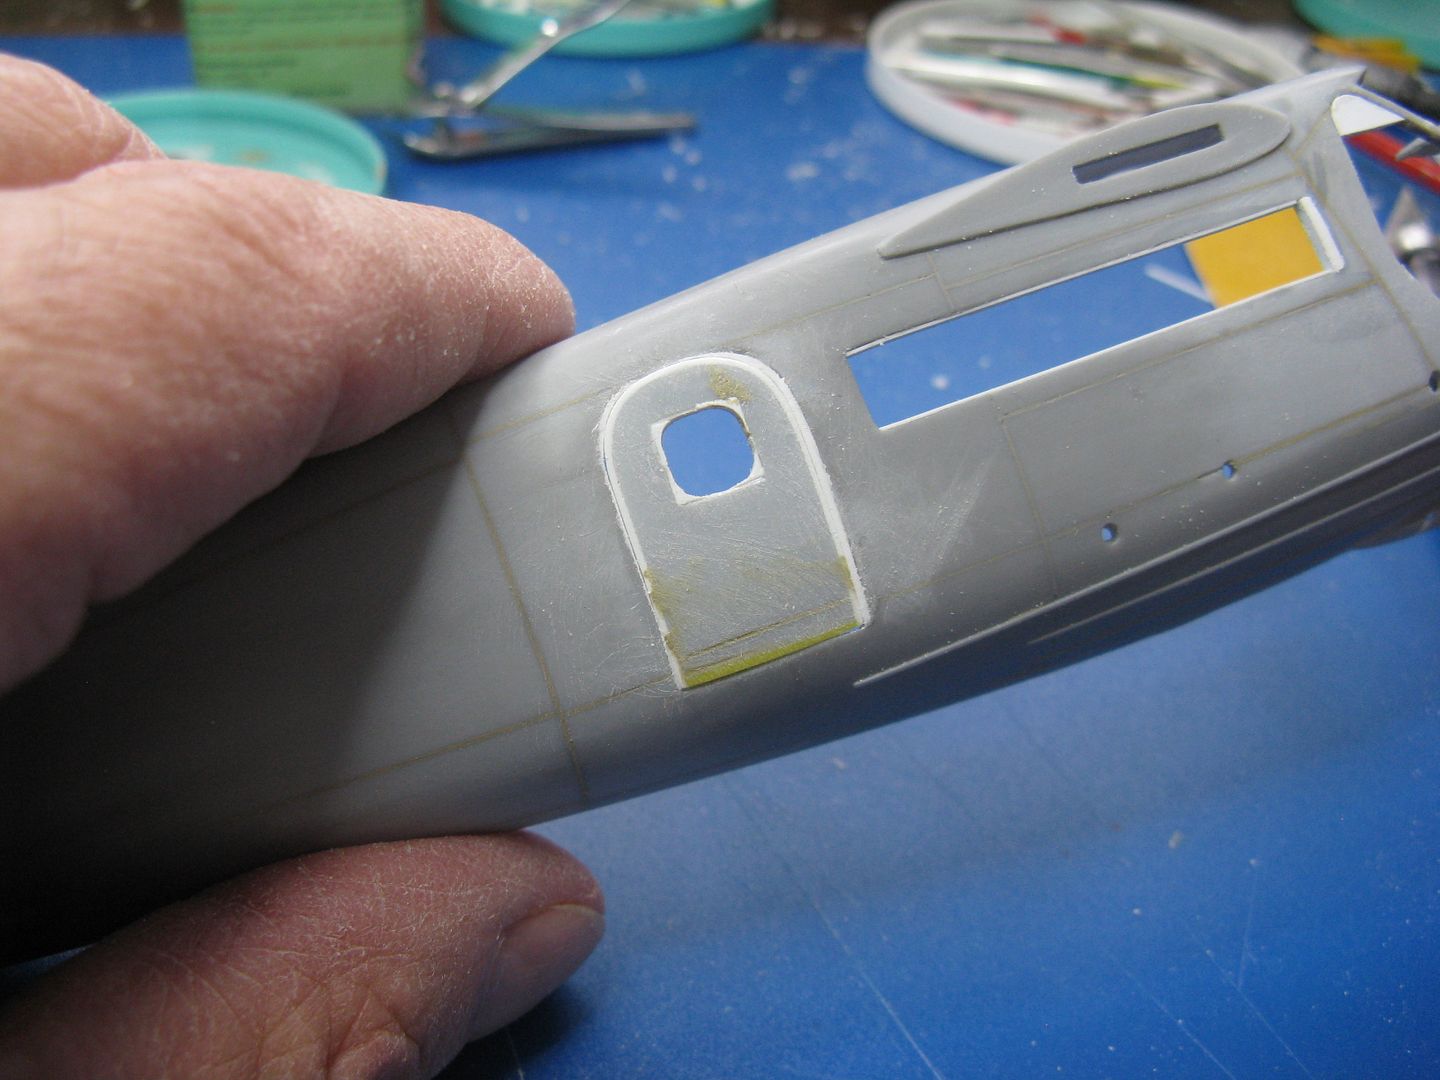
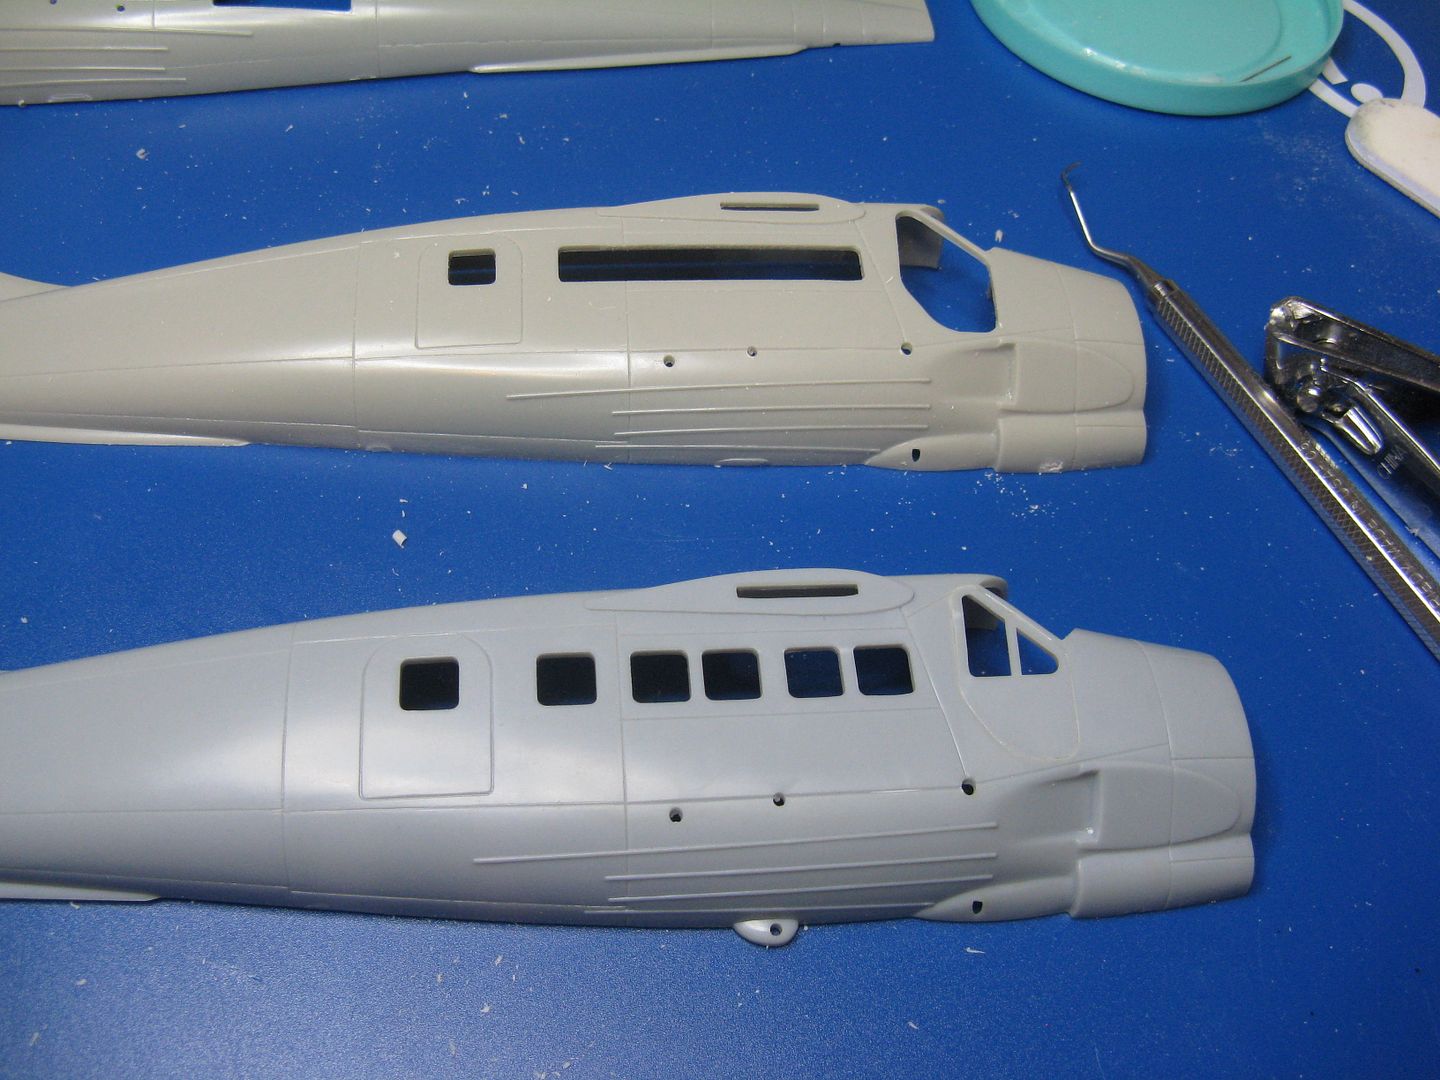
The cabin has six windows a side, equally spaced except for those in the doors. The kit cabin windows are arranged in groups of two, for some unknown reason. Since the windows on the real airplane aren't, more cutting is called for.
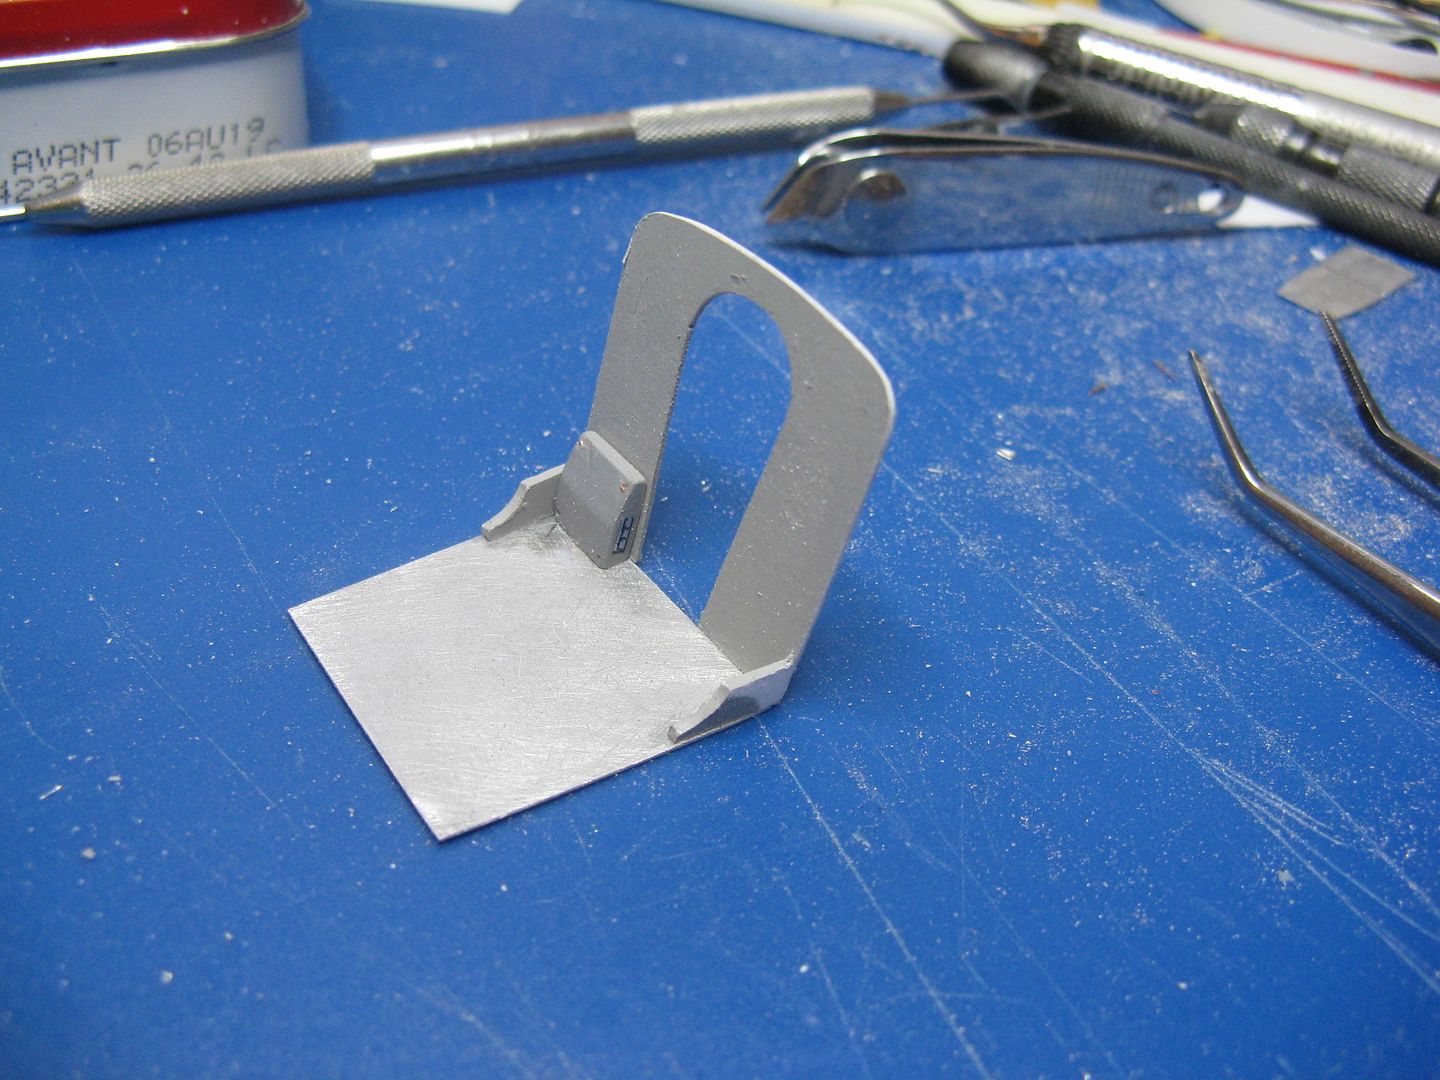
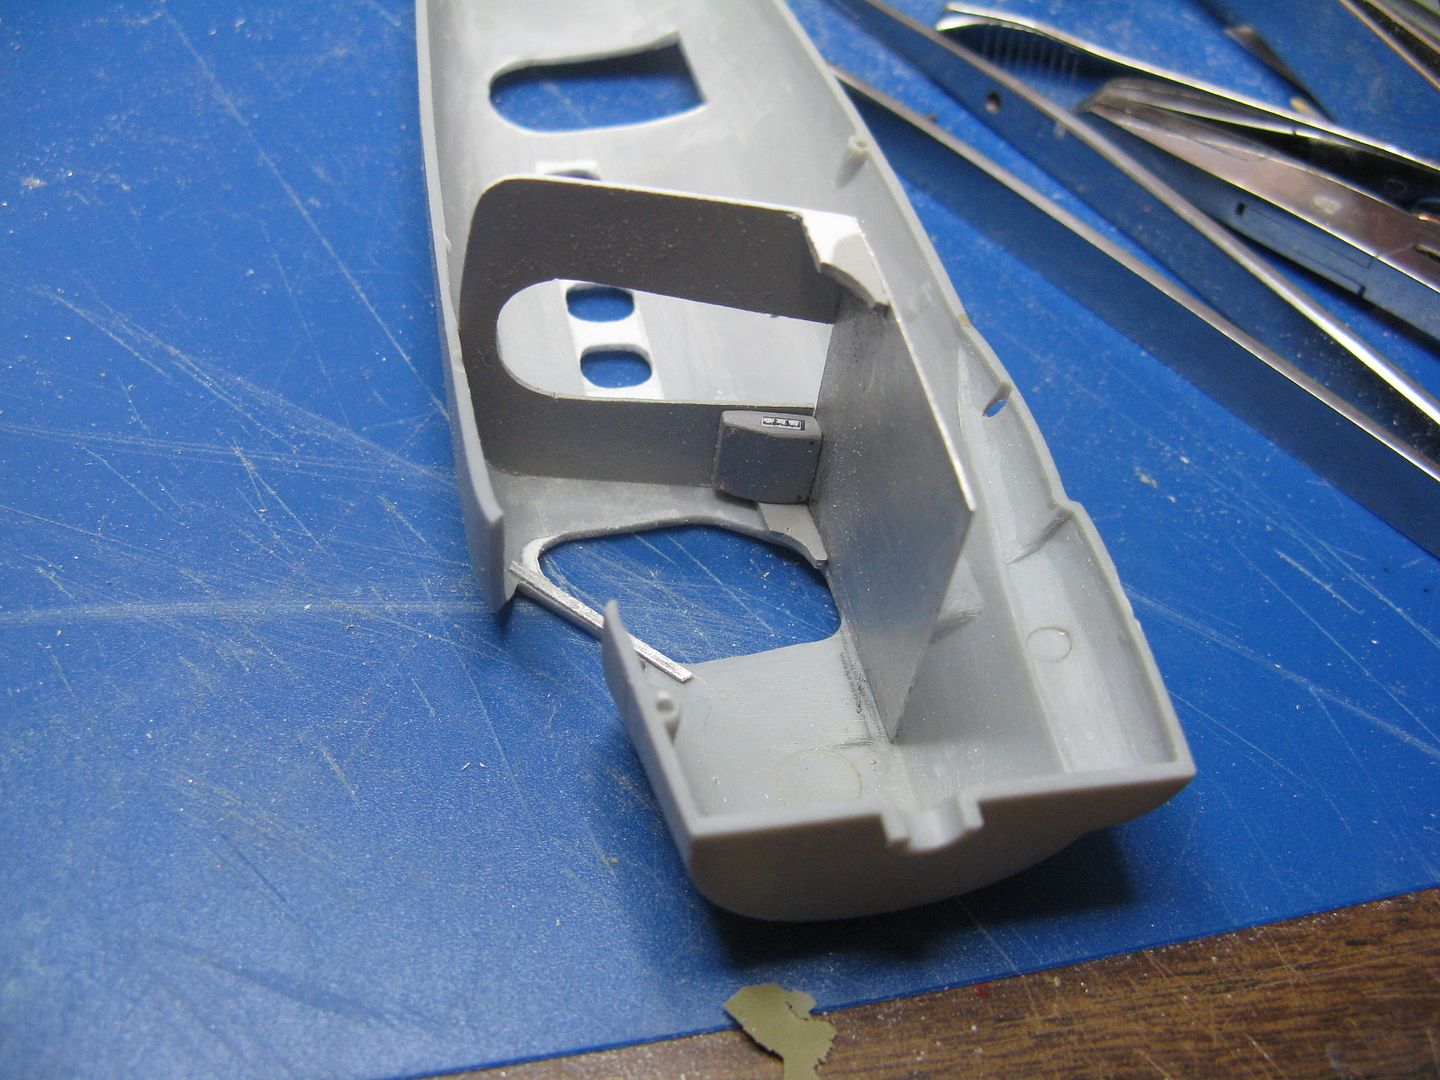
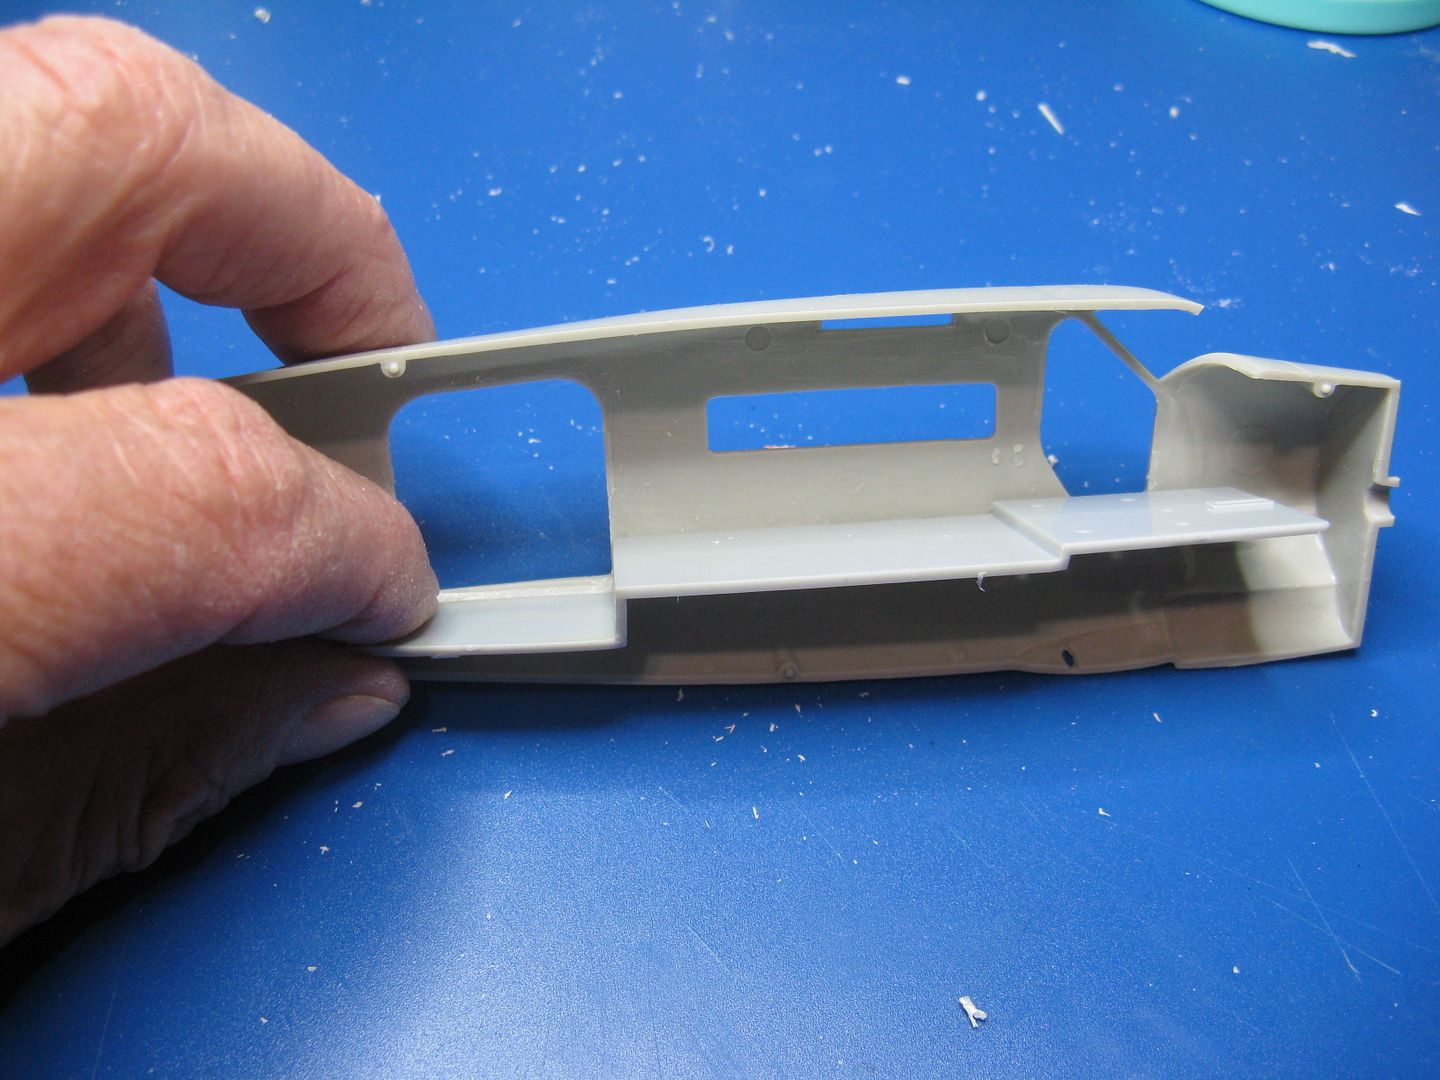
The cabin floor has a humongous step from the entrance up to the cabin. There is a step-up between the cabin and the cockpit, but it's less than a foot in height and occurs at the cockpit entrance, so I shaved off all the locating tabs inside the fuselage halves in preparation for the new interior.
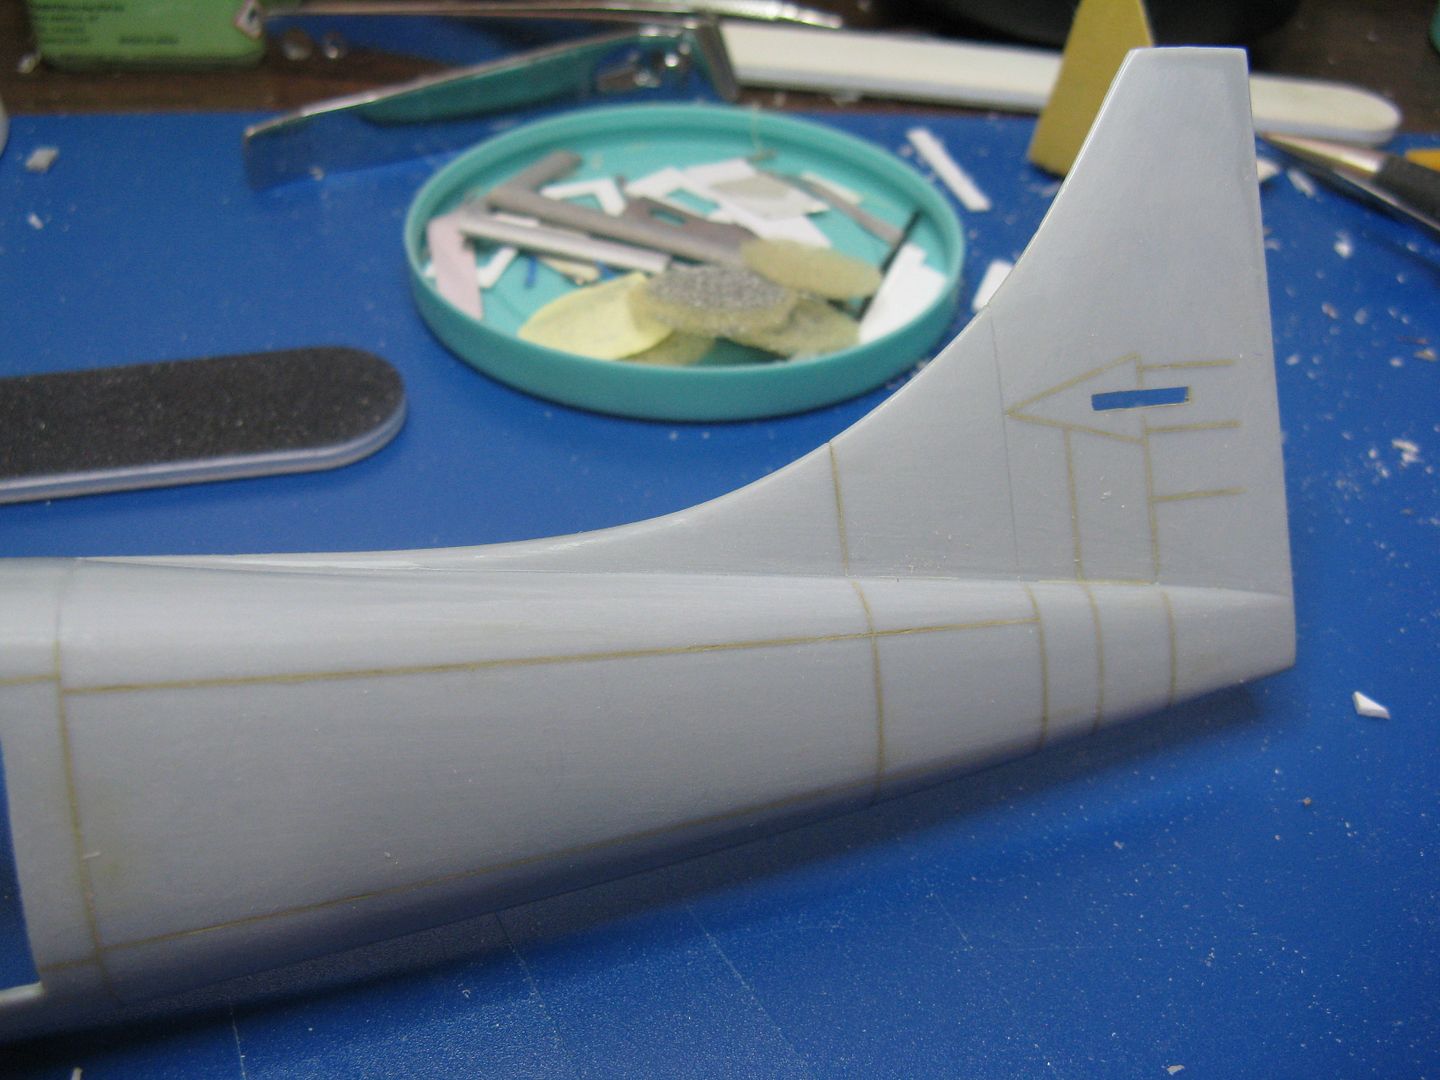
I have also filled the chasms that pass for panel lines of the model. I used an acrylic auto body filler, then sanded and polished it with a fingernail buffer stick. Works a treat. I left one panel line intact - halfway along the vertical fin - for reasons that will be explained later.
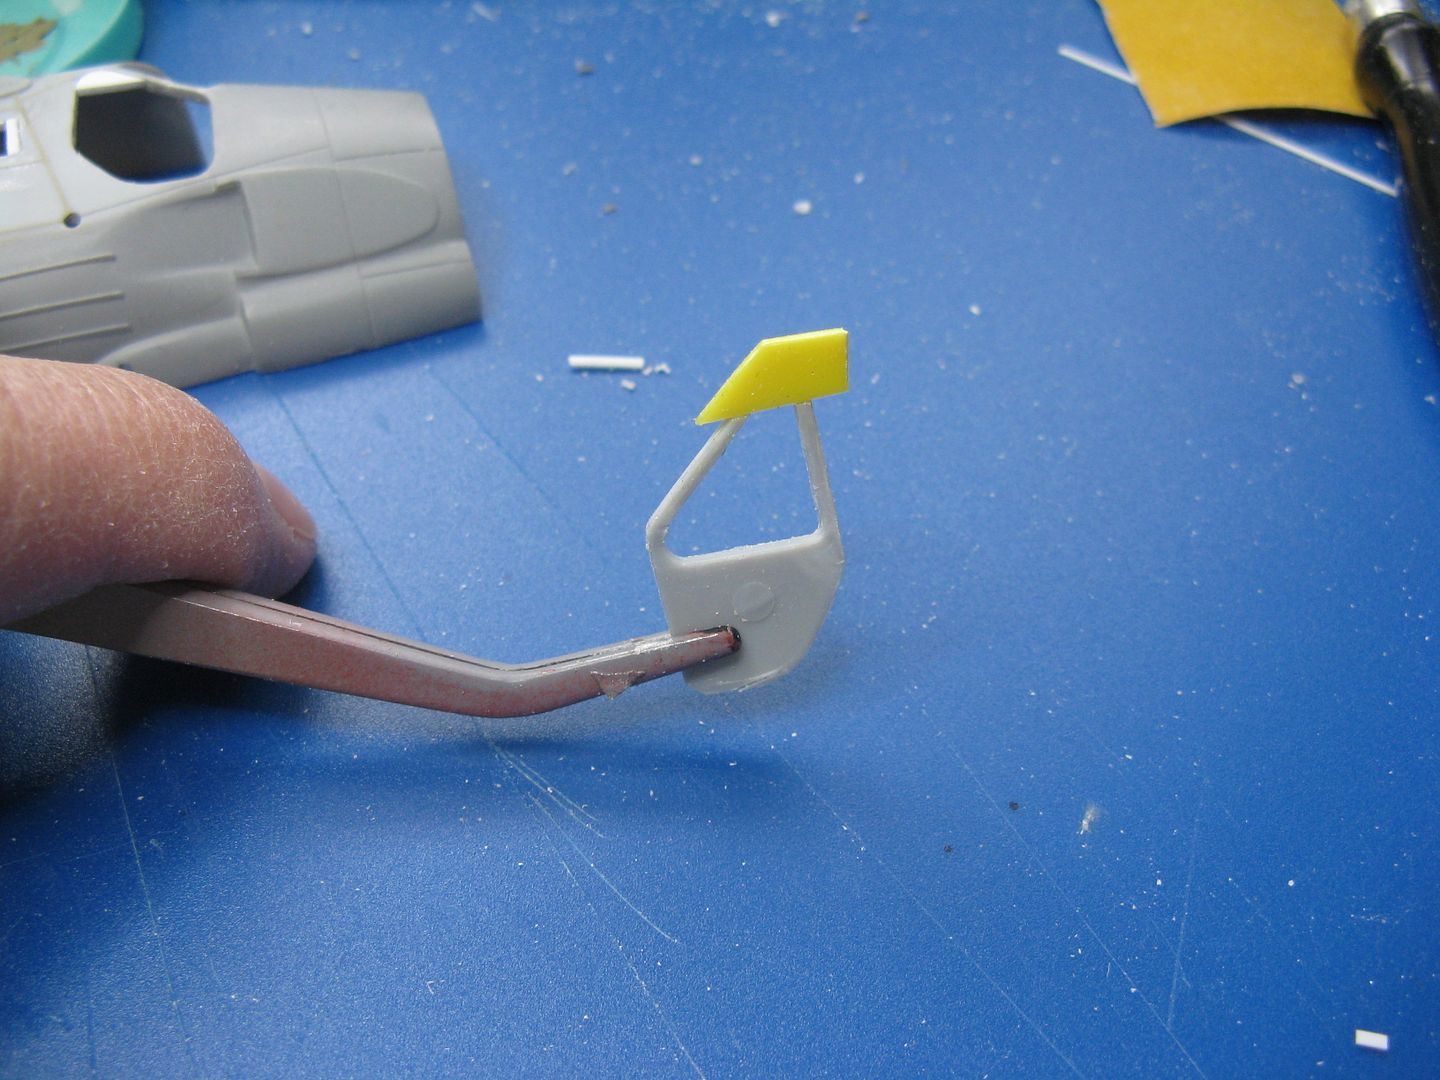
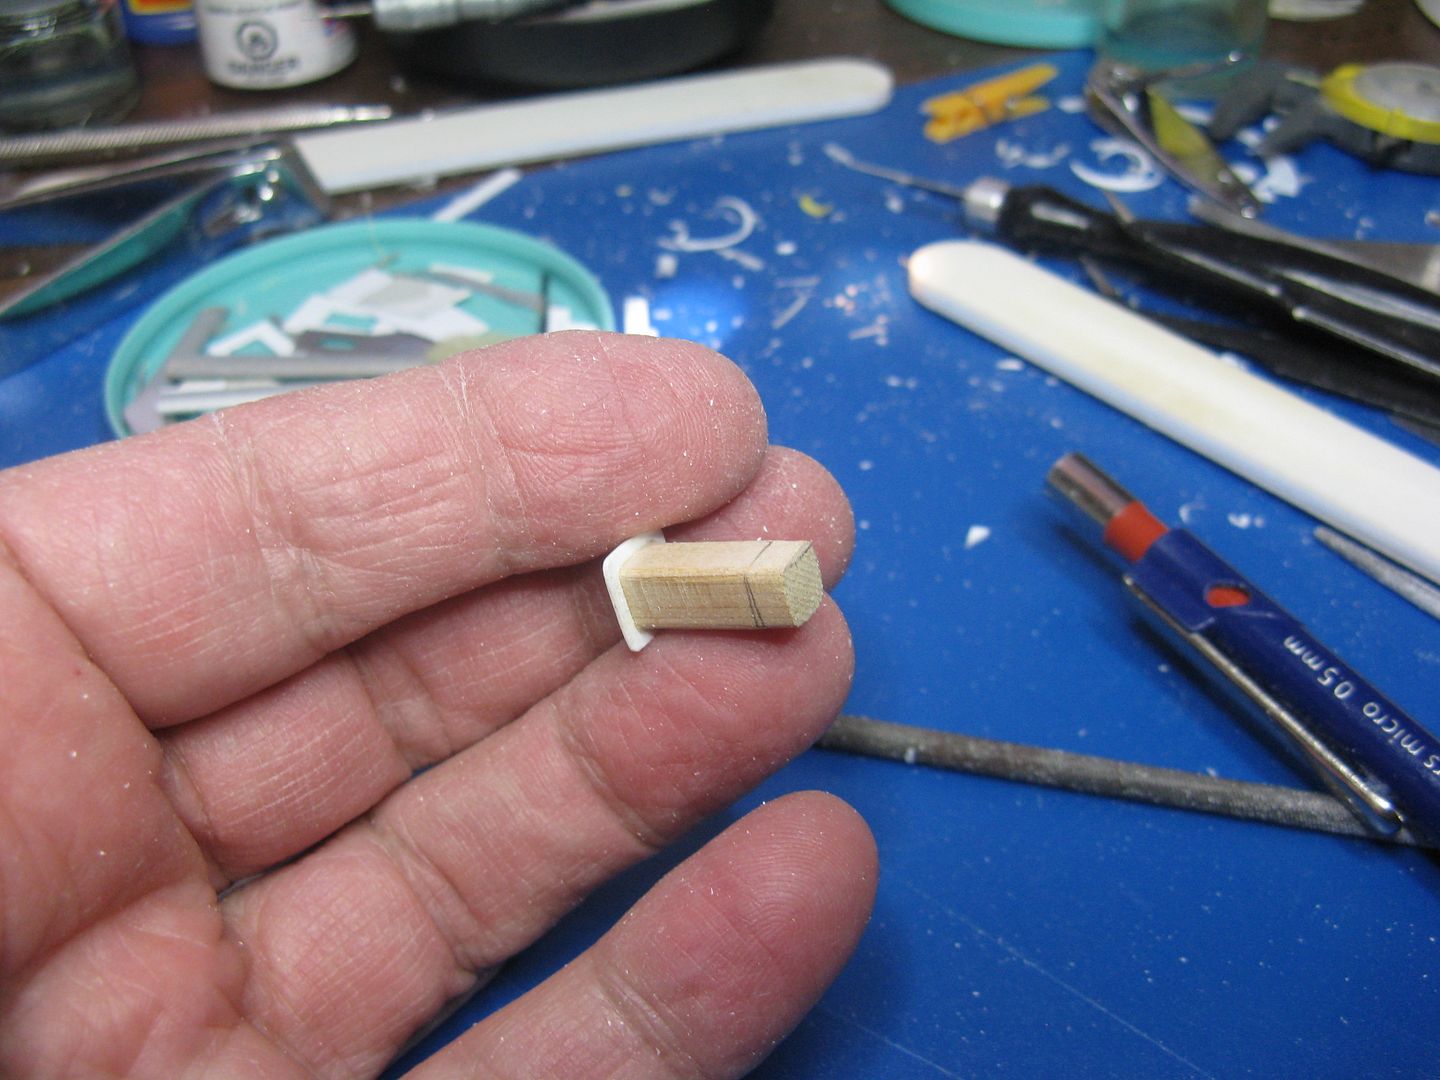
On to the windows. After hacking away the window posts I cut new ones, six scale inches wide, and glued them into the cut out opening. To space them evenly, I used this jiglet. The jiglet - it's too small to be called a jig - is cleverly constructed from a bit of cedar shim and plastic and is about the same scale size as the real window.
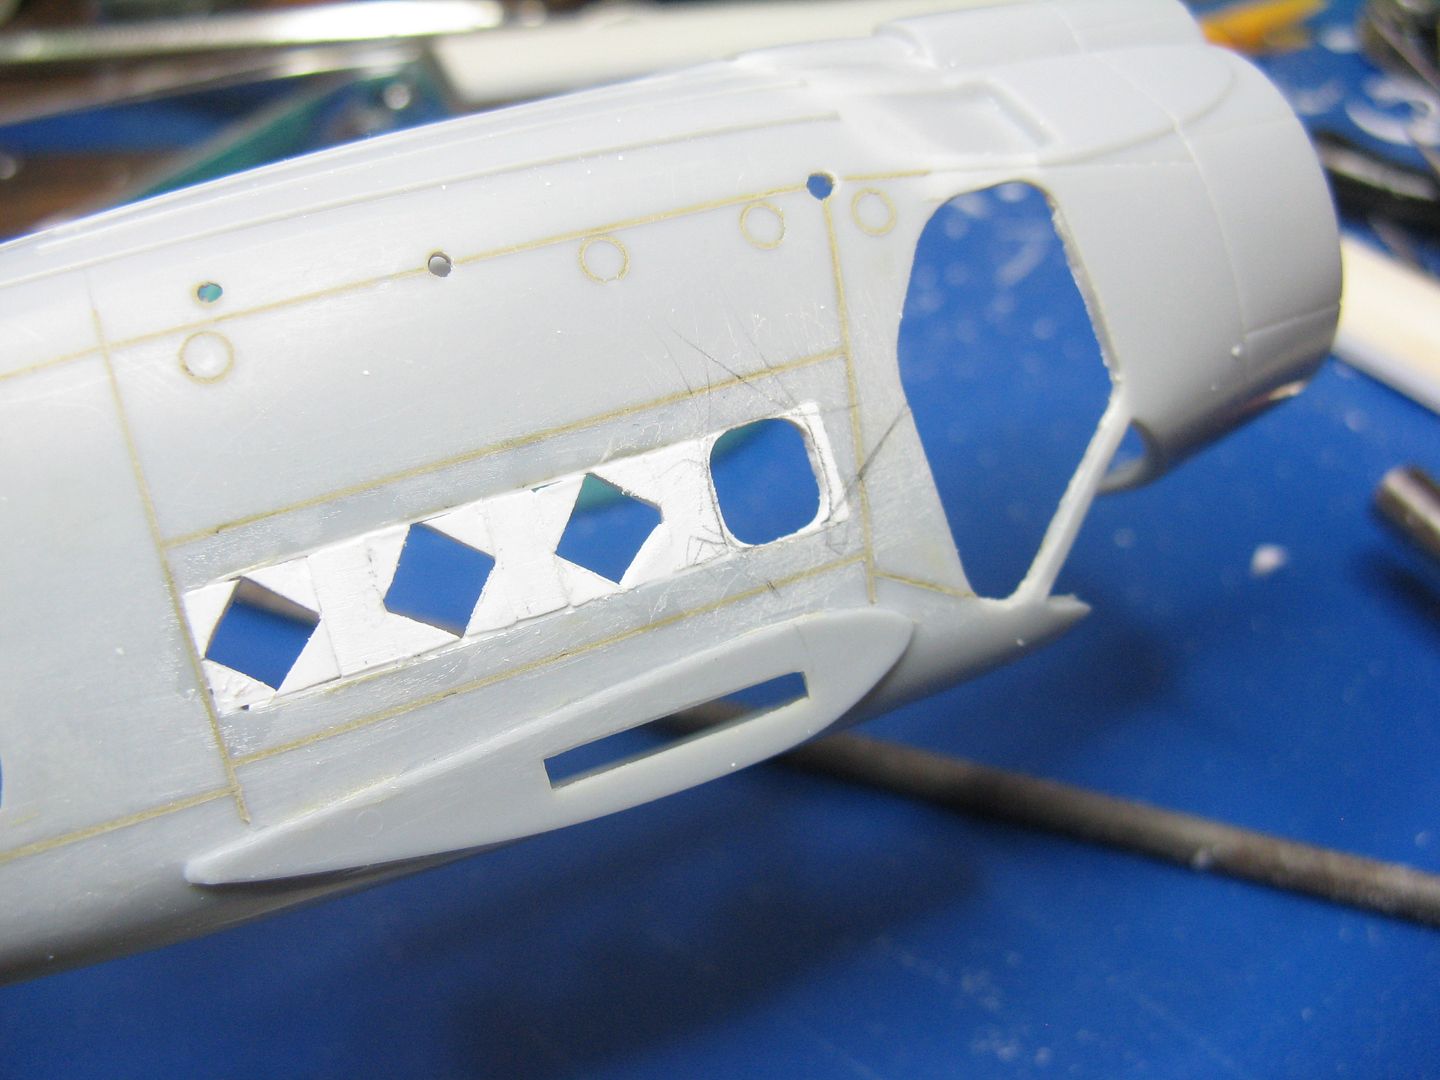
The cabin windows have rounded corners, so after the posts were glued in place I cut some 45-degree angles from a bit of scrap styrene and glued them in place in the corners of the window openings, ready to be rounded off. The result resembles the dreaded opera windows a la 1980 Chrysler Cordoba! I half expected Ricardo Montalban to jump out of my closet and yell "Rich Corinthian leather!"
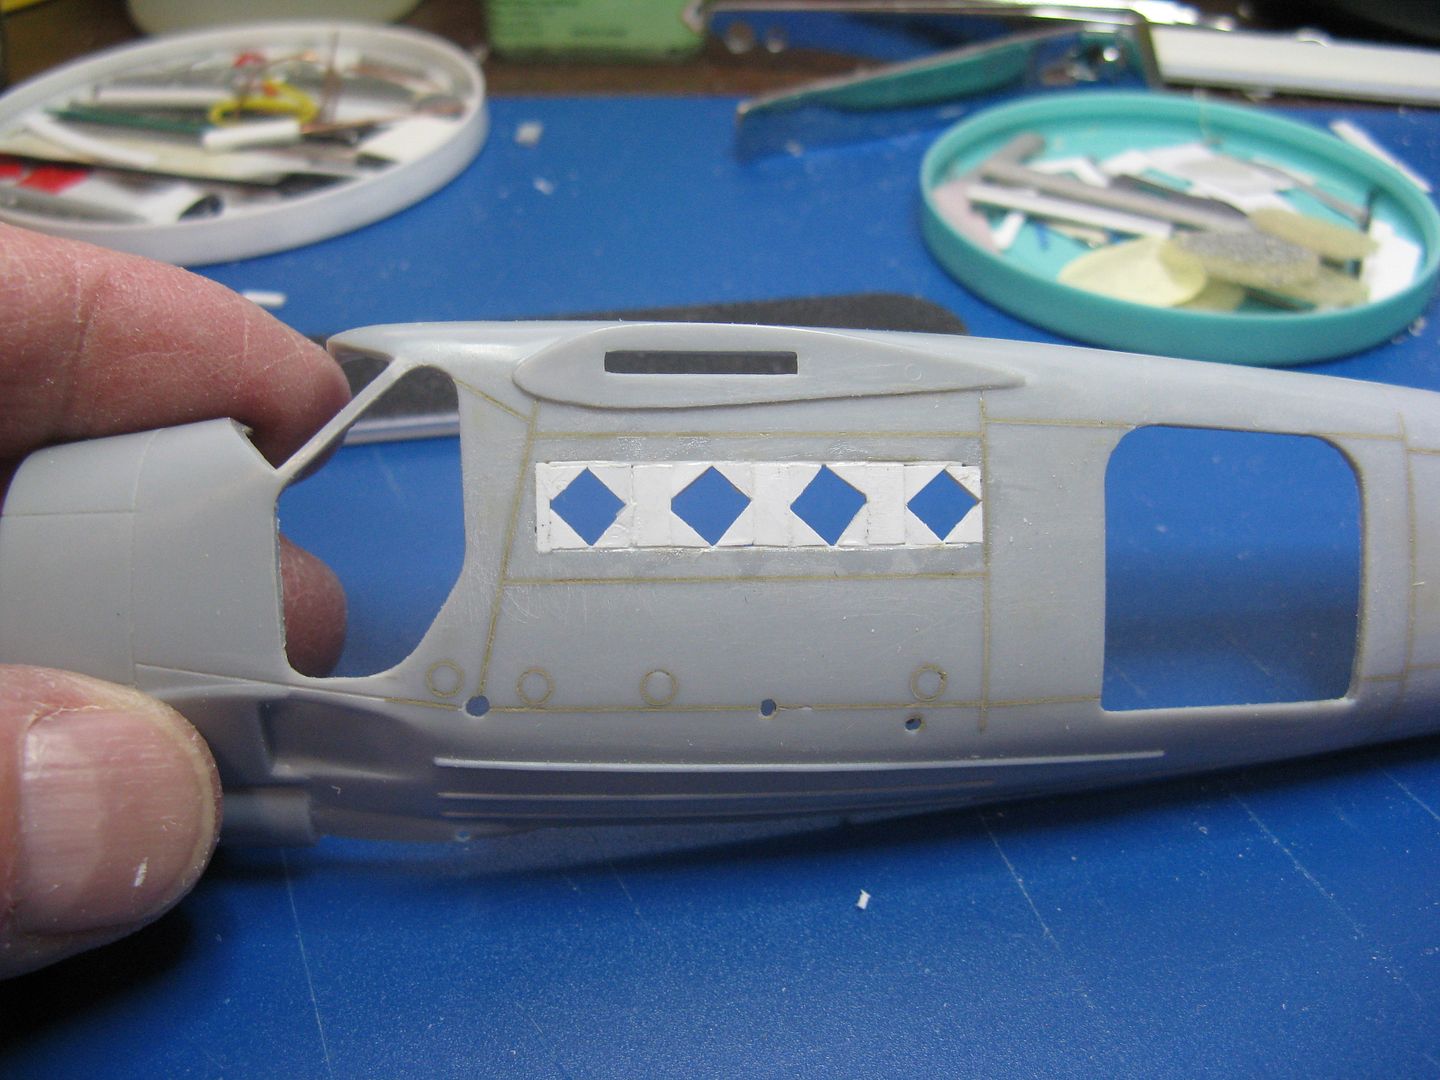
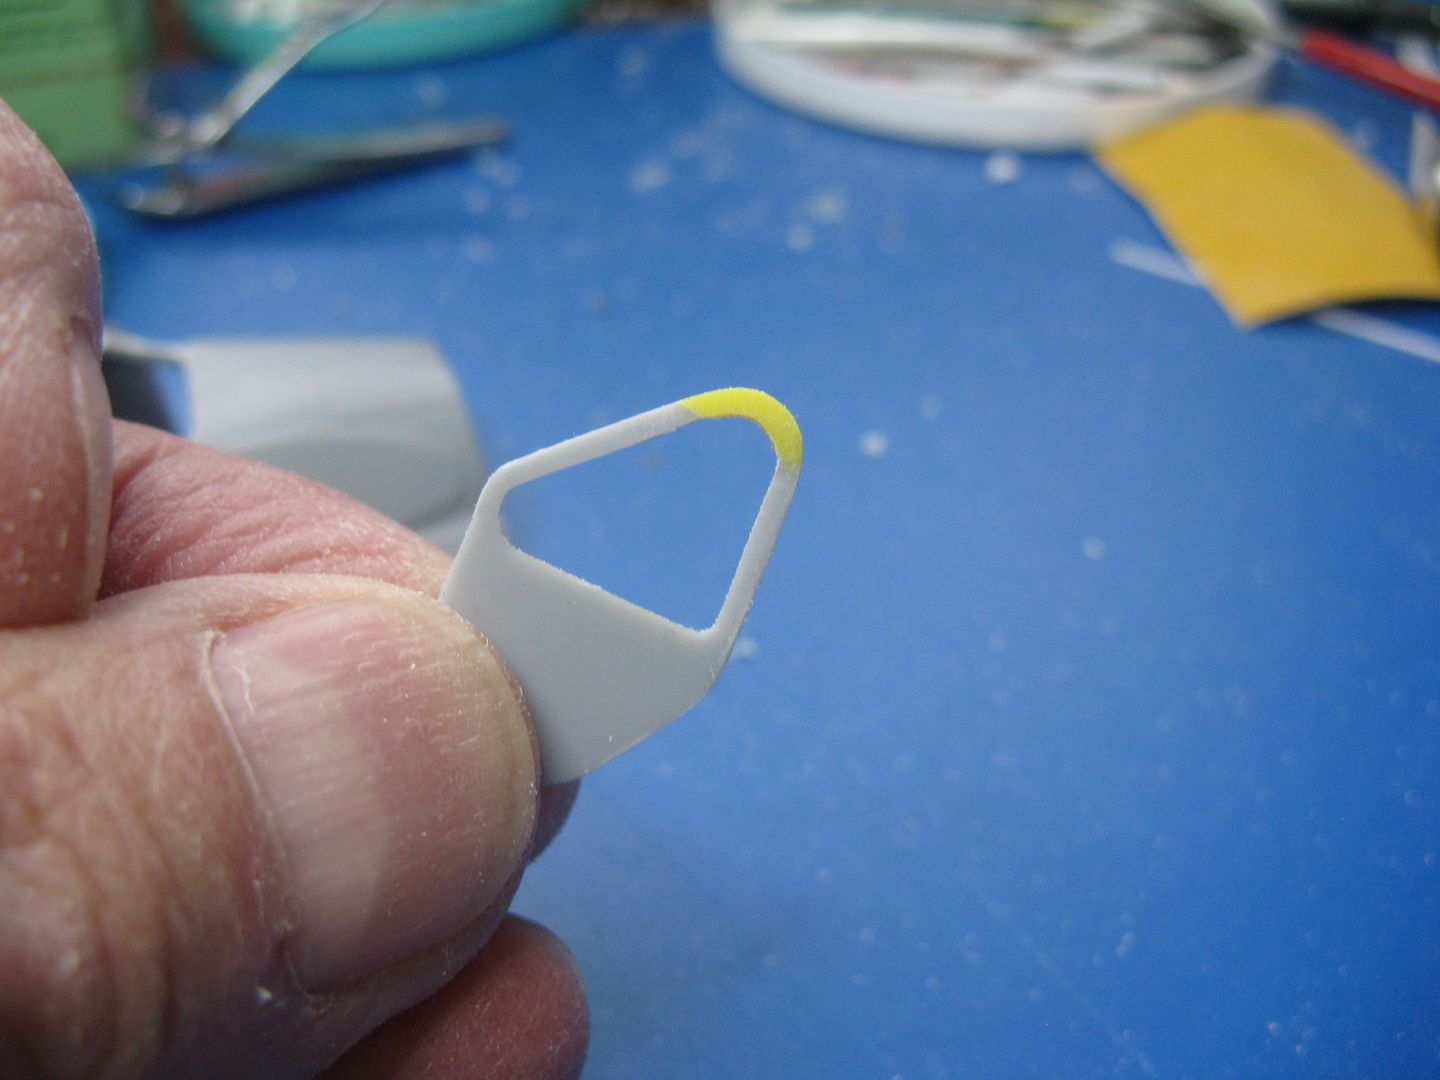
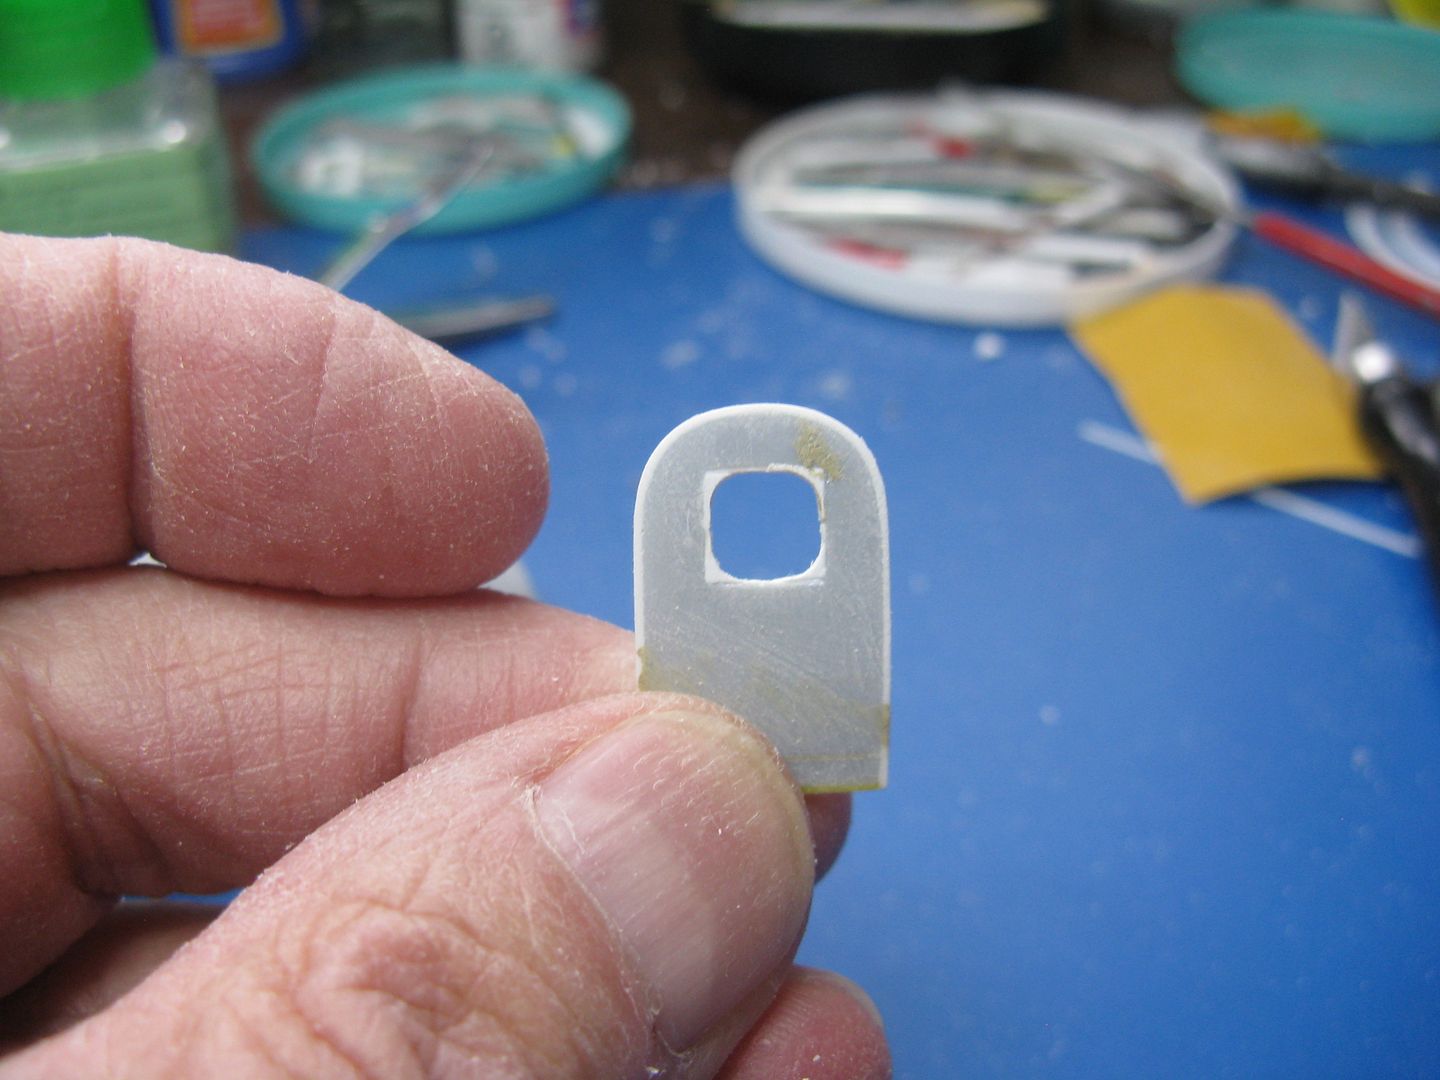
One window has been firkytoodled into shape using various sizes of round and semi round files.
The piston Otter was known fondly as the Stoneboat. I have no idea why, but suspect it was because they cruised at about the same speed. The Otter was an 8000 lb. airplane that used a geared version of the bulletproof Pratt & Whitney R1340. The gearing was 2:3 thus at the cruise setting of 1800 RPM the prop turned at 1200 RPM. Bored pilots would count the blades as they went by. The engine developed 600 hp plus a measurable amount of thrust from the exhaust augmentor tubes. The augmentor tubes were directly below the cockpit, so the extra thrust came at a price. Talk to any old Otter pilot and the first words out of their mouth after saying hello is "WHADDYA SAY???" To say the cockpit was noisy is a vast understatement. Ok, where was I?? Oh yes, some years ago after P&W invented the PT-6 light turbine engine, someone had the bright idea of dropping the old ironworks off the nose into the lake and hanging a Pratt & Whitney PT-6 up front. It worked a charm, and Texas Turbine and Vazar added their offerings as well. The old 1340 farted and snorted whereas the turbine whines, so that may have been why the turbo version of the Otter is sometimes called the Swine.
The same gentleman who commissioned the Son of Beech has also asked for a Turbo Otter. In addition to owning a couple of them plus a Beaver and a couple of Cessnas - known collectively as Slate Falls Airways - Rich is also a professional photographer who has published two volumes of aviation photographs. All of his shots are great, but some are nothing short of spectacular. Google 'Bush Flying Captured' for a preview of Rich's work.
The kit is the venerable Hobbycraft 1:48 offering. This kit is getting pretty long in the tooth and has been reissued a couple of times, but there are warping issues with it. Rich sent me two kits, one of which I used for the floats on Son of Beech, so I shall build this one on wheel skis. A friend who works for a small airline in Northern Saskatchewan has created a homemade resin kit consisting of a new nose, propeller, exhaust stubs, and engine intakes, so I'll have something to work with rather than building all that stuff from scratch. I shall add a complete interior and cockpit, cut away and reposition the control surfaces, and cut away and reposition the double slotted flaps to the takeoff position - 20 degrees, as I recall from 40 years on - and correct a few inaccuracies in the model profile.
Here's a couple of pics of the example I shall attempt to replicate, C-FNWX.


So, let the cutting begin to commence.
The top of the rudder is too pointed and should be rounded off a bit. I removed about 1/16" of material by sanding it off and correcting the profile.

I then cut the rudder off the right hand fuselage half, straightened the leading edge and added a strip of wood to better allow the rudder to fit between the fuselage halves. Then I sanded a bit off the trailing edge and added a strip of .010 x .020 styrene to make a nice crisp trailing edge, and faired the new trailing edge into the rudder by carefully sanding a bit of material off either side of the rudder. When that was done I cut away the rudder trim tab and scratchbuilt a new one - along with an actuator - cobbled together with bits of wire and plastic.


The cabin has six windows a side, equally spaced except for those in the doors. The kit cabin windows are arranged in groups of two, for some unknown reason. Since the windows on the real airplane aren't, more cutting is called for.

The cabin floor has a humongous step from the entrance up to the cabin. There is a step-up between the cabin and the cockpit, but it's less than a foot in height and occurs at the cockpit entrance, so I shaved off all the locating tabs inside the fuselage halves in preparation for the new interior.

I have also filled the chasms that pass for panel lines of the model. I used an acrylic auto body filler, then sanded and polished it with a fingernail buffer stick. Works a treat. I left one panel line intact - halfway along the vertical fin - for reasons that will be explained later.

On to the windows. After hacking away the window posts I cut new ones, six scale inches wide, and glued them into the cut out opening. To space them evenly, I used this jiglet. The jiglet - it's too small to be called a jig - is cleverly constructed from a bit of cedar shim and plastic and is about the same scale size as the real window.

The cabin windows have rounded corners, so after the posts were glued in place I cut some 45-degree angles from a bit of scrap styrene and glued them in place in the corners of the window openings, ready to be rounded off. The result resembles the dreaded opera windows a la 1980 Chrysler Cordoba! I half expected Ricardo Montalban to jump out of my closet and yell "Rich Corinthian leather!"

One window has been firkytoodled into shape using various sizes of round and semi round files.


