The previous updates were all about the work done so far. With this one the thread will be in present time. From now on it's live!
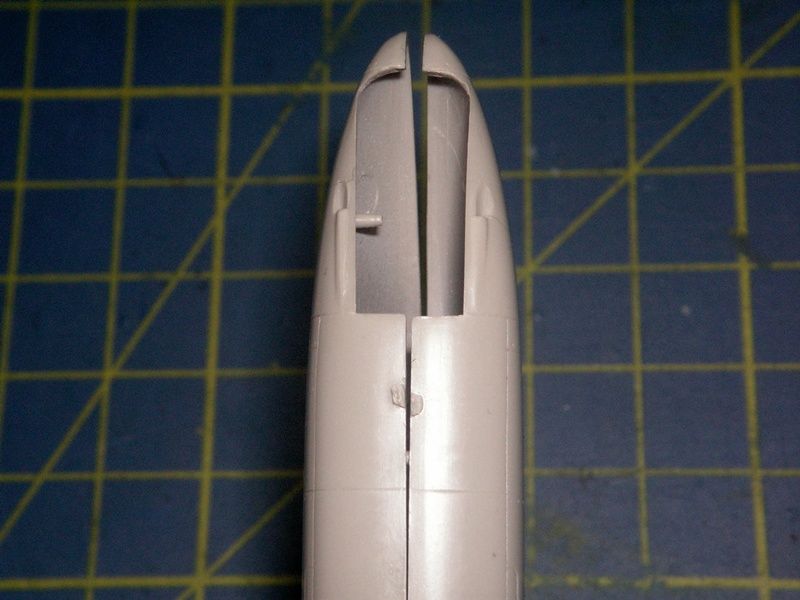
With the fuselage buttoned up, it was time to have a look at the canopy. The Revell part is one-piece and on the thick side.
Can't see much of what's inside, can you? I decided to give a shot at separating the windshield. I used my thread-saw: a simple sewing thread mounted in a frame. It is slow going as there is much less bite as with a razor saw. So why use it at all then? Because you can slip as many times as you want and you won't ever scratch the canopy! LOL
I wasn't happy with the result, though. It just shows how thick this canopy really is!
No good at all. Only one solution: crash mold my own canopy.
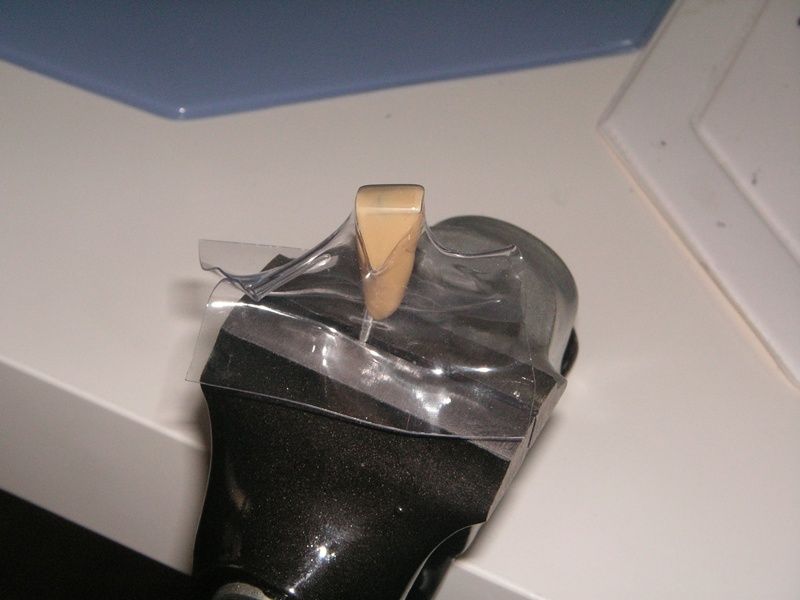
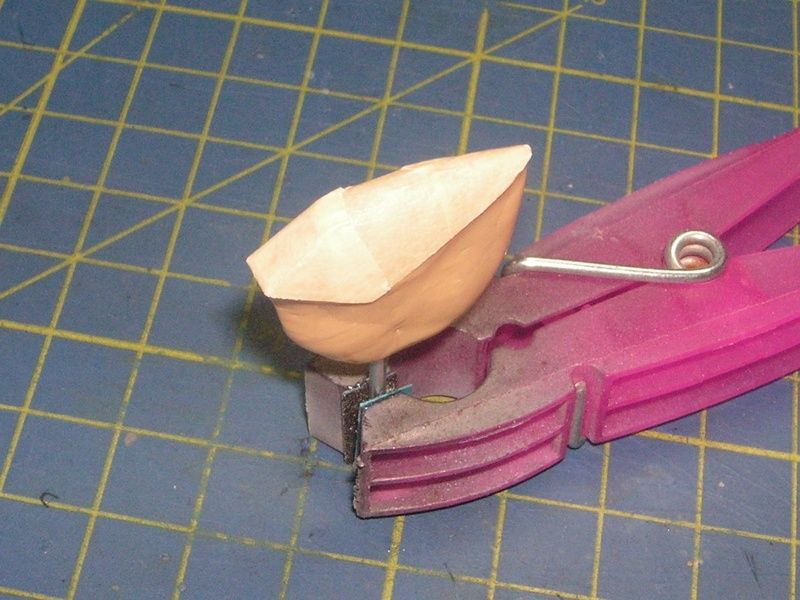
I used the kit part to make a positive mold, mounting it onto a blob of epoxy filler fixed to a nail. The latter makes it possible to secure the mold in a vise.
Next I heated a piece of acetate over a candle flame and once it had softened I pulled it down over the mold.
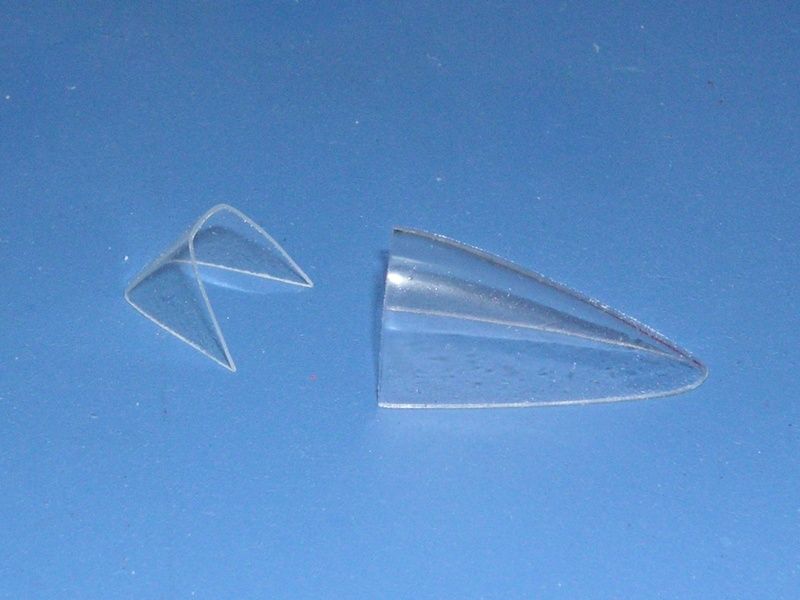
I had never done it before and incredibly enough, it worked for the sliding canopy part on the first trial! On the other hand the windshield required many attempts before I could come up with a part I was not too dissatisfied with. It only worked when I finally used the canopy from the second kit, which was still in one piece.
The tape is for protection against the epoxy which tends to go all over the place.
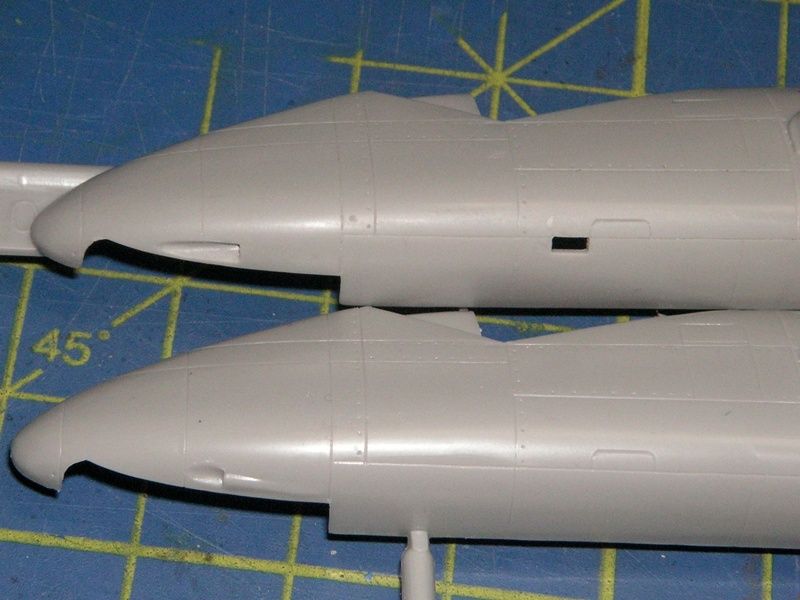
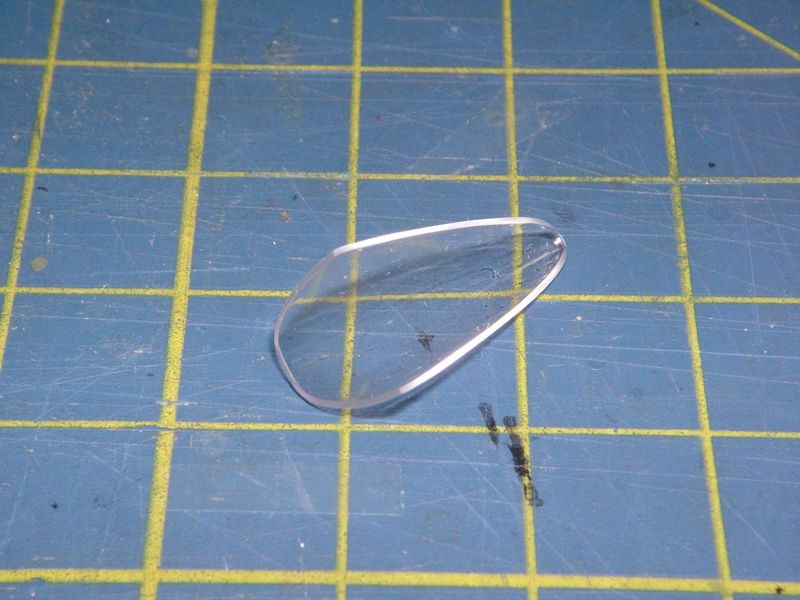
Here is the final result:
The parts are not only thinner but much more transparent.
There is still work to do on the new canopy and windshield but the toughest part is done. After a dip in Future the parts will be set aside while I get on with the rest of the build.
Thanks for watching.
M


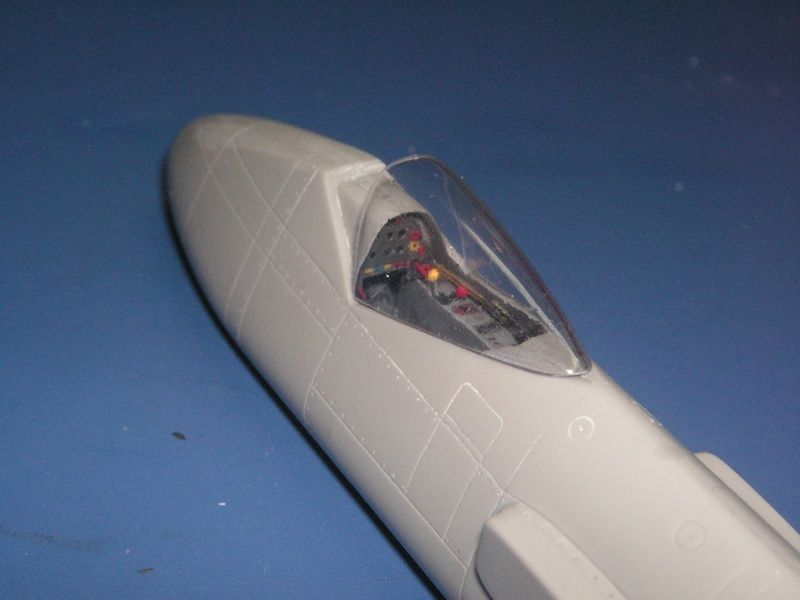


 looks way better than that thick blob of plastic that was in the kit!