• Modelers Alliance has updated the forum software on our website. We have migrated all post, content and user accounts but we could not migrate the passwords.
    This requires that you manually reset your password.
    Please click here, http://modelersalliance.org/forums/login to go to logon page and use the "Forgot your Password" option.

Pfalz IIIa

jknaus

Administrator
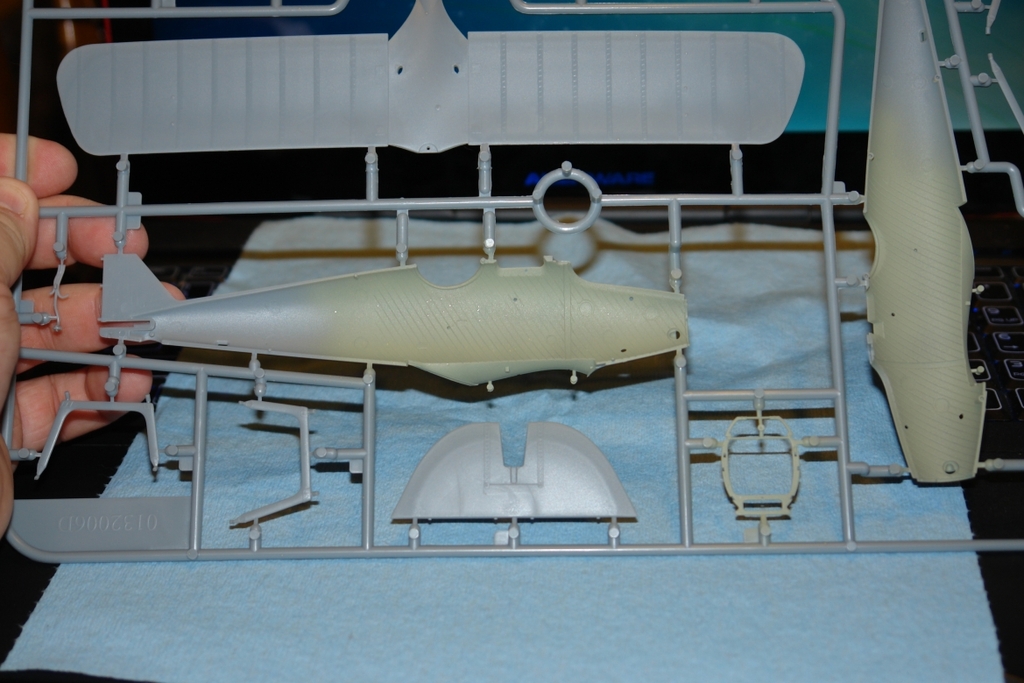
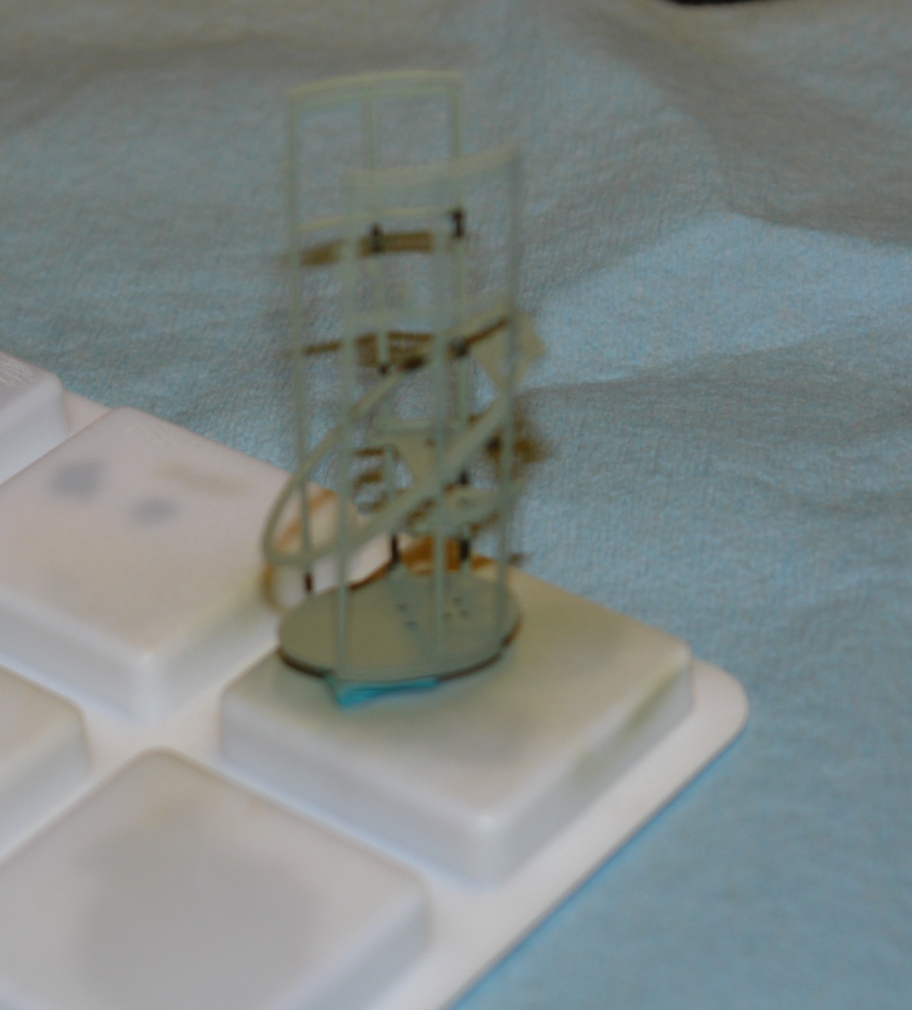
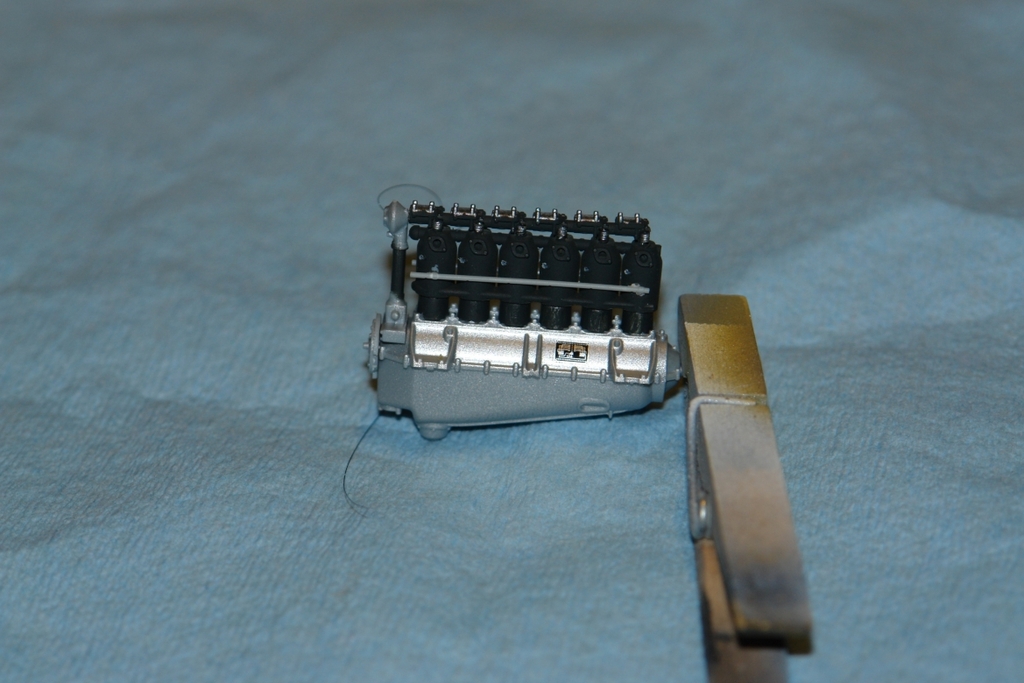
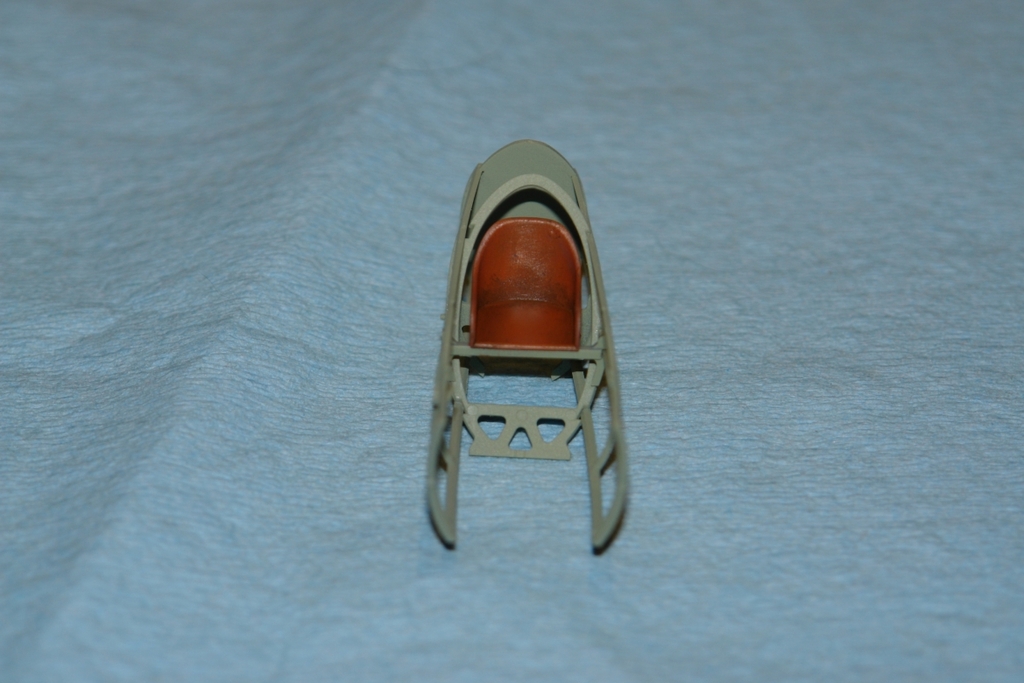
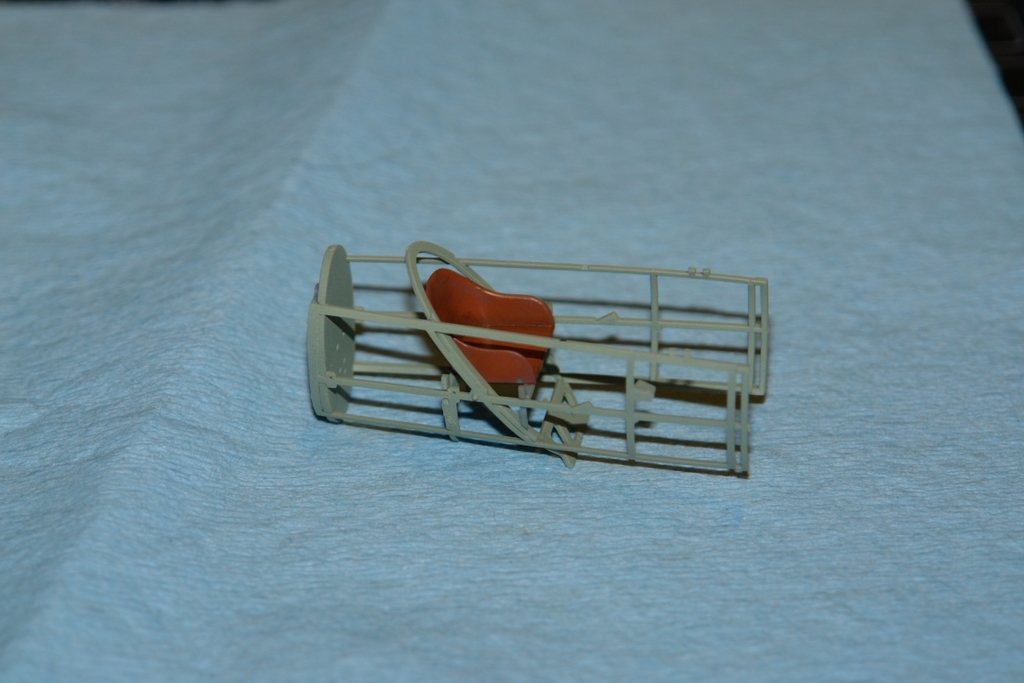
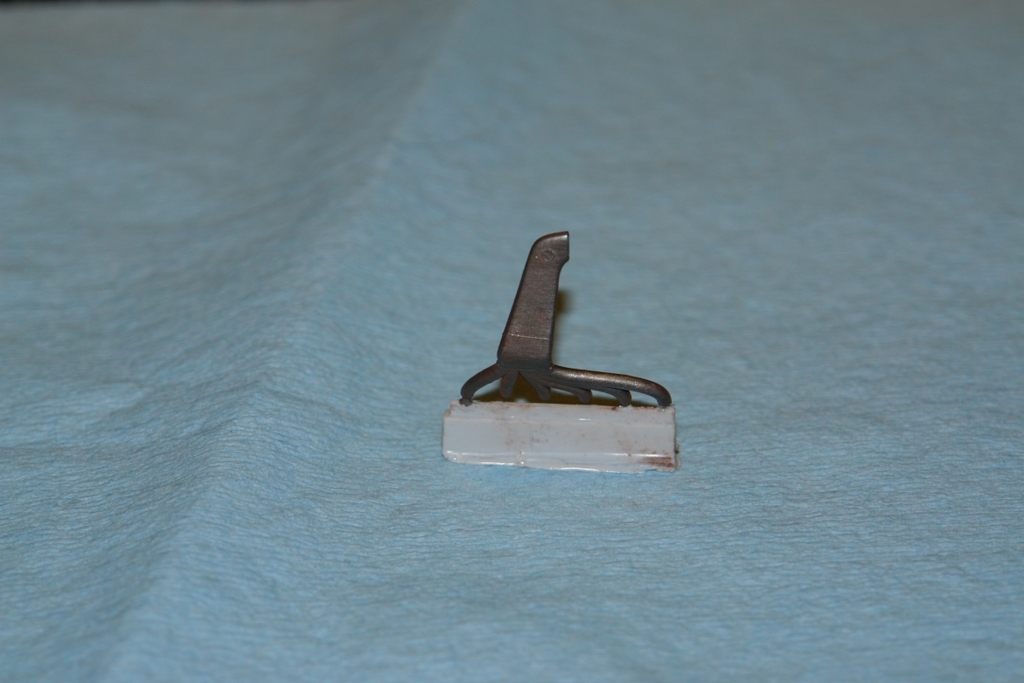
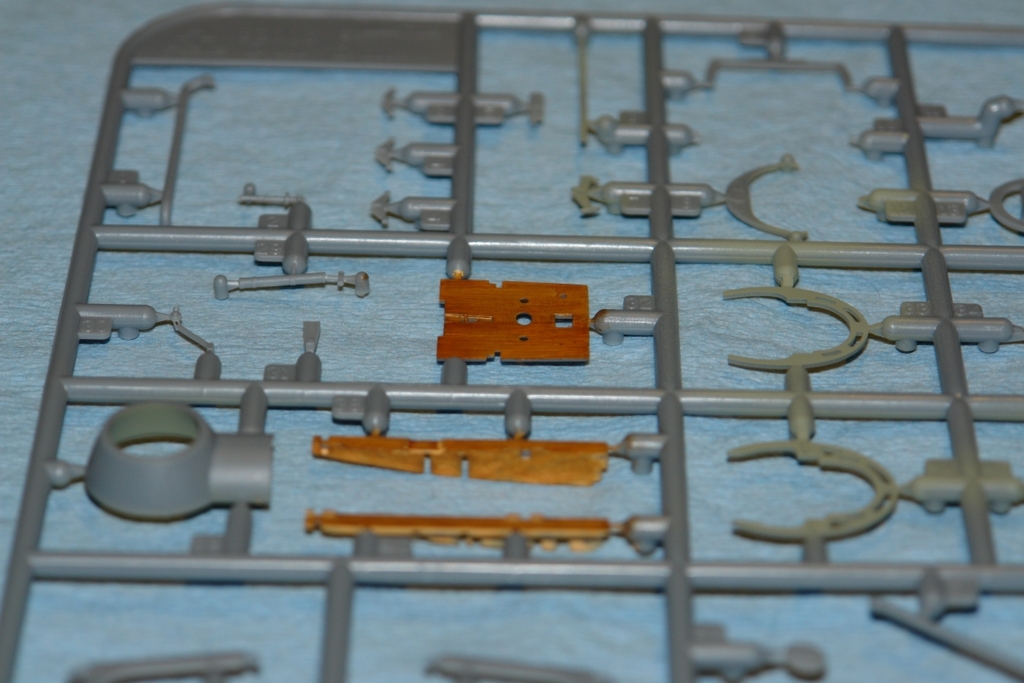
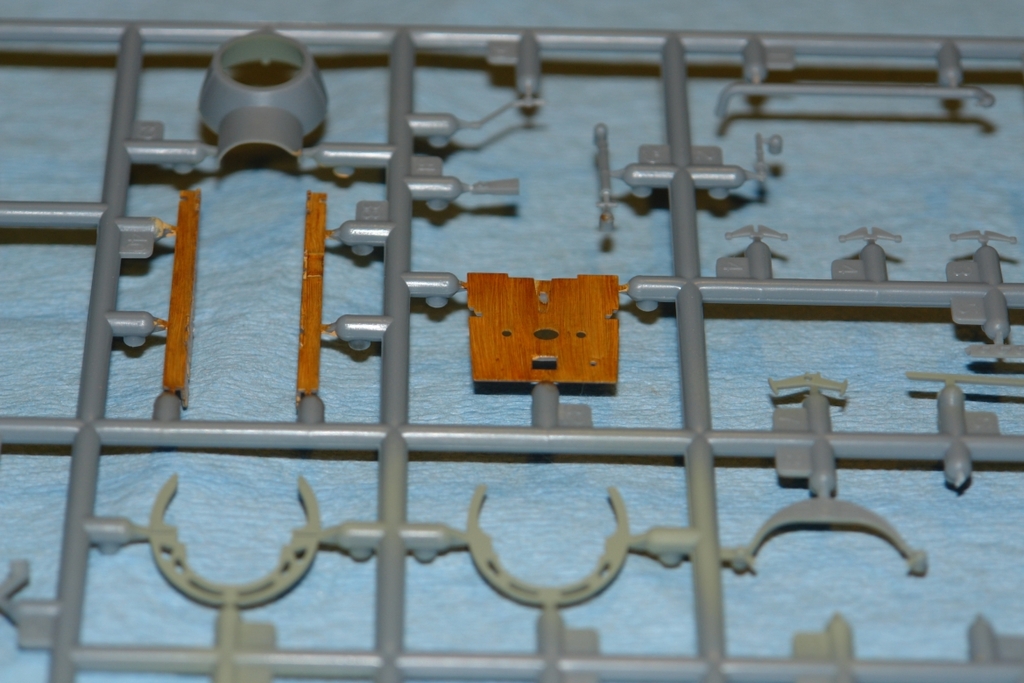
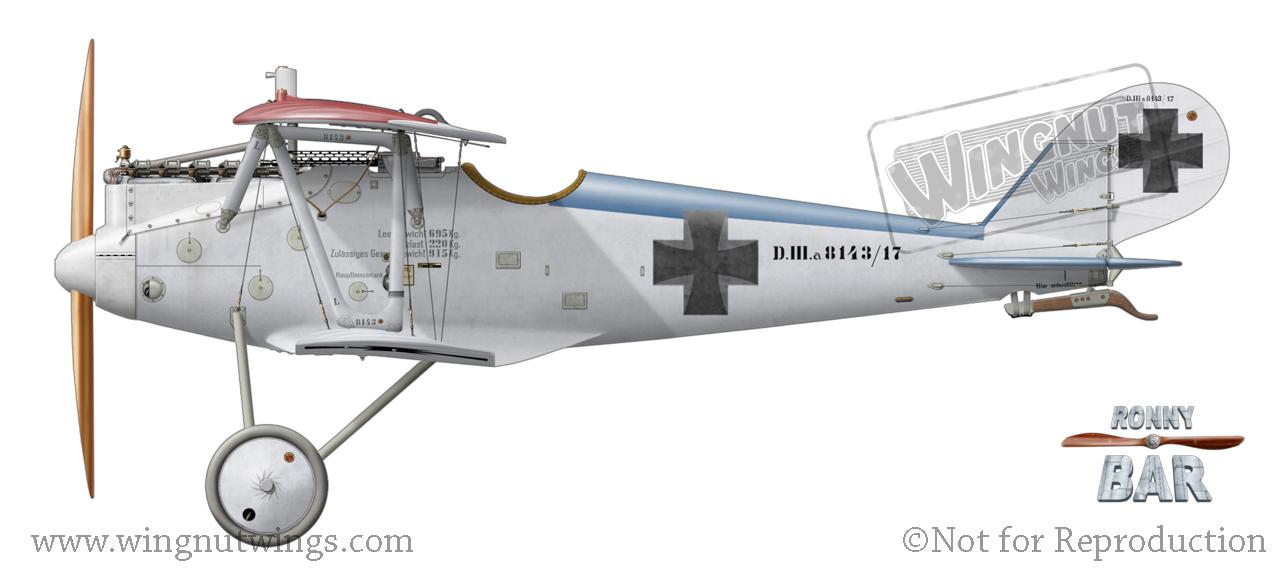
Okay here I go again. Must have MADD because I start well, just get sidetracked a lot. I started on the Pfalz IIIa by WNW. Got the engine almost done, pics when I get it wired. I did make new valve springs for it though. This is the scheme I will do.
Pfalz%20D.IIIa%208143~17,%20Walter%20Ewers,%20Jasta%2077b,%20April%201917%20(8%20victories).jpg


Hope I can keep going. Will have a car build starting soon also.

James
 
That looks like a nice project James....Hope you stay focused ! :drinks

Myself ,I don't have a clue how you guys switch back and forth. I get distracted enough just doing aircraft :bang head

Cheers, Christian B)
 
Well this and the Roland really have my attention. The Roland is awaiting decals so I started this one. I have a Tiger exhaust coming soon I hope after seeing Sauls review. I have paint for my Gotha and this plane that should be here any day. Its in Edmonton right now, but the post office is a bit slow due to the strike a few weeks back. Hopefully have the ignition wires done tonight and then will have something to photograph and show.

James
 
Despite their dainty and fragile appearance, the Pfalz D.III/IIIA had a reputation for being sturdy and robust. They could perform high speed dives without shedding wings and were preferred by some pilots for balloon busting.
 
Despite their dainty and fragile appearance, the Pfalz D.III/IIIA had a reputation for being sturdy and robust. They could perform high speed dives without shedding wings and were preferred by some pilots for balloon busting.

Cool. I read where they where double skinned, but have very little referances.
I had the engine half wired but screwed it up. Pics are still coming and I'm still doing stuff, just been a long week.
 
The fuselage was made up of left and right side halves (like the WW2 DH Mosquito and most model airplanes). The two shells were constucted of plywood wrapped around formers and then covered by layer of fabric. After the two halves were joined another layer of fabric was tightly wrapped around the fuselage. Pretty stout construction by WWI standards. I look forward to following your build.
 
My paint came in and this is where I am at the moment.

DSC02320.JPG


frame.jpg


DSC02323.JPG


DSC02322.JPG


Its hard to see but all the springs on the rocker cover where cut off and replaced with wound metal springs. Working on wiring her up at the moment. Fuse is painted and now needs weathering and cockpit tub finishing.
James
 
no pictures today, but wood engine bearers are painted, just waiting for them to dry. Seat is painted, not sure I'm happy with it, but its okay. Fingers aren't playing fair so engine will not be wired. Should have it finished tomorrow. Instrument panels painted and just needs decals. Seat belts by Radub later tonight or tomorrow and guns by Model Master. Coming along nicely. Pics tomorrow I promise.

James
 
Decided I better take some pics.

The seat is just resting and not yet attached.

DSC02328.JPG


DSC02329.JPG


The exhaust, a Tiger kit. Looks better than this photo.

DSC02330.JPG


DSC02331.JPG


The floor and engine supports

DSC02333.JPG


DSC02334.JPG


Comments and critiques welcome

James
 
Back
Top