• Modelers Alliance has updated the forum software on our website. We have migrated all post, content and user accounts but we could not migrate the passwords.
    This requires that you manually reset your password.
    Please click here, http://modelersalliance.org/forums/login to go to logon page and use the "Forgot your Password" option.

My next USMC M4

agentg

Member
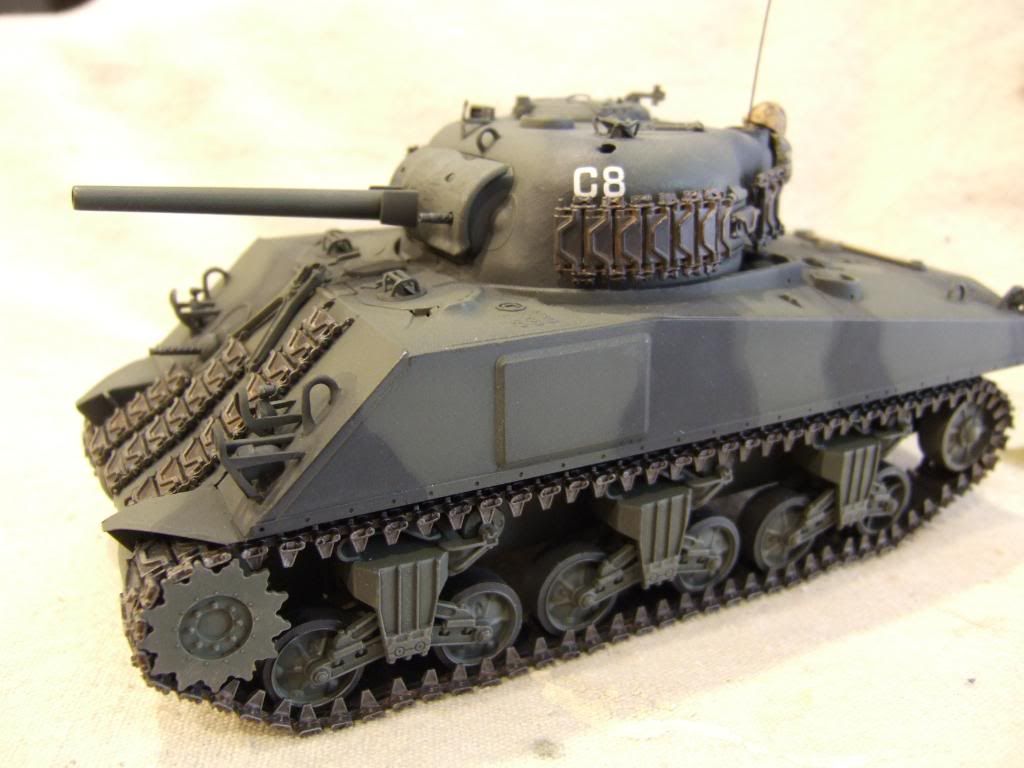
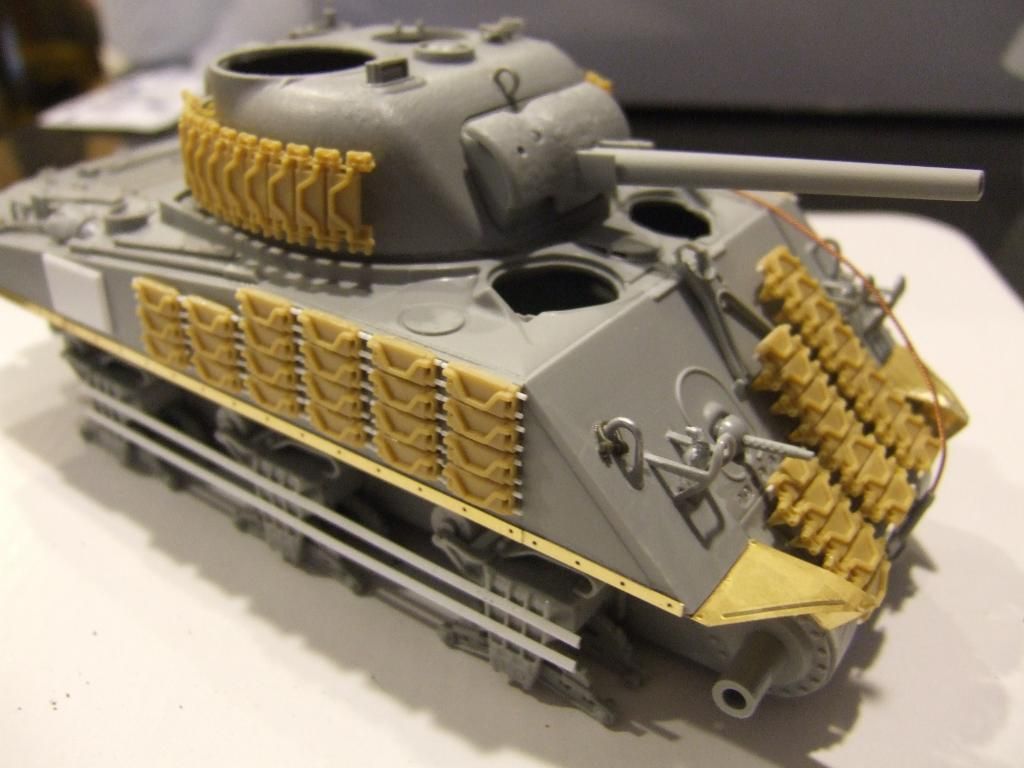
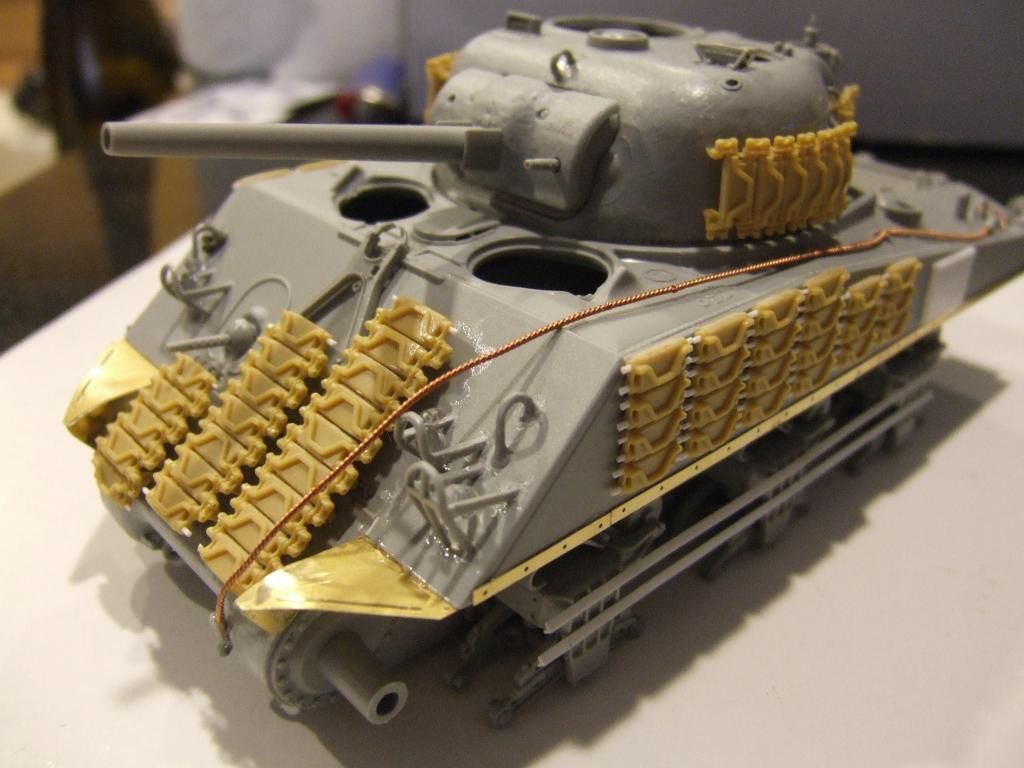
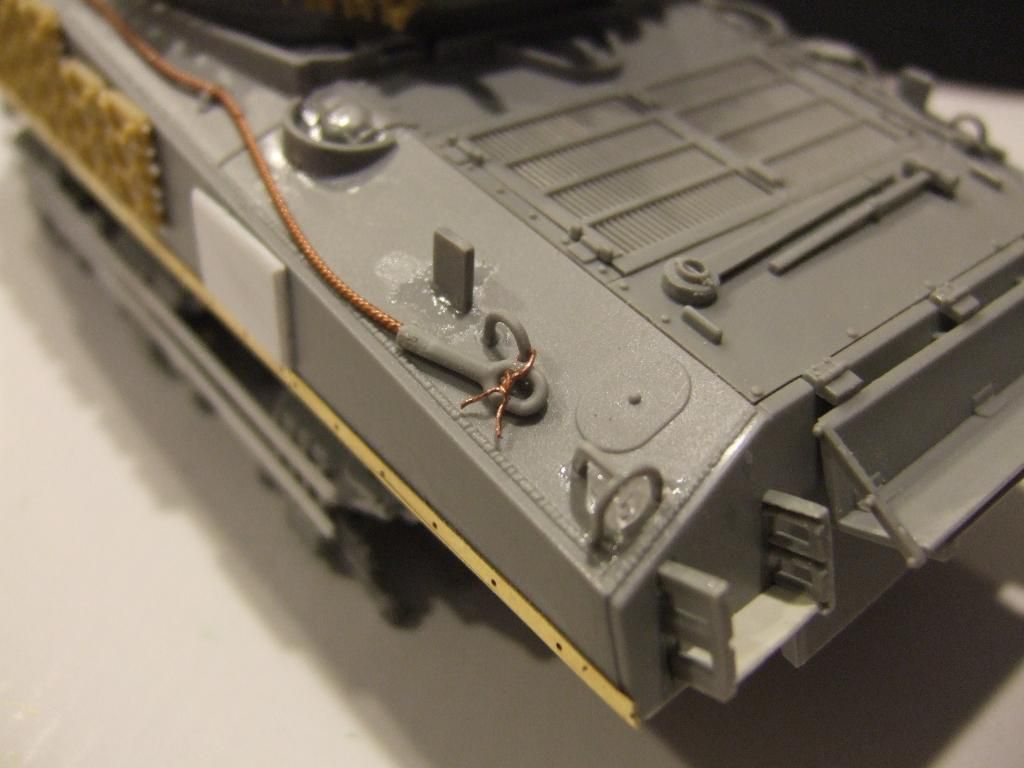
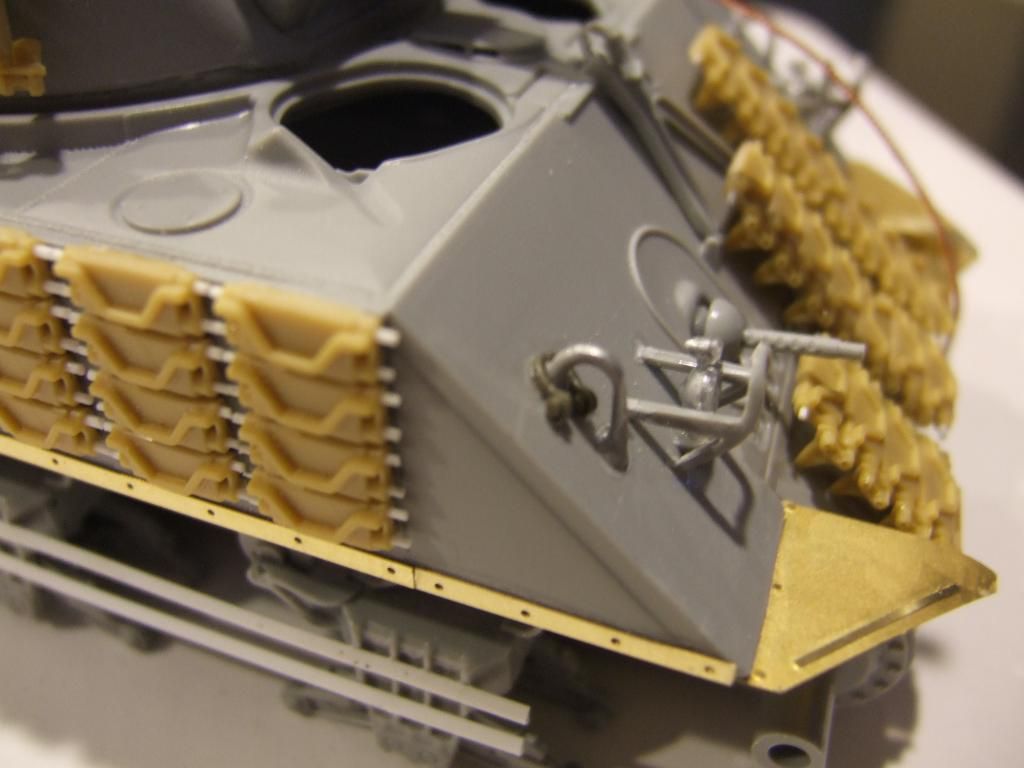
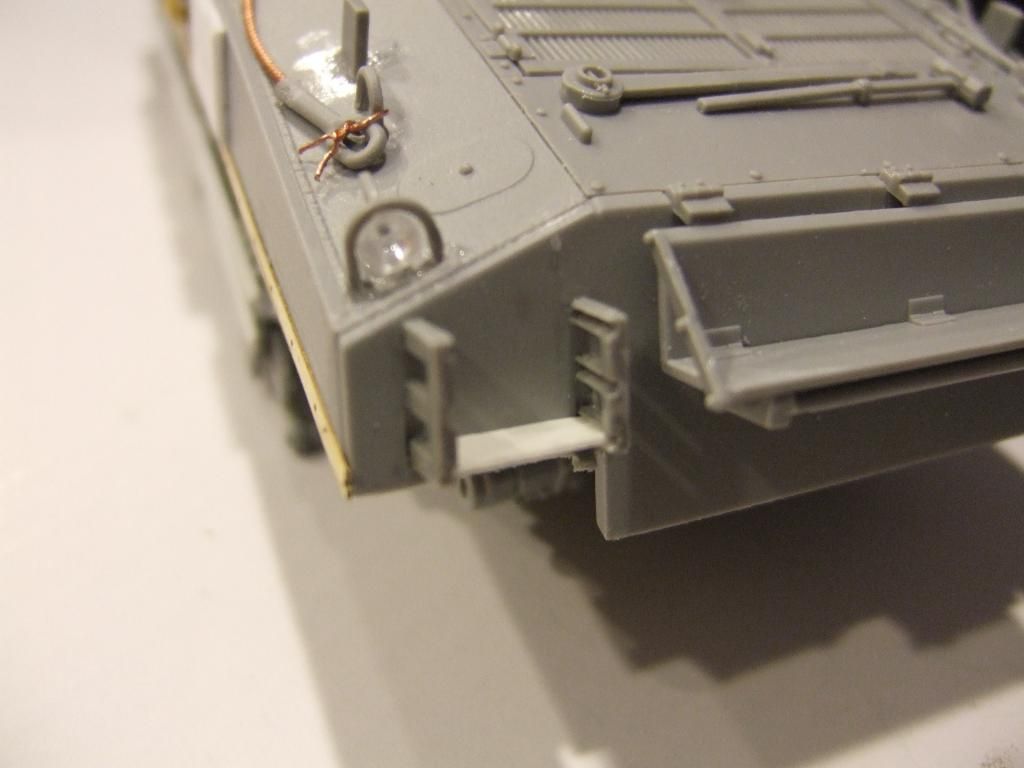
Next build up in my USMC armor collection is an M4A3 from the 6th Tank Battalion on Okinawa.

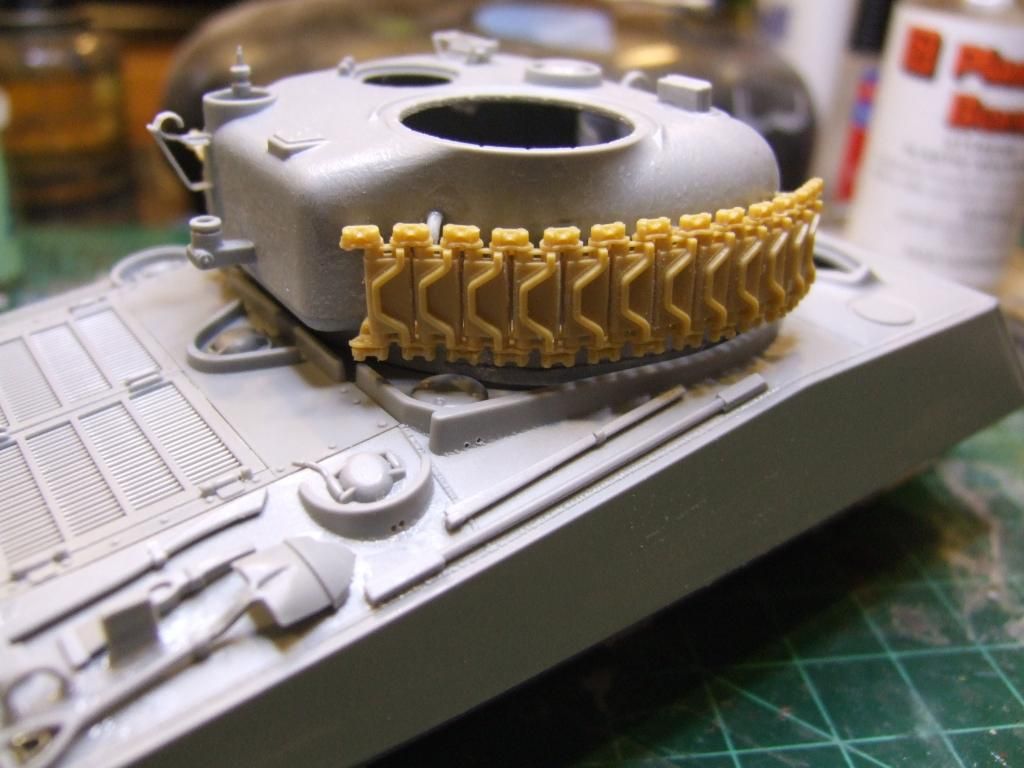
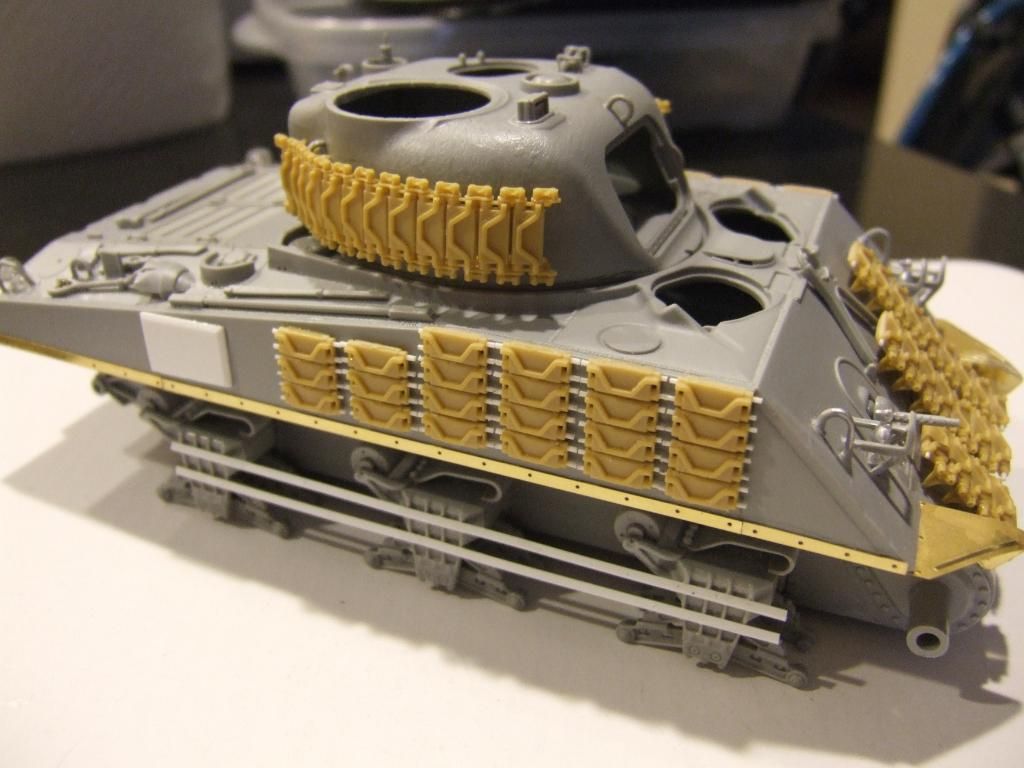
I'm starting with this DML kit, and creating quite a few add ons.

DSCF4064.jpg


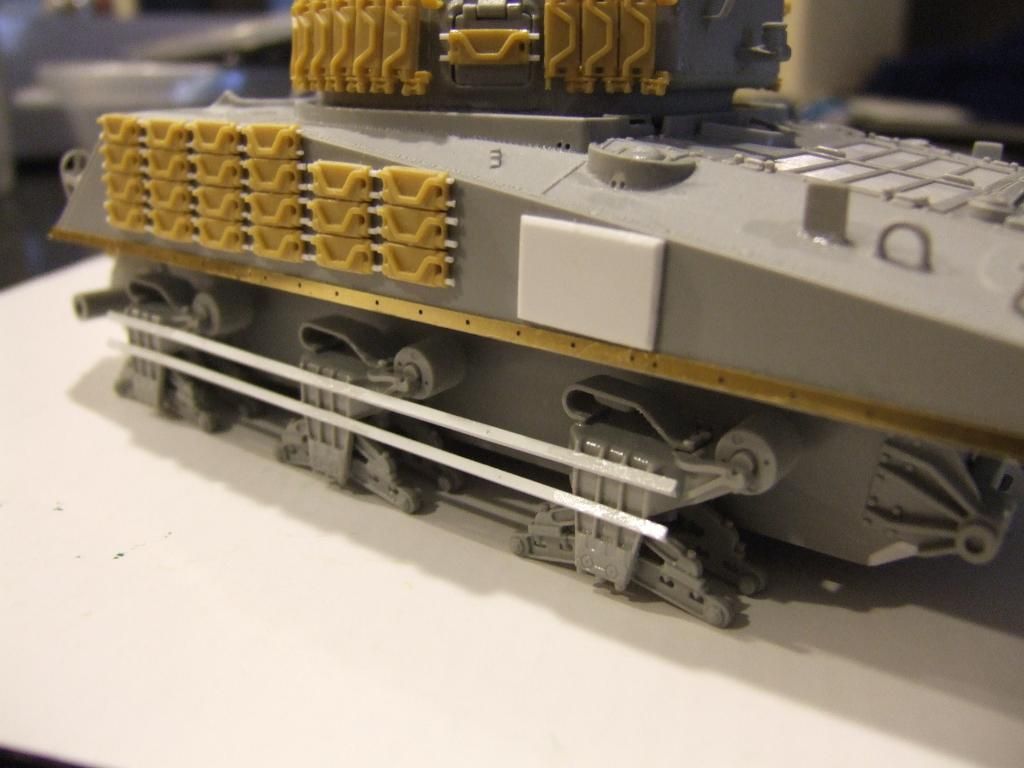
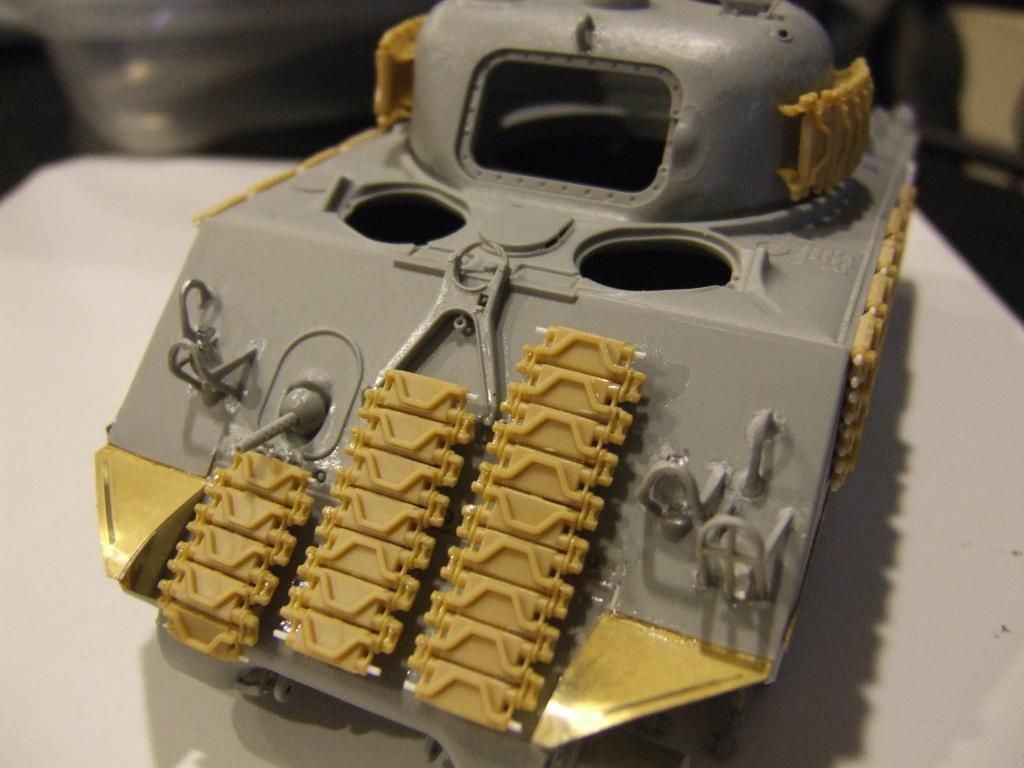
As the battle progressed the crews got rid of the wading gear and added additional armor, lots of armor in the
form of track blocks welded to the tank. Bronco's sets work great for this.

DSCF4072.jpg


DSCF4071.jpg


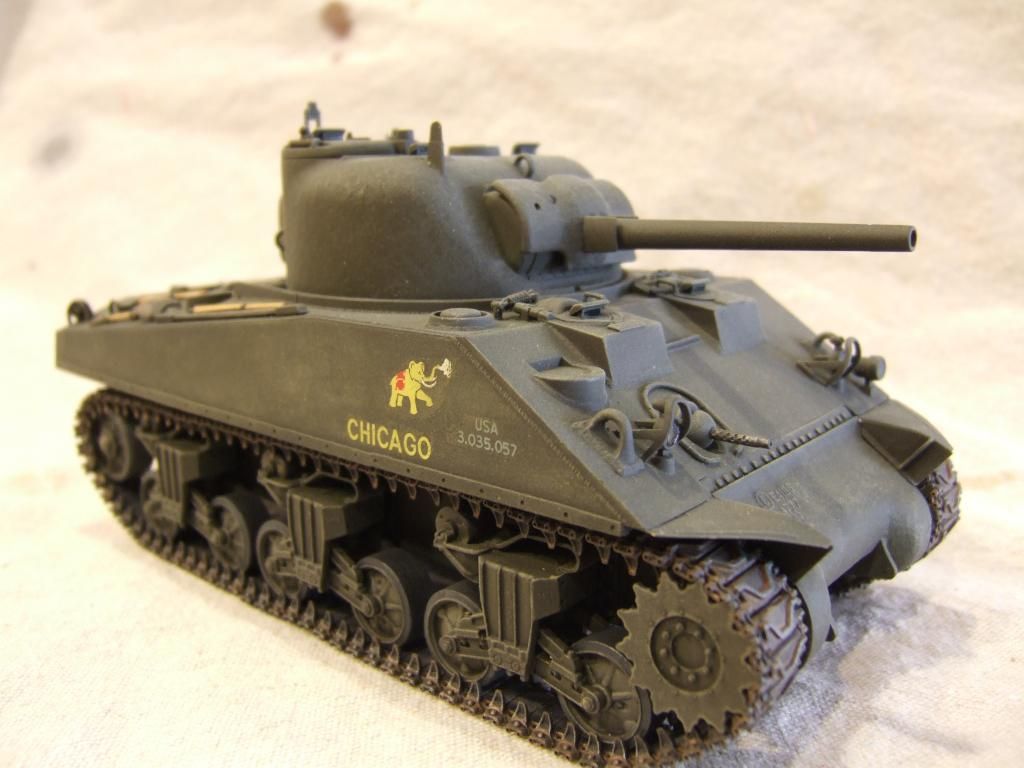
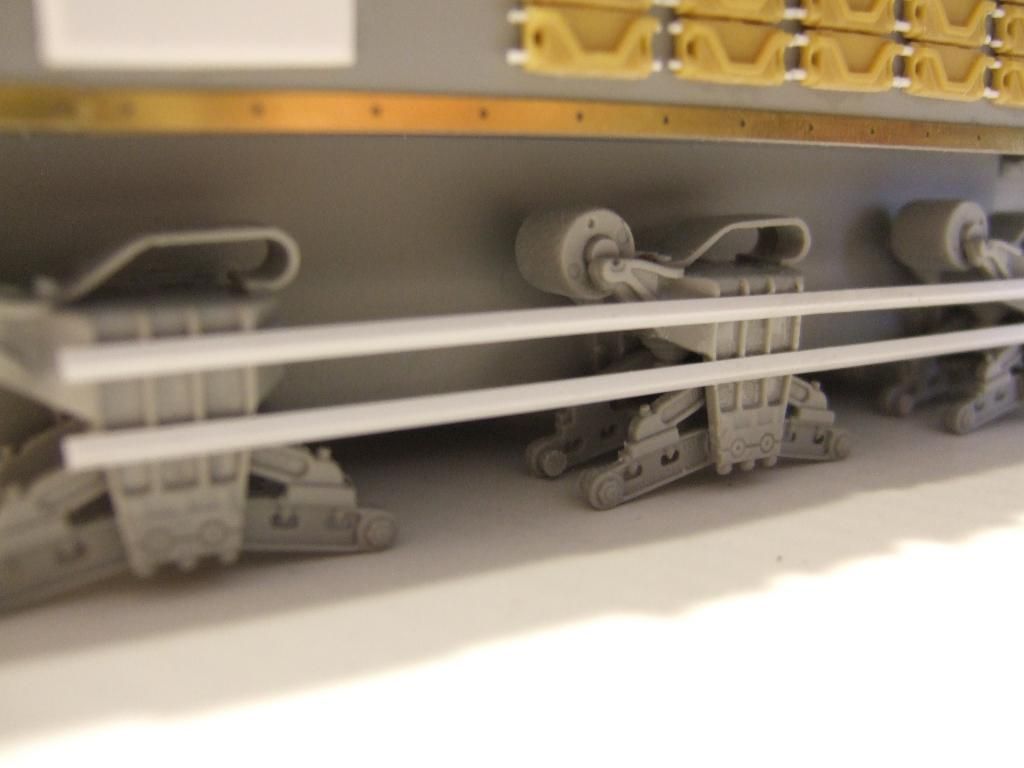
Here's where I'm at now.

DSCF4067.jpg


DSCF4066.jpg


G
 

Cool! Using the Bronco tracks seems a bit more work but does look better than the Panda Plastics tracks I was about to mention:
b_1950_5.jpg

The pins need work.

Regards,
 
Saul, I have found Panda tracks are easy to assemble and look great if you are careful. I use their recommended method of gluing one pin per side. They still articulate and install easily. Bronco's are tedious, but oh man do they look good when done.

These are Bronco's on the turret and glacis and Panda's on the running gear.

DSCF3548.jpg


These are bronco's on the running gear.

DSCF3792.jpg


The biggest issue with Bronco's tracks is when you join the run at the end. I have found you really need to use CA glue as the pieces are delicate and under a bit of tension when properly mounted.

G
 
Saul, I have found Panda tracks are easy to assemble and look great if you are careful. I use their recommended method of gluing one pin per side. They still articulate and install easily. Bronco's are tedious, but oh man do they look good when done.

I've only used Panda Plastics (mostly from their former life as RHPS), DML individual links, and Modelkasten (crazy but they are actually 'live' when done). For the first and last brands, I bought the jigs as there are so many sets in the stash. If I need another, I will try out the Bronco as the price seems right, especially during a sale.

Thanks,
 
I need to correct (and date) myself. In the past, I also used three sets of a plastic and white metal mixed media track from Top Brass. This, along with several sheets of PE, were used on my M4A2 (76mm) conversion from several decades back. Busted, it is the only 'completed' kit in my stash and needs finishing. However, it is too far along for the Shelf Queen campaign.

Regards,
 
The Bronco parts are dual pins joined at the ends with a base for the track connector/guide horn. They do pass through each link and you must glue the top and bottom of the link very very carefully.

These are seperate links I made up using .025 rod trimmed to length. I'll post pics tomorrow.

G
 
what I was thinking, if a modeler can make those pins free moving, they could glue the horns, carefully, and make them fully articulated.
 
what I was thinking, if a modeler can make those pins free moving, they could glue the horns, carefully, and make them fully articulated.

That is the premise behind Bronco's tracks. The pins remain free thus allowing the track to articulate. Getting there, with the size and delicacy of the parts though is another matter.

:blink

Here's some pics, the links themselves front and back.

DSCF4075.jpg


DSCF4076.jpg


The pins as rendered by Bronco.

DSCF4077.jpg


The end connectors.

DSCF4078.jpg


DSCF4079.jpg


Partial assembly just for clarification.

DSCF4080.jpg


Here's what the elves accomplished late last night.

DSCF4073.jpg


DSCF4074.jpg


Replicating one of these tanks is liberating, they were modofoed at will by their crews. Even modelling a specific tank, it looks different in every photo. You cannot go wrong!

G
 
Thanks all.

I'm getting there!

I have been down with the "almost flu" I got the shot last month, so not a lot of building this week.

More to come this weekend.

G
 
This is where we are at as of this morning. Best evidence indicates the new M4A3's came ashore with armor panels welded to the hulls similar to those used on earlier dry stowage tanks. As the battle progressed the wading trunks disappeared and additional track link armor was welded pretty much all over the tank. Close examination of the suspension revealed that in most cases angle iron was welded to the bogies. This prevented charges being thrown under the tank.

DSCF4081.jpg


DSCF4083.jpg


DSCF4082.jpg


DSCF4086.jpg


G
 
I was able to spend all morning working on this build. Here's the latest. Perusing references it seems one front tow shackle was used to anchor the cable, the other was commonly seen clipped to a hull lifting eye.

One rack held spare track links, one held the improvised TI phone. I replicated that and will sculpt a phone bag.

Apoxie sculpt sandbags and stowage next.

DSCF4087.jpg


DSCF4088.jpg


DSCF4089.jpg


DSCF4094.jpg


DSCF4090.jpg


G
 
Back
Top