Brokeneagle
Master at Arms
Decals and weathering started. First half of the Barrel attached. Ditching beam finished
Wheels and tracks attached so that I could start the weathering and attach the side skirts once that has been done.


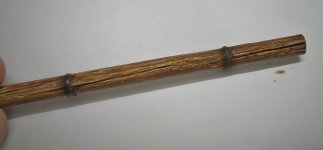
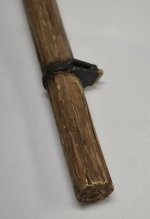
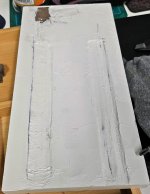
I have started on the Base as well and will have it as a simple muddy road - something like the image below the pics of the base. I use the flat rounded ends on the tools to push the stiff foam down into lengths that the tank will sit into.

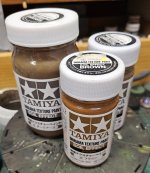 I plan to use my go to for mud - Tamiya, these are an excellent acrylic base for any mud with weathering effects.

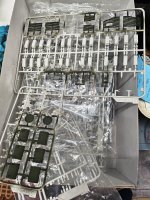
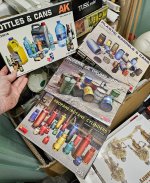
The next stage will be to complete the stand - off armour grates and damaged side panels with charge bags. I will then start on the modern accessories that appear all over Russian and Ukrainian tanks in many photos.

Wheels and tracks attached so that I could start the weathering and attach the side skirts once that has been done.


I have started on the Base as well and will have it as a simple muddy road - something like the image below the pics of the base. I use the flat rounded ends on the tools to push the stiff foam down into lengths that the tank will sit into.

 I plan to use my go to for mud - Tamiya, these are an excellent acrylic base for any mud with weathering effects.
The next stage will be to complete the stand - off armour grates and damaged side panels with charge bags. I will then start on the modern accessories that appear all over Russian and Ukrainian tanks in many photos.


