• Modelers Alliance has updated the forum software on our website. We have migrated all post, content and user accounts but we could not migrate the passwords.
    This requires that you manually reset your password.
    Please click here, http://modelersalliance.org/forums/login to go to logon page and use the "Forgot your Password" option.

Maddog Manufacturing 2020 Production

Duke Maddog

Well-known member
Hello all and welcome to the Grand Re-opening of Maddog Manufacturing in 2020. I had a pretty good end of year which has set me up to make even more progress this year. So come on in and enjoy the tours!

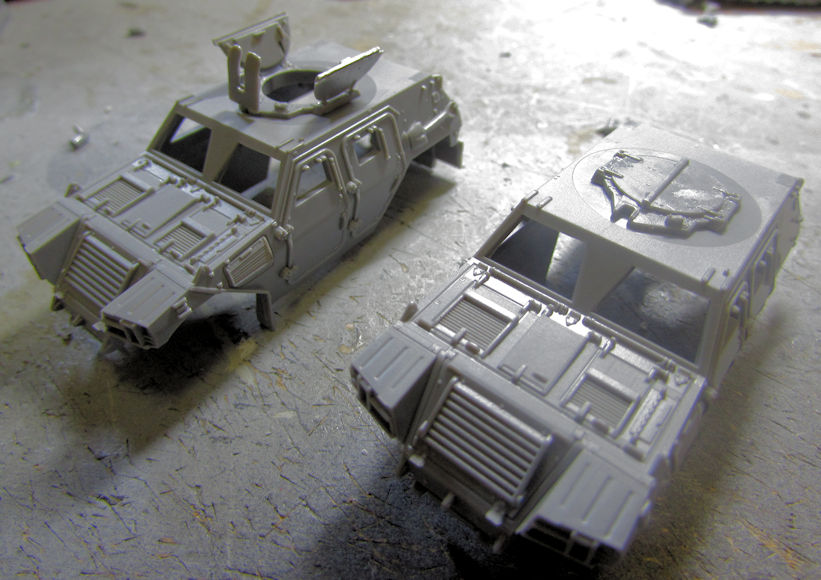
I'll start with a reminder of what I finished the last year with still on the bench:

What_sontheBench_1-1-2020_I.jpg


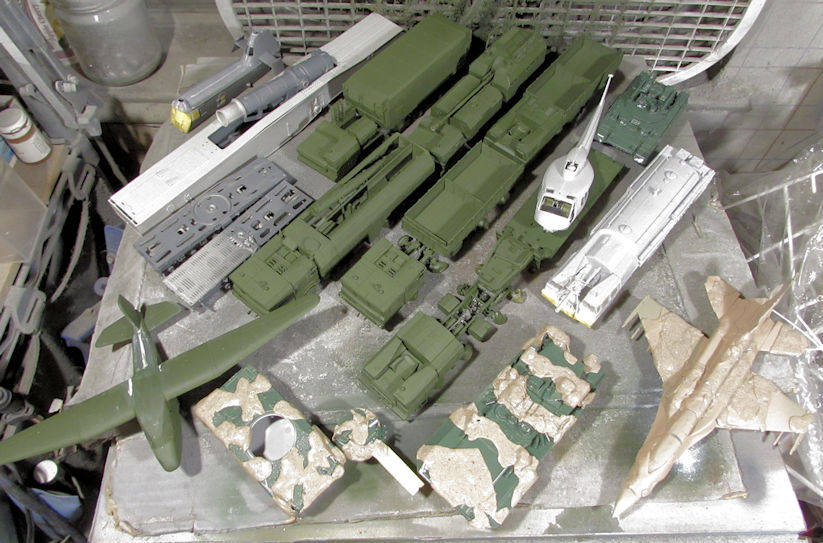
Today I managed to find some time so I sat down to get some of these moving. This is the results, starting with my aircraft.

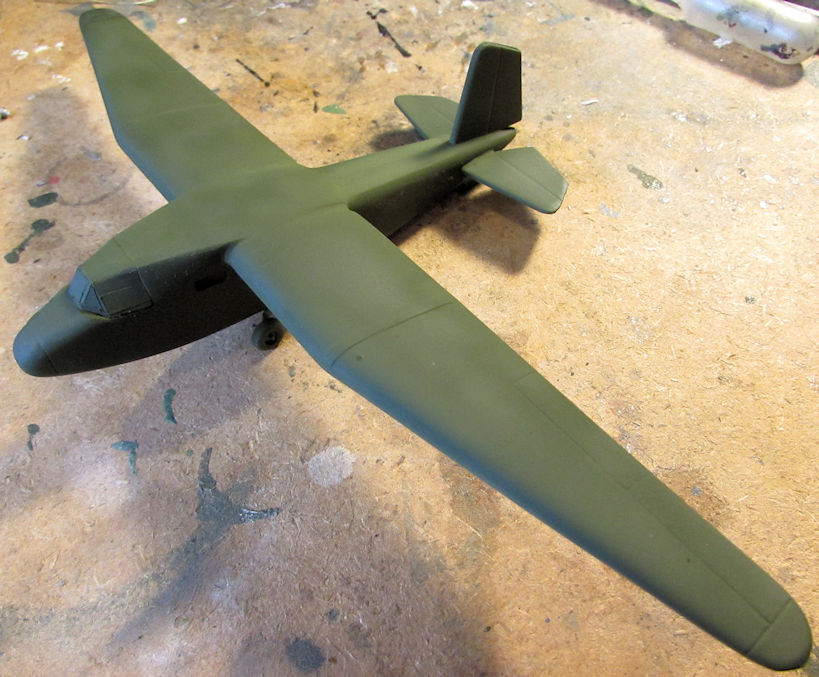
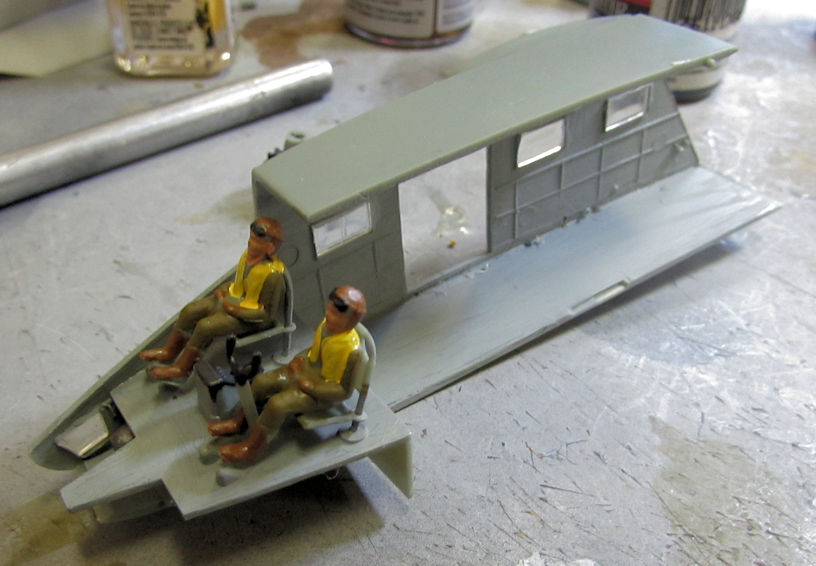
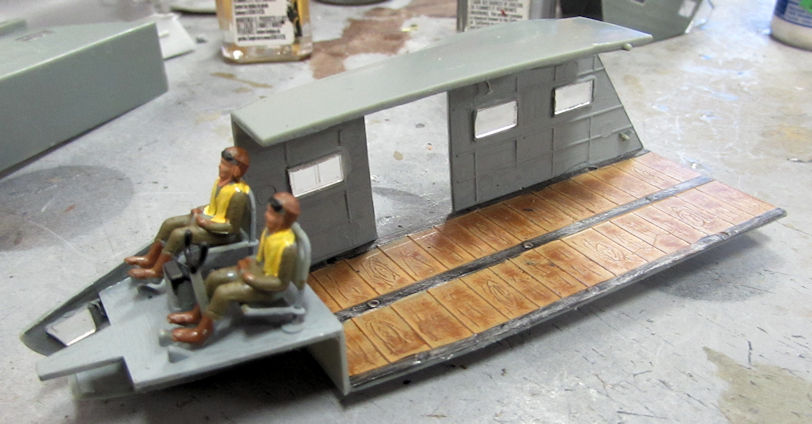
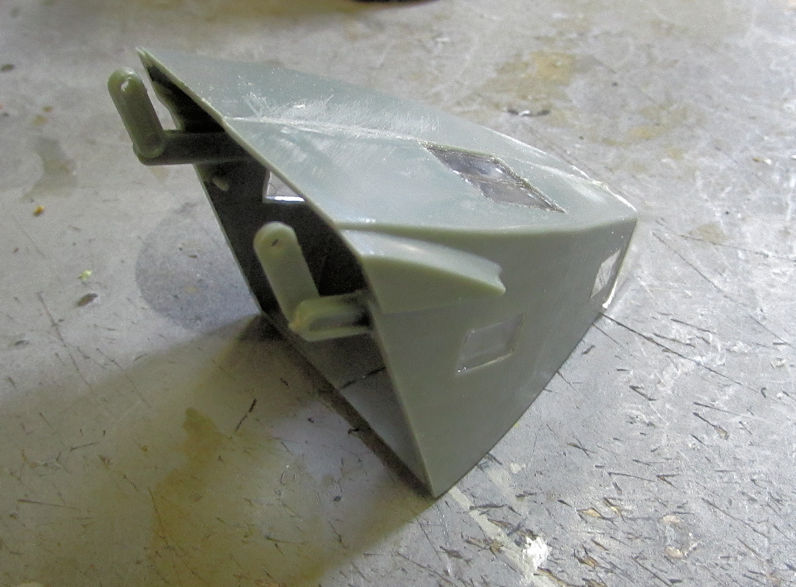
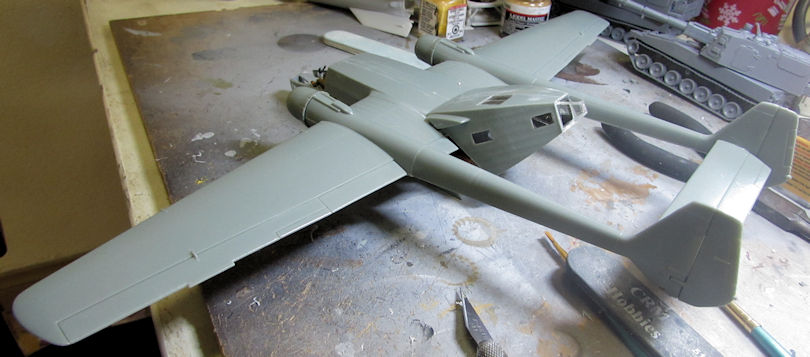
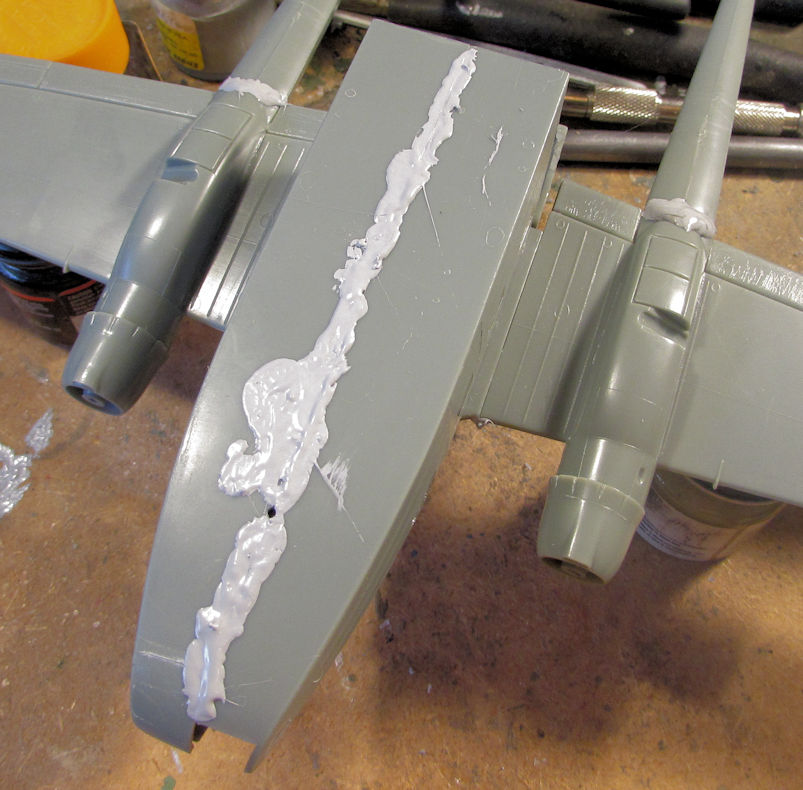
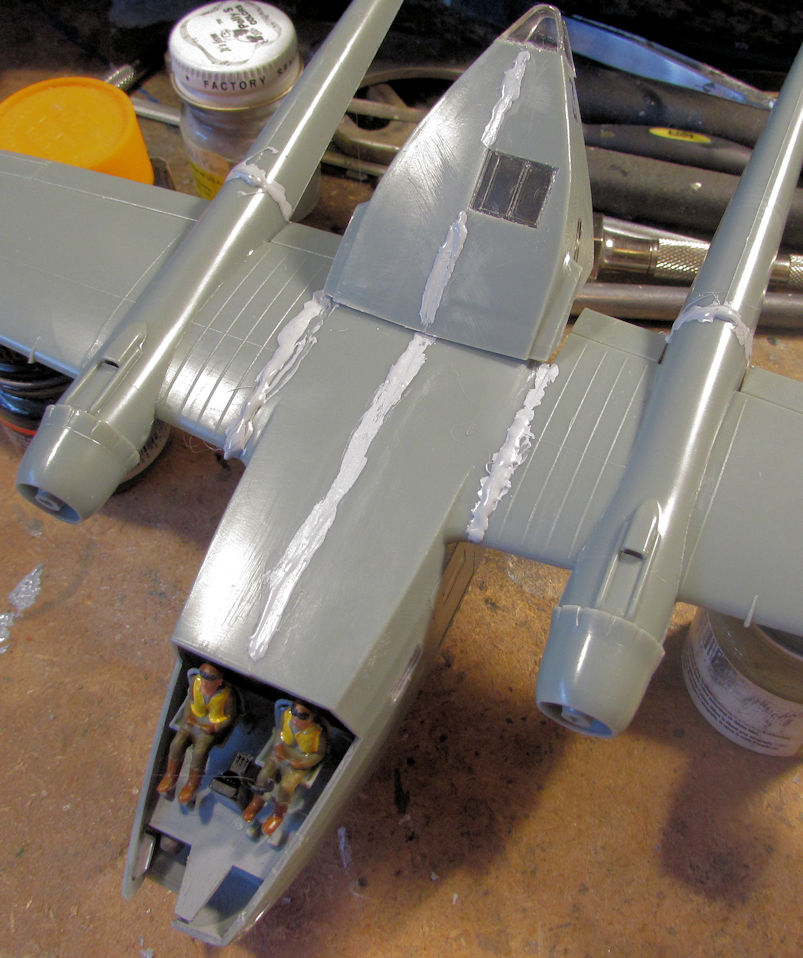
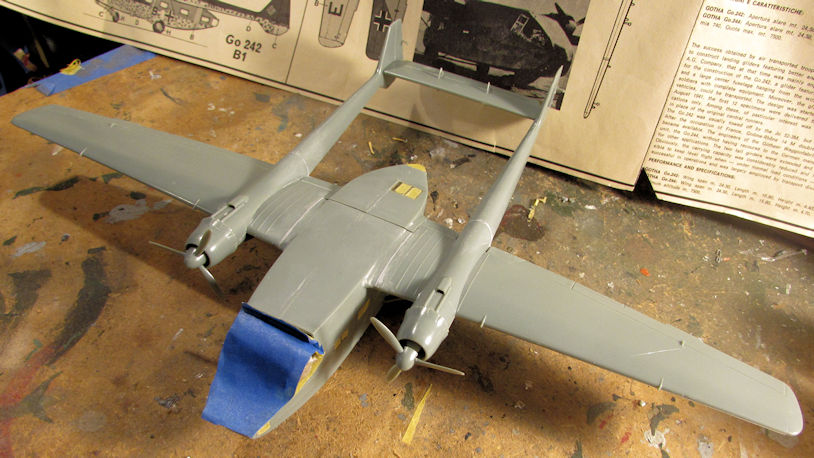
The little Russian glider was still mocking me so I re-sanded down the seam I'd filled again for the fourth time. It still wasn't as smooth as I wanted but I'm tired of dealing with it. I shot another coat of green on this bird:

WIP_Russian_Glider_IX.jpg


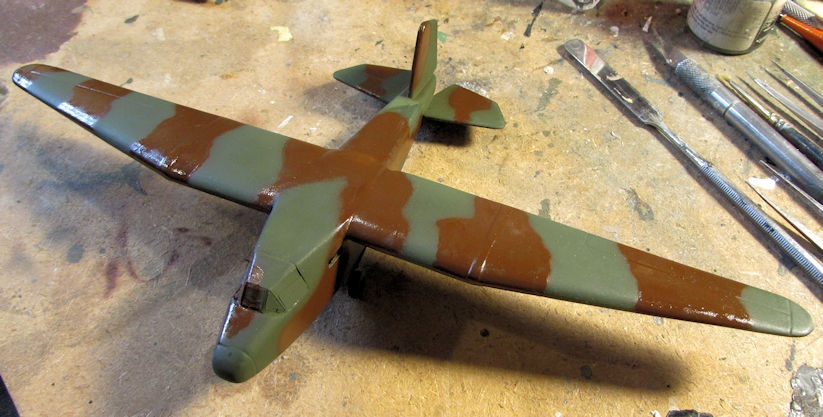
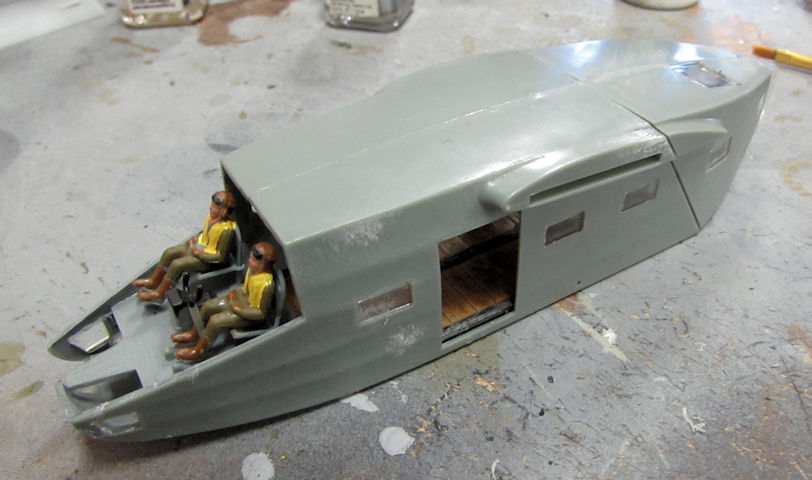
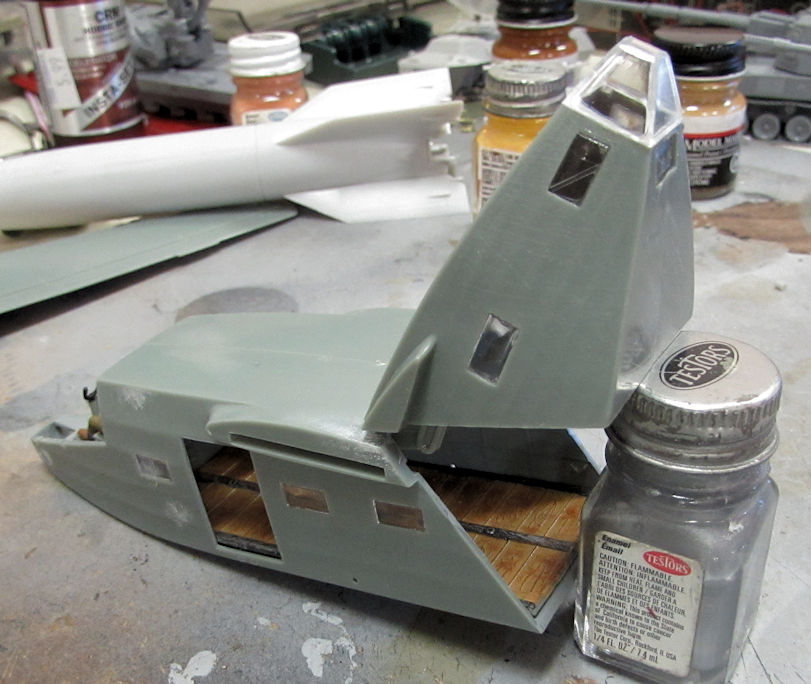
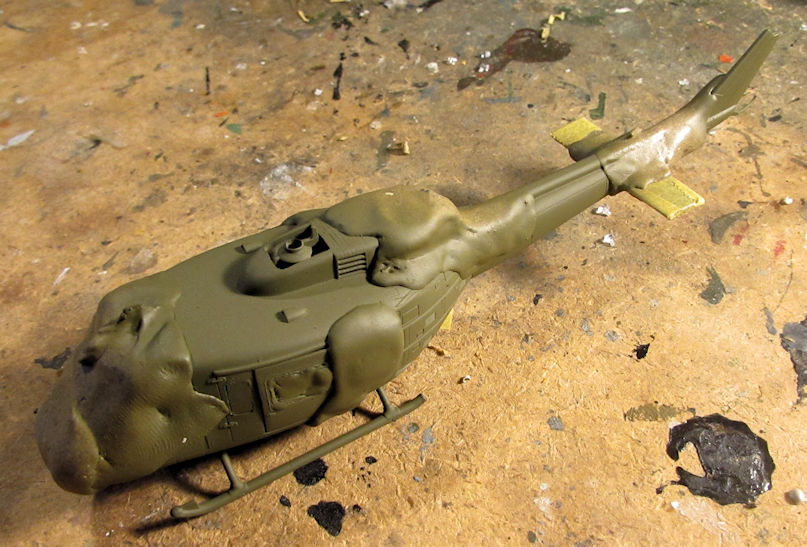
Later when it was dry, I went back and shot the second camouflage color on it. I free-handed this paint work with my Sotar 20/20 airbrush:

WIP_Russian_Glider_X.jpg


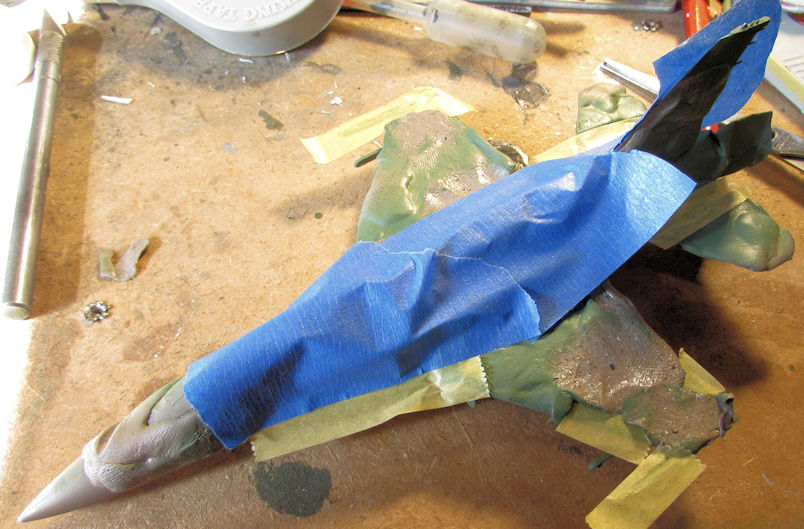
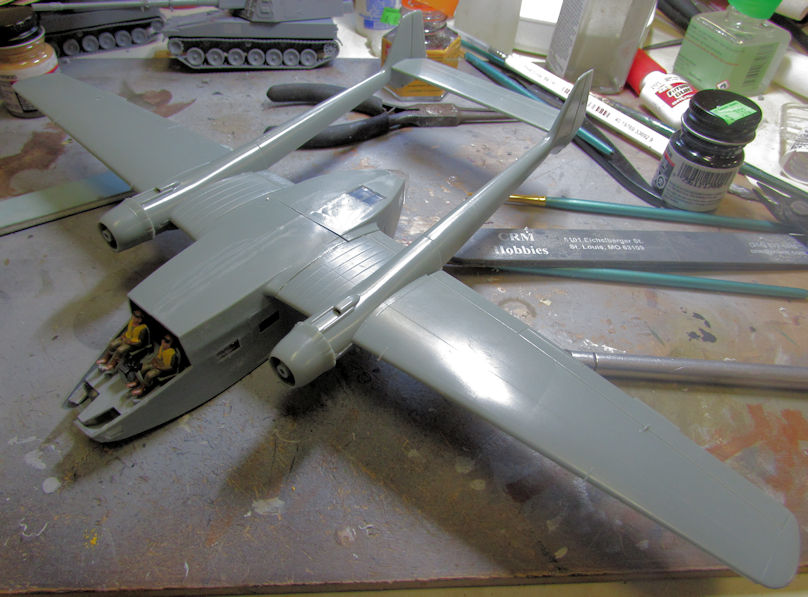
Moving on, I also decided to shoot the final green color on my Israeli Sufa since it was already masked and ready for it:

WIP_Israeli_F-16I_Sufa_XVII.jpg


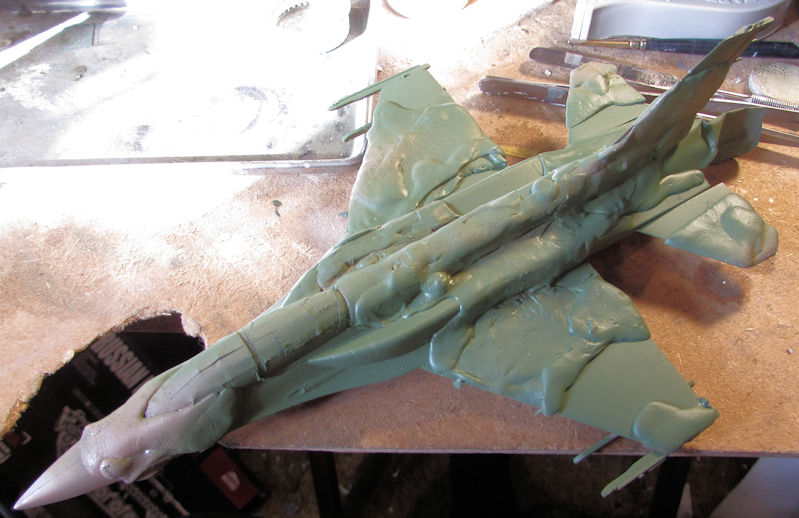
After that, I completed the masking so I could shoot the underside of this jet:

WIP_Israeli_F-16I_Sufa_XVIIa.jpg


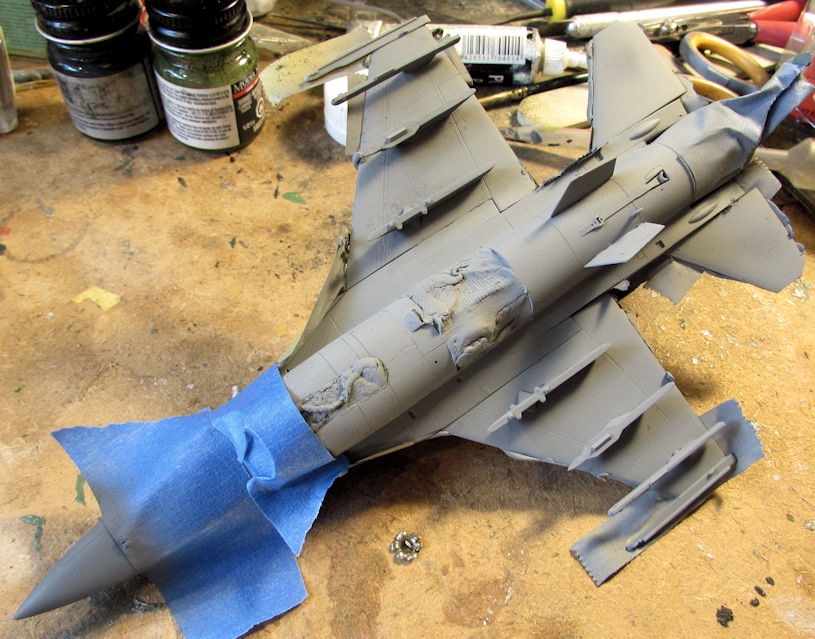
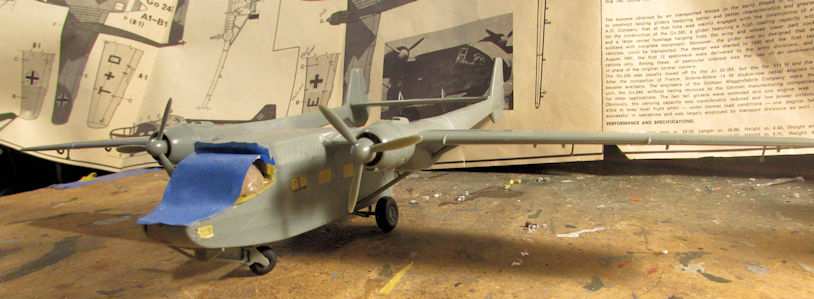
After shooting the grey, I forgot to take a pic before I masked off the nose and shot the gunship grey on it. So, here's the underside, with the nose still masked off and painted:

WIP_Israeli_F-16I_Sufa_XVIIb.jpg


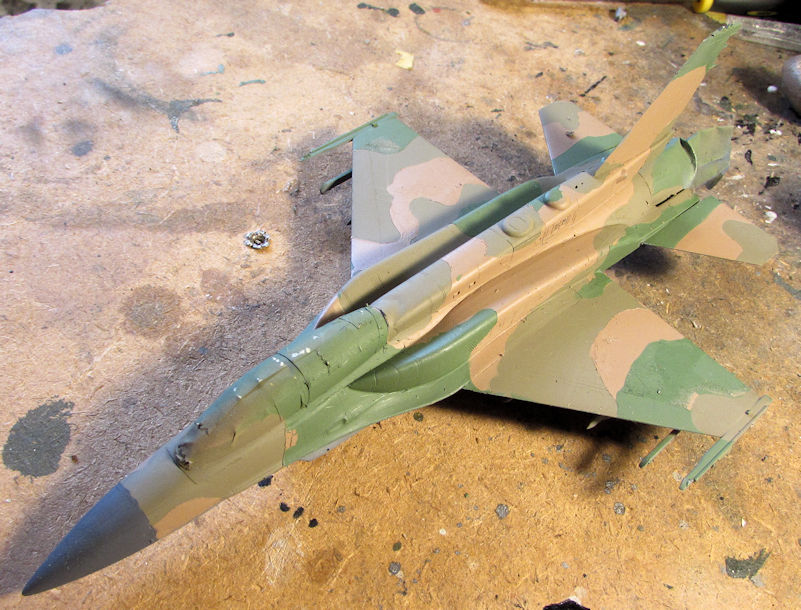
After all of that was done and dry, I removed all the tape and Silly Putty. I'm gonna need to do some touch ups but I'm happy with where this is now:

WIP_Israeli_F-16I_Sufa_XVIIc.jpg


That's all I got done with my aircraft for now. Let's look at the progress I made on my armor and vehicles.


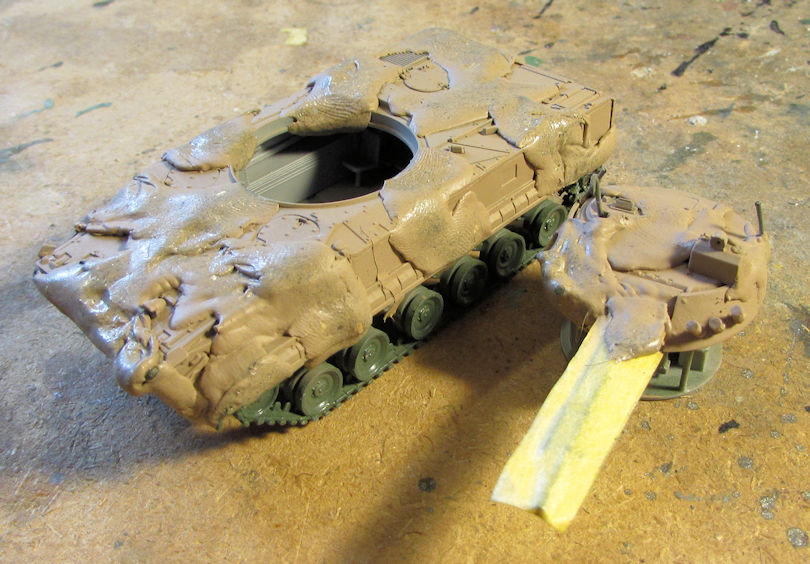
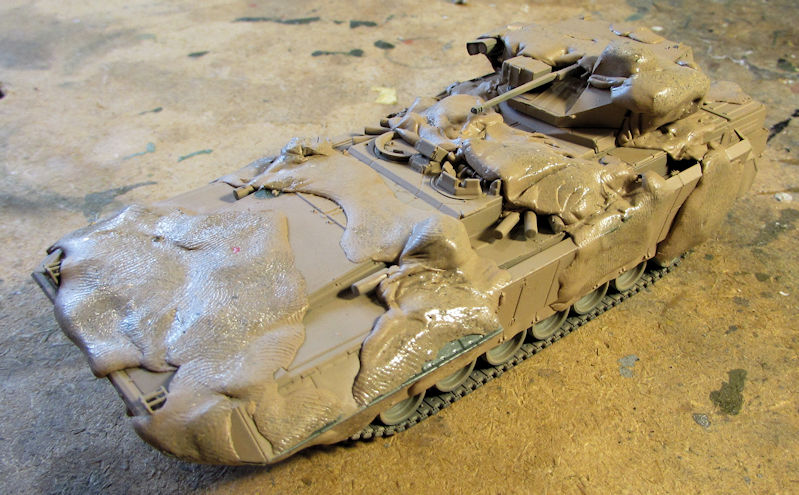
Since I had already masked my BMP-3 Early with Silly Putty when I masked the Sufa, I shot the next color on:

WIP_Russian_BMP_3_Early_VIIIb.jpg


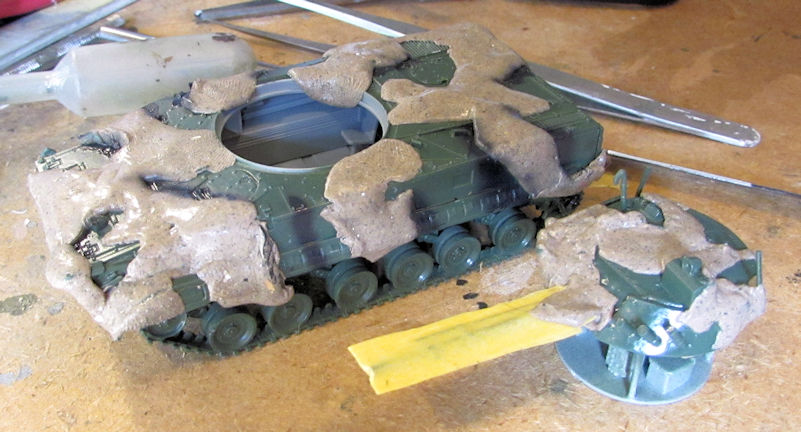
After that dried, I masked that second color and then shot the third one on:

WIP_Russian_BMP_3_Early_VIIIc.jpg


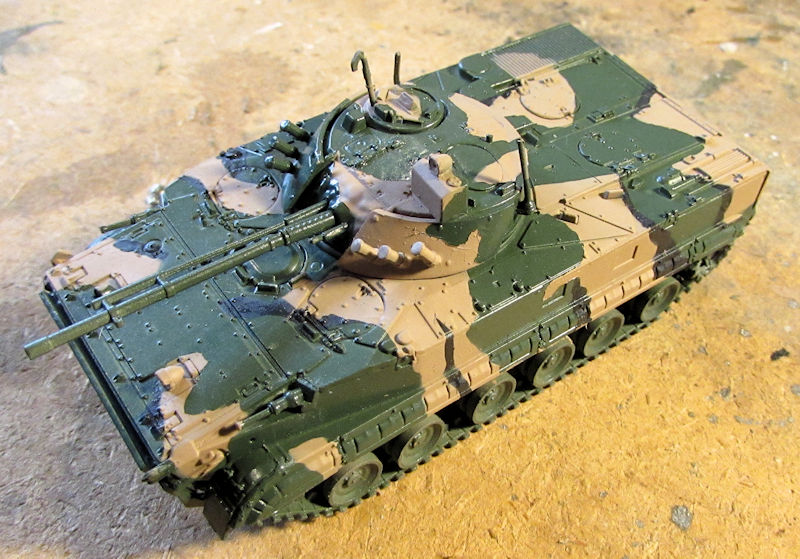
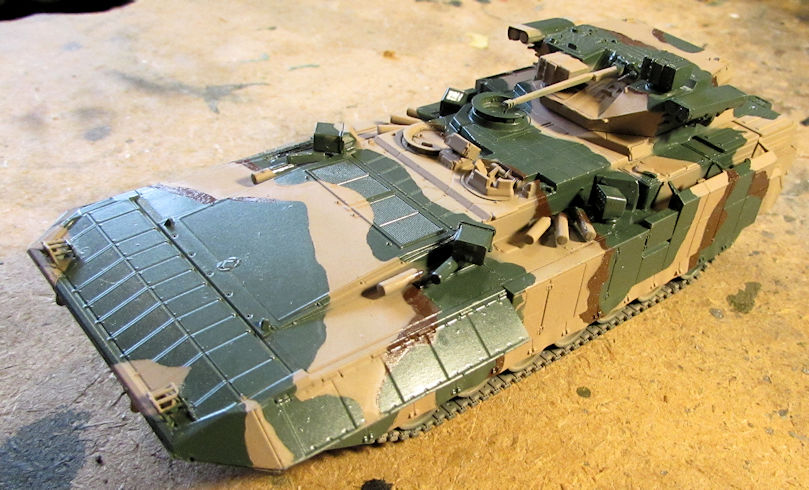
After that was dry enough, I removed everything to see how it looked. I'm happy; there's not too much to touch up on this:

WIP_Russian_BMP_3_Early_VIIId.jpg


WIP_Russian_BMP_3_Early_VIIIe.jpg


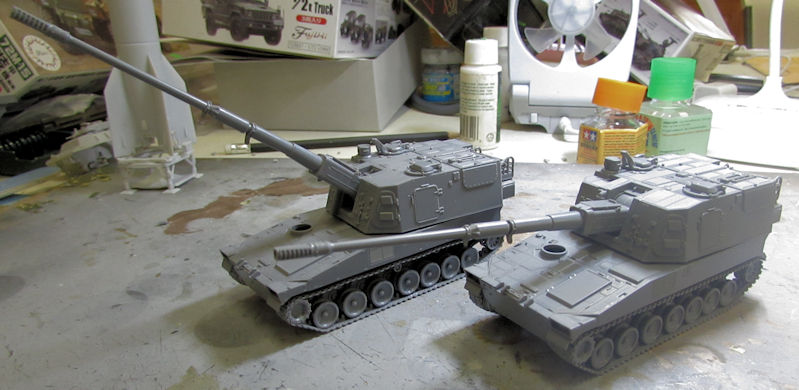
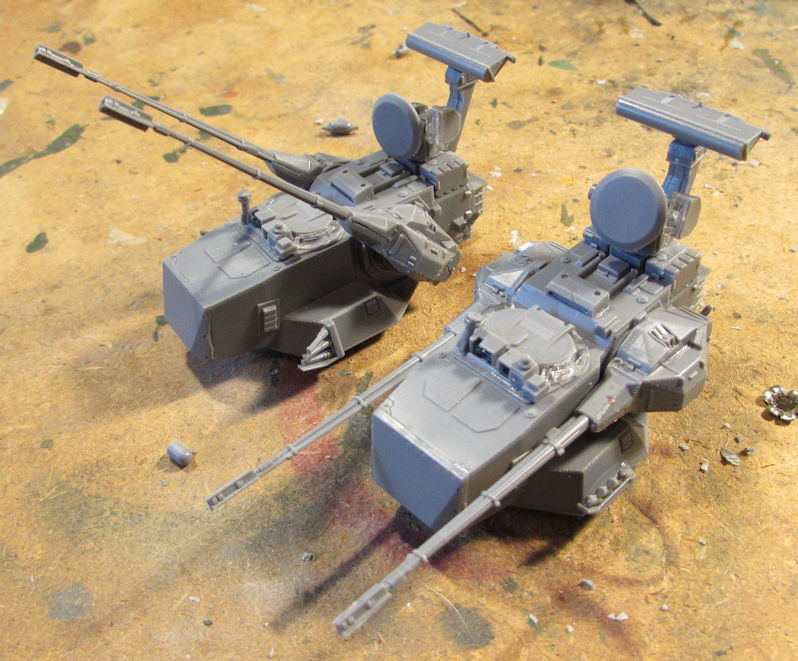
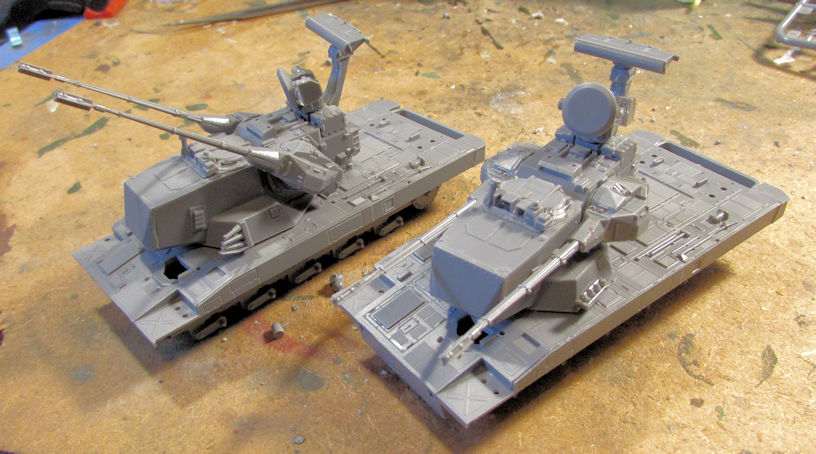
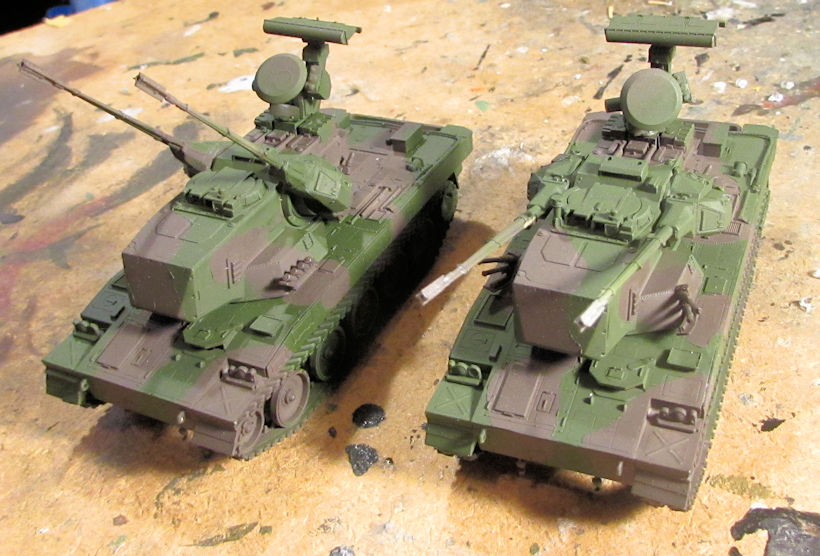
Since the T-15 Armata was also masked; I shot the second color on that one too:

WIP_Russian_T-15_Armata_VIIIa.jpg


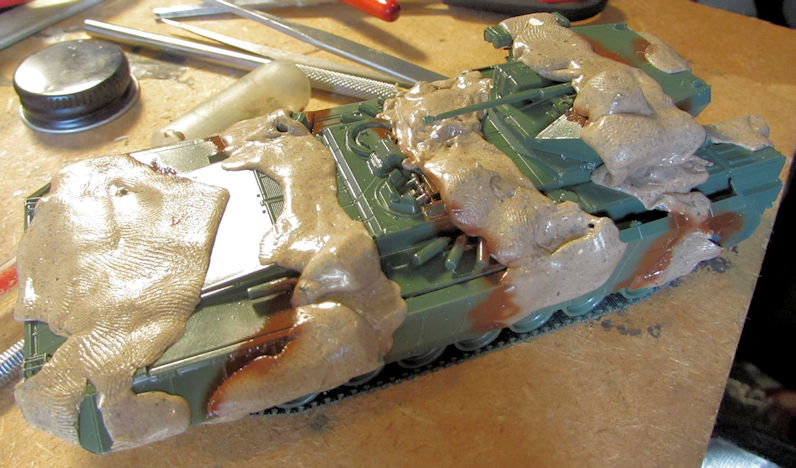
Later it got covered and the third color shot on:

WIP_Russian_T-15_Armata_VIIIb.jpg


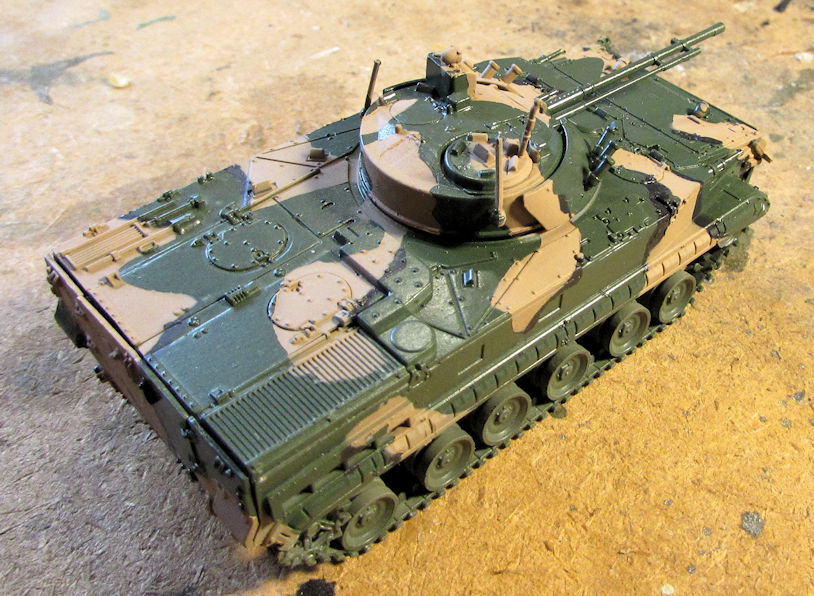
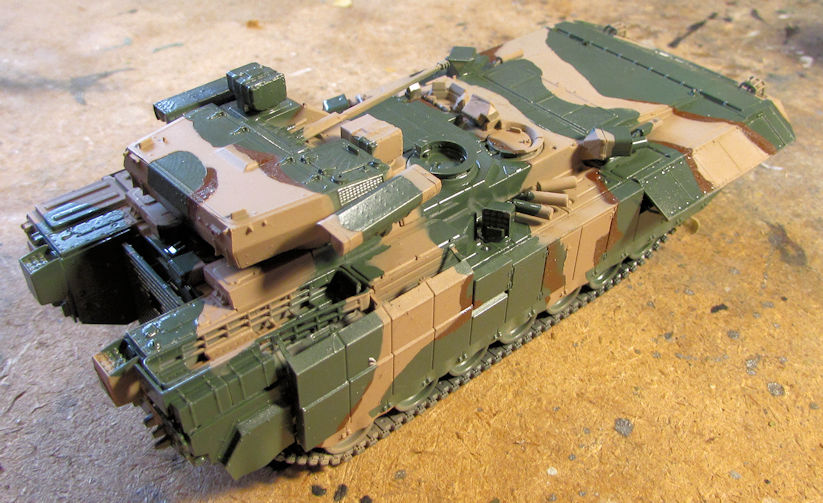
And once again, when it was dry, I removed everything to find only a tiny amount of touch up needed. This looks pretty awesome in this scheme:

WIP_Russian_T-15_Armata_VIIIc.jpg


WIP_Russian_T-15_Armata_VIIId.jpg


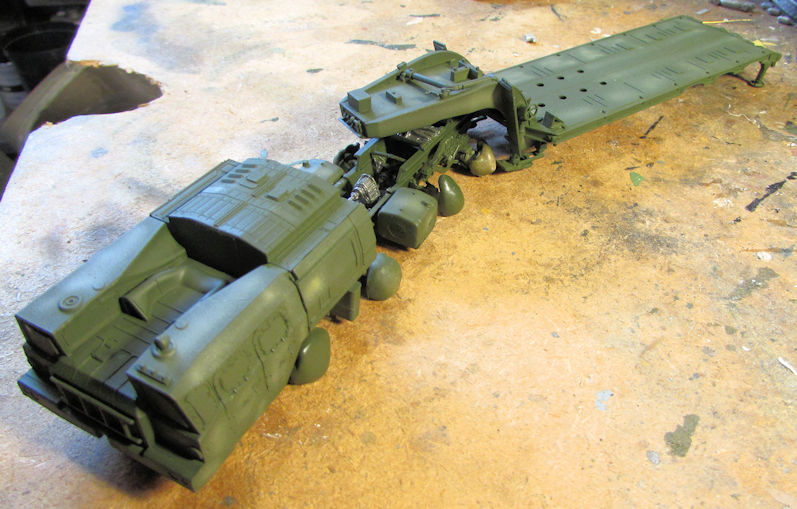
Now on to my big trucks. First off, the AA-60 fire tender still had issues with the white on the sides so I re-shot it. That is drying now; no need to take pics again. Meanwhile, I decided to modulate the color on the big trucks that will be all one solid color. First was the MAZ tank transporter:

WIP_Russian_MAZ_Tractor_Trailer_VI.jpg


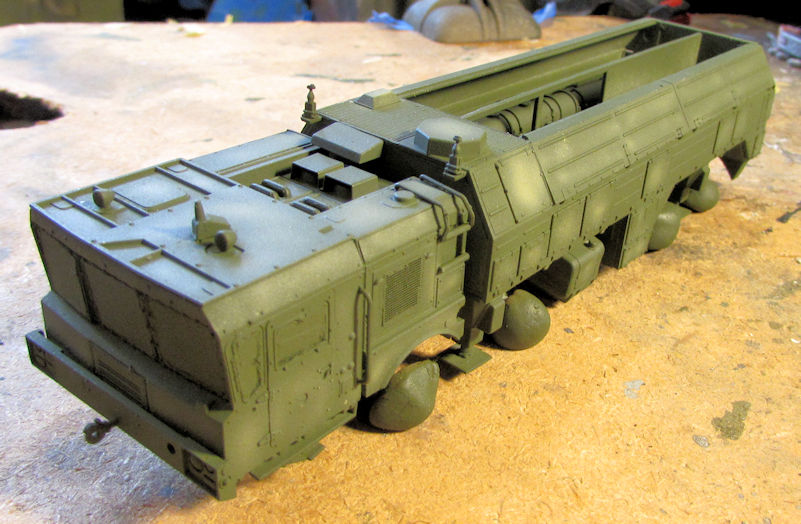
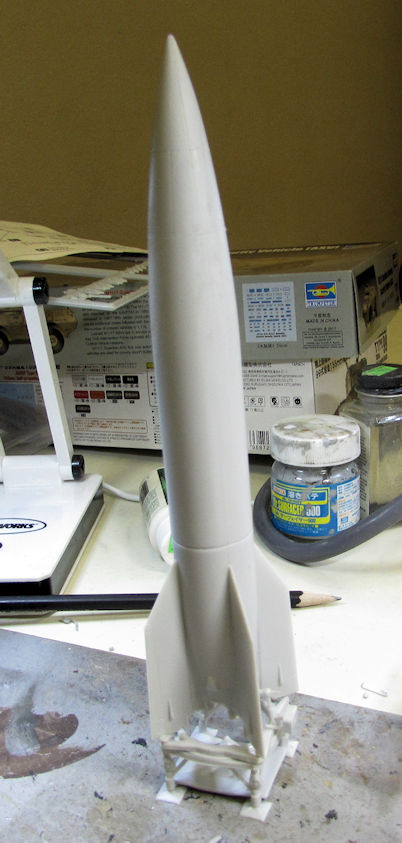
Next was the KZKT Iskandar:

WIP_Russian_KZMT_Iskandar_K_VIII.jpg


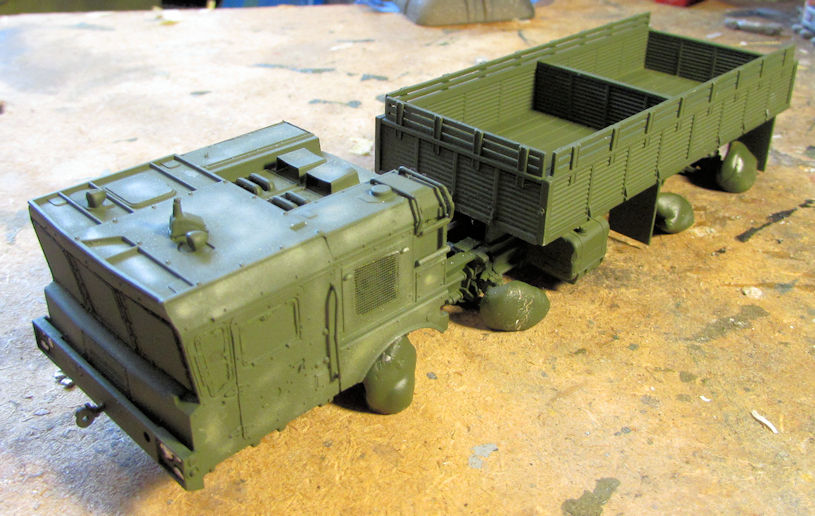
Then I shot the KZKT Heavy Cargo Truck:

WIP_Russian_KZMT_Heavy_Cargo_Truck_VIII.jpg


And finally, the MAZ Heavy Cargo Truck:

WIP_Russian_MAZ_Heavy_Cargo_Truck_VII.jpg


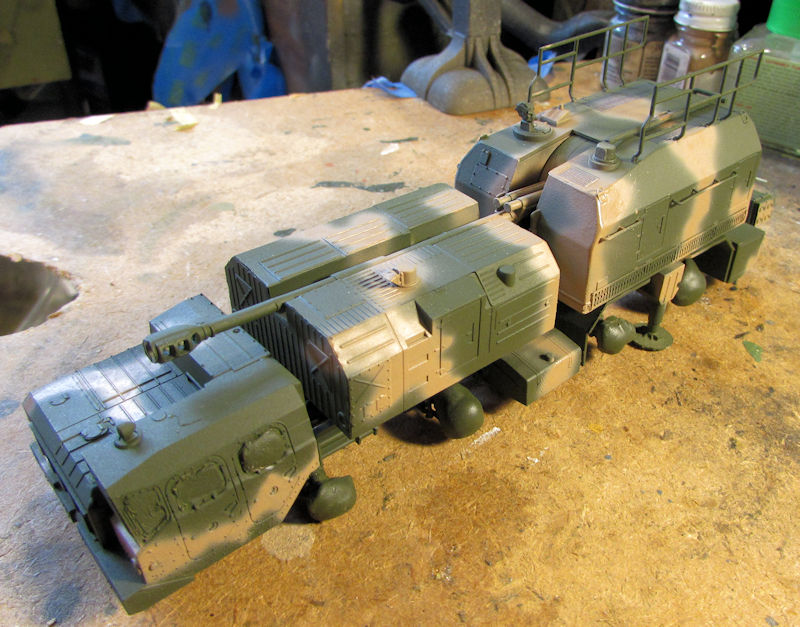
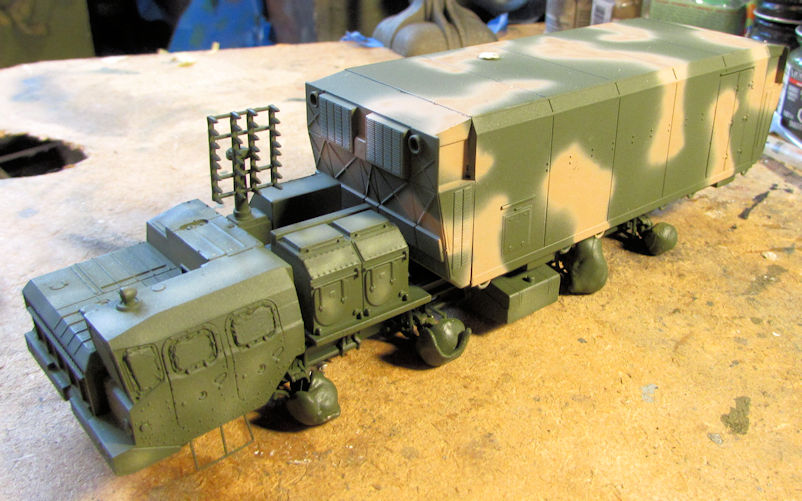
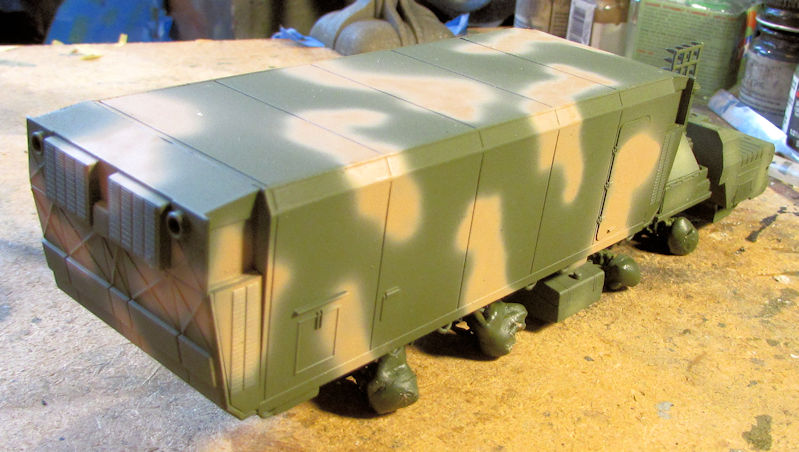
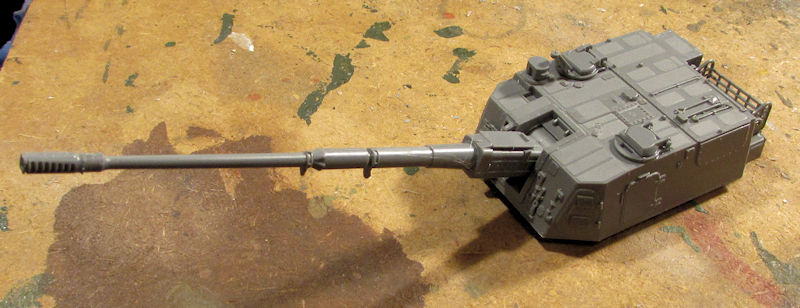
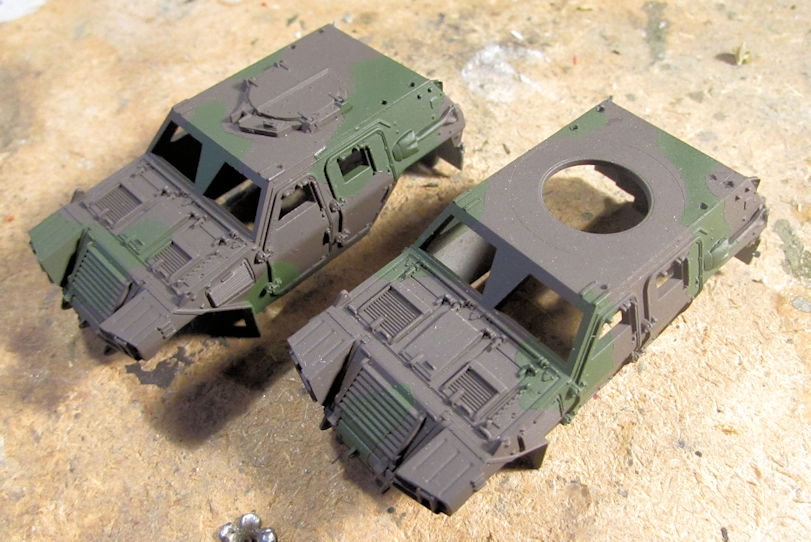
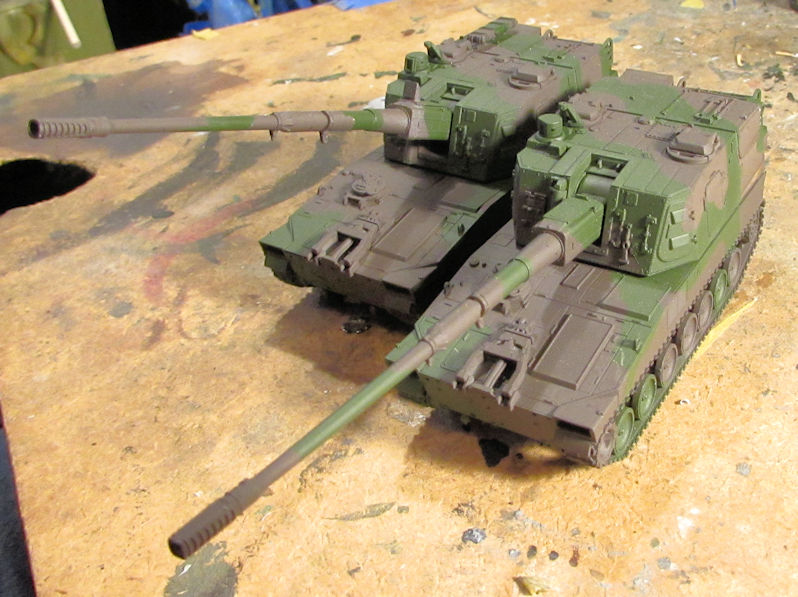
The last two models had some measure of camouflage on them, only two colors each. First off the Bereg Coastal Defense Gun got it's second tan color. I free-handed this camouflage on this and the Baikal Command Truck still with my Sotar 20/20 airbrush since it would have taken too much tape and Silly Putty to mask off all that green. I should have shot the tan first, then masked that and shot the green. Oh well, I did it in reverse instead and here's how the Bereg looks:

WIP_Bereg_Coastal_Defese_Gun_X.jpg


WIP_Bereg_Coastal_Defese_Gun_XI.jpg


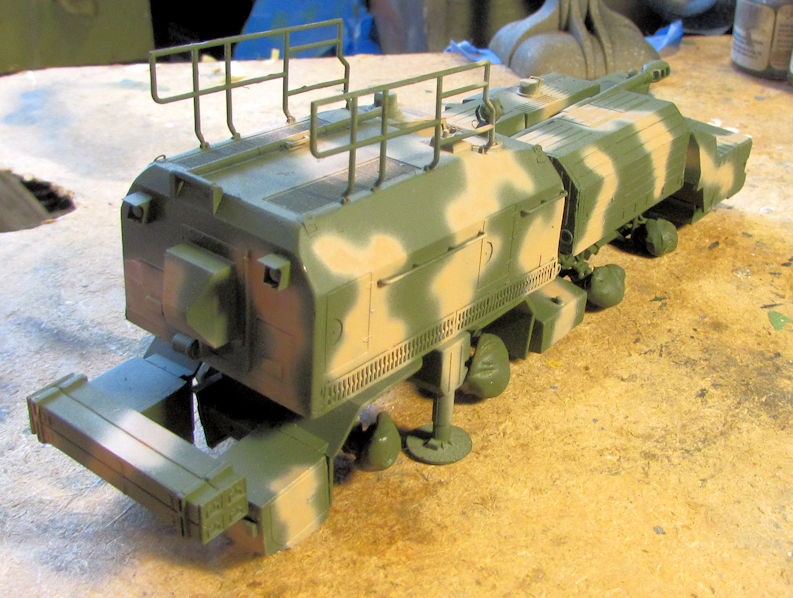
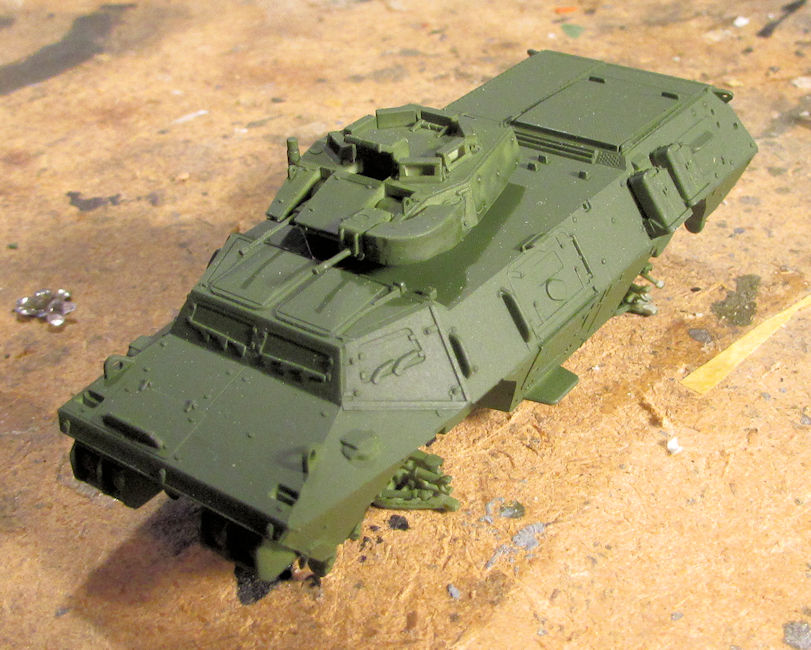
And finally I camouflaged the Baikal; but it only needed the second tan color on the command cabin so I modulated the drivers cabin:

WIP_Russian_MAZ_Command_Post_IX.jpg


WIP_Russian_MAZ_Command_Post_X.jpg


And that is all I managed to get done on this; the first building day of the new year. Thanks all for looking in, as always; comments are welcome.
 
Let the Games Begin!!... :D
You should keep a running tally for the decade....I would predict 6000+ completed by December 31st, 2029... :eek:ldguy
:coolio
 
Mark, you are a machine!

They look great! Any progress on the widgeon or the Shinmeiwa? I should build my shinmeiwa this year

:popcorn
 
Thanks guys for the awesome comments!

Eric that is an interesting idea. I might see if that is possible. It would be easier to see how many I built from 2010 to 2019 since I'd been posting my Year End Reviews after each year. The main issue with that is whether enough Forums which held all those Year End Reviews are still around with all the threads.

Sharkman, none yet on the Widgeon or Shinmeiwa. I think the Widgeon is missing the canopy so finishing that will be an exceptional challenge. I am also looking for the Grumman Duck I started, but it seems to have been put away. As for the Shinmeiwa; I want to finish a lot more of these big trucks and other models to make room for it first. Then maybe I can get some progress done on it.

Barney my friend, I find a lot of time to work; I just don't get very many calls to give me work. It's also the same time as my bench time so if a call comes in that will make me money, I will skip the bench and go work. That's how I was able to pay for Chattanooga and the van to bring everything out. It is also the reason I only finished 20 models this past year, not 41 as usual. Thanks again my friend for commenting, I'm always glad to see your posts.


Thanks again Frank, Mike and Lawrence for the comments; I'm glad to see your posts!
 
Thanks to some spare time and another Hobby Day weekend I managed to get a good amount of progress done. Several of these are actually at the paint stage now. Without further ado, let the Maddog Manufacturing tour begin....

We'll start in the aircraft division where I worked on the Gotha Go-242.

First off, I painted the pilots and the rest of the cockpit that can be seen. I then installed it along with a lot of nose weight in the front:

WIP_German_Gothat_Go-242_V.jpg


Next, I was going to add the main cargo bay floor, but I saw this great looking molded in detail. I had to paint it. Once it was dry, I installed in inside the fuselage half:

WIP_German_Gothat_Go-242_VII.jpg


Next I assembled the rear cargo bay door, adding the hinges to it as well:

WIP_German_Gothat_Go-242_VI.jpg


All that was left was to close it all up:

WIP_German_Gothat_Go-242_VIII.jpg


The rear door does open. I like that:

WIP_German_Gothat_Go-242_IX.jpg


After that, I added the wings and assembled the empennage to complete most of the structure of this plane:

WIP_German_Gothat_Go-242_X.jpg


Here you can see the rear door does still open:

WIP_German_Gothat_Go-242_Xa.jpg


Despite my best efforts I still had some steps and gaps to fill, so I pulled out the Mr. Surfacer 500 to fill everything in. My jar was quite thick, but I still laid in on well:

WIP_German_Gothat_Go-242_Xb.jpg


WIP_German_Gothat_Go-242_Xc.jpg


Now moving on to my armor and vehicle division....

I was looking for something simple and easy to build after all those difficult Big Trucks, so I pulled out my Modelcollect V-1 Launch Ramp. How hard could that be? It was actually pretty simple, but I still had some issues getting the bracing to sit right:

WIP_German_V-1_Launch_Ramps_I.jpg


Later I'll do the V-1 bombs.

Another fast and relatively easy build was a Christmas present given to me by my AMPS club. This is the V-2 rocket from Condor and I'd built one before. However, the first one went onto my Mittraelerwagen as a load so now I'm going to do this one on the launch pad. It went together fast and well, although I had a few broken and short-shot pieces on the launch pad that I left off:

WIP_German_V-2_Rocket__I.jpg


I added more fast and easy builds that also add to my Japanese modern forces. These are the two JGSDF Light Armored Vehicles that I started up. First I did the suspensions and undercarriages:

WIP_JGSDF_Light_Armored_Vehicles_I_.jpg


Yes, they gave me two models in the kit.

Next was the interiors. They had you build them in a tub like the 1/24 scale car guys do and then install them on the chassis:

WIP_JGSDF_Light_Armored_Vehicles_II_.jpg


Next I built one of the upper bodies for these. It was a fast and easy build. I did leave off a few parts that I know will break when I try to close these over the chassis and interiors:

WIP_JGSDF_Light_Armored_Vehicles_III_.jpg


I also left off the windows as they go on from the outside so it's easier to paint these without them and add the windows later. I also decided to differentiate between the two by having the upper hatch closed on one and open on the other:

WIP_JGSDF_Light_Armored_Vehicles_IV_.jpg


Yeah, those are ready for paint now. I just have to find out what color the interior is now.

These Fujimi kits are so much fun so I pulled out two more to do. Of course, they came in the same box, but they have two versions inside. So, I started the next ones, these being the Type 99 Self Propelled Artillery. Here's the turret for one of them:

WIP_JGSDF_Type_99_SP_Artillery_I_.jpg


That took all of four minutes to build. The hull took an even shorter time:

WIP_JGSDF_Type_99_SP_Artillery_II_.jpg


Here you can see how incredibly long that gun is:

WIP_JGSDF_Type_99_SP_Artillery_III_.jpg


Finally, about 20 minutes later, I got all the wheels and tracks on both of these. Now they are almost ready for paint, after adding a few more hatches and other detail parts:

WIP_JGSDF_Type_99_SP_Artillery_IV_.jpg


Next I did the Fujimi JGSDF Anti-aircraft artillery. I started with the turrets like before:

WIP_JGSDF_Anti-aircraft_guns_I_.jpg


These two I differentiated by adding two different styles of smoke dischargers to the sides of these turrets:

WIP_JGSDF_Anti-aircraft_guns_II_.jpg


These look great on the hulls that were easily built in another four minutes or so:

WIP_JGSDF_Anti-aircraft_guns_III_.jpg


I ran out of time at the end of Hobby Day before I could complete the tracks, but that will go fast. Fujimi has an outstanding system for roadwheels and tracks.

Finally, another fast and easy model to build. This is the Trumpeter M-1117 Guardian that I'd been wanting for awhile. I started with the suspension:

WIP_US_M-1117_Guardian_I.jpg


It looks complicated, but it was fast and easy to do. Next I built the upper hull and turret, adding most of the detail parts except what would break with handling during painting:

WIP_US_M-1117_Guardian_II.jpg


After about five minutes getting the above results, this little beastie is ready for paint.


Finally, after all that, I decided to start back on something that I'd had sitting for awhile. I also wanted to do something different so I pulled out my languishing Coke van to try and move forward on it. First thing I noticed was the chassis did not fit well under the body so I had to do some minor mods to this to get it to fit right. You can't see them too well in this pic, but it does fit much better now:

WIP_Coke_Delivery_Van_V.jpg


Next I noticed that several vital parts were missing on this, in particular the engine covers, front grill and the gear shift mechanism. Thank goodness I had a second kit to steal these extra parts from so I could finish this! I pulled the gear shift mechanism out and added it to the interior and then assembled and installed the engine cover and grill to the front of the model. I also added the seat:

WIP_Coke_Delivery_Van_VI.jpg


Now I'm going to paint this beastie and finally get it done.


I did start another project that I'm not going to post in this Thread. I'll be starting another Thread for it as it is a Tribute Build to several modeling friends from some other Forums that recently passed away. Some of you may even know them as they were previously members of the LEM. It is also being submitted as part of the SoCal AMPS Nationals Group Build entry. Anyway, for more information, feel free to check it out.


That's all I have for now, thanks all for looking in, comments are always welcome.
 
Nice start to the new year, Mark!

I was especially impressed by the wooden floor interior of the Gotha Go-242.

Cheers,
James
 
Thanks guys! I appreciate the compliments! That floor was just screaming for a decent paint job so I did my best.

Now to get more done. Stay tuned.
 
Well, I had a rather large and lengthy update to post here but when I tried to open the SD card with my pics, I couldn't do it. Looks like that old card finally gave up the ghost in a catastrophic failure. So, I went out and bought more SD cards and a new reader so now I'm starting all over camera wise. When I got home, I went in and shot pics of my latest progress, most of which is many steps ahead of what I was hoping to show. So this will be a much shorter update showing where I am to date.


So let's begin this tour.....

Aircraft first, again; mostly because I have only a few.

First up is my German helicopter. I had painted a basecoat of dark grey and then masked it with Silly Putty. Those pics were lost in the crash. Once it was masked, I shot it with the second camouflage color Olive Drab:

WIP_German_UH-1_Huey_Hog_VI.jpg


That's where that is so far. Next I worked on my Gotha Go-244. I added the landing gear and then masked all the windows; after having sanded the whole thing smooth. Here she is standing on her own three feet:

WIP_German_Gothat_Go-242_XI.jpg


WIP_German_Gothat_Go-242_XII.jpg


Next thing I need to do is find a nice light blue to shoot the underside of this; and then finish the painting after.


Moving on to my armor, here's a little beastie I started and got painted very quickly since I don't seem to have pics of this in my WIP folder, which means they are probably lost in the crash. Here's my M-274 Mule, already painted and waiting for additional details:

WIP_US_M-274_Mule_I.jpg


Next, here are three more little vehicles that I don't think I posted yet; which I started a few days ago. These are the Fujimi 1/2-ton trucks for the JGSDF. There are three seat configurations on the interiors, so I made one of each. I built them, airbrushed the exteriors, and yesterday I painted the interiors:

WIP_JGDF_Half-ton_Trucks_I.jpg


Two of those trucks will have tilts over them, so I assembled and painted one to see how it was going to look. Here it is painted; I haven't test fit it to the vehicle yet:

WIP_JGDF_Half-ton_Trucks_II.jpg


Disregard the dust on top; it's already gone.

After that, I painted the base coat on the M-1117 Guardian, the first of her three-color camouflage:

WIP_US_M-1117_Guardian_III.jpg


More pics that were lost showed my masking and painting of the two JGSDF light armored vehicles exterior bodies. I masked them with the Silly Putty and shot the second color. Here they are after I removed the Silly Putty:

WIP_JGSDF_Light_Armored_Vehicles_V_.jpg


Later, when I was painting the interiors of the three half-ton trucks, I also painted the interiors of these trucks:

WIP_JGSDF_Light_Armored_Vehicles_VI_.jpg


Later on, I test-fit one of the exterior bodies to one of the interiors to see how much could be seen:

WIP_JGSDF_Light_Armored_Vehicles_VII_.jpg


While that was drying, I masked my JGSDF Self propelled anti-aircraft guns with Silly Putty and shot the second color. The pics of the things masked before I shot them were lost in the crash, but here they are after I shot the paint and removed the Silly Putty:

WIP_JGSDF_Anti-aircraft_guns_IV_.jpg


After that, I also masked and shot the JGSDF Self Propelled Artillery guns; as before, the pics of them masked and shot were lost. Here they are all painted and Silly Putty removed:

WIP_JGSDF_Type_99_SP_Artillery_V_.jpg


And that is where I am now to date. Hopefully I'll get more done this weekend. Thanks for looking in, comments are welcome.
 
Back
Top