
iambrb
Well-known member
Hey I want to play too! So here is my contrib. to da’ campaign:
I originally had it up at the modelers lounge, but never got beyond cracking the box, So I reckon I’ll do it here!
OOPS! Here is the START DATE part of it! Please note that I tried my best to lighten the pic as much as possible to show it un started:


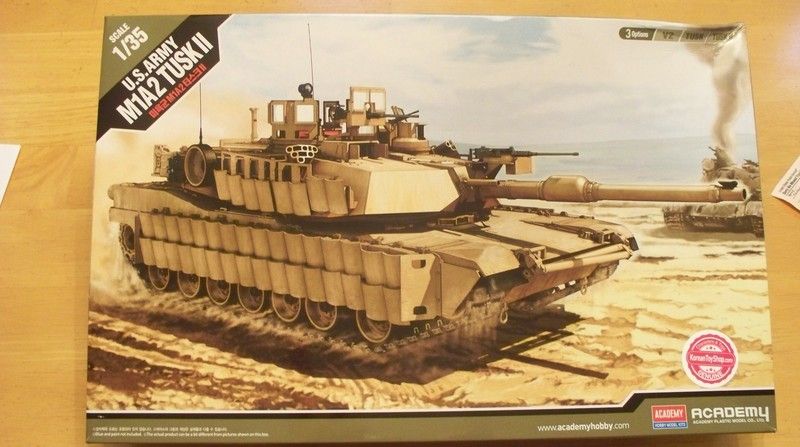
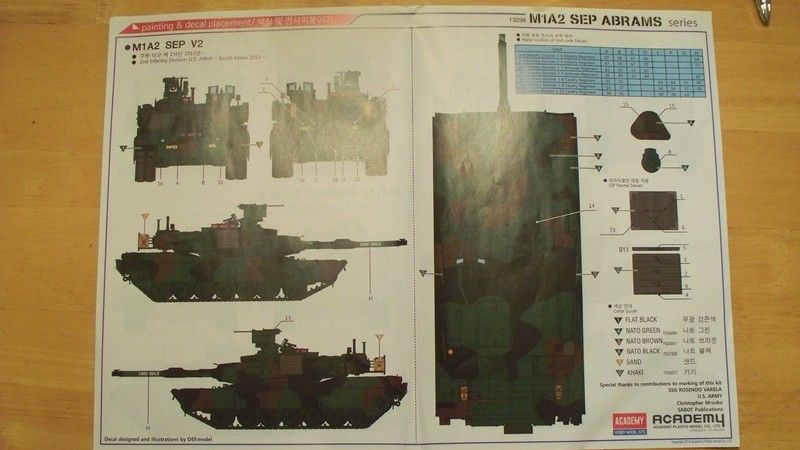
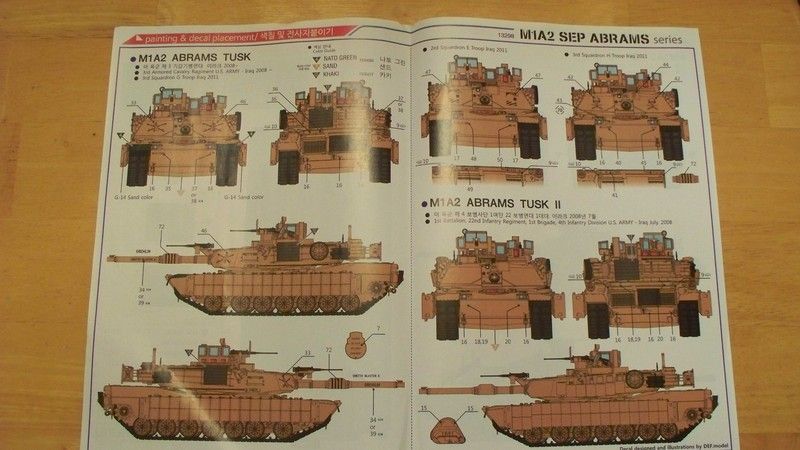
So anyhow here is the box and the MANY (!!) manuals and color guide:

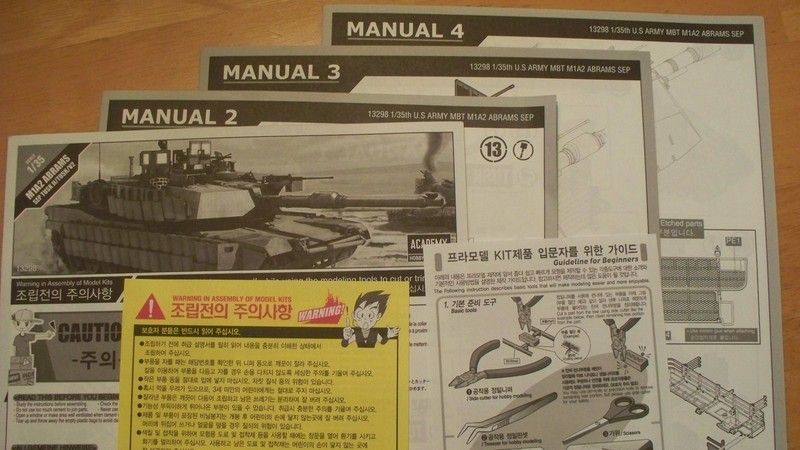
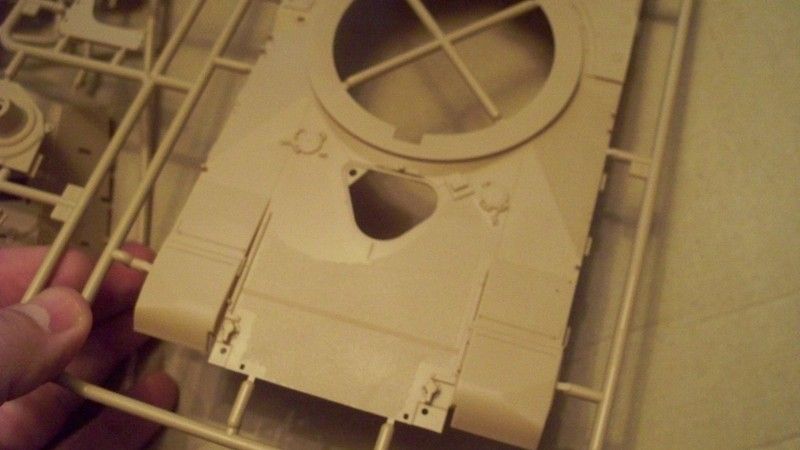
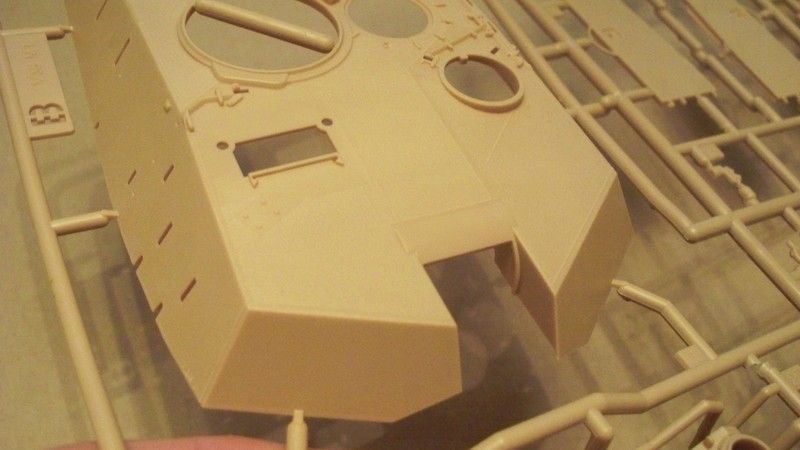
This is really thorough, it appears that Academy is really trying to 'up' thier game. To that end, what made me choose this particular version? Well, it is for the same reason that I see this model falling into. To my way of thinking as to the versions of M1A2 Abrams that are currently out there, this falls in the "middle of the pack" Why you say? Well, if you get the Tamiya, it is very good of course, but the hull & turret lack the anti-skid coating on this generation of tanks, plus it has the usual PITA two-piece barrel that requires alot of sanding to remove the seam. (or additional expense to procure aftermarket) The Academy has the anti-skid coating, as I tried to show here:
Appears I did not get a chance to take some pics of the unique method they use to mold thier multi-piece barrel, when I get to assembly I will show it though.
Not as nice as the Meng, though, is that this kit does not mold the lower hull as one-piece, and the tracks are the vinyl one-piece type:
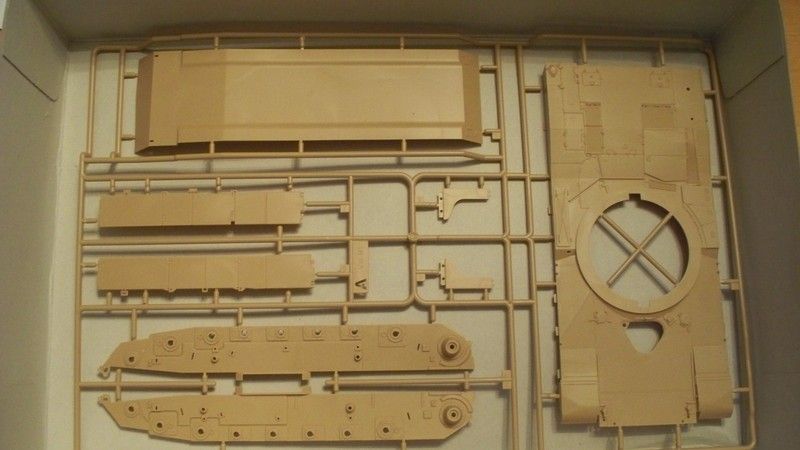
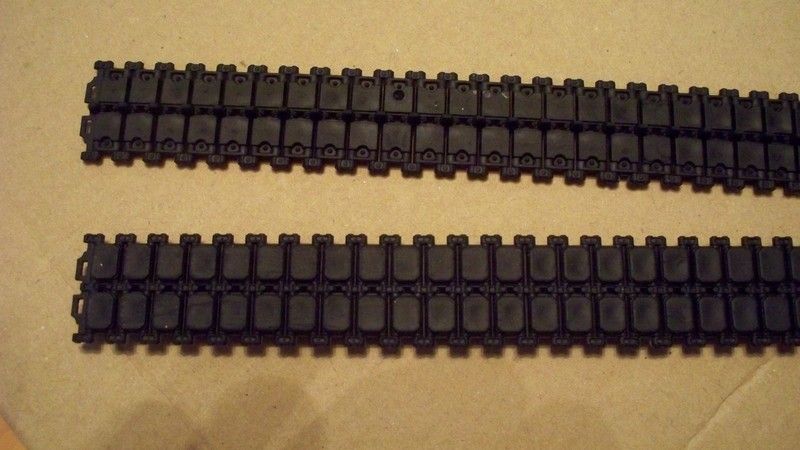
This is a minor issue to me, with so much of the track run and the lower covered in the final model, but still something to consider.
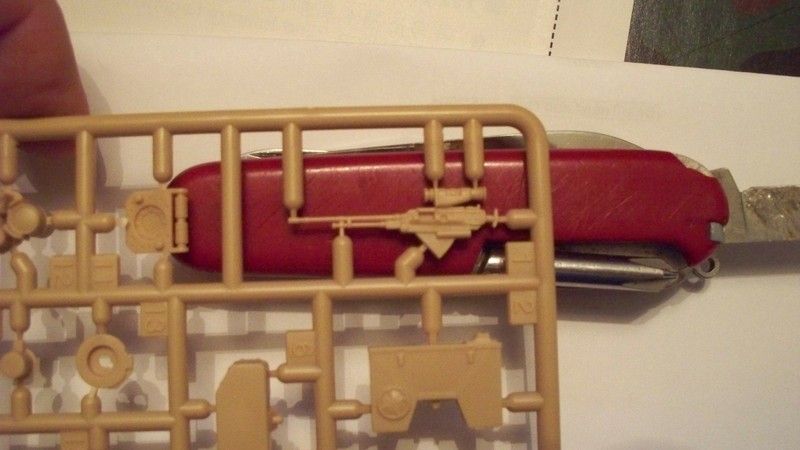
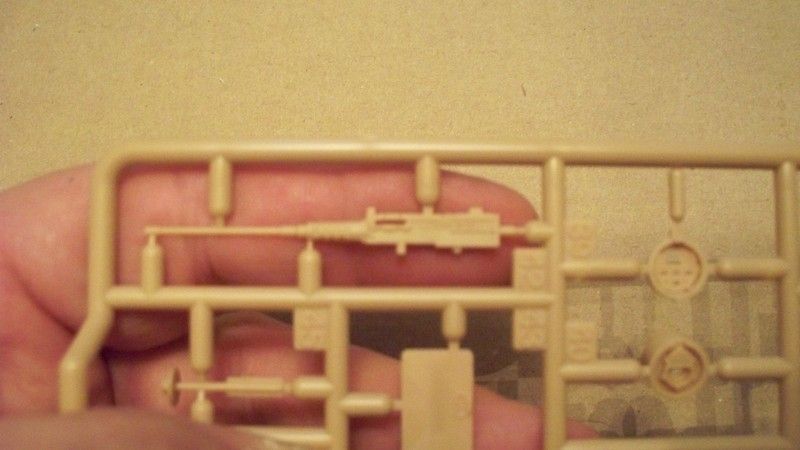
Lastly I tried to show a few pics of the .50 cal MG's. Although a bit better molded than the Tamiya (IMHO), they are still one-piece molded to their cradles, so their position will wind up fixed:
So based on this, I think it falls smack-dab in the middle of the offerings from Tamiya, Academy, & Meng (I have not seen the Rye offering as yet). A nice caveat to this is that I bought mine for $37 dee-livered from Korea via Ebay. This is a few bucks less than tamiya, and a bit more $20 less than Meng.
So here it is = not actually sure how fast I can get to this, with the greates day of the year approaching and all that, but ‘till then,
'Tanks' Fer-Lookin'!!!

I originally had it up at the modelers lounge, but never got beyond cracking the box, So I reckon I’ll do it here!
OOPS! Here is the START DATE part of it! Please note that I tried my best to lighten the pic as much as possible to show it un started:


So anyhow here is the box and the MANY (!!) manuals and color guide:


This is really thorough, it appears that Academy is really trying to 'up' thier game. To that end, what made me choose this particular version? Well, it is for the same reason that I see this model falling into. To my way of thinking as to the versions of M1A2 Abrams that are currently out there, this falls in the "middle of the pack" Why you say? Well, if you get the Tamiya, it is very good of course, but the hull & turret lack the anti-skid coating on this generation of tanks, plus it has the usual PITA two-piece barrel that requires alot of sanding to remove the seam. (or additional expense to procure aftermarket) The Academy has the anti-skid coating, as I tried to show here:


Appears I did not get a chance to take some pics of the unique method they use to mold thier multi-piece barrel, when I get to assembly I will show it though.
Not as nice as the Meng, though, is that this kit does not mold the lower hull as one-piece, and the tracks are the vinyl one-piece type:


This is a minor issue to me, with so much of the track run and the lower covered in the final model, but still something to consider.
Lastly I tried to show a few pics of the .50 cal MG's. Although a bit better molded than the Tamiya (IMHO), they are still one-piece molded to their cradles, so their position will wind up fixed:


So based on this, I think it falls smack-dab in the middle of the offerings from Tamiya, Academy, & Meng (I have not seen the Rye offering as yet). A nice caveat to this is that I bought mine for $37 dee-livered from Korea via Ebay. This is a few bucks less than tamiya, and a bit more $20 less than Meng.
So here it is = not actually sure how fast I can get to this, with the greates day of the year approaching and all that, but ‘till then,
'Tanks' Fer-Lookin'!!!


")


