
-
Modelers Alliance has updated the forum software on our website. We have migrated all post, content and user accounts but we could not migrate the passwords.
This requires that you manually reset your password.
Please click here, http://modelersalliance.org/forums/login to go to logon page and use the "Forgot your Password" option.
You are using an out of date browser. It may not display this or other websites correctly.
You should upgrade or use an alternative browser.
You should upgrade or use an alternative browser.
Lilyia Litvak ' s Yak-1
- Thread starter phantom II
- Start date
 The color really looks good, do those guys make a russian green?
phantom II
Master at Arms
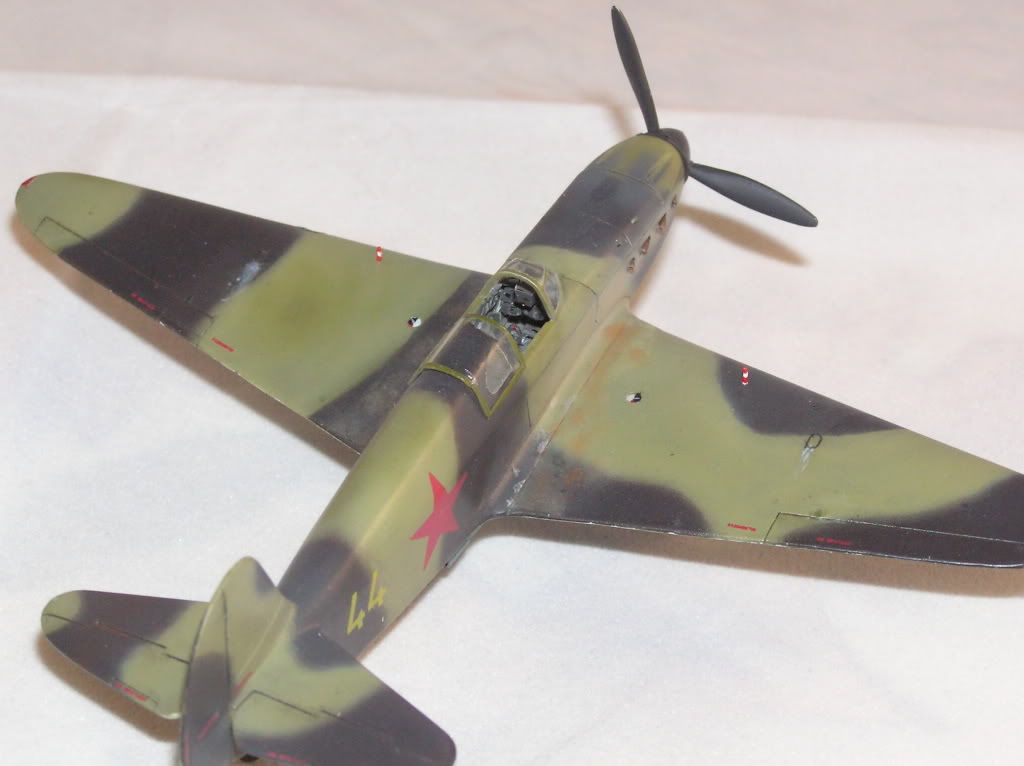
Painted the balck paterns of the cammo with my own Tamyia paint mixture and added a few decals after the paint curred .

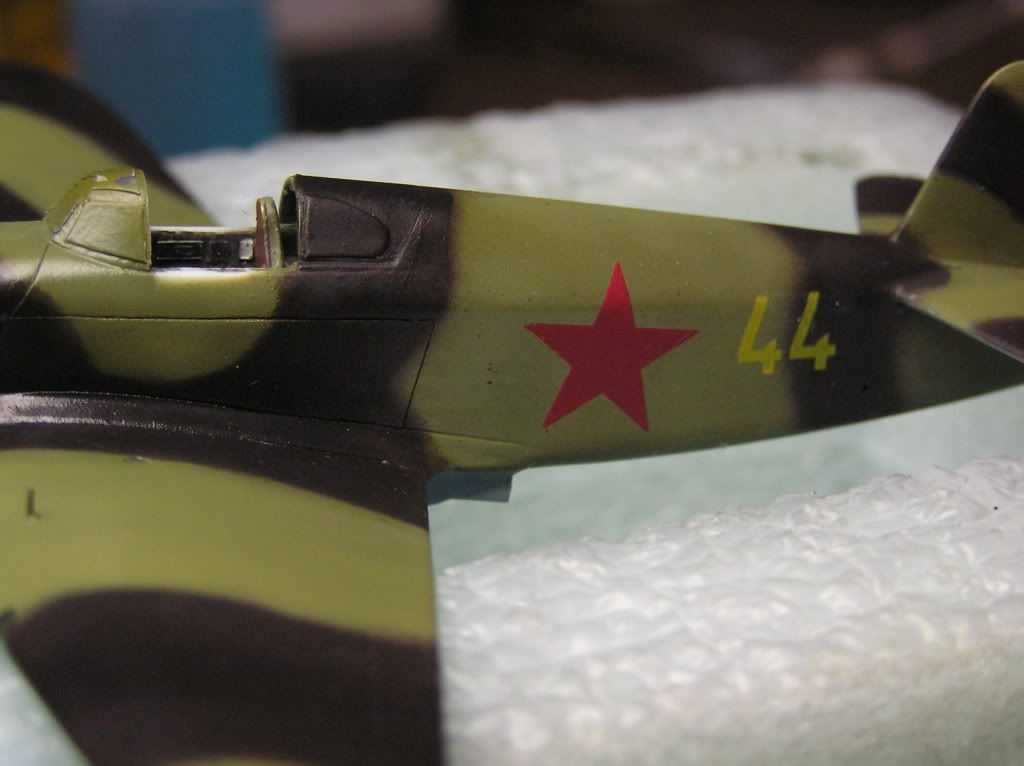
More fun to come. Hope you enjoy. B)
More fun to come. Hope you enjoy. B)
phantom II
Master at Arms
") I forgot to mension how well the new Iawata air brush handles those fine paterns. Can't wait to do some of those mottled paterns.
I forgot to mension how well the new Iawata air brush handles those fine paterns. Can't wait to do some of those mottled paterns.Cheers, Christian
phantom II
Master at Arms
Hello everyone. I have a couple small things to post tonight. Of course it continues to be problems and repairs.
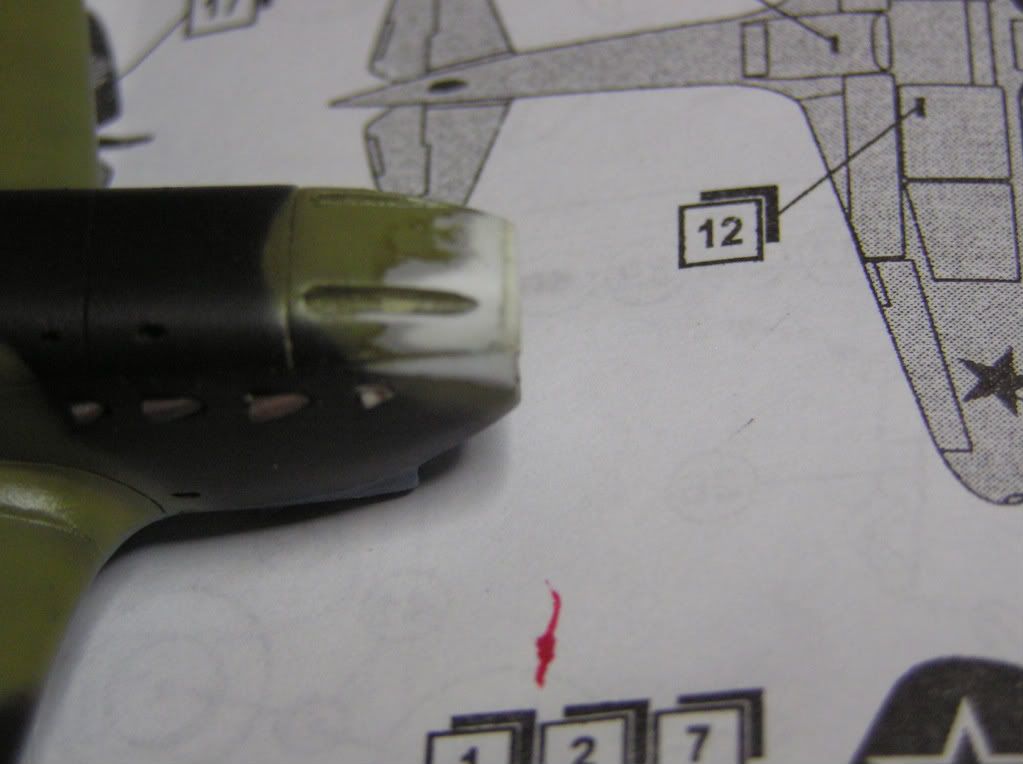
Shortly after the last coat of camouflage I tried to fit the prop and hub to the front cowling just to find that the top panel was too short in the front. After some Tenax and some strip styrene here we are back to sanding. Actually not too tough of a repair.
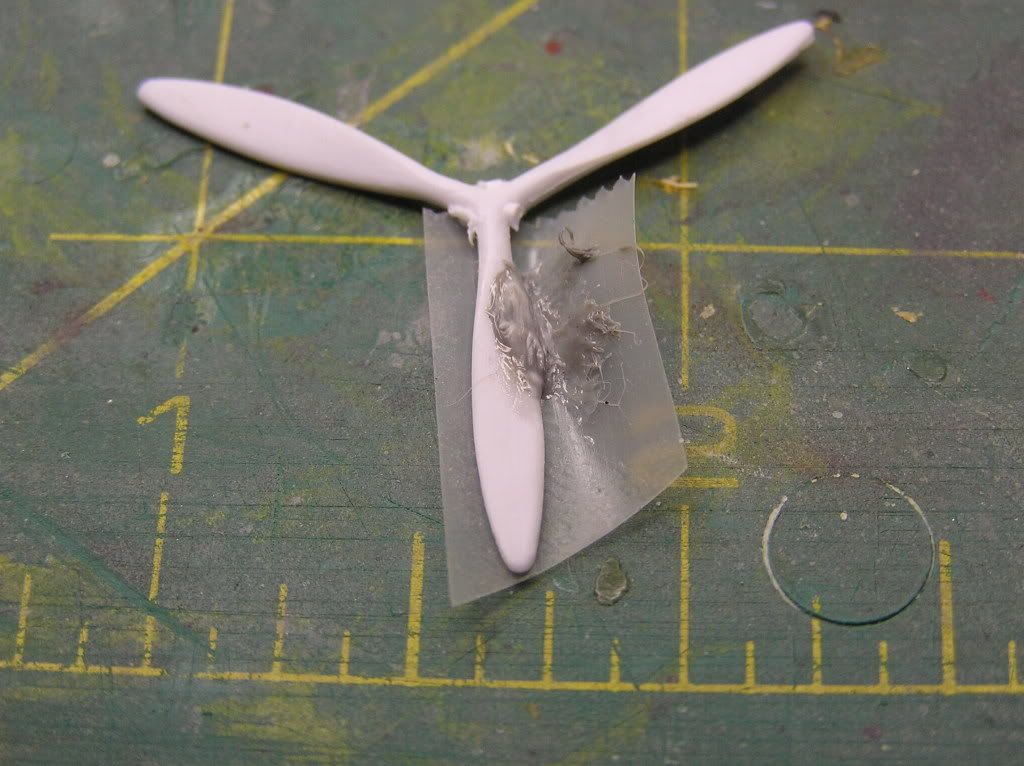
and in the process of liberating this prop from the gigantic sprue trees I liberated too much of it. That brought me to a repair I found some time back which consist of melting some plastic from the original sprue
and applying it to the damaged piece. The tape is for baking and does not get stuck to the plastic.
Shaping it back to size was easy since all the plastic has the same hardness.
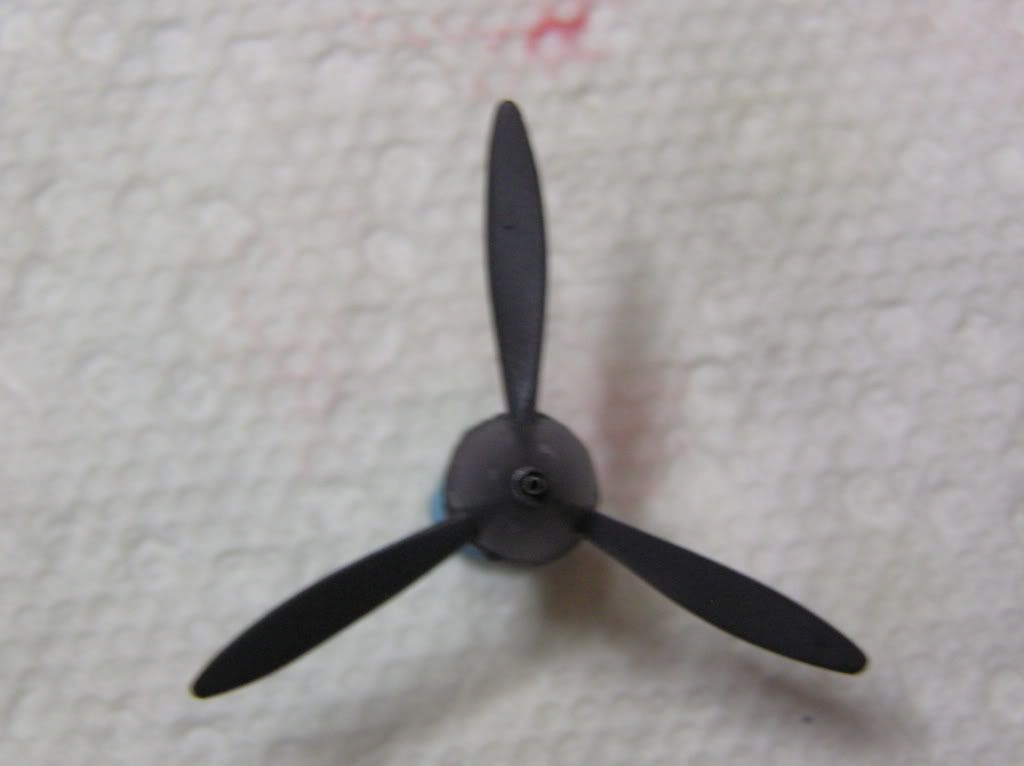
Before and not much latter. I have also added a piece of tubing to the center of the spinner
Cheers, for now. Christian
Shortly after the last coat of camouflage I tried to fit the prop and hub to the front cowling just to find that the top panel was too short in the front. After some Tenax and some strip styrene here we are back to sanding. Actually not too tough of a repair.
and in the process of liberating this prop from the gigantic sprue trees I liberated too much of it. That brought me to a repair I found some time back which consist of melting some plastic from the original sprue
and applying it to the damaged piece. The tape is for baking and does not get stuck to the plastic.
Shaping it back to size was easy since all the plastic has the same hardness.
Before and not much latter. I have also added a piece of tubing to the center of the spinner
Cheers, for now. Christian
What was so bad about this update? Fantastic repair job, bakers tape, how hot can it get? I know it can't take soldering temperatures.
yes I can see the photobucket pictures, off work today.
yes I can see the photobucket pictures, off work today.
phantom II
Master at Arms
Well, had more fun with brass

guess you might say we're getting to the brass tack. ( No fancy soldering here MP ). Just some good old Scotch's adhesive and damp brush to remove the excess.
Don't ask what the odd gear doors are. They came with the brass kit and I took the picture before I realized they did not fit the build (???).
Some decals and pin washes while the glue dries and disappears .

TTFN. Christian
guess you might say we're getting to the brass tack. ( No fancy soldering here MP ). Just some good old Scotch's adhesive and damp brush to remove the excess.
Don't ask what the odd gear doors are. They came with the brass kit and I took the picture before I realized they did not fit the build (???).
Some decals and pin washes while the glue dries and disappears .
TTFN. Christian
Hi Christian,
These WW II Russian war birds seem to have been sculpted with a hatched: man do they look rustic and tough! BTW, were they good fighters?

I had all but forgotten about the lady fighters of the USSR: they must've been tough too, after all you had to be tough just to survive behind the "iron curtain", specially during the war.

Although I've been following your build since you started it, only now have I remembered to leave you a post... sorry. If I have, with my two tanks and the bomber, half of the problems you're having with your Yak, I guess I'll move on to a less stressing hobby, like birdwatching, or cooking, for instance... As you said, you're good with repairs, which certainly is not my case...
Your paint job is coming along very nicely and that propeller job you did was awesome: there's not a single Thread here at TnT where I don't learn something!

Cheers and good luck with your Yak!

Fernao
These WW II Russian war birds seem to have been sculpted with a hatched: man do they look rustic and tough! BTW, were they good fighters?
I had all but forgotten about the lady fighters of the USSR: they must've been tough too, after all you had to be tough just to survive behind the "iron curtain", specially during the war.
Although I've been following your build since you started it, only now have I remembered to leave you a post... sorry. If I have, with my two tanks and the bomber, half of the problems you're having with your Yak, I guess I'll move on to a less stressing hobby, like birdwatching, or cooking, for instance... As you said, you're good with repairs, which certainly is not my case...
Your paint job is coming along very nicely and that propeller job you did was awesome: there's not a single Thread here at TnT where I don't learn something!
Cheers and good luck with your Yak!
Fernao
phantom II
Master at Arms
That's probably a good analogy since we gave them so much material and technology to build airplanes the hardware stores probably made a killing on hatchets ! :hmmm
Christian
Christian
phantom II
Master at Arms
Hi everyone ! After a few weeks of being overly busy I am back at the table with a few small updates.
AS I have stated earlier the canopy in this kit is really poor. I tried to salvage it and when that failed I tried to make a vacum formed copy and this is the end result. Even worse !

Aftersome reaserch I found an assortment of Russian vac formed canopies at Sqadron and ordered their only copy.
While I waited and waited for the parts to arriveI built the gun sight. Hope I can get it to it's destination before the carpet monster eats it.
While still waiting for Squadron to get me my parts I wished that they would catch up to the rest of the shops and learn to Email posting notifications so that impatient modelers like me would know what's going on with my stuff !
As slow as they are they can be depended upon to deliver, so here' a canopy trimmed , futured and masked.
Lets paint !

More updates soon.
Cheers, Christian
AS I have stated earlier the canopy in this kit is really poor. I tried to salvage it and when that failed I tried to make a vacum formed copy and this is the end result. Even worse !
Aftersome reaserch I found an assortment of Russian vac formed canopies at Sqadron and ordered their only copy.
While I waited and waited for the parts to arriveI built the gun sight. Hope I can get it to it's destination before the carpet monster eats it.
While still waiting for Squadron to get me my parts I wished that they would catch up to the rest of the shops and learn to Email posting notifications so that impatient modelers like me would know what's going on with my stuff !
As slow as they are they can be depended upon to deliver, so here' a canopy trimmed , futured and masked.
Lets paint !
More updates soon.
Cheers, Christian
phantom II
Master at Arms
Hello everyone,
I have made progress today so I'll share. Thank you for looking. I will add more this weekend.
Hope you enjoy !B)
And now we have a canopy ! B)
I have made progress today so I'll share. Thank you for looking. I will add more this weekend.
Hope you enjoy !B)
And now we have a canopy ! B)
dukwhunter
Member
WOW  Chris , coming along very well !!!
Chris , coming along very well !!!I like the footprints going up the wingroot. Nice touch of detail. Clean little bird, I like it!
phantom II
Master at Arms
Hello everyone,
glad to be able to post a few things today. Even though I have been very busy as of late I have been able to plug away one small thing at a time but small things are all that was needed while waiting for the transparencies to arrive.
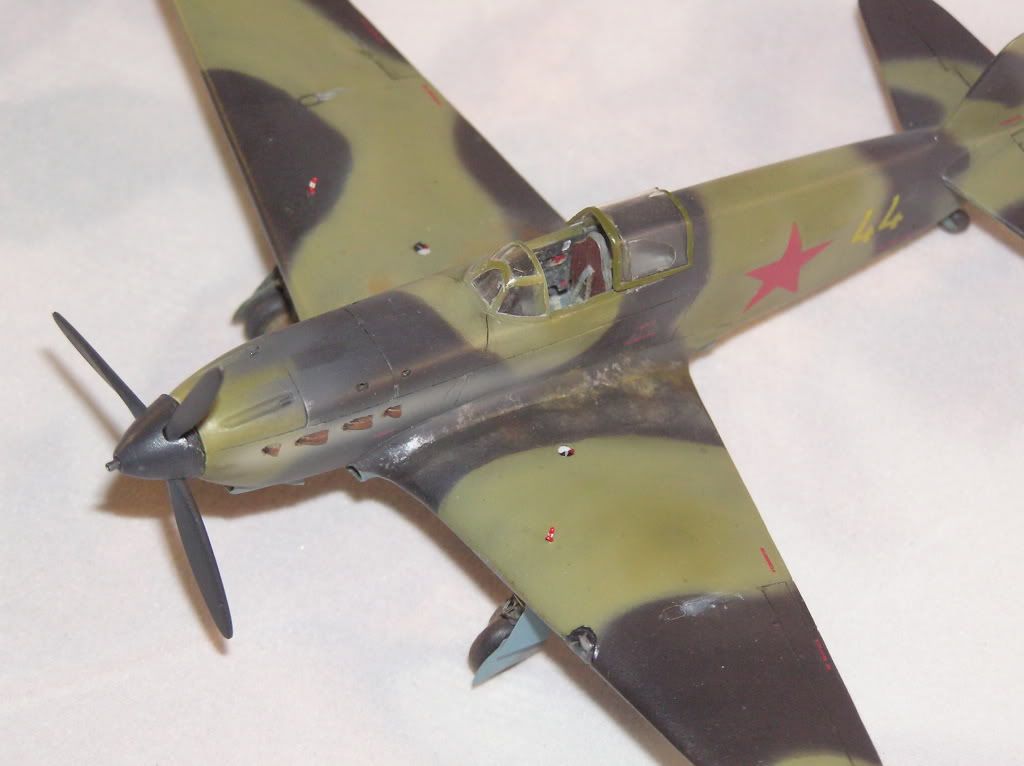
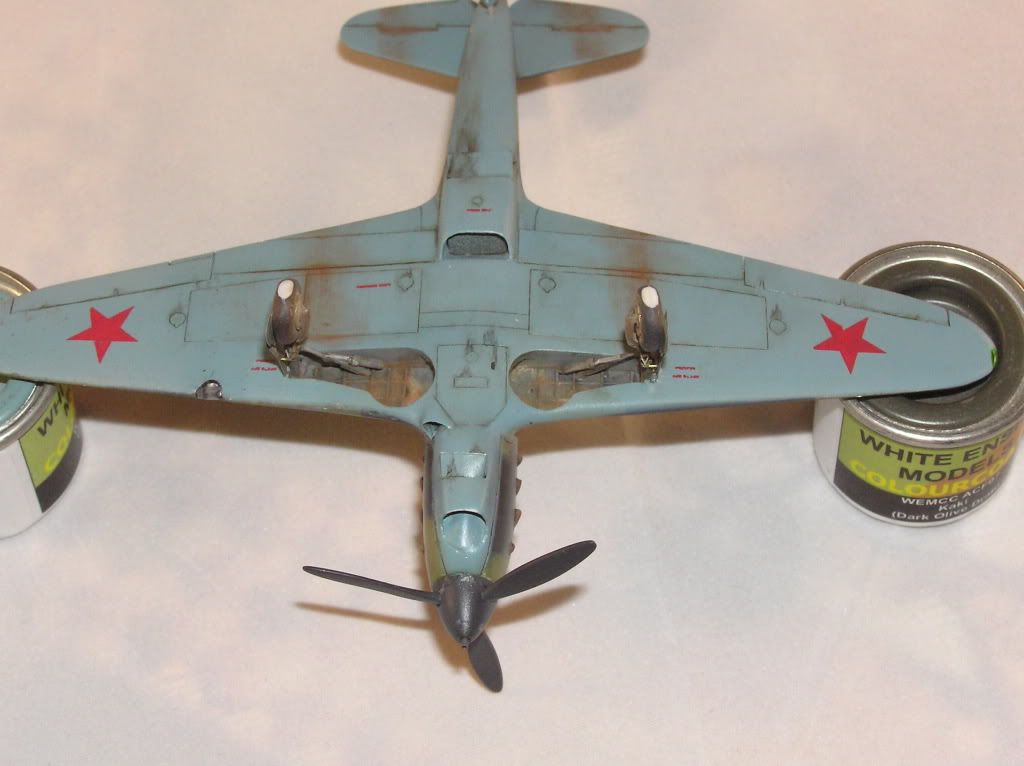
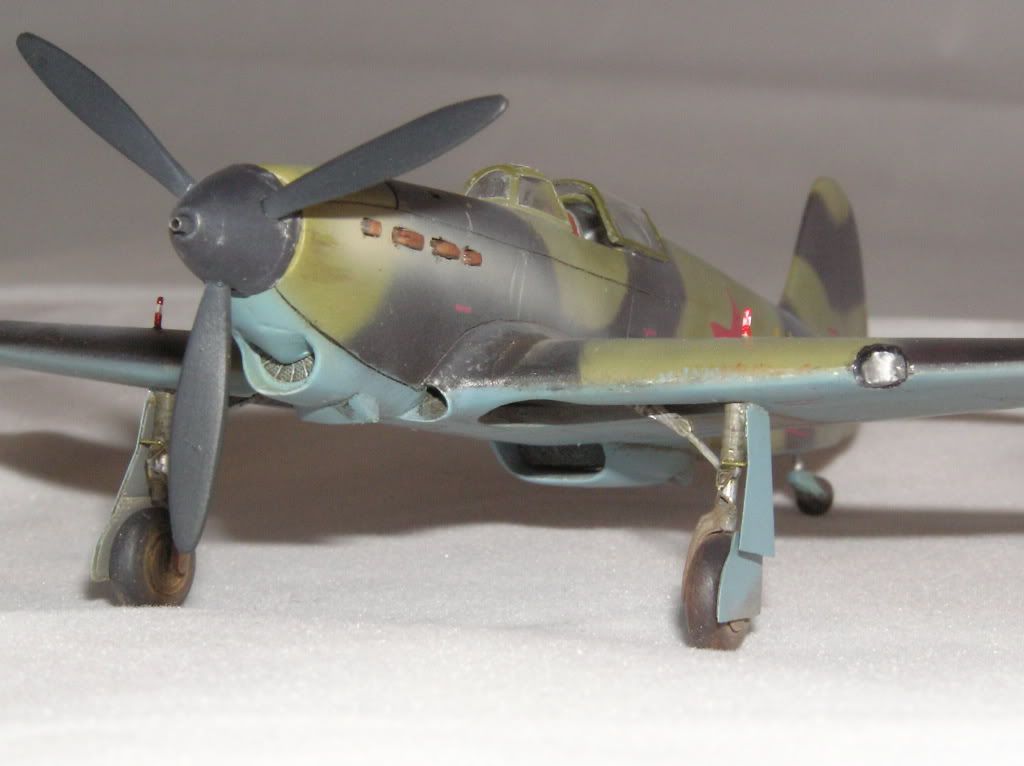
At this point I have been working on outside details. Wing fuel gages , gear downlock indicators (barber poles), the landing light has been fabricated and installed as well as the long awaited canopy.
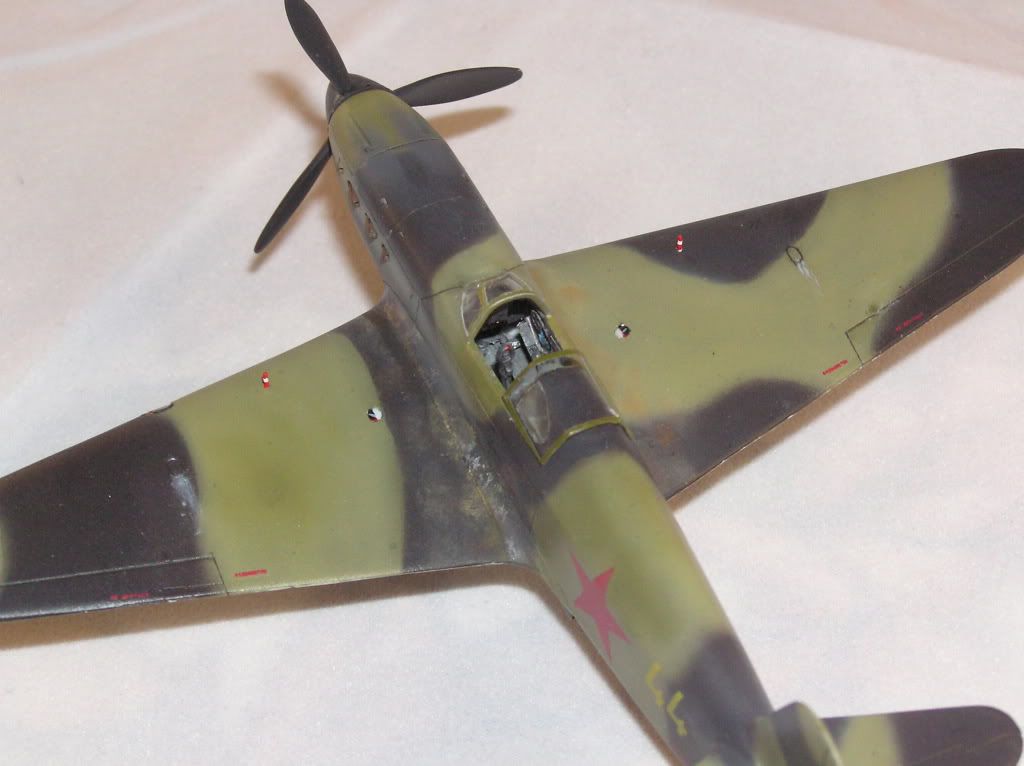
some pictures are here to mainly illustrate that it has a comprehensive interior.
I also seem to have been corrupted by the dark side as I now find myself wning MIG pigments and throwing mud at my aircraft. They did however operate in such conditions so I do find it plausible.

And now last but not least, I borrowed this picture of our fallen hero from the great patriotic war. Lily Litvak.

So, this this build is done and now I go back to the hanger and pull the IL-2 back out where I have left it untill I could find another bucket full of patience for it.
Hope you enjoy and thanks for looking...
Cheers, Christian B)
glad to be able to post a few things today. Even though I have been very busy as of late I have been able to plug away one small thing at a time but small things are all that was needed while waiting for the transparencies to arrive.
At this point I have been working on outside details. Wing fuel gages , gear downlock indicators (barber poles), the landing light has been fabricated and installed as well as the long awaited canopy.
some pictures are here to mainly illustrate that it has a comprehensive interior.
I also seem to have been corrupted by the dark side as I now find myself wning MIG pigments and throwing mud at my aircraft. They did however operate in such conditions so I do find it plausible.
And now last but not least, I borrowed this picture of our fallen hero from the great patriotic war. Lily Litvak.
So, this this build is done and now I go back to the hanger and pull the IL-2 back out where I have left it untill I could find another bucket full of patience for it.
Hope you enjoy and thanks for looking...
Cheers, Christian B)
Similar threads
- Replies
- 17
- Views
- 736
- Replies
- 80
- Views
- 5K