Brokeneagle
Master at Arms
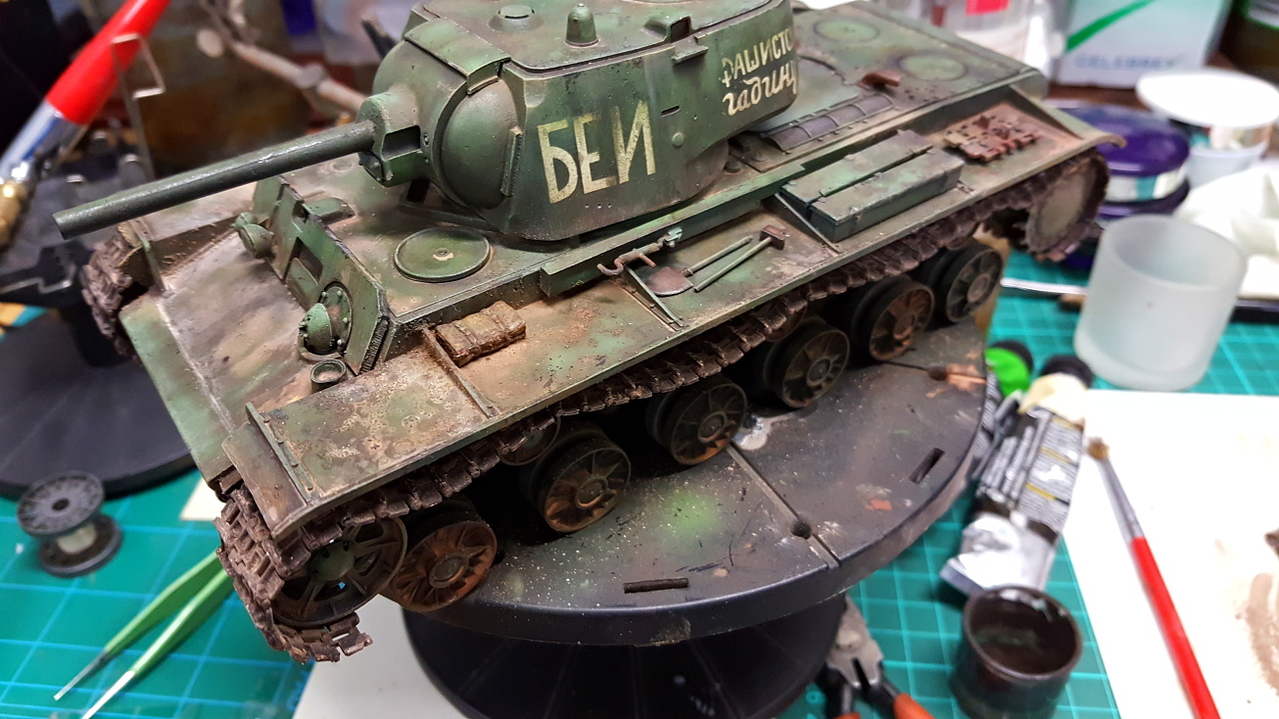
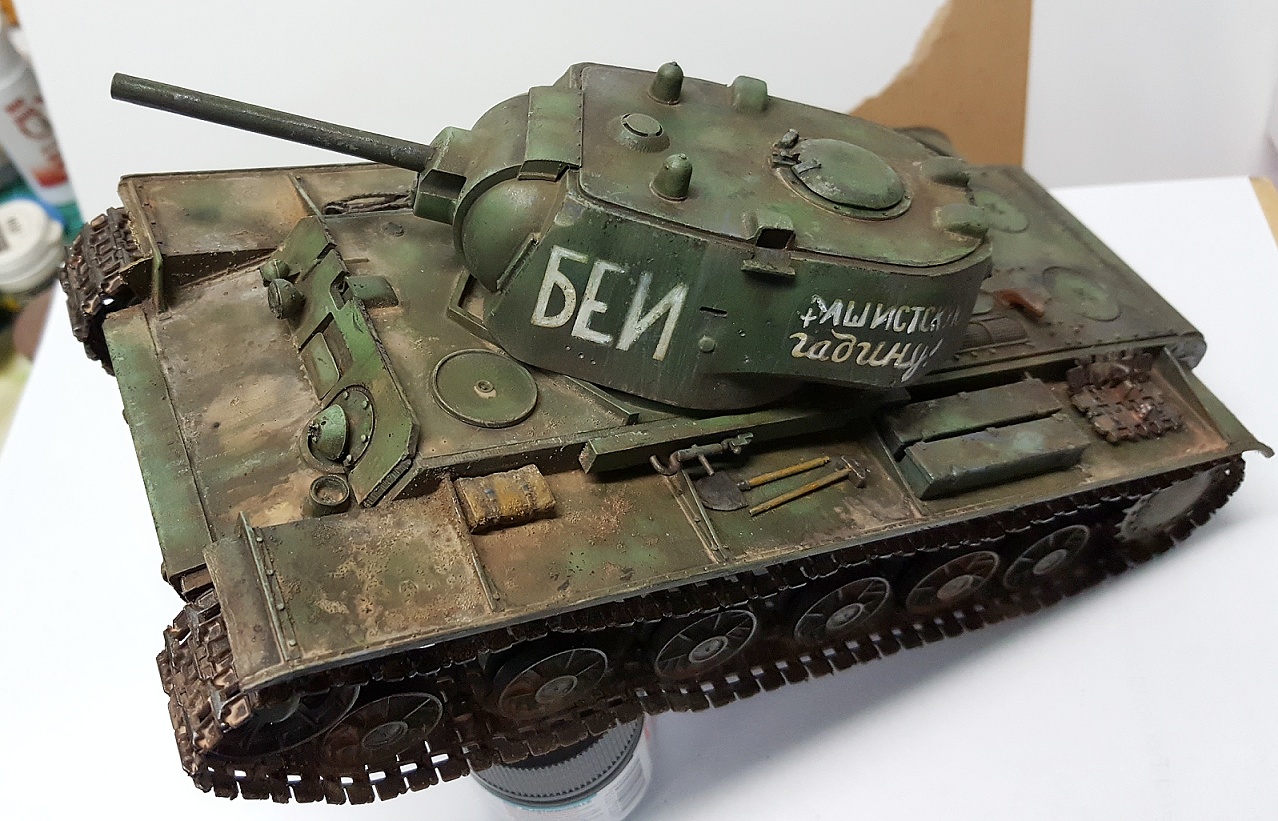
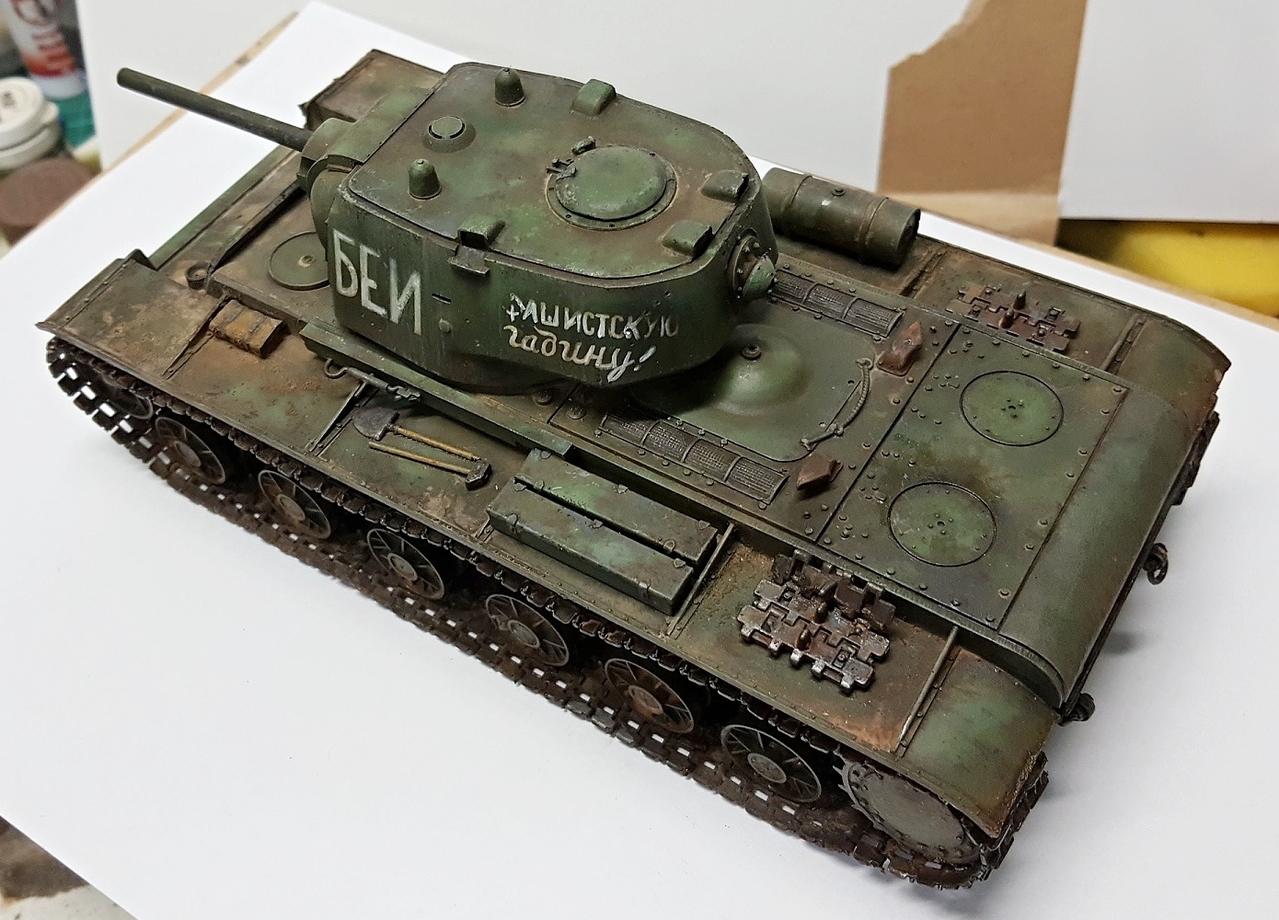
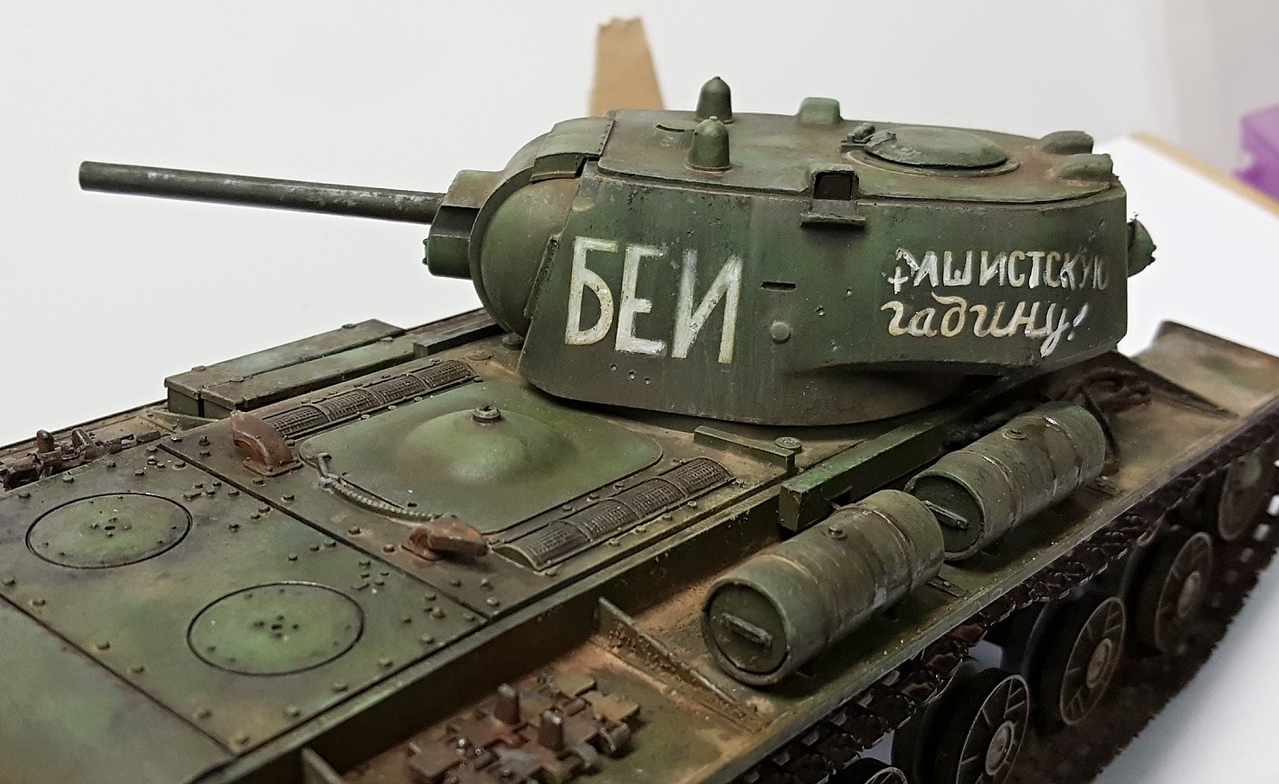
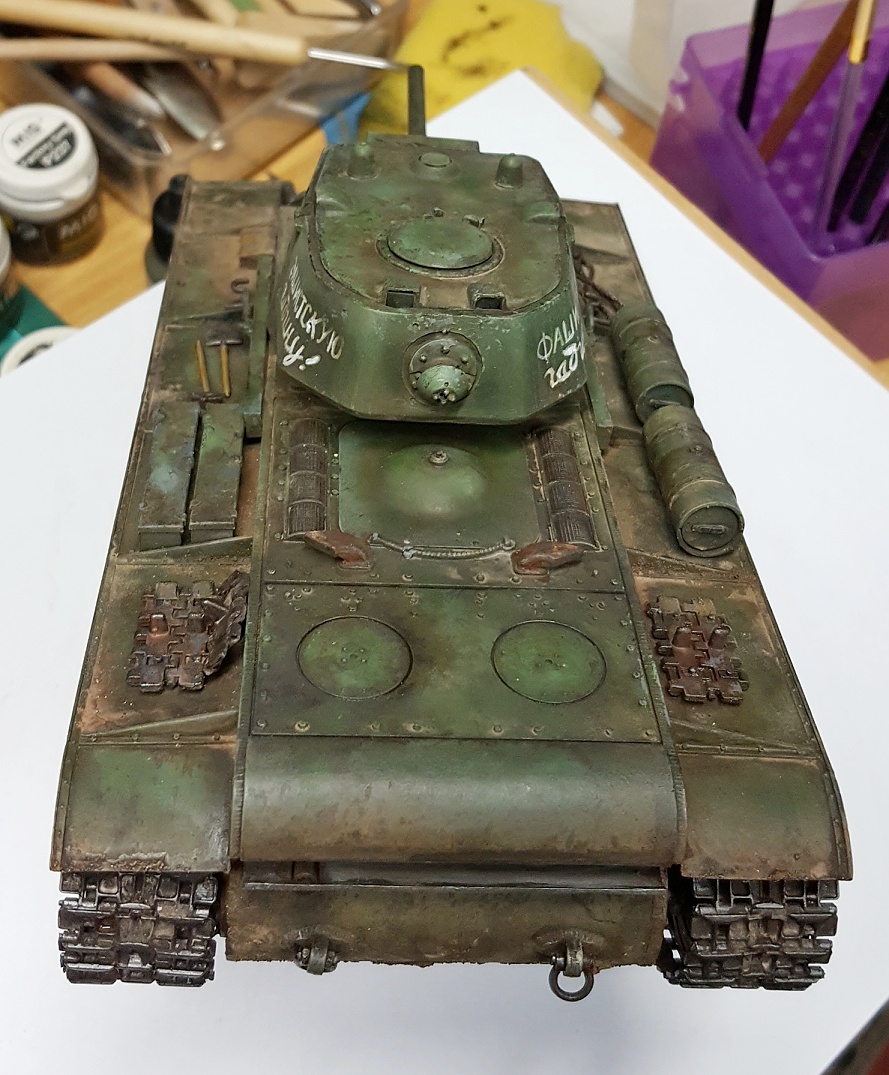
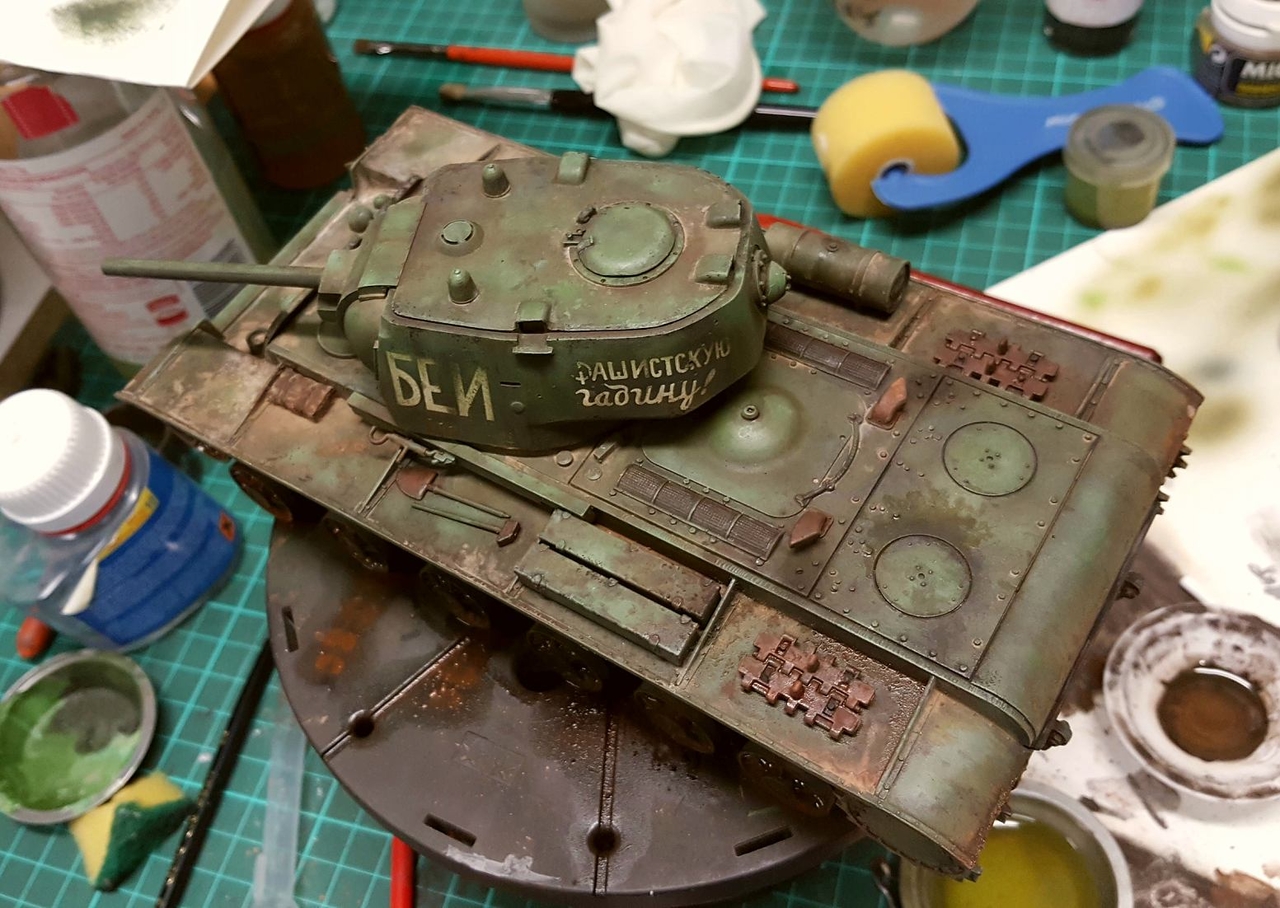
This old Tamiya kit had been painted and weathered for some time(years and years) and needed tracks and an update.
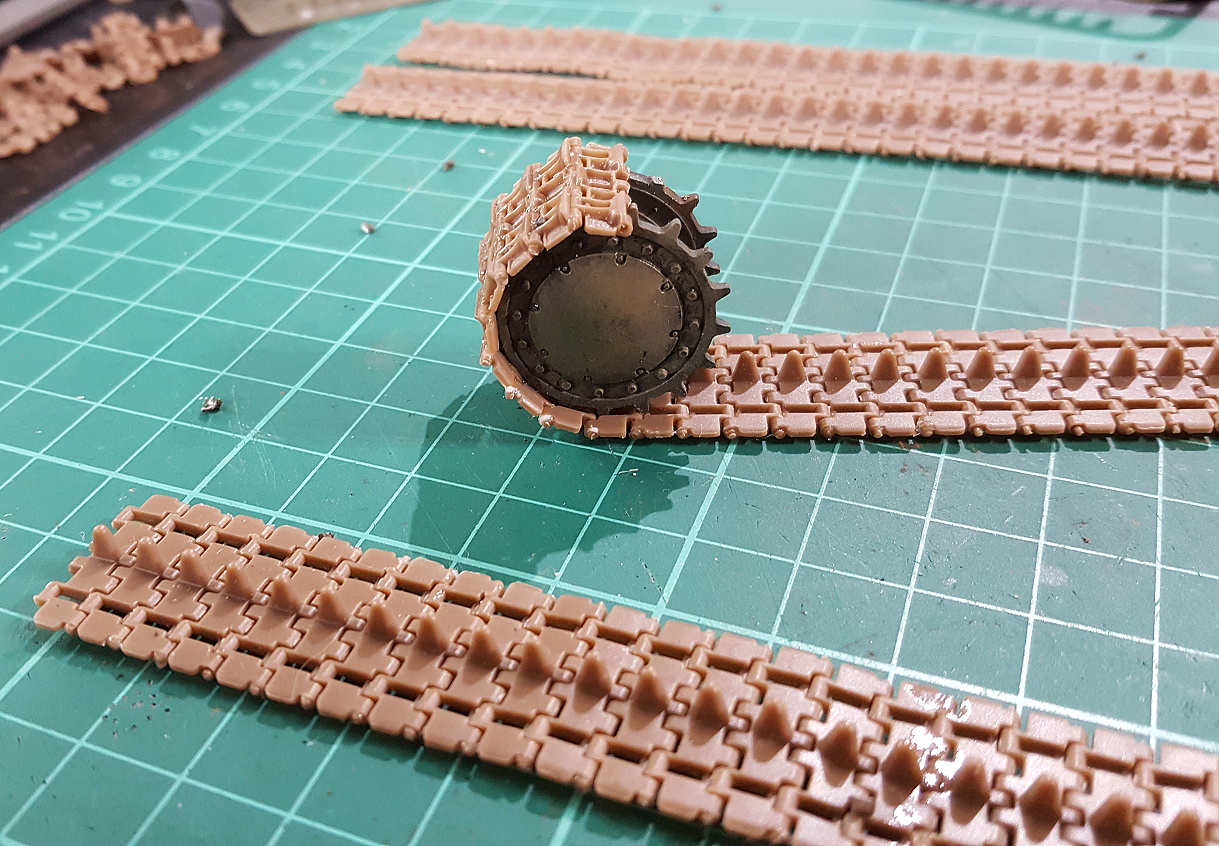
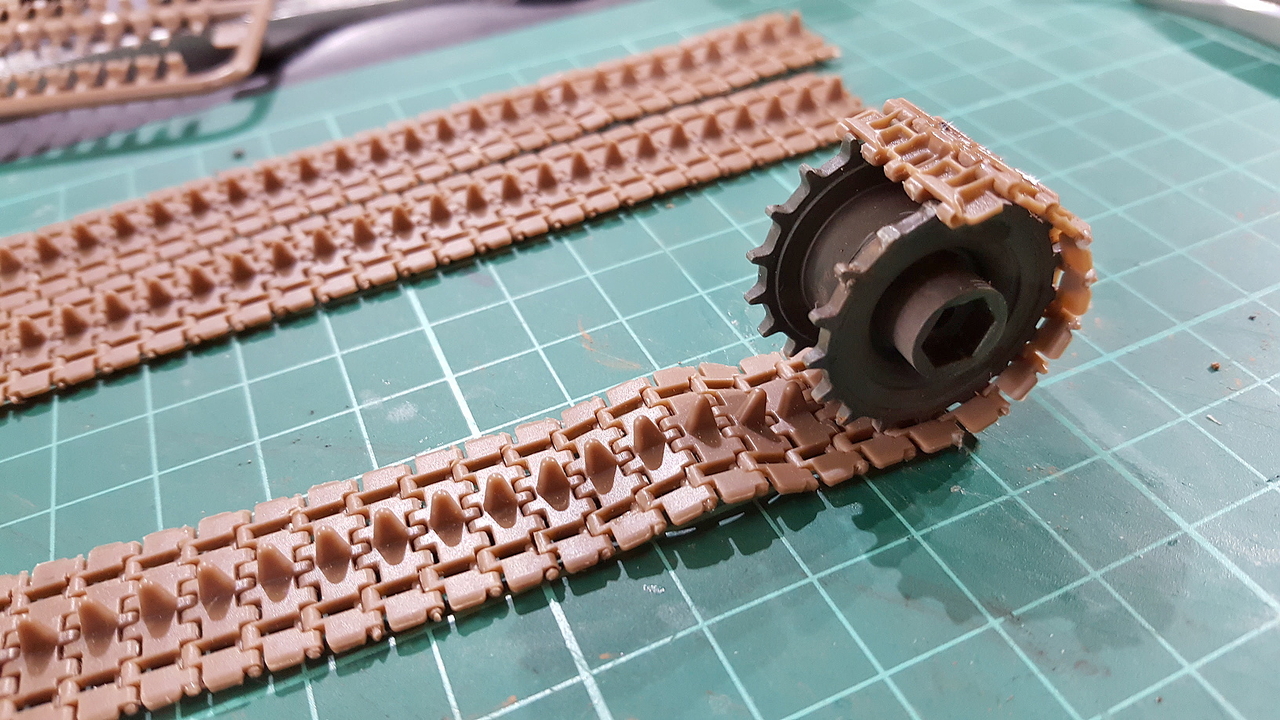
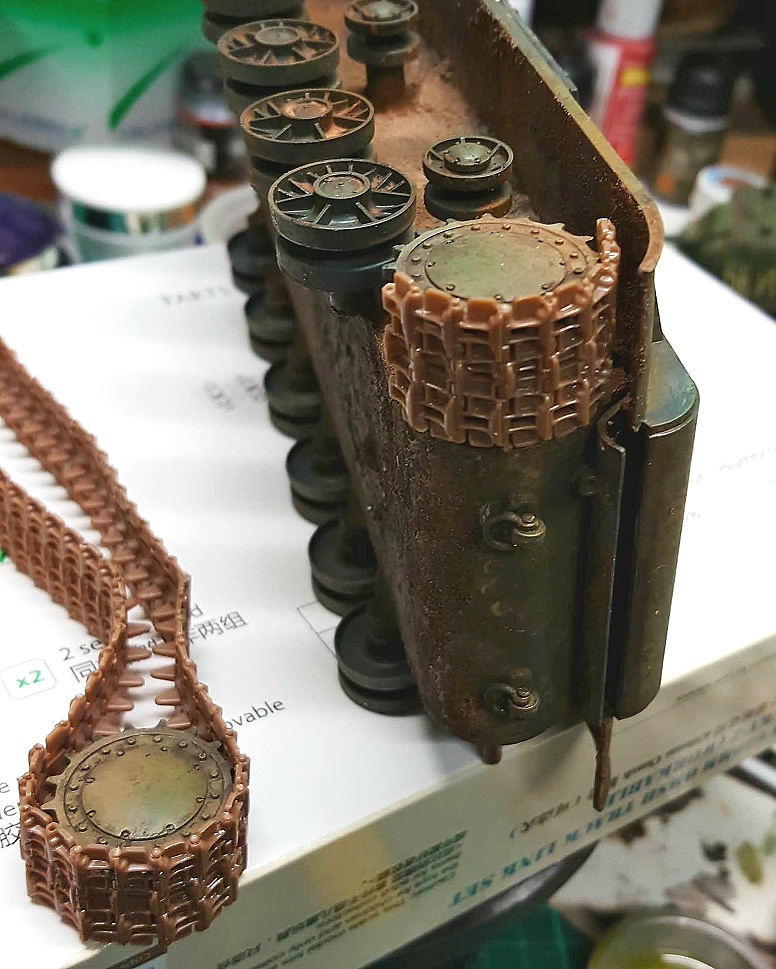
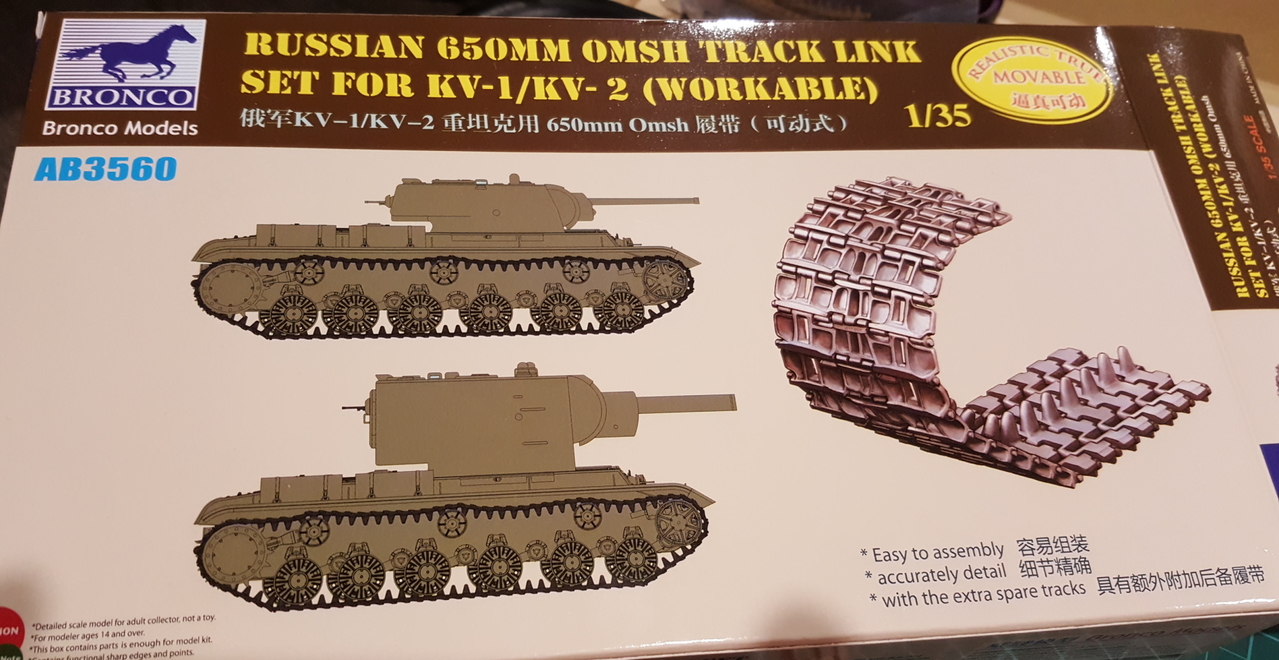
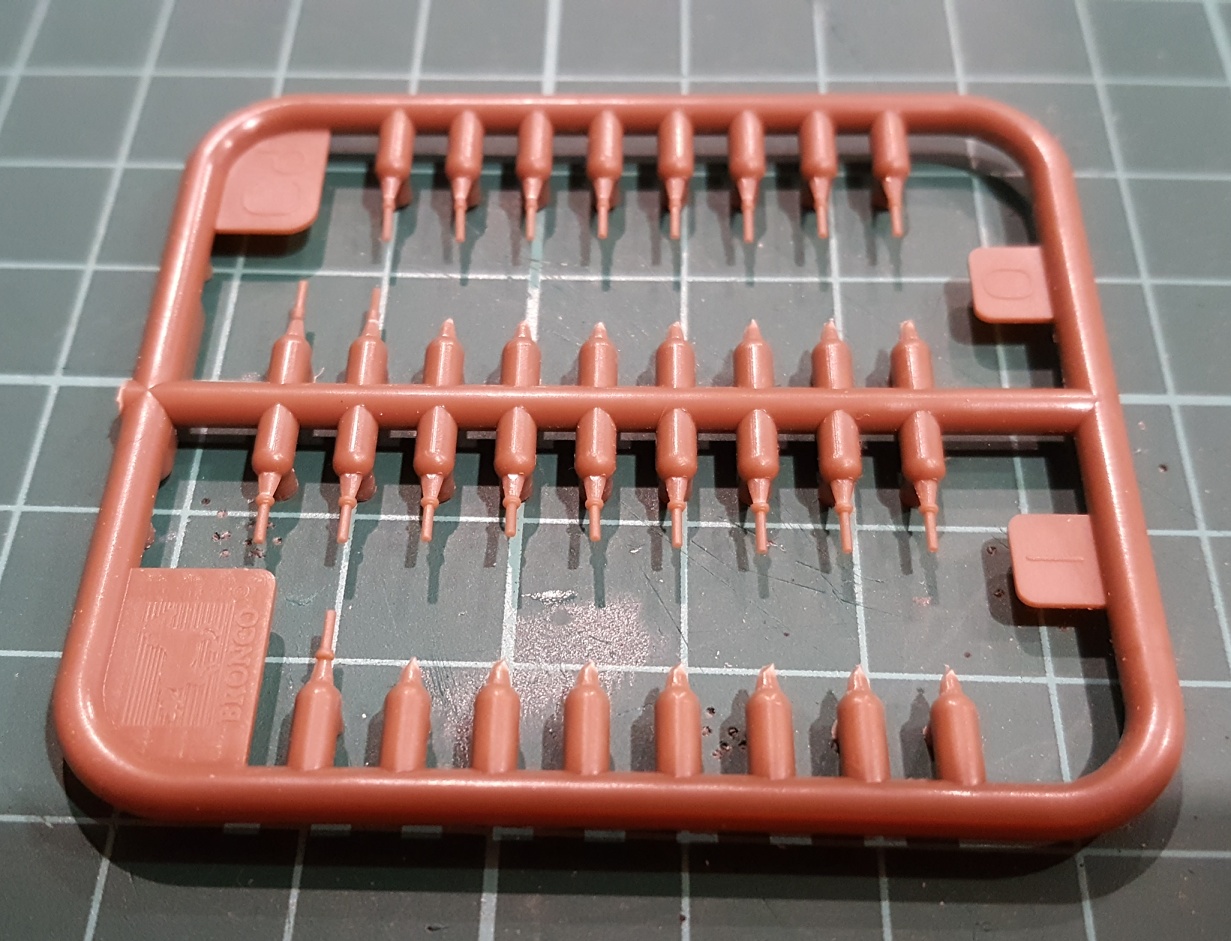
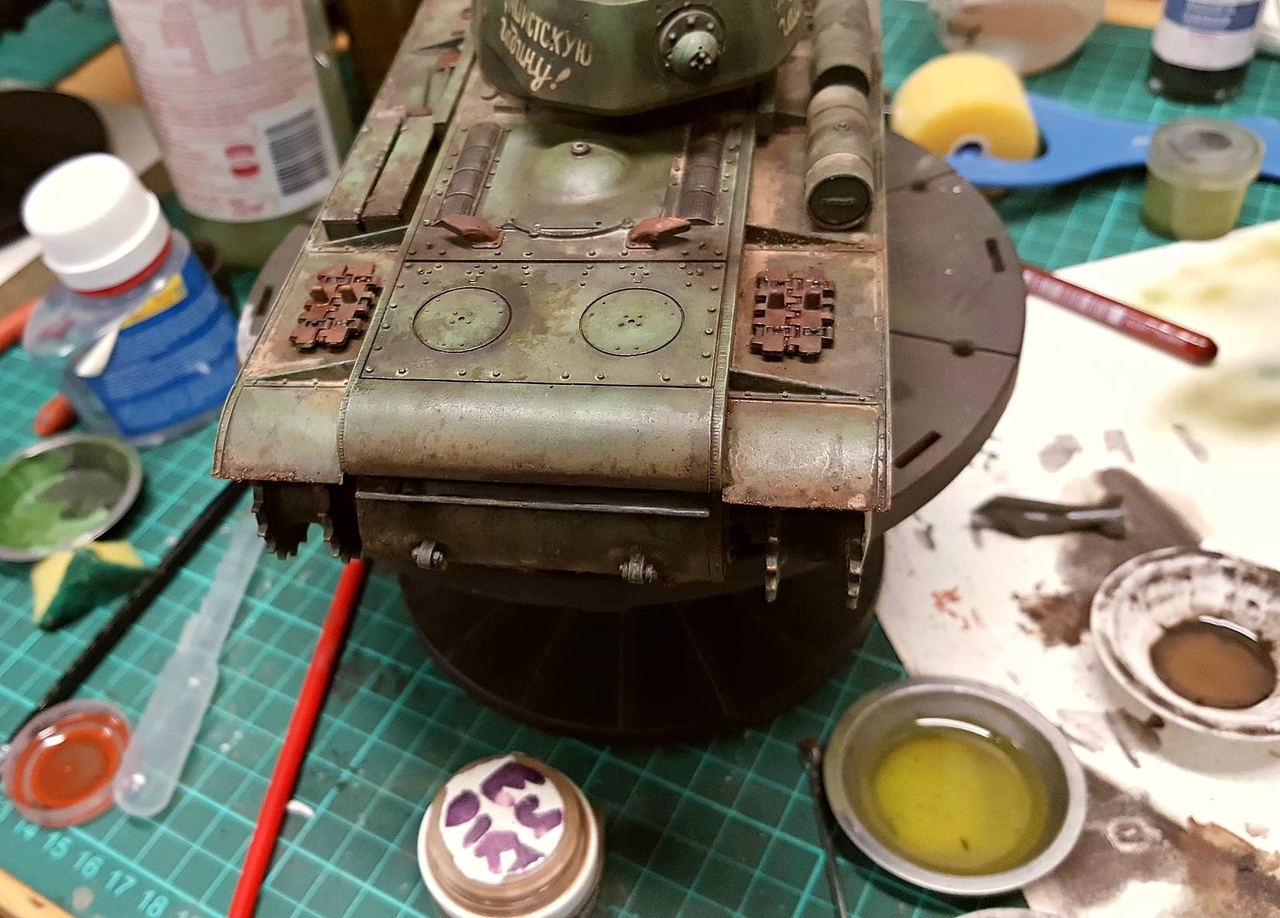
Rubber band track were replaced with Bronco indiviual link which feel just like 'Model Kasten' ones except on the sprue and way cheaper.
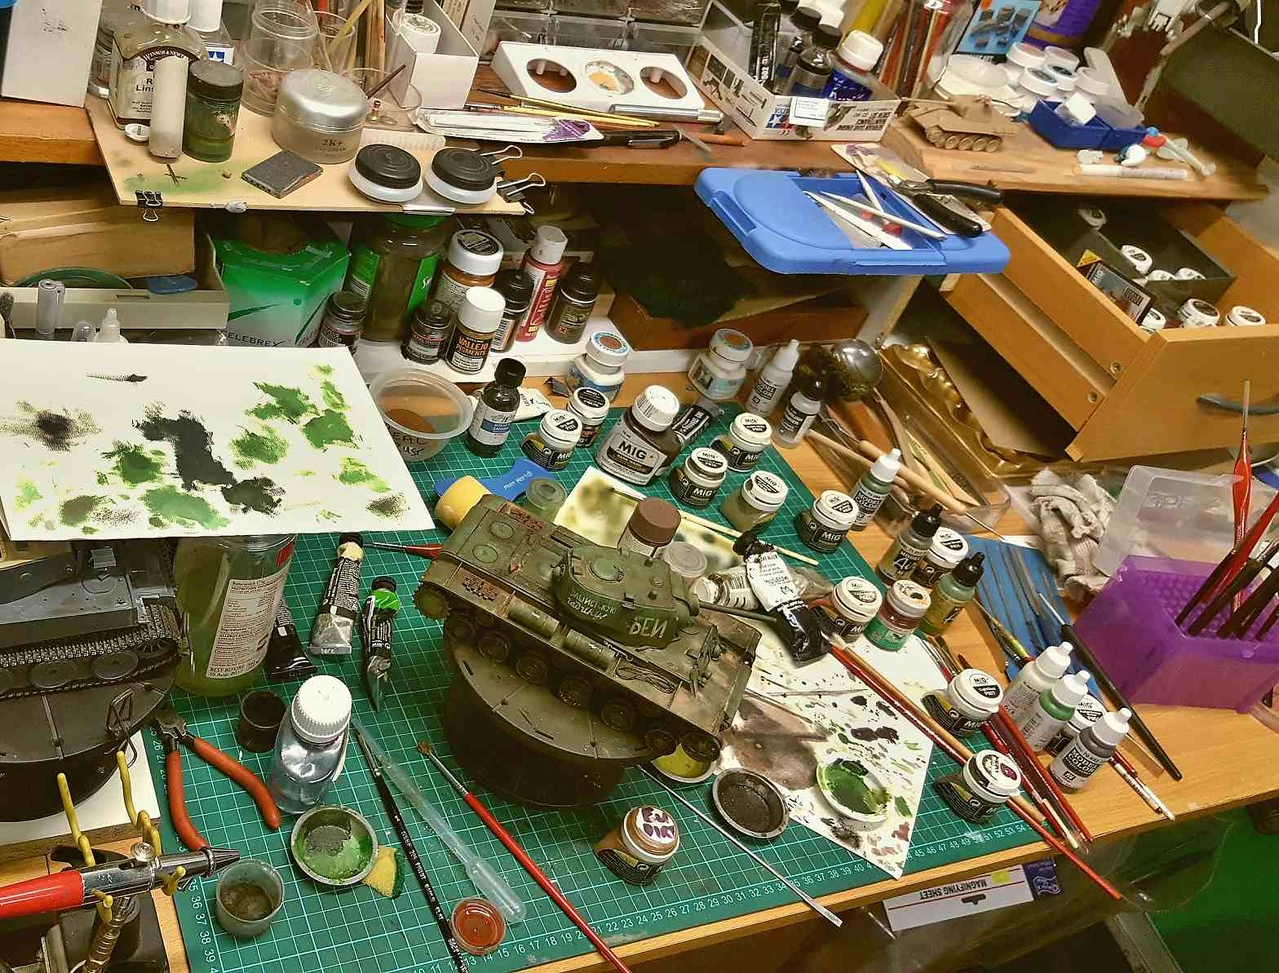
This will be the first 1/35 tank I have painted for 5 years so I am a bit nervous.
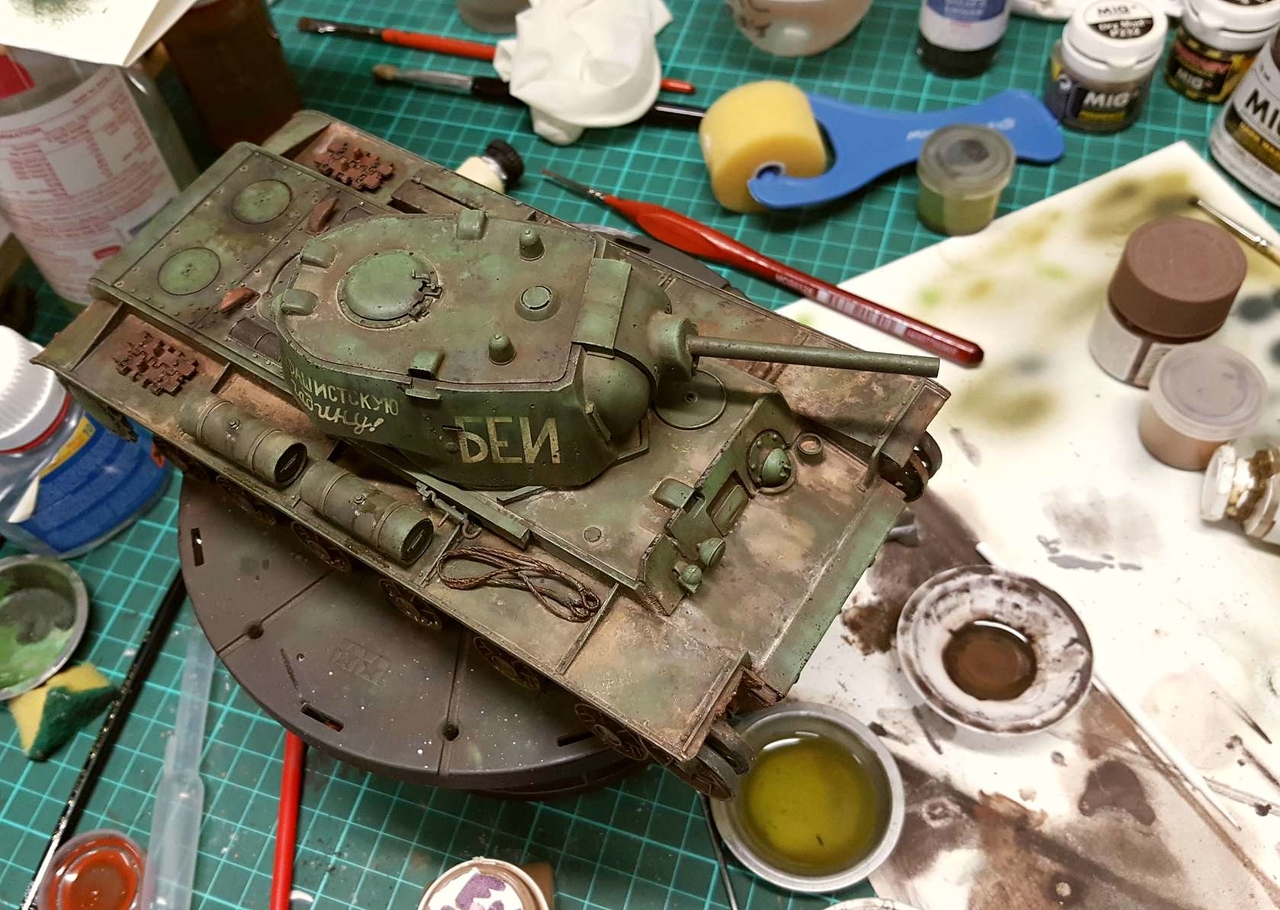
Stage one was about adding some more mud with Tamiya soil effect - brown, which I really like and recommend as a solid base texture and for a base color.
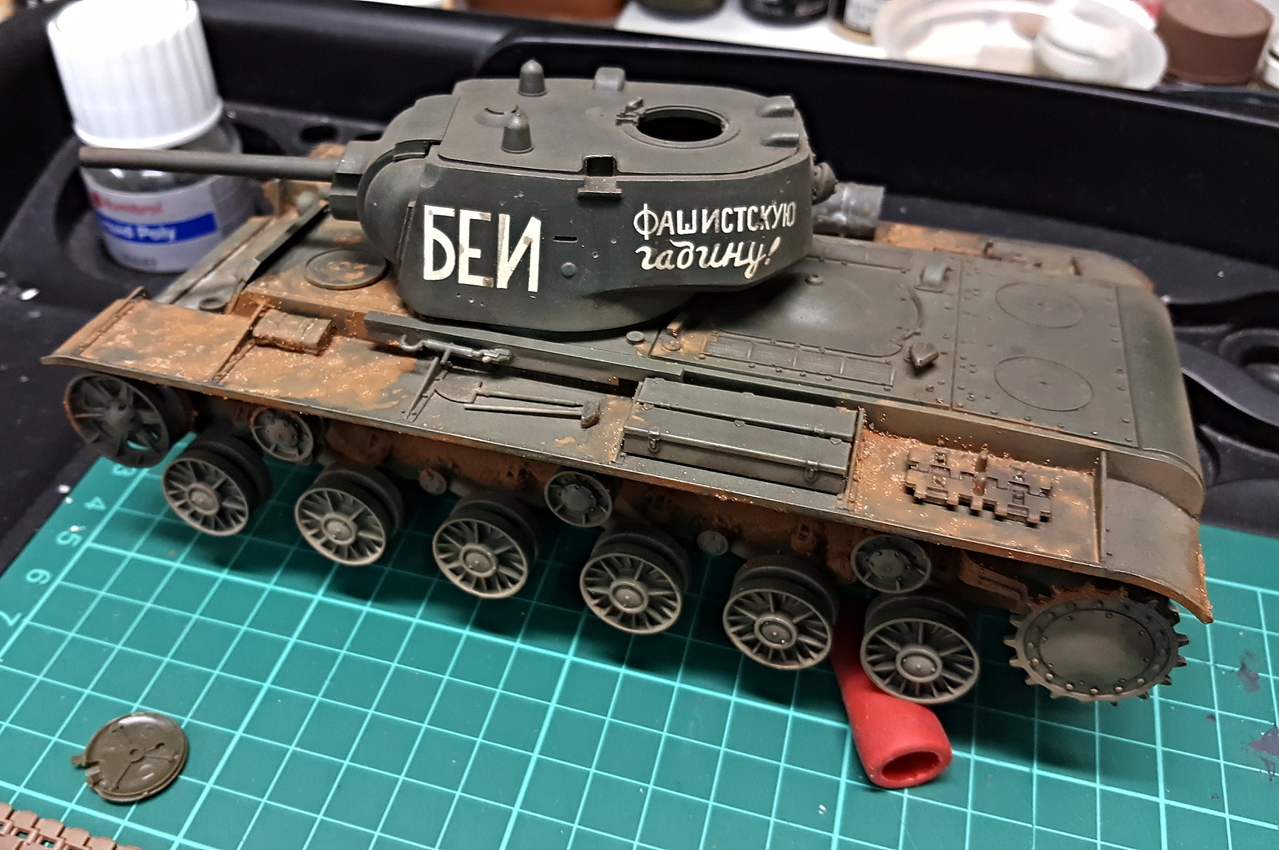
The green had had an light dust pass with an airbrush but I had not added any mud or gone further with any effects at the time as I was still thinking about what to do (20 years of thinking).
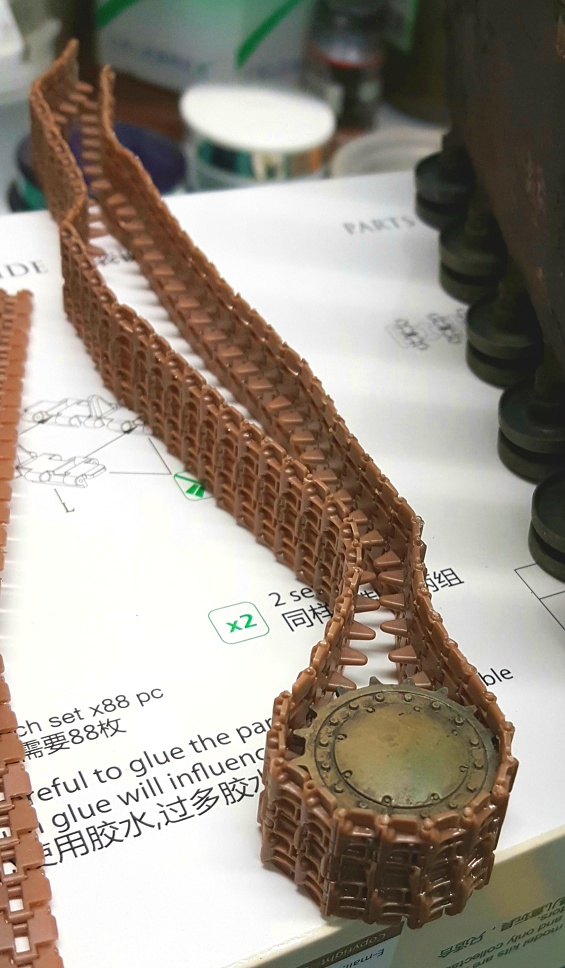
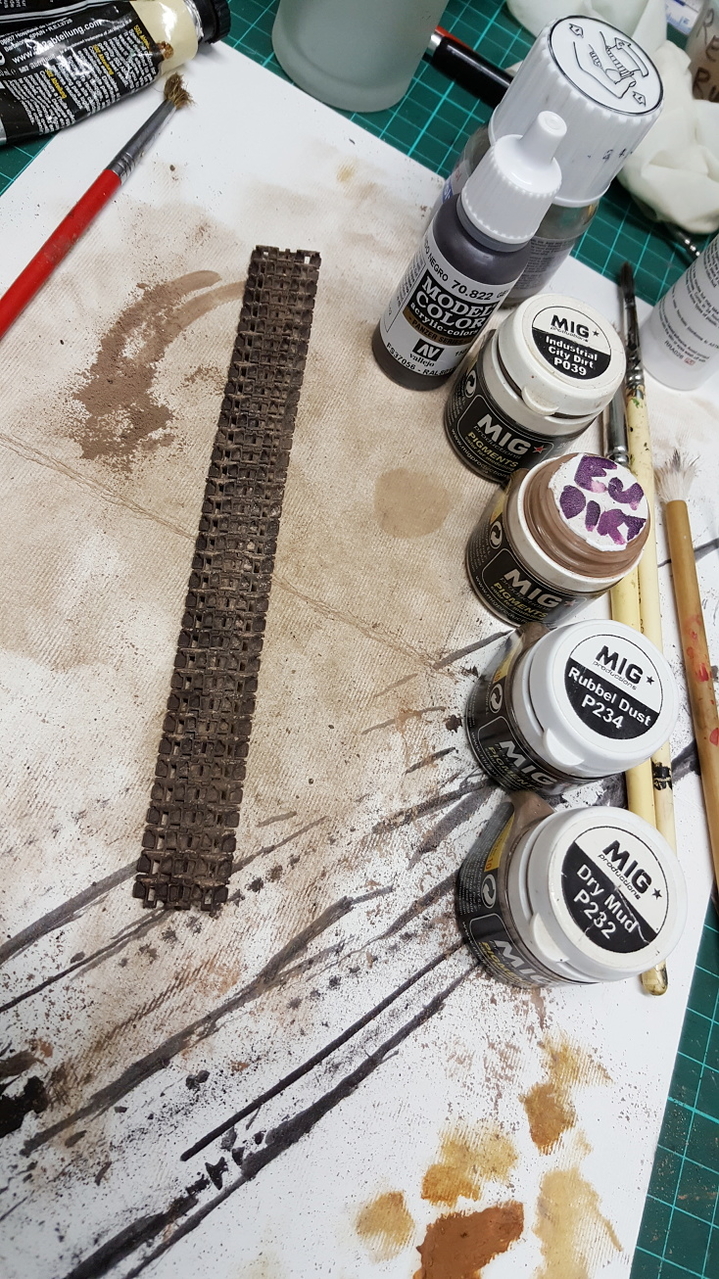
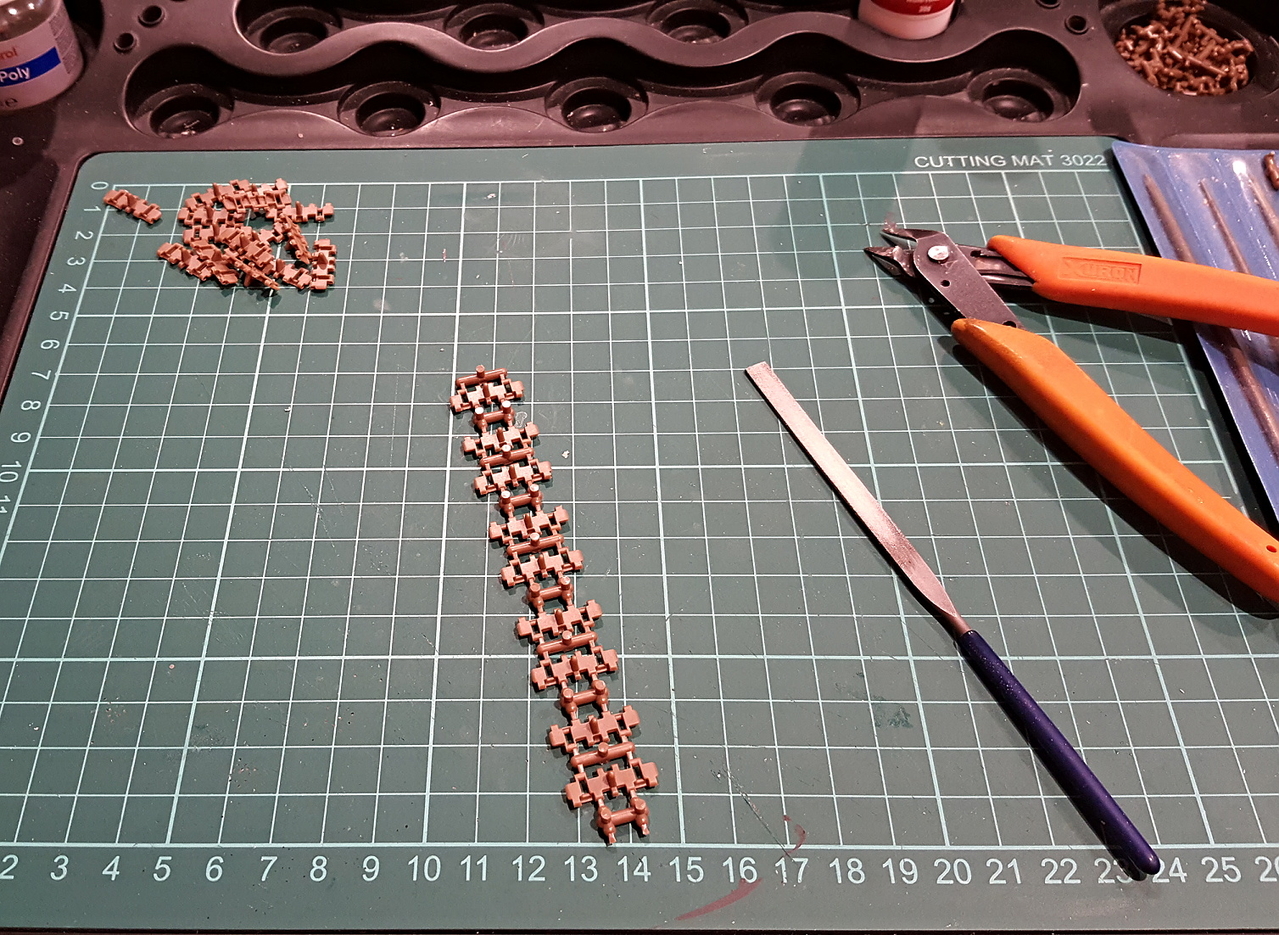
I am still building the final length of track link to put on the tank at the final weathering stage. They go together very easy using white glue and remain movable. Just don't loose the small pins.
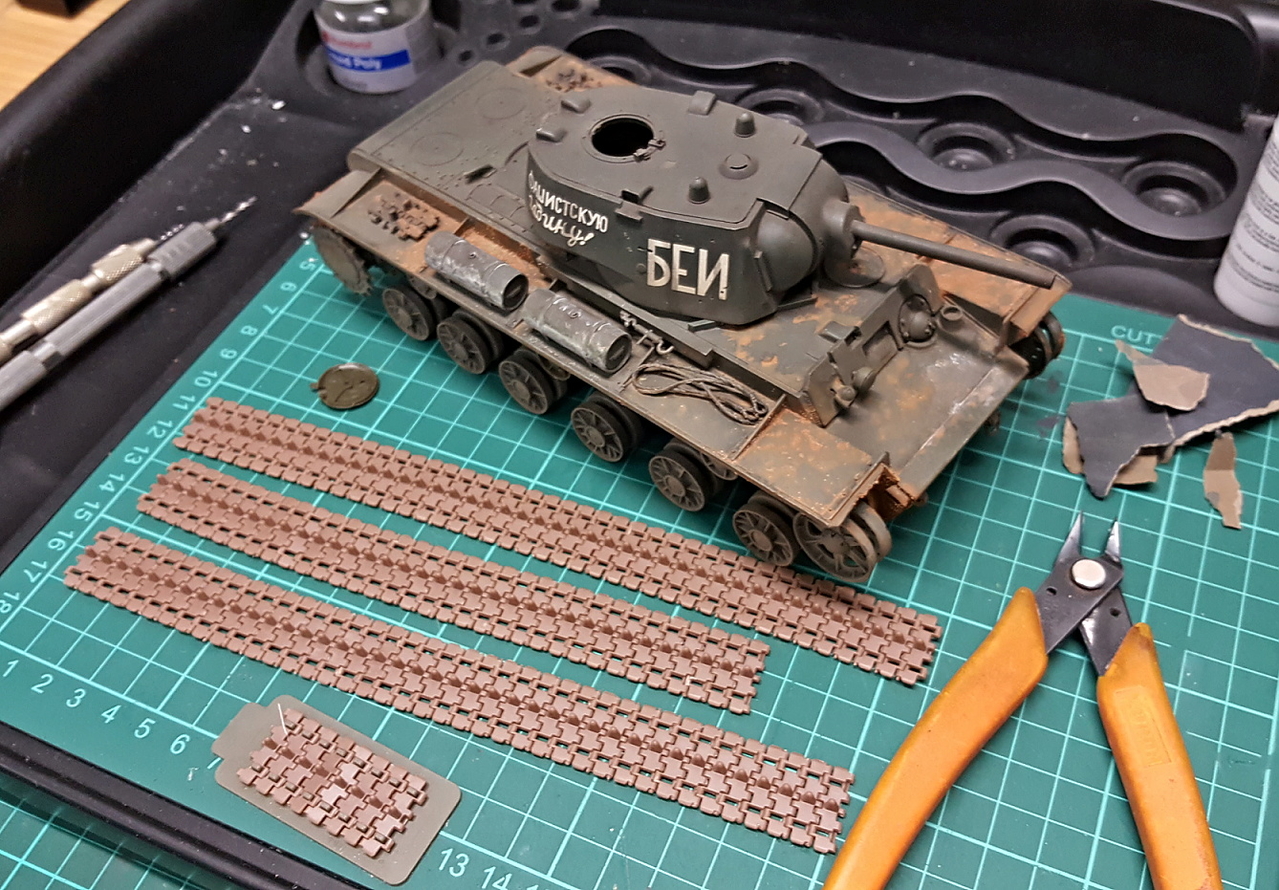
as you can see in the photo above they give you a small jig as well which works great!
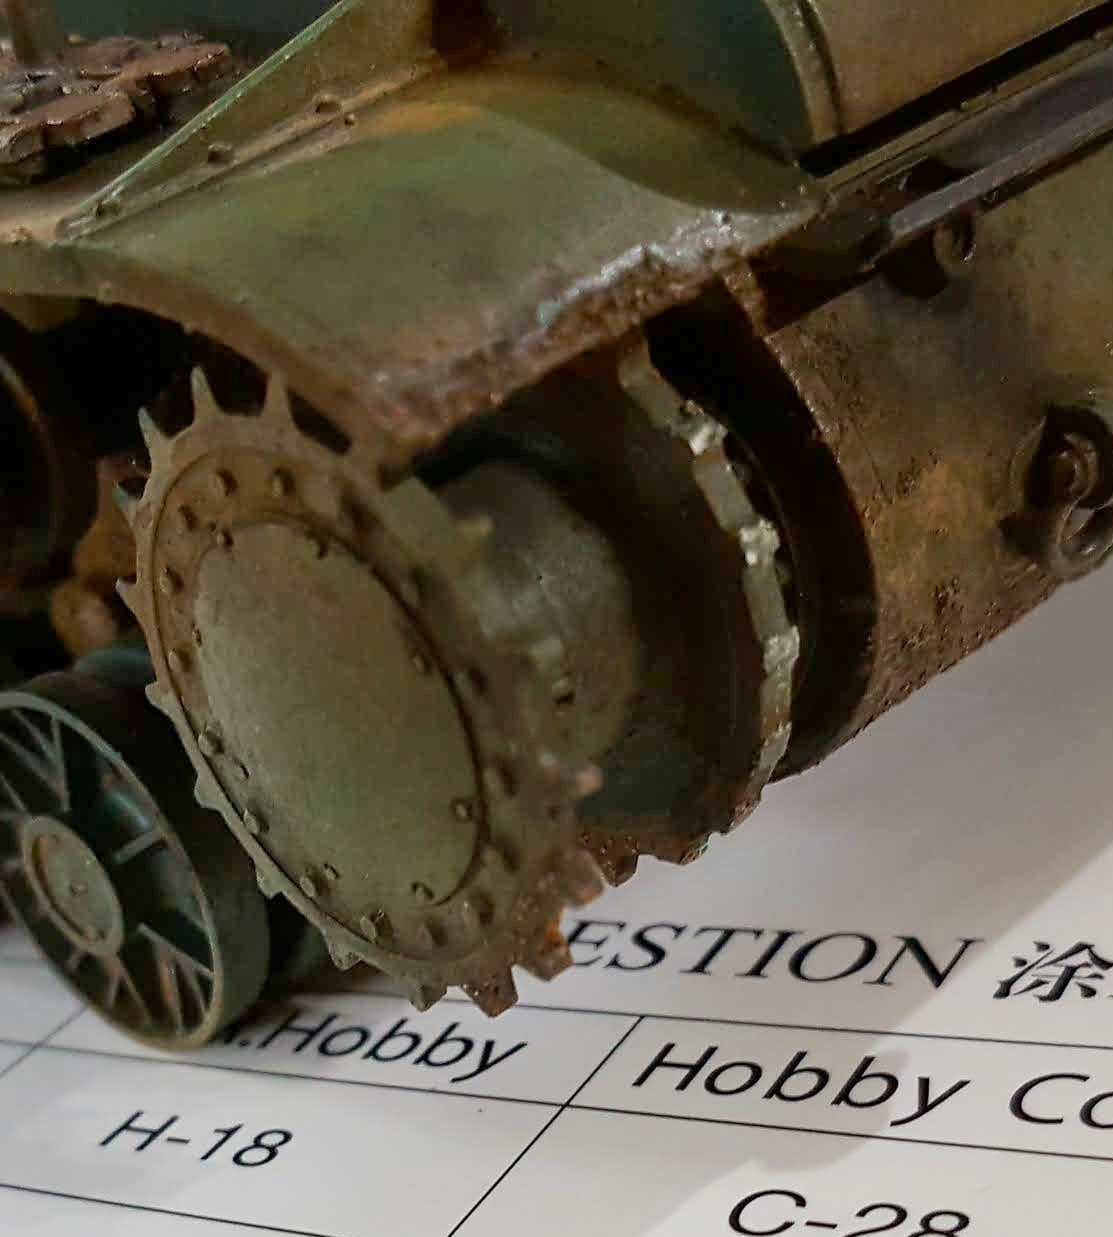
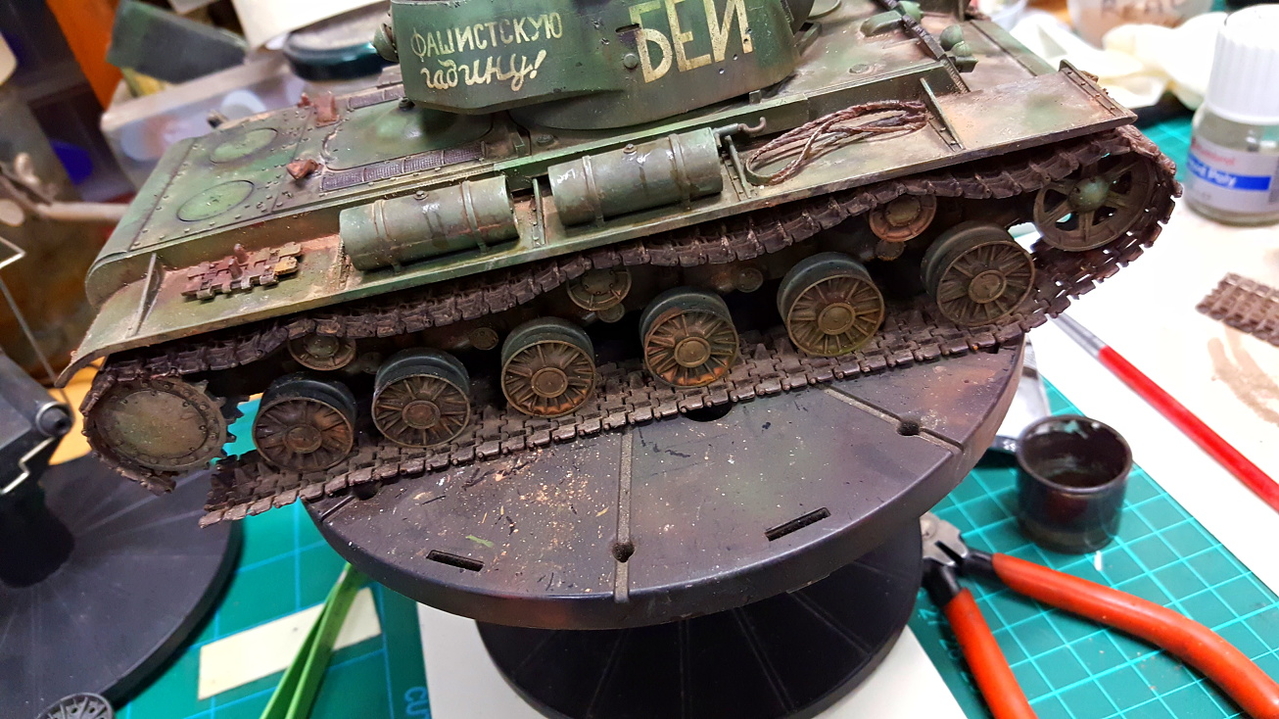
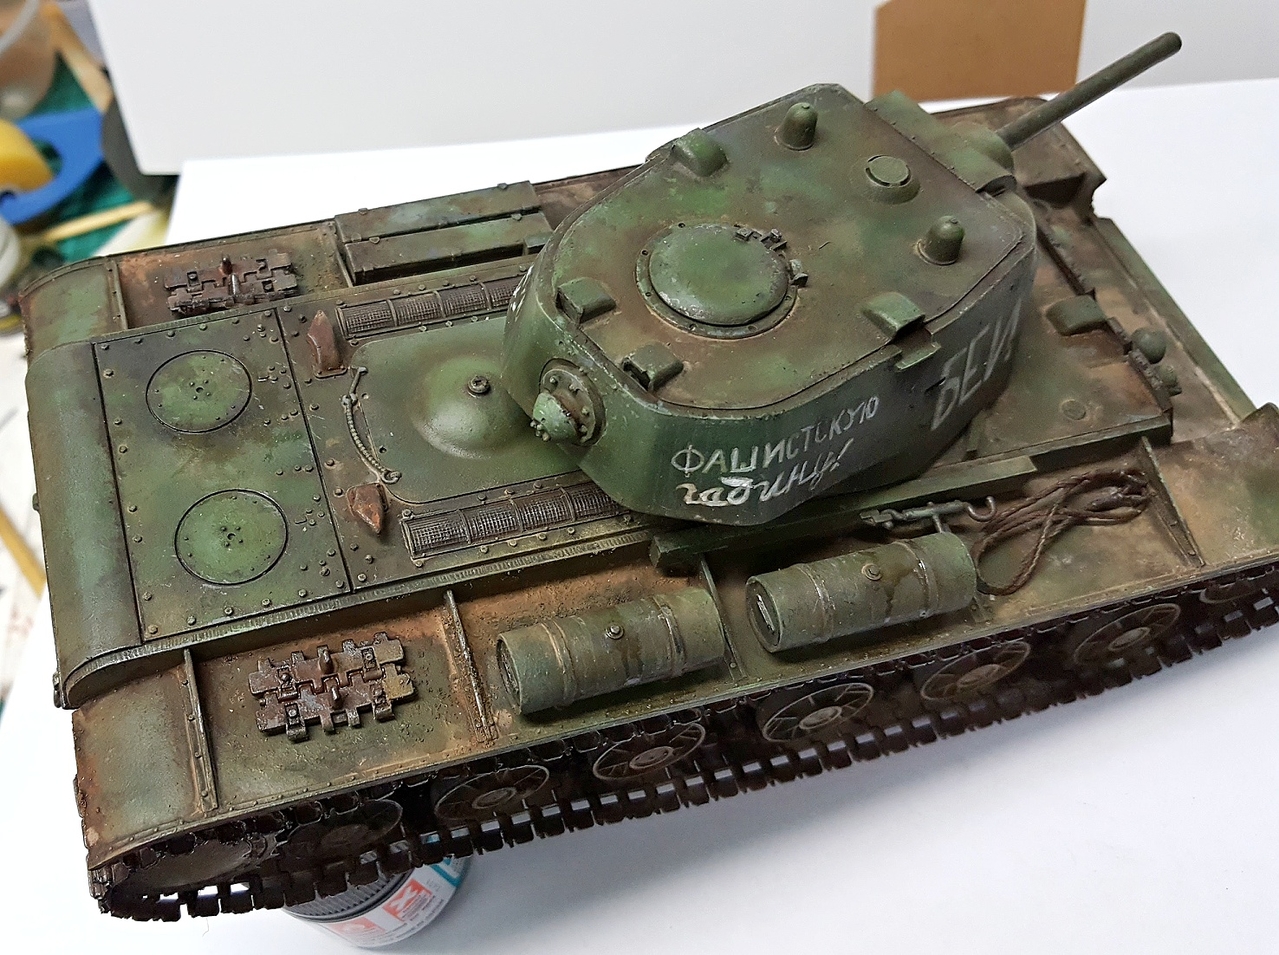
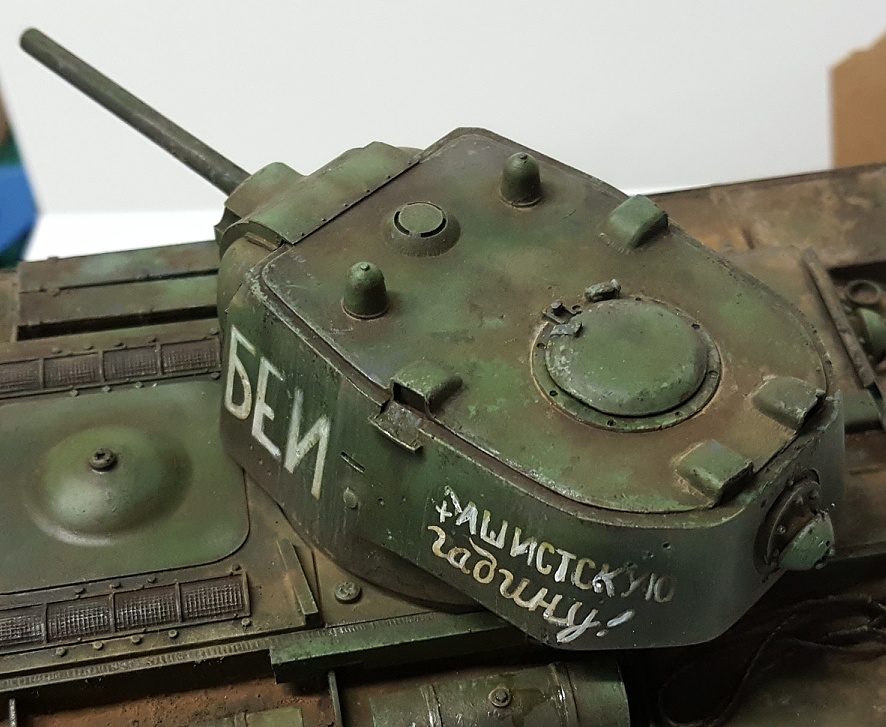
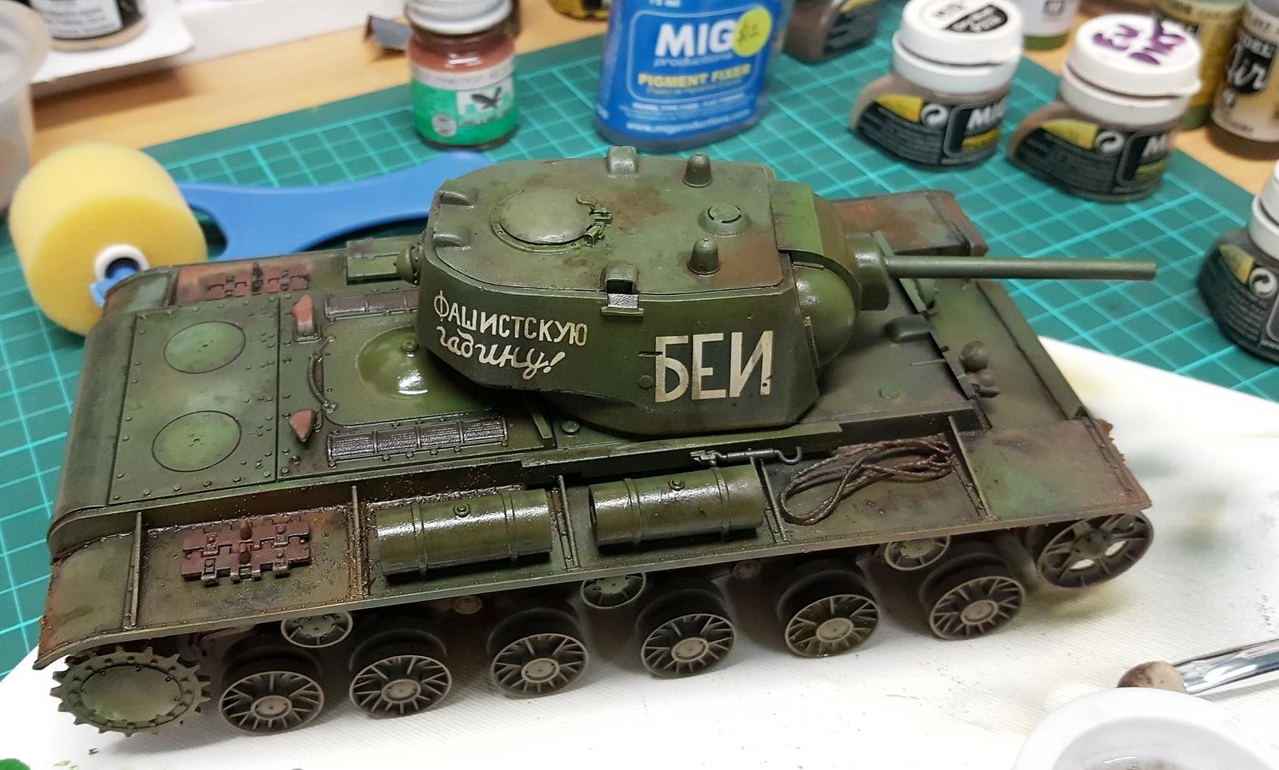
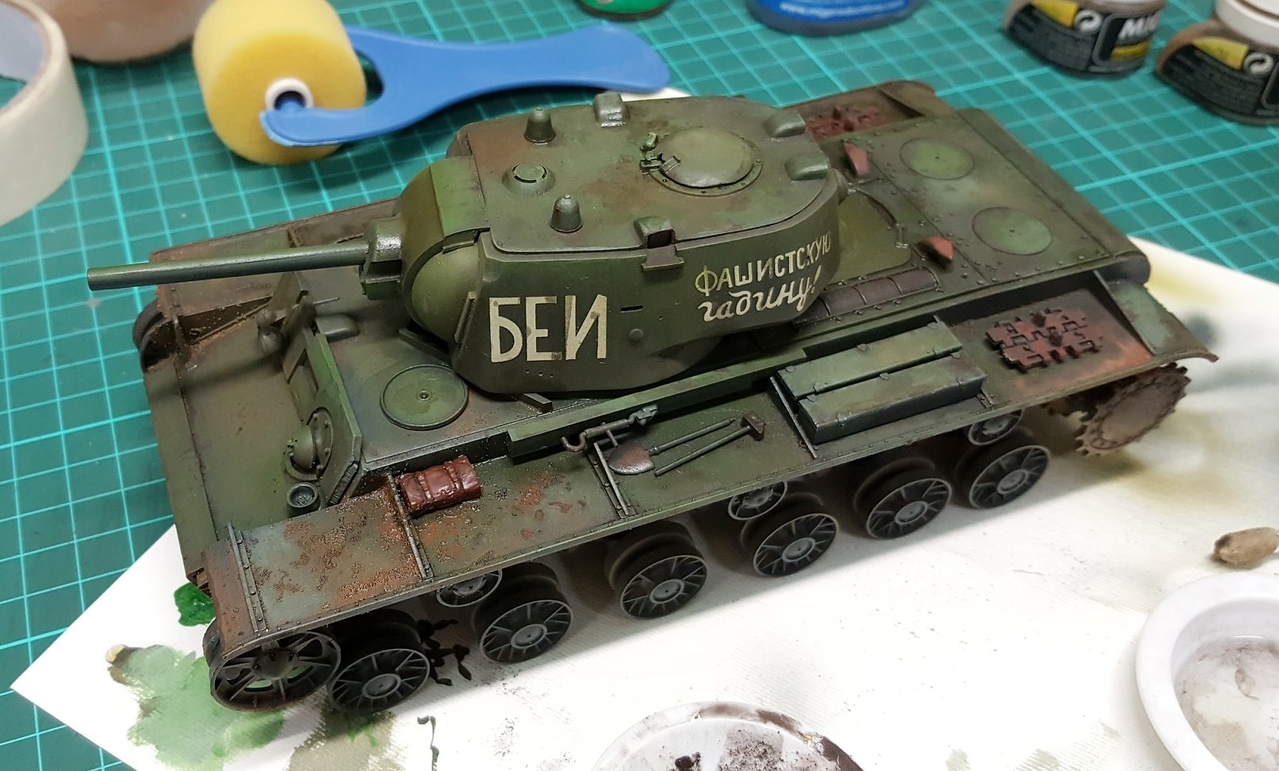
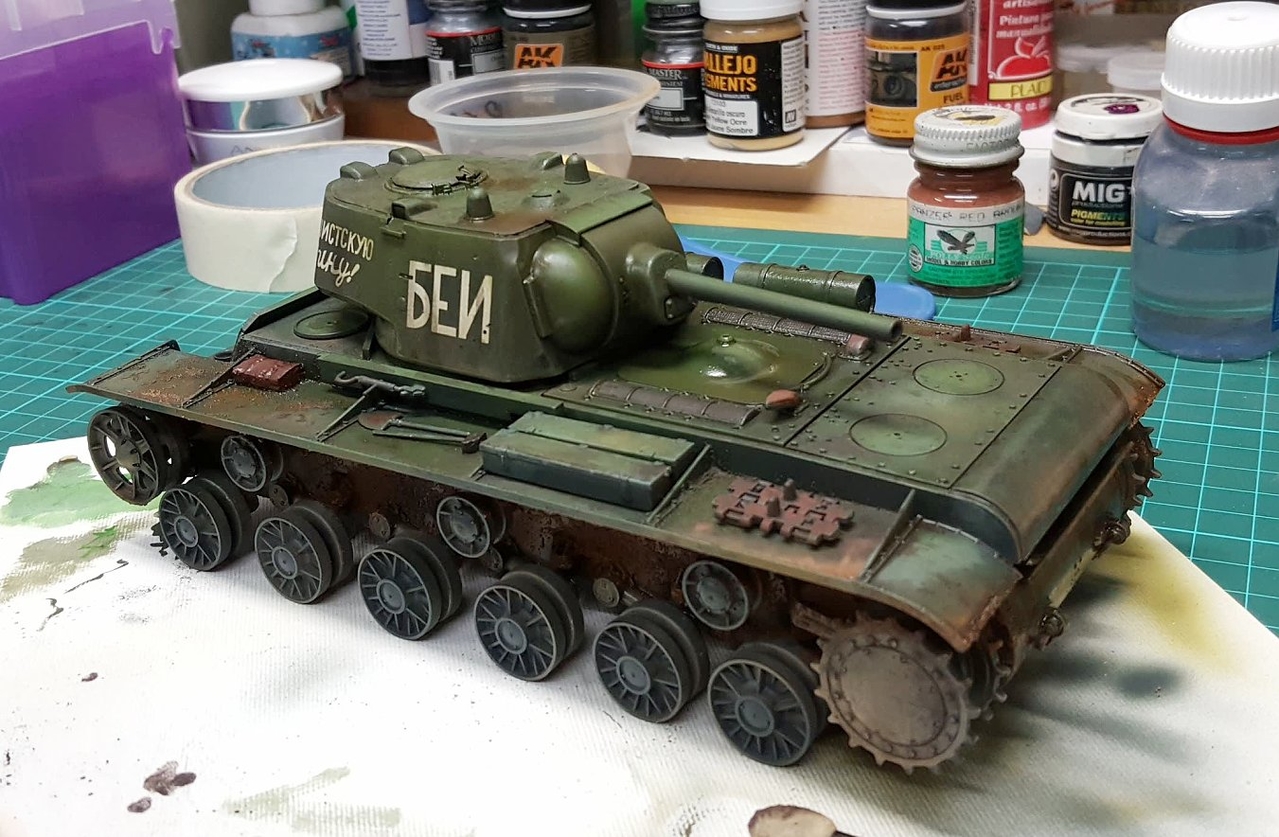
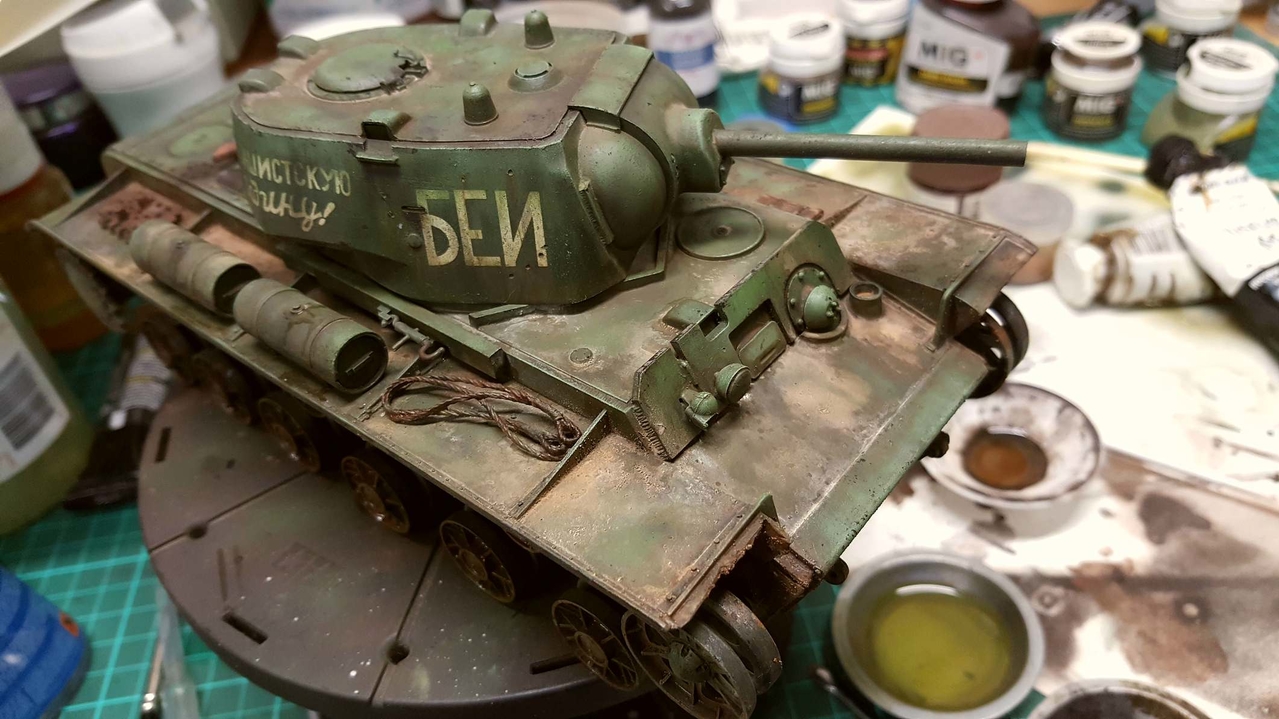
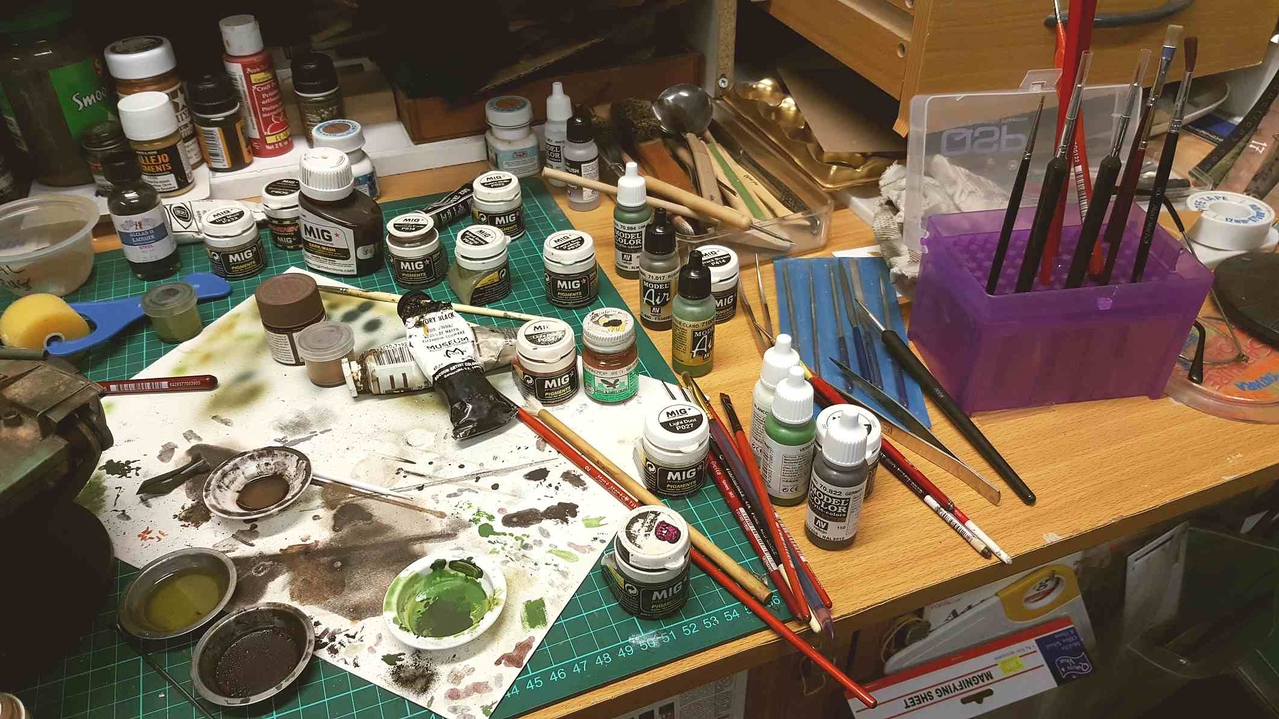
Stage 2 was some toning over the darker greens using Vallejio paints, as I had already painted the dark black green base with Tamiya and put on dry decals years ago(this has some more fancy name now as coined by the big names to sell more books, but I have always just airbrushed varying lighter shades on 1 tone base color to randomise its appearance using panels/ surfaces) .... the decals are not exactly correct as I think they are for a T34 but this is not a comp build and as long as it looks Russian I am happy for this one.
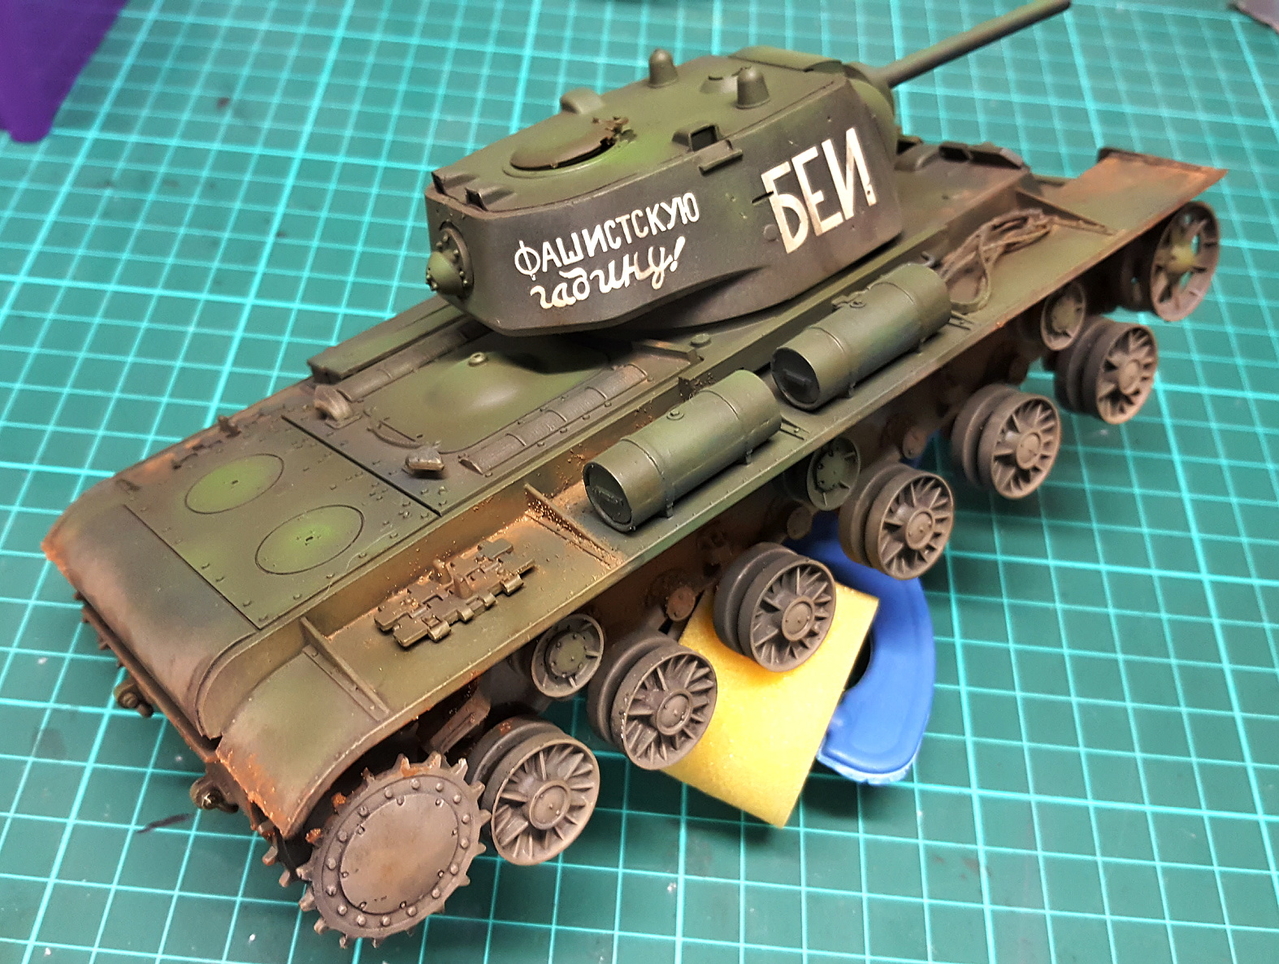
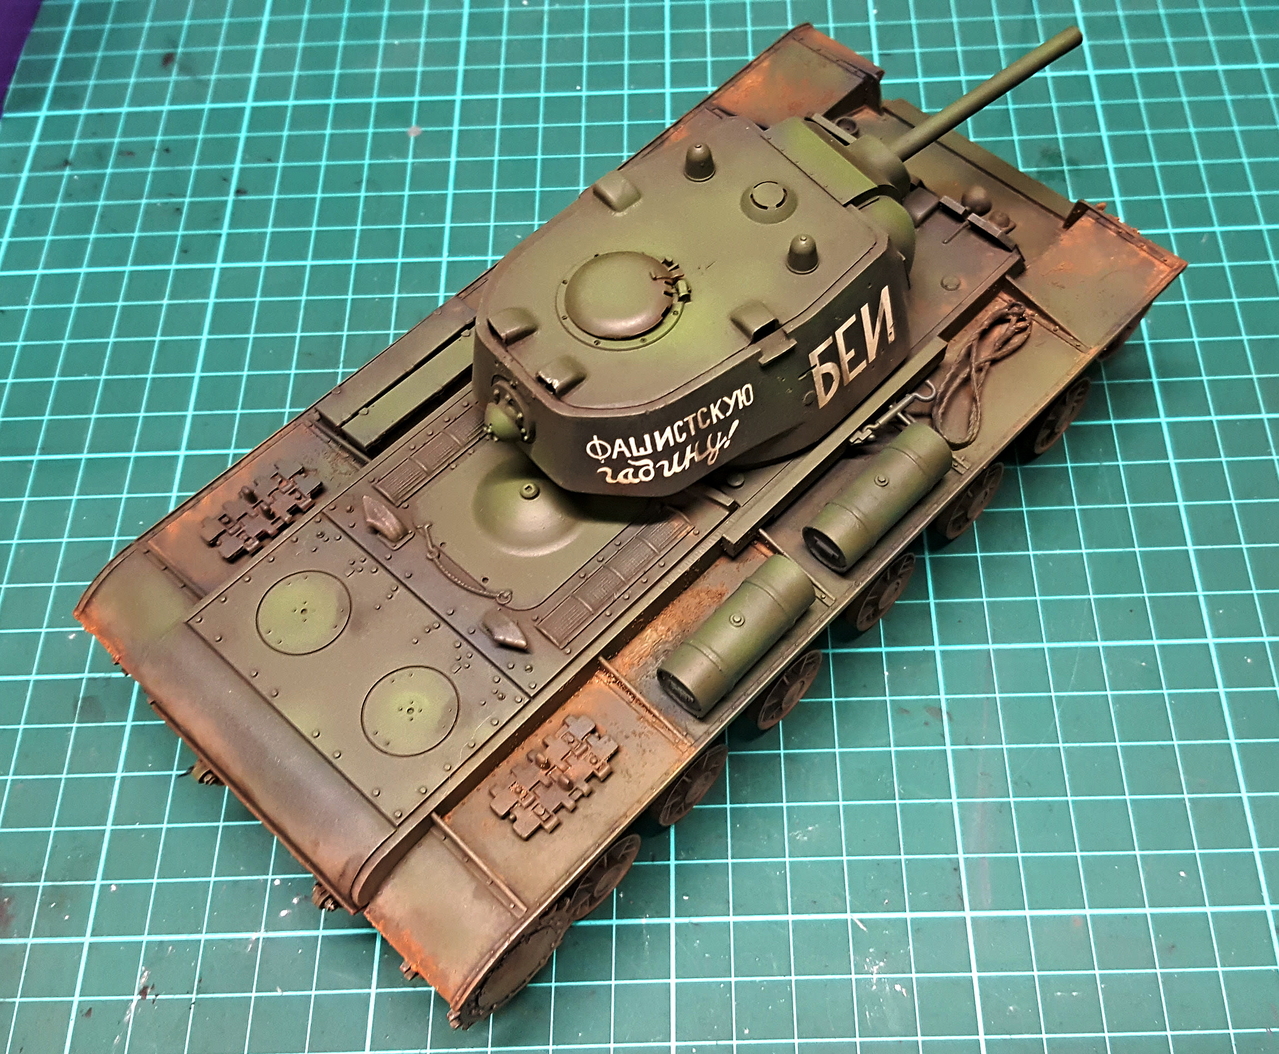
The seams on the external petrol tanks were softened but not hidden as close-up photos of real vehicles have shownd these are there as fine welds.
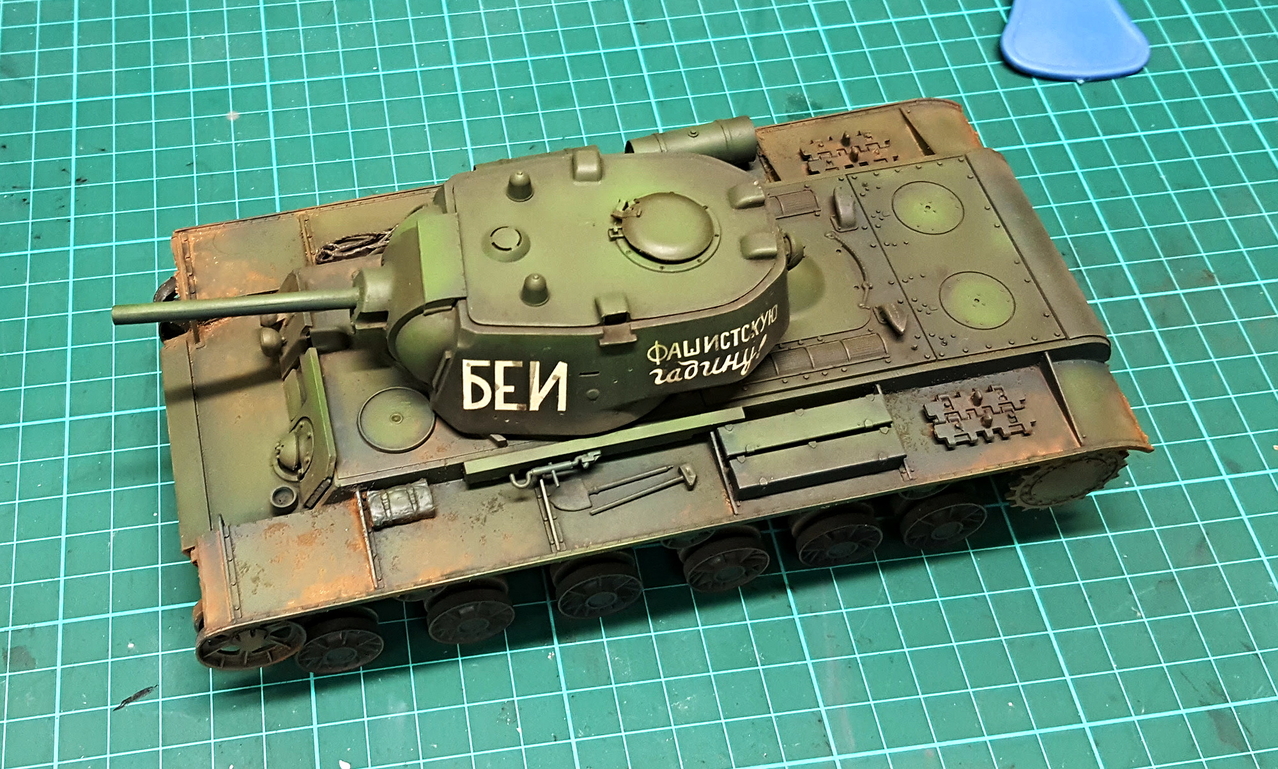
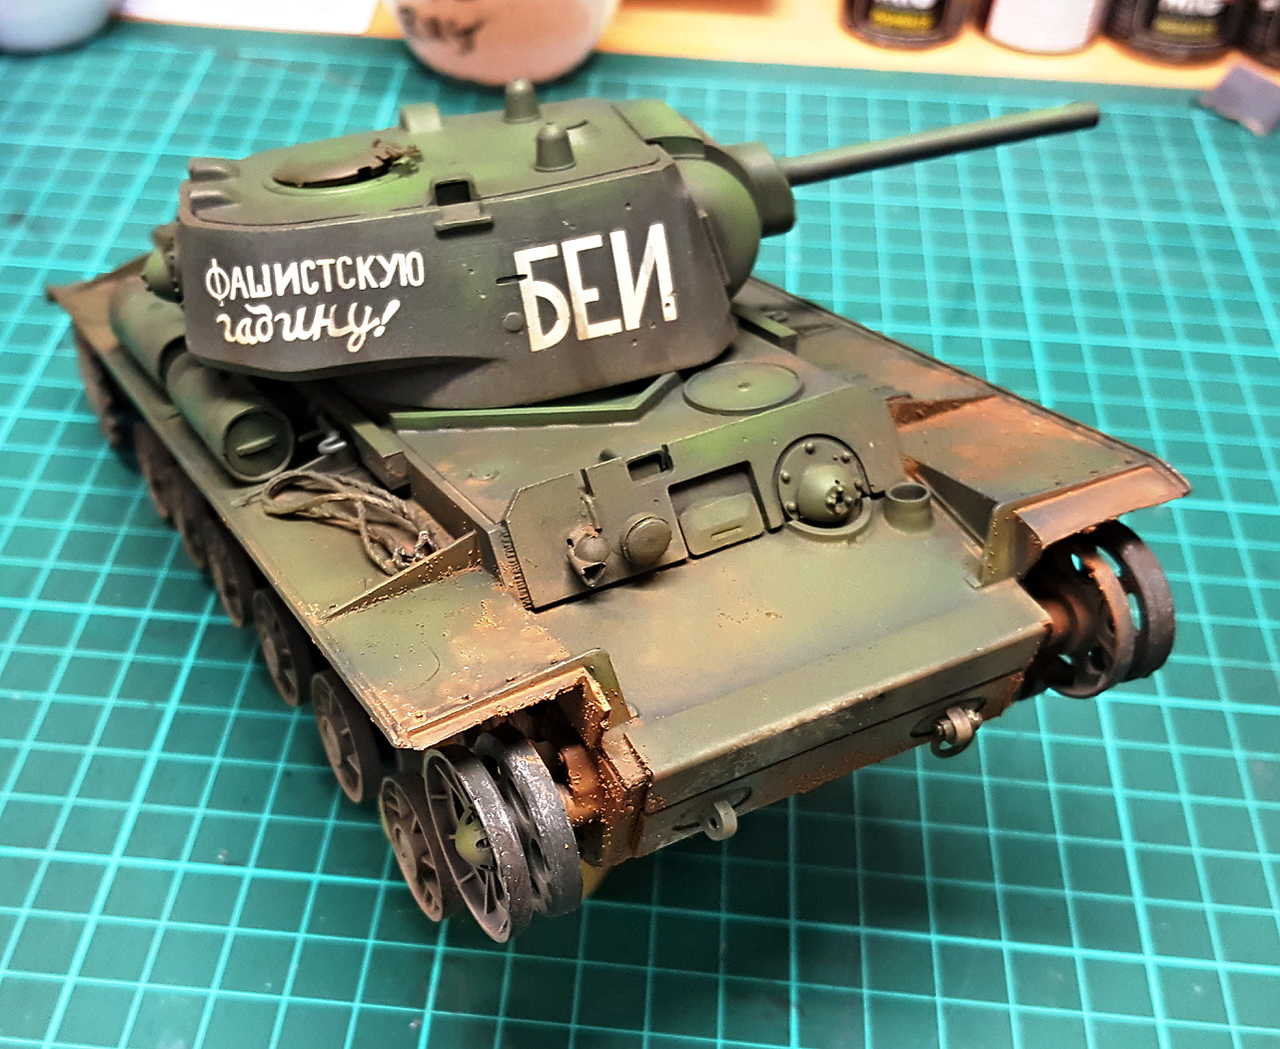
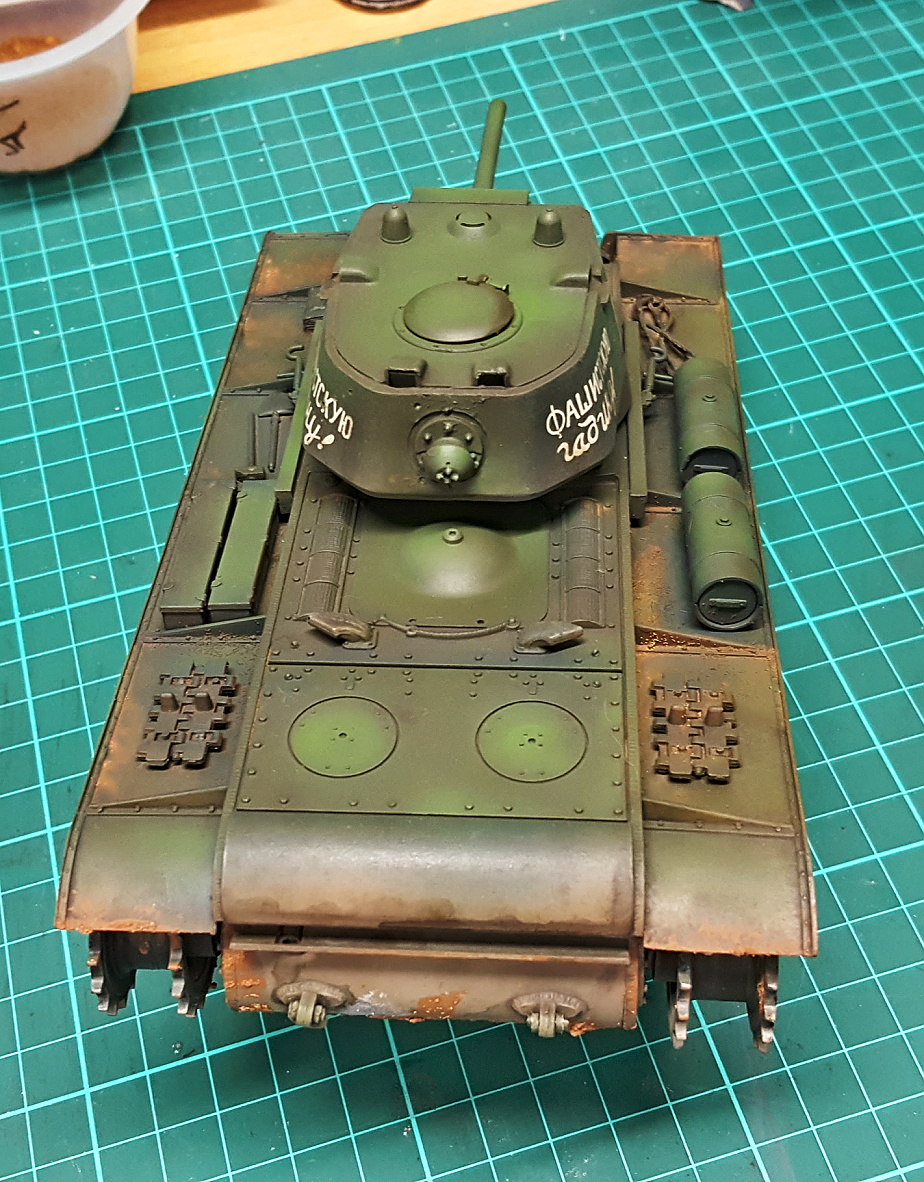
Back soon with stage 3 which will add more weathering and shadowing.
Rubber band track were replaced with Bronco indiviual link which feel just like 'Model Kasten' ones except on the sprue and way cheaper.


This will be the first 1/35 tank I have painted for 5 years so I am a bit nervous.
Stage one was about adding some more mud with Tamiya soil effect - brown, which I really like and recommend as a solid base texture and for a base color.

The green had had an light dust pass with an airbrush but I had not added any mud or gone further with any effects at the time as I was still thinking about what to do (20 years of thinking).
I am still building the final length of track link to put on the tank at the final weathering stage. They go together very easy using white glue and remain movable. Just don't loose the small pins.

as you can see in the photo above they give you a small jig as well which works great!
Stage 2 was some toning over the darker greens using Vallejio paints, as I had already painted the dark black green base with Tamiya and put on dry decals years ago(this has some more fancy name now as coined by the big names to sell more books, but I have always just airbrushed varying lighter shades on 1 tone base color to randomise its appearance using panels/ surfaces) .... the decals are not exactly correct as I think they are for a T34 but this is not a comp build and as long as it looks Russian I am happy for this one.


The seams on the external petrol tanks were softened but not hidden as close-up photos of real vehicles have shownd these are there as fine welds.


Back soon with stage 3 which will add more weathering and shadowing.
Last edited:


 Thank s for the positive comments - all appreciated.