• Modelers Alliance has updated the forum software on our website. We have migrated all post, content and user accounts but we could not migrate the passwords.
    This requires that you manually reset your password.
    Please click here, http://modelersalliance.org/forums/login to go to logon page and use the "Forgot your Password" option.

Italery stug IV resurrection

Bob, Mike, Christian and Luiz thanks a lot

Paul I have many other old kits that want to build and update, it is part of the fun taking this kits up to newer kits standards

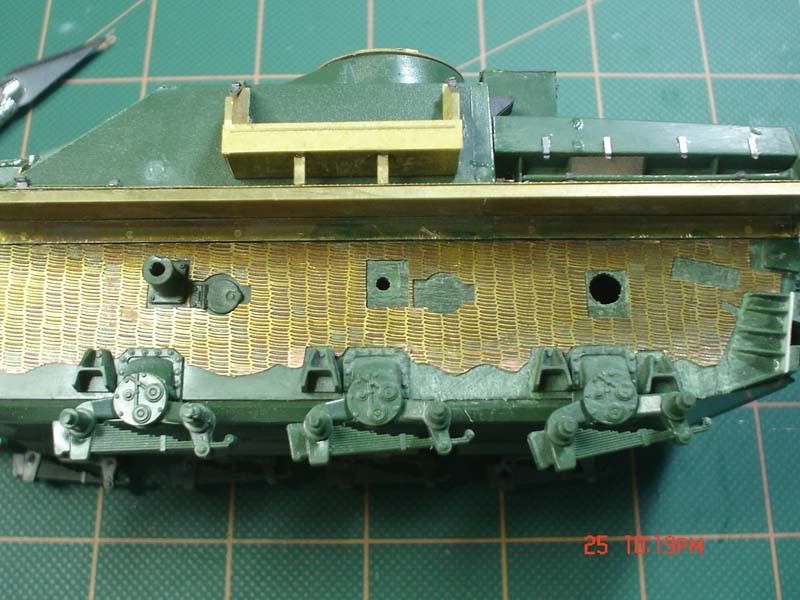
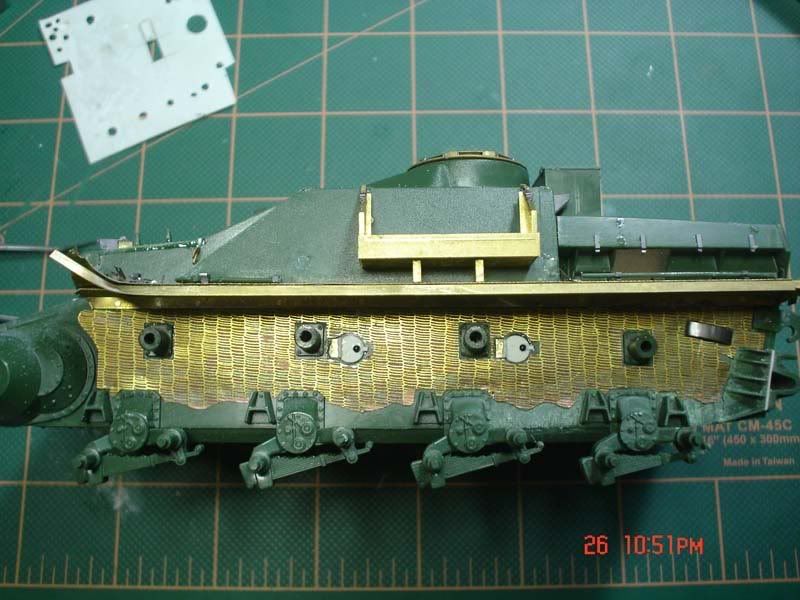
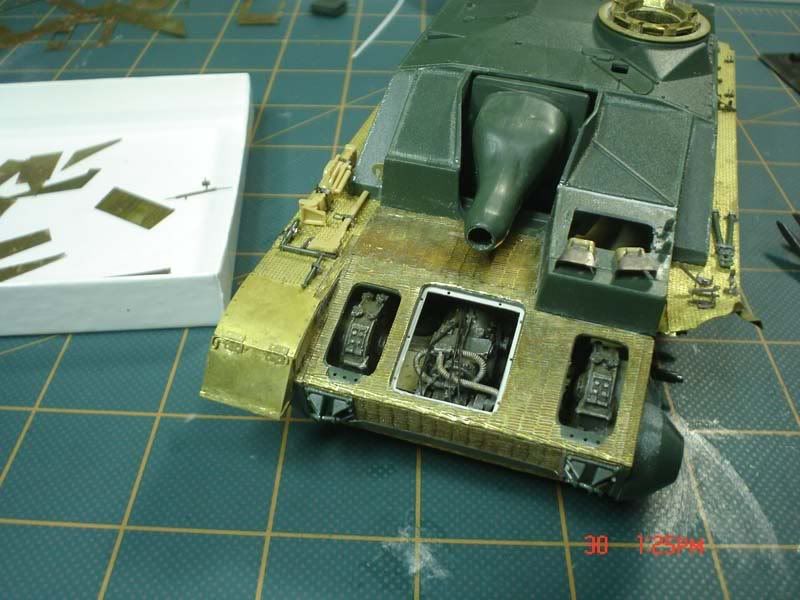
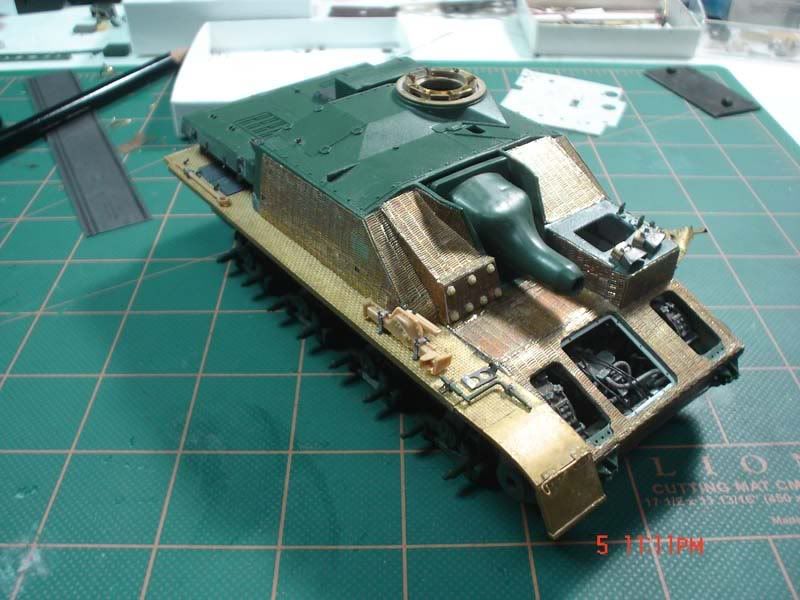
After the emergency surgery I went on and did a little more work on the fenders, now I began attaching the tools and other PE details…all this work was already done when the surgery began so many of the installed parts can be seen in some of the roof surgery photos.

Here I installed the spare boogies bin and the covers for the ventilation area, one is shown closed.
uQhvBAa.jpg

hu3jBlU.jpg

The tools for the left side and other details are attached...
Np8teeu.jpg

fHGZc9Y.jpg

yezhYQW.jpg

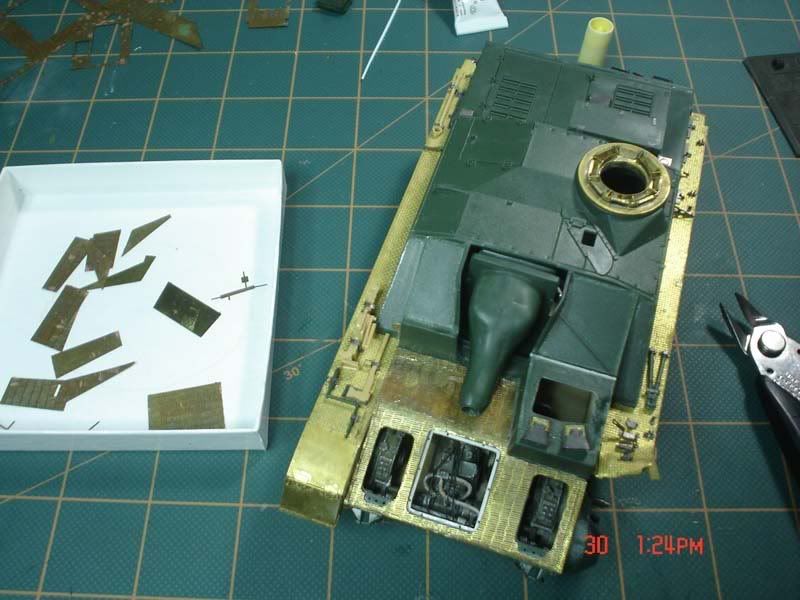
The completed left side
k2GiSBr.jpg

And the right side tools, I used tools from the model and from the tamiya panzer IV tool set to replace the no so good ones on the model.
CLNFDii.jpg

WABYOdA.jpg

KDphr4p.jpg

X1CtyDC.jpg

Some work on the rear of the tank, here I installed the muffler w/PE and wooden block, also started working on some pin marks…
X1CtyDC.jpg

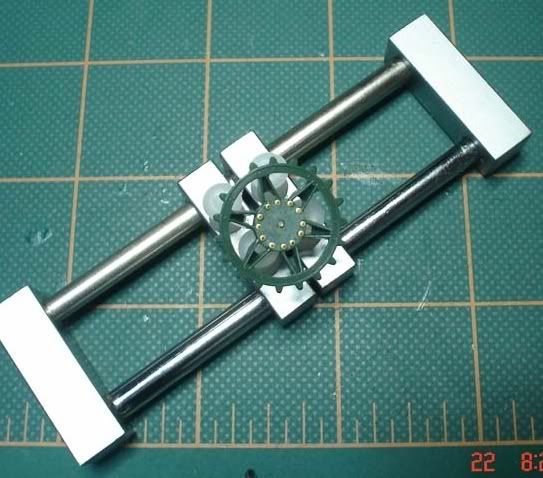
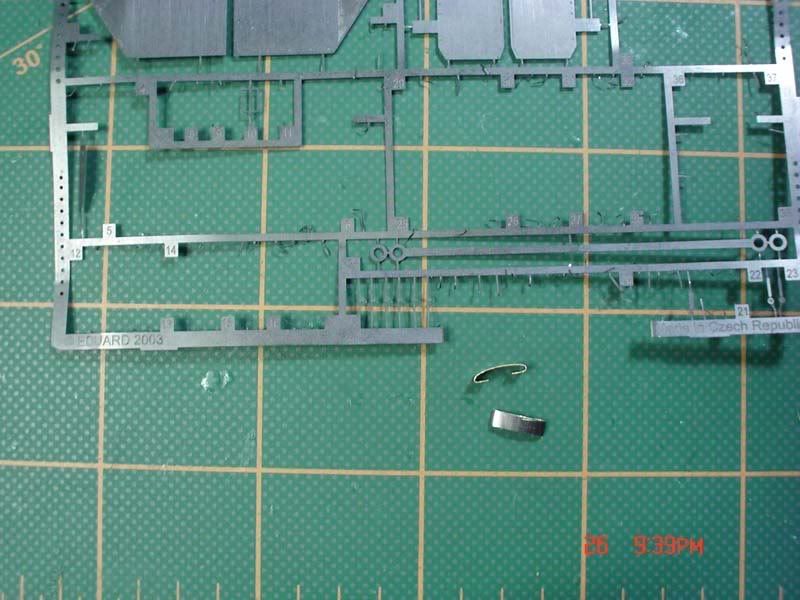
Now is the turn for the side armor skirts frames, after inspecting the kits part I decided to make new frames from PE leftovers, and after seen Rick’s M2 PE cabin work I couldn’t resist to try soldering the parts(this is my first soldering in PE, thanks Rick!!) guess what
It is more fun than I expected!!!
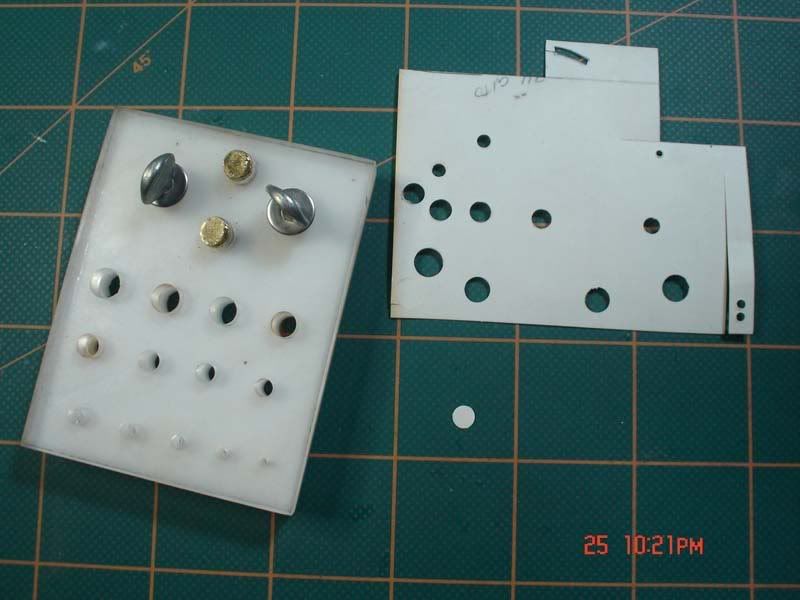
Here is one of the stock parts, and the PE carrier I used to make the replacement
E2J0oPN.jpg

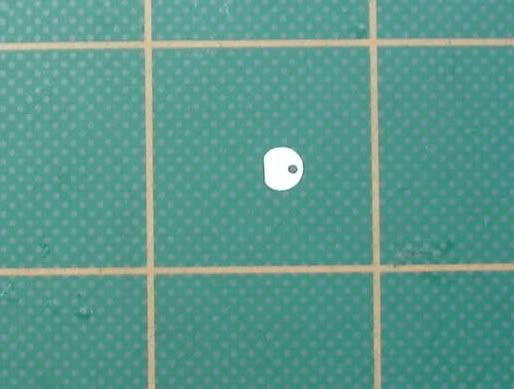
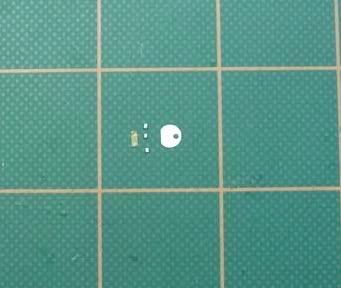
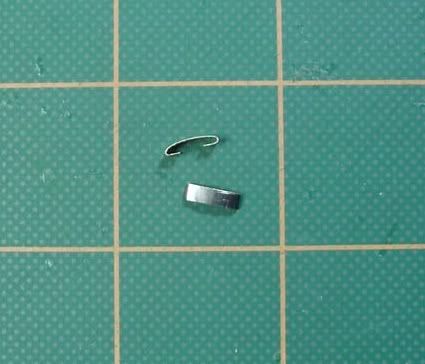
The metal is bent to shape, the center reinforcement is cut to size, and the original part for comparison is on top
OQJrU3B.jpg

F2xL4xJ.jpg

70hrM1Y.jpg

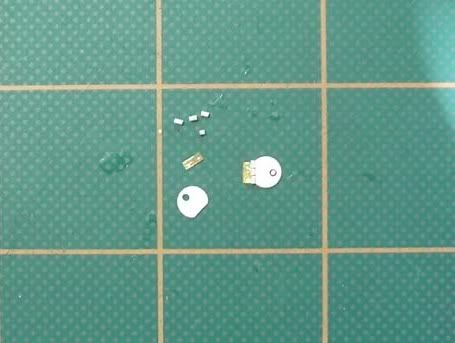
All parts are finished a total of 6 are needed, 3 for each side, to the left the originals…
SxGD1yW.jpg

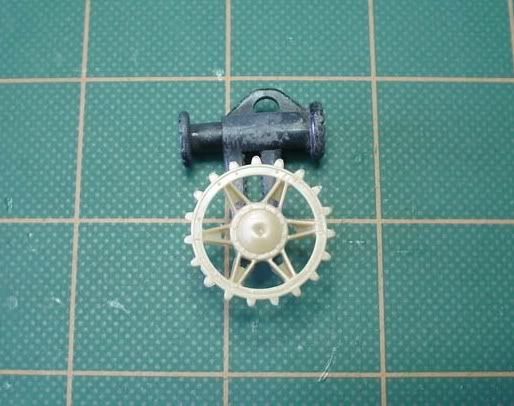
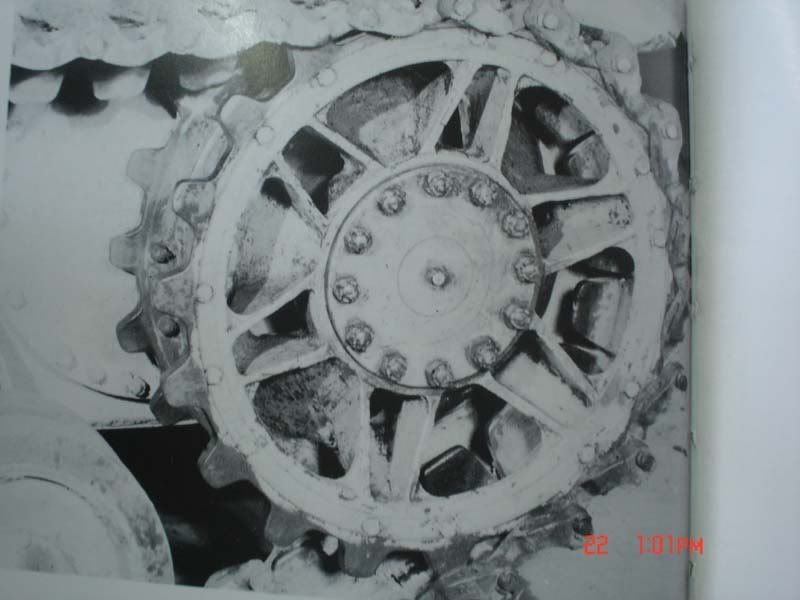
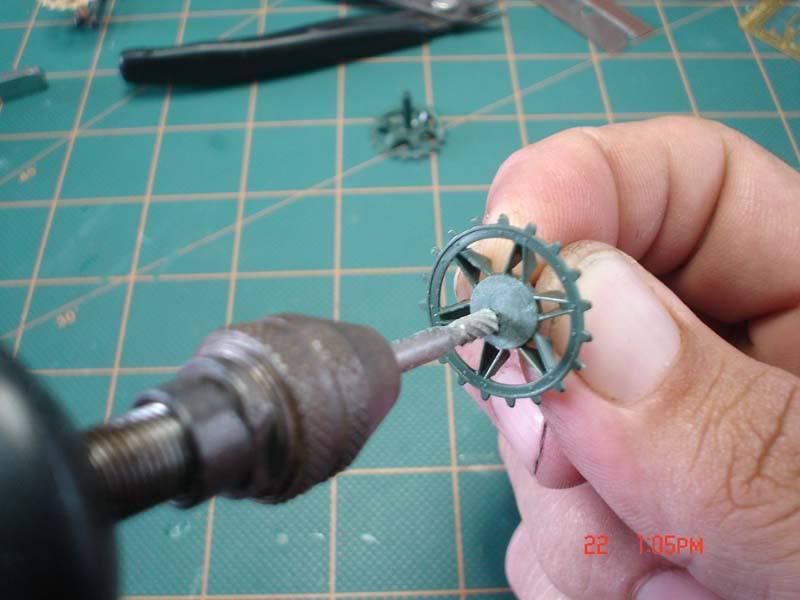
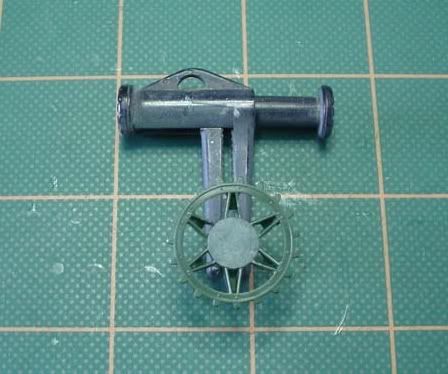
That’s all for now, I’m working on the road wheels and tracks to be followed by the zimmerit set, more coming soon!! Thanks for looking!

Abdin
 
Hi to all again! Here with another update, I have being working on the zimmerit set from Edward and it was a slow and difficult task. Remember the Edward set is for the dragon stug IV and I have to modify and trim most of the parts to fit the italery stug. Also the sprockets are detailed to make it look more like the real thing. So here we go …..

This is how the sprocket looks
glxppca.jpg

This is how it is supposed to look
WGTQenz.jpg

I removed all the detail with the dremel
zpuWEC4.jpg

Now it is ready for the details
9s9AFJV.jpg

I used some bolts from the lion roar set to detail the sprocket
koXNyG0.jpg

Here it is with the added detail
8UDqcC0.jpg

Before and after
YzZecnX.jpg

Now time to start the zimmerit, this is the dragon set
wv3GSLS.jpg

I removed the return rollers mounts and trimmed the upper edge of the zimmerit to make it fit the side wall, the rollers mounts had to be repositioned to the new location not far from the original…
LT0Gqld.jpg

The gas tank doors were removed and new ones where constructed from styrene and half
PE hinge, I used my home made punch set to make the new door.
V8qoZYp.jpg

XBdrK2Y.jpg

5yTbPDj.jpg

XaN6BlA.jpg

Also had to make the track pin saver? this where made from PE carrier and bent to shape
SIKPlSr.jpg

o6qjP7f.jpg

Here the gas tank doors and the pin savers are attached in place...
CVZqW5y.jpg

Here I started fitting the front zimmerit
Lavh79a.jpg

FKUYwIs.jpg

Also had to make the extra armor plate that goes on the right side, this was made from styrene and some verlinden resin bolt heads…
huy94IH.jpg

This is how it looks installed
mF8MmVF.jpg
 
The zimmerit progress on…
UtJMJ6x.jpg

YPx9Z24.jpg

The upper part of the front and the sides are done here
fDSMghJ.jpg

0H2risY.jpg

Also the rear sides
FpRhrYN.jpg

id0rfPR.jpg

And the rear…
inbtSL3.jpg

Now is time to reattach all the parts that where removed, I did this mistake of installing
Many of the PE and forgot completely about the zimmerit, oh well mistakes are done
From time to time.
 
Hi to all again! here with another update, I have being working on the zimmerit set from Edward and it was a slow and difficult task. Remember the Edward set is for the dragon stug IV and I have to modify and trim most of the parts to fit the italery stug. Also the sprockets are detailed to make it look more like the real thing. So here we go …..

This is how the sprocket looks
fotospapi001.jpg


This is how it is supposed to look
fotospapi003.jpg


I removed all the detail with the dremel
fotospapi004.jpg


Now it is ready for the details
fotospapi005.jpg


I used some bolts from the lion roar set to detail the sprocket
Picture016.jpg


Here it is with the added detail
fotospapi007.jpg


Before and after
fotospapi009.jpg


Now time to start the zimmerit, this is the dragon set
fotospapi012.jpg


I removed the return rollers mounts and trimmed the upper edge of the zimmerit to make it fit the side wall, the rollers mounts had to be repositioned to the new location not far from the original…
fotospapi014.jpg


The gas tank doors were removed and new ones where constructed from styrene and half
PE hinge, I used my home made punch set to make the new door.
fotospapi015.jpg


fotospapi016.jpg


fotospapi017.jpg


fotospapi018.jpg


Also had to make the track pin saver?, this where made from PE carrier and bent to shape
fotospapi021.jpg


fotospapi020.jpg


Here the gas tank doors and the pin savers are attached in place..
fotospapi023.jpg


Here I started fitting the front zimmerit
Picture001.jpg


Picture002.jpg


Also had to make the extra armor plate that goes on the right side, this was made from styrene and some verlinden resin bolt heads…
Picture005.jpg


This is how it looks installed
Picture008.jpg

Crips almighty! :woohoo: :woohoo: :woohoo:

:notworthy :notworthy :notworthy
 
thank you all guys, love bringing this old kits back and making it look better
have many waiting in line... :yipee
 
I’m getting close to the end of the stug build, here is the last work done before the painting process started…..

The last photo etched zimmerit parts are installed on the fender flaps, front and rear
Rear fender flaps
T5oSXDr.jpg

G2V1a2J.jpg

Front fender flap
HrRO5Cs.jpg

So you can have an idea of the work involved on the fitting of the photo etched, this are pieces trimmed from most of the parts, not counting all the sanding done to it
69vWbLY.jpg

Now I wanted to detail a little the steel panel rails, for this, pieces of styrene strip of the same size of the triangles are cut from styrene. One for each of the triangles that holds the steel panels
QMX89HM.jpg

vx9g1dB.jpg

LW2UFU6.jpg

The strips are glued to each triangle
LW2UFU6.jpg

Then a pair of bolt heads are placed on each strip
zLdiTsk.jpg

Here the rails are reattached and also installed the Jordi Rubio aluminum barrel
ujdLXVr.jpg

DOBdwcC.jpg

The lower steel brackets that attach to the fenders for securing the steel panels are made
From PE leftovers
XqNVI31.jpg

Then the brackets are soldered in place on the fenders, also added resin
Bolts details to the suspension rubber stoppers
jIc2CpO.jpg

The springs for the fender flaps are the last details made with thin cooper wire using the tip cleaner from my testors liquid glue
S05CNvs.jpg

And finally here it is ready for paint!!! All side views
jEHuxIY.jpg

y0TXK8y.jpg

T5gXM5a.jpg

kKOVTCW.jpg

xlBapPj.jpg

LOK4gPl.jpg


Next step painting and weathering!!!!! Soon, thanks to all for watching!
Abdin
 
Hi, I'm Ian (from New Zealand), I've been on this site for some years and this is the first time I've ever 'dropped in' to one of your threads and I apologise for that.

So moving-on, this is truly incredible work, somewhere at the junction of art, model engineering and breath-taking.


:notworthy


Ian.

 
Mike hahah yes you can say that

Christian its a steel hulk :D

Bob thanks!

Luis thanks!

Hi Ian, thanks for stopping by, this is an old post I had in another forum and wanted to share it here
It was done in 2007 and is part of a dio with the tamiya famo and trailer. Check also my Dora build
currently in progress (y)

Piet thanks!
 
Hi to all, well, this is the final stage of the stug build. All the parts left for after painting are installed, here are the steps of the painting process, the model looks very different with the paint as the zimmerit took depth and look more real
Than when unpainted…..

First a coat of red primer
p360Fzj.jpg

XtLdgOT.jpg

Then a coat of testor’s dark yellow
mgqUoiz.jpg

vJL6Y3O.jpg

After the yellow was completely dry I painted the road wheels and applied the first wash
This was followed by dry brushing with dark yellow mixed with white
The wash plus the dry brushing made the zimmerit pop out, giving it depth at the same time…
aJAWFD2.jpg

2AiOIXD.jpg

nBUGW6D.jpg

4EXHVNR.jpg

Next was the muffler, I painted it with testors brown, followed by dry brushing with lt. tan and finally made small dots with black, yellow and rust color.
Ju1ozNC.jpg

Ywrkx1q.jpg

tOfqWpl.jpg

With the muffler done I proceeded to add dirt with weathering powders and paint chips using the brush technique…
mknLpkK.jpg

3TKXfAr.jpg

3EaRouf.jpg

YEoJosw.jpg

IgORdkM.jpg

jSqXF6H.jpg

ESNcIwy.jpg

M2YeOyg.jpg

Finally painted the remaining tools and some more weathering with lt. tan and powders
nDPjaEQ.jpg

EVQL4Kq.jpg

CmQF7Jc.jpg

5tQED3w.jpg

5HFkdj1.jpg

7ZuNv7L.jpg

cwmnFtz.jpg

Ds3mS8s.jpg

I’m currently working on the tracks to finish the stug, after that I will turn to finish the Famo trailer which is in the final painting stages, and then up goes the stug on to the trailer…….
More soon…….thanks!!!!
 
Back
Top