RichB
Well-known member
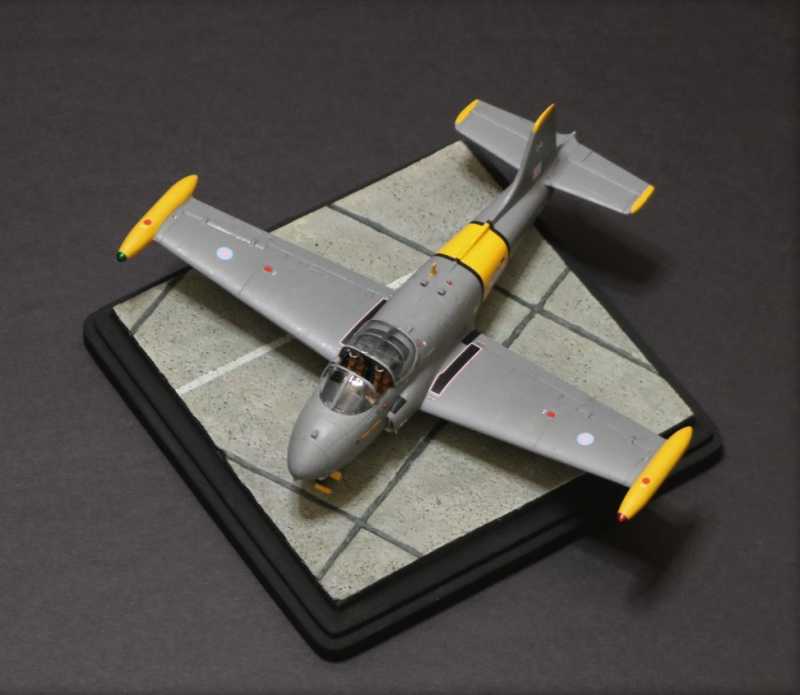
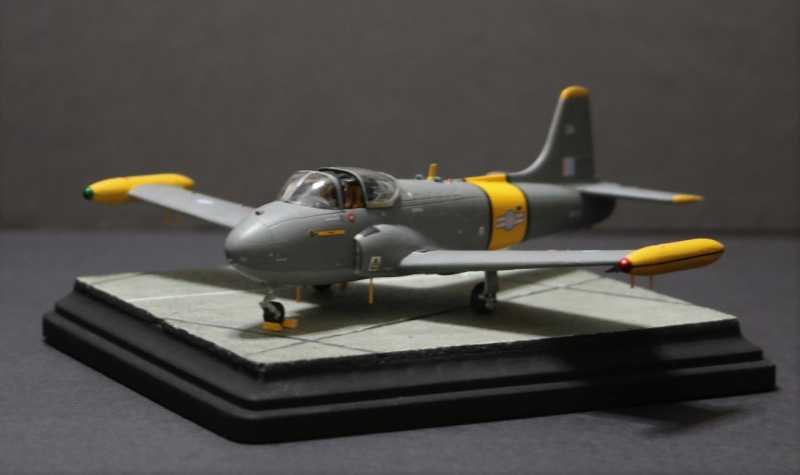
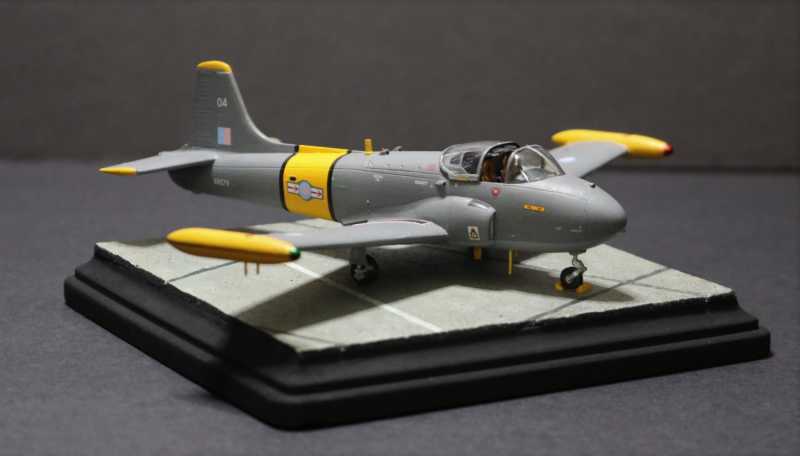
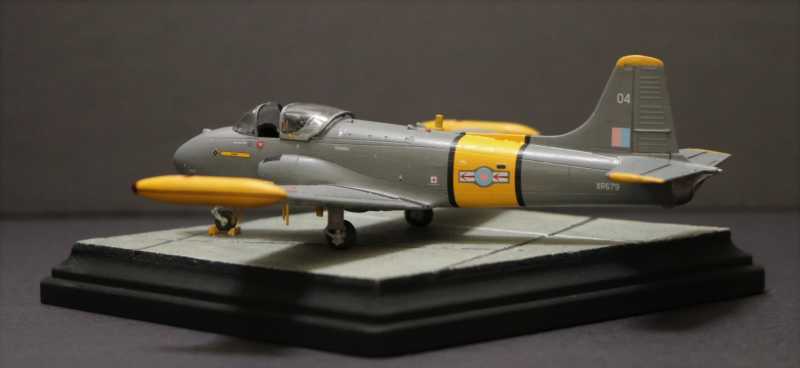
After crawling around the lawn and garden getting things cleaned up, it was time to give the knees a break. So what better way to do that than build a model.

There are only 45 pieces in the kit and some of those are for in-flight and closed canopy options.
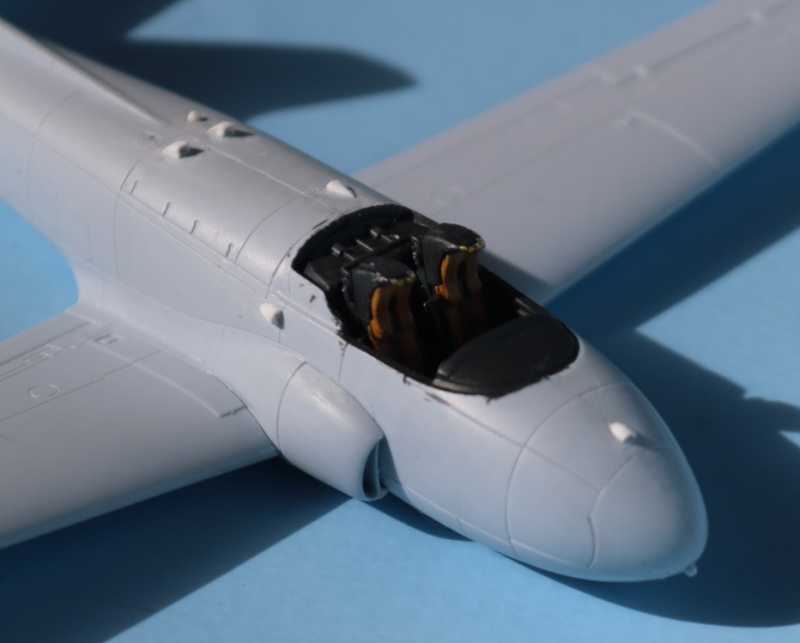
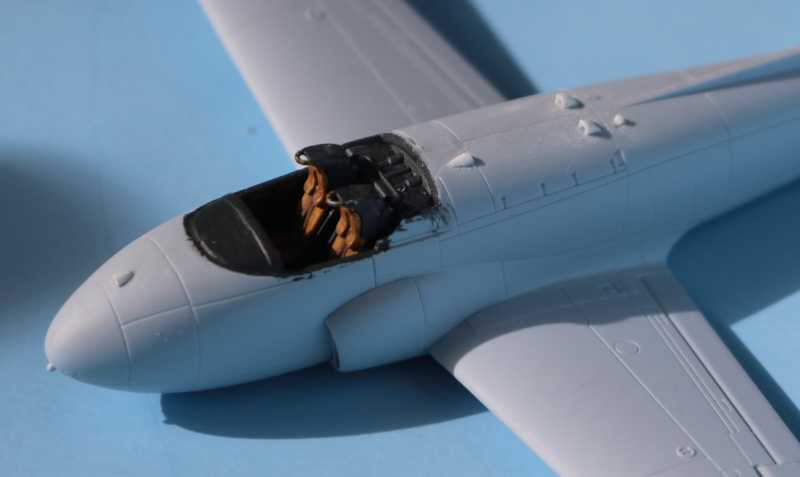
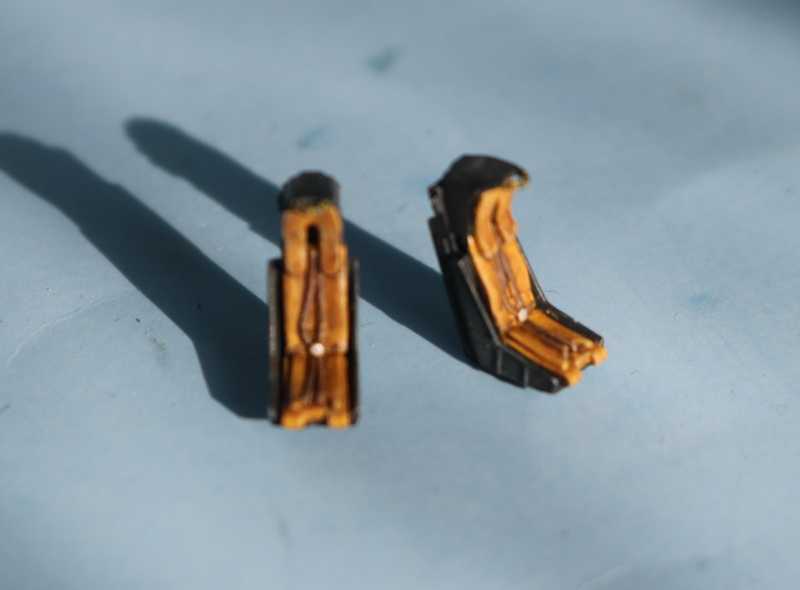
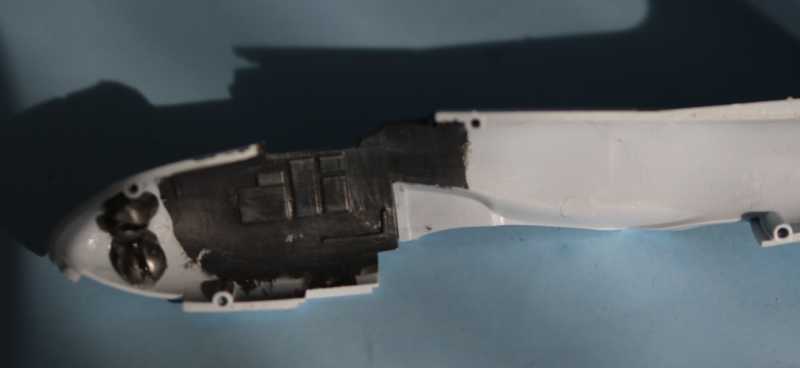
Work began after breakfast on the cockpit. Not a lot of detail there, but enough for the era of the all black cockpit. The instrument panel in taken care of with a decal. The seats can be built with or without pilots. Pavla does make a resin replacement for the cockpit for those who like more detail. Airfix recommends 2.5g of weight in the nose to prevent a tail sitter. Five sinkers glued in forward of the cockpit, a couple of more were put in under the cockpit.



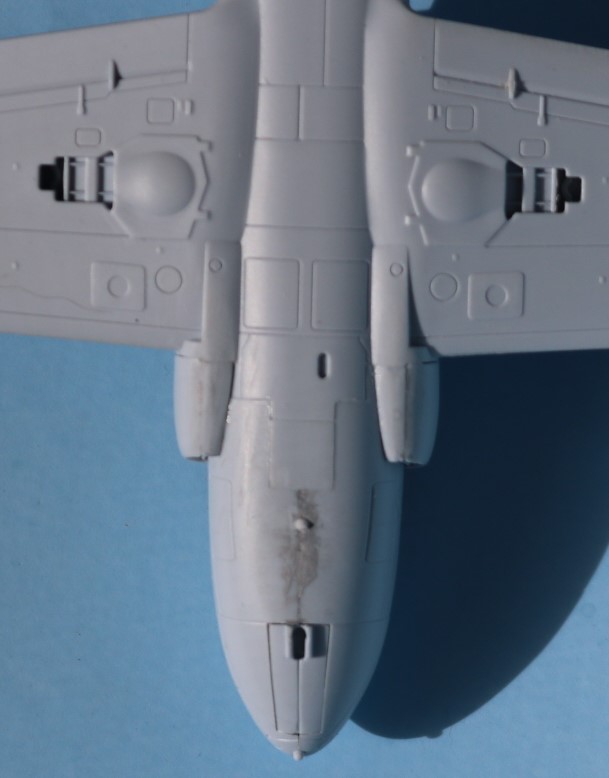
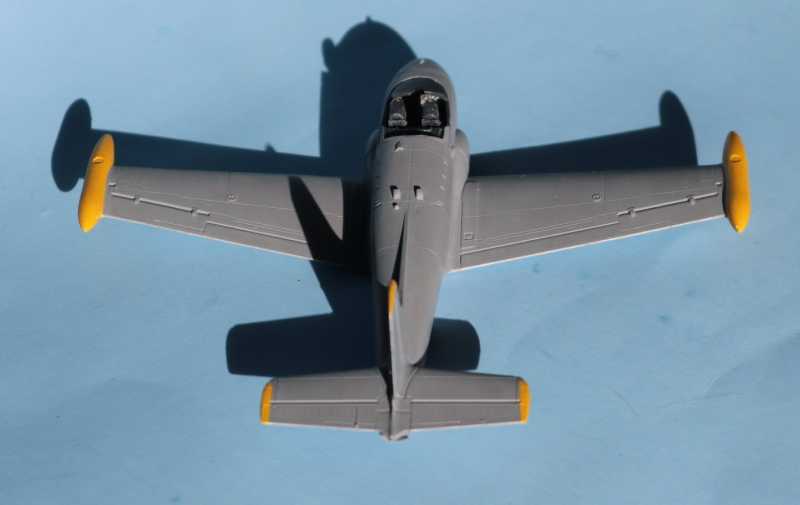
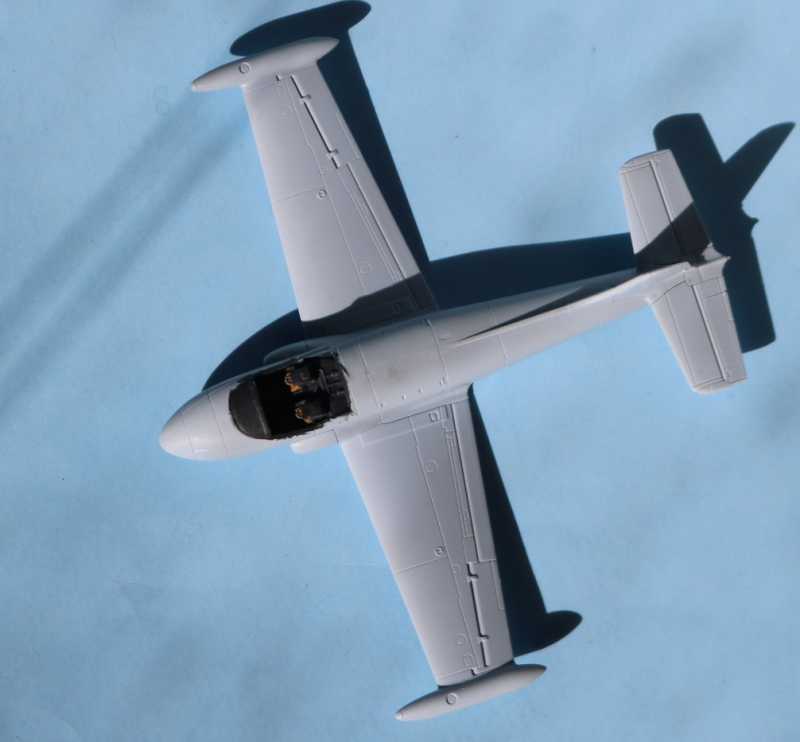
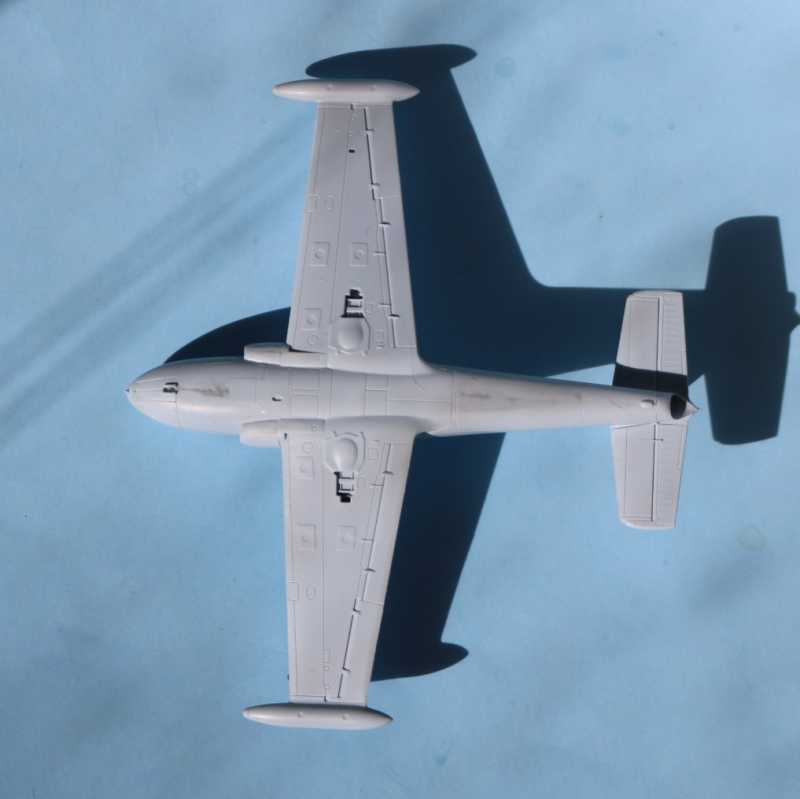
The fuselage was closed up after that. The lower wing is one piece and the lower halves of the tip tanks are molded in place. It clicked into place and left no gaps, just had to run some Extra Thin glue along the joint. The upper wing went on next with their half of the tip tanks. The Horizontal stabilizers are one piece a slip onto the aft fuselage. The rudder and exhaust are separate pieces and installed last. AS the landing gear door all close after gear extension, there isn't much work to do there. The main wheel wells visible are molded into the wing with the inner doors molded in place. The nose wheel doors have small door just big enough from the nose gear strut to fit thru. There is no engine face provided but the intake openings are so small that there would be nothing visible. The sharp eyed will notice that the aileron trim tabs are only scribed on the upper surface. They will have to be copied on the lower wing surface.
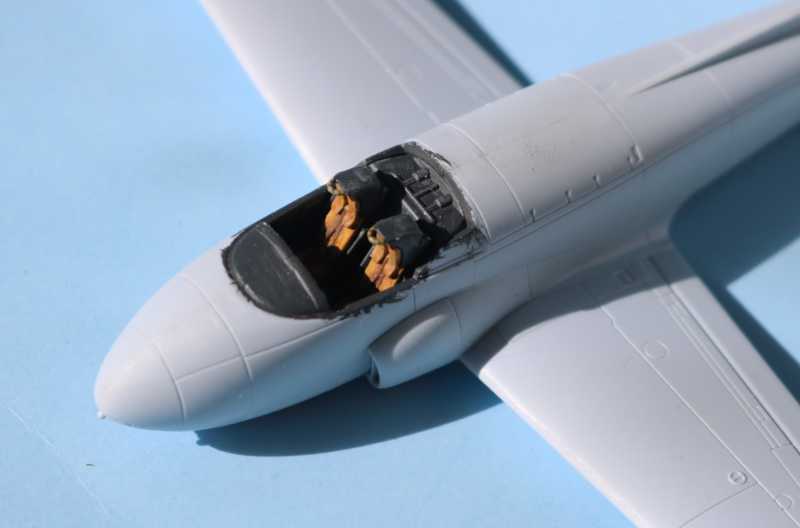
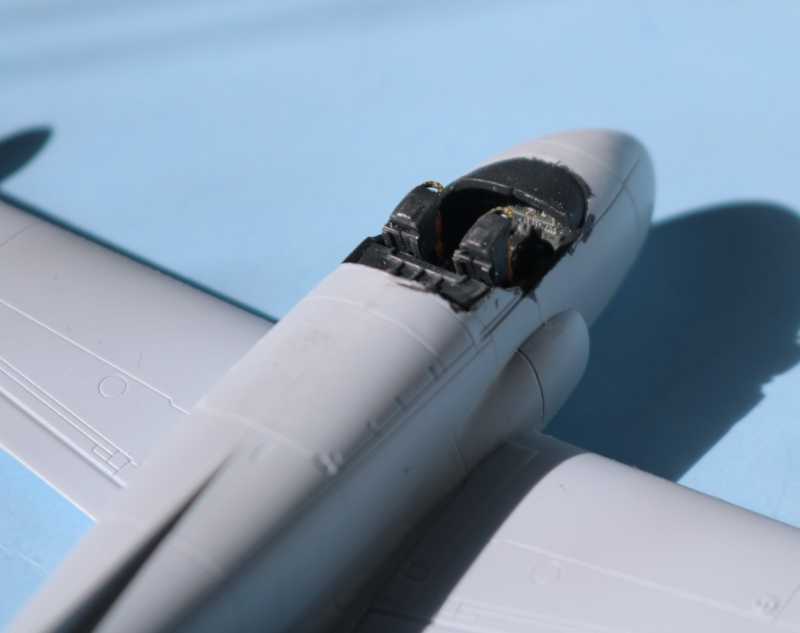

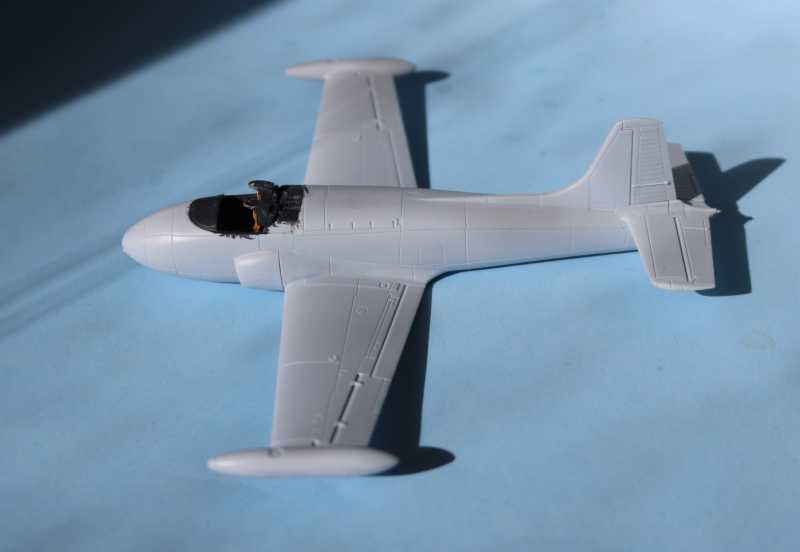
The biggest challenge is to correct the main canopy. The centre brace is actually installed on the inside of the canopy not on the external surface as molded. This can be removed with careful sanding, polishing and a Future bath. There are two canopies provided, one for the closed position and one for the open position so there is a practice one available. No pictures of it yet as it is resting comfortably following its bath.
There are some intakes to be added on the engine access panels aft of the cockpit (details missed by Airfix), a beacon light on the upper fuselage and an intake to be replaced on the upper nose that looked more like a bit of flash on my kit so it was sanded off.
Time for a supper break and consume mass quantities.
Cheers,
Rich

There are only 45 pieces in the kit and some of those are for in-flight and closed canopy options.
Work began after breakfast on the cockpit. Not a lot of detail there, but enough for the era of the all black cockpit. The instrument panel in taken care of with a decal. The seats can be built with or without pilots. Pavla does make a resin replacement for the cockpit for those who like more detail. Airfix recommends 2.5g of weight in the nose to prevent a tail sitter. Five sinkers glued in forward of the cockpit, a couple of more were put in under the cockpit.


The fuselage was closed up after that. The lower wing is one piece and the lower halves of the tip tanks are molded in place. It clicked into place and left no gaps, just had to run some Extra Thin glue along the joint. The upper wing went on next with their half of the tip tanks. The Horizontal stabilizers are one piece a slip onto the aft fuselage. The rudder and exhaust are separate pieces and installed last. AS the landing gear door all close after gear extension, there isn't much work to do there. The main wheel wells visible are molded into the wing with the inner doors molded in place. The nose wheel doors have small door just big enough from the nose gear strut to fit thru. There is no engine face provided but the intake openings are so small that there would be nothing visible. The sharp eyed will notice that the aileron trim tabs are only scribed on the upper surface. They will have to be copied on the lower wing surface.


The biggest challenge is to correct the main canopy. The centre brace is actually installed on the inside of the canopy not on the external surface as molded. This can be removed with careful sanding, polishing and a Future bath. There are two canopies provided, one for the closed position and one for the open position so there is a practice one available. No pictures of it yet as it is resting comfortably following its bath.
There are some intakes to be added on the engine access panels aft of the cockpit (details missed by Airfix), a beacon light on the upper fuselage and an intake to be replaced on the upper nose that looked more like a bit of flash on my kit so it was sanded off.
Time for a supper break and consume mass quantities.
Cheers,
Rich


