Old Dog
Well-known member
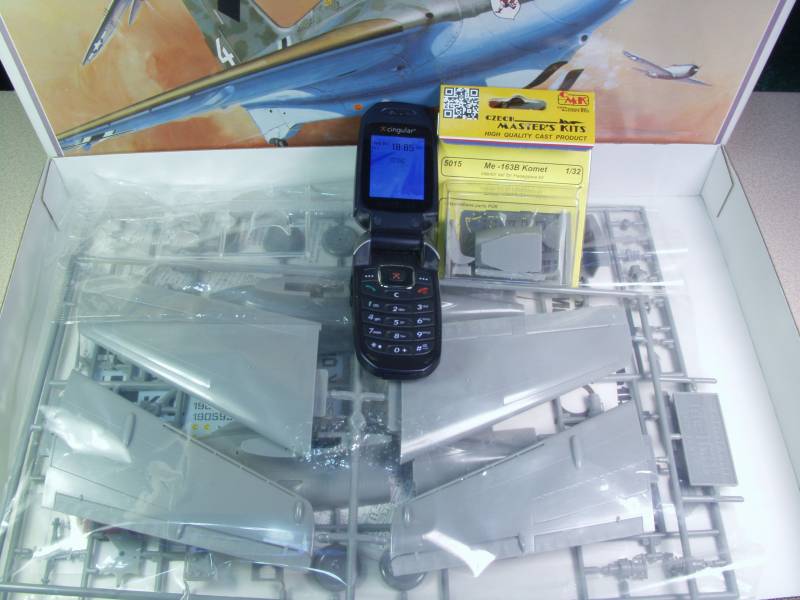
OK, I still want that Messerschmitt ribbon from earlier this year. Since I didn't really get started on the 109 I was going to do I decided to switch to this 163 instead.
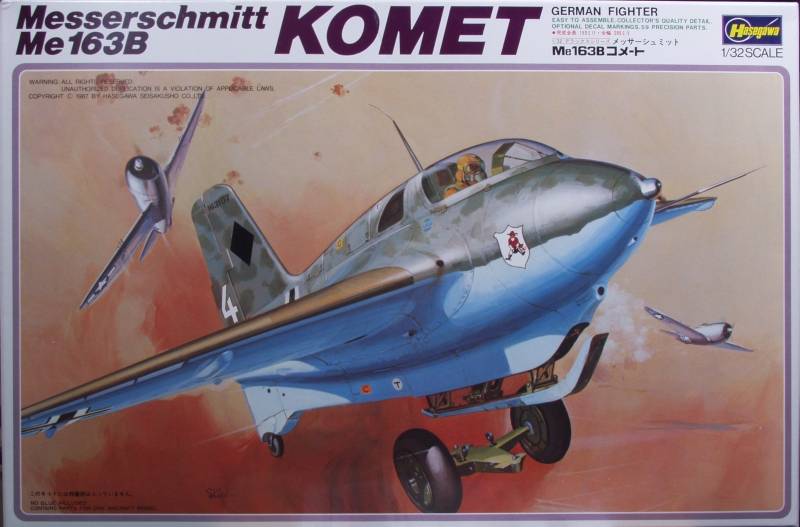
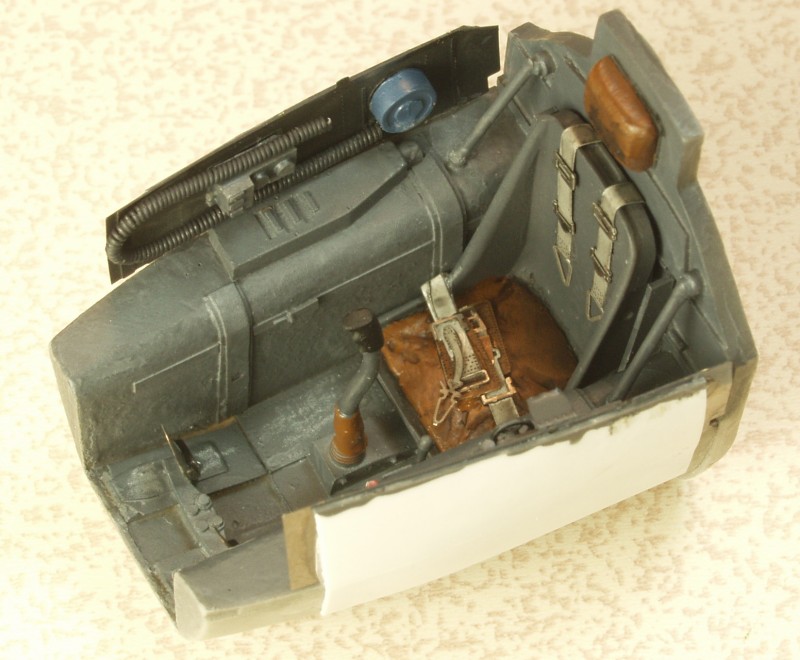
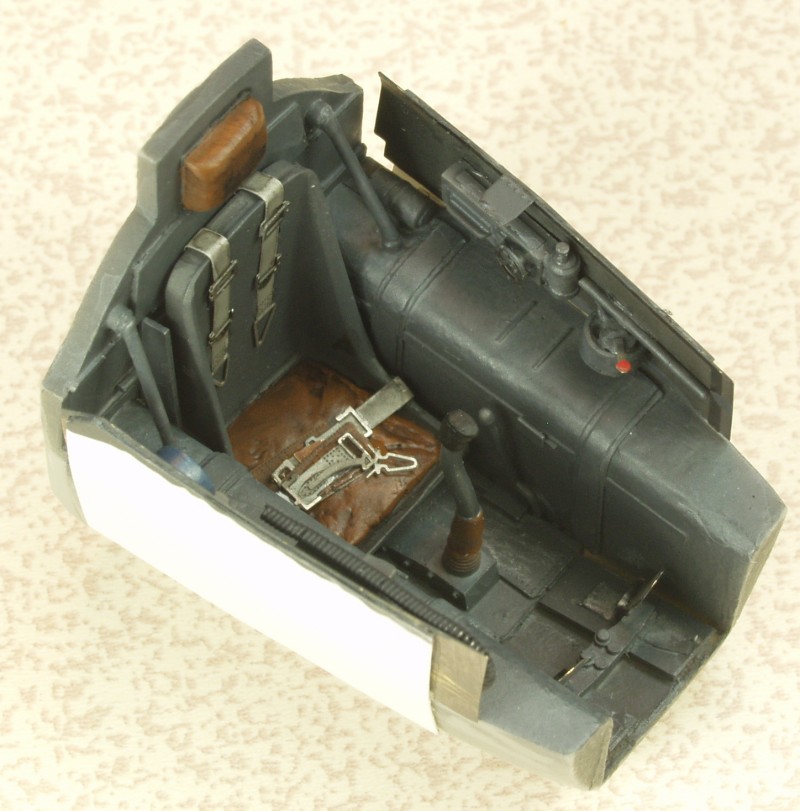
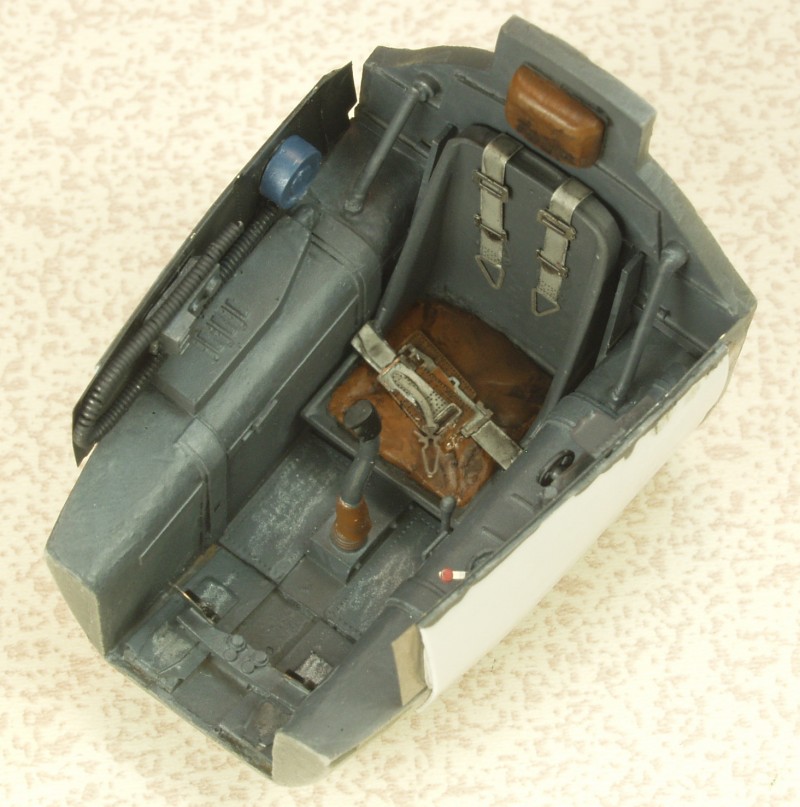
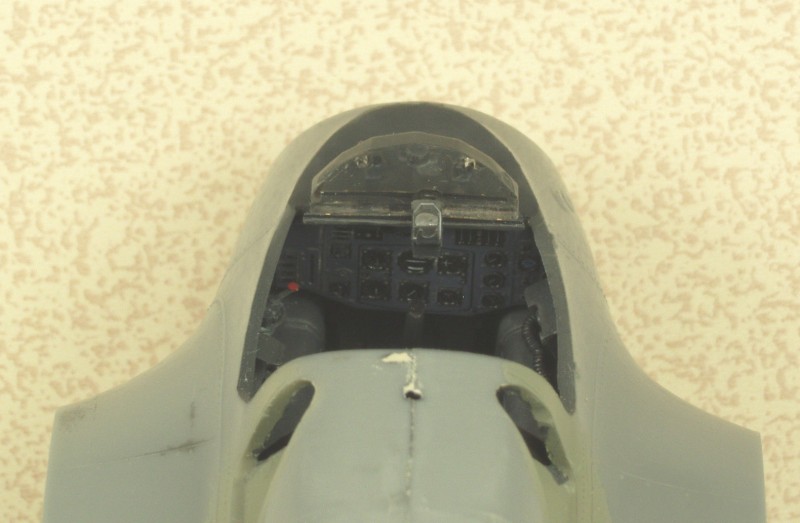
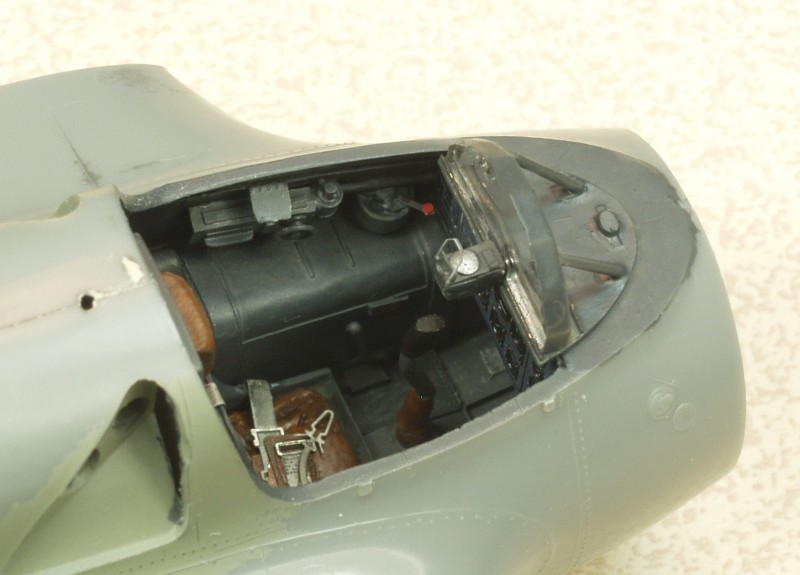
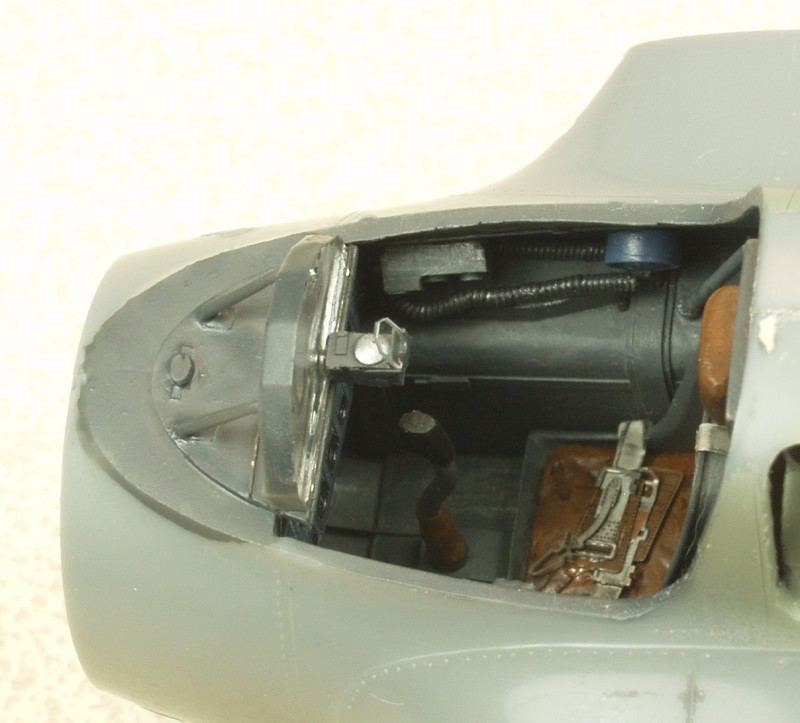
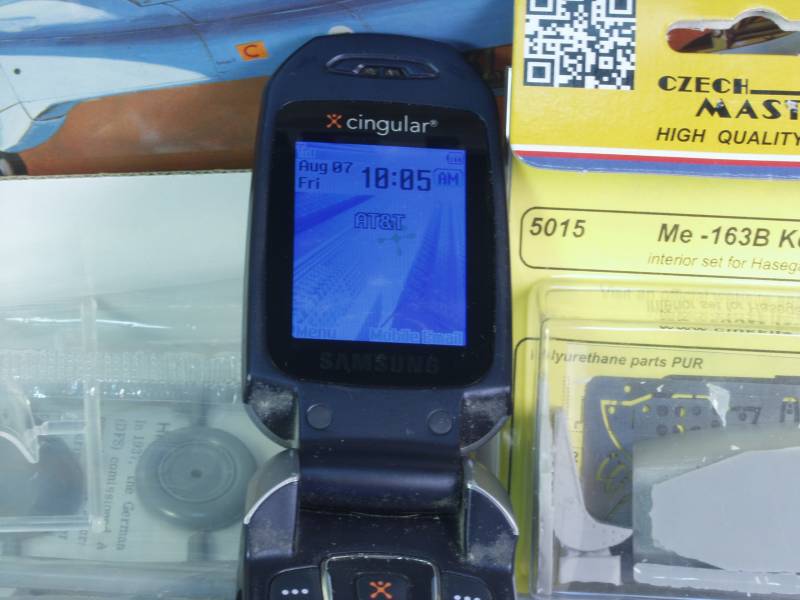
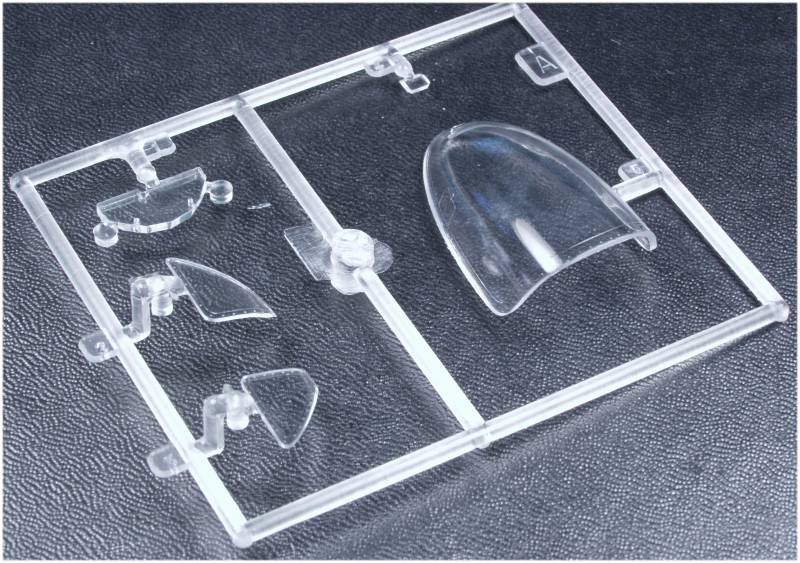
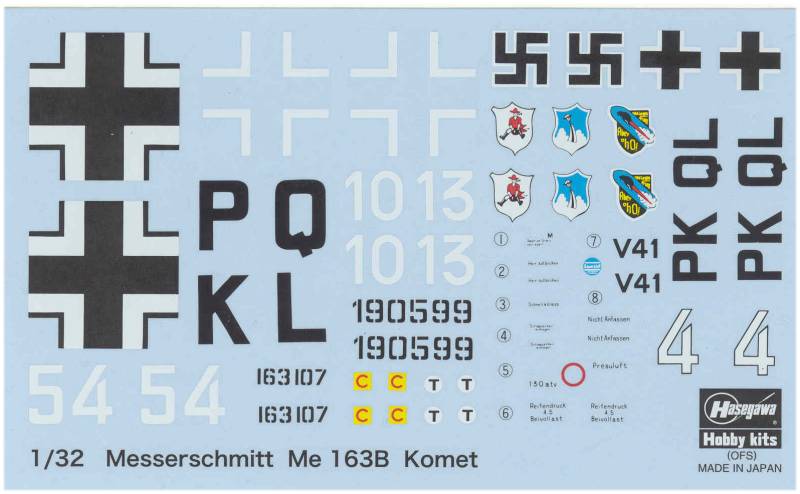
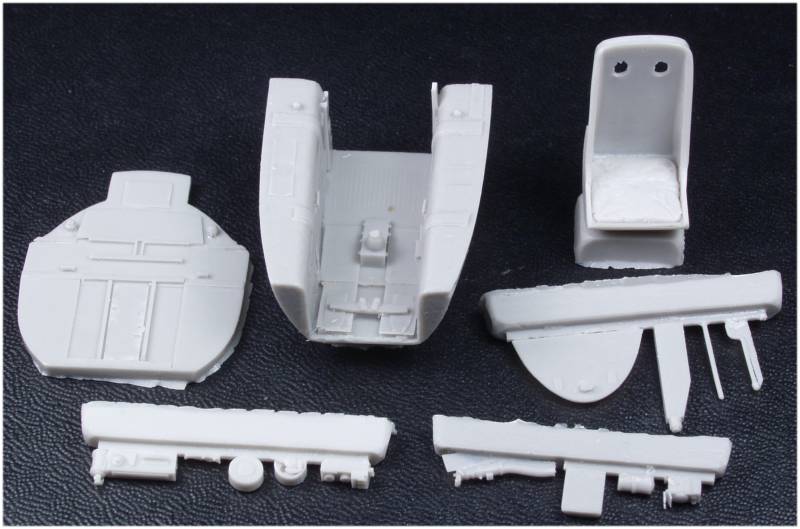
It's the older Hasagawa kit rather than the newer Meng kit. It was already in the stash and is a pretty good kit in spite of its age. I'm going with a CMK resin interior as the only complication. I'm sure there will be fit issues but that's pretty normal. Because of it's age it does feature raised detail but back when I started modeling most everything did and it doesn't bother me nor do I feel inclined to replace it. Any way, here are the obligatory time stamps...
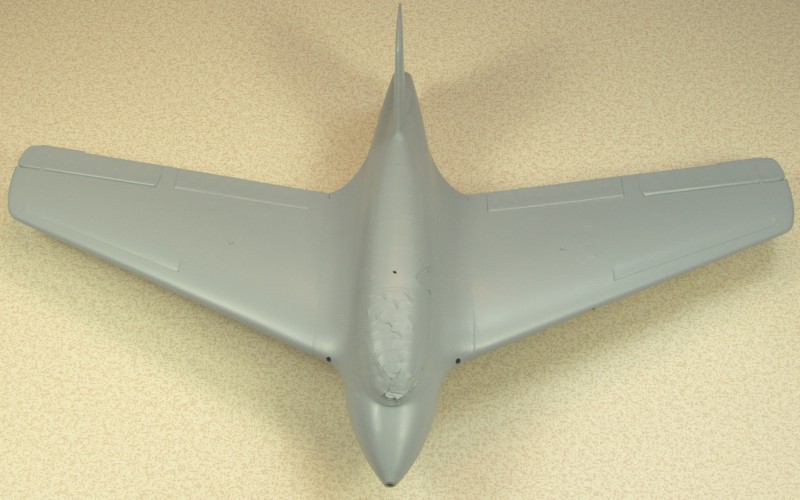
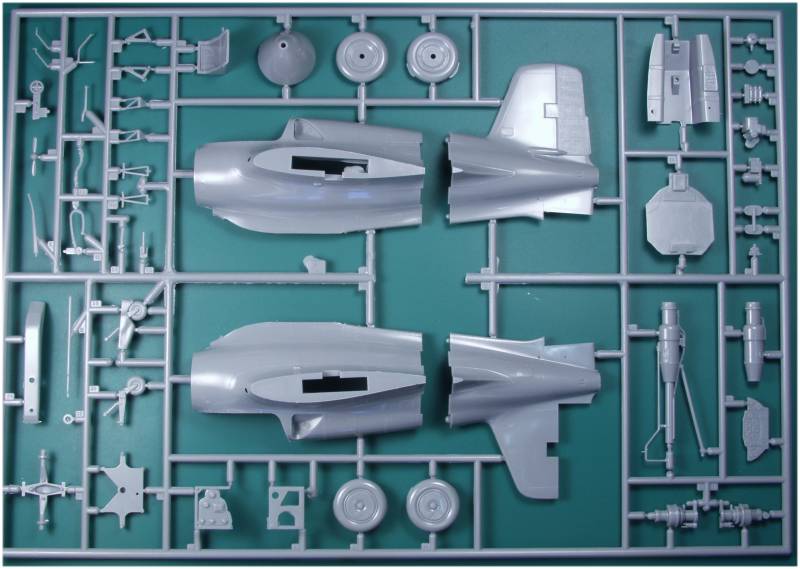
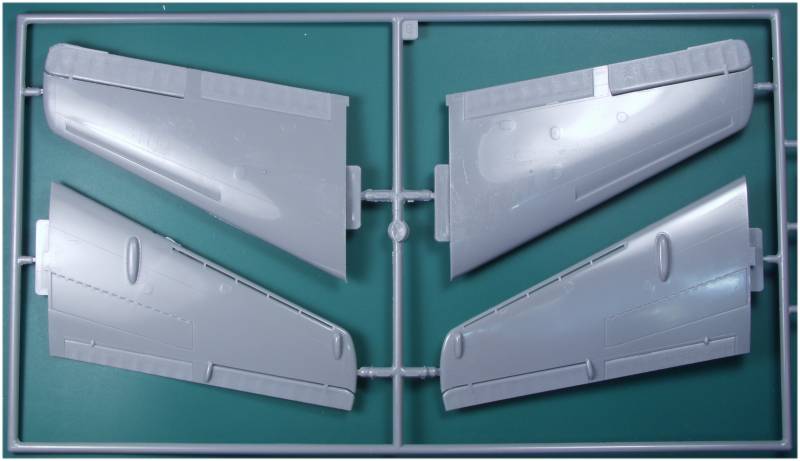
And a look at the constituent parts...
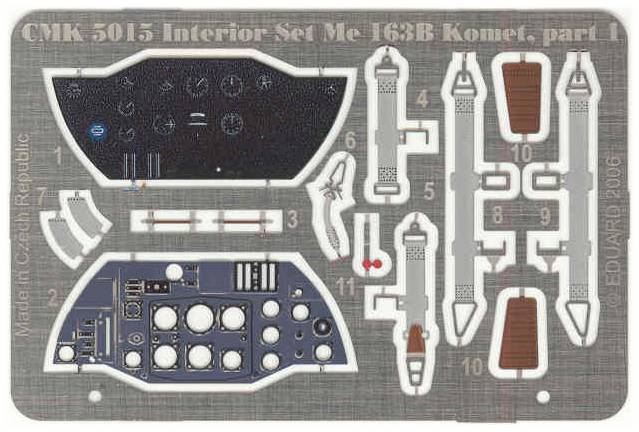
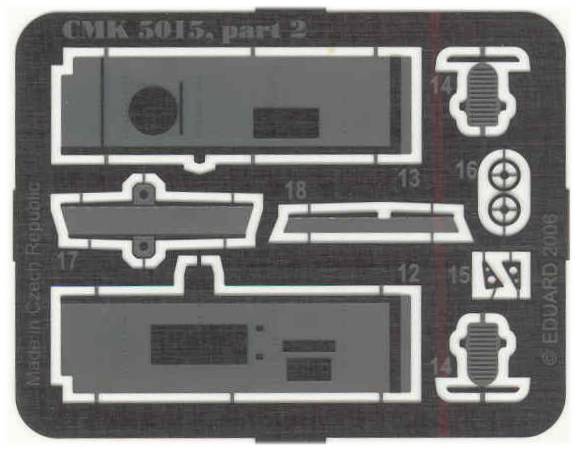
And the after market...
Looks like fun, here's hoping !
It's the older Hasagawa kit rather than the newer Meng kit. It was already in the stash and is a pretty good kit in spite of its age. I'm going with a CMK resin interior as the only complication. I'm sure there will be fit issues but that's pretty normal. Because of it's age it does feature raised detail but back when I started modeling most everything did and it doesn't bother me nor do I feel inclined to replace it. Any way, here are the obligatory time stamps...
And a look at the constituent parts...
And the after market...
Looks like fun, here's hoping !
")