
phantom II
Master at Arms
Hello everyone,
this is my very first post anywhere, so please bare with me.
The original build of this airplane was in the mid eighties when the Italeri kit was new and I had no references on the subject.
I have this habit of updating older models with details or to repaint them when I discover new materials. Over the years I wanted to improve the paint job on this airplane but could never find any decent references.
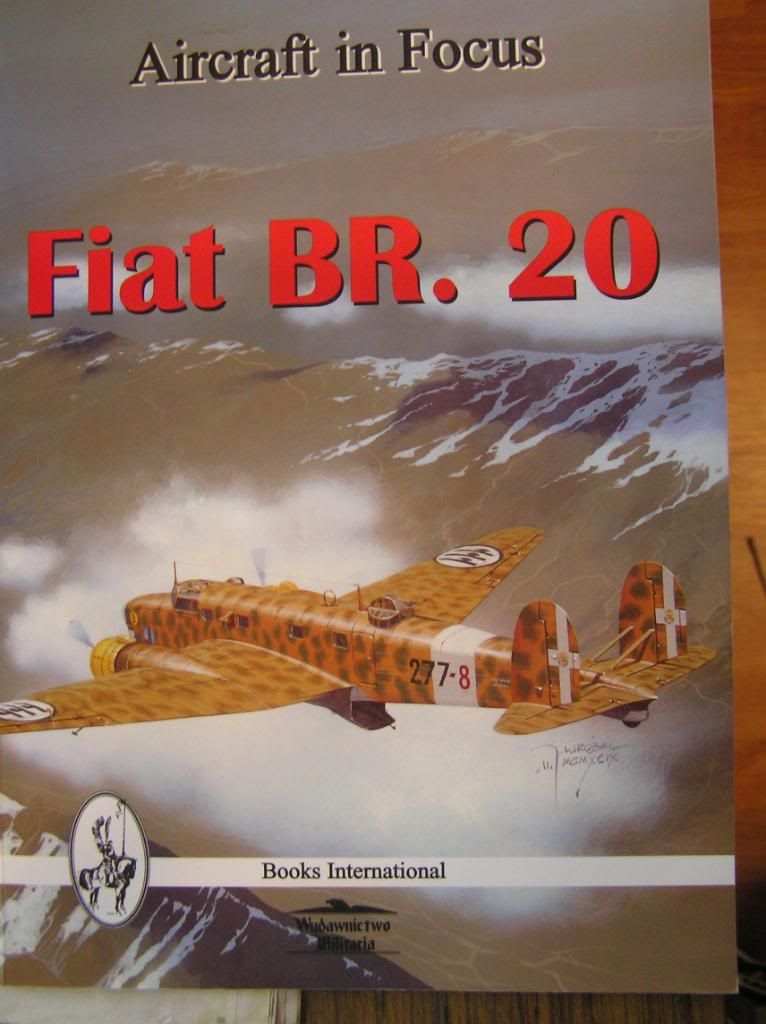
I recently found this book on Evilbay and so, the adventure took an unexpected turn.
So,began the mayhem... :evil:
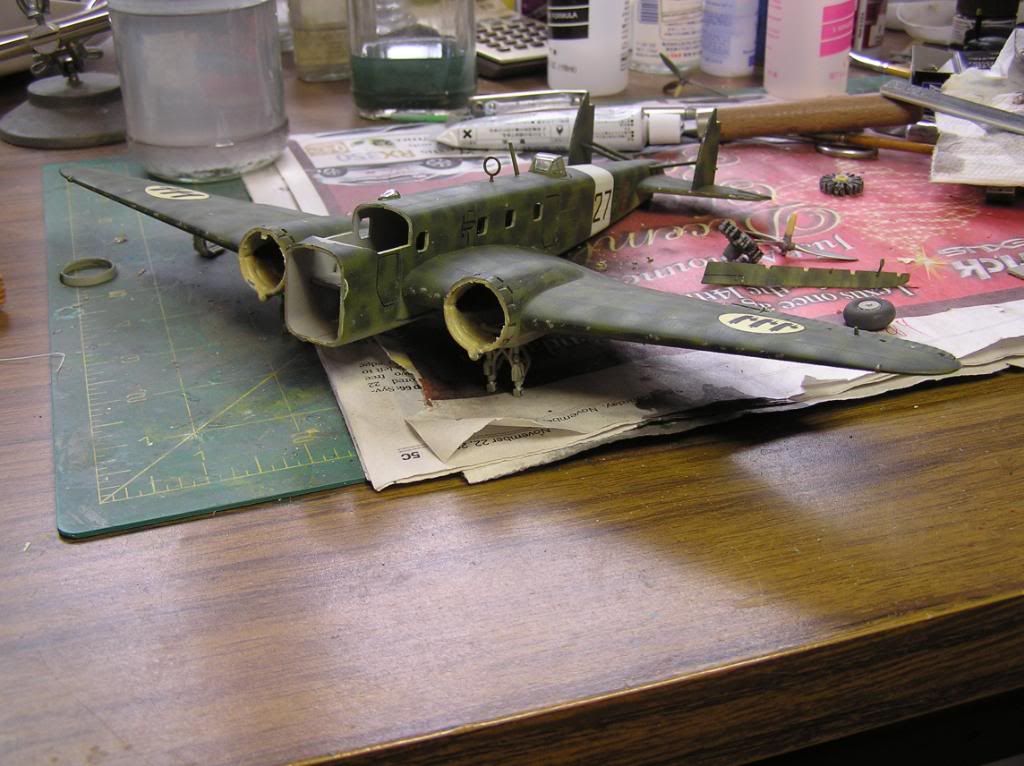

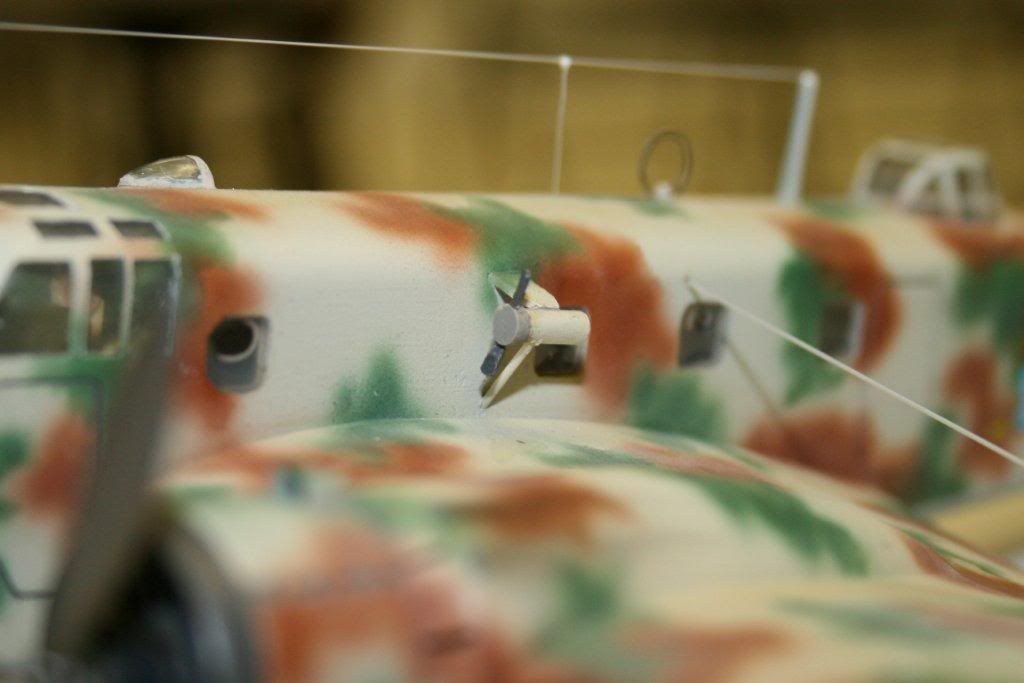
Finally after studying some very poor pictures, i realized that the employee that produced this model must have been laid off by the Airfix factory. It was covered by huge rivets where there should have been canvas and ribs.hmy:
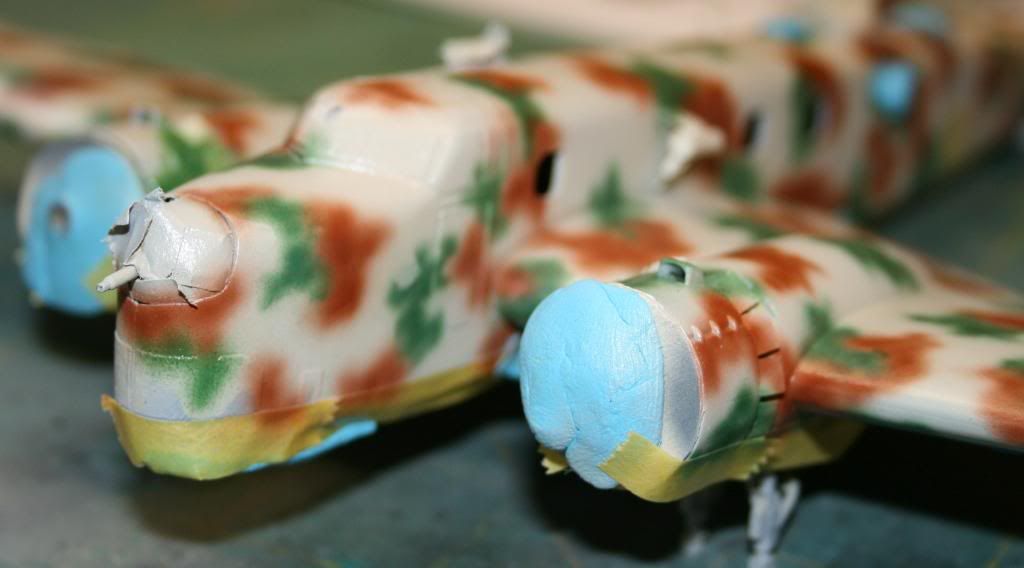
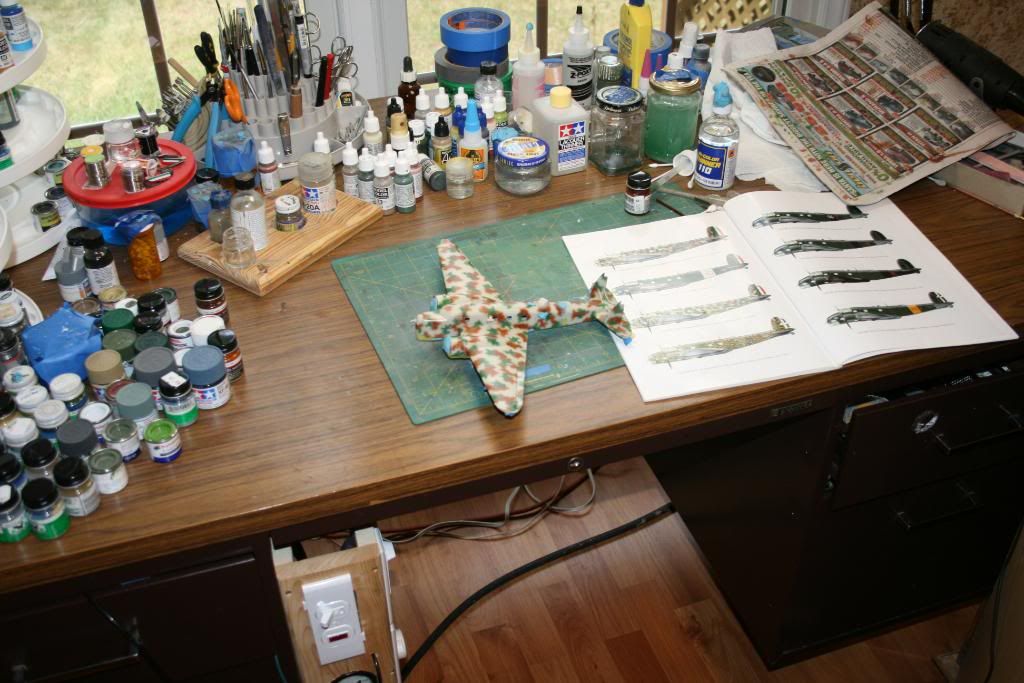
After a good bit of surgery, the painting started Of course I selected a sample that was a bit different.

http://i903.photobucket.com/albums/ac236/crlacroix_2010/Fiat%20BR%2020
/spots004.jpg
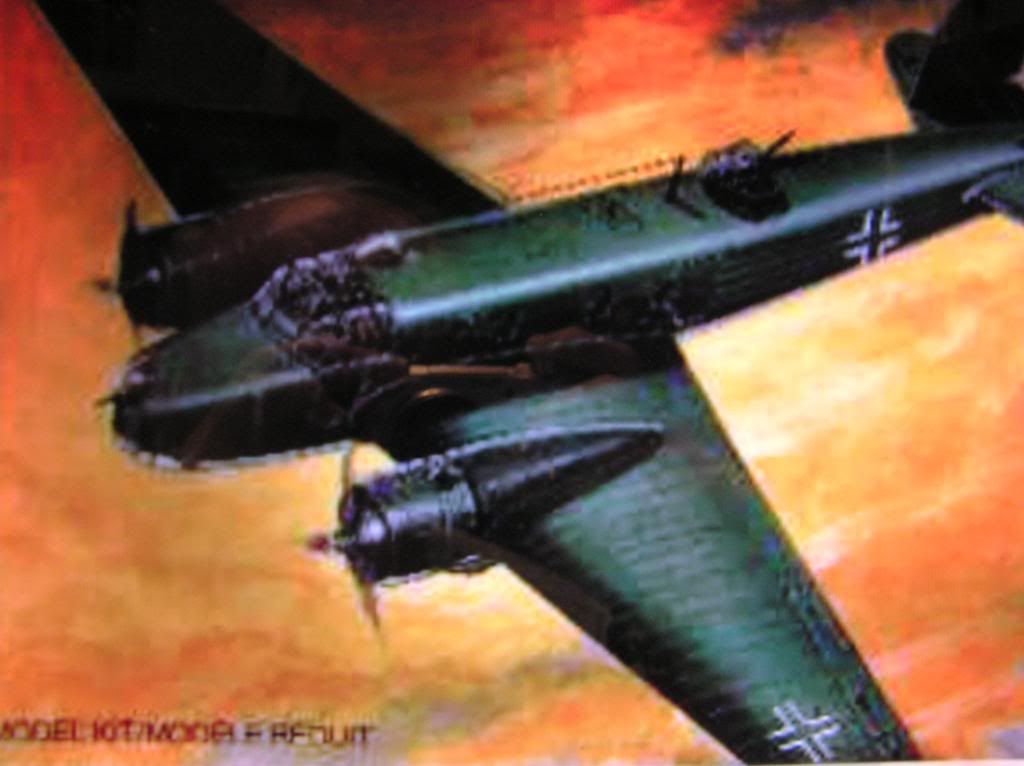
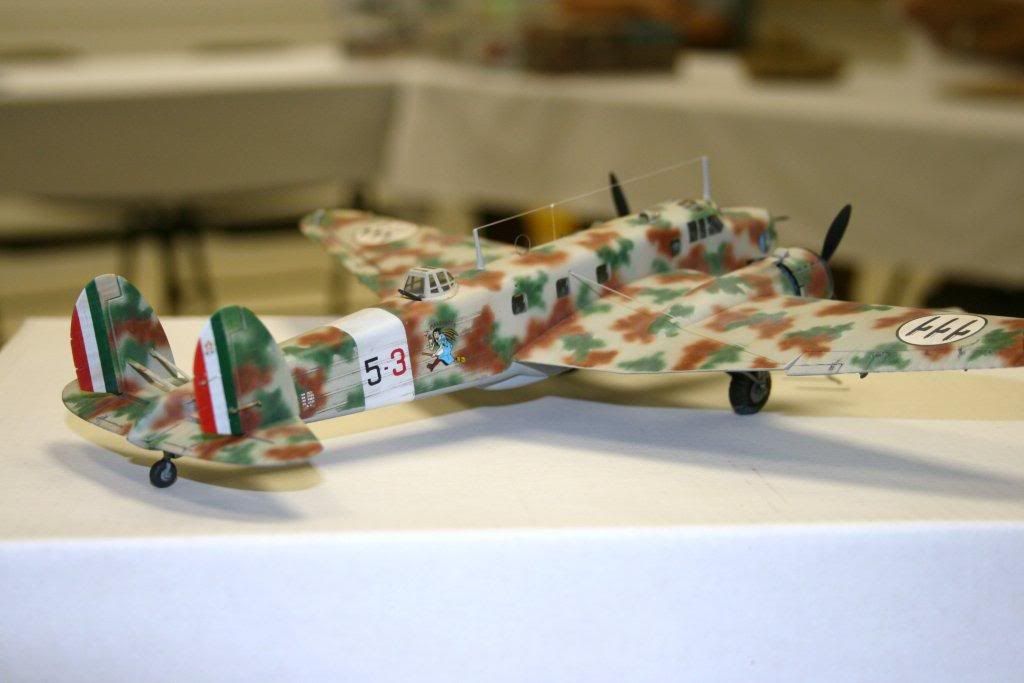
Of course decals and further refinements followed.


So, we come to the end of this rebuild.
and now I can clear the work bench and build something else.
Thanks to Iron Mike for the help with the photography and with figuring out the website.
To Moonpuppy, can I go back to lurking now ? B)
this is my very first post anywhere, so please bare with me.
The original build of this airplane was in the mid eighties when the Italeri kit was new and I had no references on the subject.
I have this habit of updating older models with details or to repaint them when I discover new materials. Over the years I wanted to improve the paint job on this airplane but could never find any decent references.
I recently found this book on Evilbay and so, the adventure took an unexpected turn.
So,began the mayhem... :evil:
Finally after studying some very poor pictures, i realized that the employee that produced this model must have been laid off by the Airfix factory. It was covered by huge rivets where there should have been canvas and ribs.
hmy: After a good bit of surgery, the painting started
Of course I selected a sample that was a bit different.
http://i903.photobucket.com/albums/ac236/crlacroix_2010/Fiat%20BR%2020
/spots004.jpg
Of course decals and further refinements followed.
So, we come to the end of this rebuild.
and now I can clear the work bench and build something else.
Thanks to Iron Mike for the help with the photography and with figuring out the website.
To Moonpuppy, can I go back to lurking now ? B)


