• Modelers Alliance has updated the forum software on our website. We have migrated all post, content and user accounts but we could not migrate the passwords.
    This requires that you manually reset your password.
    Please click here, http://modelersalliance.org/forums/login to go to logon page and use the "Forgot your Password" option.

Falke 'Modified' WIP Completed!!

tiking

Active member
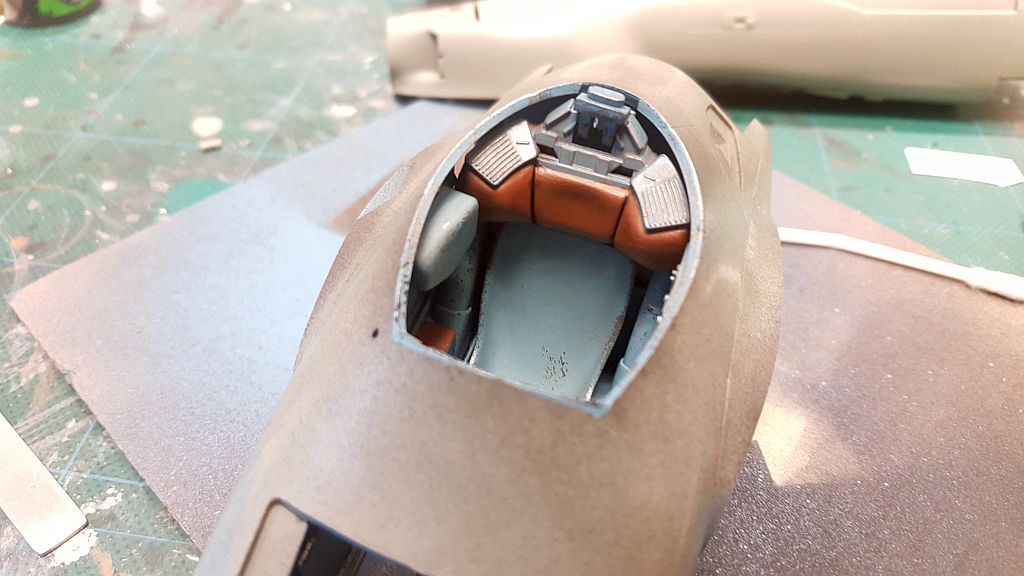
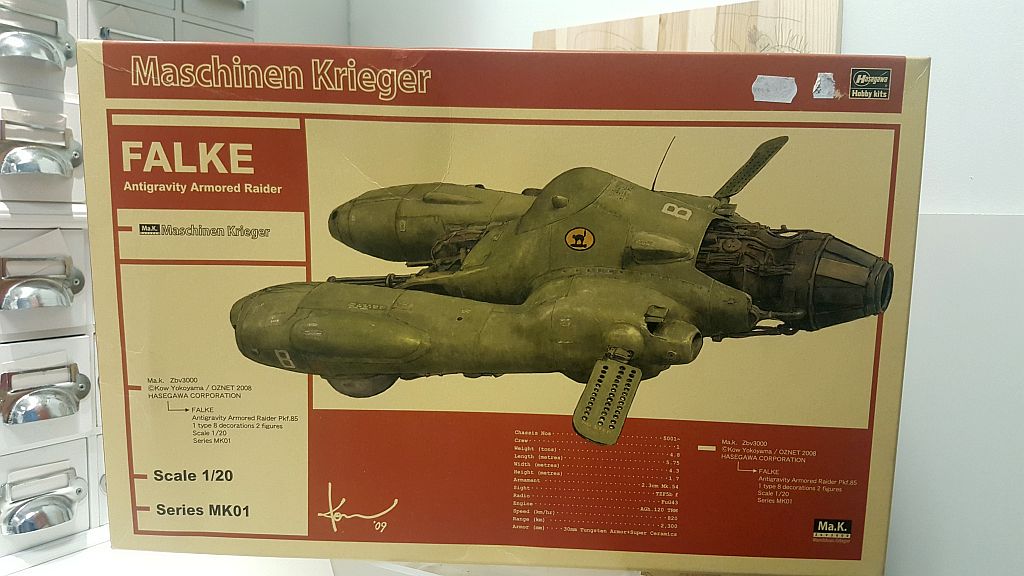
Hi all. Another sci-fi build in the making. I decided to do my first sci-fi diorama which will include a Falke from hasegawa and a possible scratch/kit bash models to incorporate in the setup. Now, I have an idea of what I want but not really sure on how to implement it. But, I will eventually figure it out as I go along. The first model I started on is the Falke model from Hasegawa. I have seen this model many a times on the internet. When I was at a model show, I noticed someone was selling it for cheap and I could not resist the temptation to get it. Now, I just bought it to use whatever parts that may be of use, to use in kit bashing. But then, I decided to modify the kit further. View the images and read what I did:


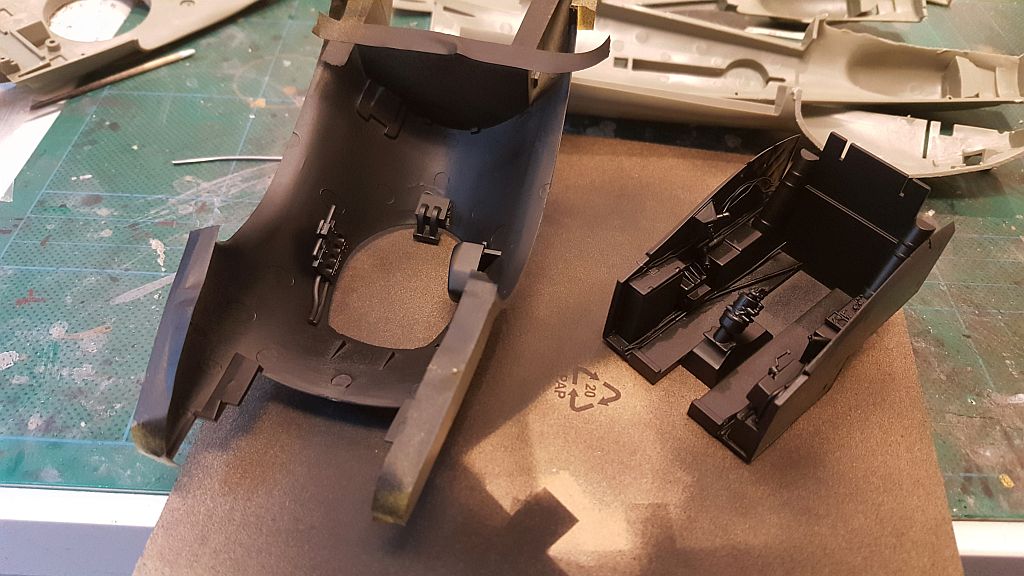
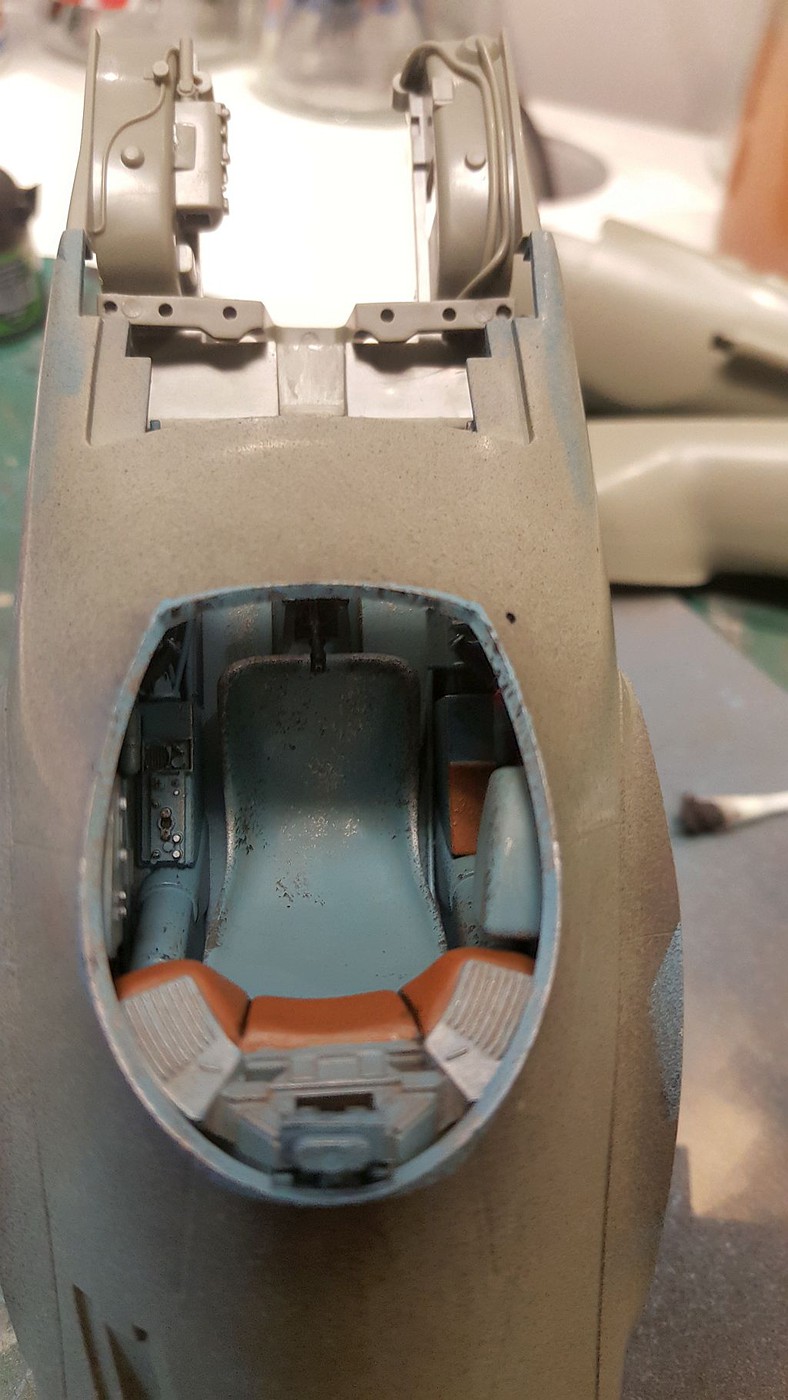
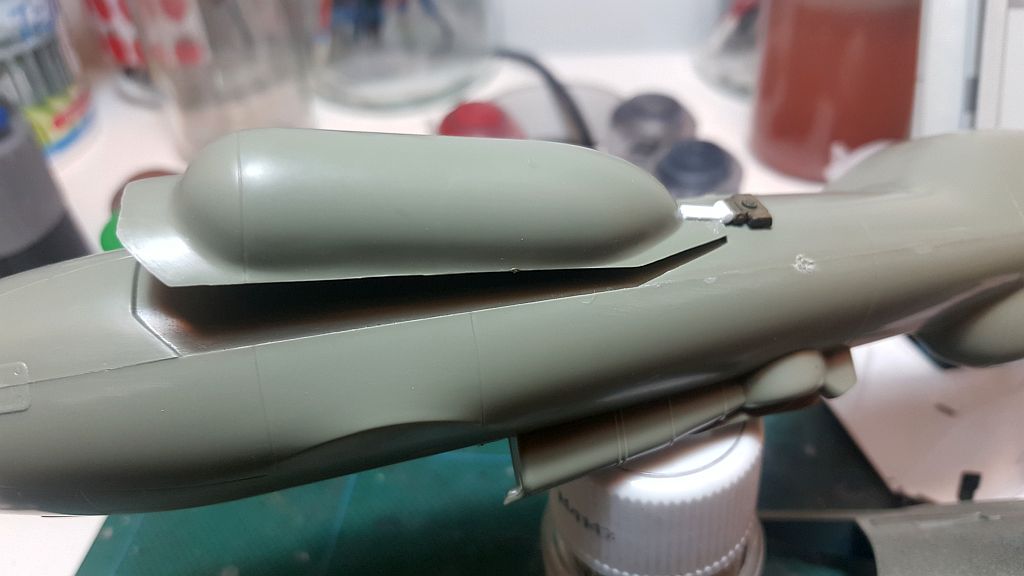
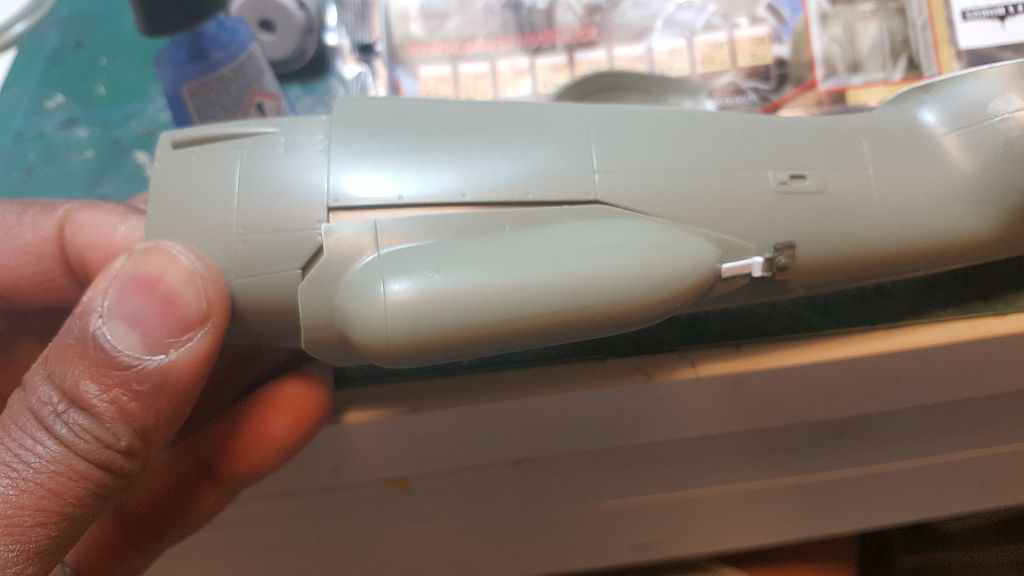
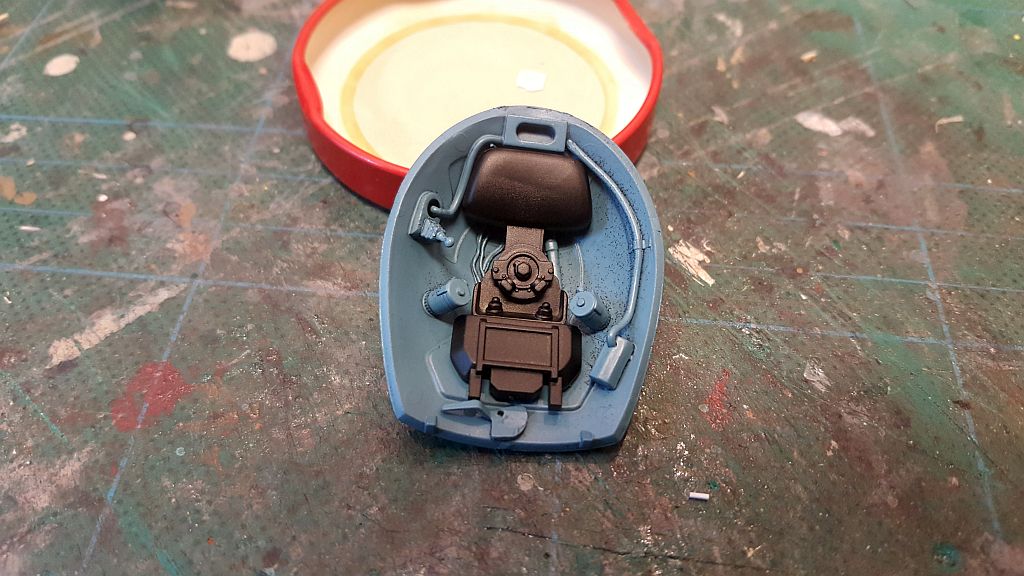
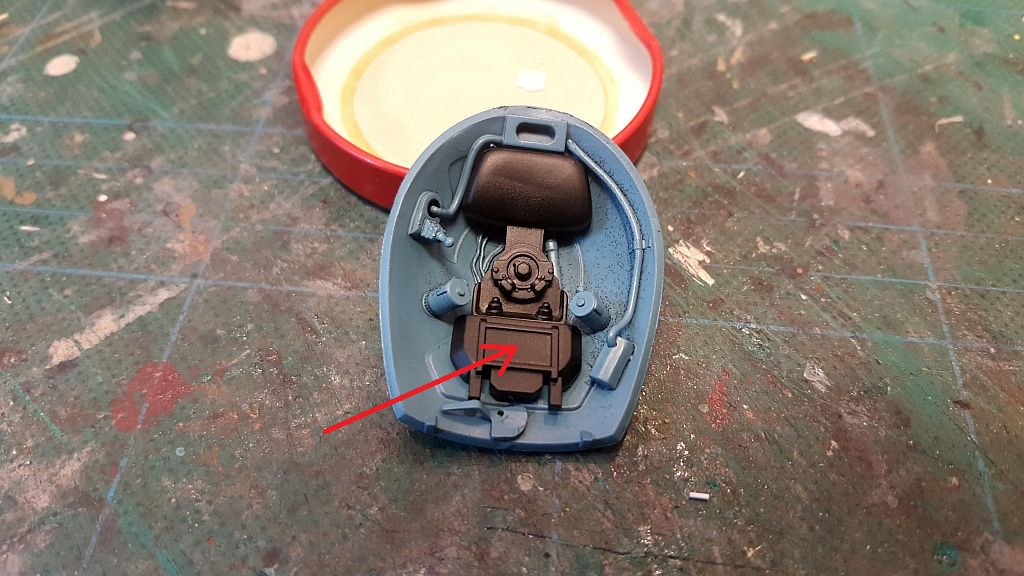
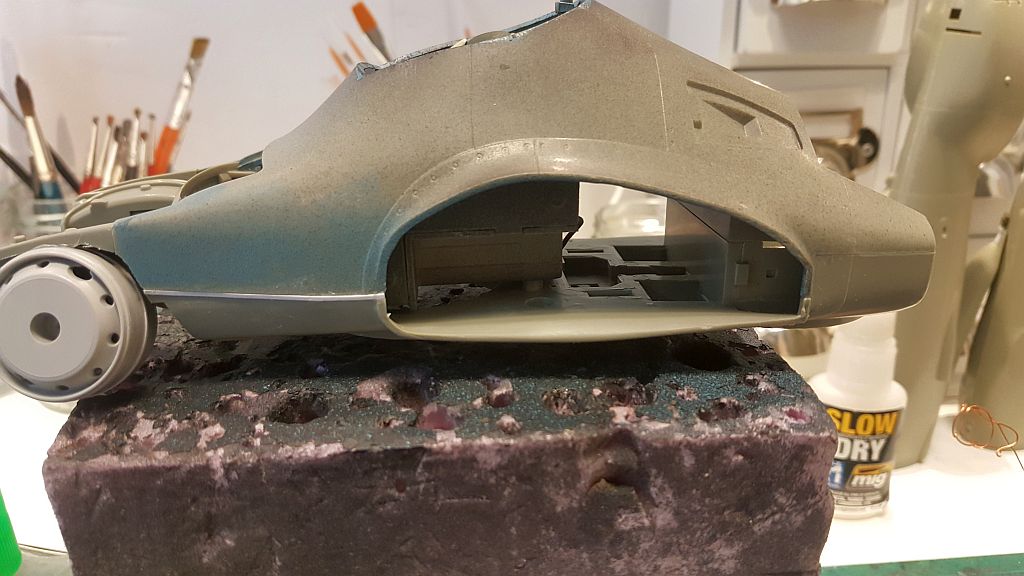
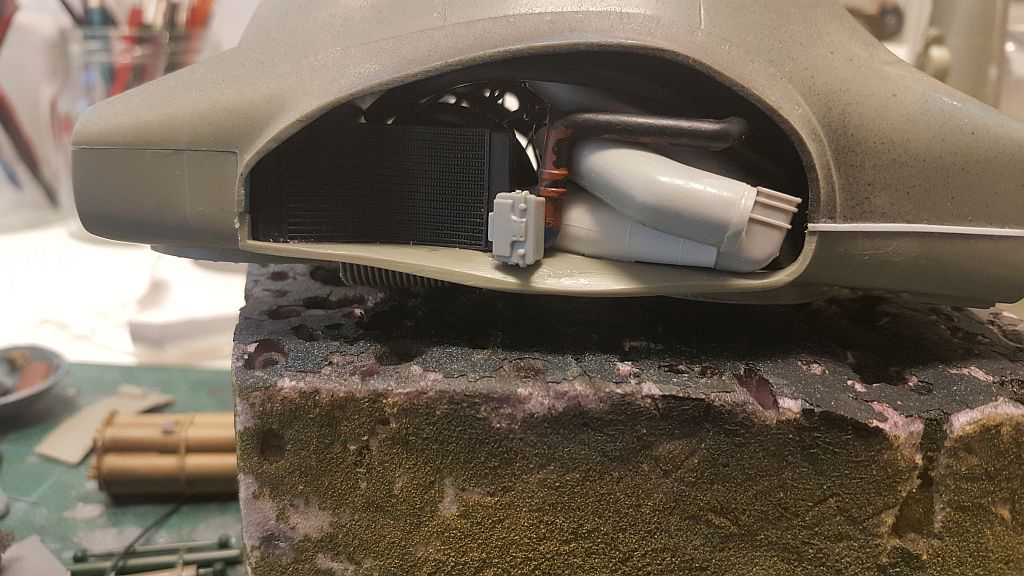
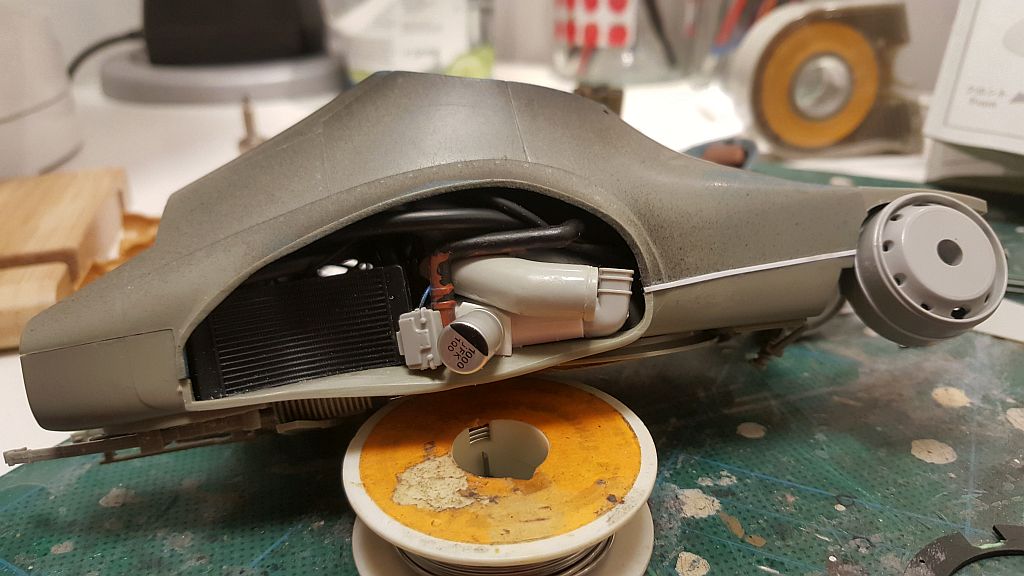
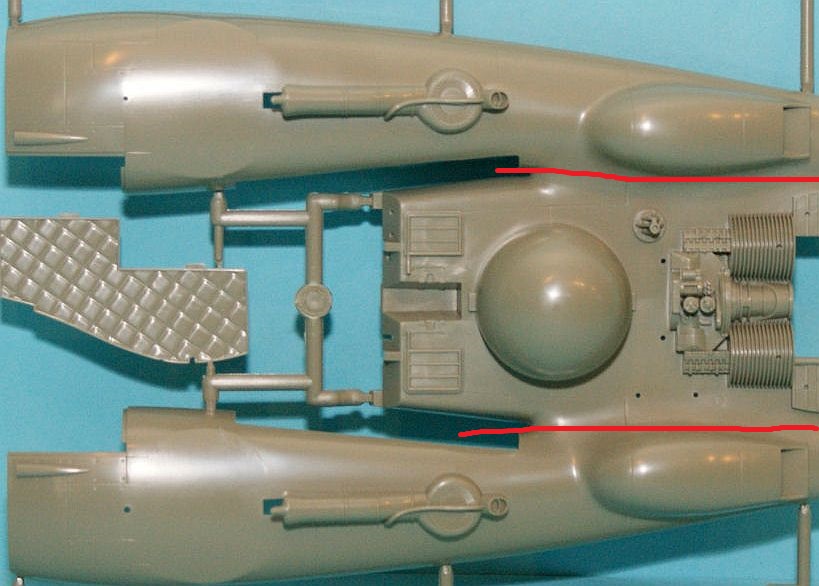
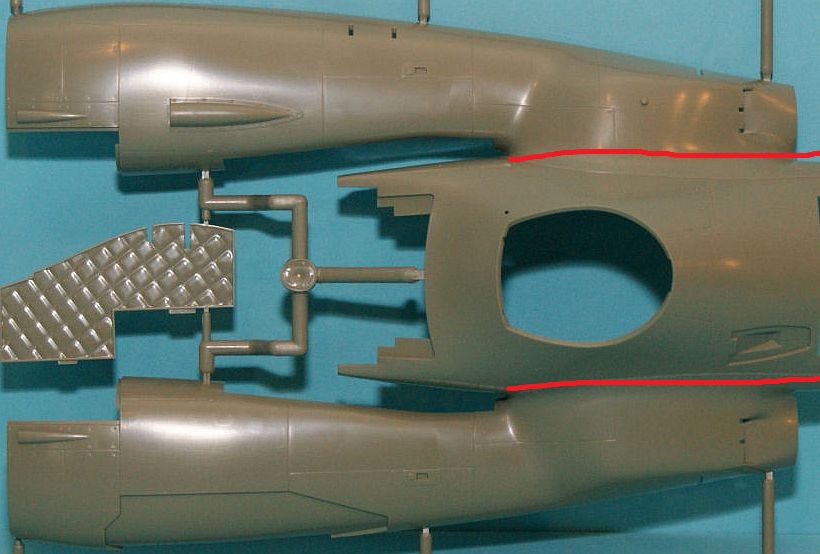
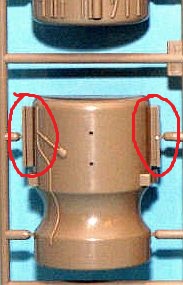
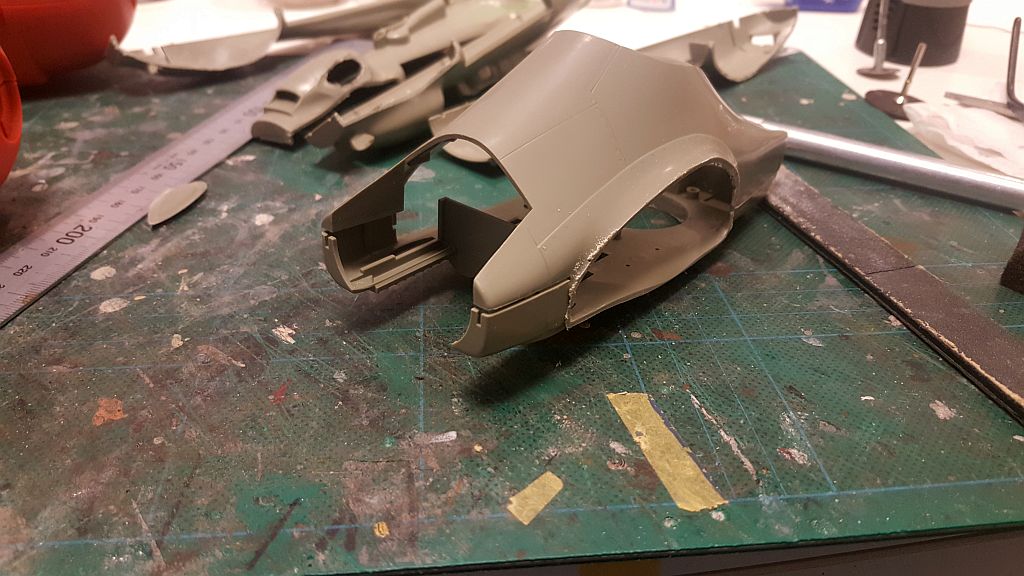
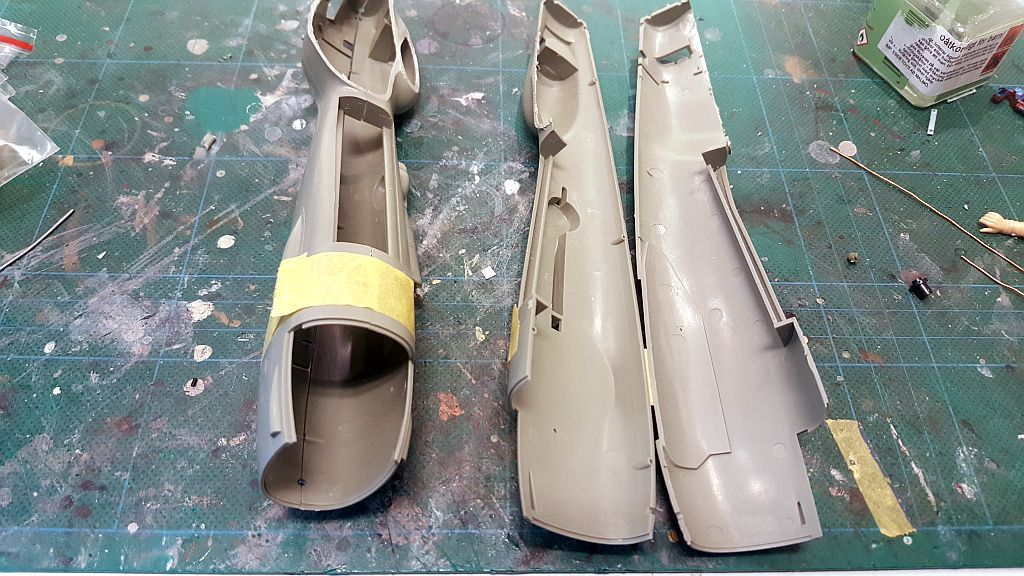
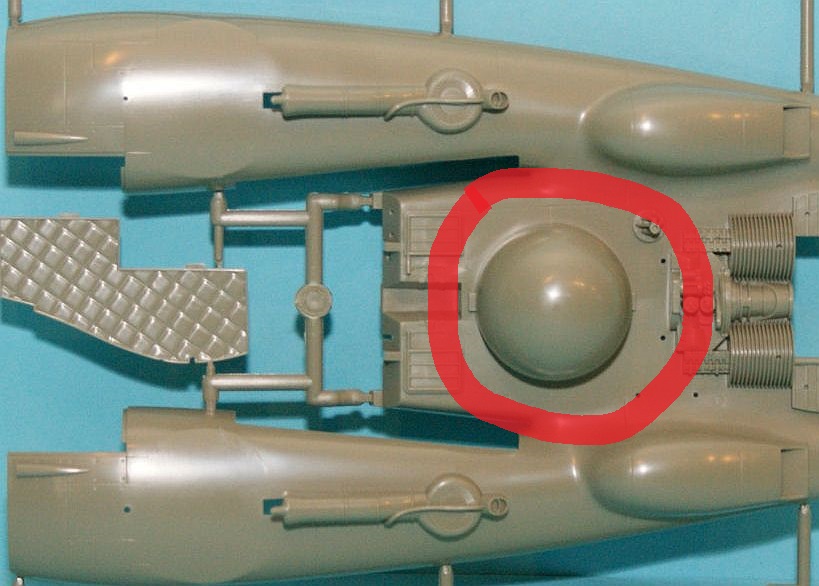
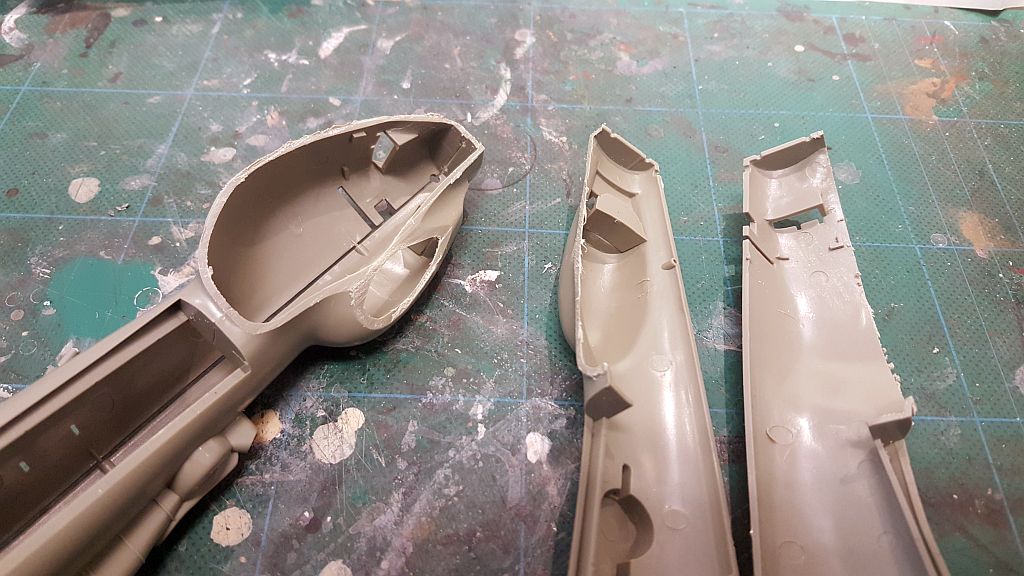
1.     The red lines and circles represent the areas I chopped off with a hand saw. The engine was made to sit onto the internal side walls by the help of side by 90-degree brackets on the engine. There is only one disadvantage to this design. The engine has to be mounted before painting. This is because, you would not be able to mount the engine after you mount both halves of the fuselage. This only makes it difficult to paint the engine. But of course, you will have to mask the entire engine before you can paint the fuselage. I though this idea did not sit right with me. So I removed it. This way, I can mount the fuselage, and do all the painting I want, and finally mount the rear engine back into the rear slot.
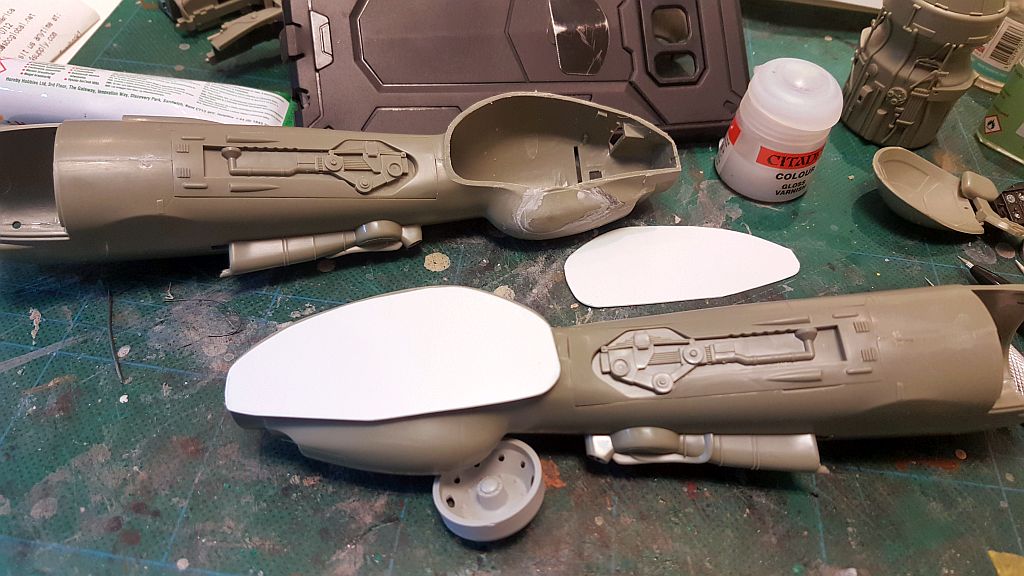
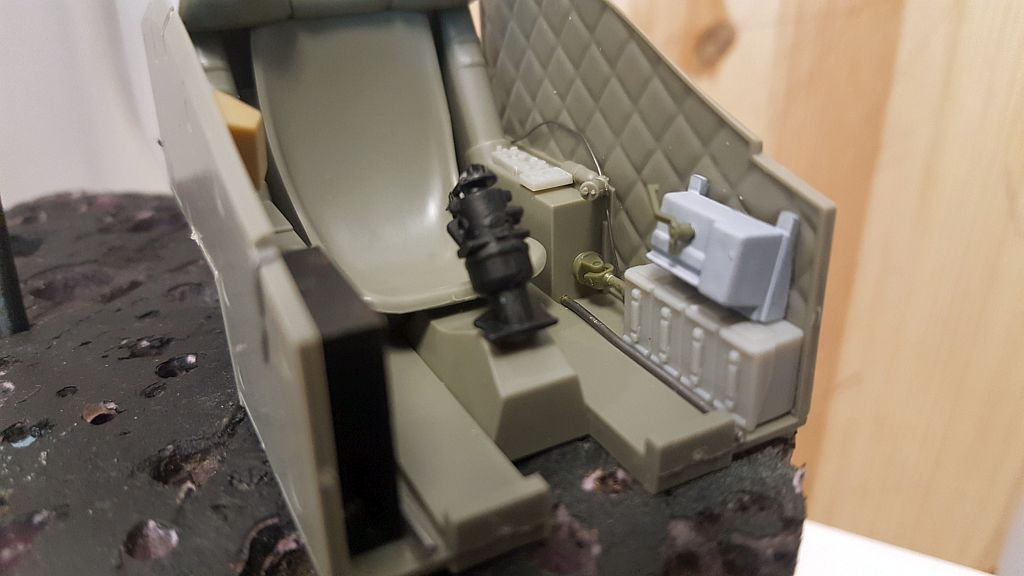
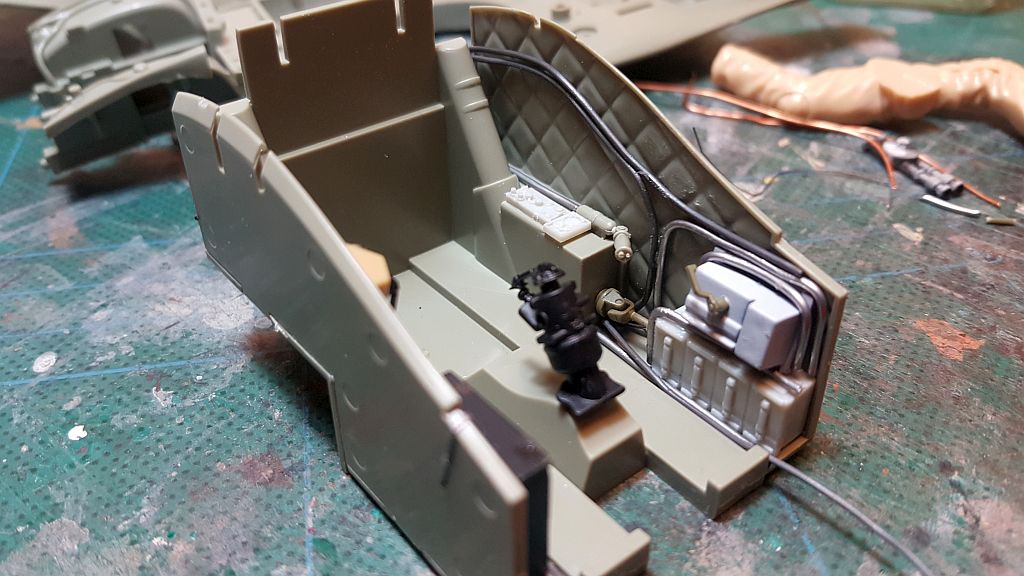
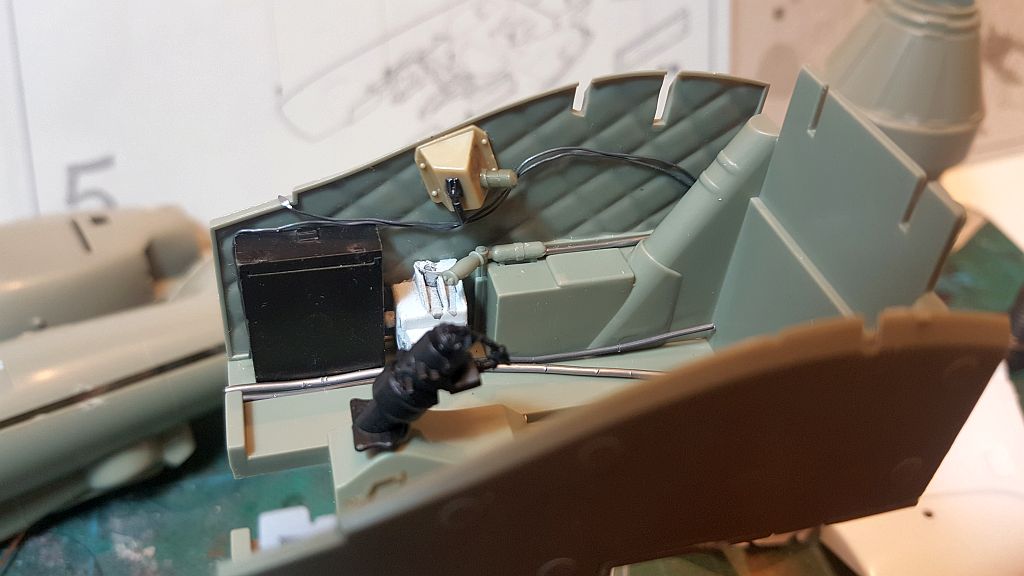
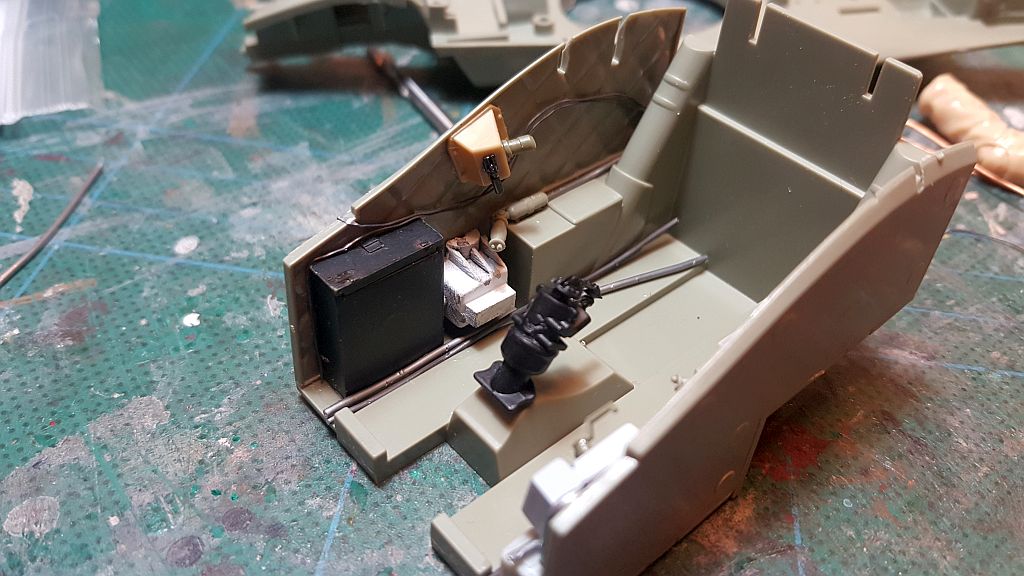
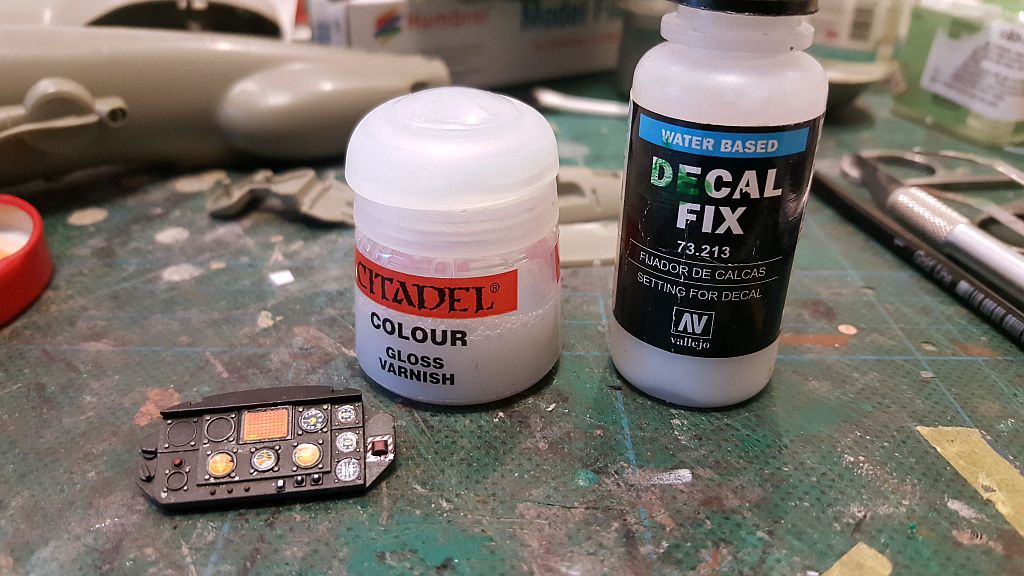
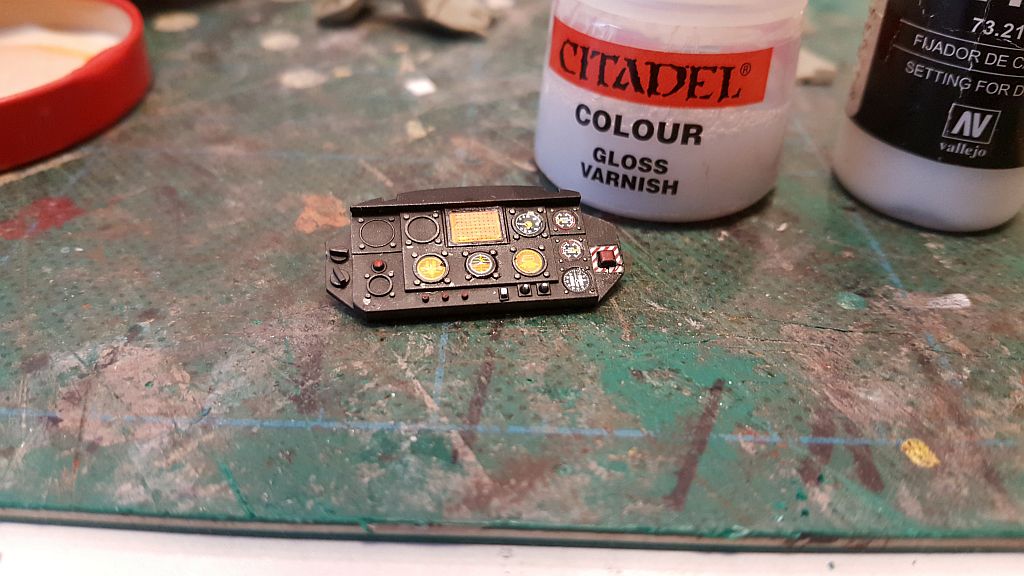
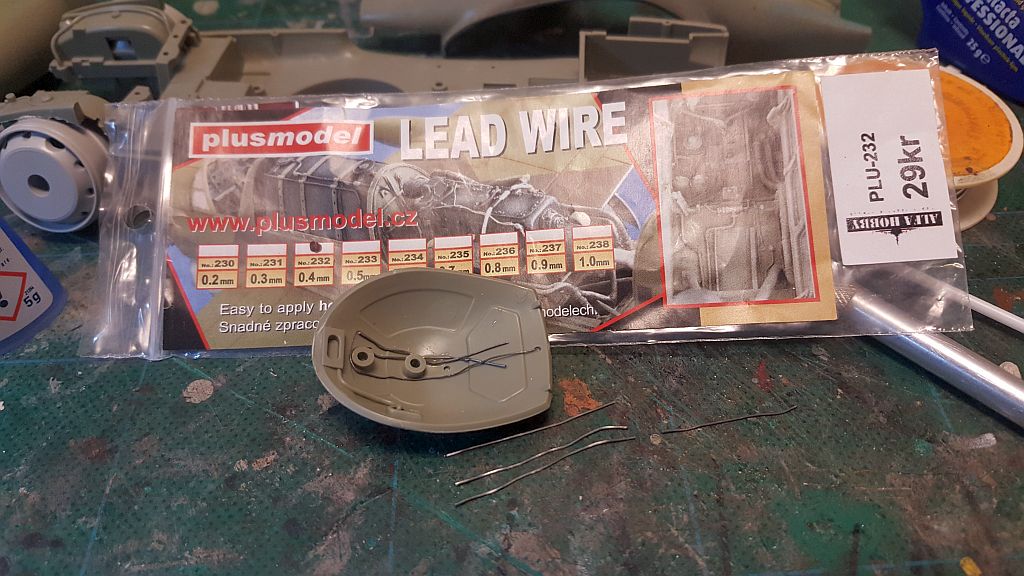
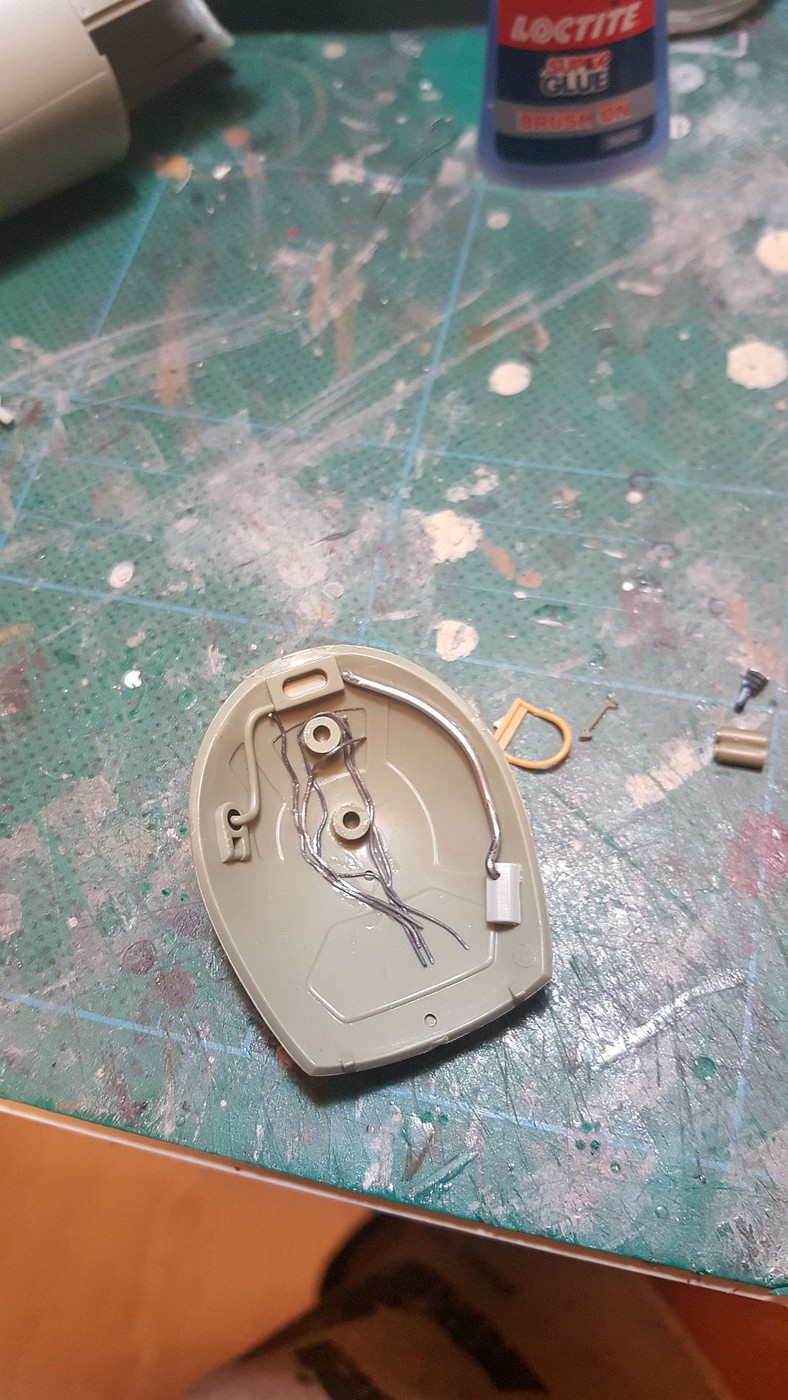
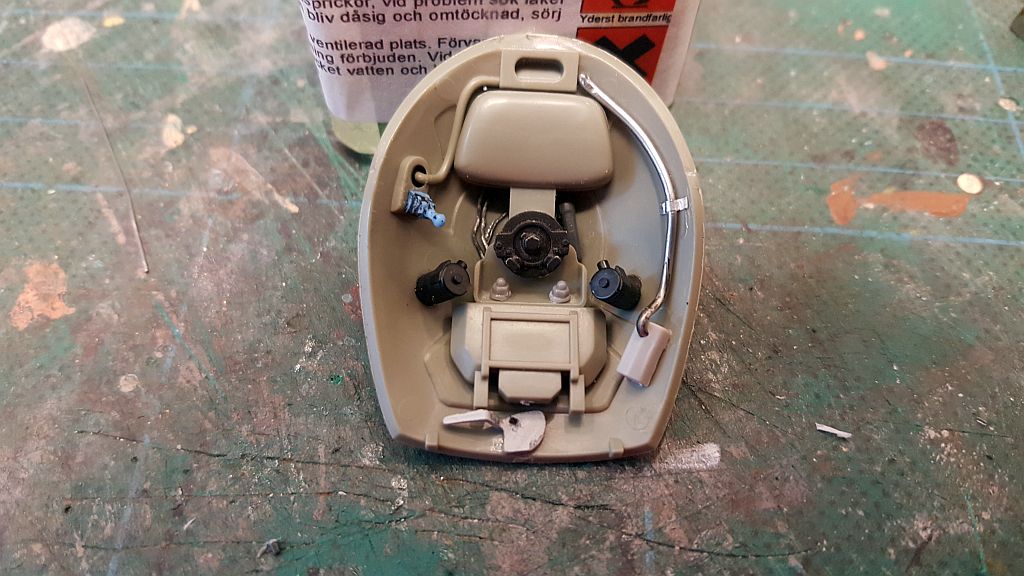
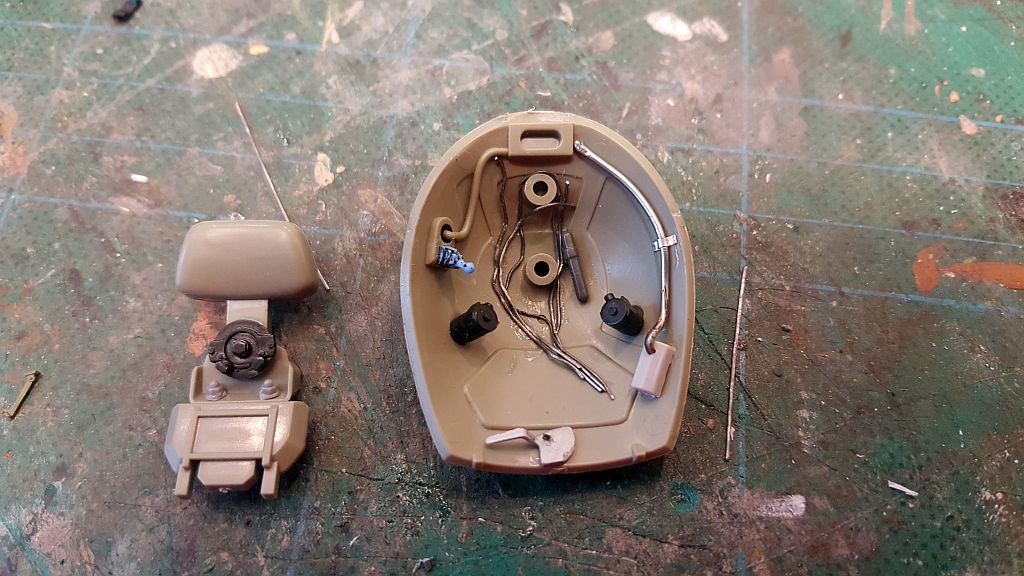
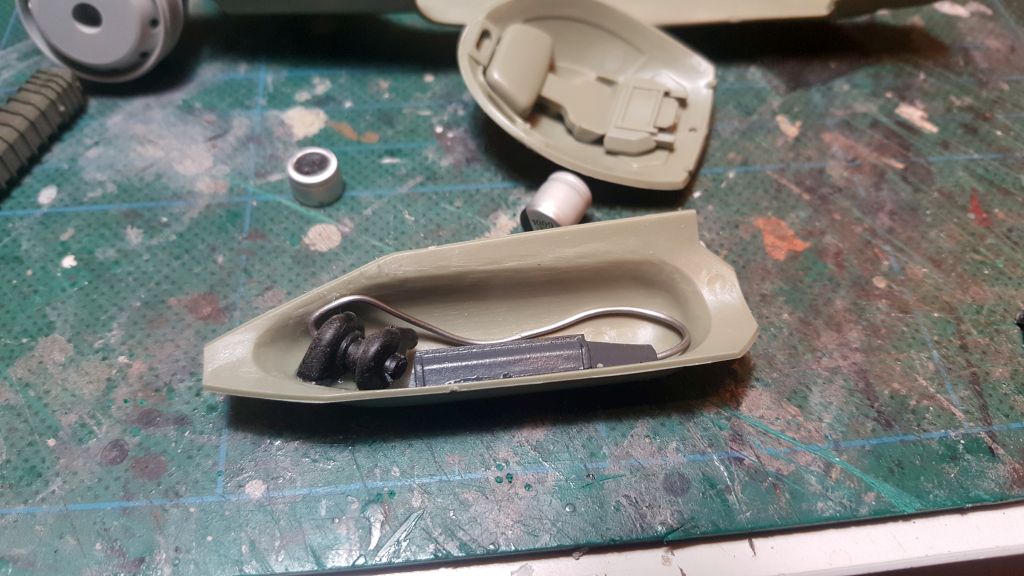
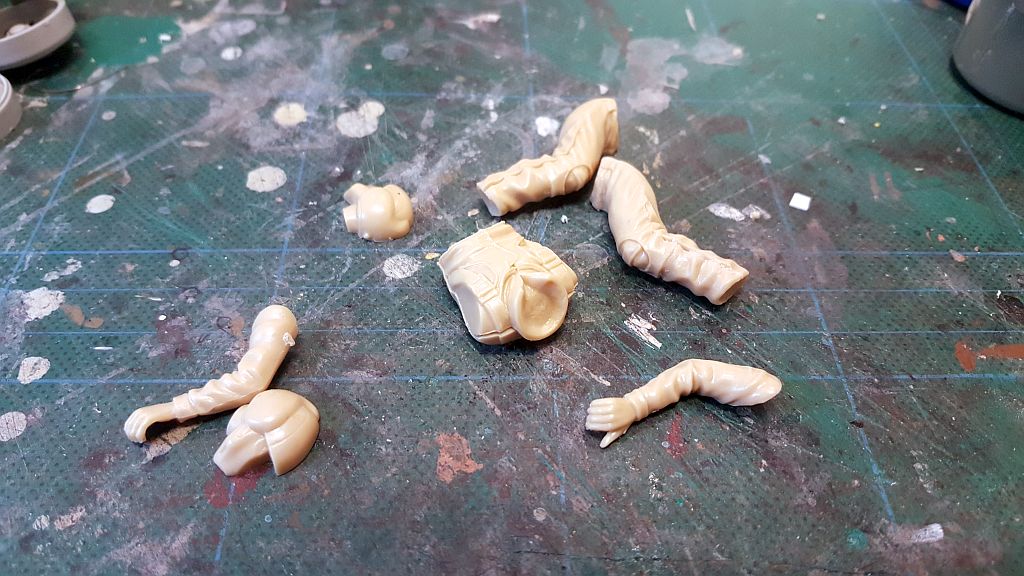
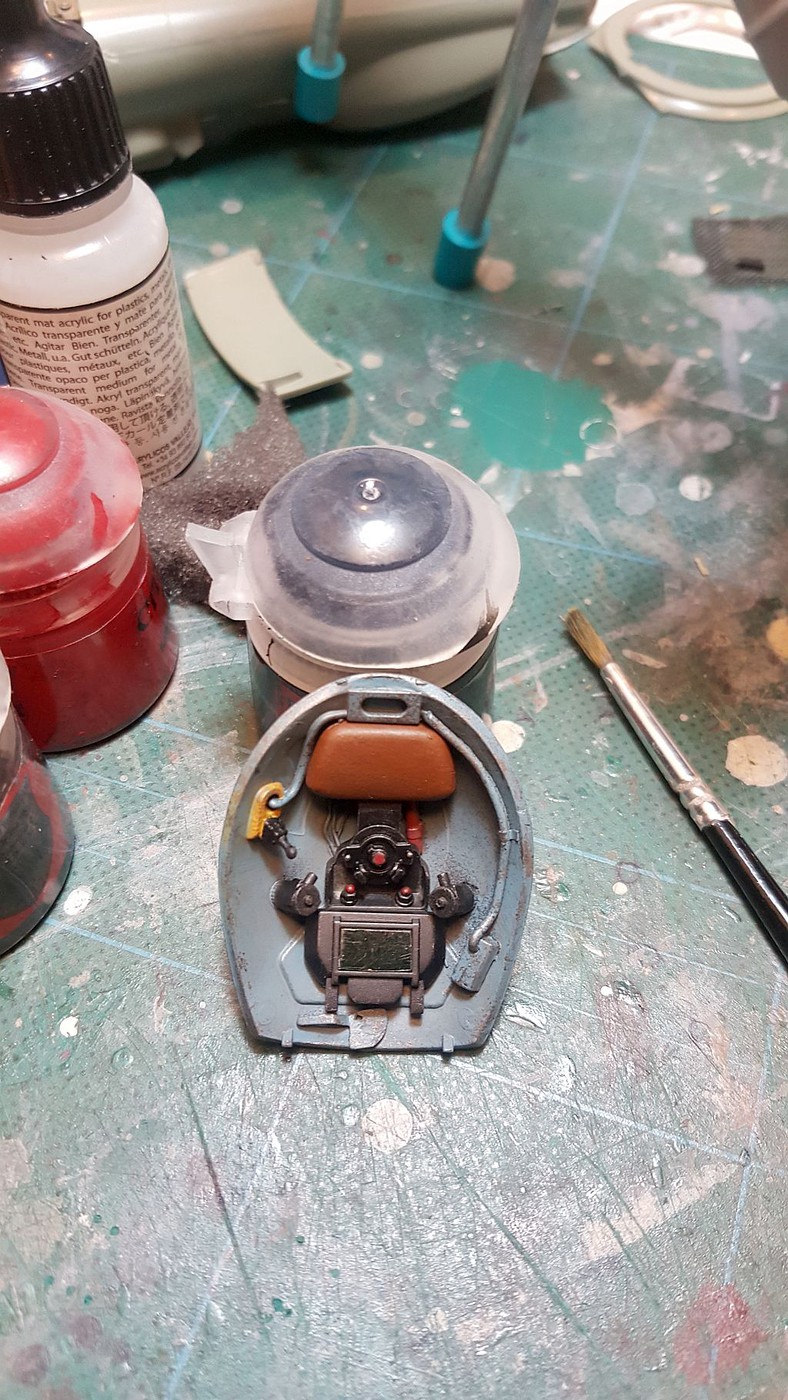
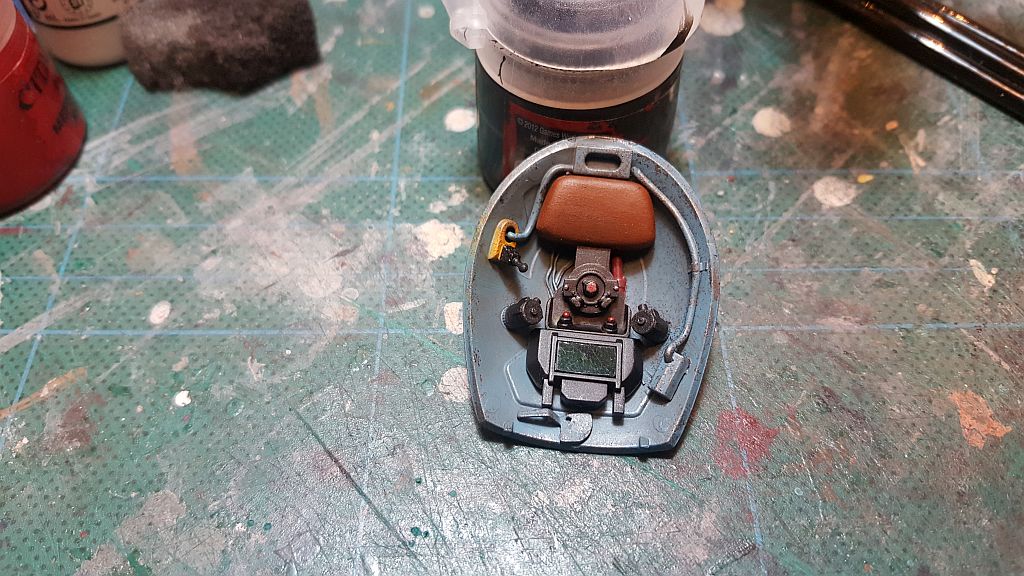
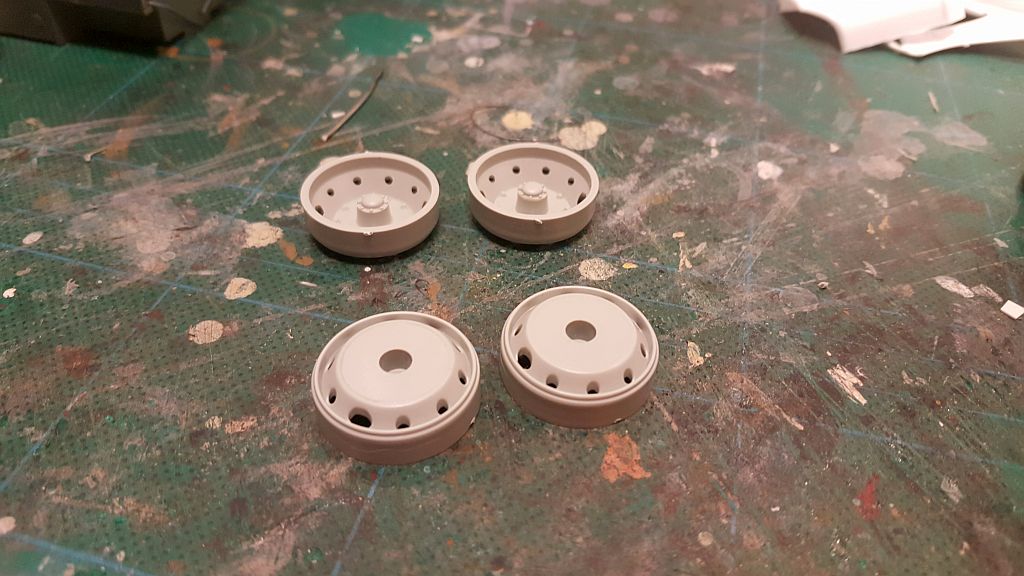
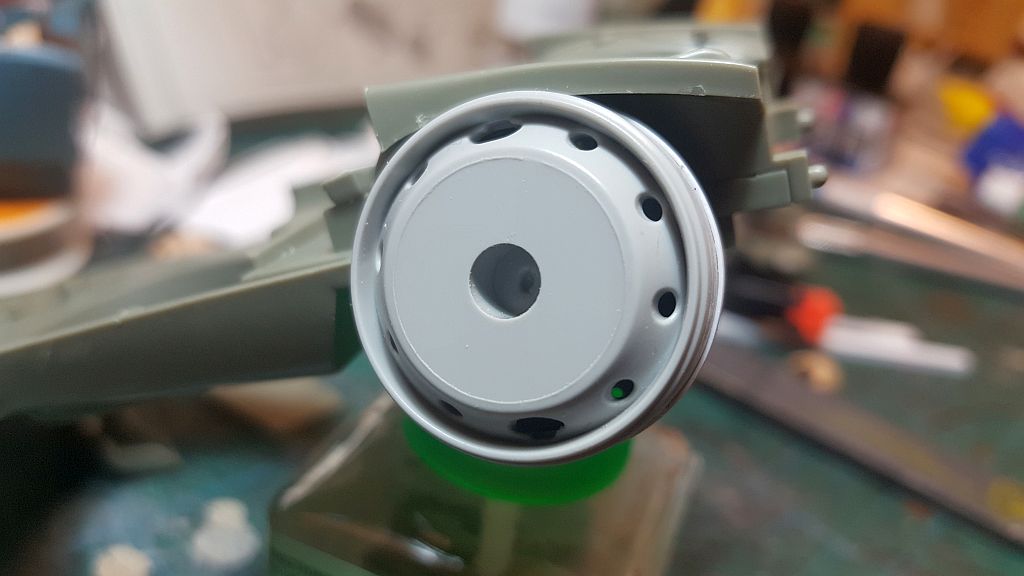
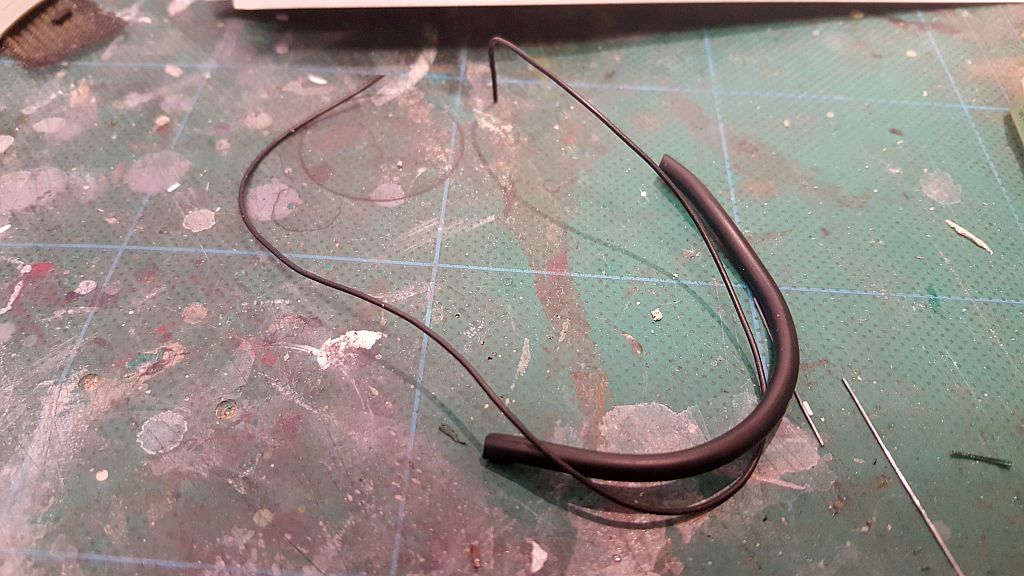
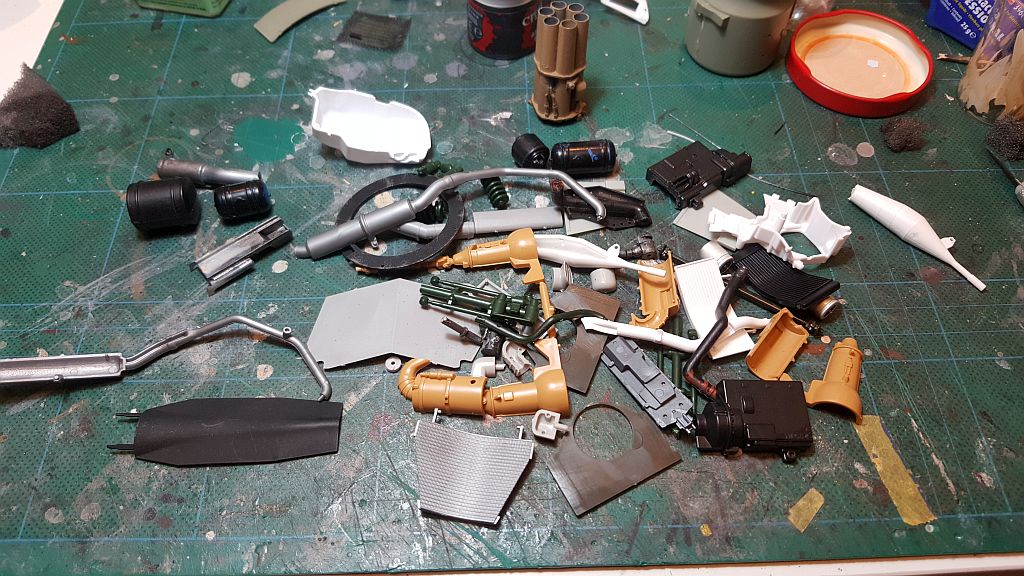
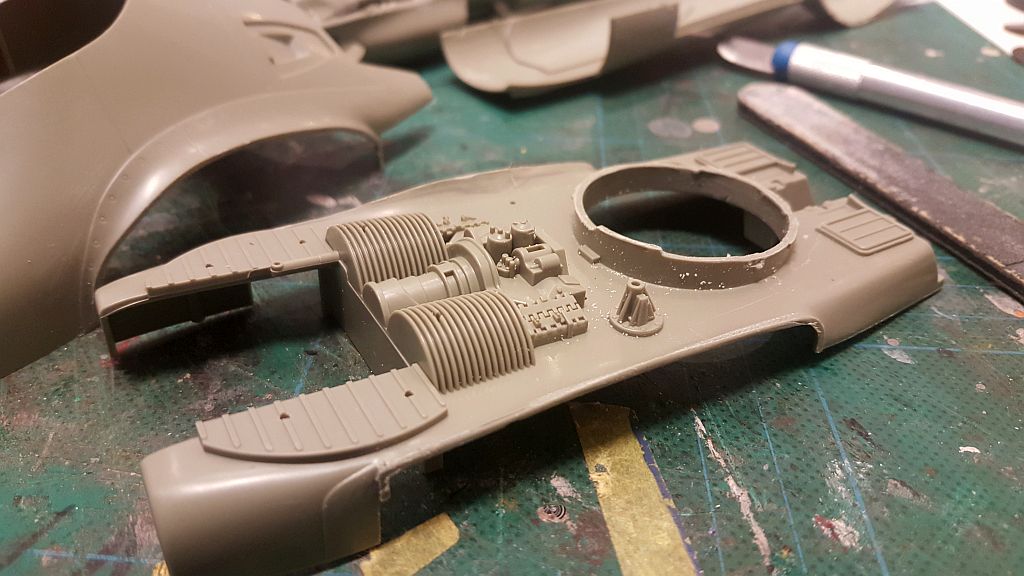
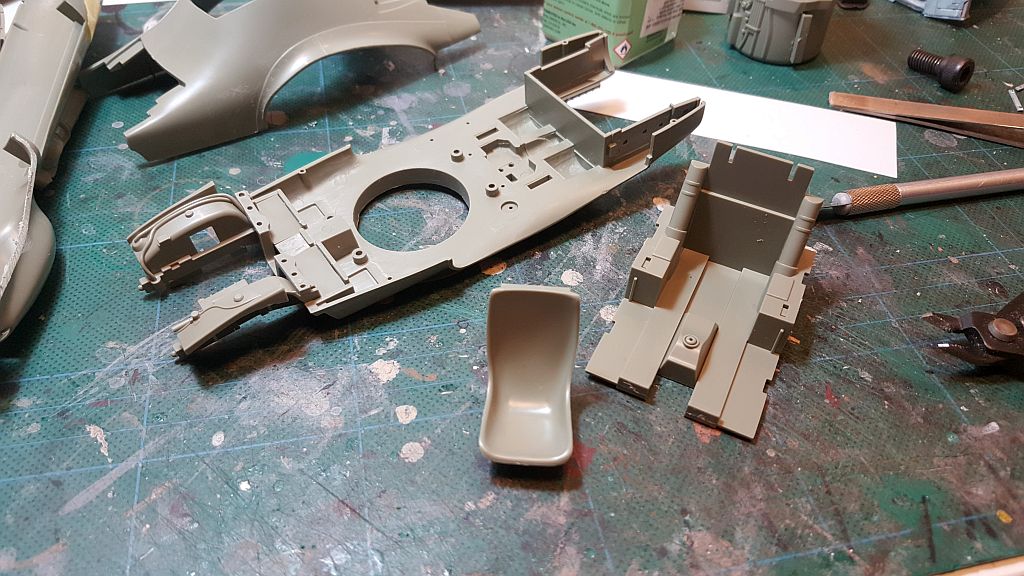


-----------------------------------


"Down that Drone" diorama WIP

I decided to add details to the cockpit, since it is pretty plain when you first get the kit. Adding details to the cockpit is pretty much useless. That's because, many of the details will not be seen once the pilot is inserted into the seat. So all what I'm doing is pretty much useless. Yet I still do it. ;) I added whatever bits & pieces I can find from my 'Misc. Box of parts, which has lots of spare parts left over from many old and new kits, I have purchased.


"Down that Drone" diorama WIP

I have managed to paint the cockpit and the details. This has to be done before you mount both halves of the model. That is why I am doing all the painting and detail now, because it would not be accessible after mounting.

Primed:


Painted:


"Down that Drone" diorama WIP

I have also added the pilot's instrument panel. I painted it black and dried brushed it with silver. Then I added the decals. I kinda messed up and cut out a piece of the decal. It took a while to get the decals to fit. But that little cut will not be so prominent when it is placed in the cockpit.


"Down that Drone" diorama WIP

I worked on the hatch by adding bits & pieces just like I did to the cockpit. I like the detailing, which always brings out the characteristics of a model.


"Down that Drone" diorama WIP

More modification done to the side engines. Added some bit's & pieces to an external part of the side engines and mounted it slightly opened.


"Down that Drone" diorama WIP

Now it is unto the figure building and painting. The figure is not the best  but since half of the body is going to be hidden within the cockpit, I am not so concern. I used putty to fill in the gaps and ONLY areas that were going to be seen. As I will not be painting the lower legs and the back of the figure,as these areas will not be seen. I also left the feet off the body, as they will definitely not be seen when the figure is in the cockpit.


"Down that Drone" diorama WIP

The figure painted and mounted in the cockpit. I used Citadel paints to paint the figure. I added a decal from an old aircraft kit, I had lying in my 'box of tricks'. The kit's decal is a little tough to get it to sit. So if you are going to build this kit, make sure you lay a good coat of gloss on the surface of the area you are going to put decals on. I think I am satisfied with the look.Hope you guys are too. Now I can glue the two halves of the craft together and continue unto the exterior part.


"Down that Drone" diorama WIP

Wow! That's a big departure from your trucks Charles. Looks great. :popcorn
 
"Down that Drone" diorama WIP

Ok. I have now primed and painted the hatch and it's details, and a little weathering. The green reflective screen was made by a filtertype film card I had over from my 'box of tricks'. I thought it would add a nice realistic touch to the hatch's middle screen/monitor square area.


The screen for the middle monitor:


The green filter film I used for the monitor:

 
"Down that Drone" diorama WIP

I have now glued the two halves together but if you look below, you will see that it did not go together at first. I was forced to glue the rear half first, then used a clamp to hold down the front end of the cockpit section so it would be able to glue together. I left it for a day just to be sure. I used super glue for this, as to be sure it will not come apart. I have heard about the two halves not mashing up correctly.

 
"Down that Drone" diorama WIP

Below pic shows two wheel rims I will used to connect the two side engines of the Falke, I sawed off in the in the beginning stages of the build. This will act as a support mount to attach the engines. I added styrene piece to the seams of the rims to better hide it. I think it looks good. The equal distance of the small round holes , gives a it a nice look too. Now, I have been contemplating to use magnets for attaching the engines. The advantage, is that I can attach the engines whenever I like and remove them, whenever I feel like. Also, it makes it easier to adjust them so they are level. I will dwell a little more.


"Down that Drone" diorama WIP

Now, since removing the side engines, I have a big opening to fill up. So I decided, I will add odds and ends to give the impression of a busy looking internal machinery. This is how the opening looks like now:


--------------------------------------------------------------------------

Now I will try and put most of all these 'odds & ends', into that space:


Back
Top