Well some proof that I'm still working on something...
A quick intro...
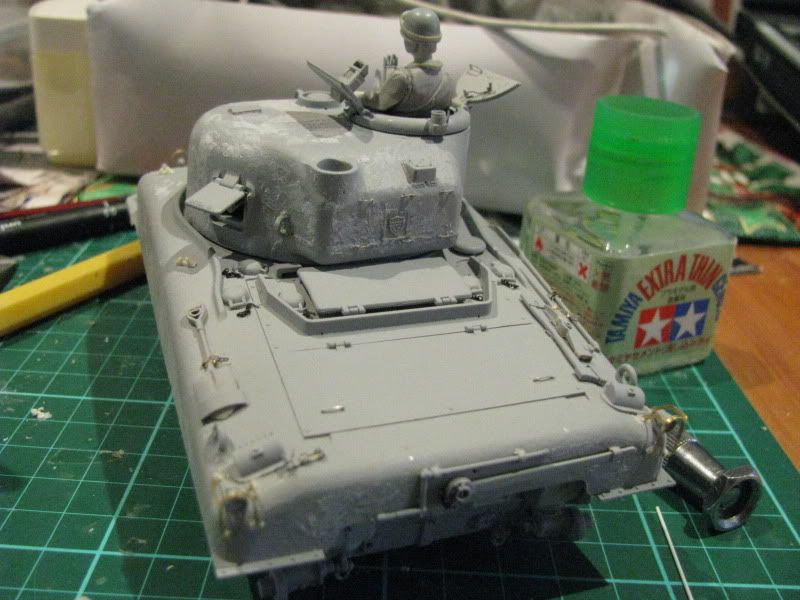
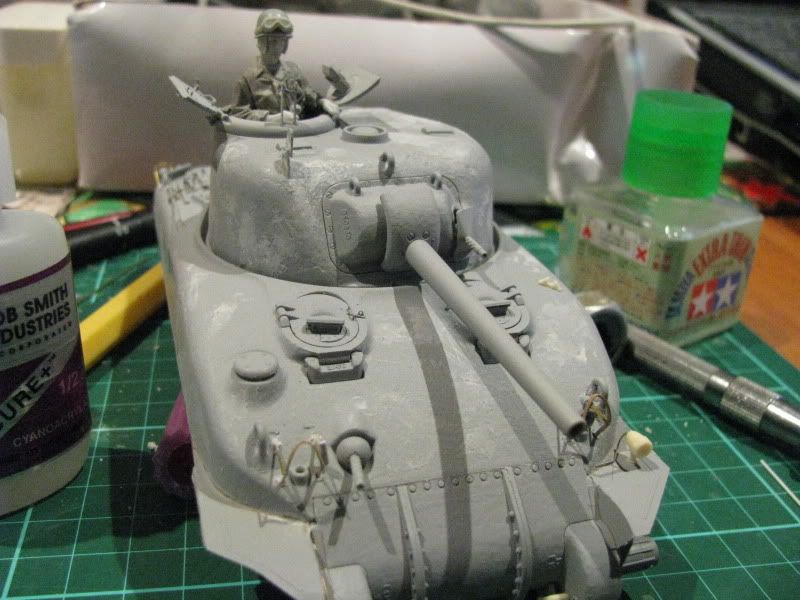
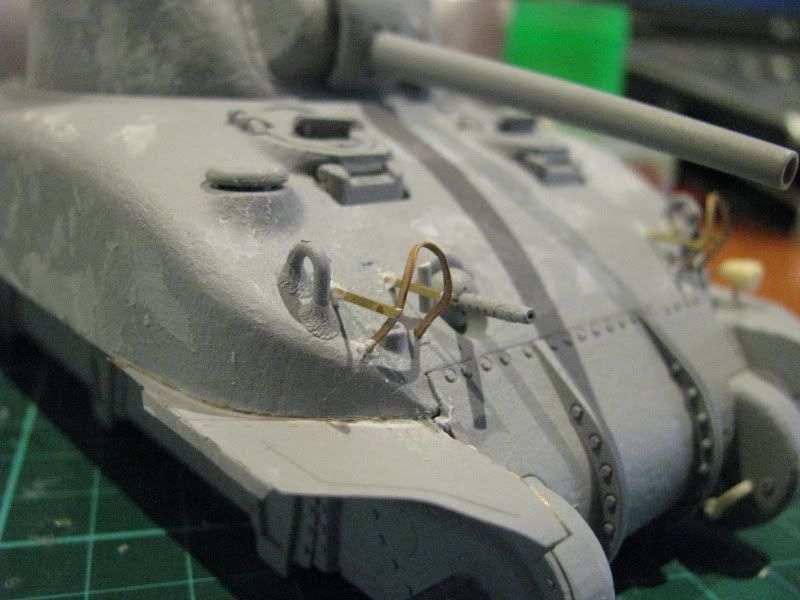
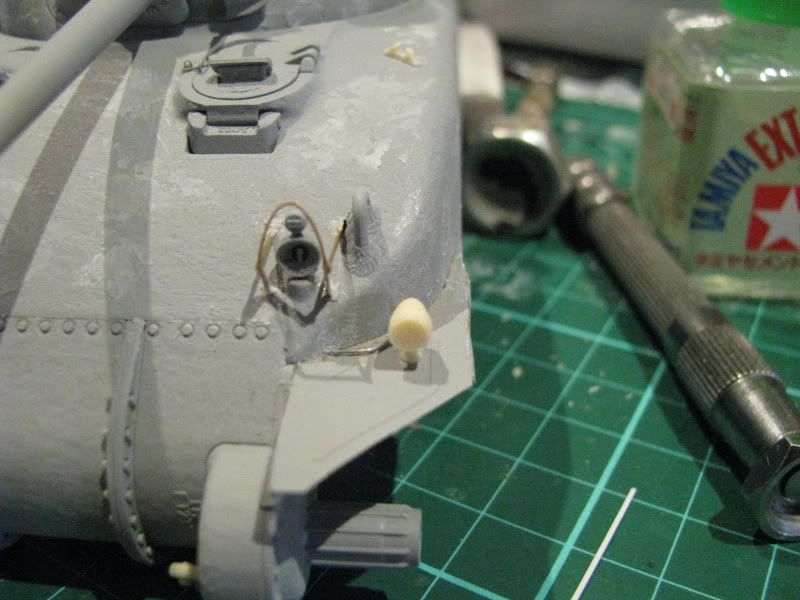
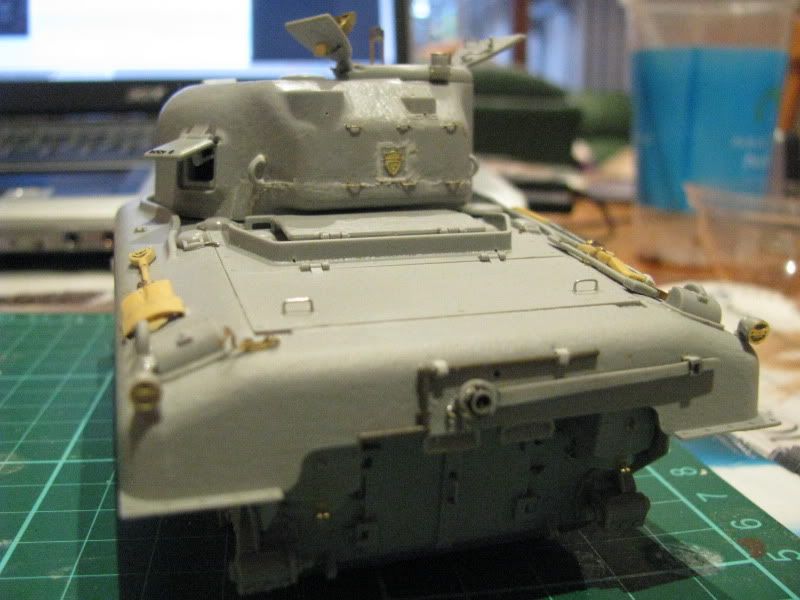
This configuration is the M4A1 DV. Only approximately 270 were built with this hull design feature (The DV pertains to the hinged armoured hatches over the driver and bow gunner ports which covered a slit for direct vision for them. I believe this was found to be a shot-trap/weak-point and was omitted from future production runs. The hoods were protruded further forward, mounting a fixed 'scope point in addition to the revolving hatch mounted 'scope. The suspension is the early M3 VVS as featured on the M3 series of tanks. This was improved upon later by the inclusion of an arm holding the return roller to one side and mounting a skid for the track to rest upon. My guess is to take up additional track sag and prevent thrown tracks...
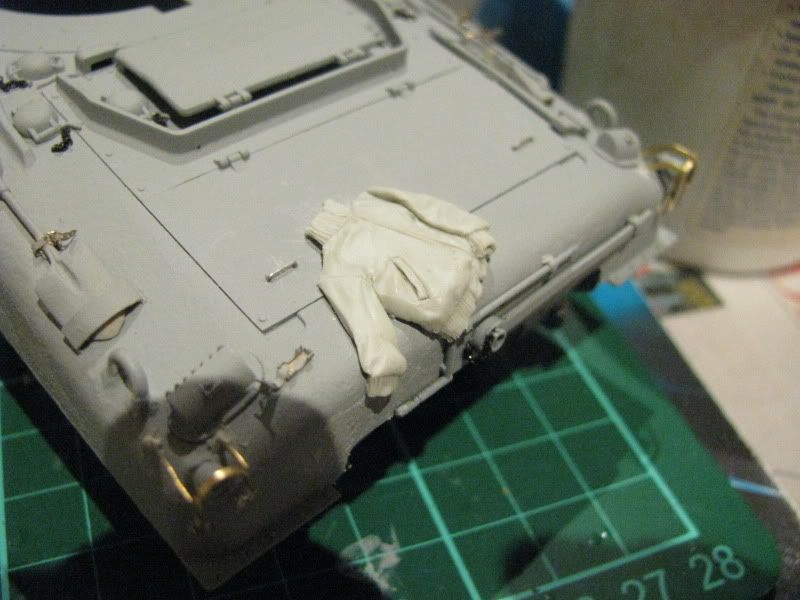
Anyhoo, I am going to have this one set in the MTO and have two crew swabbing the guntube and a few items placed here and there. (Including a kitten I sculpted)
So here goes... I haven't bored you too much with the complete build per se, as this gives me more time and space to bore you with the rest of the stuff
I have added Archer casting numbers and some other bits of PE including Aber and the kit stuff...
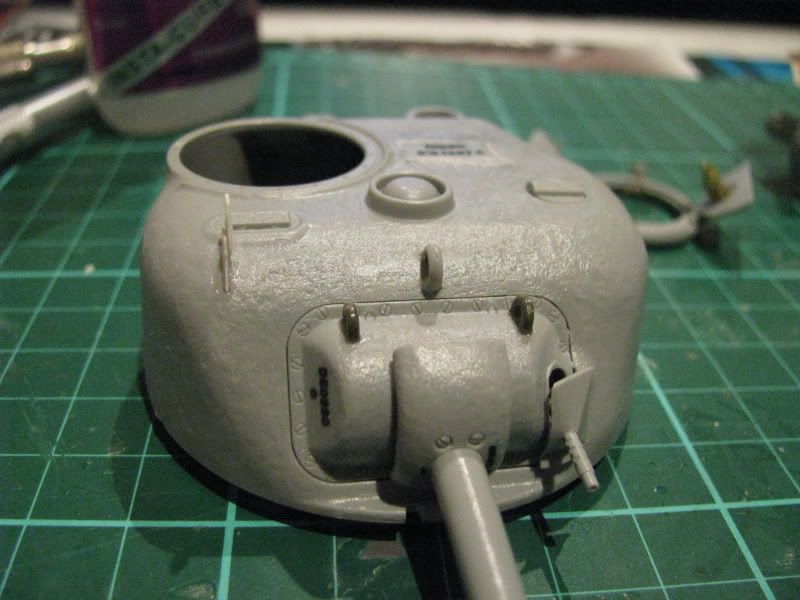
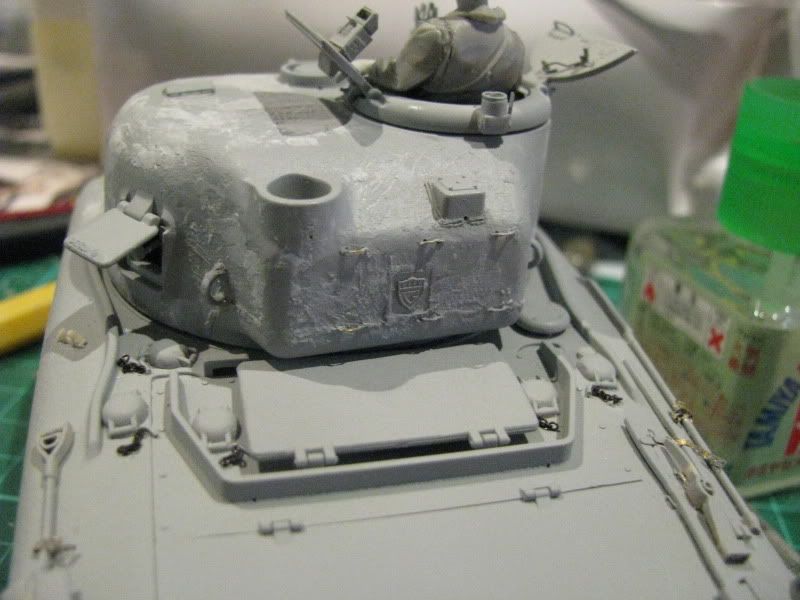
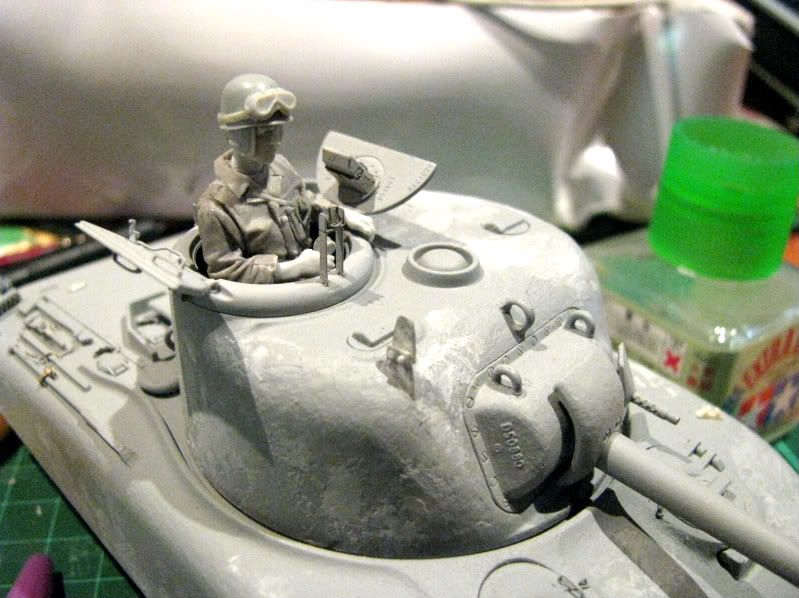
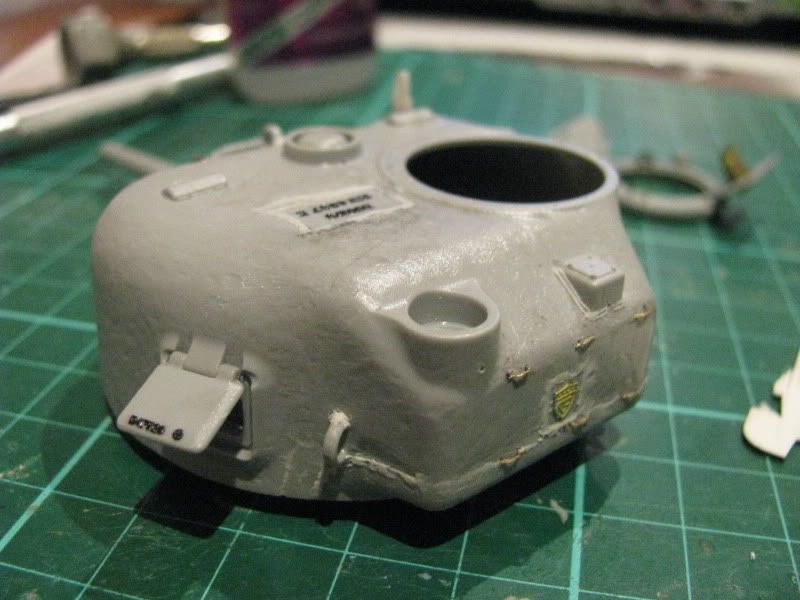
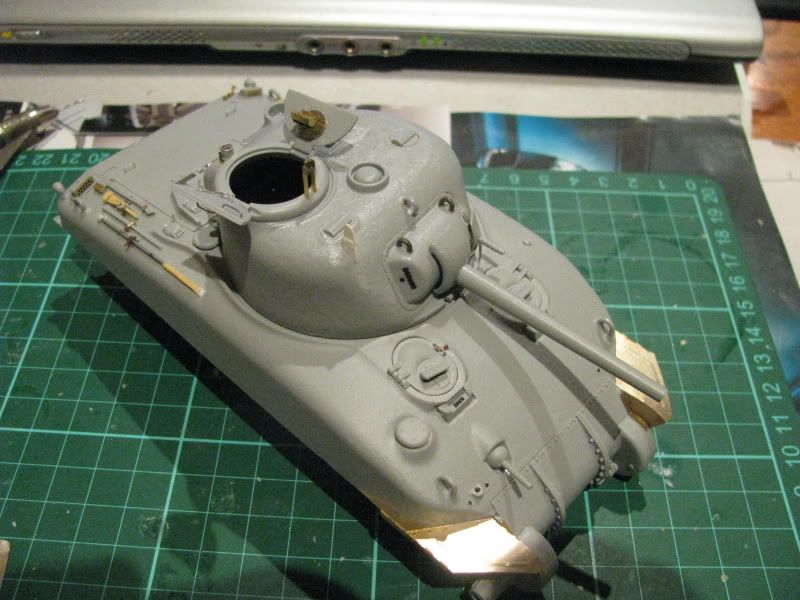
The General Steel symbol on the rear bustle from Archer was not accurate enough in shape for my liking, so I resorted to a spares box DML fret that had a better shaped one. I added some casting scars for this and other foundry numbers/symbols from putty, using photo reference from surviving tanks (eg. tank monuments throughout France)
The casting scar around the bustle lower edge is different to the join of top and bottom turret halves, so this join line was puttied over and a new putty 'casting ' line was added.
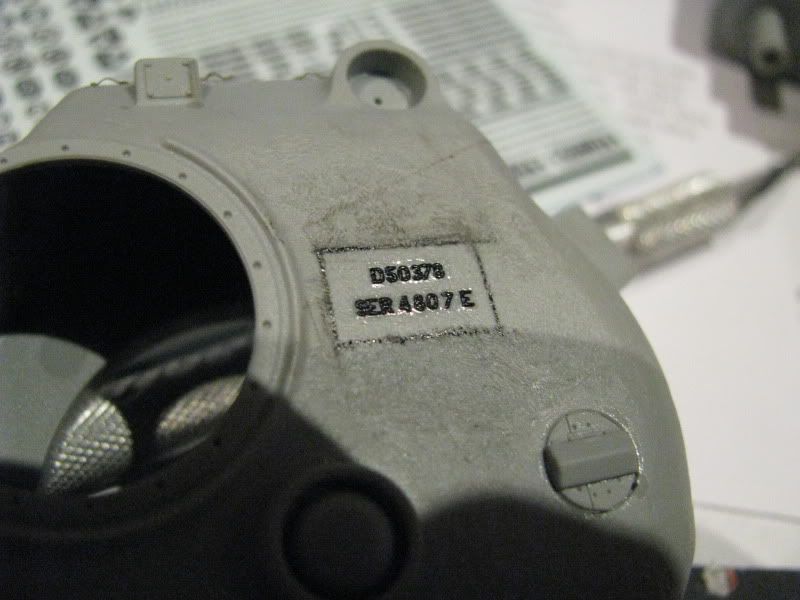
Using a pen I marked where the casting scars would be as per reference photos, and secured the decals in place. Take note that the numbers should read 50808 not 50308 as this is an error. It could be fixed using individual alphanumerics provided, but as this decal was one piece I thought it easier alter the 3 to an 8 later, whilst in position...
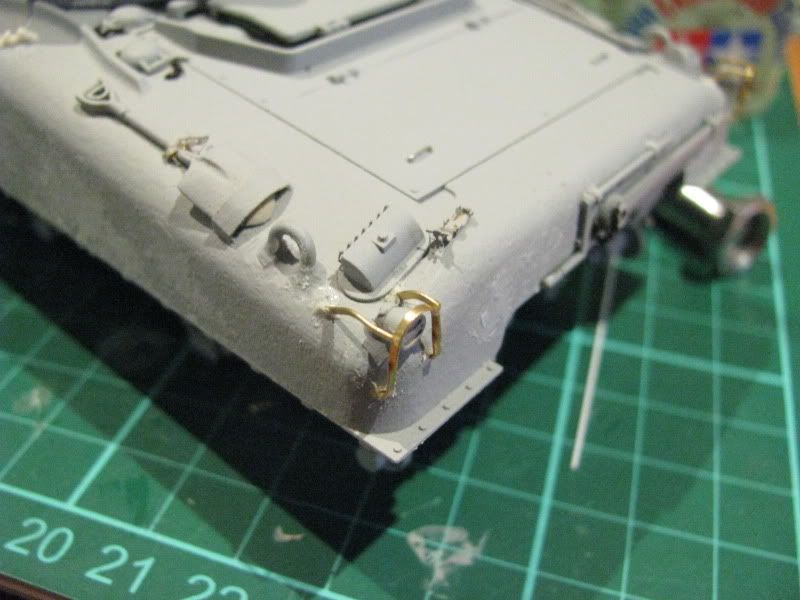
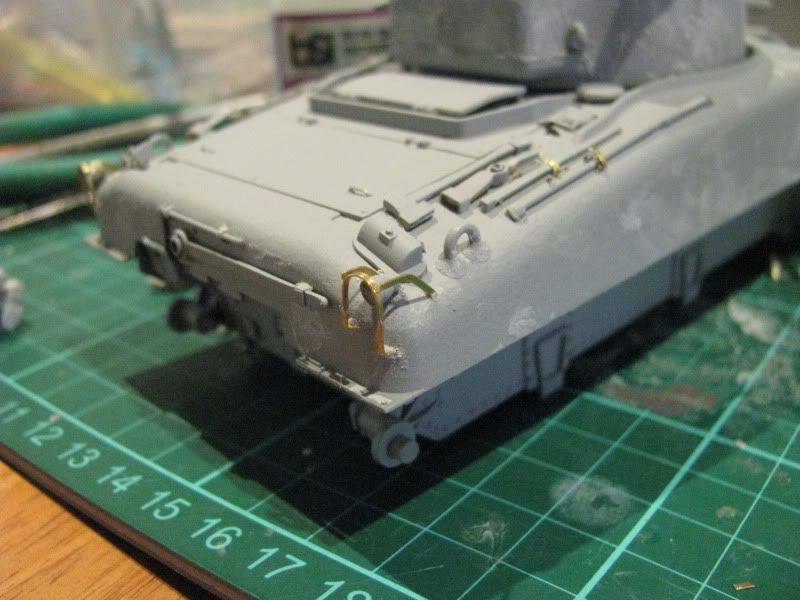
I used a combination of the kit and Formations tools and added tie downs from a Voyager fret I had lying around.
More to come later...
Brad :side:
A quick intro...
This configuration is the M4A1 DV. Only approximately 270 were built with this hull design feature (The DV pertains to the hinged armoured hatches over the driver and bow gunner ports which covered a slit for direct vision for them. I believe this was found to be a shot-trap/weak-point and was omitted from future production runs. The hoods were protruded further forward, mounting a fixed 'scope point in addition to the revolving hatch mounted 'scope. The suspension is the early M3 VVS as featured on the M3 series of tanks. This was improved upon later by the inclusion of an arm holding the return roller to one side and mounting a skid for the track to rest upon. My guess is to take up additional track sag and prevent thrown tracks...
Anyhoo, I am going to have this one set in the MTO and have two crew swabbing the guntube and a few items placed here and there. (Including a kitten I sculpted)
So here goes... I haven't bored you too much with the complete build per se, as this gives me more time and space to bore you with the rest of the stuff
I have added Archer casting numbers and some other bits of PE including Aber and the kit stuff...
The General Steel symbol on the rear bustle from Archer was not accurate enough in shape for my liking, so I resorted to a spares box DML fret that had a better shaped one. I added some casting scars for this and other foundry numbers/symbols from putty, using photo reference from surviving tanks (eg. tank monuments throughout France)
The casting scar around the bustle lower edge is different to the join of top and bottom turret halves, so this join line was puttied over and a new putty 'casting ' line was added.
Using a pen I marked where the casting scars would be as per reference photos, and secured the decals in place. Take note that the numbers should read 50808 not 50308 as this is an error. It could be fixed using individual alphanumerics provided, but as this decal was one piece I thought it easier alter the 3 to an 8 later, whilst in position...
I used a combination of the kit and Formations tools and added tie downs from a Voyager fret I had lying around.
More to come later...
Brad :side:
")