• Modelers Alliance has updated the forum software on our website. We have migrated all post, content and user accounts but we could not migrate the passwords.
    This requires that you manually reset your password.
    Please click here, http://modelersalliance.org/forums/login to go to logon page and use the "Forgot your Password" option.

Dragon's T34/76 No.112 Factory

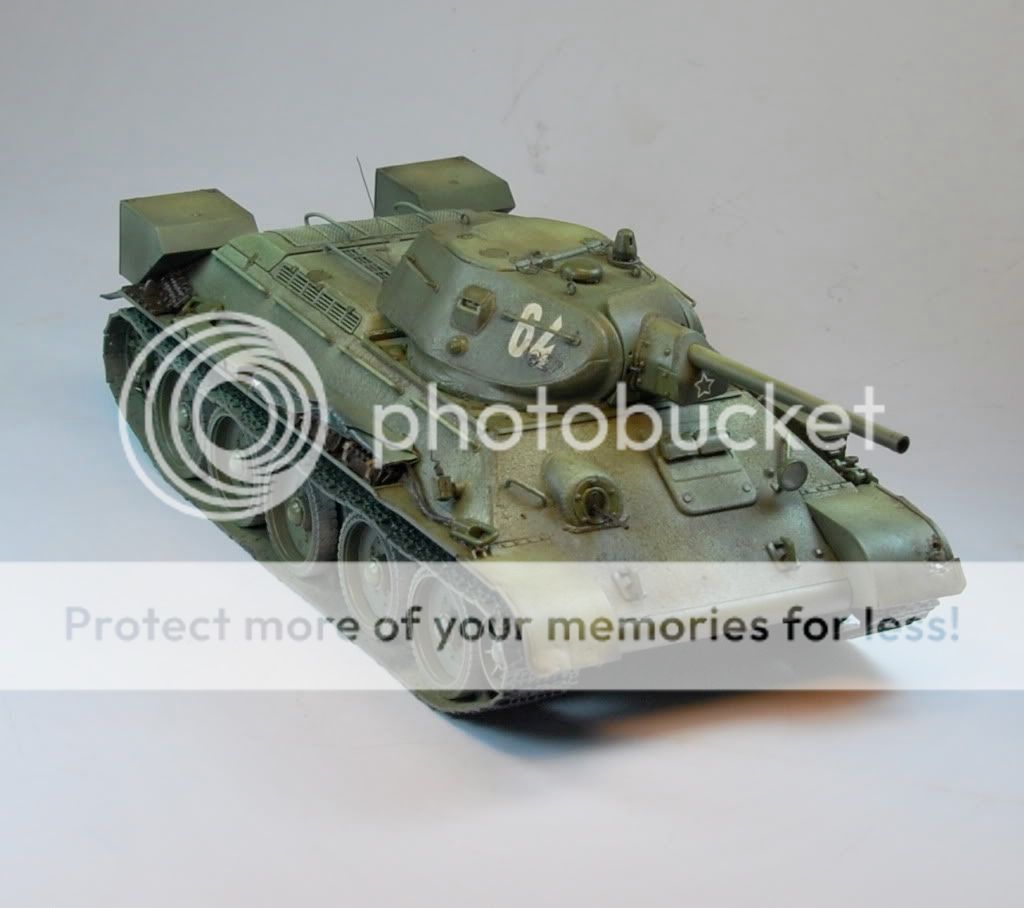
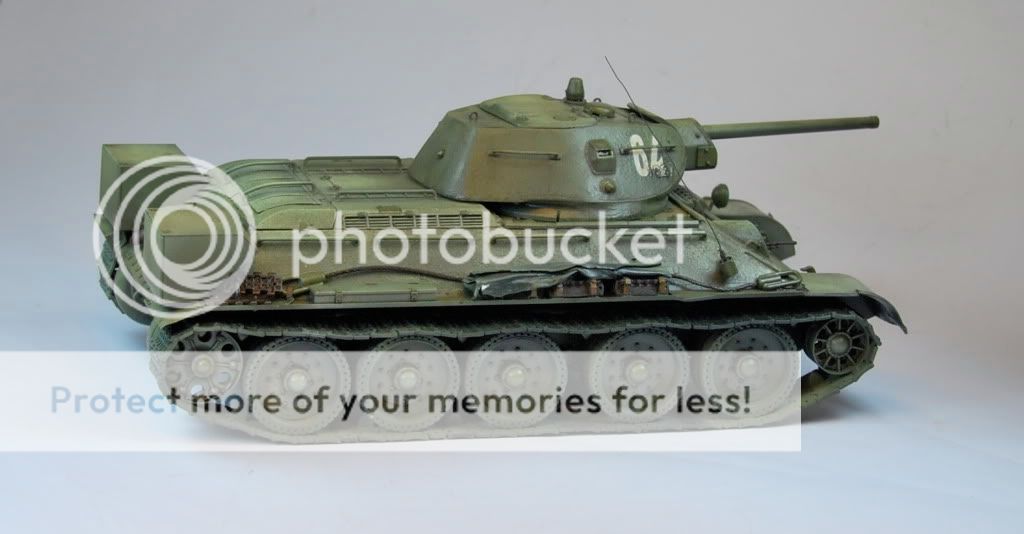
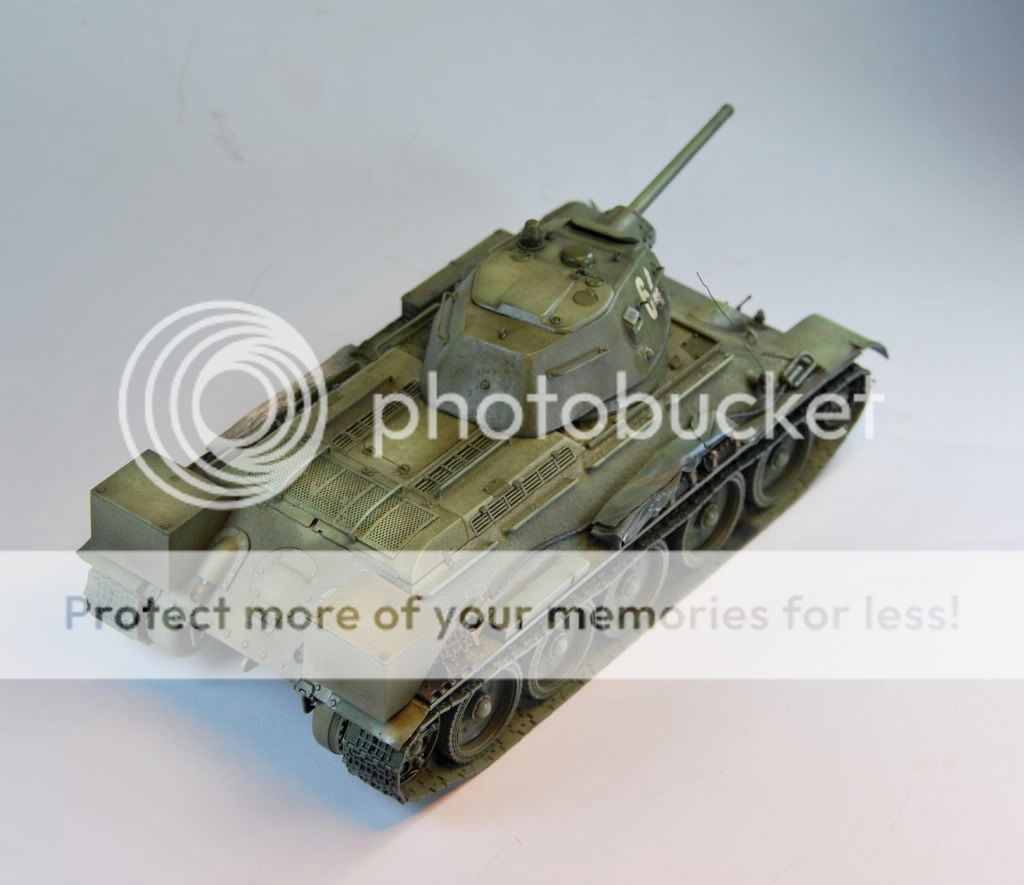
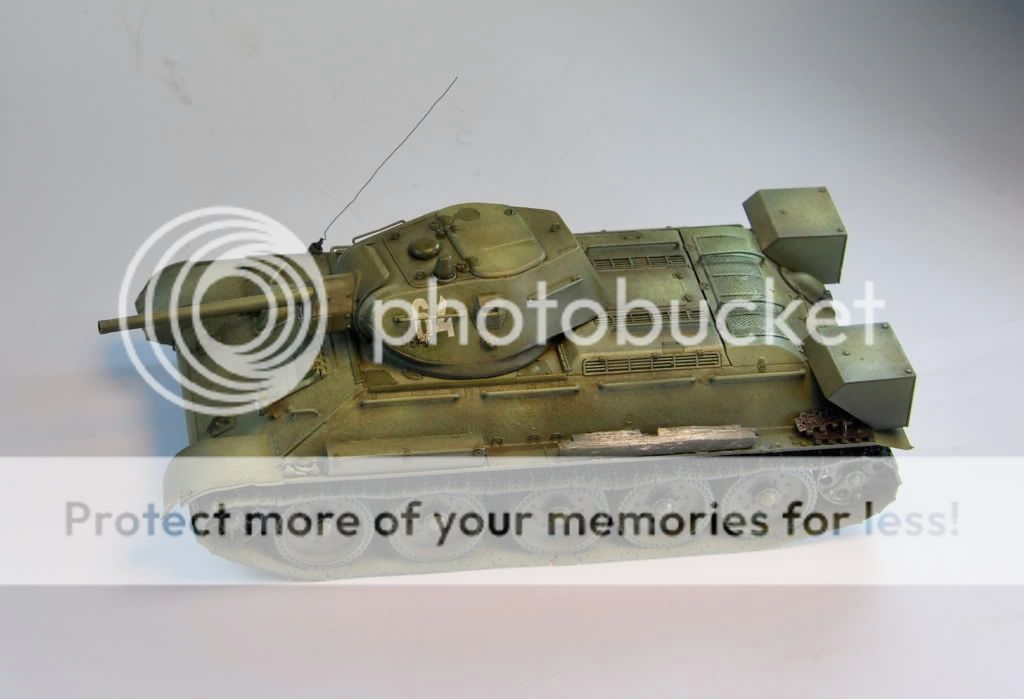
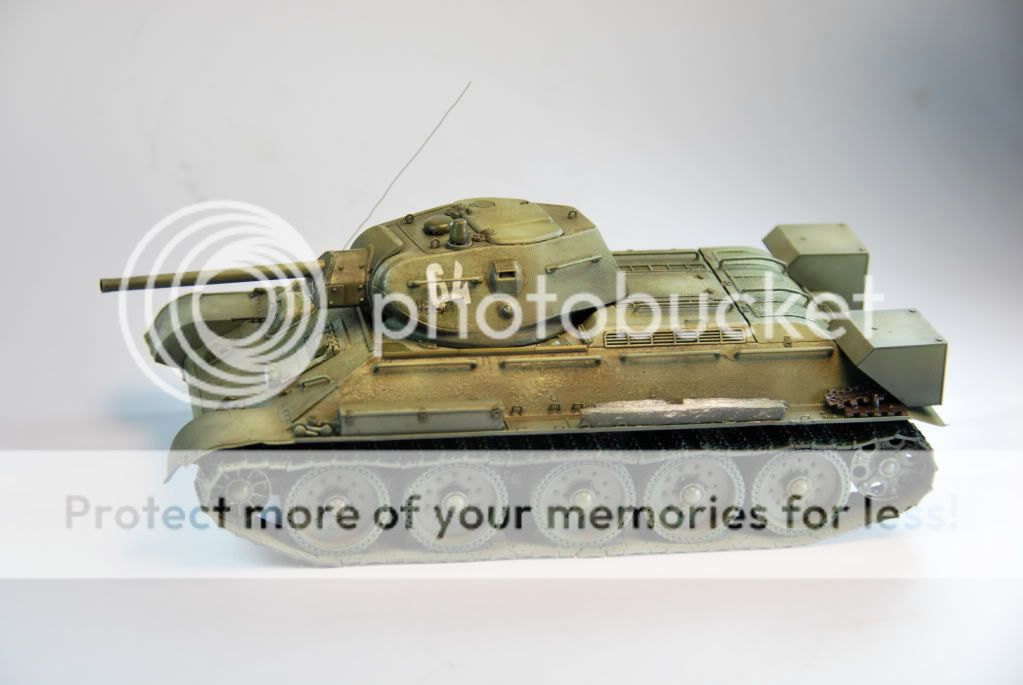
While taking a brake from the Ferdinand build i decided to build my first T34 strait from the box
Not knowing a great deal about Russian armour ( only with the help of a few reference books in my collection ) i decided to build it OOB hoping Dragon have done most of the research for me :unsure:
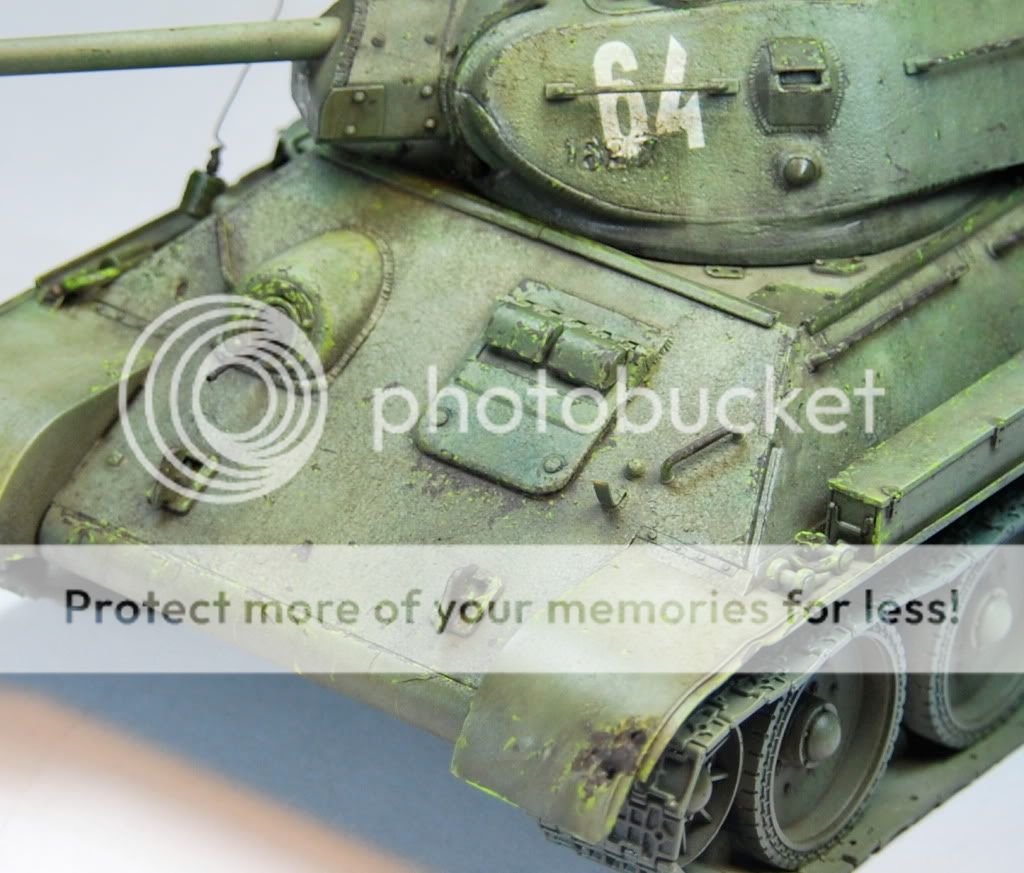
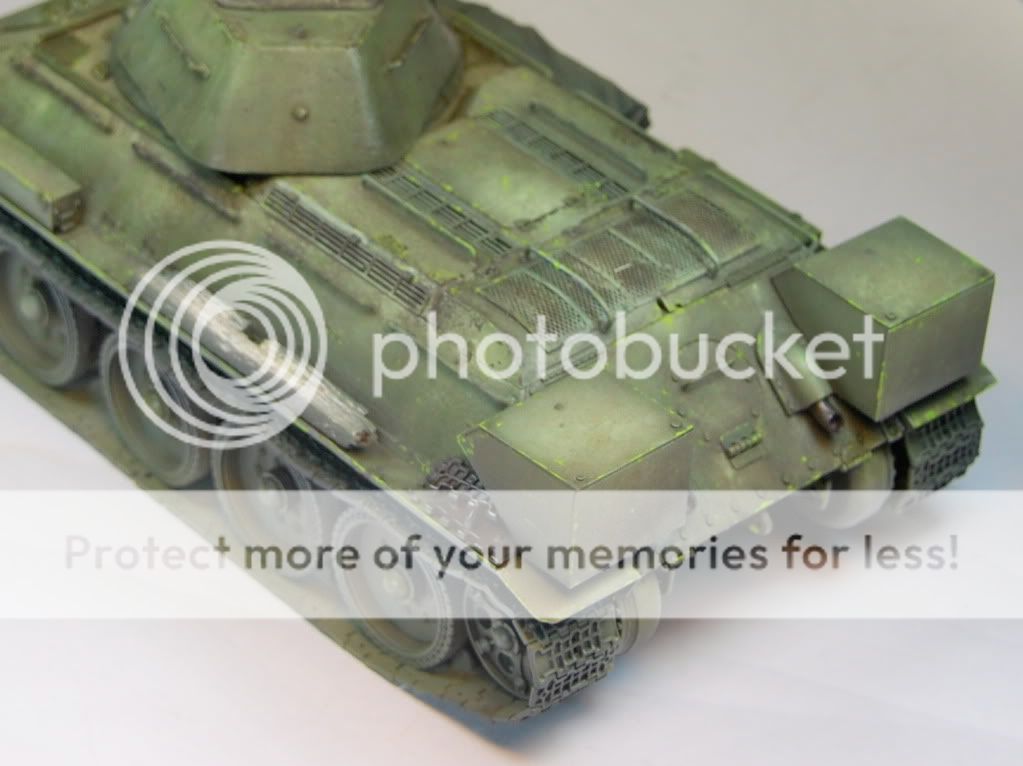
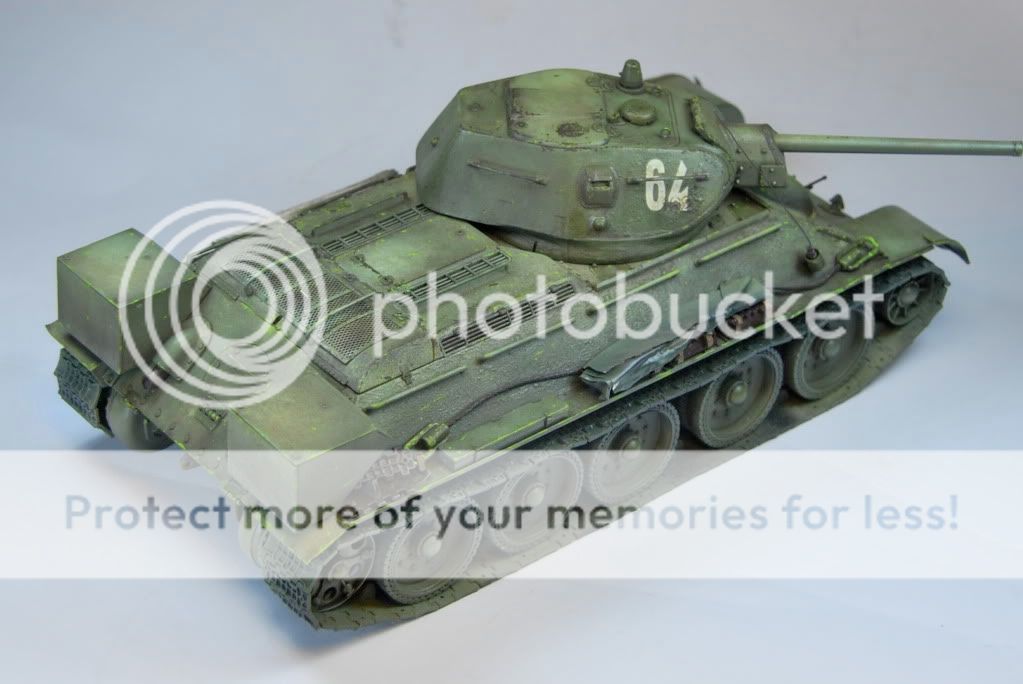
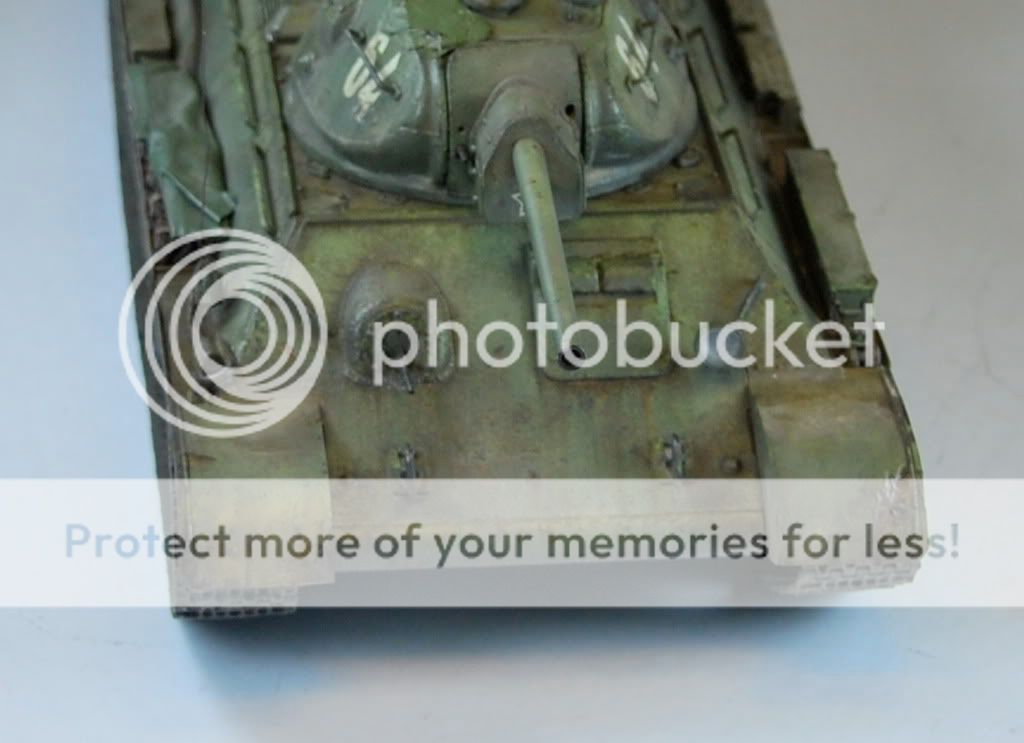
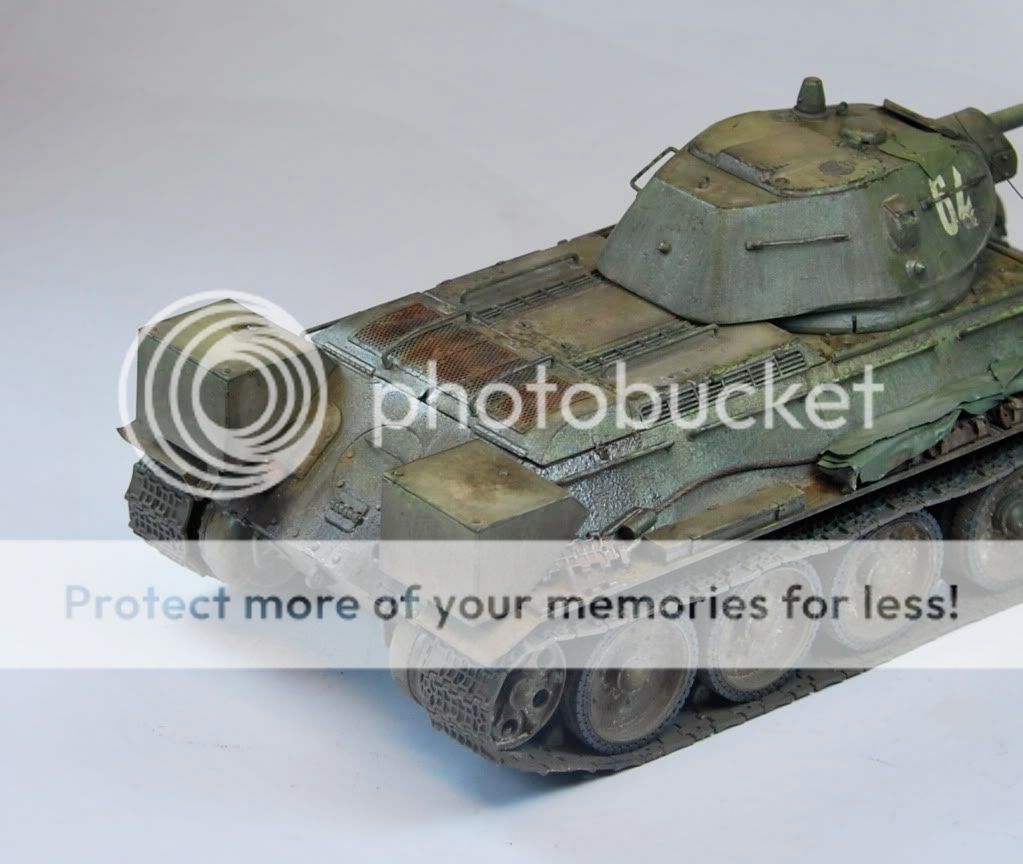
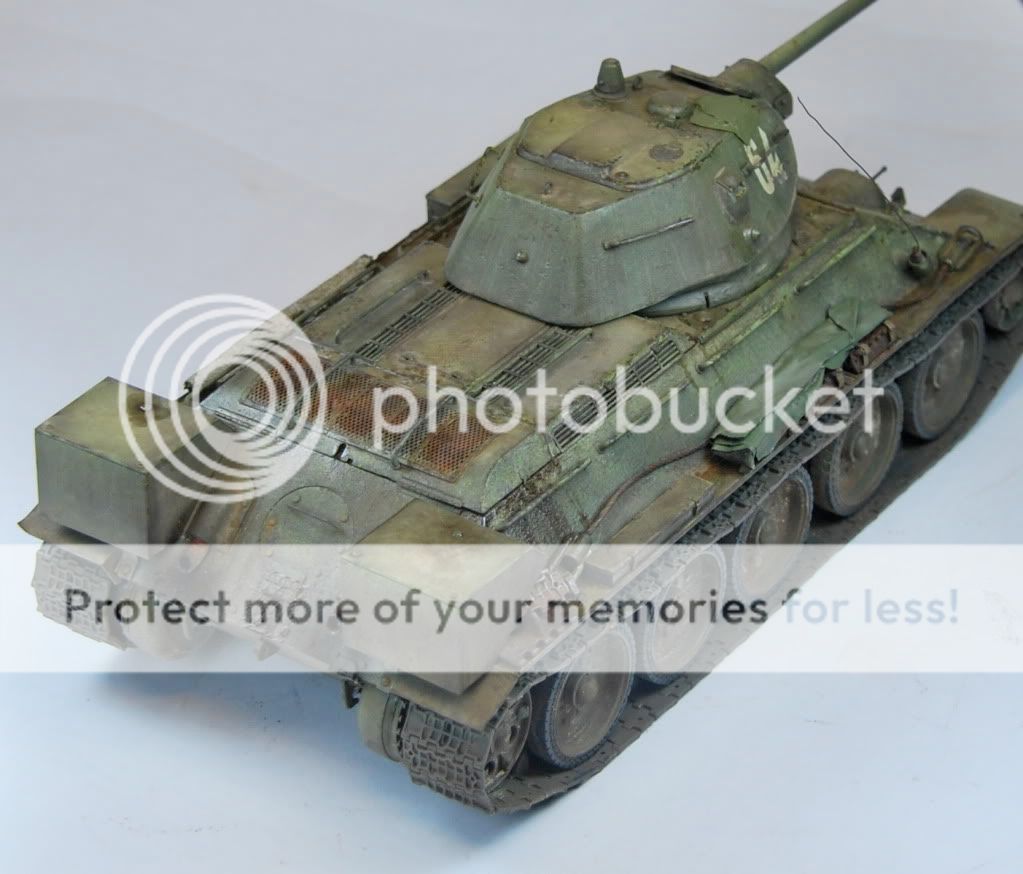
Confused with the amount of variants there in with this great little tank i only added some weld seams here and there , a tarp to add some interest , texture to some of the hull plates and replaced the kit tow cable with a Karaya one so any mistakes is all but my fault
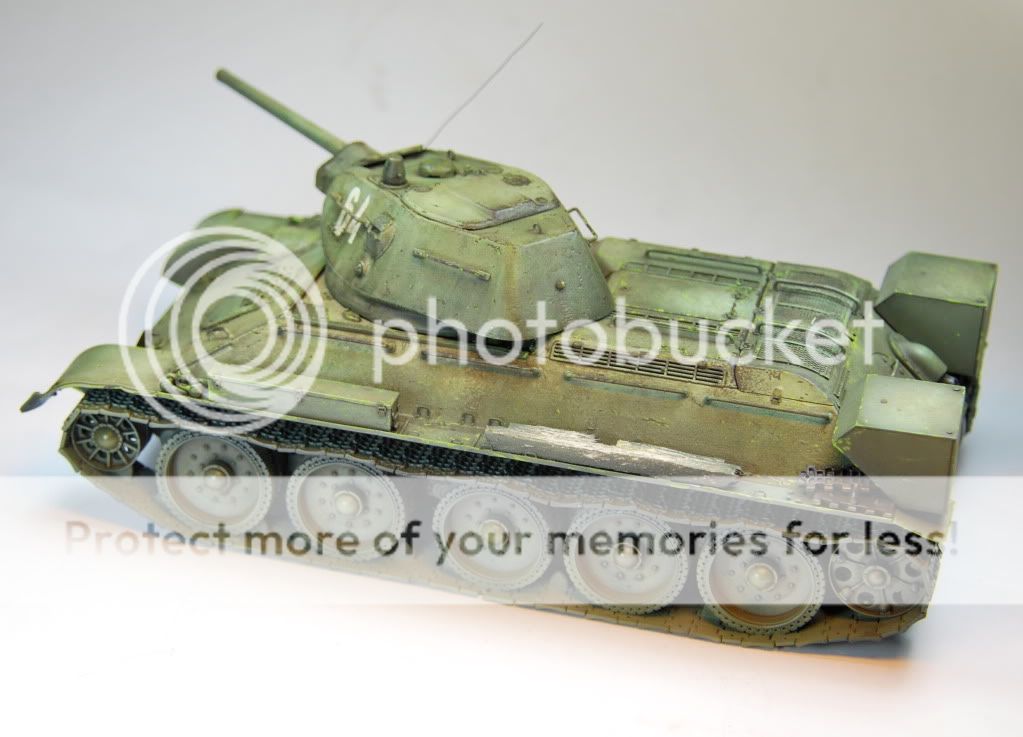
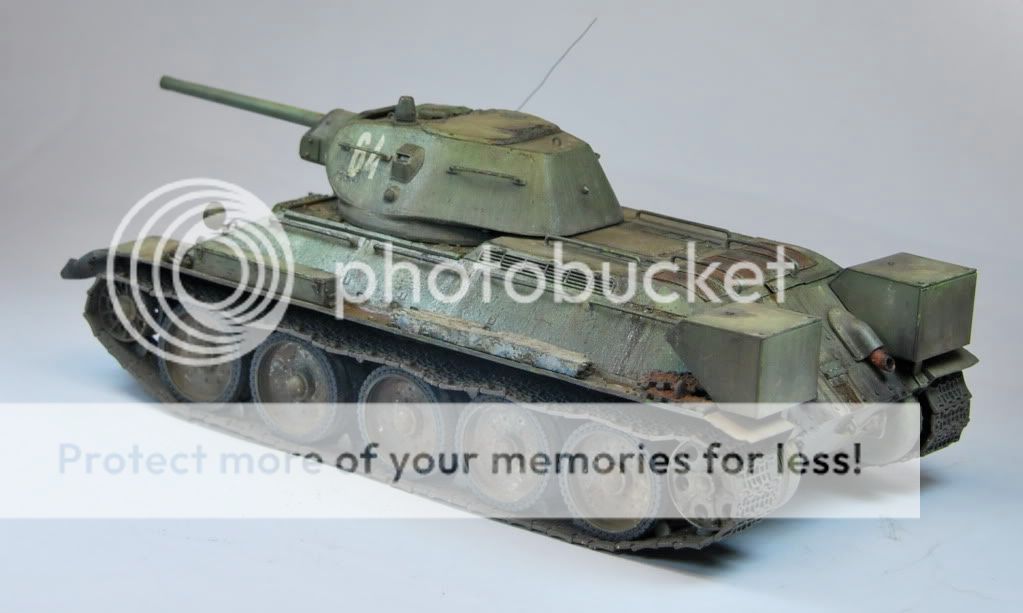
It has only taken a week to build ( so much quicker without a ton of After Market gear ) so here it is in the flesh , ready for the first coat of primer
DSC_0014-6.jpg

DSC_0011-9.jpg

DSC_0007-14.jpg

DSC_0006-19.jpg

DSC_0002-18.jpg


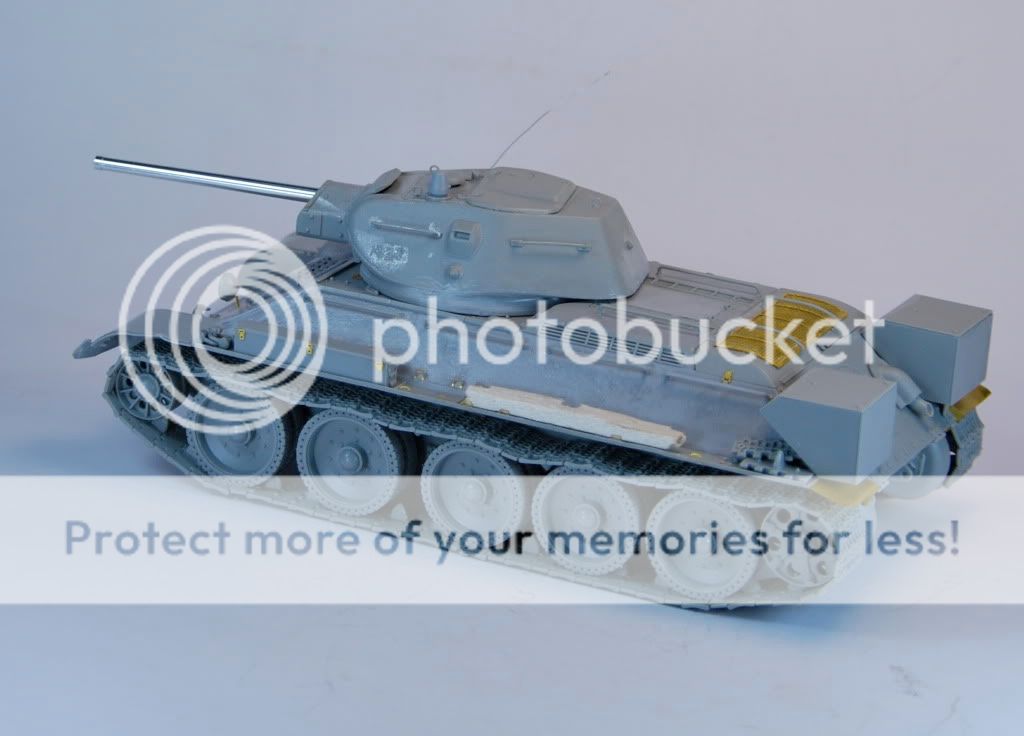
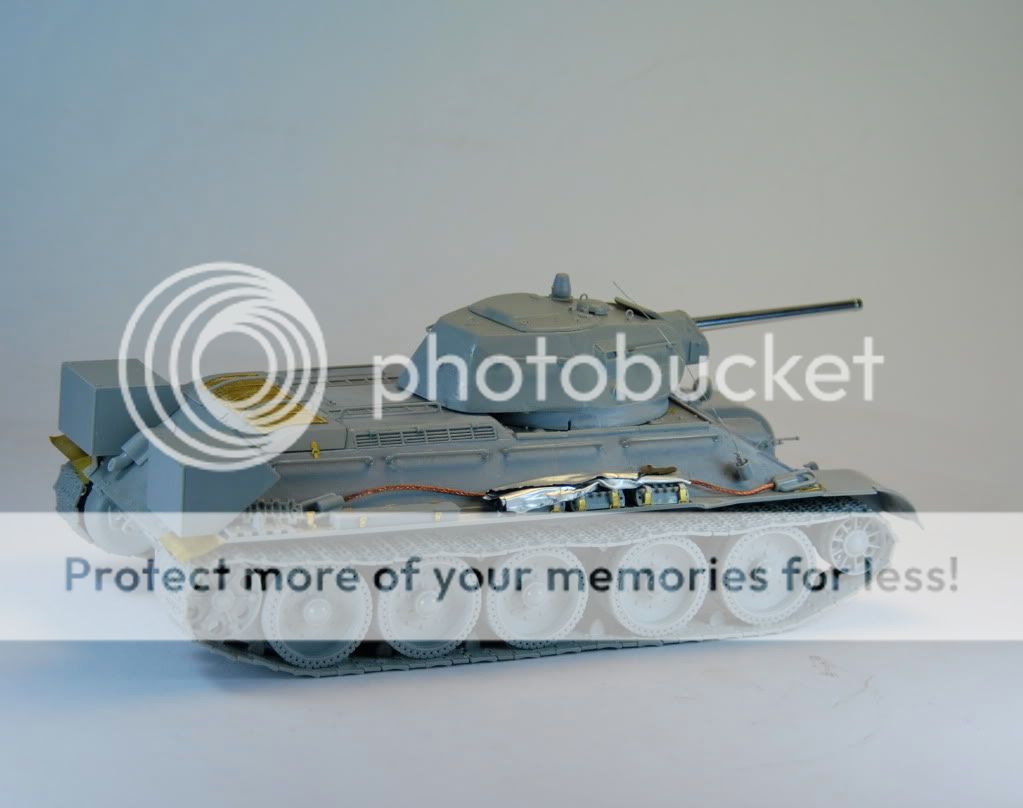
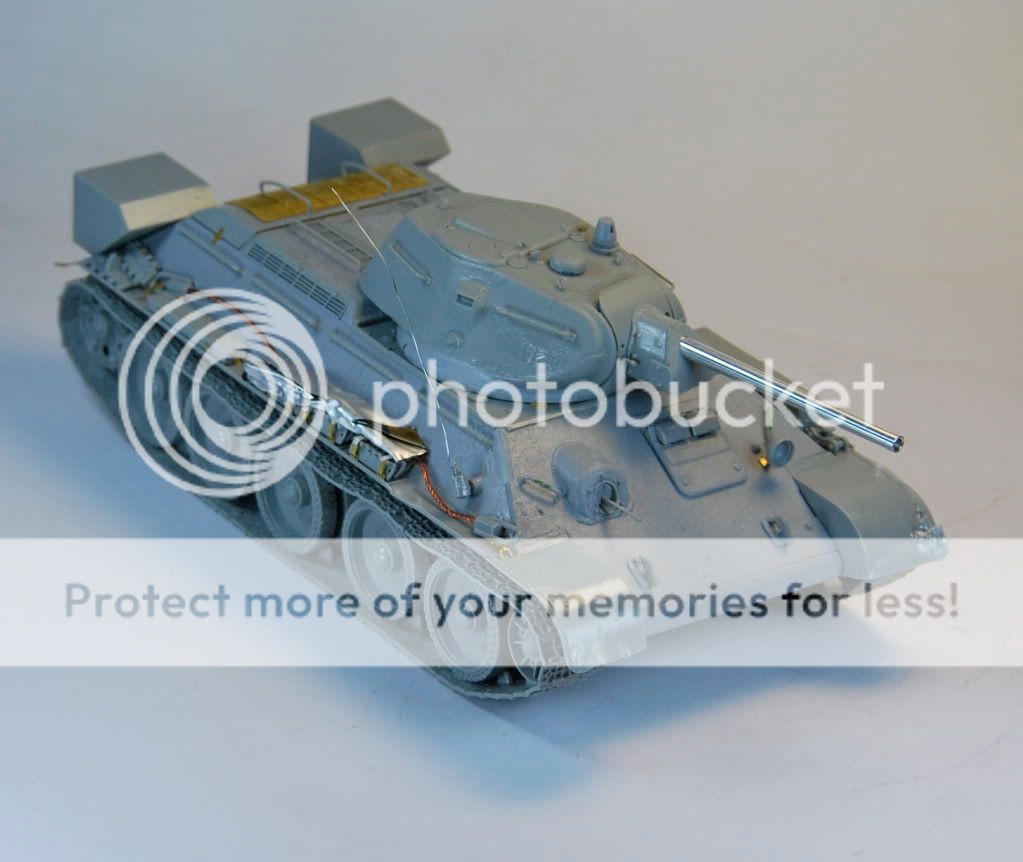
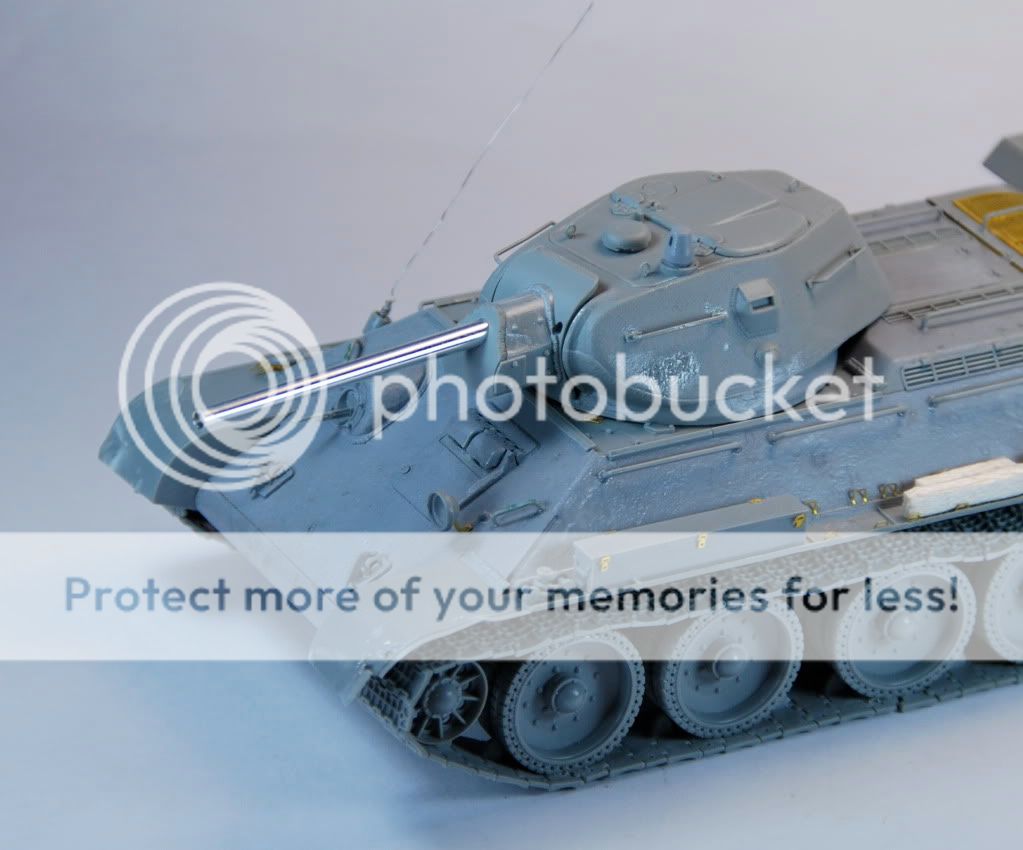
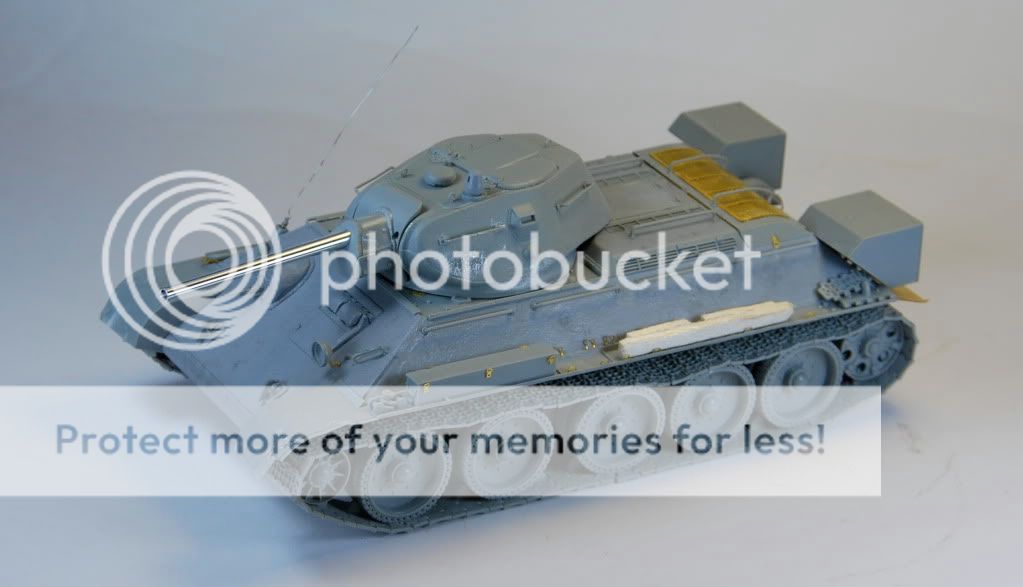
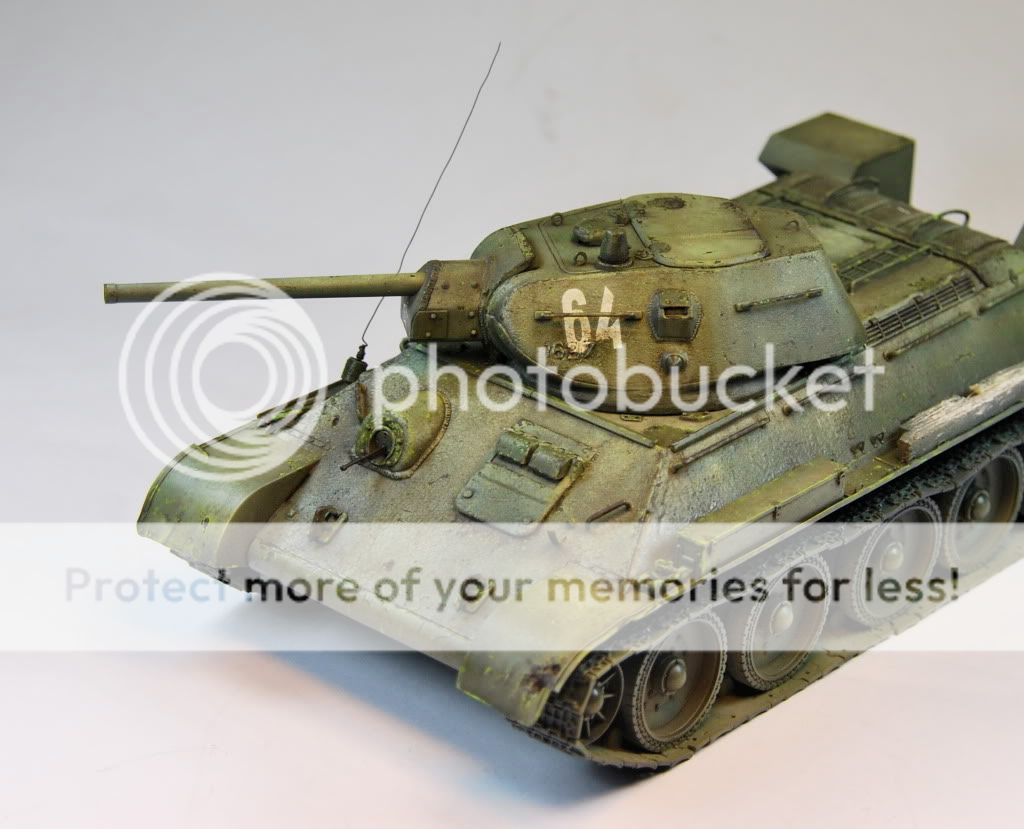
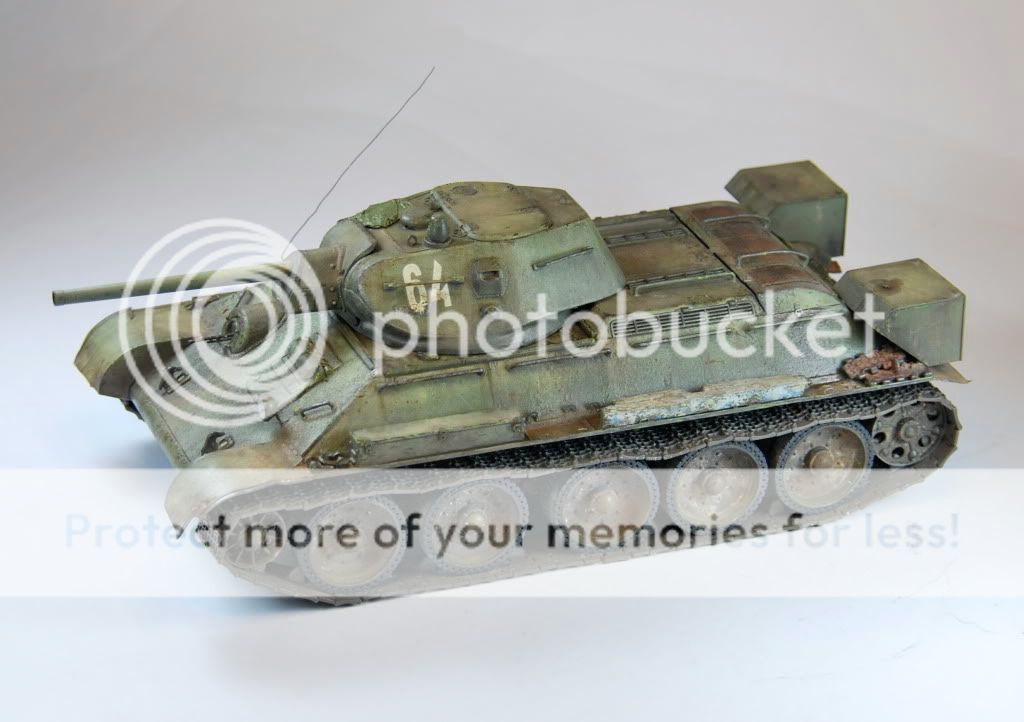
Oh , i also added an antenna , cast numbers on the turret using sprue numbers and a block of wood ( you sometimes see in original war photo's ) for some strange reason just to add some life to the kit
I will also be adding it to a small base so the gaps in the bottom links of the track will be hidden with mud ( that's the good thing about armour modelling ............. we can hide our mistakes :blink :laugh:

Thanks for taking the time to have a look
As usual any comment etc are more than welcome

Matt :)
 
Re:Dragon's T34/75 No.112 Factory

Very nice, Matt! You added some sweet details and I can't wait to see it finished! (y)
 
Re: Dragon's T34/75 No.112 Factory

You've done a real nice job with one of Dragon's best releases!

Regards,
 
Re:Dragon's T34/75 No.112 Factory

Hi Matt.

That is a nice looking T-34. One of the nice things about these Russian tanks is that they are so basic and simple on the outside.

And by the way. As an armor modeller you need to learn this basic fact. We NEVER make mistakes. We only make pre planned visually interesting discrepancies and anomalies :woohoo: :silly: :laugh: .


Gary B)
 
Re:Dragon's T34/75 No.112 Factory

The build is looking great.
Love Soviet armor so I am a little bias too.
Love the cast numbers and the unditching wood blocks.


Gary speak for yourself...
I hope you don't have to say that 5 times fast...
G Cooper wrote:
Hi Matt.

We only make pre planned visually interesting discrepancies and anomalies :woohoo: :silly: :laugh: .


Gary B)

Please keep the pictures coming.

Shawn
 
Re:Dragon's T34/75 No.112 Factory

Mike , thanks for your kind words , much appreciated

Saul , thank you as well , i agree , great kit , easy and fast to put together highly recommended

Gary , cheer's mate , yes that's what it was , pre-planned ( i knew i meant to do that )

Jose , thank you my friend , more photo's soon

Shawn , thanks for clarifying what the wood blocks were used for ( man i should have known that :blush: ) and thanks for your kind words so back to the bench i go to hit it with the primer

cheer's again guy's

Matt :)
 
After sweltering in 34 degree C ( probably warmer in the garage ) temperatures yesterday i managed to give this build a coat or two of paint
After priming it with thinned down Mr Surfacer 1000 i gave the modulation technique a go ( well my attempt at it anyway )
Using a mix of Tamiya XF 13 J.A. green with a small amount of XF 14 J.A grey added till i was happy with the colour , clear was also added to give it a slightly gloss finish , i started with this base coat then added more grey to add the modulation highlights
I then hand painted smaller details with vallejo Russian uniform green to further highlight areas
Looking horrible at this stage ( thinking " oh no what have i done " ) the next stages really tone it down and tie it all together
The Mig Allied Filter set was then used using all 3 colours on different areas to give it some visual interest ( which not much will be seen after the final weathering stages are complete ) left to dry for a few hours i then started the pin wash using the Mig Dark Brown wash and a small amount of the Neutral wash here and there to break things up once again
Next stage will be using oils to blend , fade and give tonal variation , but more on that later
Here is what it looks like so far ........ hope you all like it
DSC_0003-8.jpg

DSC_0005-19.jpg

DSC_0007-15.jpg

DSC_0010-9.jpg

DSC_0011-10.jpg

DSC_0012-14.jpg

Some of the small detail was also painted using various Vallejo paints , still need to finish the wheels , tracks , tarp etc
Any comments , questions are more than welcome

thanks in advance

Matt

P.S. i just realised i have titled this build as a T34/75 not T34/76 ( man i am a dumbarse ) see i must have German tanks on the brain ( this being my first allied tank ) i have fixed it now phew
 
Looks great mate! Has progressed some since you showed us the base coated model last night. As I said, you're being your own worst critic here ;)
 
G'day Rudi , thanks mate , was great catching up last night ( should be more of it ) but will be that more difficult for the both of us in the next couple of months ;)
yes you are right i am my own worst enemy when it comes to my builds , maybe i shouldn't be so harsh on myself

cheer's

Matt :)
 
Boy,you didn't let any grass grow under your feet on this one Matt. :laugh:

For a quick time build it looks so Russian. :woohoo:

Great job bud
Tony Lee :)
 
Thanks Tony , yes i'm on a roll with this one , to hot here Down under to do anything else
I have now completed the tonal variation using Mig oils and some Prussian Blue artist oils and now have started the initial chipping stage ( this will take some time , it has slowed the process down some what )

cheer's

Matt :)
 
Matt Beattie wrote:
I have now completed the tonal variation using .... some Prussian Blue artist oils

That's interesting. I wouldn't have thought Prussian Blue on green. What sort of tonal difference does it make? Colder? Pics, must have pics! :woohoo: :woohoo: :laugh:
 
Jenny , thank you i'm glad you like this build so far , much appreciated

Rudi , thank you for your question , i used the Prussian blue only on the drivers hatch giving it an ever so slightly blue hue/tone , not to much but it was used with migs greens and greys so it doesn't look so bad
I have taken some more progress shots ( you can just make out the blue used on the drivers hatch ) some of the chips have been completed with just a few more so go ( well quite a lot as this process i like to take my time
So here's where i'm at
DSC_0001-12.jpg

DSC_0002-19.jpg

DSC_0003-9.jpg

DSC_0004-11.jpg

DSC_0005-20.jpg

DSC_0006-20.jpg


I hope this has made some sence
Any more questions i will try to answer

cheer's

Matt :)
 
Thank you Laura , much appreciated , i try to push myself in doing / trying different techniques and i am happy with the result

cheer's

Matt :)
 
that is some beautiful weathering and paint chipping,scratches on that T34 i am getting chills remembering when i tried to build the aber etch engine cover :side:
 
Dave , thanks mate , yes etch can sometimes get the better of you , many a times i have cursed , screamed , super glue sticking everything but the part you want , solder burning skin rather than melting the solder arr the fun of our relaxing hobby :blink

Matt :)
 
Continuing on , i have nearly finished the painting and weathering of the upper hull all that needs to be finished now is the tarps , dry and wet mud splashes
The lower hull has just had the initial pigments added , the first coat for the tracks and the rubber on the wheels have just been started

So this is what it looks like so far
DSC_0001-13.jpg

DSC_0002-20.jpg

DSC_0004-12.jpg

DSC_0005-21.jpg

DSC_0009-8.jpg


As i usually do with all my builds i add small amounts of weathering detail here and there ( but not over doing it ) till i'm happy with the result

So adding mud is the next ( and fun ) stage so more updates soon

Cheer's

Matt :)
 
Back
Top