
-
Modelers Alliance has updated the forum software on our website. We have migrated all post, content and user accounts but we could not migrate the passwords.
This requires that you manually reset your password.
Please click here, http://modelersalliance.org/forums/login to go to logon page and use the "Forgot your Password" option.
You are using an out of date browser. It may not display this or other websites correctly.
You should upgrade or use an alternative browser.
You should upgrade or use an alternative browser.
Dragon 1/48 Me262A-1a/U4
- Thread starter Phil
- Start date
")

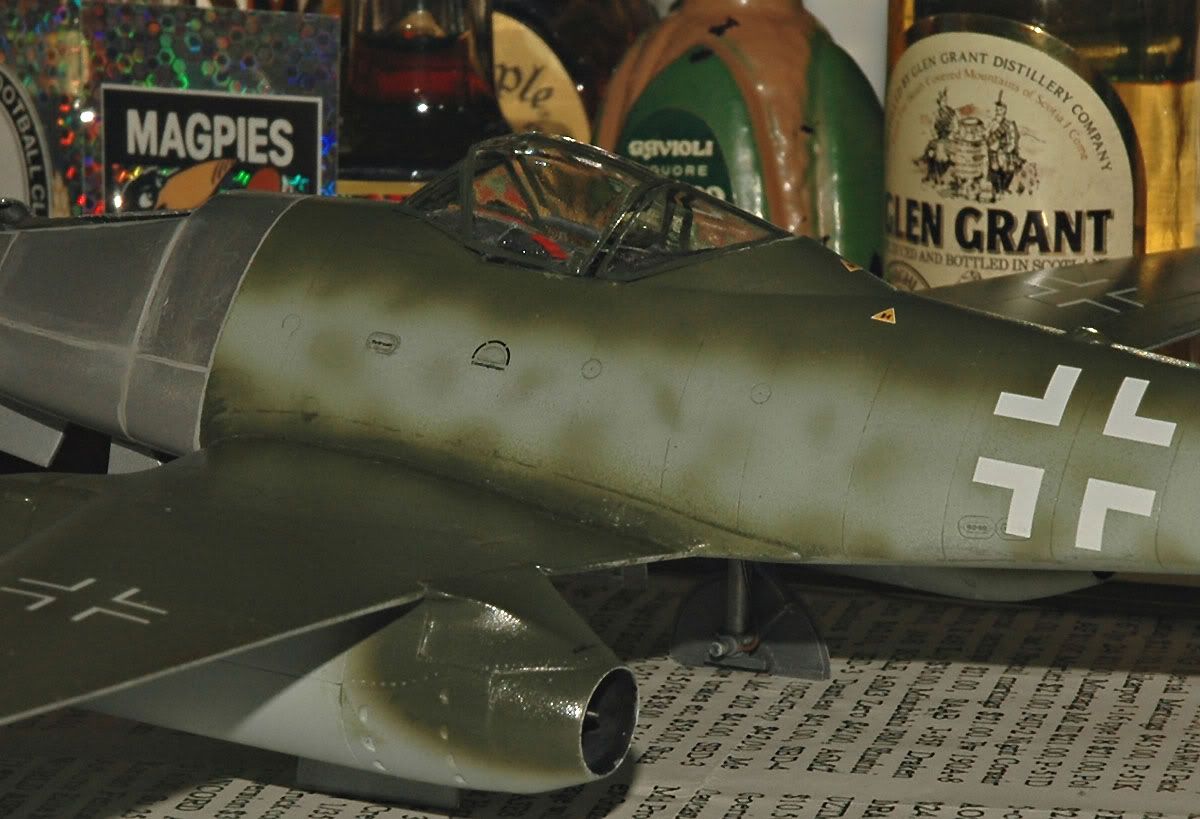
Thanks all, I was getting annoyed with it but it seems to be coming together now.
Saul the kit decals cartograf 2007, they look good and I have had good results with them previously, never tried the masks for the markings
Les, that trick with loosening the compressor hose worked a treat! I got it down to a steady 2psi and that gave me a close up spray distance rather than trying to spray from the usual 6'' out!
Paint thinned 60/40, used acrylics again with the .21 tip.
Had the spray rear adjustment set on 1.2 scale mark on the Krome so I got the same paint volume each trigger action which helped avoid the ''flood effect, but that hose trick was the key!
Again thanks for your help with this!
Better pics next time - outside when the sun comes back!!
Glad to know lowering the PSI helped, if you want to get even smaller mottles just thin your paint more and lower the PSI more than you did.
But like always, keep an old model to practice on first! Its easy to have the paint spread on you while you are dialing back the PSI to get the perfect combination.
My setup where I paint my models has the compressor within arms reach so I can quickly make an adjustment if needed.
Matrixone
But like always, keep an old model to practice on first! Its easy to have the paint spread on you while you are dialing back the PSI to get the perfect combination.
My setup where I paint my models has the compressor within arms reach so I can quickly make an adjustment if needed.
Matrixone
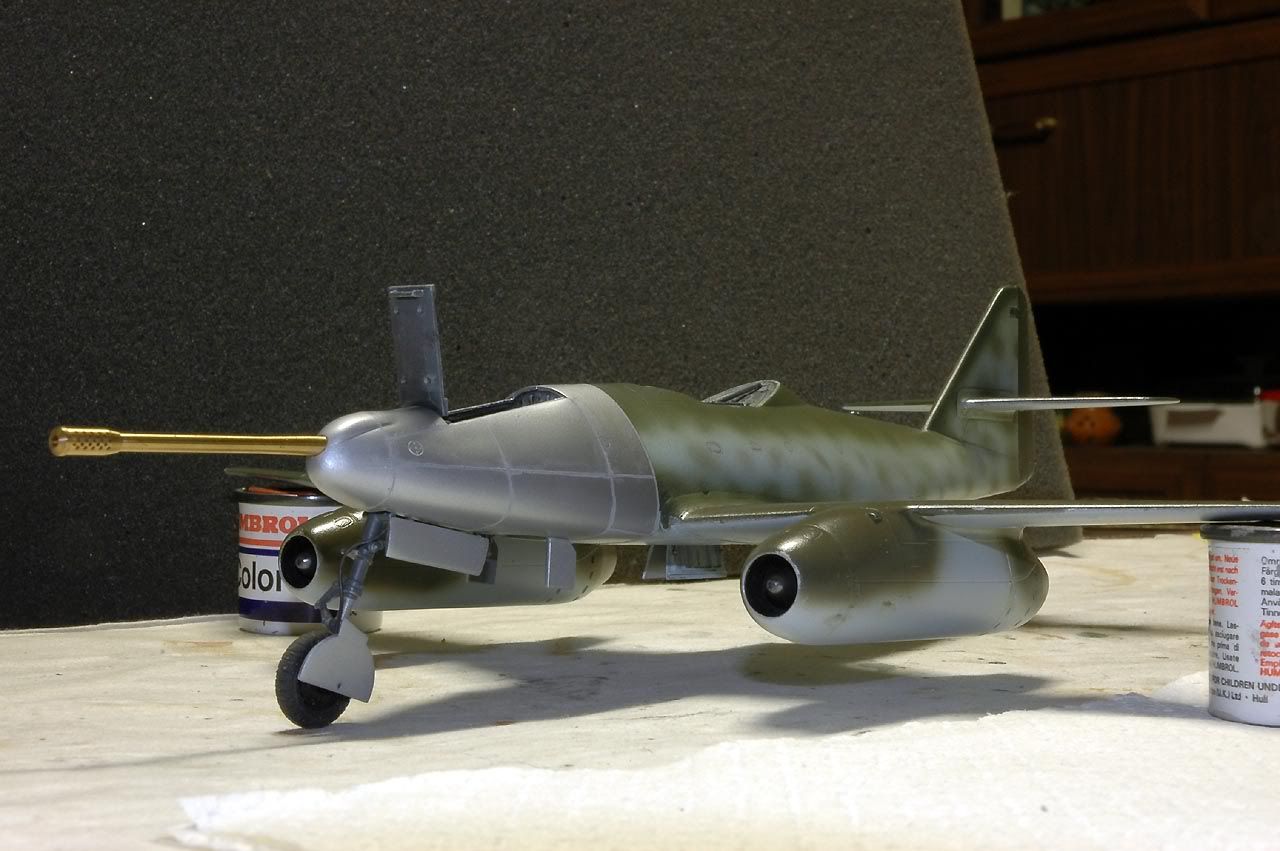
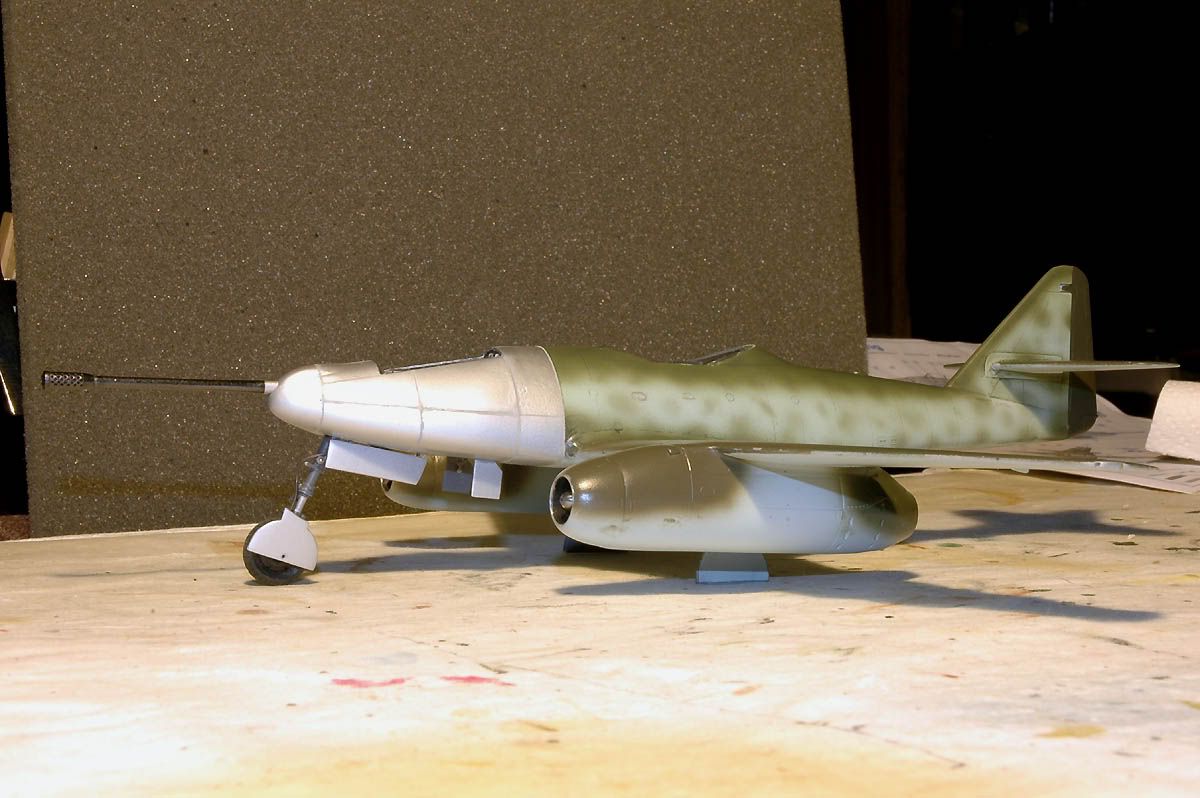
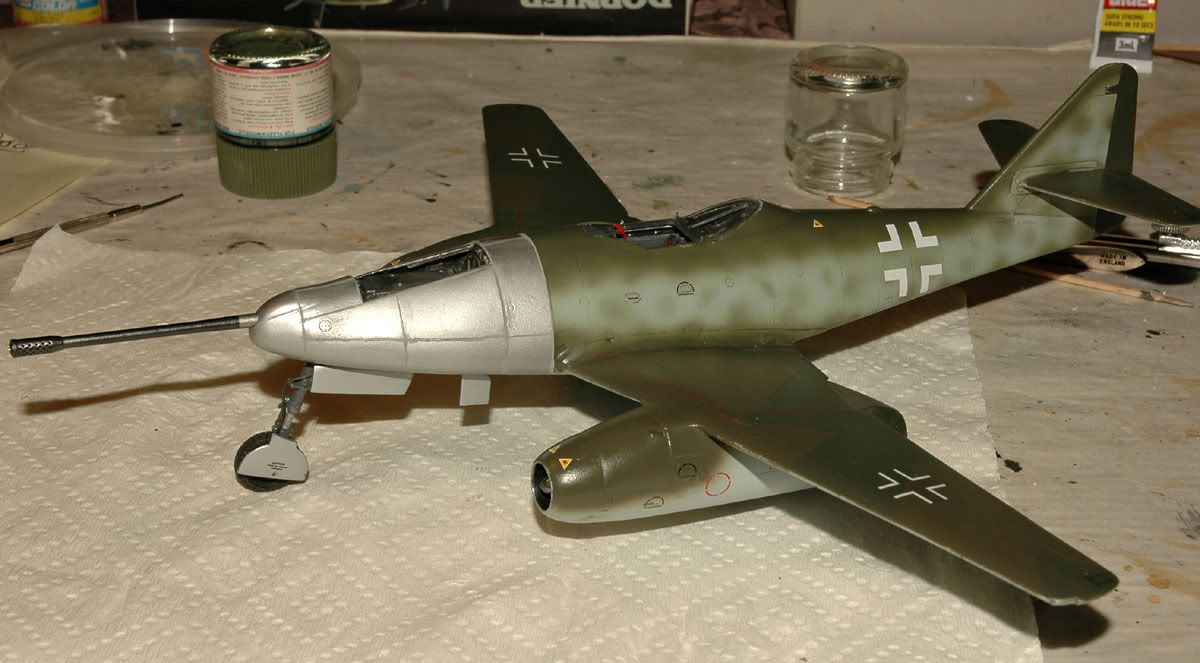
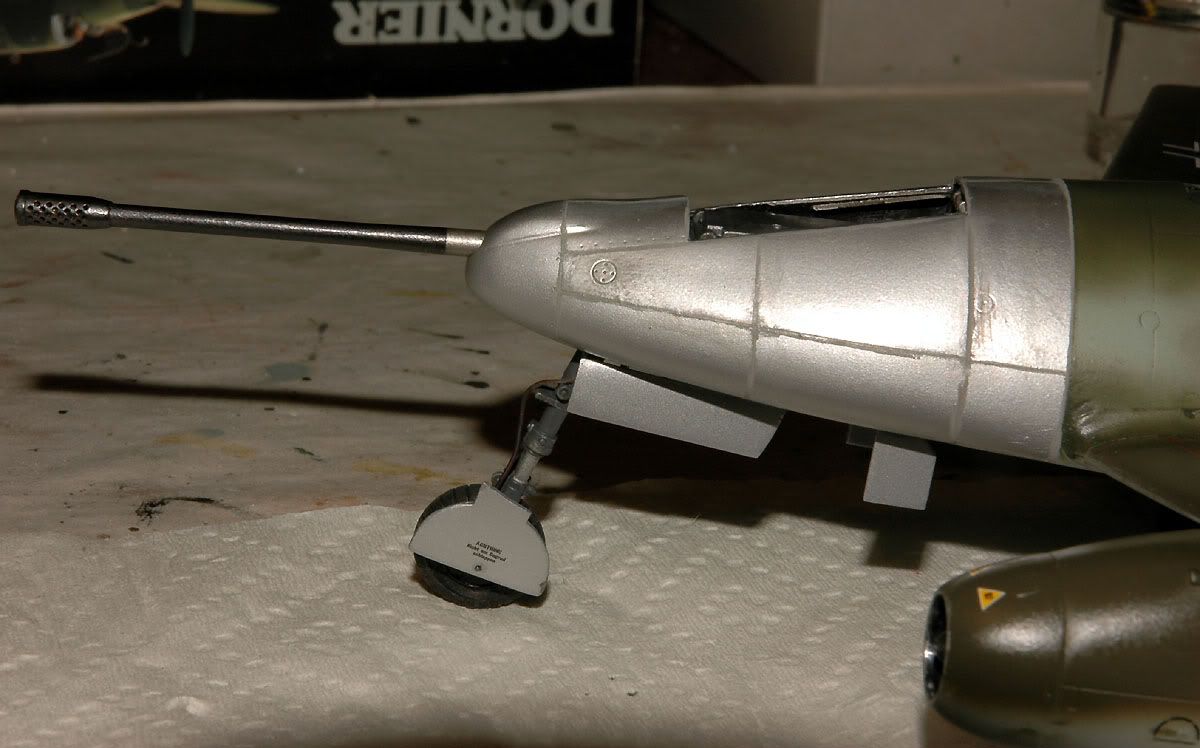
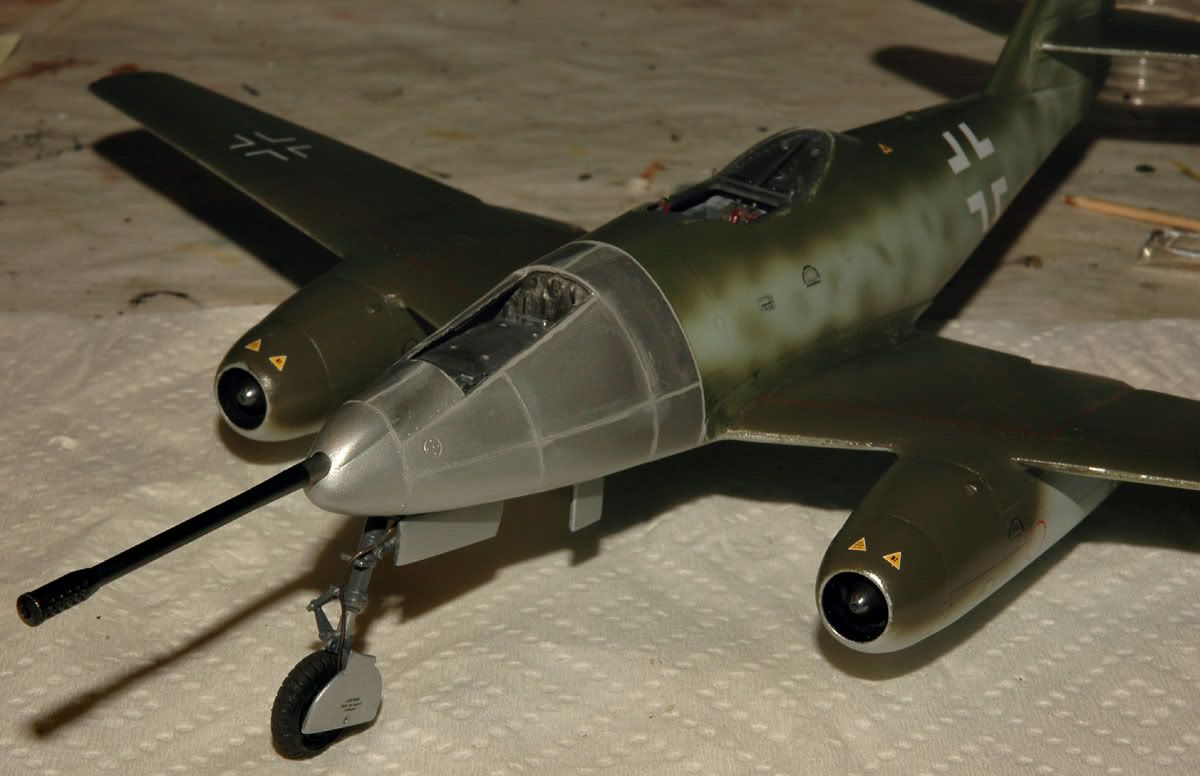
Front gear on now and I tried the barrel which fits in neat.
Glad I packed in lead weights, with the barrel she sits nice!
Took these two pics using ''rear slow'' flash setting which kept the aperture open for a good 10 seconds, then the flash fires.
Result is the closest true colour under indoor lighting.
Added brake lines to all the gear legs as well.

Glad I packed in lead weights, with the barrel she sits nice!
Took these two pics using ''rear slow'' flash setting which kept the aperture open for a good 10 seconds, then the flash fires.
Result is the closest true colour under indoor lighting.
Added brake lines to all the gear legs as well.
phantom II
Master at Arms

Cheers, Christian B)

Thanks everyone!
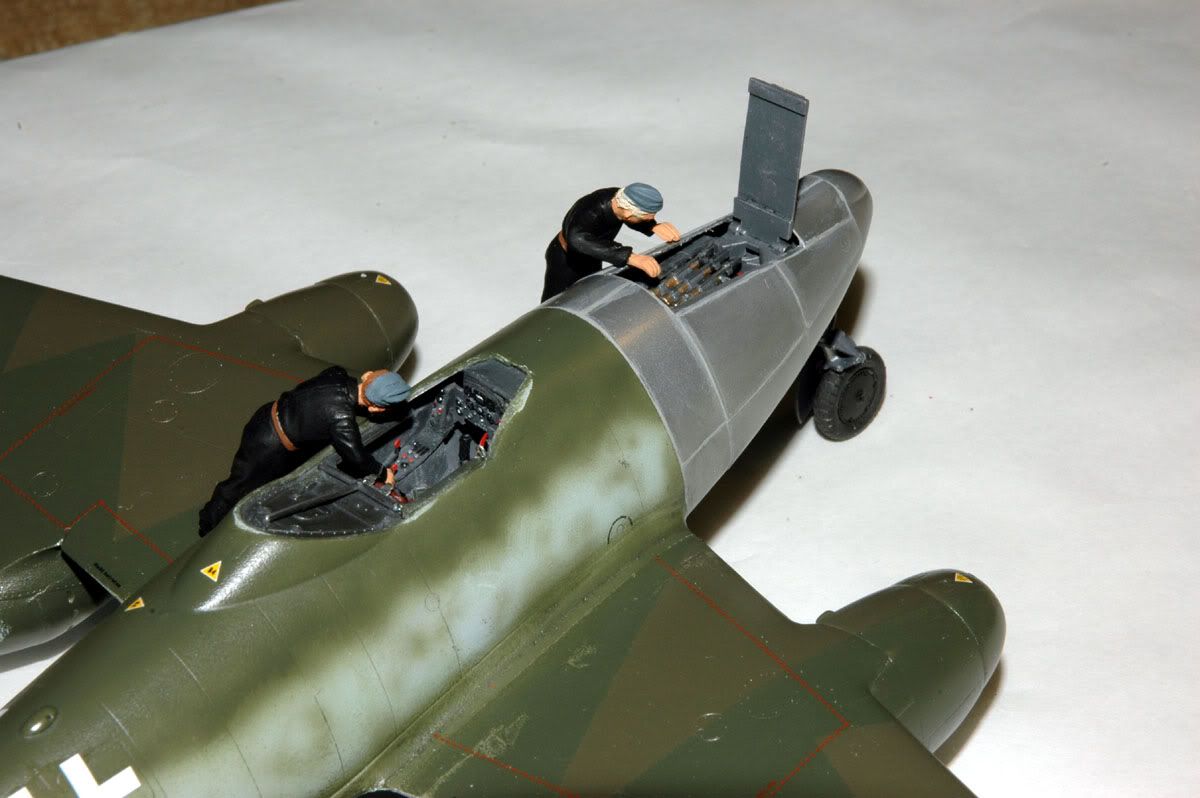
Got some time today so painted the Mauser, then remembered I hadn't painted the canopies so did those and put some colour on, will flat coat those tomorrow.
will blacken the muzzle face some more, decals next but still waiting for a sheet of numbers on backorder to do the Wk Nr.
Got some time today so painted the Mauser, then remembered I hadn't painted the canopies
so did those and put some colour on, will flat coat those tomorrow.
will blacken the muzzle face some more, decals next but still waiting for a sheet of numbers on backorder to do the Wk Nr.
phantom II
Master at Arms
Looking very interesting ! 
Cheers, Christian B)
Cheers, Christian B)
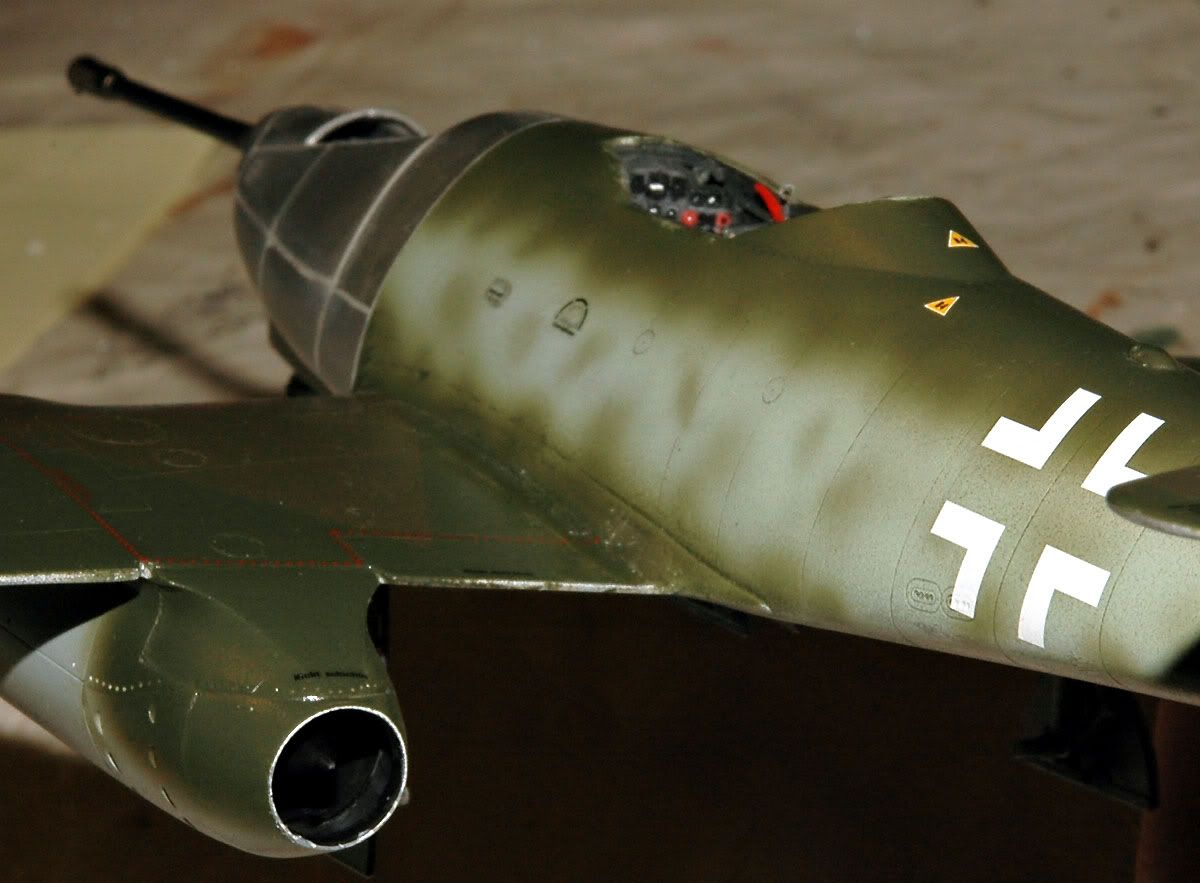
Here is the latest
cleaned the canopies a bit more after a disaster with masking - and did some brush work on the jagged paintwork, they are just sitting not glued yet
all decals on except for the Swastika as I haven't received the numbers for the tail yet and I would rather place those first
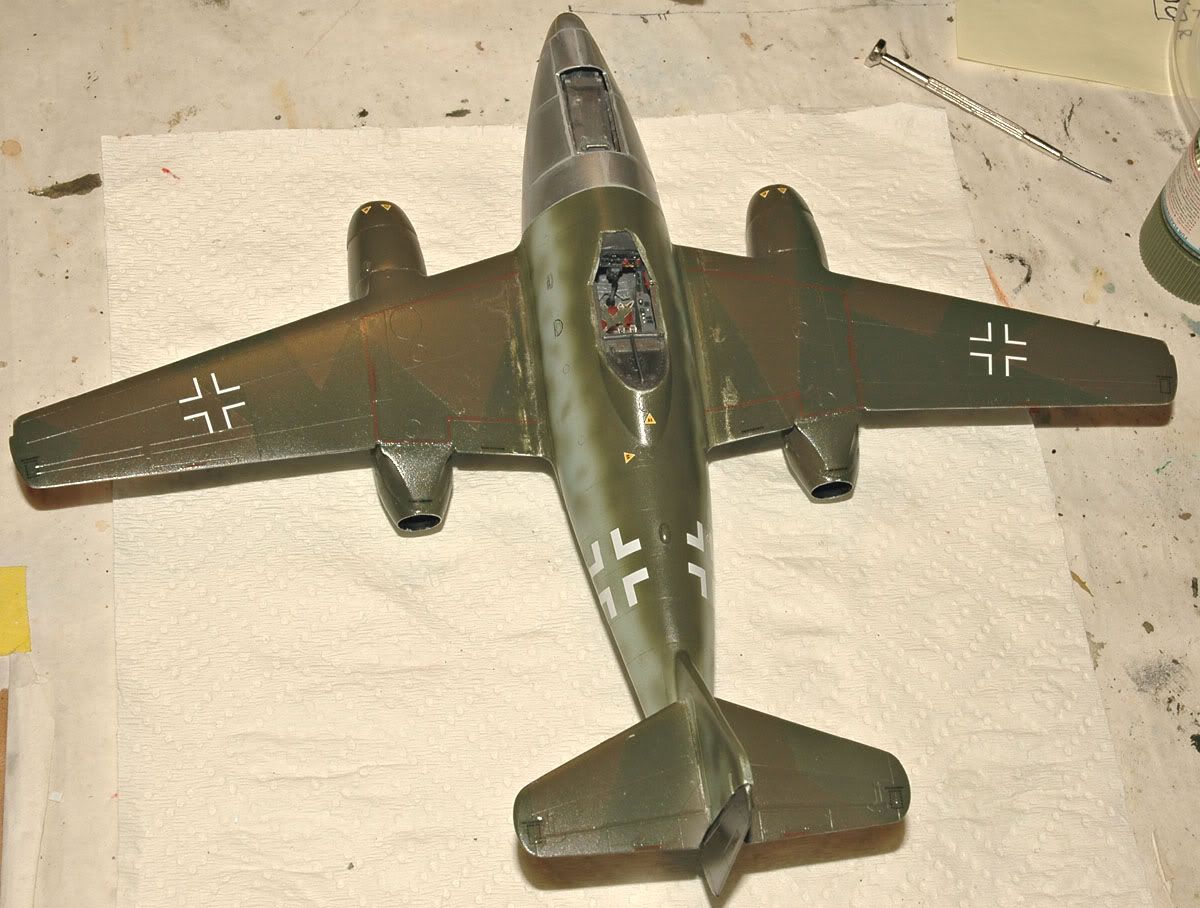
had some probs with the barrel paint so redid that, polished it, sealed it with Future, flat coated it,
then lightly polished it again

the kit decals, Italian Cartograf went on nicely.
Did my usual Future under and over them
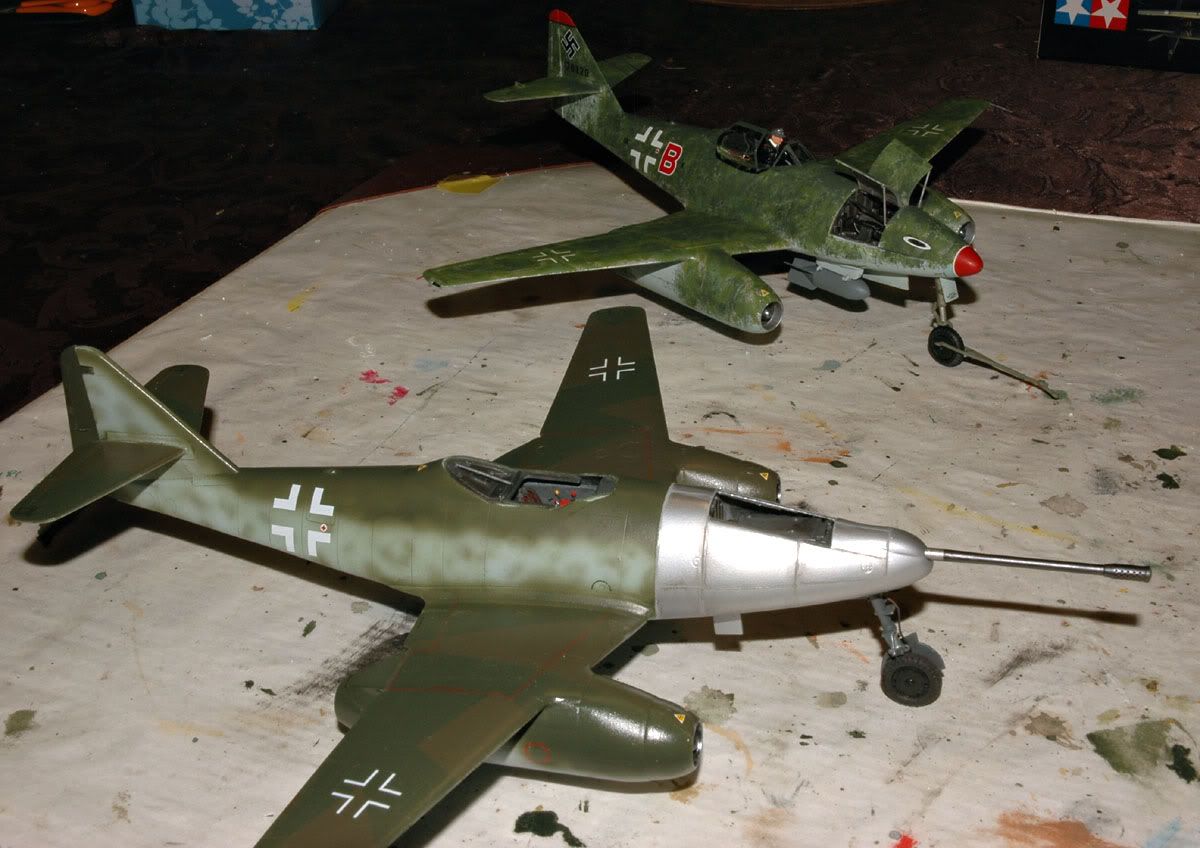
I'm told it will be mid December until I get the tail numbers so this bird will have to wait for them.
cleaned the canopies a bit more after a disaster with masking - and did some brush work on the jagged paintwork, they are just sitting not glued yet
all decals on except for the Swastika as I haven't received the numbers for the tail yet and I would rather place those first
had some probs with the barrel paint so redid that, polished it, sealed it with Future, flat coated it,
then lightly polished it again
the kit decals, Italian Cartograf went on nicely.
Did my usual Future under and over them
I'm told it will be mid December until I get the tail numbers so this bird will have to wait for them.
Beautiful work! May I suggest you clear out the flare chutes? Of perhaps you had planned that for later, with weathering.

Image from the IPMS Stockholm site.
Regards,
Image from the IPMS Stockholm site.
Regards,
Drill them out for depth, no heavy weathering just a dark wash to add to the illusion of depth.
Regards,
Regards,

Similar threads
- Replies
- 54
- Views
- 14K