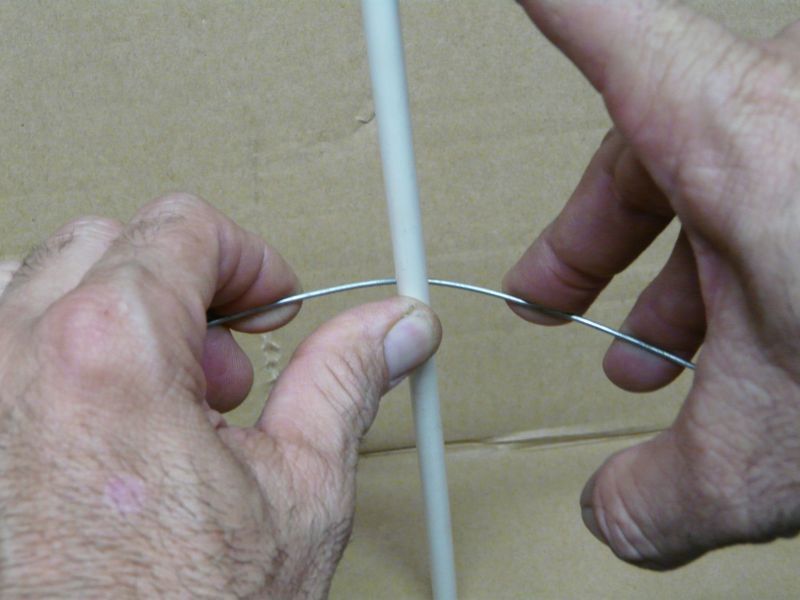
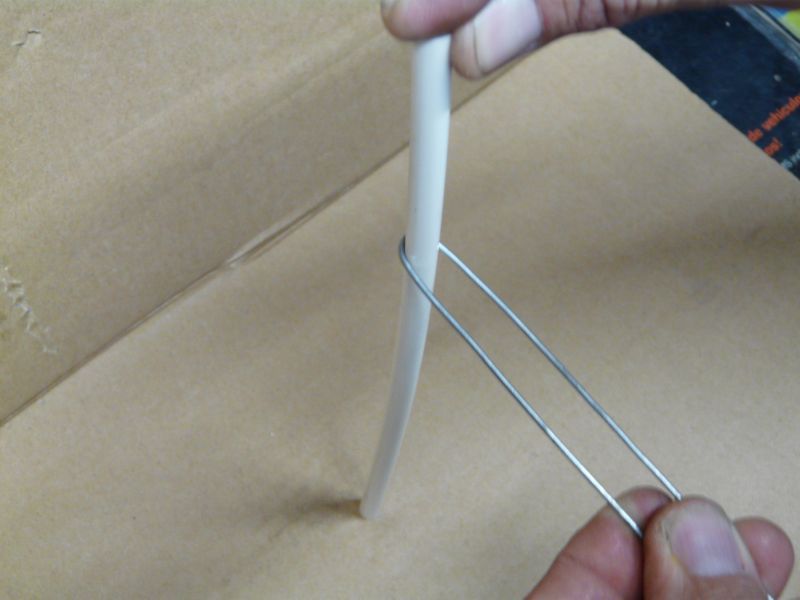
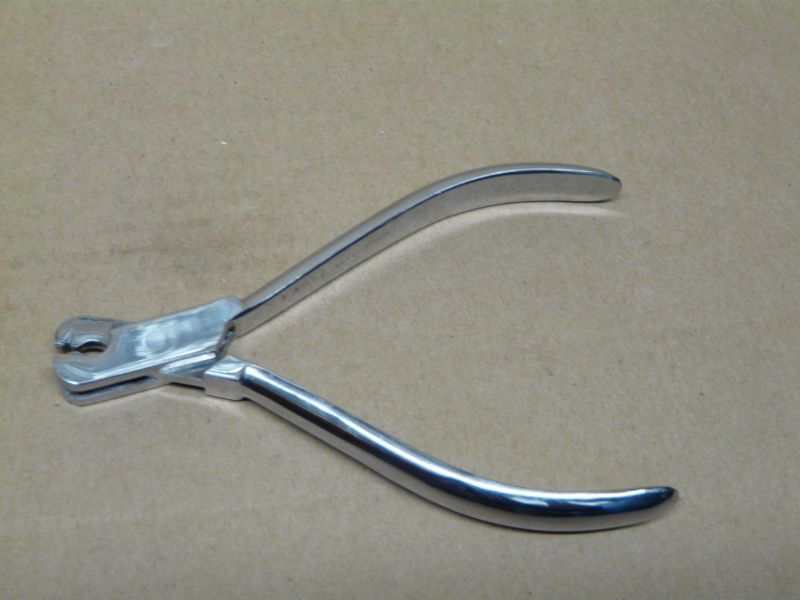
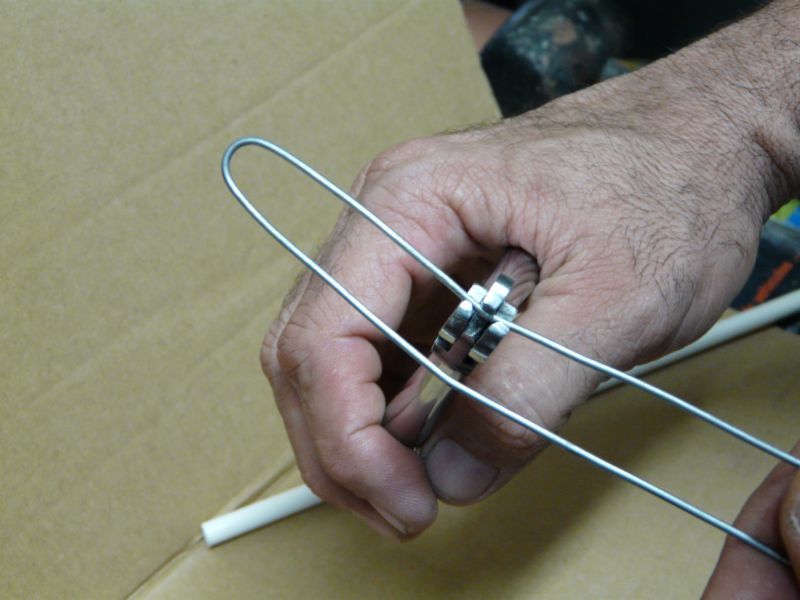
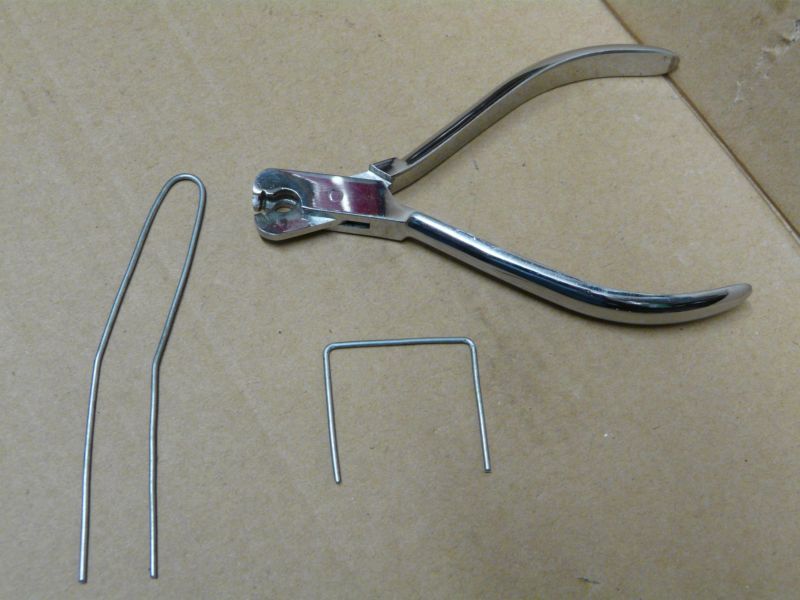
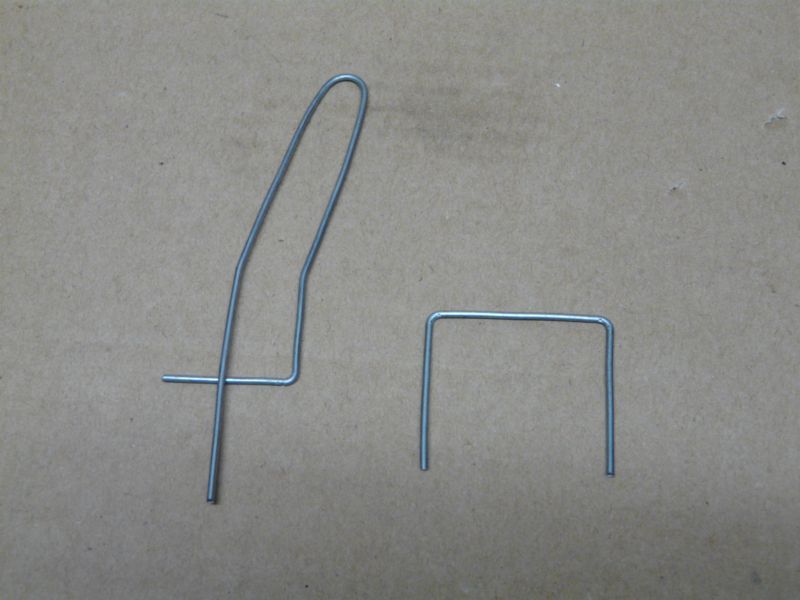
Nice job on the soldiering, very clean joints. Did you have some sort of jig to get the consistent shape of the bend? (it's a personal thing, I could never do 4 bends the same way).


Modelers Alliance has updated the forum software on our website. We have migrated all post, content and user accounts but we could not migrate the passwords.
This requires that you manually reset your password.
Please click here, http://modelersalliance.org/forums/login to go to logon page and use the "Forgot your Password" option.


Hot DANGHi to you all, here with another update on Dora, work on the main body halves continues
Now with the addition of the extra hand wheels and valves.
To make the extra parts I made a rubber mold of the valves from one of the sides
Here the mold is ready
The valves are ready
The same with the hand wheels
Here the extra parts are glued in place on both the inside and outside of each body half
Now the cat walks are constructed for each side, out and inside of the bodies
The inside cat walks
Comparison of the new and original parts
The same with the outside cat walks
Now I moved to the side ladders, this are 4 ladders one for each end of the main body’s halves
This are too big, out of scale
So using 1.5mm brass rods I started to make the ladders, here is the used rod, the original ladder and the replacement one.
The shape is corrected
All the needed parts are cut and bent to shape
The center reinforcement is soldered in place
Next the steps are cut and soldered
The finished new ladders
All the hand rails and ladders are finished for the main body halves
The supports for the main loading platform area need some correction, the two pillars on the back of the platform are supposed to be double and are a single piece.
I marked the area to be cut with masking tape, then drilled holes all around to make it easier to
Remove the plastic.
Side look of the part ready to be drilled and cut
The holes are done, then you have to remove some reinforcement plastic from the inside
With all the plastic removed it now looks like this
The two new legs now need some reinforcement pieces to hold it together
Starting from the bottom a piece of styrene the size of the area between the two legs
The piece in the middle is made with two squares the same size of the area with two ribs on the inside
The top is glued to the center parts
The upper square is installed
Finally the upper and lower squares received a rib on the middle area to finish the work
Now each side looks like this
Lots of work still to do thanks for watching
Abdin

