• Modelers Alliance has updated the forum software on our website. We have migrated all post, content and user accounts but we could not migrate the passwords.
    This requires that you manually reset your password.
    Please click here, http://modelersalliance.org/forums/login to go to logon page and use the "Forgot your Password" option.

'Close Contact' Diorama (WIP)

tiking

Active member
I have come a long way with this diorama and thought it might be helpful to others. So here goes. It's been a while and a new year. :) Thought you might like to see what I have been up to during the last couple of weeks. I wanted to put something together from scratch. I wanted to show a WIP so you can see how I do/did things. . I will try my best . I may not explain in every single detail as to what I did or used, as it takes time, and time is what I do not have most of the time. I have a family that demands my attention almost all the time. And I mean, my kids. So building has gone slow for me.

I am planning to take this dio to IPMS Open 08 in April in Sweden, so I am in a little bit of a hurry . I think the pics I put up will tell the story even clearer.

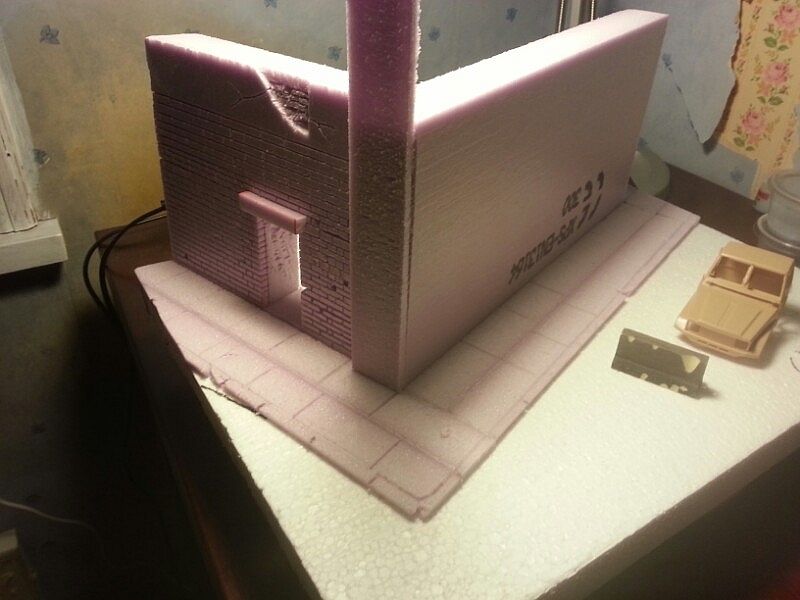
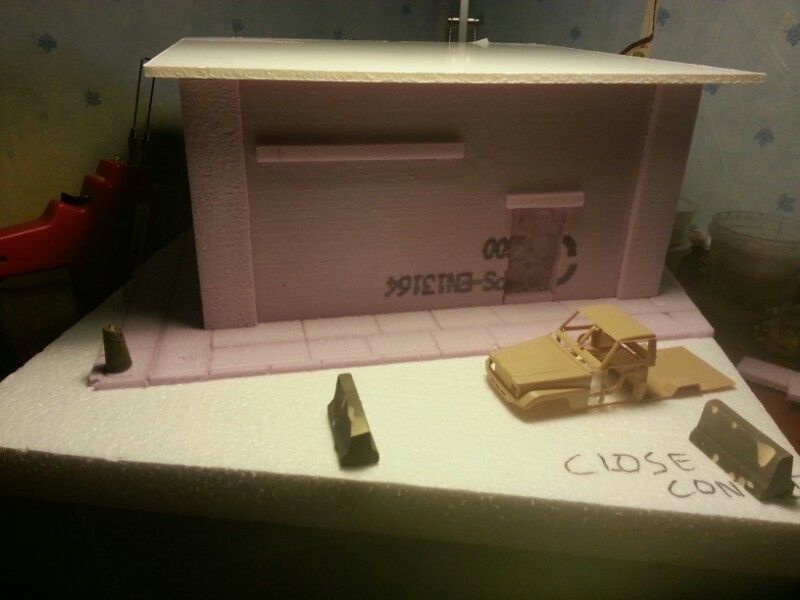
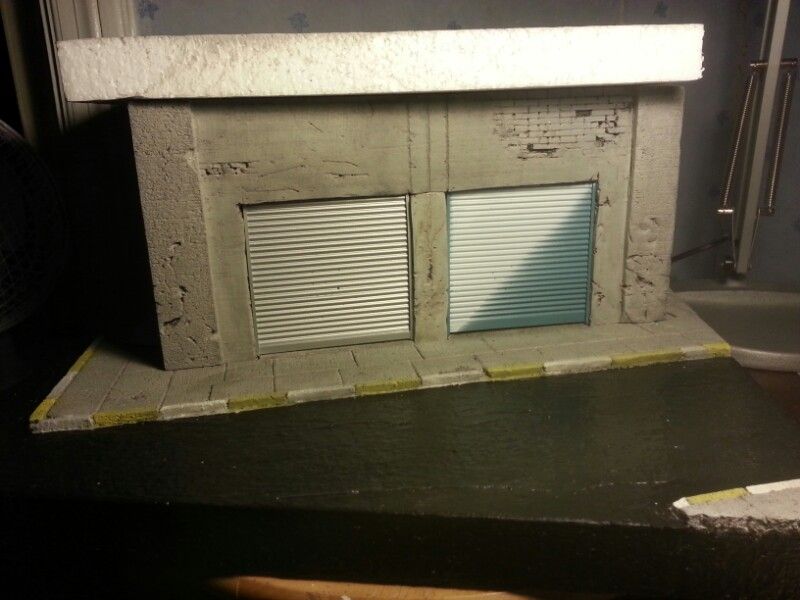
This time I am working on a 1/35 diorama which I am going to call; 'Close Contact' . Focus is going to be on figures( I am not that good. Still a beginner) and a pickup truck on the street in Iraq. As you may see, I have already started and well underway. So join me for those who are interested.

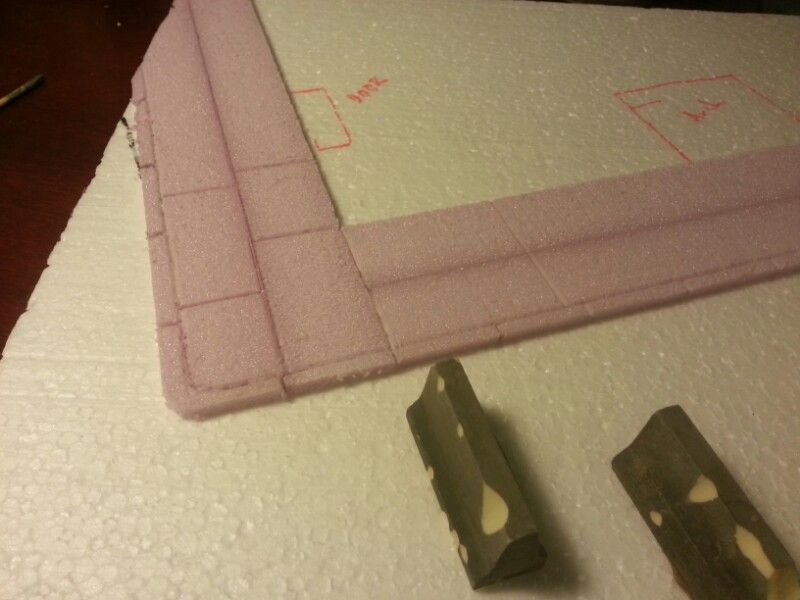
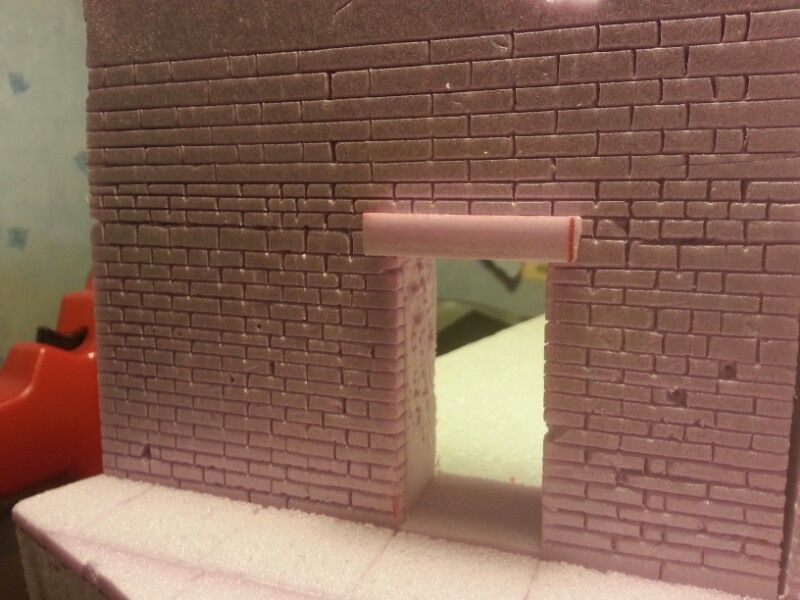
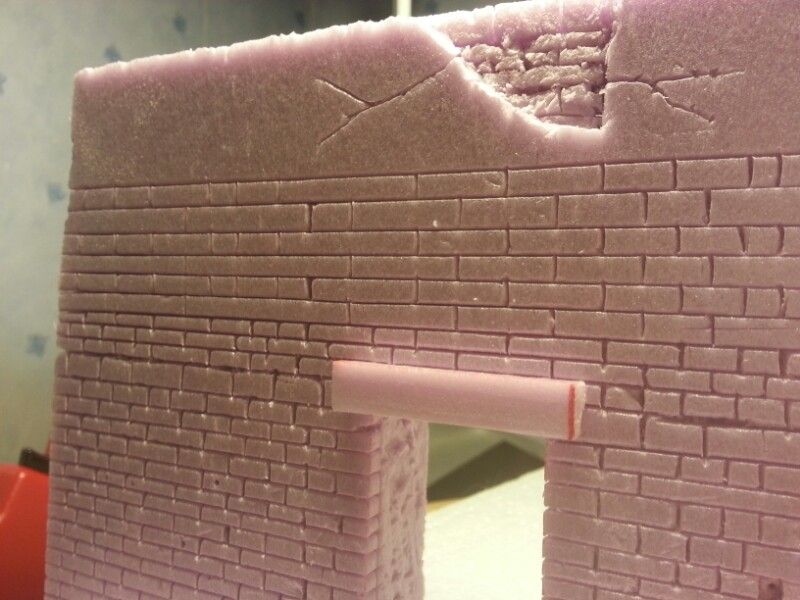
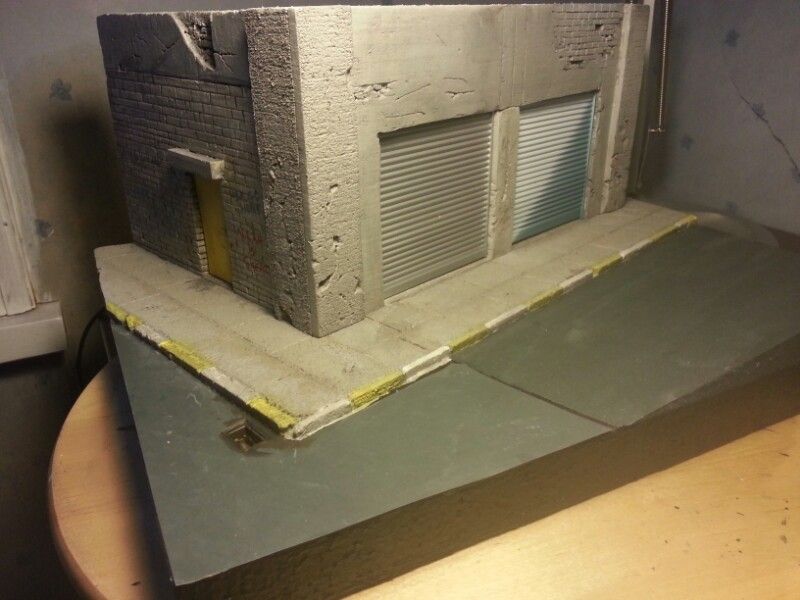
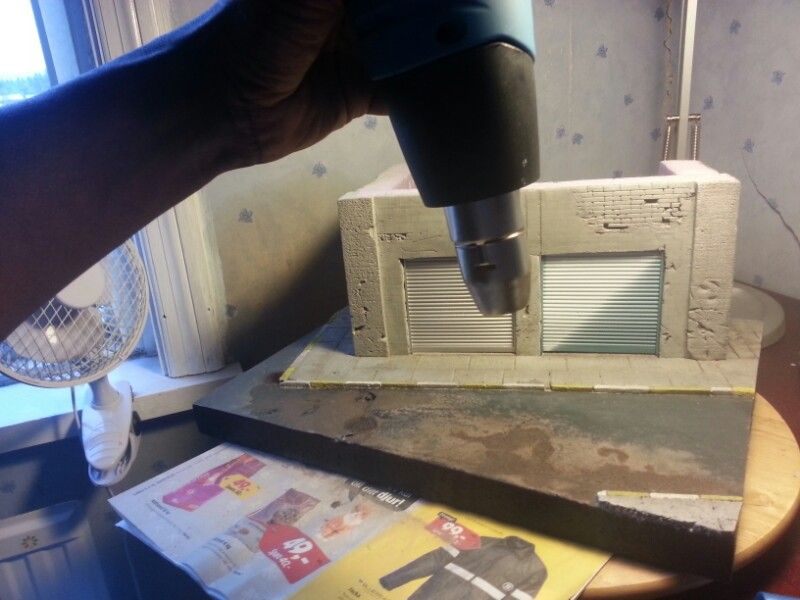
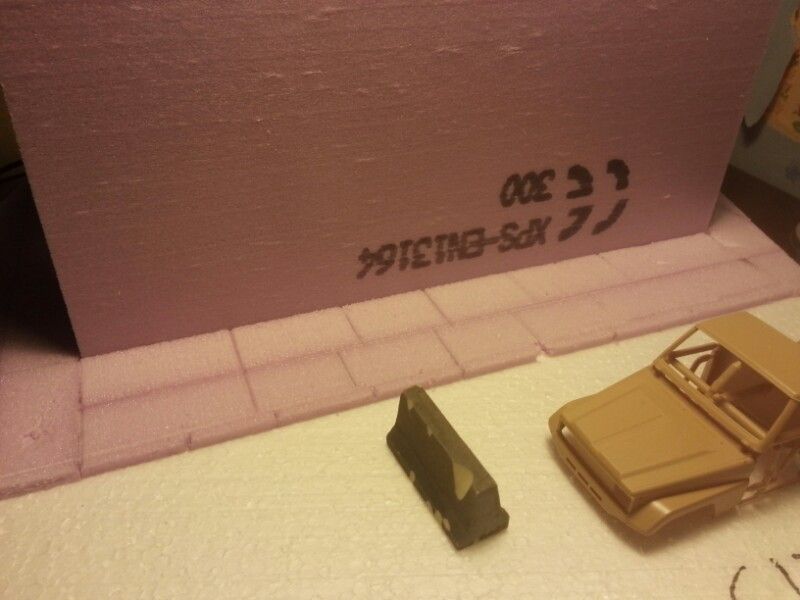
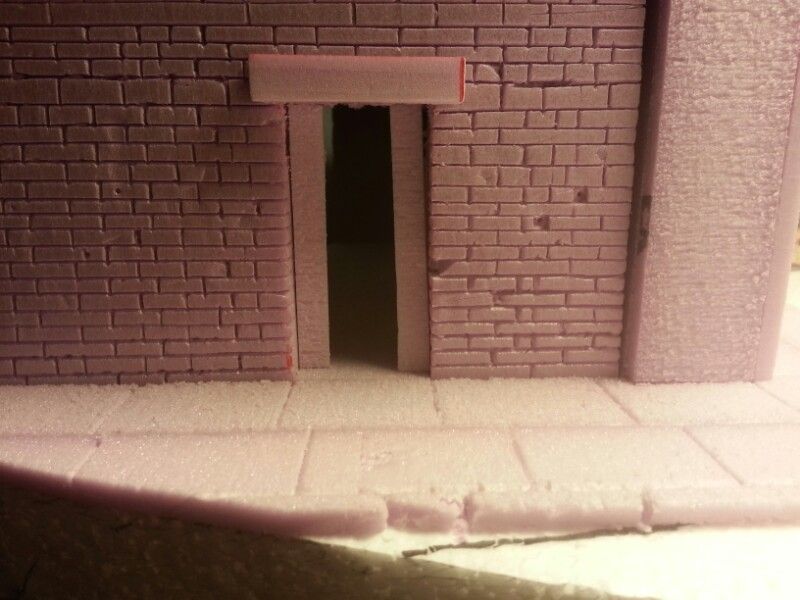
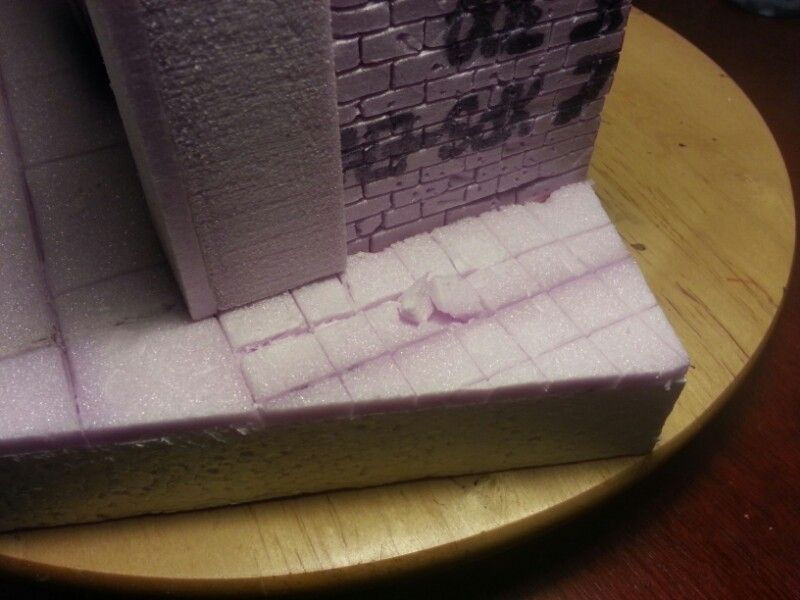
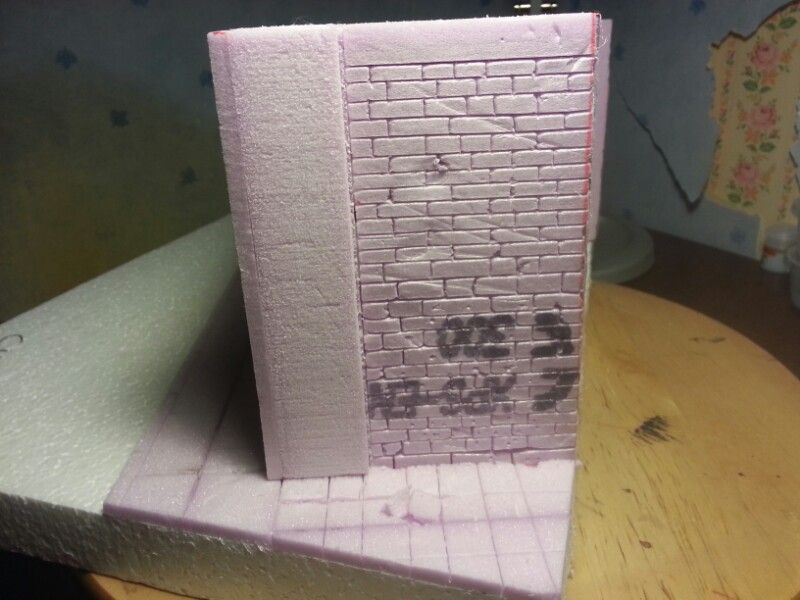
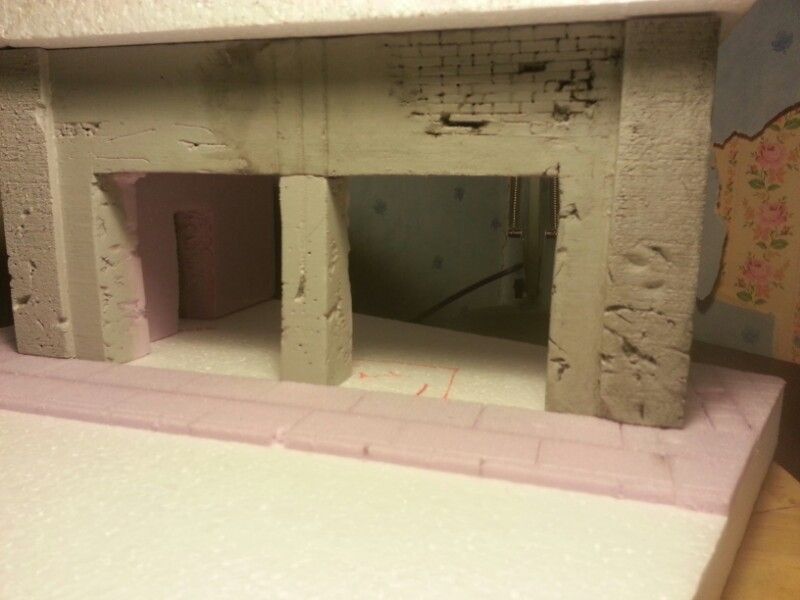
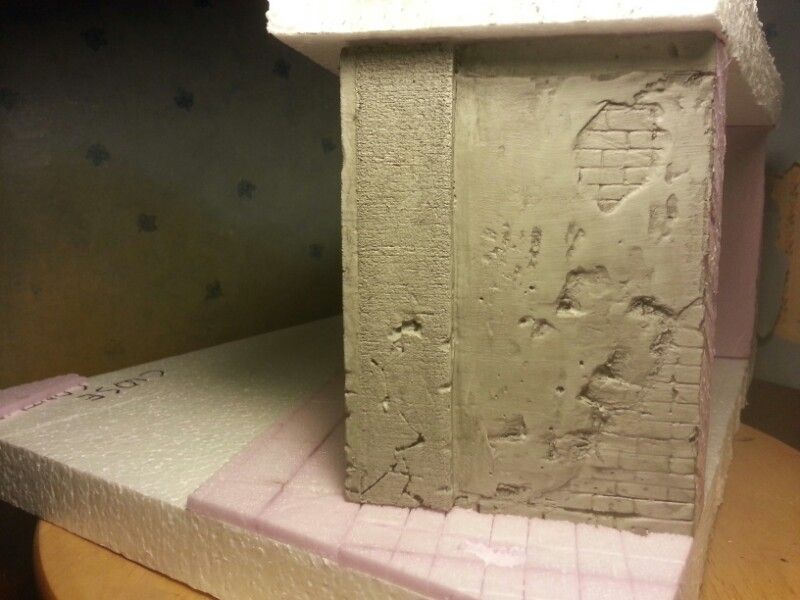
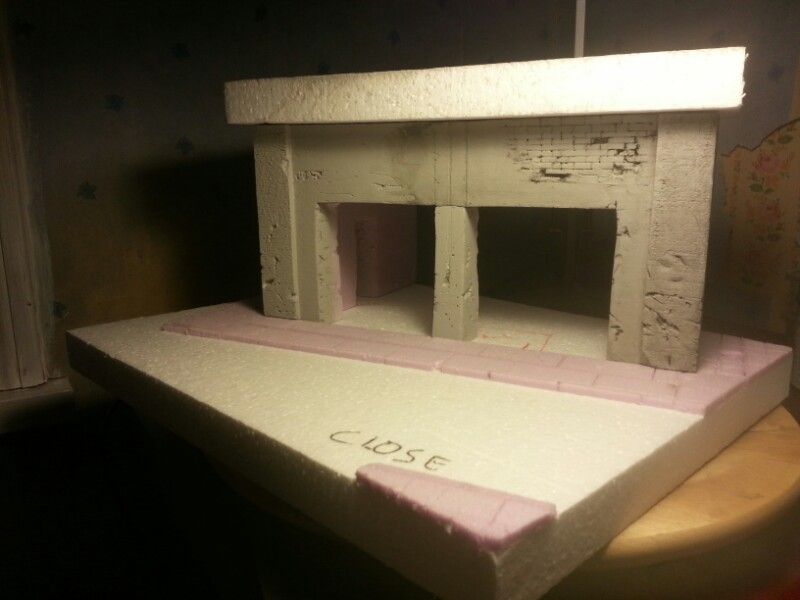
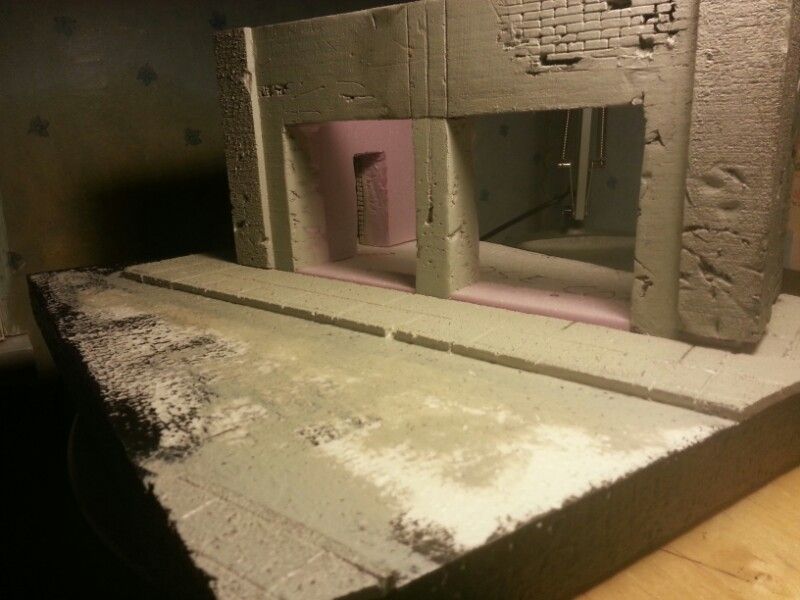
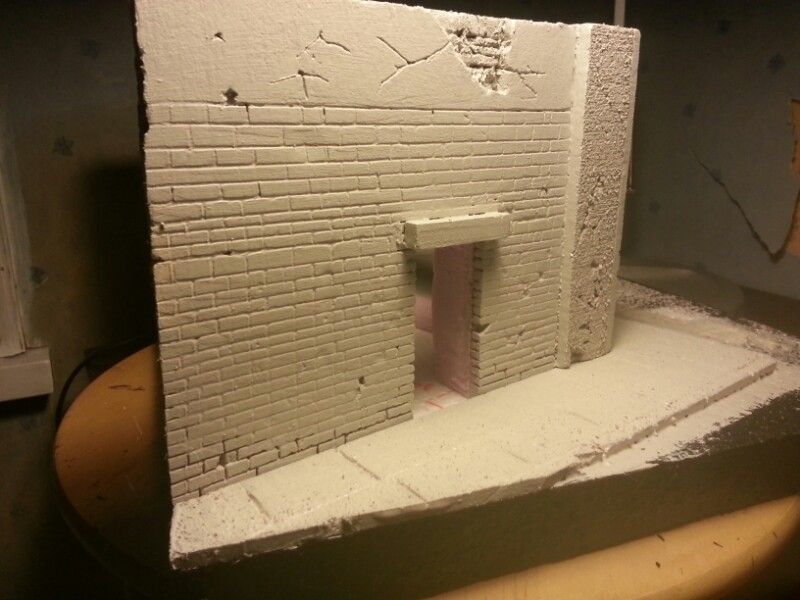
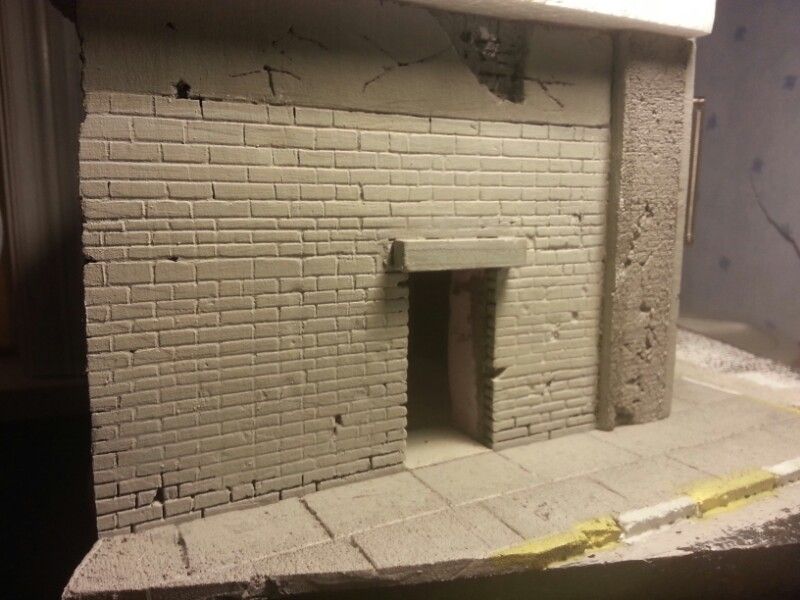
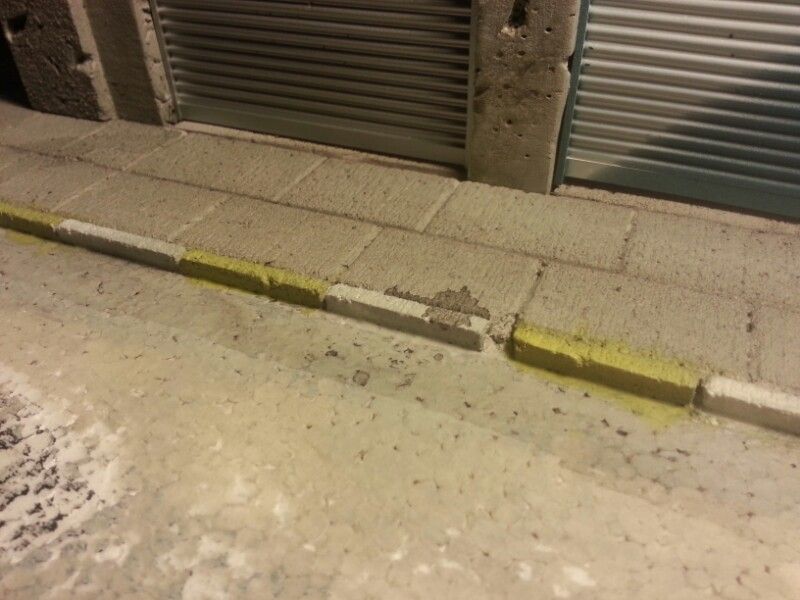
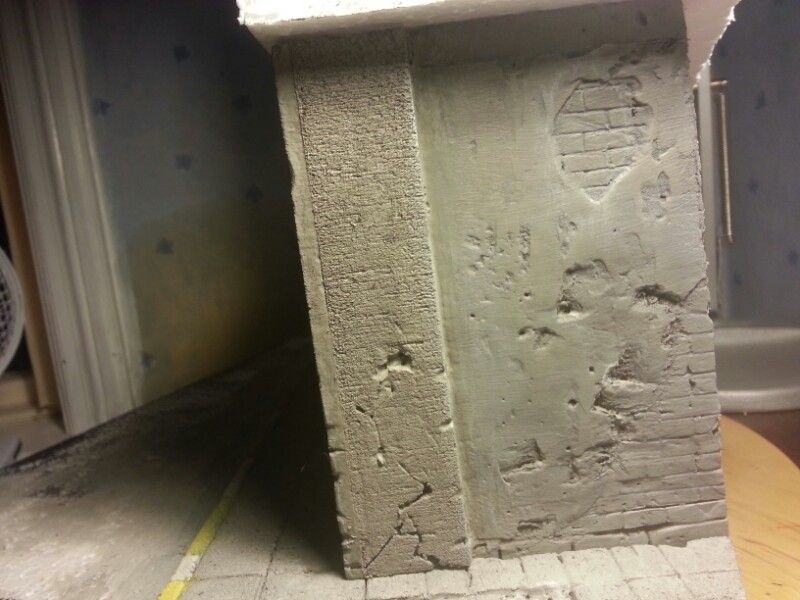
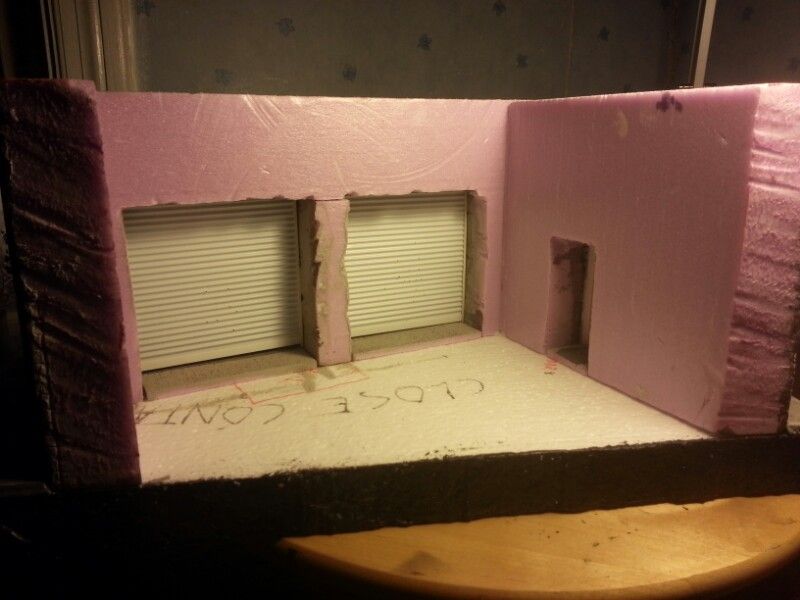
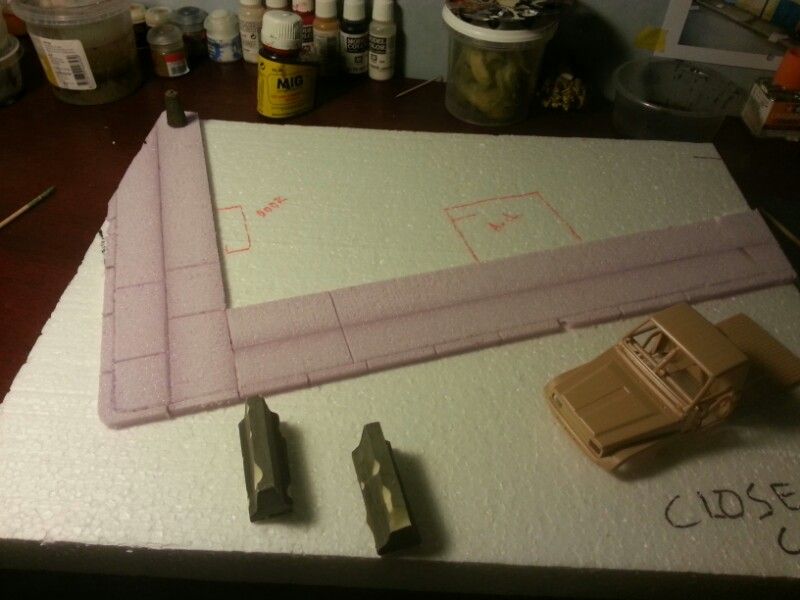
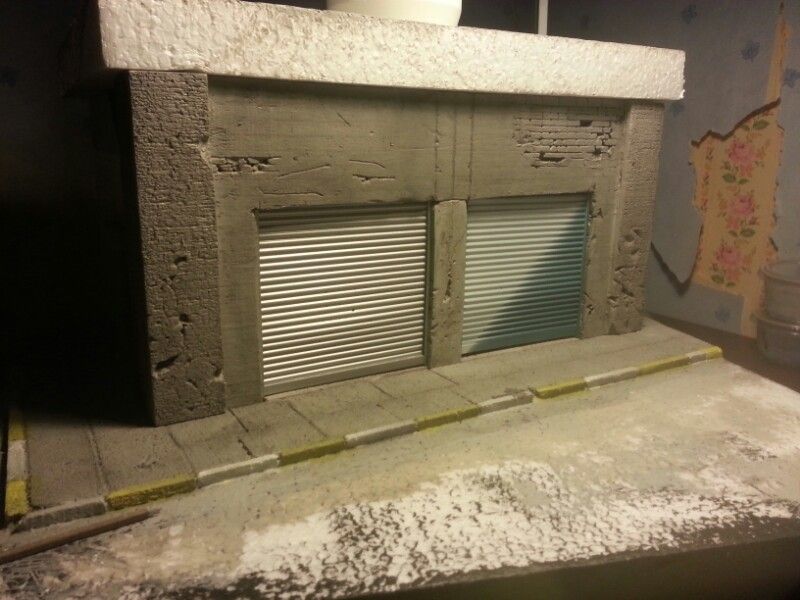
I decided to use pink form for the entire building facade . This is my first time working with pink form materials to build up a scene and I must say that I am pretty impressed with myself. I think it looks good but you can decide for yourselves.

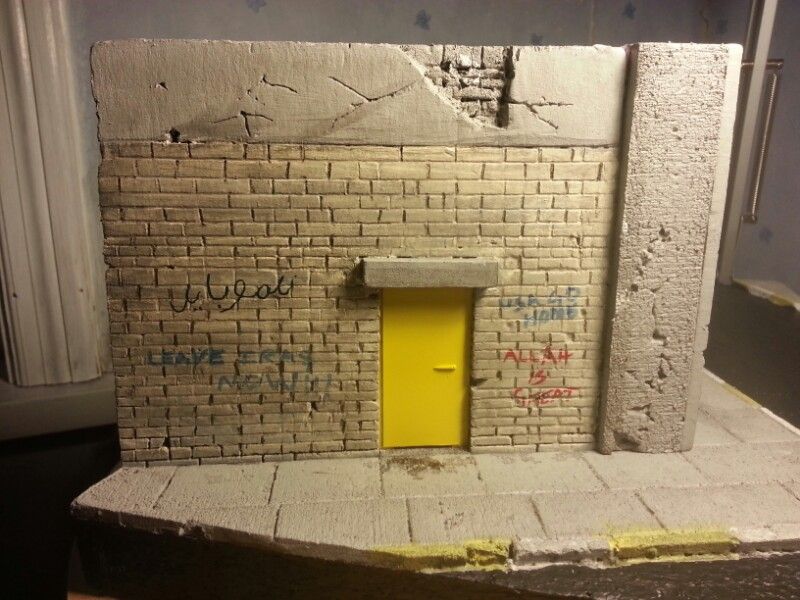
I used a xto knife and a ruler and made careful incisions into the foam to give an effect of the real thing. I used the same method to make the bricks which I am quite satisfied with the results.

Pictures say a thousand words. You be the judge :

The pictures are as it is. So forgive me for the quality:
wip_close_contact001_zps86bb0b4a.jpg


wip_close_contact002_zpsb0b260c9.jpg


wip_close_contact003_zps5090b411.jpg


wip_close_contact004_zps3437f2e6.jpg


wip_close_contact005_zps83158e2f.jpg
 
wip_close_contact035_zpse3860fde.jpg


wip_close_contact036_zpsac2b8753.jpg


wip_close_contact037_zpsf1bf116e.jpg


wip_close_contact038_zpsca148dfd.jpg


wip_close_contact039_zps0853f4ec.jpg


wip_close_contact040_zpsc71d7f2a.jpg


wip_close_contact041_zps28007047.jpg


wip_close_contact042_zps84b195c4.jpg


wip_close_contact043_zpsf7faf637.jpg


wip_close_contact044_zpsbca2dd84.jpg


wip_close_contact045_zps9c8b4f6d.jpg


wip_close_contact046_zps53a86ab9.jpg


wip_close_contact047_zpsd48129fe.jpg


wip_close_contact048_zps02c0b467.jpg


wip_close_contact049_zps62886277.jpg


wip_close_contact050_zpscfa9674d.jpg


wip_close_contact051_zps0d347484.jpg


wip_close_contact052_zps8d3cc3be.jpg


wip_close_contact006_zpsf10ea057.jpg


wip_close_contact007_zps0b4fc20c.jpg


wip_close_contact008_zps0c5f63ba.jpg


wip_close_contact009_zps76188eb4.jpg


wip_close_contact010_zpse9ec5745.jpg


-------------------------
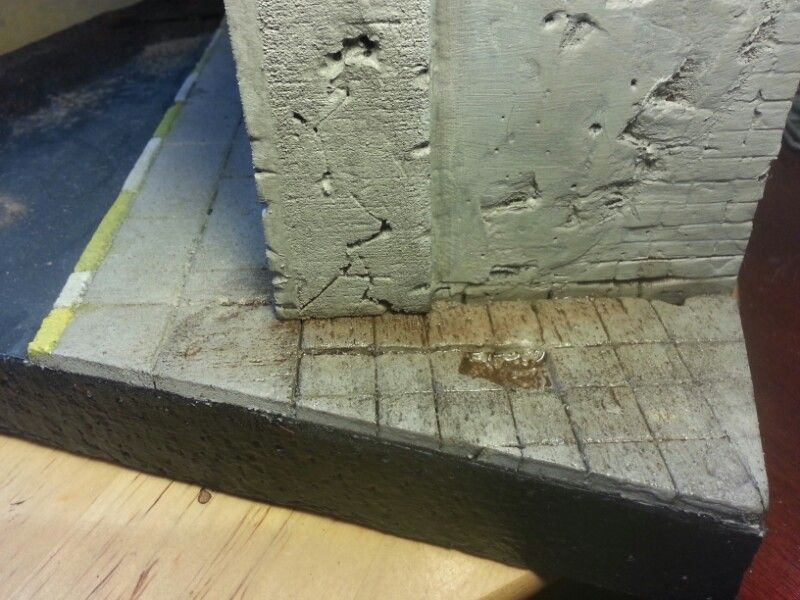
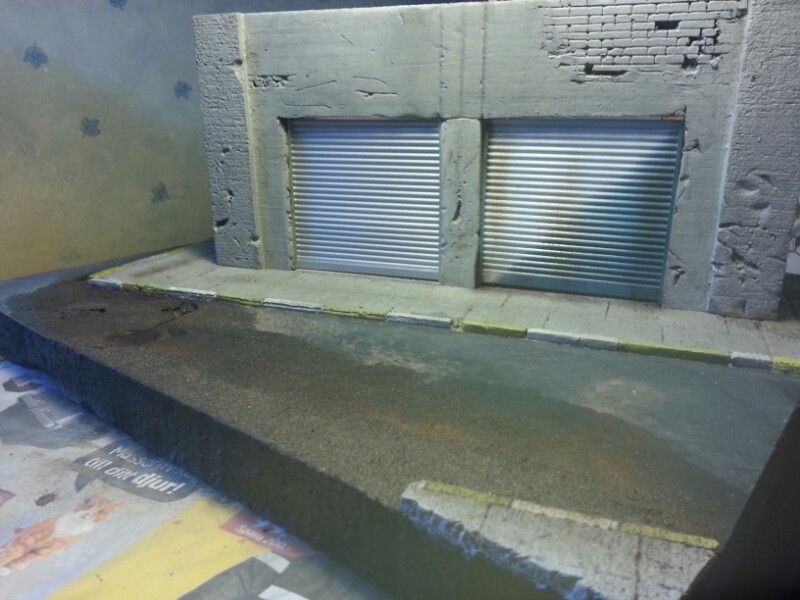
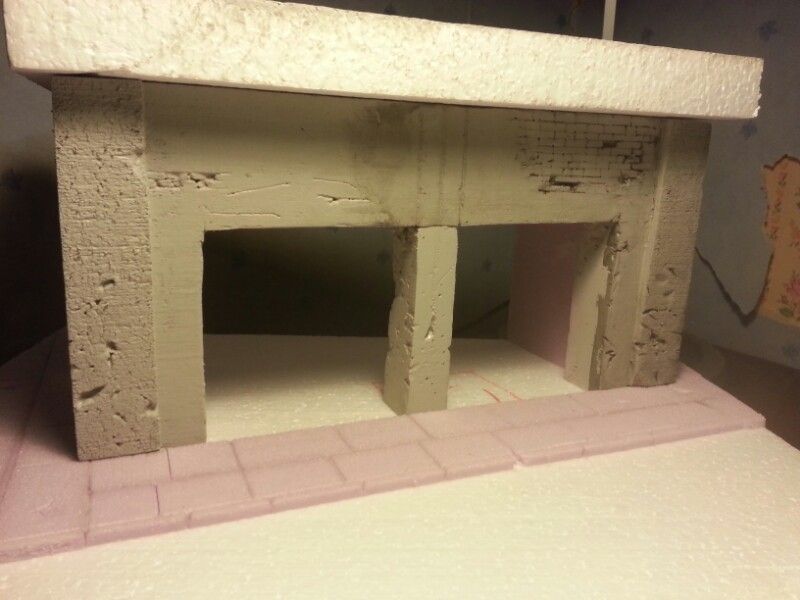
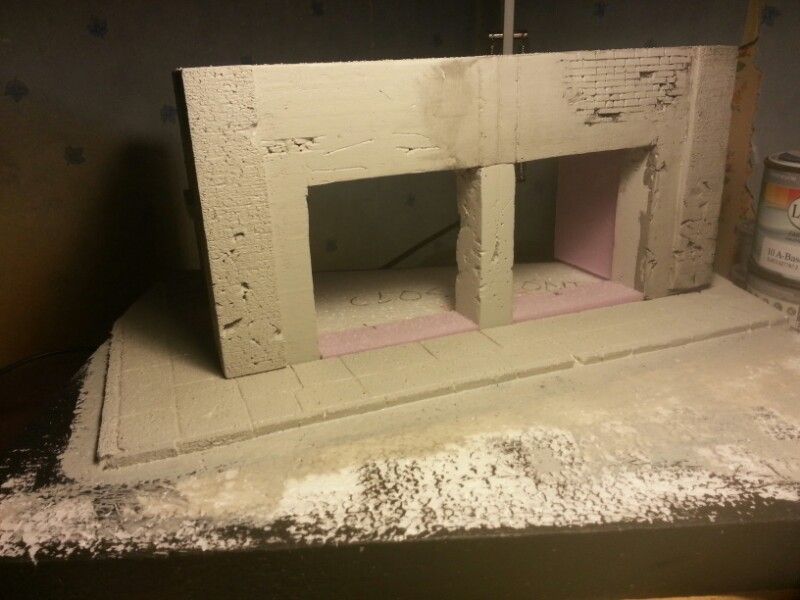
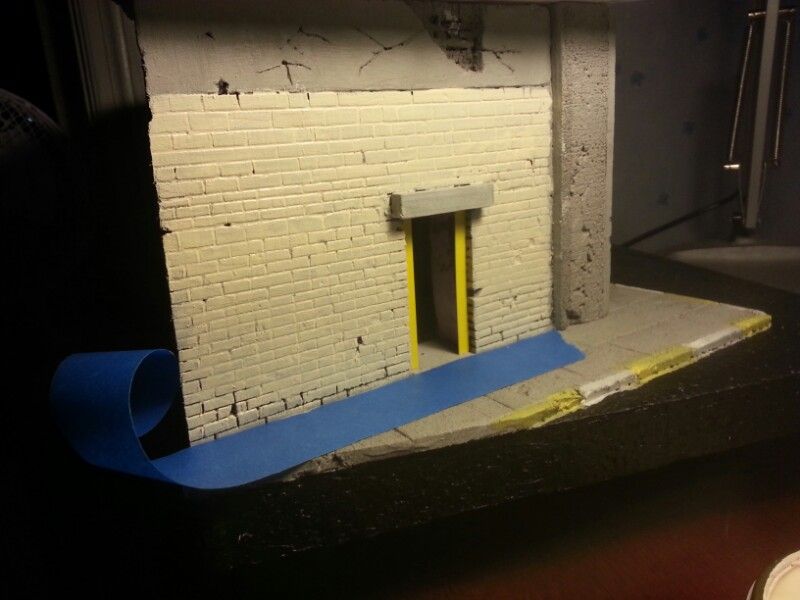
Here I have painted the pink form with a concrete color that I had mixed at a department store. I must say that the colors did much to the outlook of the facade. It made the foam look like concrete. After the concrete paint was dried I went over the form with a black wash which amazingly brought out the details and made the concrete even more believable.


wip_close_contact012_zps97bb51f0.jpg


wip_close_contact013_zps6a76a9f5.jpg


wip_close_contact014_zps6f9889b3.jpg


wip_close_contact015_zps88ec2aa1.jpg


wip_close_contact016_zps7a8020ae.jpg


wip_close_contact017_zpsdffba187.jpg


wip_close_contact018_zpsa24b67c8.jpg


wip_close_contact019_zps0ab19ed0.jpg


wip_close_contact020_zps29a30bf0.jpg


wip_close_contact021_zps6243dc1b.jpg


----------------------------------

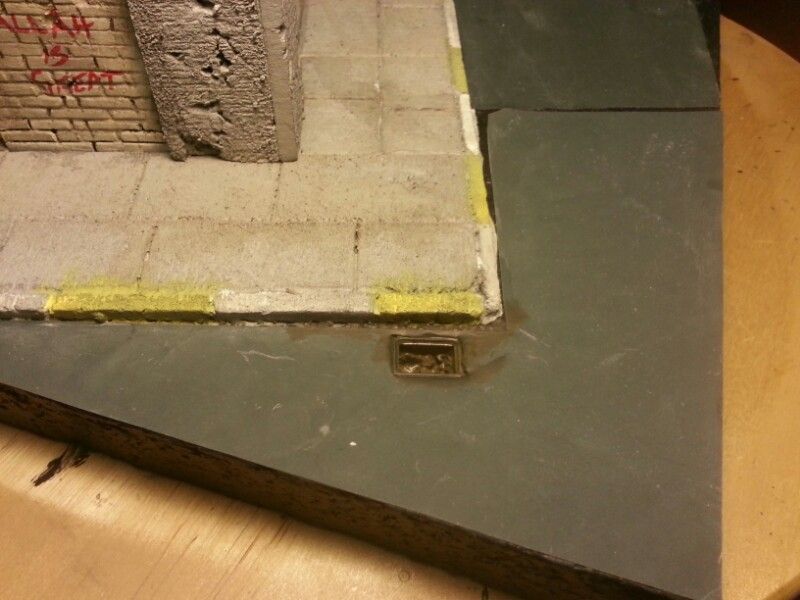
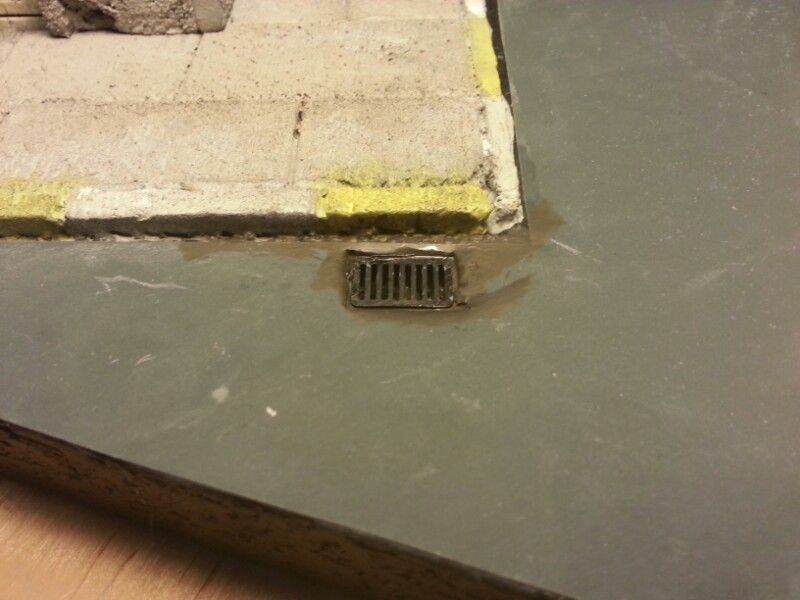
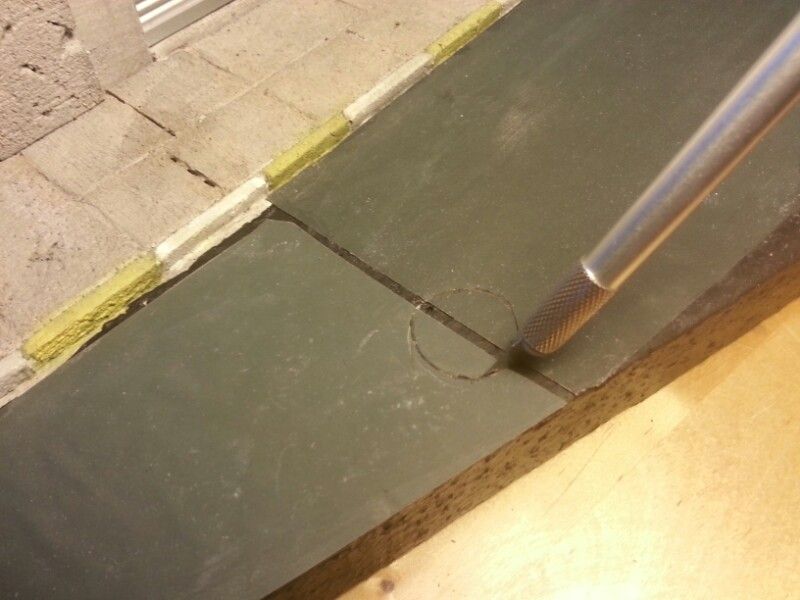
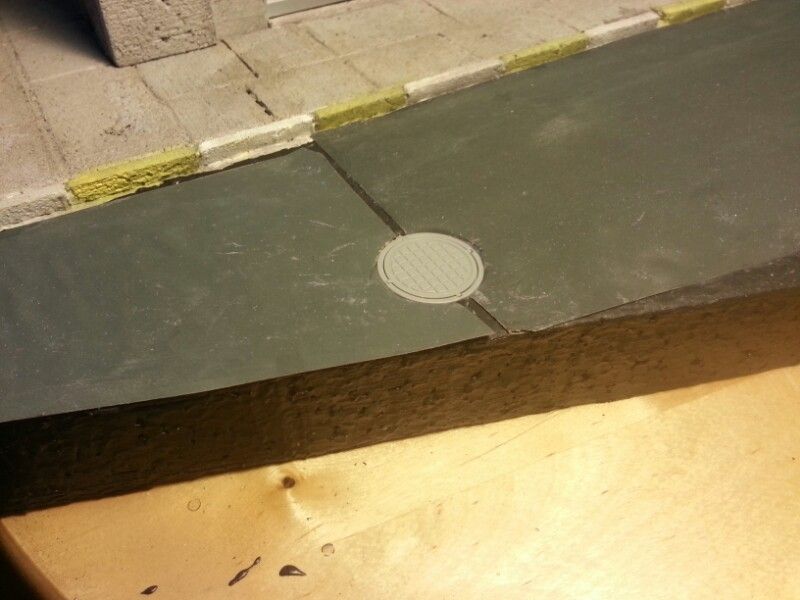
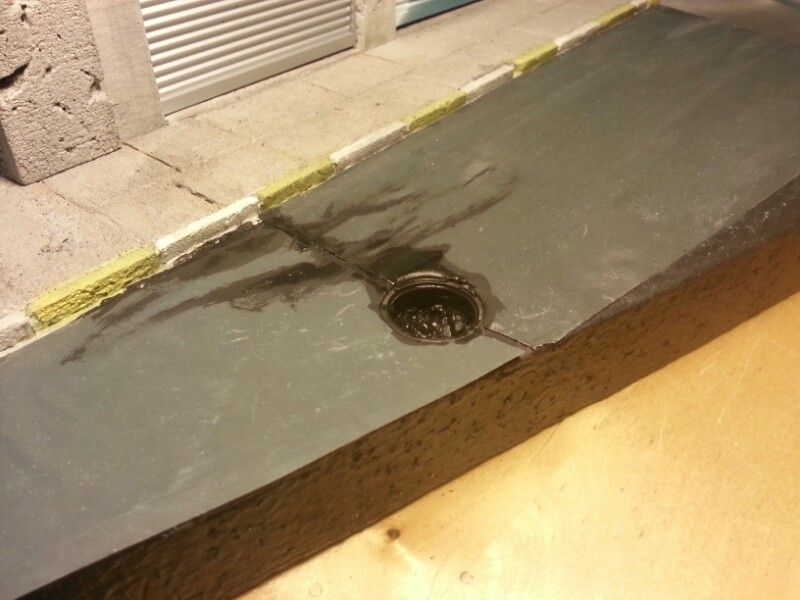
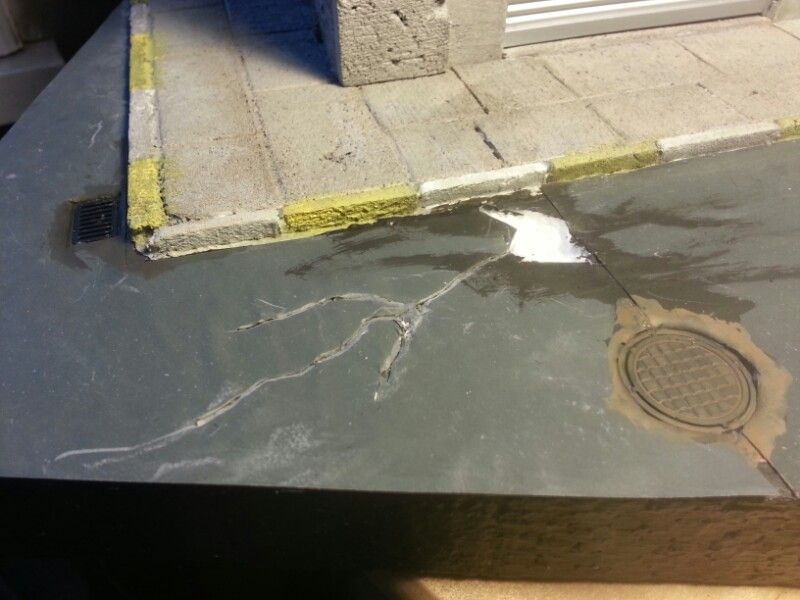
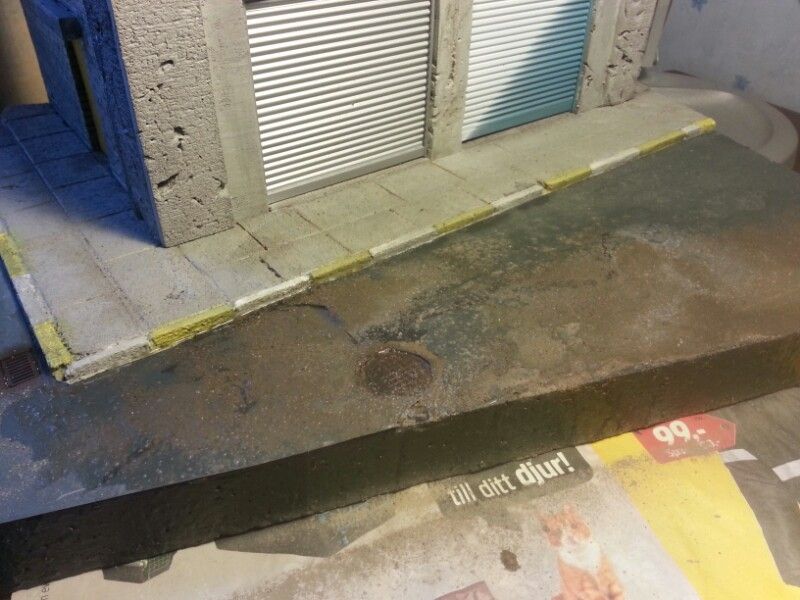
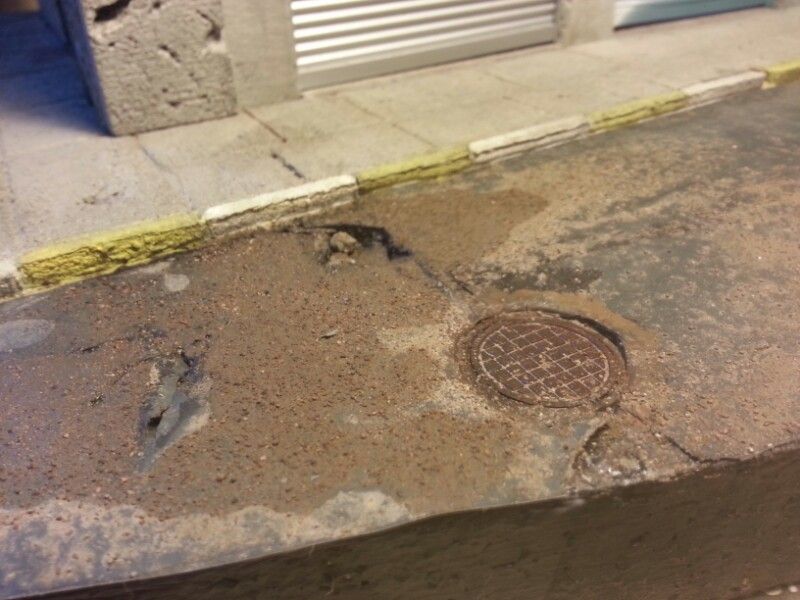
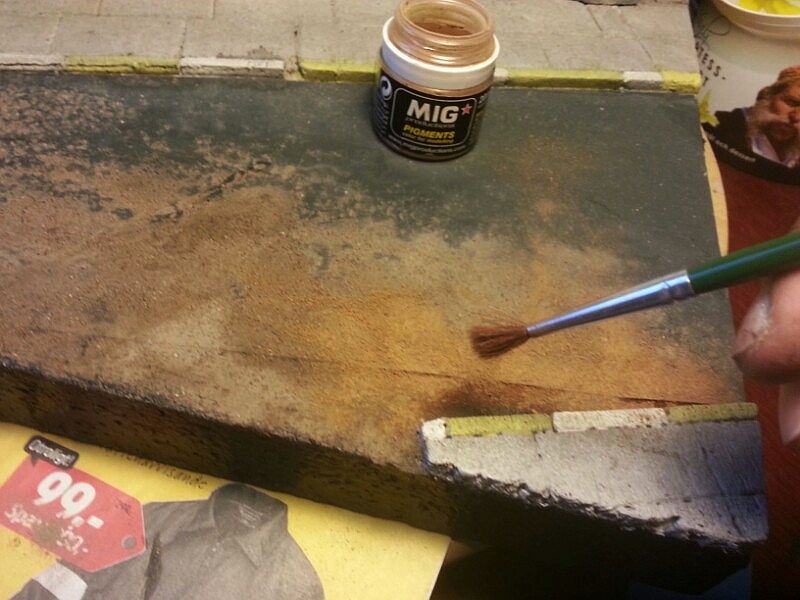
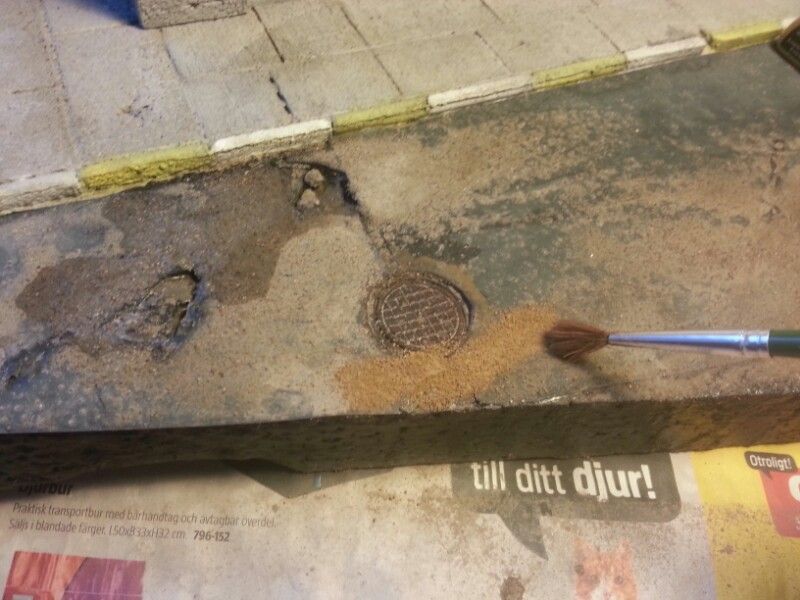
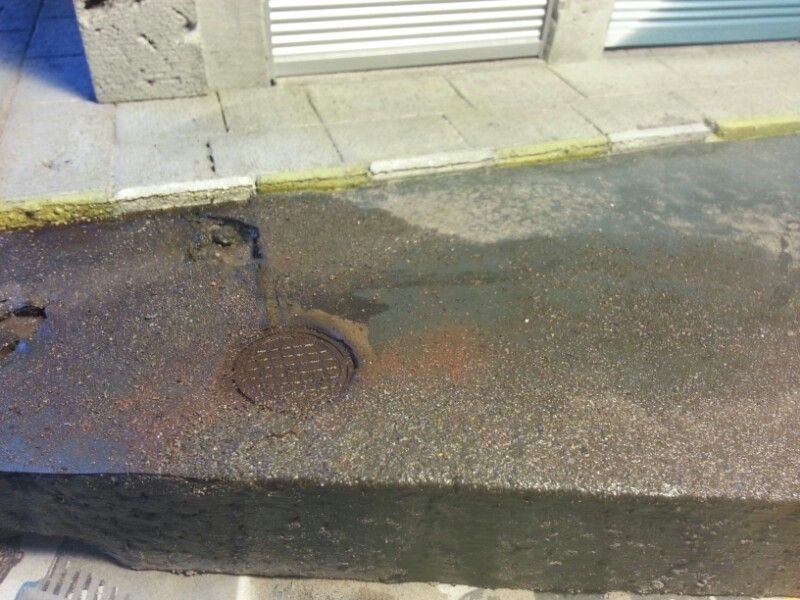
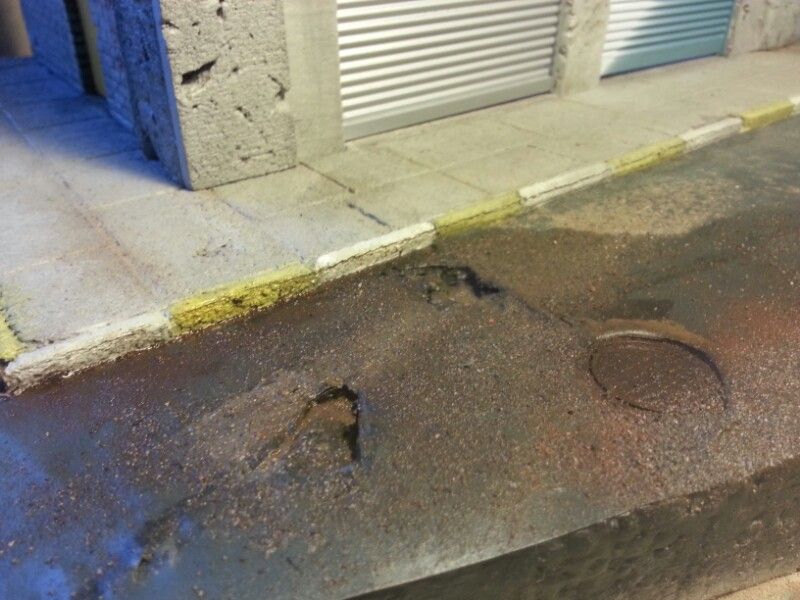
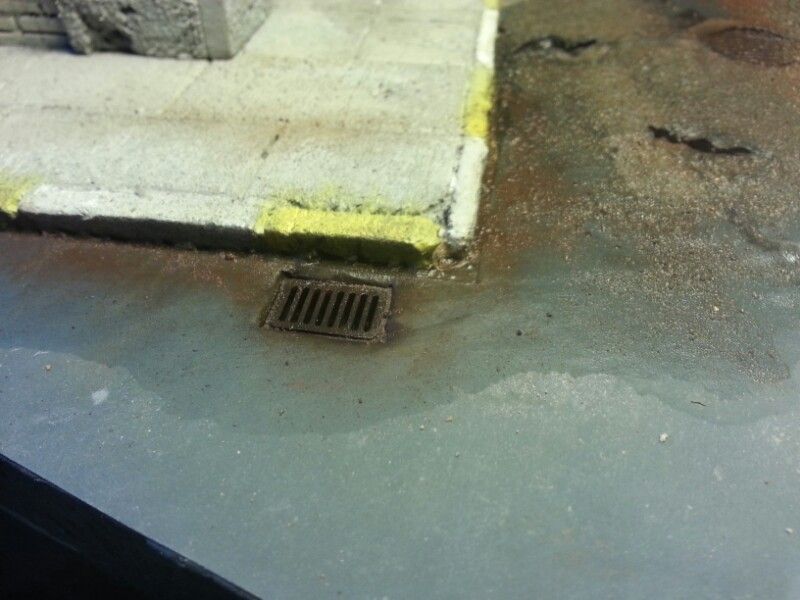
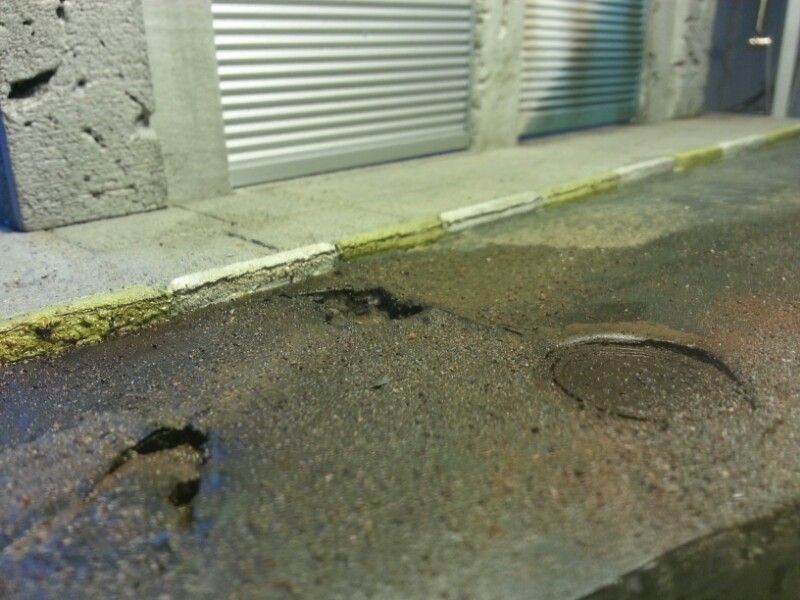
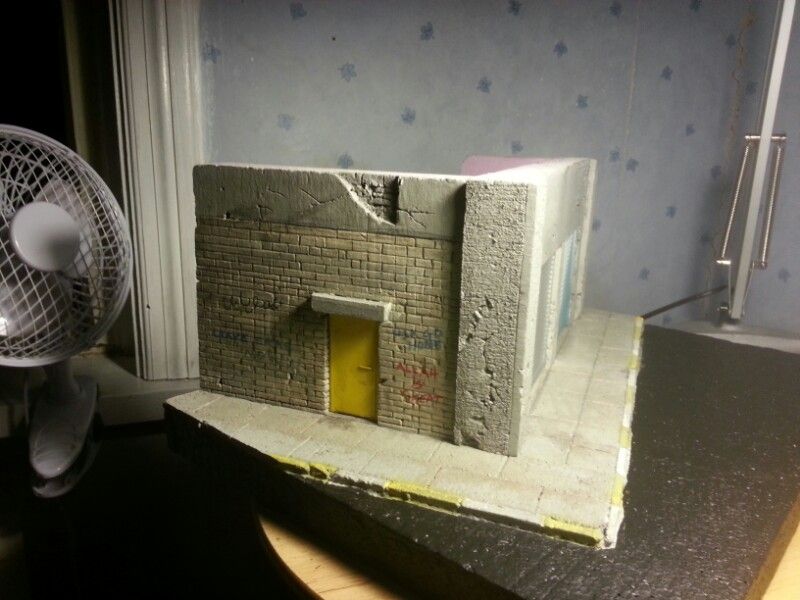
This is an interesting technique which seems to be easy to master. I've done a little more work. More wash and painting done on the walls. Added the tarmac roads, represented by using fine sand grain sand paper. Made holes for the drainage covers and Manholes. These are from Miniart. I then proceeded to paint the holes using a black color to give it depth. Then it was just a matter of fitting the covers over the holes. Making the holes were easy as the base is white form. Made cracks and small potholes which were easy. The cheap one. Added graffiti on the wall. Then I added real dust, real dirt, and earth pigments( from MIG) and mixed everything to blend it all in. on the roads.


wip_close_contact022_zps71e86d6f.jpg


wip_close_contact023_zps84cd28f7.jpg


wip_close_contact026_zps6591a37d.jpg


wip_close_contact027_zps315bb390.jpg


wip_close_contact028_zps7446f22c.jpg


wip_close_contact029_zpscdd5ea05.jpg


wip_close_contact030_zps977bc72b.jpg


wip_close_contact033_zpsaa277804.jpg

[/quote]


wip_close_contact009_zps76188eb4.jpg


wip_close_contact010_zpse9ec5745.jpg


-------------------------
Here I have painted the pink form with a concrete color that I had mixed at a department store. I must say that the colors did much to the outlook of the facade. It made the foam look like concrete. After the concrete paint was dried I went over the form with a black wash which amazingly brought out the details and made the concrete even more believable.


wip_close_contact012_zps97bb51f0.jpg


wip_close_contact013_zps6a76a9f5.jpg


wip_close_contact014_zps6f9889b3.jpg


wip_close_contact015_zps88ec2aa1.jpg


wip_close_contact016_zps7a8020ae.jpg


wip_close_contact017_zpsdffba187.jpg


wip_close_contact018_zpsa24b67c8.jpg


wip_close_contact019_zps0ab19ed0.jpg


wip_close_contact020_zps29a30bf0.jpg


wip_close_contact021_zps6243dc1b.jpg


----------------------------------

This is an interesting technique which seems to be easy to master. I've done a little more work. More wash and painting done on the walls. Added the tarmac roads, represented by using fine sand grain sand paper. Made holes for the drainage covers and Manholes. These are from Miniart. I then proceeded to paint the holes using a black color to give it depth. Then it was just a matter of fitting the covers over the holes. Making the holes were easy as the base is white form. Made cracks and small potholes which were easy. The cheap one. Added graffiti on the wall. Then I added real dust, real dirt, and earth pigments( from MIG) and mixed everything to blend it all in. on the roads.


wip_close_contact022_zps71e86d6f.jpg


wip_close_contact023_zps84cd28f7.jpg


wip_close_contact026_zps6591a37d.jpg


wip_close_contact027_zps315bb390.jpg


wip_close_contact028_zps7446f22c.jpg


wip_close_contact029_zpscdd5ea05.jpg


wip_close_contact030_zps977bc72b.jpg


wip_close_contact033_zpsaa277804.jpg
 
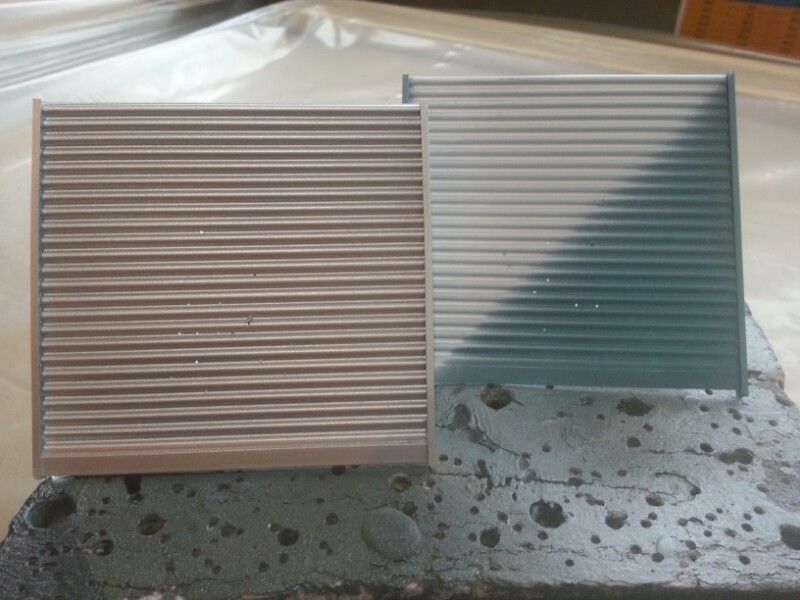
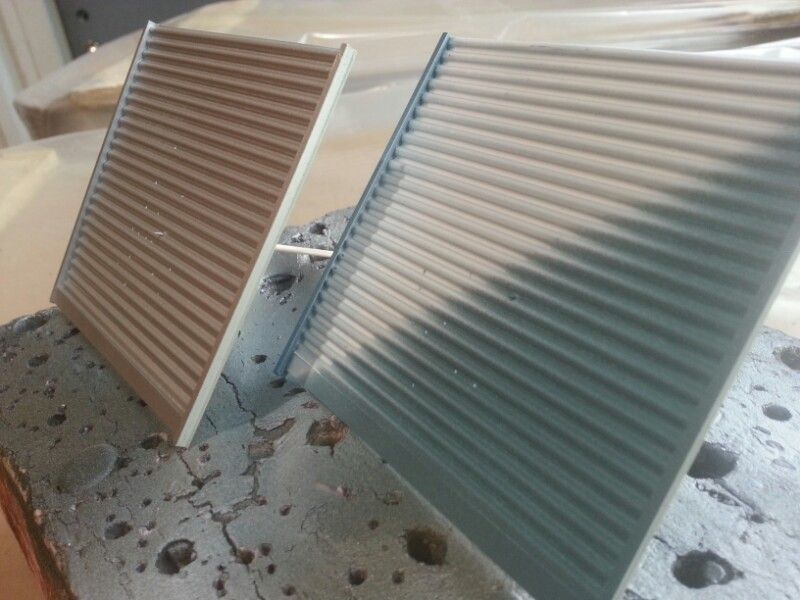
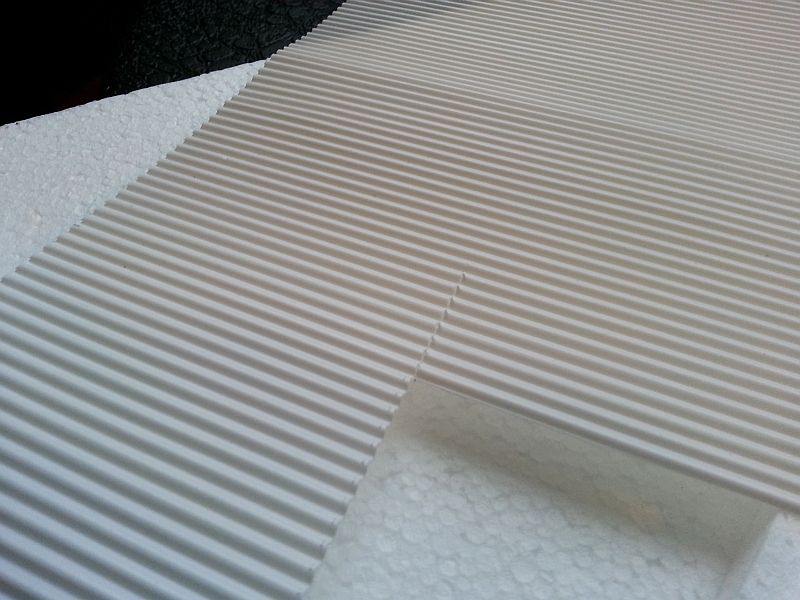
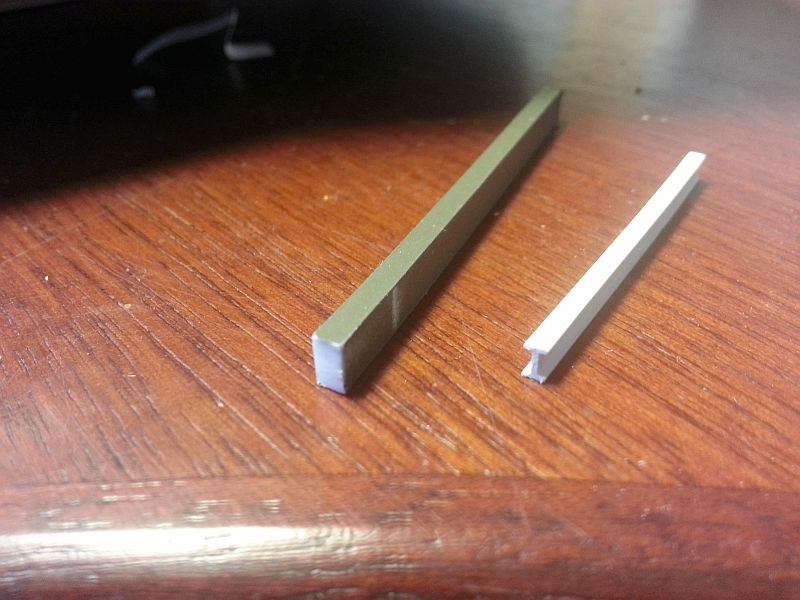
These are what I used to make the roll doors or shutters. These are styrene pieces I had on hands. Simple and effective. The idea here is the overall look. That's what I am trying to achieve here.

Currogated and I-Beam styrene. The I-beams were placed on the sides to act as steel braces and a guide for the doors. I think the end results look pretty good.

wave_plaststruct_zps32949a92.jpg


t-beam_single_balk_zps134e569d.jpg


--------------------------------

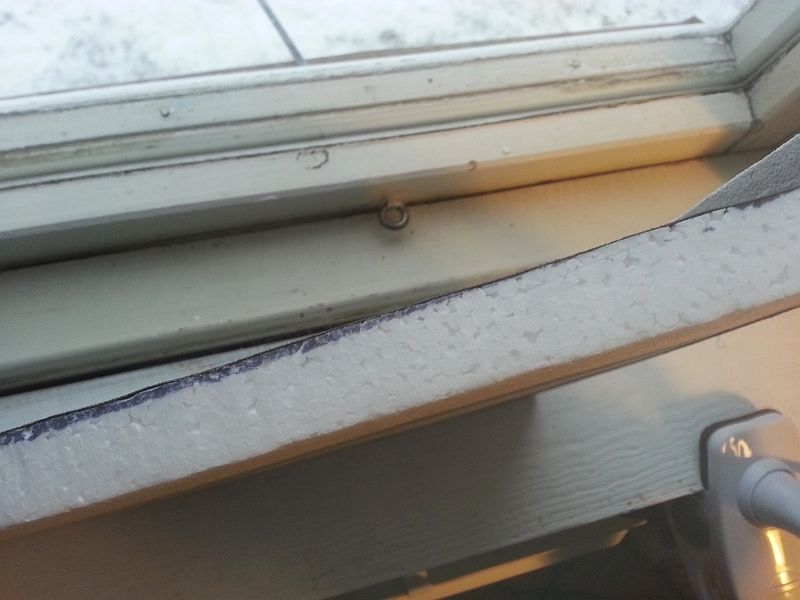
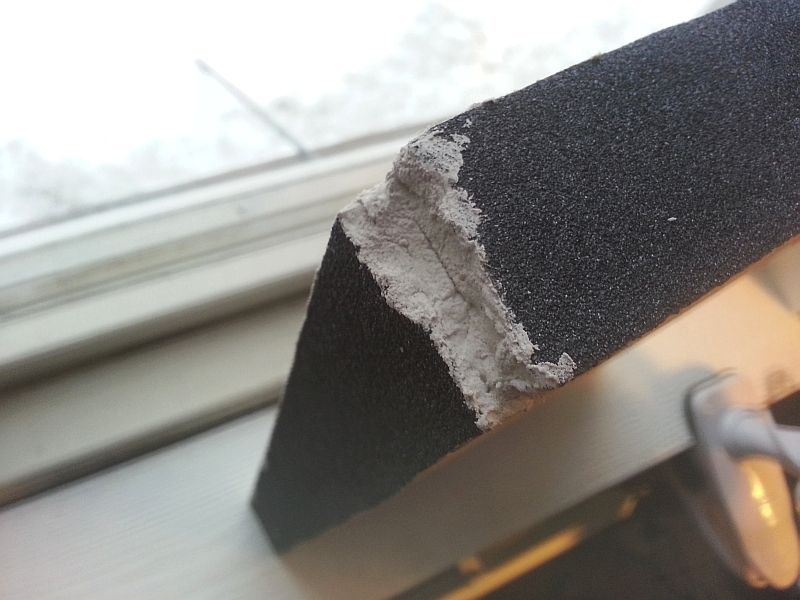
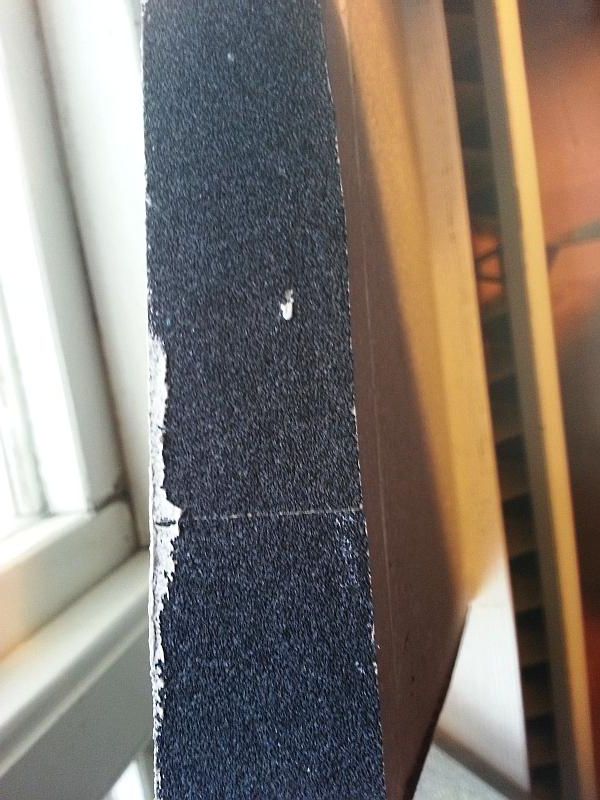
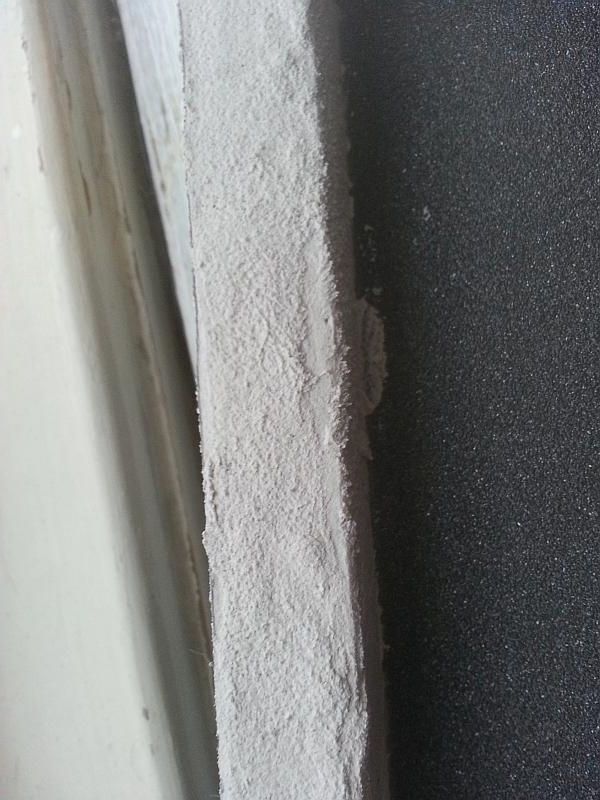
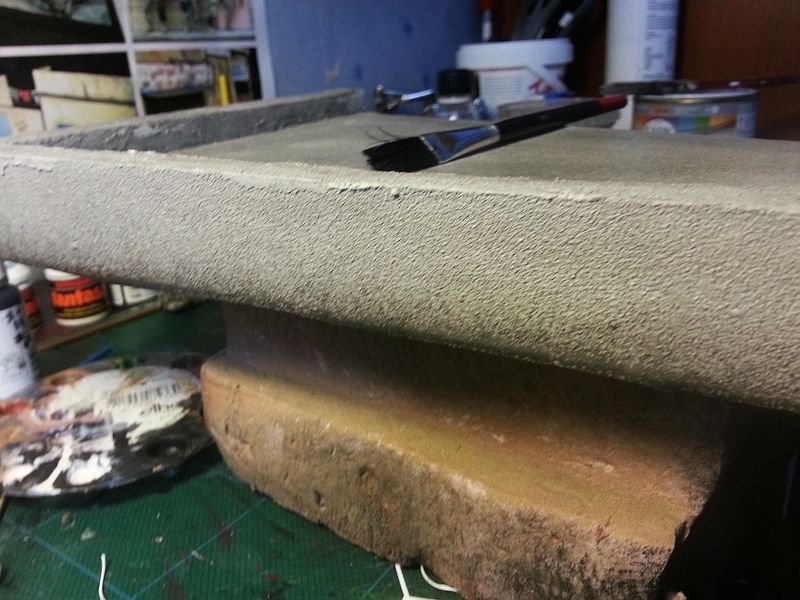
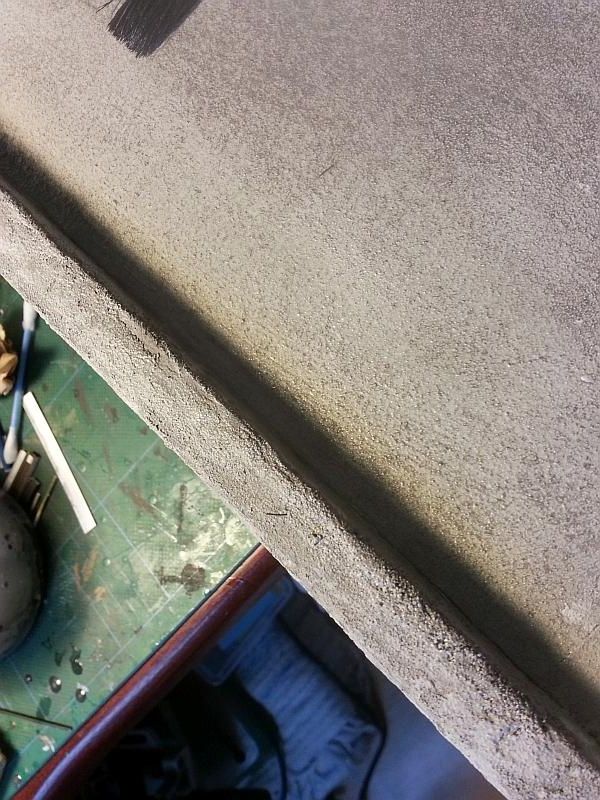
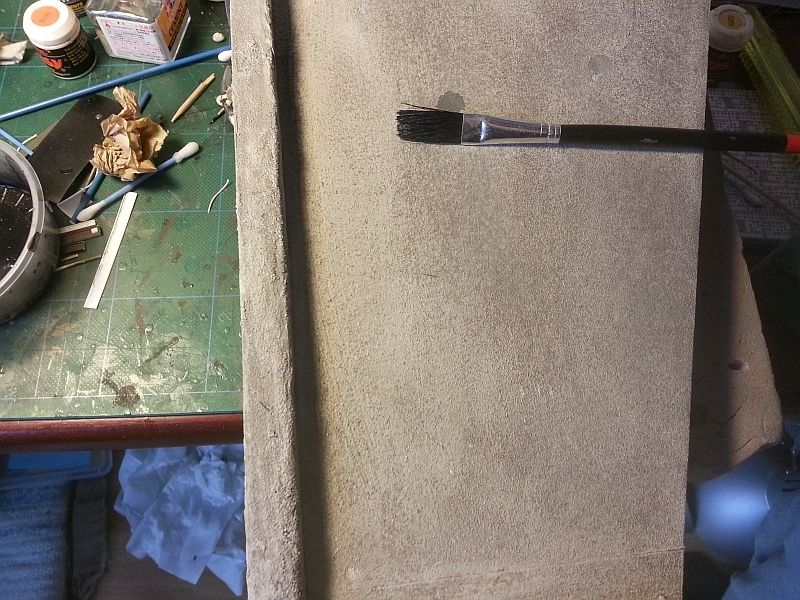
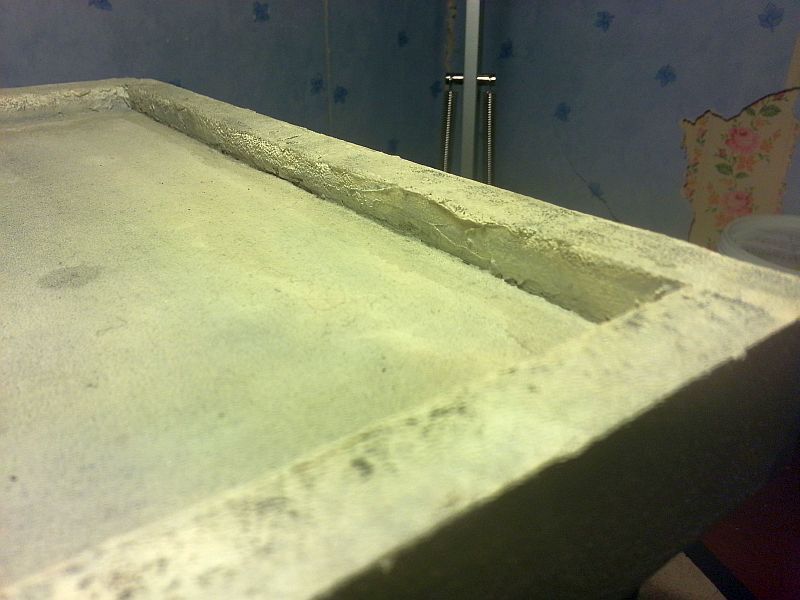
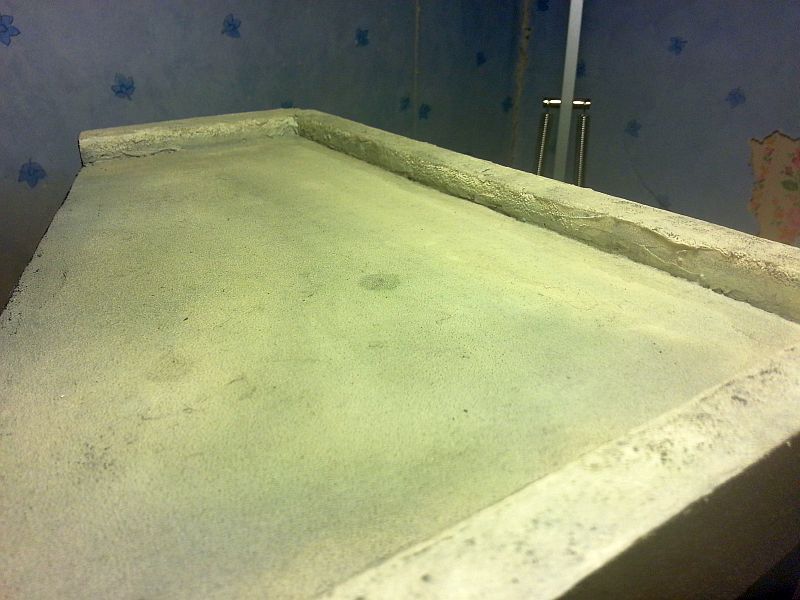
For the roof, I glued sand-paper to the sides and the top of the form to represent Stucco. At the top edges I used wall paste and then used the tip of paint brush to stipple the paste which in returned produced the Stucco effect. At on of the roof corners I chipped out pieces to represent broken concrete, maybe during a mortar attack or just simply worn out concrete. Either way, it looked the part. Then I painted everything with a concrete paint. Then, I used a sponged to dap a yellow paint. Then I went over everything with black wash to give it a worn aged look. Again, sorry for the bad pics:

wip_close_contac_roof4_zpsc0c26f86.jpg


wip_close_contac_roof3_zps7c1883d5.jpg


wip_close_contac_roof2_zpsda529845.jpg


wip_close_contac_roof_zps6b02c531.jpg


wip_close_contac_roof7_zpse4a1d460.jpg


wip_close_contac_roof6_zps93d385c6.jpg


wip_close_contac_roof5_zps01b9f0f2.jpg


cc6_zps2895315d.jpg


cc5_zpsb3a18333.jpg
 
Back
Top