• Modelers Alliance has updated the forum software on our website. We have migrated all post, content and user accounts but we could not migrate the passwords.
    This requires that you manually reset your password.
    Please click here, http://modelersalliance.org/forums/login to go to logon page and use the "Forgot your Password" option.

Charlie Still Don't Surf AH-1G Early

Duke Maddog

Well-known member
Since I'm already doing an AH-1G, I figured I'd get this one done too.

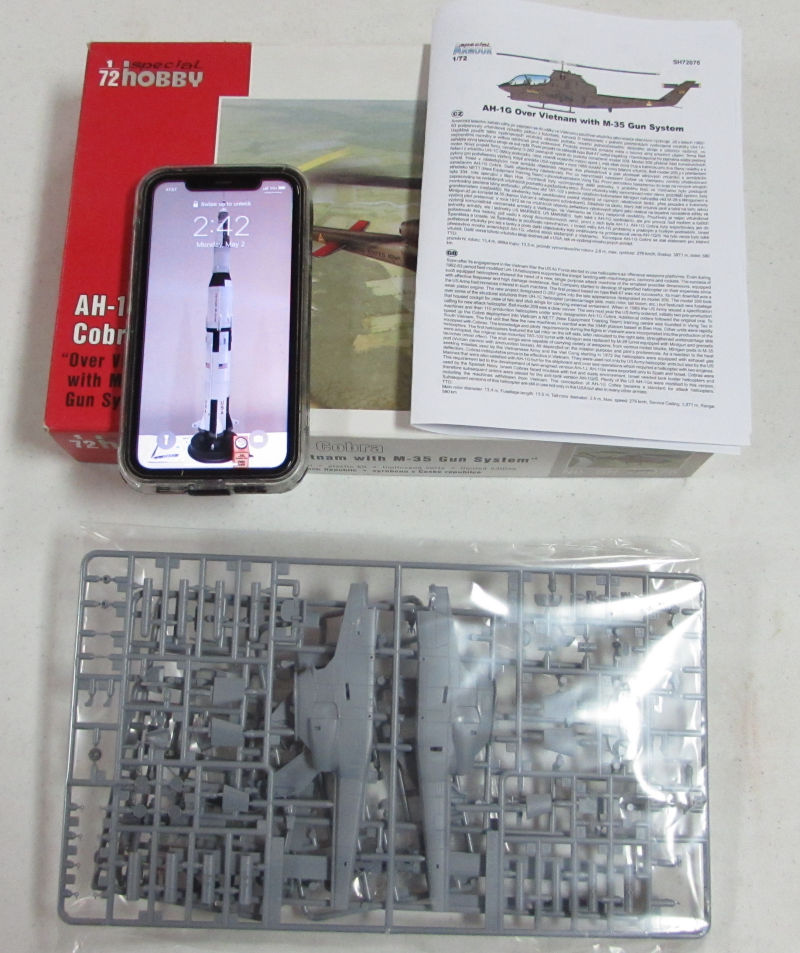
This is the Special Hobby Cobra with the posted date and time that I intended to start:

full


And of course, the interior showing it's not started at the time I intended to build it:

full


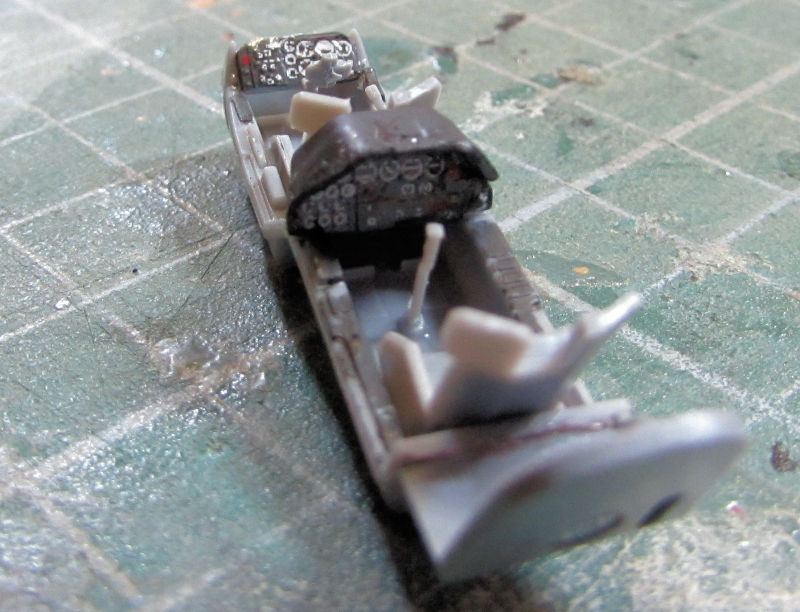
And the work I did on it once I did start is here, starting with the cockpit naturally:

The instrument panel decals looked great so I installed them:

full


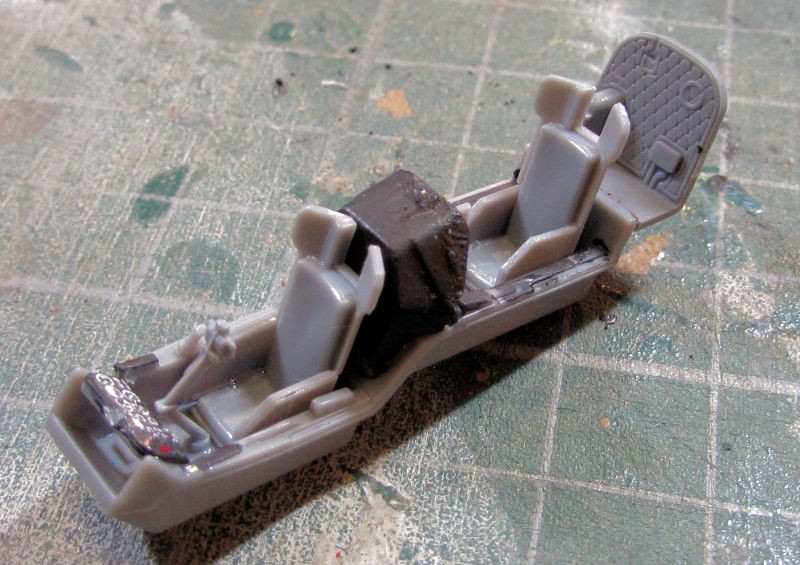
Here's another shot showing the seats and such:

full


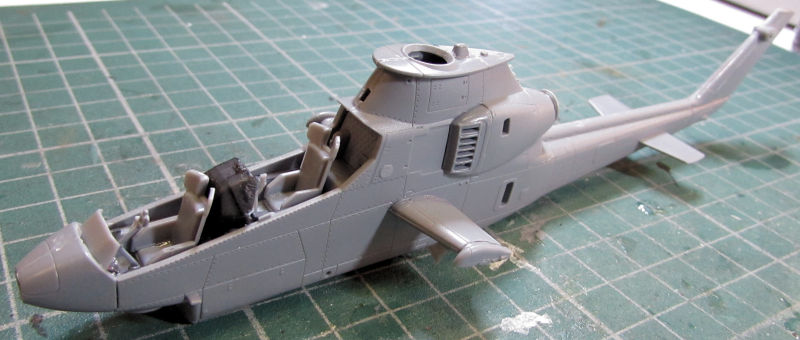
I was on a roll so this is the progress I made alongside the other one that I forgot to take pics of:

full


That's all I have for now. Stay tuned for more...
 
I know this kit has some shape issues around the intakes...but it builds nice and can be had cheap as chips if you catch them on sale. Pretty sure I got mine for under $20. Also pick your scheme early and watch out for parts variations between the schemes. I ended up having to change my markings as I installed the wrong skids. :bang head

Take your time around the canopy when you get there. It's in 5 pieces, but with a little patience (and minimal sanding) the parts fit up pretty well.
 
I know this kit has some shape issues around the intakes...but it builds nice and can be had cheap as chips if you catch them on sale. Pretty sure I got mine for under $20.

True, I got mine at a blowout for $5 each. As for the intakes, there is a cheap fix for it from Bren Gun:
BrenGun7208072081Master72039M72232.JPG
 
True, I got mine at a blowout for $5 each. As for the intakes, there is a cheap fix for it from Bren Gun:
That's good to know. Will have to look into a set if they aren't too much for the second one (bought a second one for another set of decals since I messed up the first set).

Edit: Looks like Dauntless Hobbies ebay store (rebelalpha) has both the intake only & PE sets in stock for reasonable $$. Will certainly grab one or the other. I've gotten quite a few items from him over the past 2-3 years...especially OOP decal sheets.
 
Last edited:
Thank you guys for the excellent comments and suggestions. I won't be getting the aftermarket parts as I haven't the funds to cover them. I'm trying hard to keep to the right parts for the version I want to do, but the instructions are not clear. As it is, I am making this with the tail rotor on the left since I had read that the early ones had it there before it was moved to the right. Unfortunately, the painting schematics don't tell which version has it that way so this might end up being inaccurate anyway. These Special Hobby kits are so confusing and difficult to build with instructions that are as clear as mud. That and the five part canopy are why I hesitated to start this before now.

I believe I got mine at Nationals for about $12.00 too.
 
Which scheme were you eyeballing? I can try to have a look through the instructions as well and try to help identify the "gotchas". I don't recall having any issues building mine up aside from not picking my scheme early enough and then running through the directions and highlighting where I needed to install certain parts and the decals. Decals are very thin, so use extra care when putting those down. They do settle down nicely though. It was a fun little build that didn't take very long.
 
Thank you Chris. I'll try to get a picture of my planned scheme and post it here so you know. Also, I did already glue the tail on for a left side tail rotor. Thank you also for the warning on the decals. I will probably hit them with a layer of Liquid Decal Film before placing them to reduce the chances of folding and tearing. Hopefully I'll have that pic soon.
 
Chris, here are the pics I promised. There are four options offered, and the schematics all show them with right side tail rotors, despite there being an option for a left-side tail rotor craft. Each option is shown with a left side, right side, top, and bottom view here. In the first pic you can see my initial choice was "Thor's Hammer", but I'm still uncertain as to which one I want to do:

full


Here's the second page with the other two options:

full


And even though this doesn't apply to this model, I wanted to show you my choice for the AH-1G Late that is in the other Thread. The choice I made is the bottom one here:

full


When it comes to the helicopter in this Thread, let me know the best option for a left-side rotor craft, as well as what skids to use and any other parts I need to know about. I am so confused and hope that you can clear things up for me. Thank you.
 
In the first pic you can see my initial choice was "Thor's Hammer", but I'm still uncertain as to which one I want to do:
full
Thor's Hammer refers to the M35 20mm gatling gun mounted, parts may not be in that kit:
1654206699653.png

Faired (wider) skids) and tailboom should have been swapped by then.
This example, called Thor's Hammer as well, has early features such as the lights in the nose, the early tailboom, no M35 system, and the faired skids:
1654206828229.png
 
Thank you Saul, that is excellent information. I have built this model to the closed up sans canopy stage so I probably left off too many of the correct parts, put the tail on wrong or a combination of the two. Are there any choices on that instruction sheet that has a left-side tail rotor, or do I have to just make an inaccurate helicopyer? Man these things are so confusing!
 
Thor's Hammer has a 67 serial, so it almost certainly had the left side tail rotor at one point in its life since the changeover didn't start happening until 1969. I'd probably build it with the faired skids and perhaps the clear nose and send it. They were constantly undergoing mods/changes in the field during their entire service in Vietnam, so unless you have an actual picture w/ a date it's hard to say either way with certainty...and even then it only applies to that airframe on that particular day. 2 months later it could've had a whole suite of updates added at its next maintenace cycle. The instructions show the earlier one w/ the unfaired skids, but everything I've been able to find points to the opposite (faired skids earlier than non).

Even then, all the other options were 68 serials, so they most likely began life as left side tail rotors, unless they were actually built at the very end of '68/early '69.
 
Cool project! Mind your gaps around the canopy where a fixed clear part meets a finished one. A beautiful build can get derailed at the last minute.
 
Thank you Helios Chris. I'll make note of all this on the instruction sheet. What gun system should I have in the nose turret, if it gives me a choice?

Thank you Rhino Chris. Yeah, I had the experience once before so I'll be extra careful again. Thank you for the heads up on that.
 
Well, I didn't do any in progress posts at all here once I posted the cockpit. Still, I did my best to follow all the awesome tips I got here. As of July 31st, this bird is done.

AH-1G Early model by Special Hobby:

full


full


full


Thanks all for the great help!
 
Looks great!! If it's not too late, the main rotor head and tail rotor hub should be lt. gray and the upper side of the rotor blades are OD and the underside flat black. Gary S.
 
Back
Top