• Modelers Alliance has updated the forum software on our website. We have migrated all post, content and user accounts but we could not migrate the passwords.
    This requires that you manually reset your password.
    Please click here, http://modelersalliance.org/forums/login to go to logon page and use the "Forgot your Password" option.

All Righty ... What's on the bench today?

Coming along is right, that's beautiful. I'm jealous.

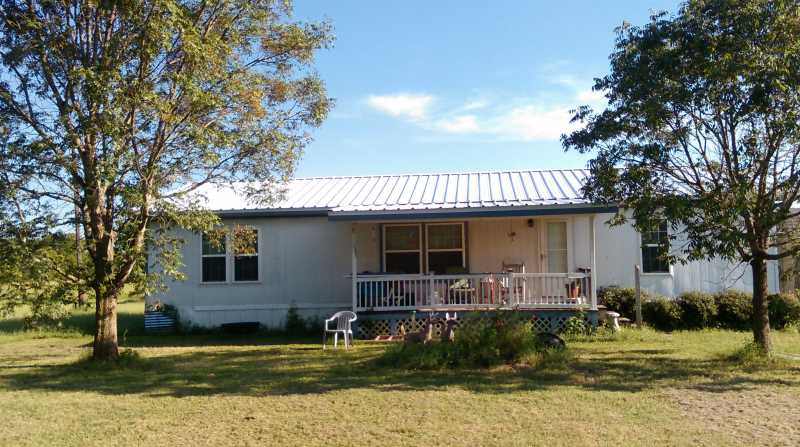
Can't pull that off around here, but I'd love to. I'd even settle for half the size with a wood burning stove.

Thanks Dude !!! My Nephew has one of those Holiday Inn type A/C Heat pumps We'll put in next year ... I have a small propane heater that will get Me by ... I was wearing a short sleeve shirt today ... not expecting much winter this year. Supposed to be 78 for the high today ...
 
Oh thats awesome but wont you need some insulation from the Texas summer heat?

I found when We put the steel roof on the House that the paint had a radiant barrier in it ... The A/C system started running about 50% less after roof was on ...

hdf2f07a.jpg


Not sure about the heat the insulation is made of rigid foam and has a R value of 7 ... with the radiant barrier it should be enough ...
 
That is awesome Gerry! What a great building to have. Keep plugging man.

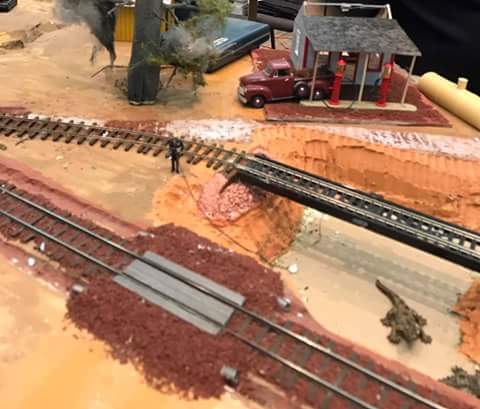
I will Mark ... Just to wet your appetite ... Here's some of the things I've been working on ...

h4fe226a.jpg


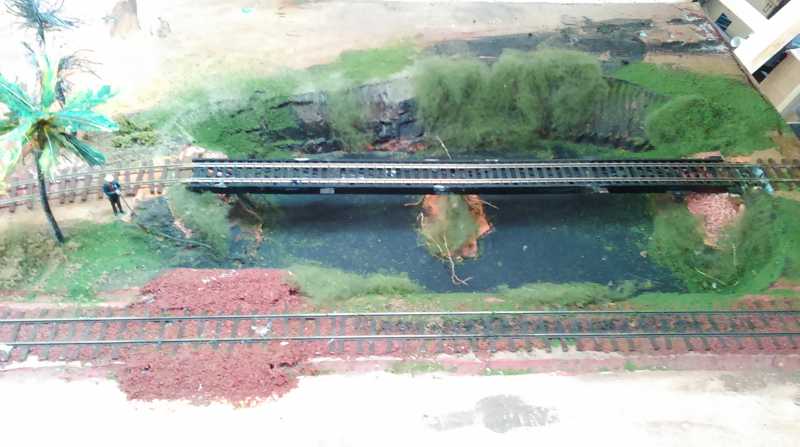
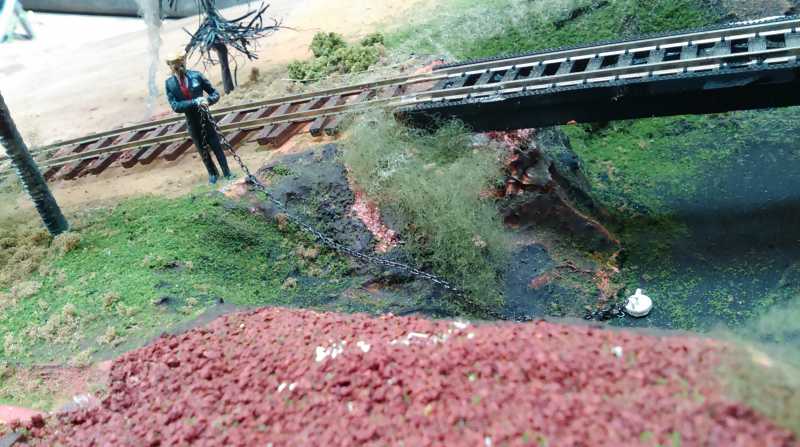
The swamp wants drained ...

h4c22a38.jpg


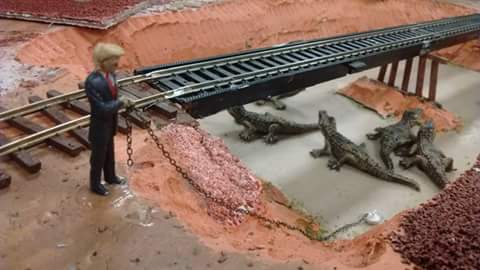
We have a man for the job ... I did the paint & hair ... I also made the swamp ...

h9149557.jpg


hebd15ae.jpg


haa926c7.jpg


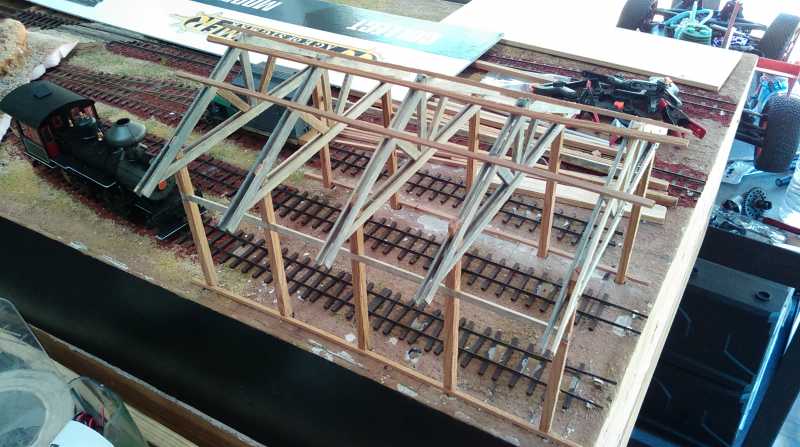
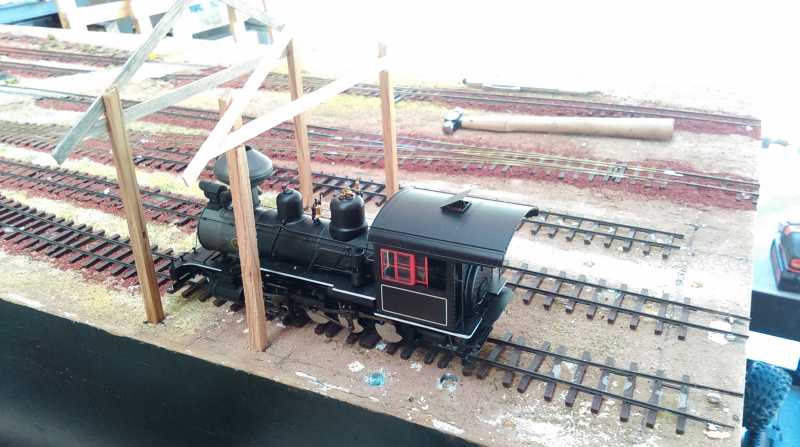
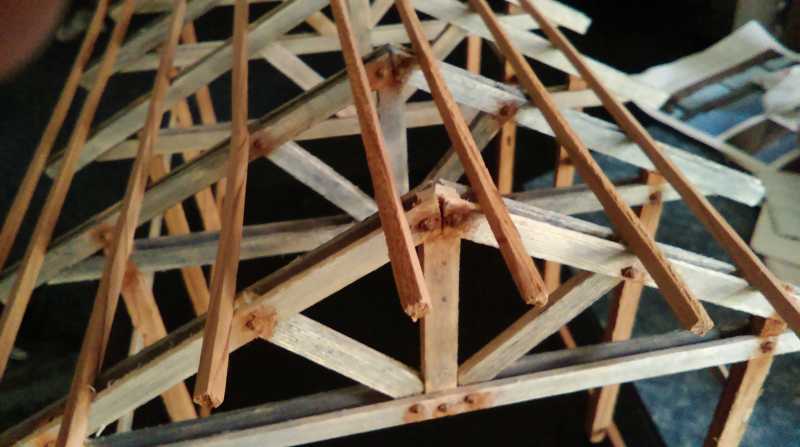
I'm working on the engine shed for the Plano train show in January ...

hc0f6407_2017-11-26.jpg


h4de6094.jpg


hdcdbcb1.jpg


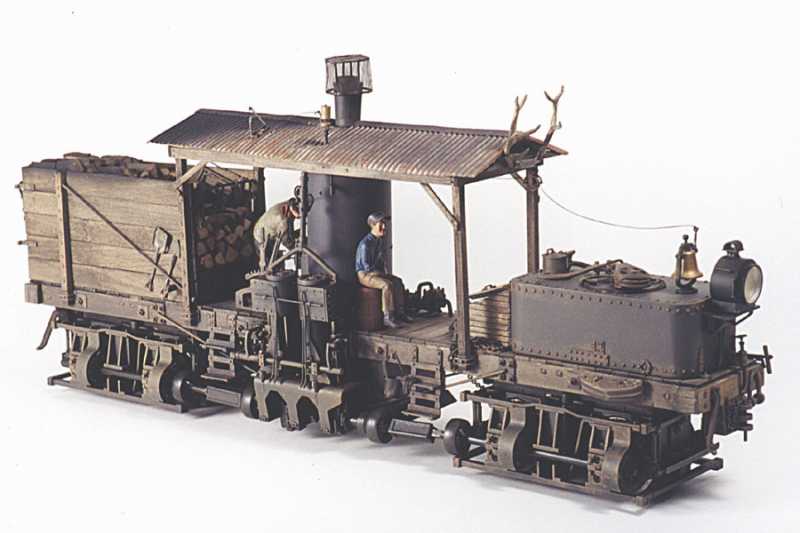
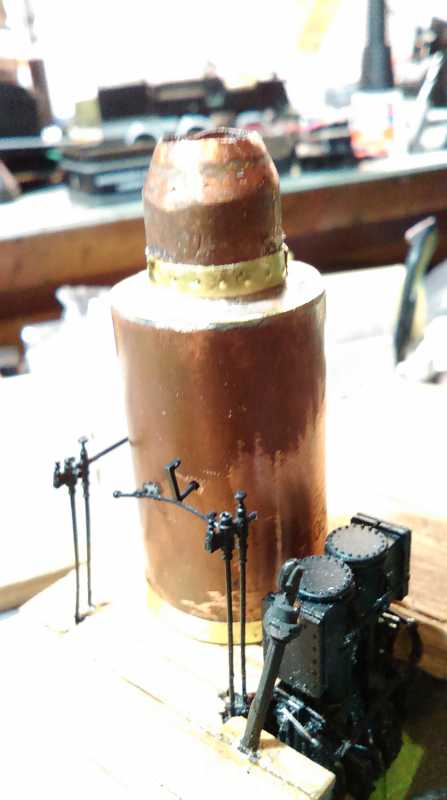
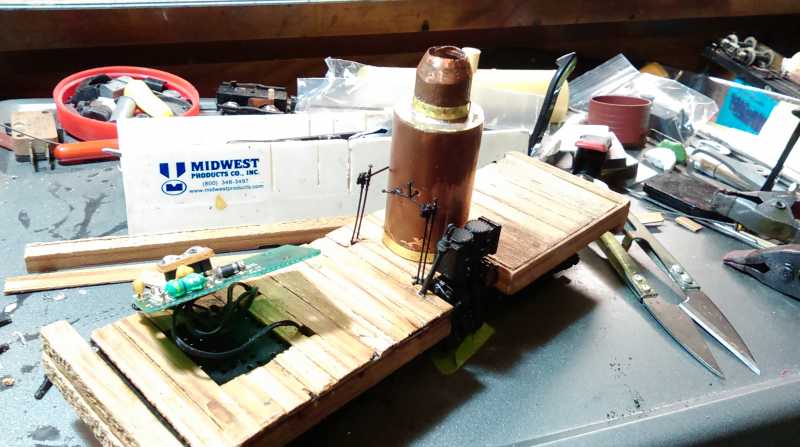
I'm also working on the Backwoods Shay again ... wood decking is done ... boiler made from plumbing parts ...

My Facebook followers have been seeing all that has happened to me ... All I can say it's been a lot ... even a flash of my life before My eyes ... but all & all I'm Very blessed ... And I've been very busy ... :drinks
 
Glad you popped back up Gerry! Have been wondering where you went and was thinking about availability of Dio-Sol. Bottles or can. I remember you saying something about having a contact to obtain some of the old Floquil stuff.

Sorry to hear you were getting hammered on the rent but congrats on obtaining the new shed. I would make allowances to insulate the crap out of it if it were me. Texas heat and plastic don't mix well.

Thanks Paul ... Kinda a shock to Me also but ... Where I moved to (My Land Paid Free & Clear) I shall never have to move Again ... I have 3 acres to develop a R/C track ... Some wooded area where ... there could be a R/C Tank Battle ground ... and room to do some drone racing ... Now I think I can get some Attic foil radiant barrier for the attic area & so far the Foam board insulation should be enough ... I just need a barrier from Asian Beetles (looks like Lady Bugs) ... :rotf I didn't find the Dio_Sol But I'll keep looking ... :frantic :frantic :frantic
 
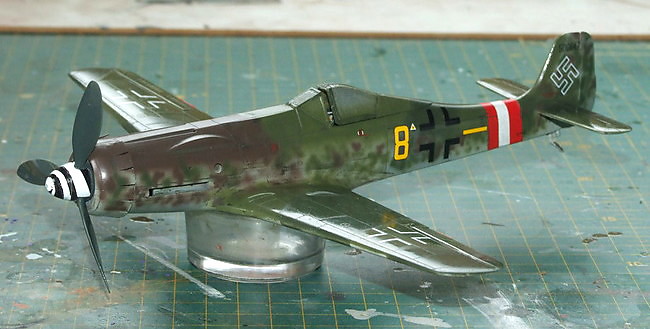
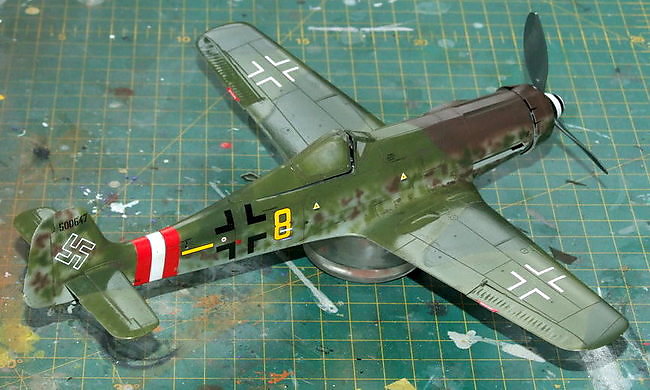
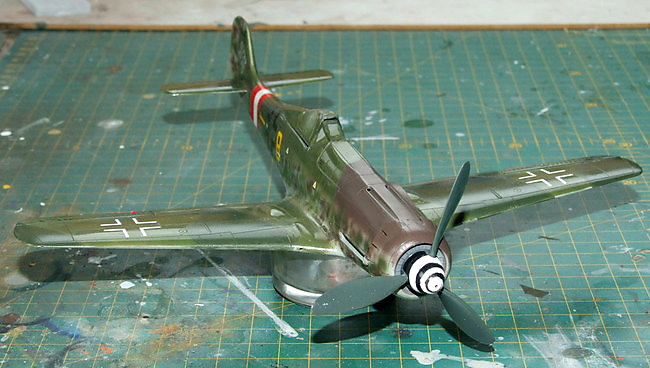
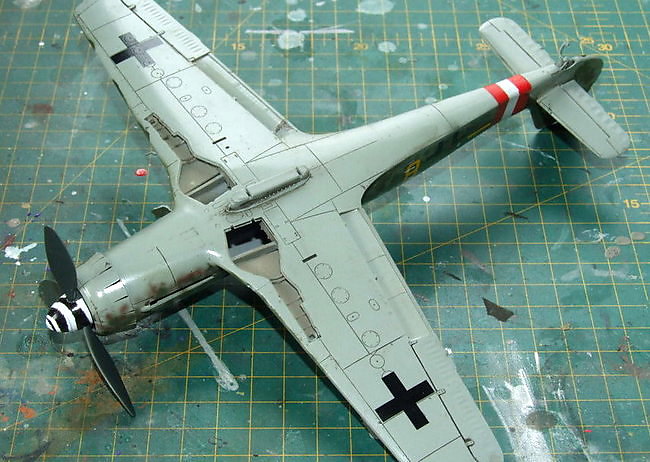
Ian, splendid job on the decals for the Ta-152. Excellent!

Gerry those are some outstanding photos of a truly inspired train layout. I love them all! I'm glad you came through everything okay and have kept busy. I have also and I'm still going strong so far. Keep going man!
 
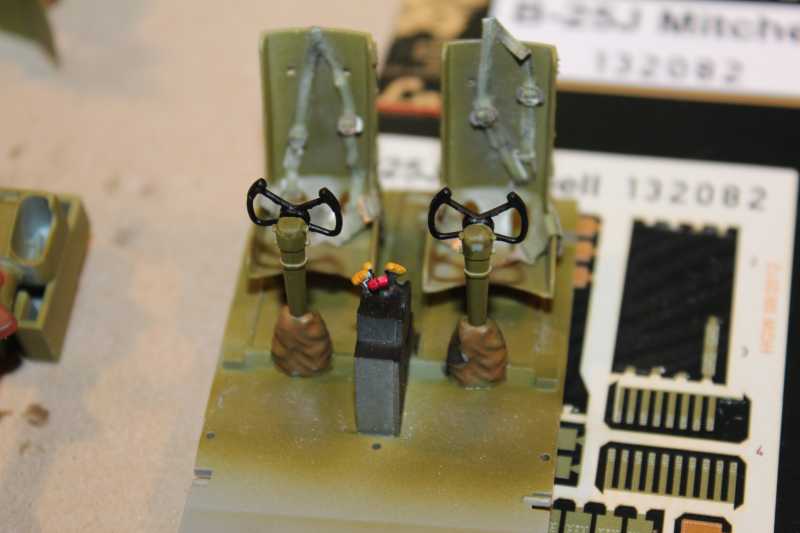
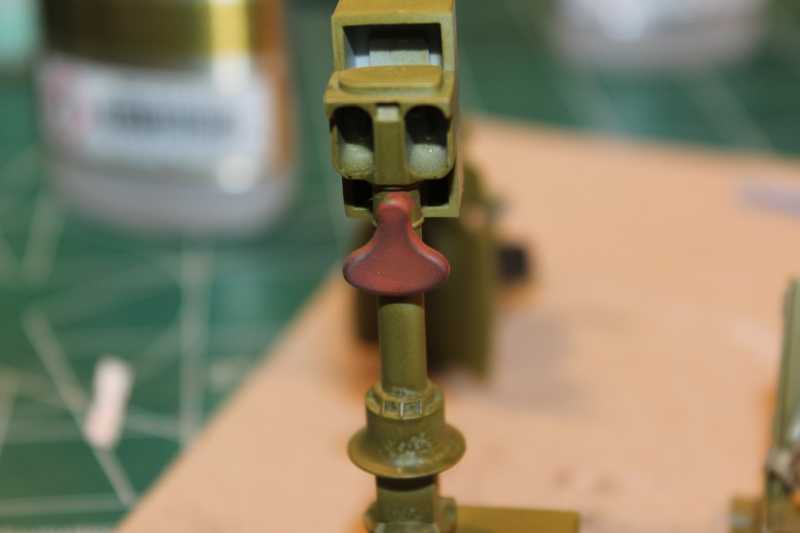
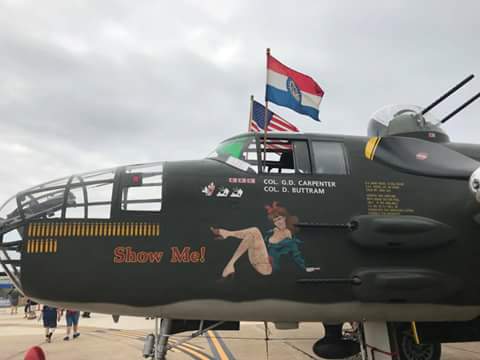
I wnated something different for the month to see if I could accomplish something. Here are some parts for the HK B-25J. I got the belts in the mail Friday and spent yesterday and today trying to at least get the pit finished. Here are a couple of pics, they are not that good.
h8aa6bae.JPG


I also managed to get the forward turret done also.
h4c87c58.JPG


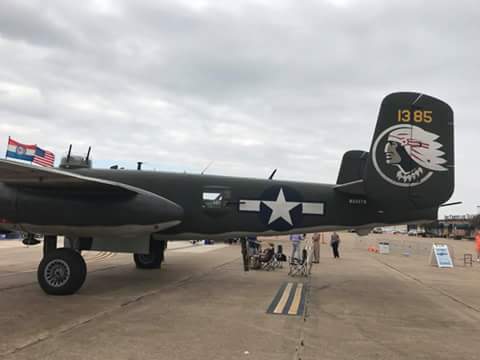
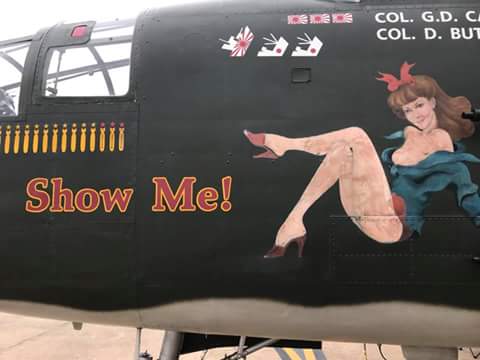
I am looking forward to getting this done in the next couple of months or so and am hoping I can do a custom decal for the nose art on this one.
 
Oh thats awesome but wont you need some insulation from the Texas summer heat?

The heat wasn't that bad this year ... I don't even think We broke the century mark ... the ridged foam is 1" thick, with the newer tech products coming out it should be tolerable ... we'll see right now worried about electricity ... seems everyone wants a arm & a leg to hook Me up to the grid ... Glad I went to the Card Swipe system on my phone ... they still try to sell me a Credit card machine ... :fencing
 
Ian, splendid job on the decals for the Ta-152. Excellent!

Gerry those are some outstanding photos of a truly inspired train layout. I love them all! I'm glad you came through everything okay and have kept busy. I have also and I'm still going strong so far. Keep going man!

Well the swamp module (2' X 4') is the one that gets the most comments ... So Me & my Friend Travis kinda upped the Annie a bit new photos of the Swamp project ...

he3607ab.jpg


....

hc70419e.jpg


Like I say I have animated Gators in the Swamp ... The Children love it ... Some people jump when they see them move !!

The white object at end of chain is my Humor ... It's a scratch built drain plug ... the Swamp Palm is made from feathers ... :train

I'm thinking about moving my little man ... over to the middle of bridge area standing on a log ... Up to His &^% in alligators ... :rotf
 
So started poking through my stash to find something quick and fun to do over the next couple weeks while I have some time off and I decided on a Revell Hurricane Mk. IIb. While assembling the wings I noticed there were two holes on the outer wing past the landing light. What the heck? I had no idea there was a six gun wing version for this thing... :frantic


hf43a398.jpg
 
That's a Canadian built MkXII , they had 12 .303 guns but most were later converted to 4 20mm cannon.
 
Well, the last week or so, I've been getting a few small things done here and there. I feel like I'm swimming up through a strong current; I may have done a lot, but I don't really feel I got anywhere! I did find some time to airbrush, but otherwise, it's been small things here and there. You be the judge....


I'll start again with the aircraft.

I shot the yellow and Olive Drab on the P-51 after masking it all up. Here's the result:

WIP_Monogram_Mafia_2017_GB_XIIc.jpg


Later I also dullcoated the P-40 after the decals dried:

WIP_Monogram_Mafia_2017_GB_XIIIa.jpg


WIP_Monogram_Mafia_2017_GB_XIIIb.jpg


I should be able to finish that one soon.....

Next up I shot the camouflage grey on the bottom of the F-102:

WIP_CDS_Meng_F-102_Dagger_XXVII.jpg


Later on I masked that back off to finish painting the camouflage pattern on the top. I had forgotten a whole couple sections of OD. Here it is with the Silly Putty and the new paint:

WIP_CDS_Meng_F-102_Dagger_XXIV.jpg


This is the result after I removed the Silly Putty. There were a few places that needed some touchup here:

WIP_CDS_Meng_F-102_Dagger_XXV.jpg


WIP_CDS_Meng_F-102_Dagger_XXVI.jpg


Later on I touched up those areas....

WIP_CDS_Meng_F-102_Dagger_XXVIIa.jpg


.... so I could gloss this for decals. Here she is ready for decals:

WIP_CDS_Meng_F-102_Dagger_XXVIIb.jpg


While that was drying, I masked off the helicopter windscreen for paint:

WIP_Helicopter_SPAM_GB_VIII.jpg


Moving right along....

Recognize this?

WIP_Swedish_J-32_Lanssen_X.jpg


That is the Swedish Lannsen all masked so I could paint the underside:

WIP_Swedish_J-32_Lanssen_XI.jpg


That was the before shot... this is the after shot:

WIP_Swedish_J-32_Lanssen_XII.jpg


Now all I need to do is remove that mask and then I can gloss this and decal it.


Moving on, I found my HMS Daring, a Type 42 Destroyer that I had started some time ago. I got the hull color on the hull and superstructure:

WIP_HMS_Daring_V.jpg


WIP_HMS_Daring_VI.jpg


Now to find the deck color and get it painted on the decks....


Now for my armor....


I started out with some base coats on a few of them. The Japanese Type 89 Early got a new coat of grey that was darker. This is going to be the final color. I may modulate it a bit, but I'm moving forward on this:

WIP_Japanese_Type_89_Early_VII.jpg


WIP_Japanese_Type_89_Early_VIII.jpg


I then shot the tan basecoat on the T-90:

WIP_Russian_T-90_Cast_XI.jpg


WIP_Russian_T-90_Cast_XII.jpg


Later, when I had the Silly Putty out for the -102; I also added it to my Japanese Type 89 Late and my T-90. Here is the Type 89:

WIP_Japanese_Type_89_Late_X.jpg


WIP_Japanese_Type_89_Late_XI.jpg


The T-90 got some as well:

WIP_Russian_T-90_Cast_XIII.jpg


Later I shot some Russian Green on the T-90:

WIP_Russian_T-90_Cast_XIV.jpg


WIP_Russian_T-90_Cast_XV.jpg


Getting paint into all those nooks and crannies was a challenge indeed!

Later as I was looking around, I found a Trumpeter M-113 ACAV that I'd bought for a couple bucks. When I opened the box I remembered why: it had been started and completed except for tracks and guns! So, I figured since I have the airbrush fired up, I'd shoot this thing so I could finish it:

Here it is sporting a coat of OD:

WIP_US_Army_M-113_ACAV_I.jpg


Here's where you can see my fix of the builder's mistake. Another reason it was a couple bucks....

WIP_US_Army_M-113_ACAV_II.jpg


After that, I tried once again to tackle the tracks on the Schturmtiger. Here you can see that the CA glue was only partially successful, albeit very weak:

WIP_BS_GB_Shturmtiger_XVc~0.jpg


I couldn't get it to glue on the curved areas. The indie track parts were also barely attached:

WIP_BS_GB_Shturmtiger_XVd~0.jpg


I took a break from that for awhile and added some decals to this. I know they were mostly unmarked, but I just couldn't see not having some German crosses on this. I think they make it look more cool:

WIP_BS_GB_Shturmtiger_XVe.jpg


WIP_BS_GB_Shturmtiger_XVf.jpg


As mentioned before, I saw this stuff at Pegasus Hobbies and decided to buy it to try on the tracks for this beastie:

WIP_BS_GB_Shturmtiger_XVI.jpg


They told me at Pegasus that it is designed to hold the tires to the wheels on remote control cars. I thought if it worked for that kind of vinyl, it should work for the vinyl tracks on this kit since it appeared to be the same type of rubber/vinyl.

Here was my first test:

Bottom run re-glued:

WIP_BS_GB_Shturmtiger_XVIIa.jpg


Later I taped up the curved parts of the run; added the rest of the indie links and finally glued on the top run:

WIP_BS_GB_Shturmtiger_XVIIb.jpg


The next day after it dried overnight, I checked it. These tracks were solid:

WIP_BS_GB_Shturmtiger_XVIIc.jpg


Success! Now to do the other side....

Finally I decided to have some fun. I started the Berlin House; the first step was to build the interior stairwell:

WIP_Berlin_House_I.jpg


Later I assembled the whole bottom floor: dry fit and taped down the second floor so the walls glued straight; and I added the second story stairwell that I had also built:

WIP_Berlin_House_II.jpg


I'll keep the second story unattached so I can open this up and paint inside. For run I might even try to add some interior detail here and there some time in the future.

Okay that completes this session of what's on my workbench. Personally I can't wait to get some of these done. With Hobby Day coming up, I plan to decal a whole lotta models so I can run them over the finish line!

That's all for now. Thanks for looking in, comments are welcome.
 
Back
Top